
aldi breakfast burrito

title 1
aldi breakfast burrito
⏱️ cook time 18 minutes
🍽️ servings 4
⚡ Difficulty easy

intro

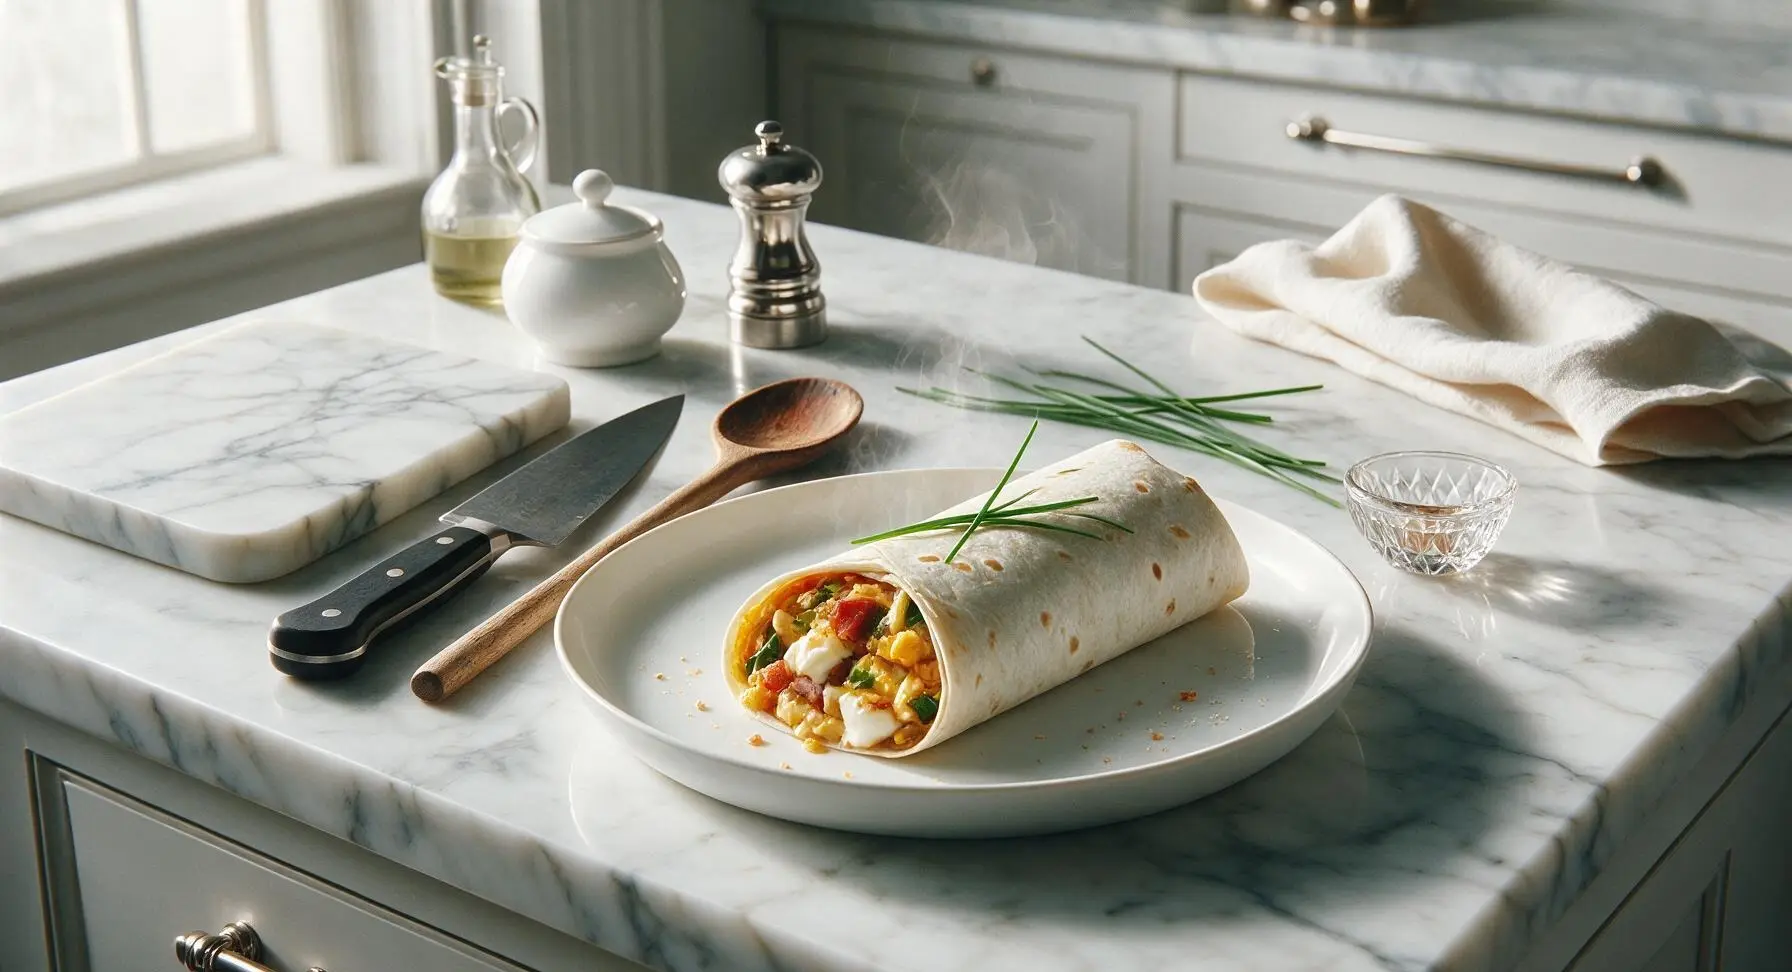
Hearty, budget-friendly Tex-Mex breakfast burritos made with affordable Aldi staples, packed with fluffy eggs, crispy hash browns, savory sausage, and melted cheddar, perfect for quick meals or meal prep.

Ingredients
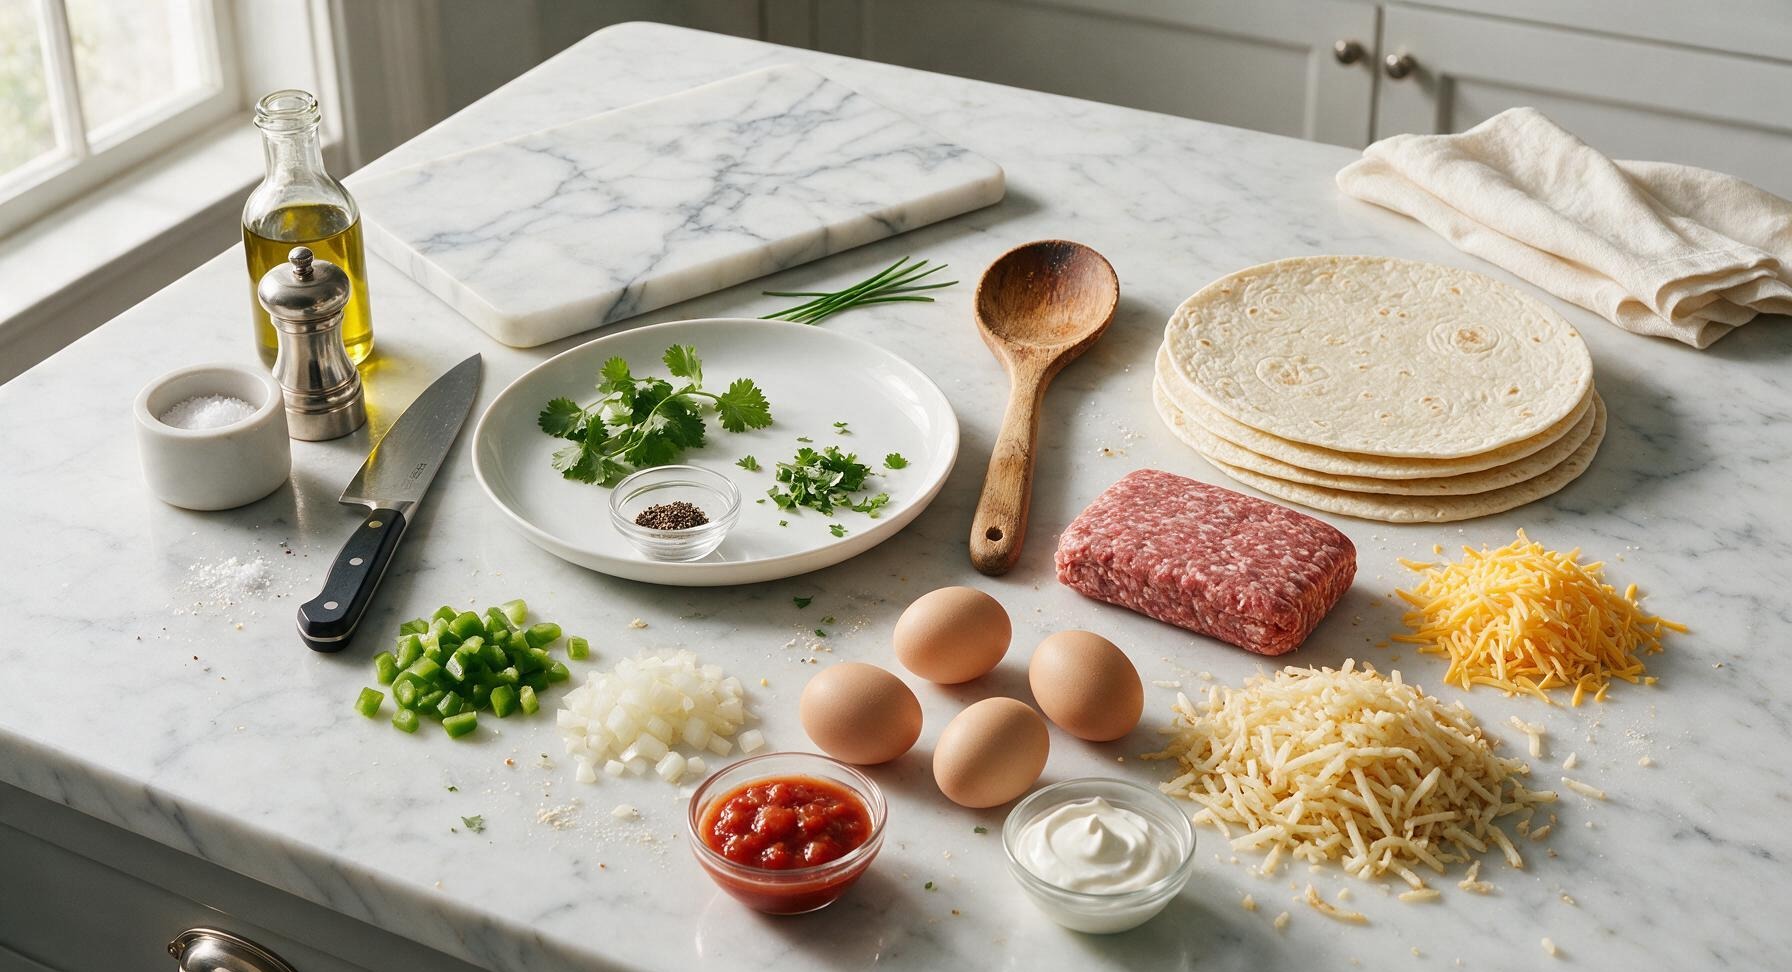
10-inch flour tortillas 4 each
Ground pork breakfast sausage 225g (8oz)
Frozen shredded hash browns 150g (1.5 cups)
Large eggs 4 each
Shredded sharp cheddar cheese 100g (1 cup)
Diced green bell pepper 50g (1/3 cup)
Diced yellow onion 40g (1/4 cup)
Chunky red salsa 80g (1/3 cup)
Sour cream 60g (1/4 cup)
Extra virgin olive oil 1 tbsp
Kosher salt 1/2 tsp
Ground black pepper 1/4 tsp
Fresh cilantro 2 tbsp chopped

Steps

1

Cook Sausage and Veggies

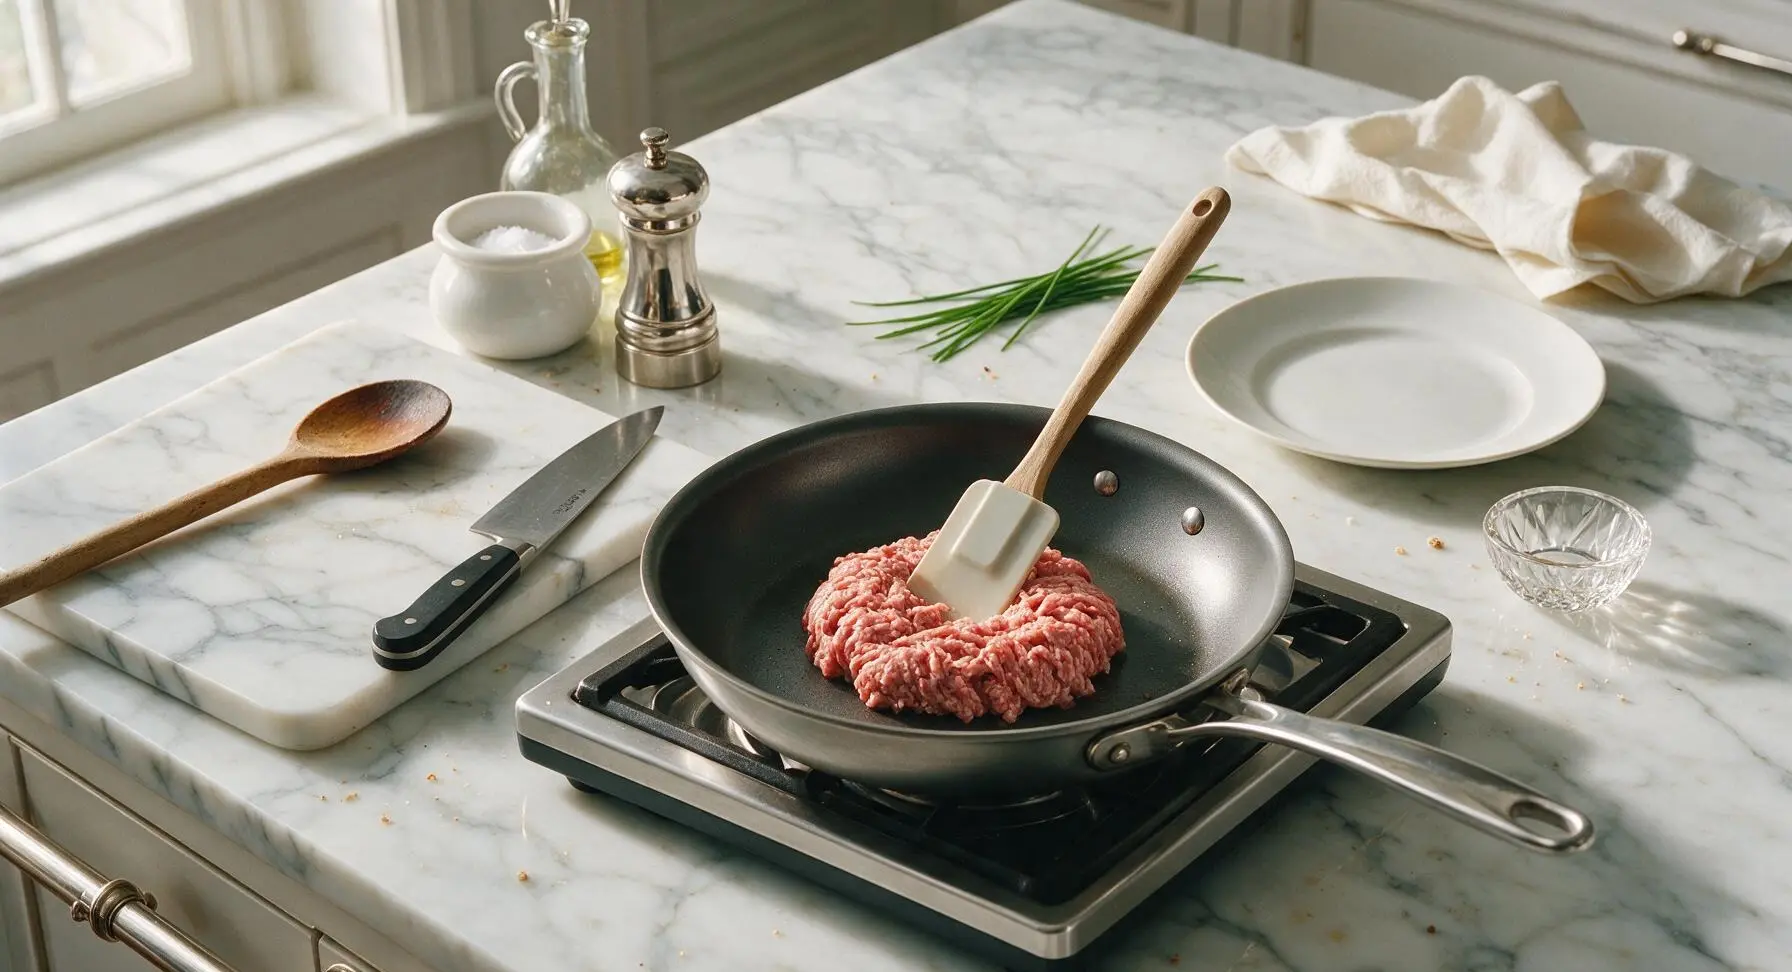
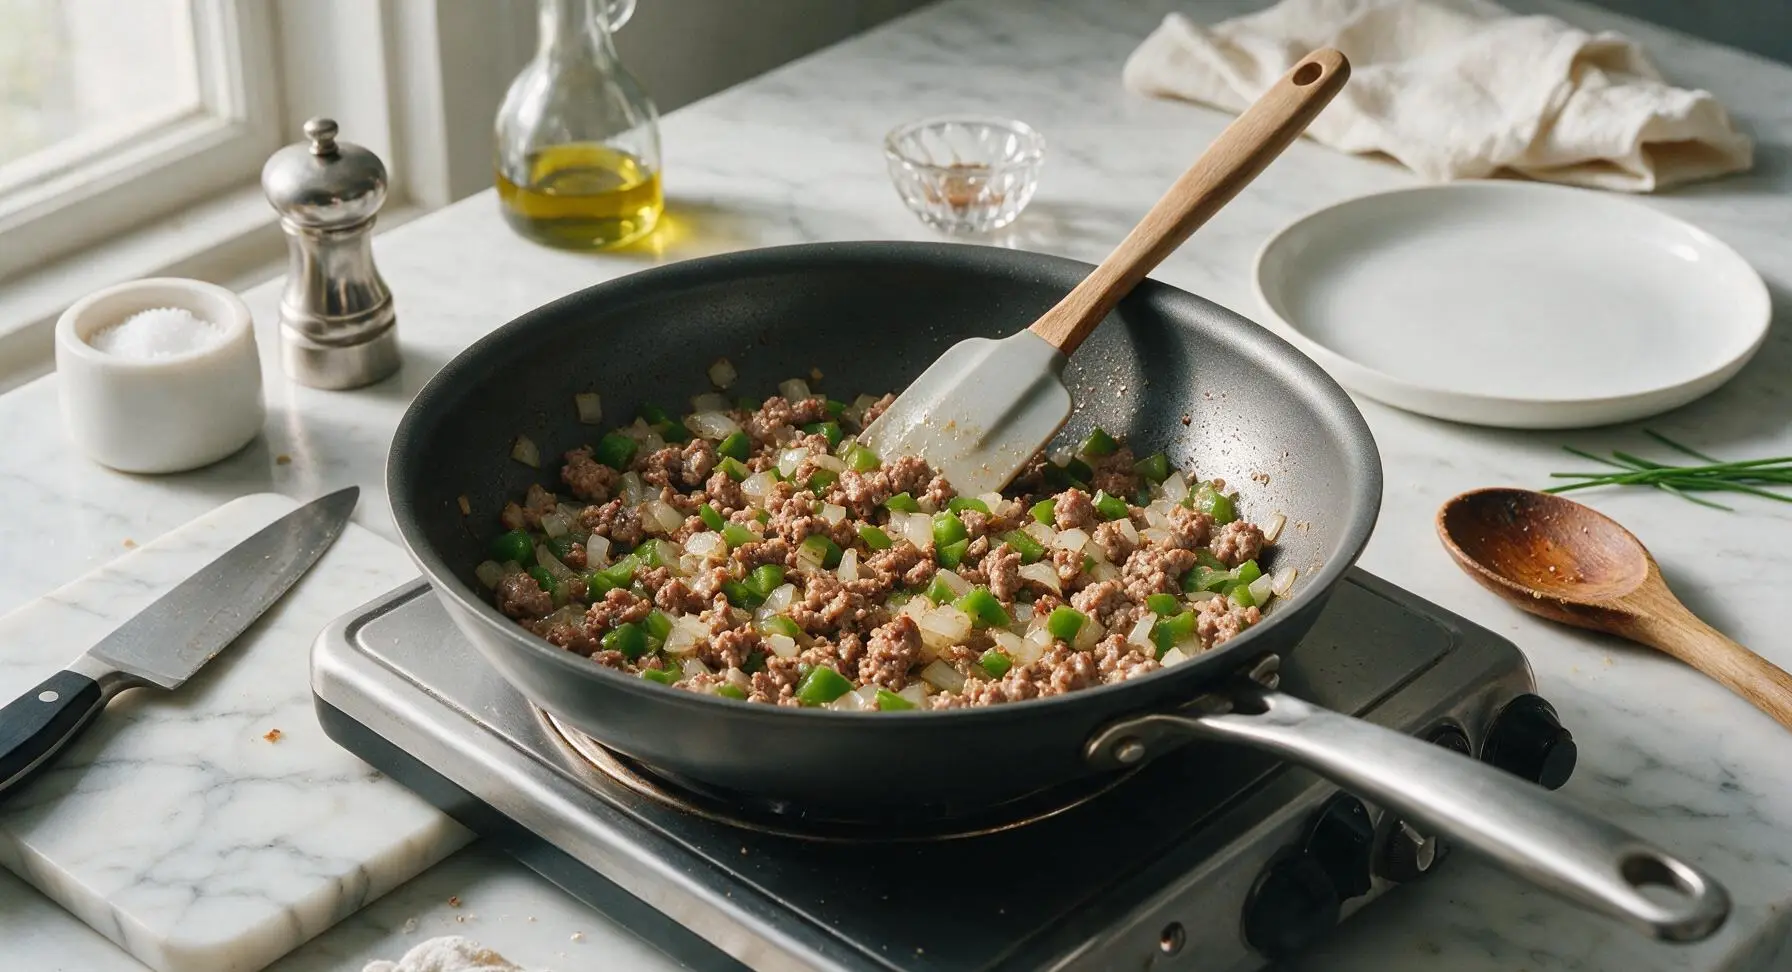
Place the 10-inch nonstick skillet on the front burner of the fixed portable cooktop, heat to medium (350°F/175°C). Add the 225g ground breakfast sausage to the dry pan, breaking it apart with the heat-resistant silicone spatula as it cooks for 4 minutes until fully browned and crumbly. Add the 40g diced yellow onion and 50g diced green bell pepper to the pan, cook for 2 additional minutes until veggies are soft and slightly translucent. Season with 1/4 tsp kosher salt and 1/8 tsp ground black pepper, stirring to combine evenly.
Step 1
step1:Cook Sausage and Veggies
Step 1
step1:Cook Sausage and Veggies
2

Crisp the Hash Browns

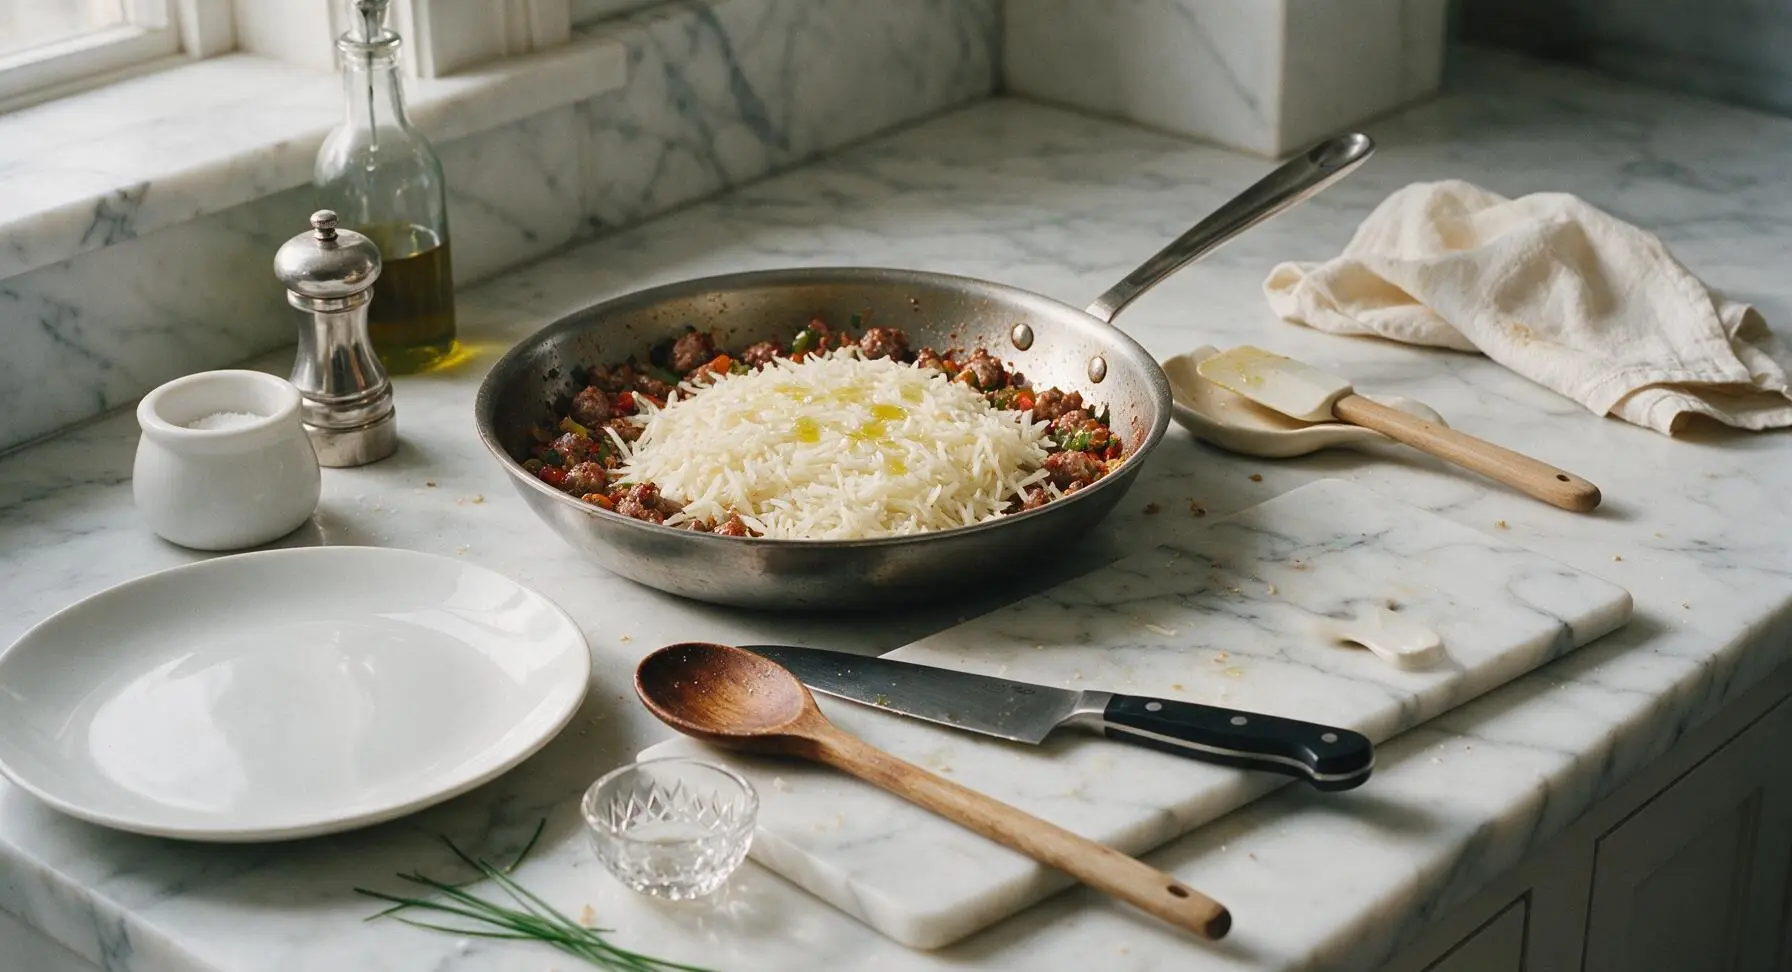
Push the cooked sausage and veggie mixture to the outer edge of the skillet to create an empty well in the pan center. Add the 150g frozen shredded hash browns to the empty center, drizzle with 1 tsp olive oil, and season with the remaining 1/4 tsp kosher salt and 1/8 tsp black pepper. Cook undisturbed for 5 minutes over medium heat, until the bottom layer of hash browns is deep golden and crispy. Stir to combine hash browns with the sausage mixture, then cook 2 more minutes until hash browns are tender all the way through.
Step 2
step2:Crisp the Hash Browns
3

Whisk the Eggs

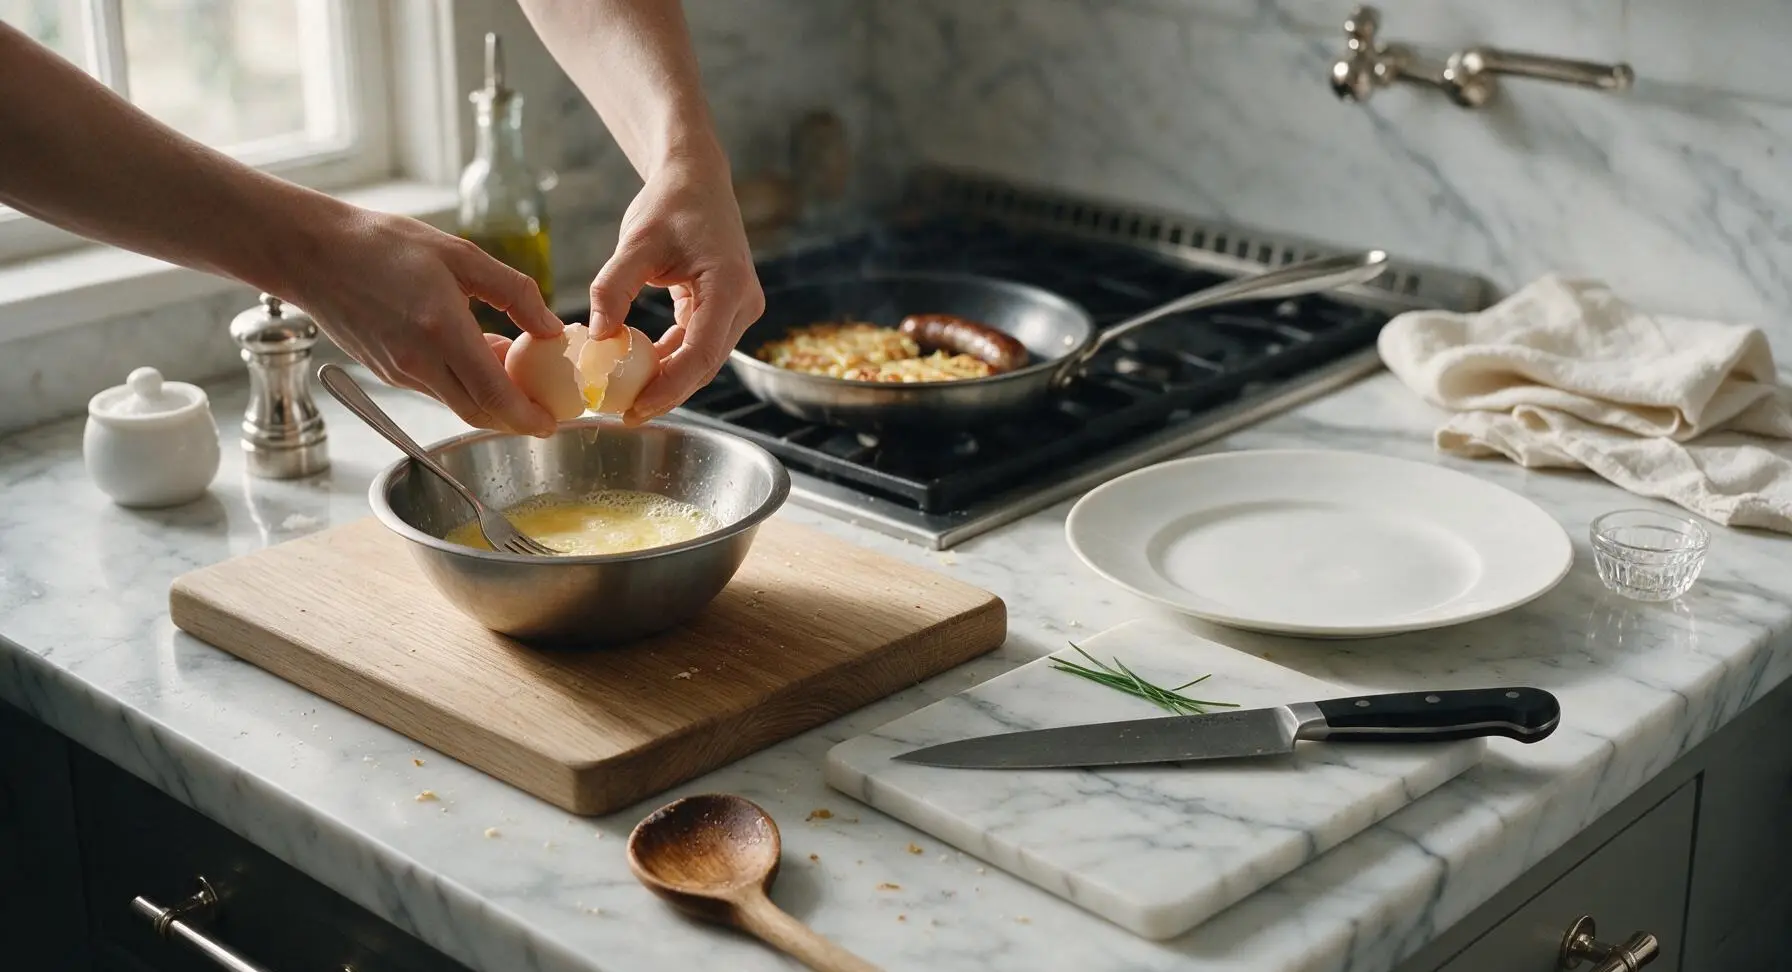
While the hash browns cook, place the medium light oak cutting board at the center of the open counter space left of the cooktop, then set the small brushed stainless steel mixing bowl to the left of the board. Crack all 4 large eggs into the bowl, then whisk vigorously with the stainless steel dinner fork for 30 seconds until yolks and whites are fully combined, pale yellow, and slightly frothy on the surface.
Step 3
step3:Whisk the Eggs
4

Scramble Egg Mixture

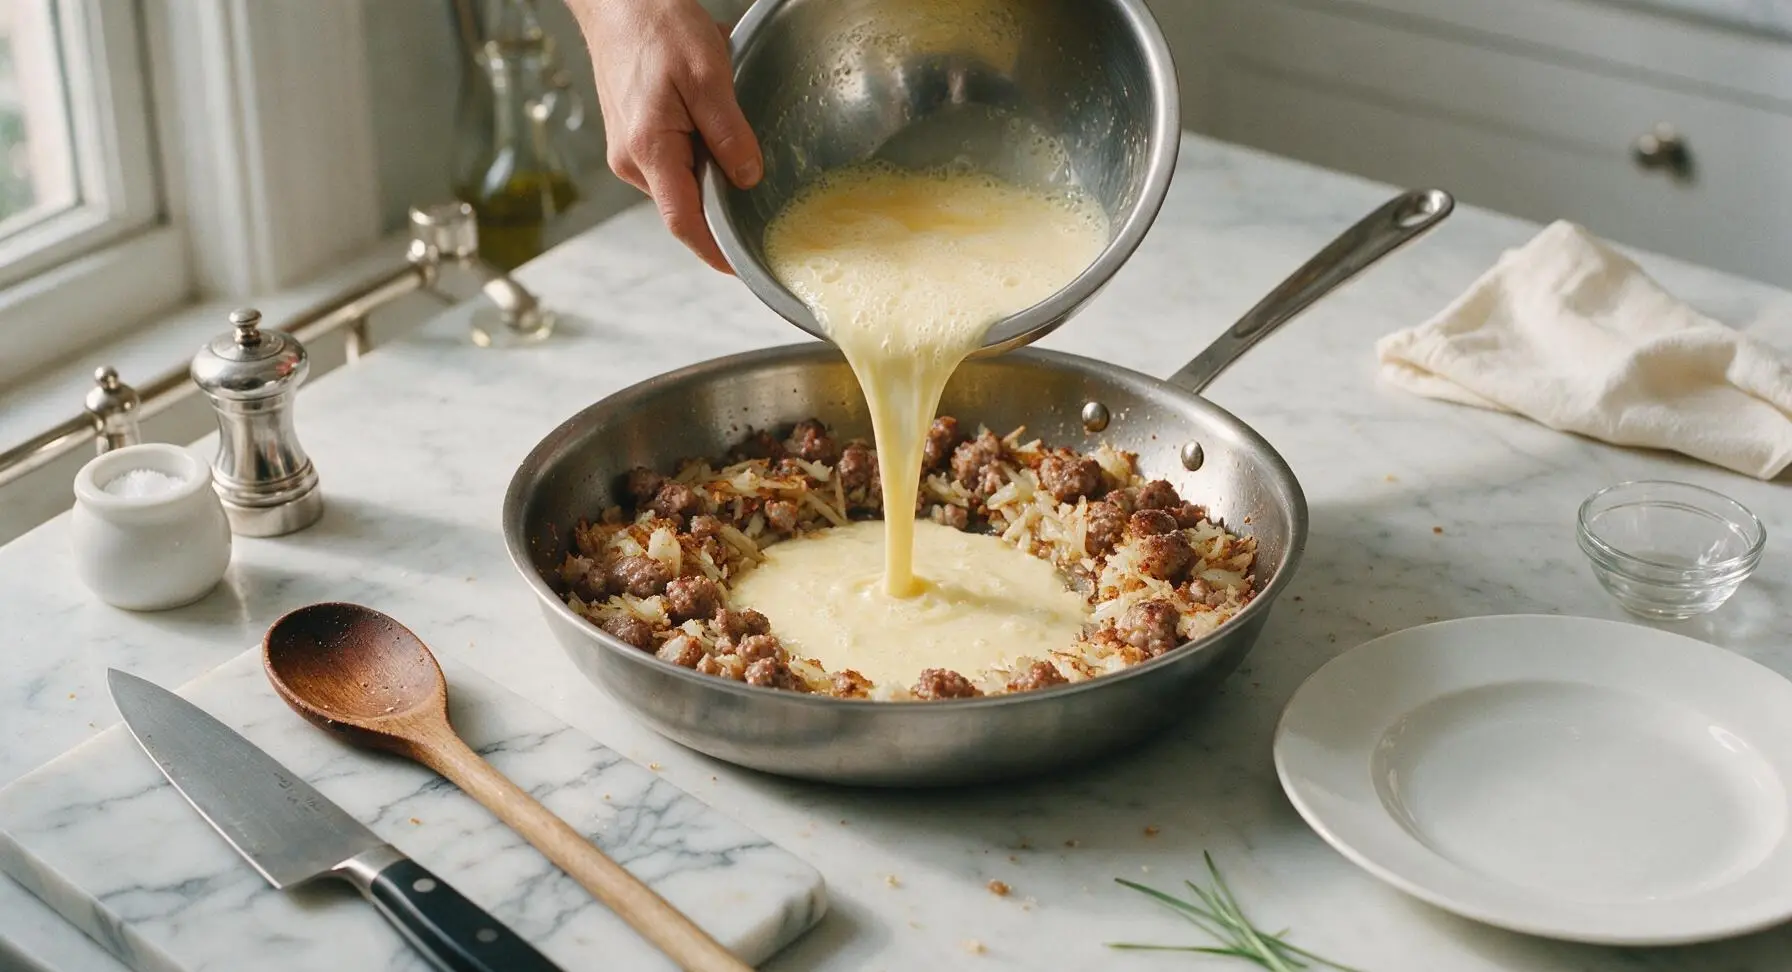
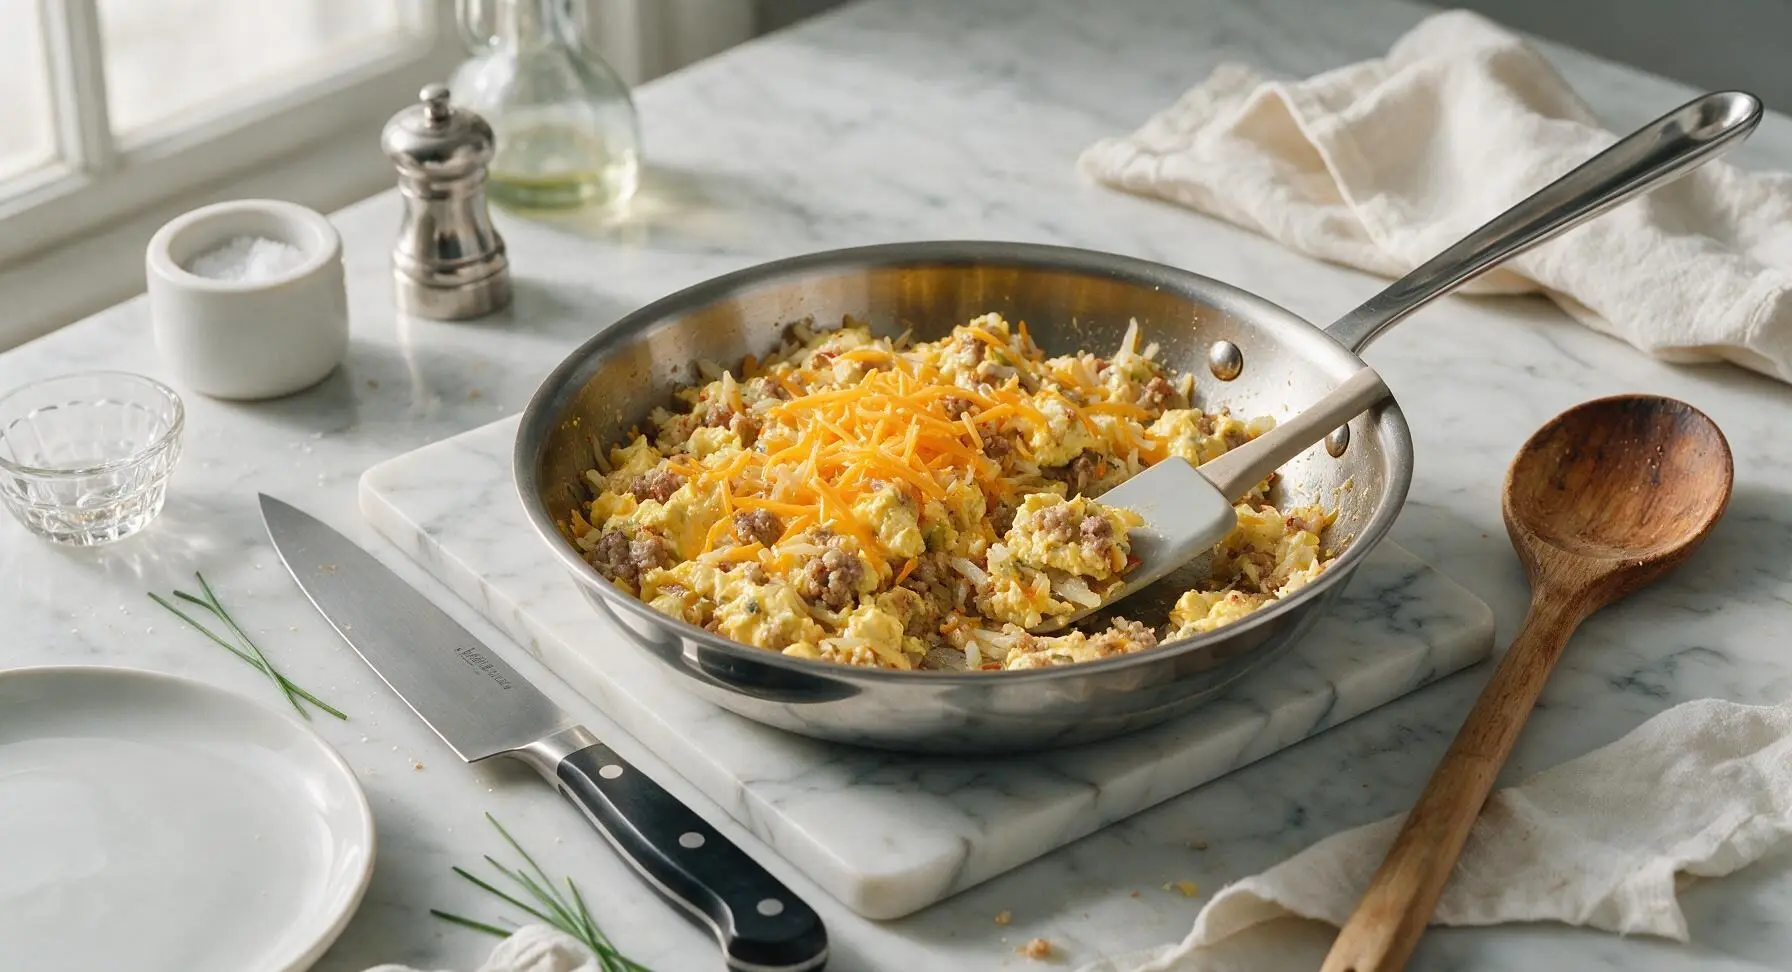
Once hash browns are fully tender, push the entire sausage and hash brown mixture to the outer edges of the skillet to recreate an empty well in the pan center. Pour the whisked eggs into the empty well. Let eggs set for 30 seconds, then use the silicone spatula to gently push cooked egg curds from the well edges to the center, letting uncooked egg flow into gaps. Cook 2-3 minutes total, until eggs are soft, fluffy, and just set with no runny liquid remaining, then stir to fully combine all filling ingredients. Turn the cooktop heat off, sprinkle the 100g shredded sharp cheddar over the filling, and let rest 1 minute to melt from residual pan heat.
Step 4
step4:Scramble Egg Mixture
Step 4
step4:Scramble Egg Mixture
5

Warm the Tortillas

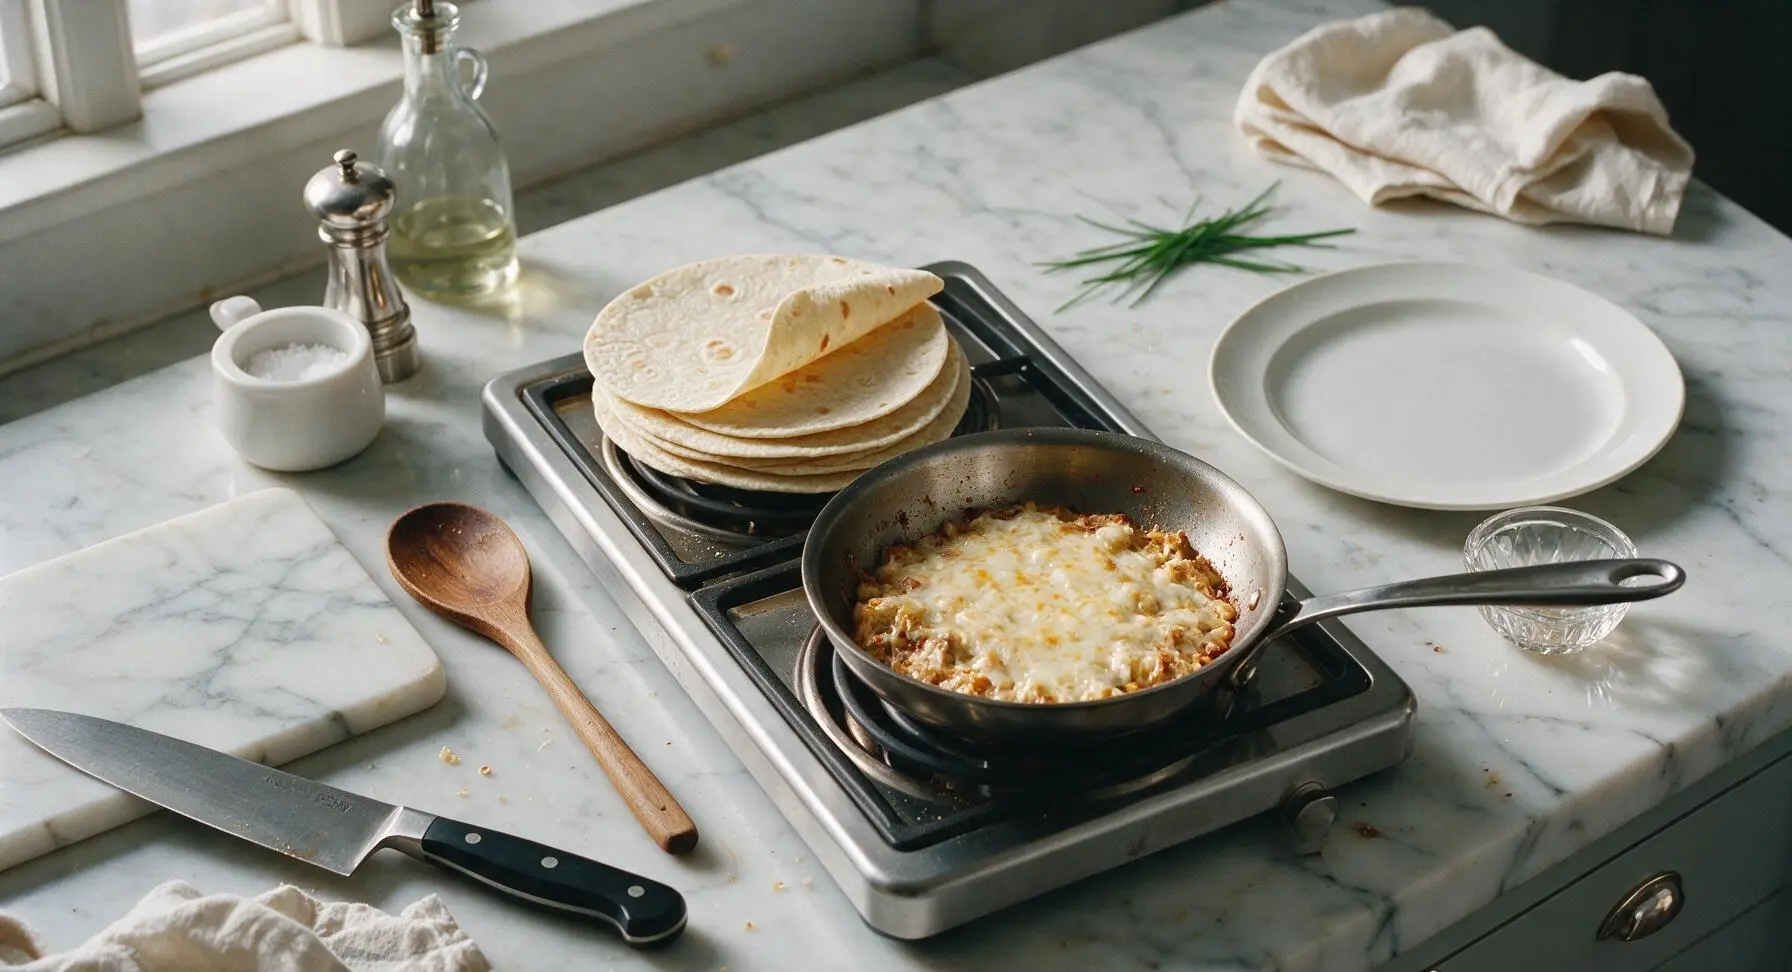
While the cheese melts, stack the 4 flour tortillas on the empty back burner of the portable cooktop (turned to the lowest warm setting) for 1 minute per side, until soft, pliable, and slightly warm to the touch. Warming tortillas prevents cracking during rolling, a common beginner mistake.
Step 5
step5:Warm the Tortillas
6

Assemble the Burritos

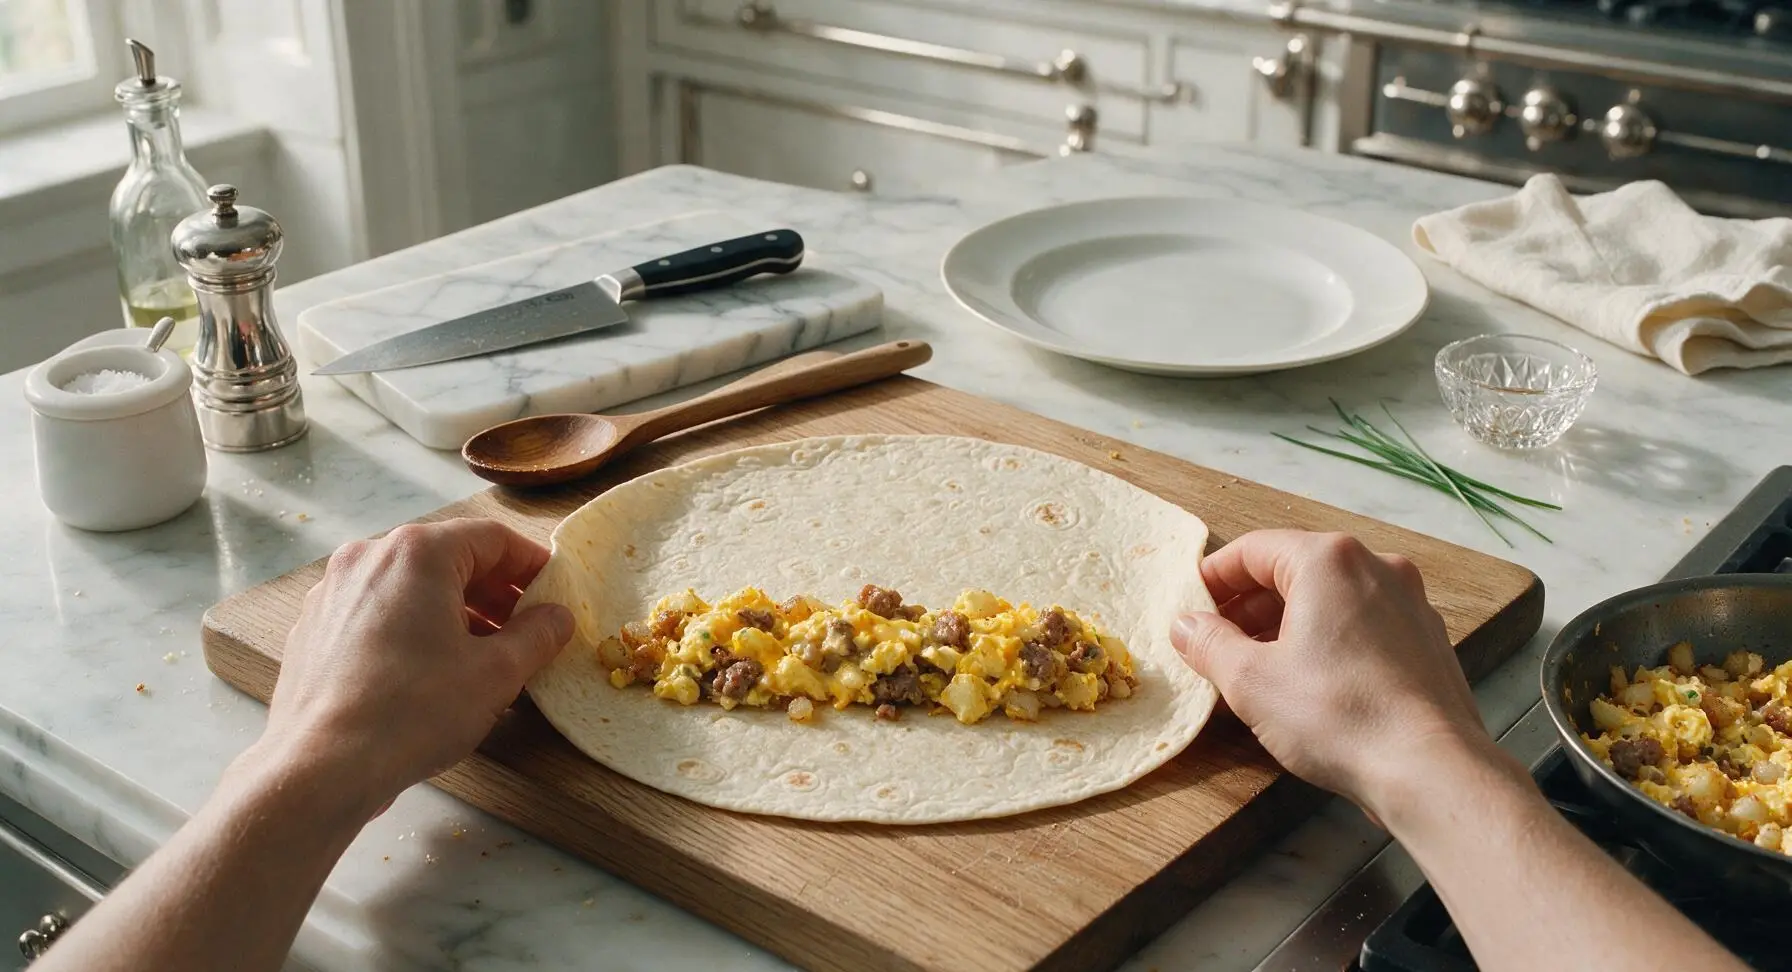
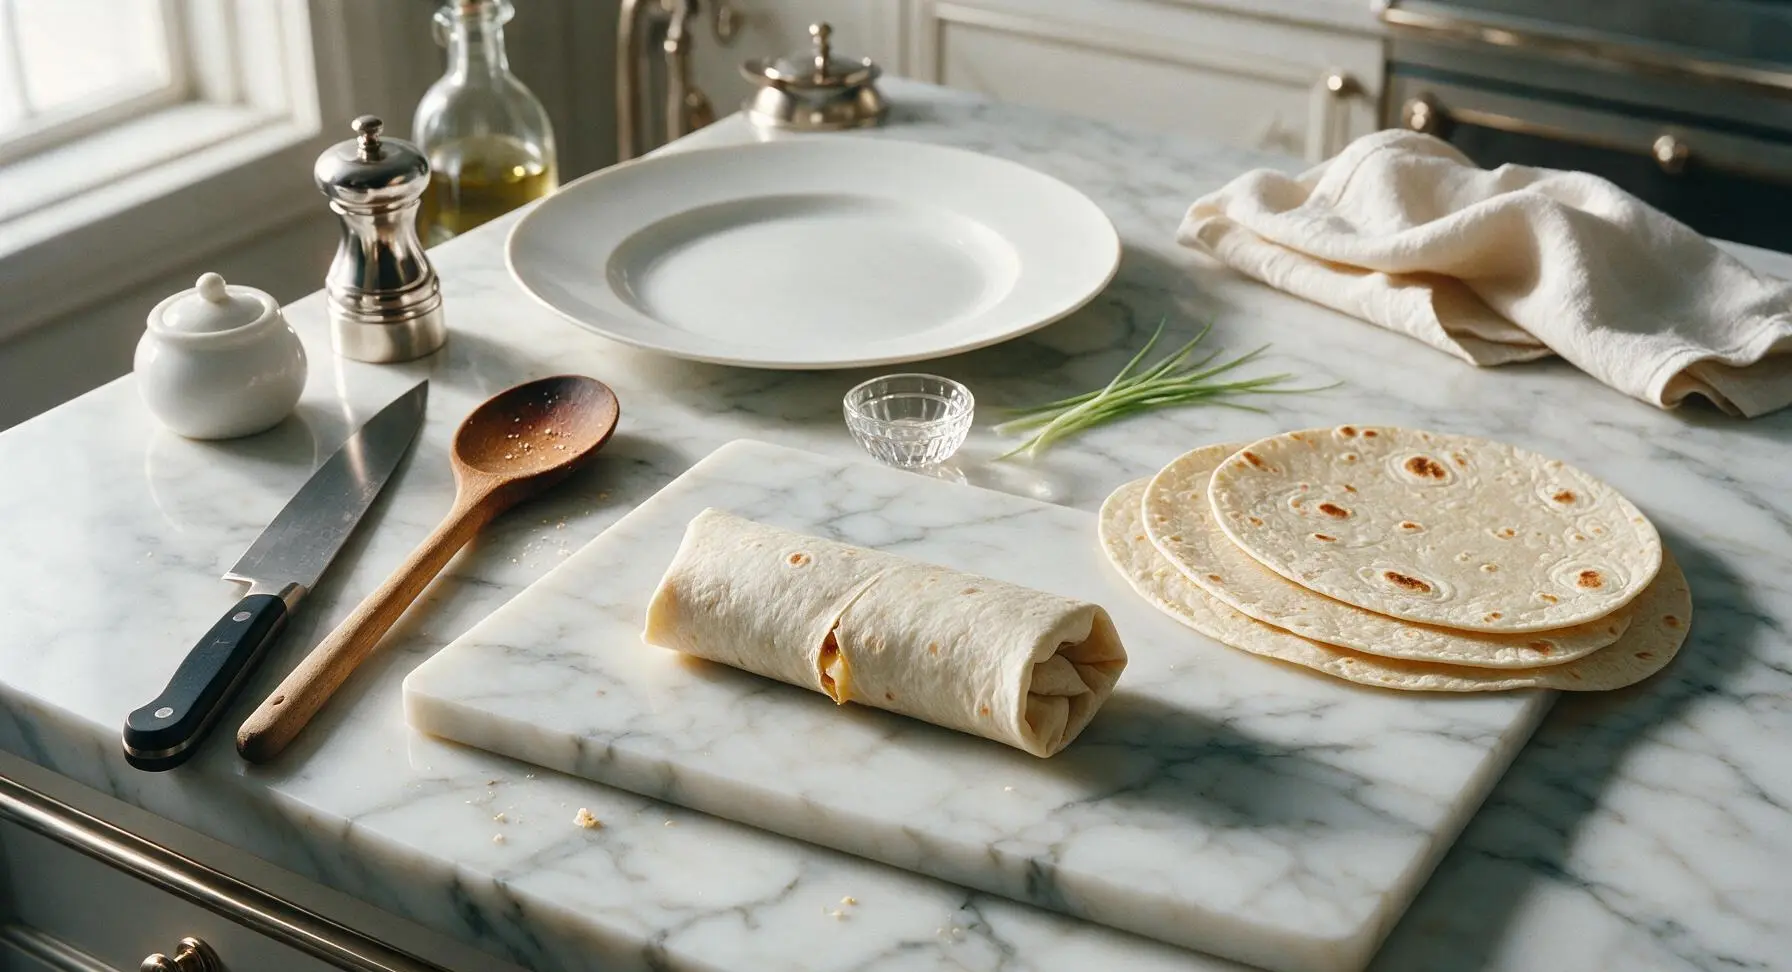
Lay one warm tortilla flat on the oak cutting board. Scoop 1/4 of the warm filling (about 1 heaping cup) in a straight line across the lower third of the tortilla, leaving a 2-inch border on the left and right edges. Fold the left and right tortilla edges in over the filling, then roll tightly from the bottom edge up to fully enclose the filling, creating a sealed burrito. Repeat with the remaining tortillas and filling.
Step 6
step6:Assemble the Burritos
Step 6
step6:Assemble the Burritos
7

Sear and Plate Burritos

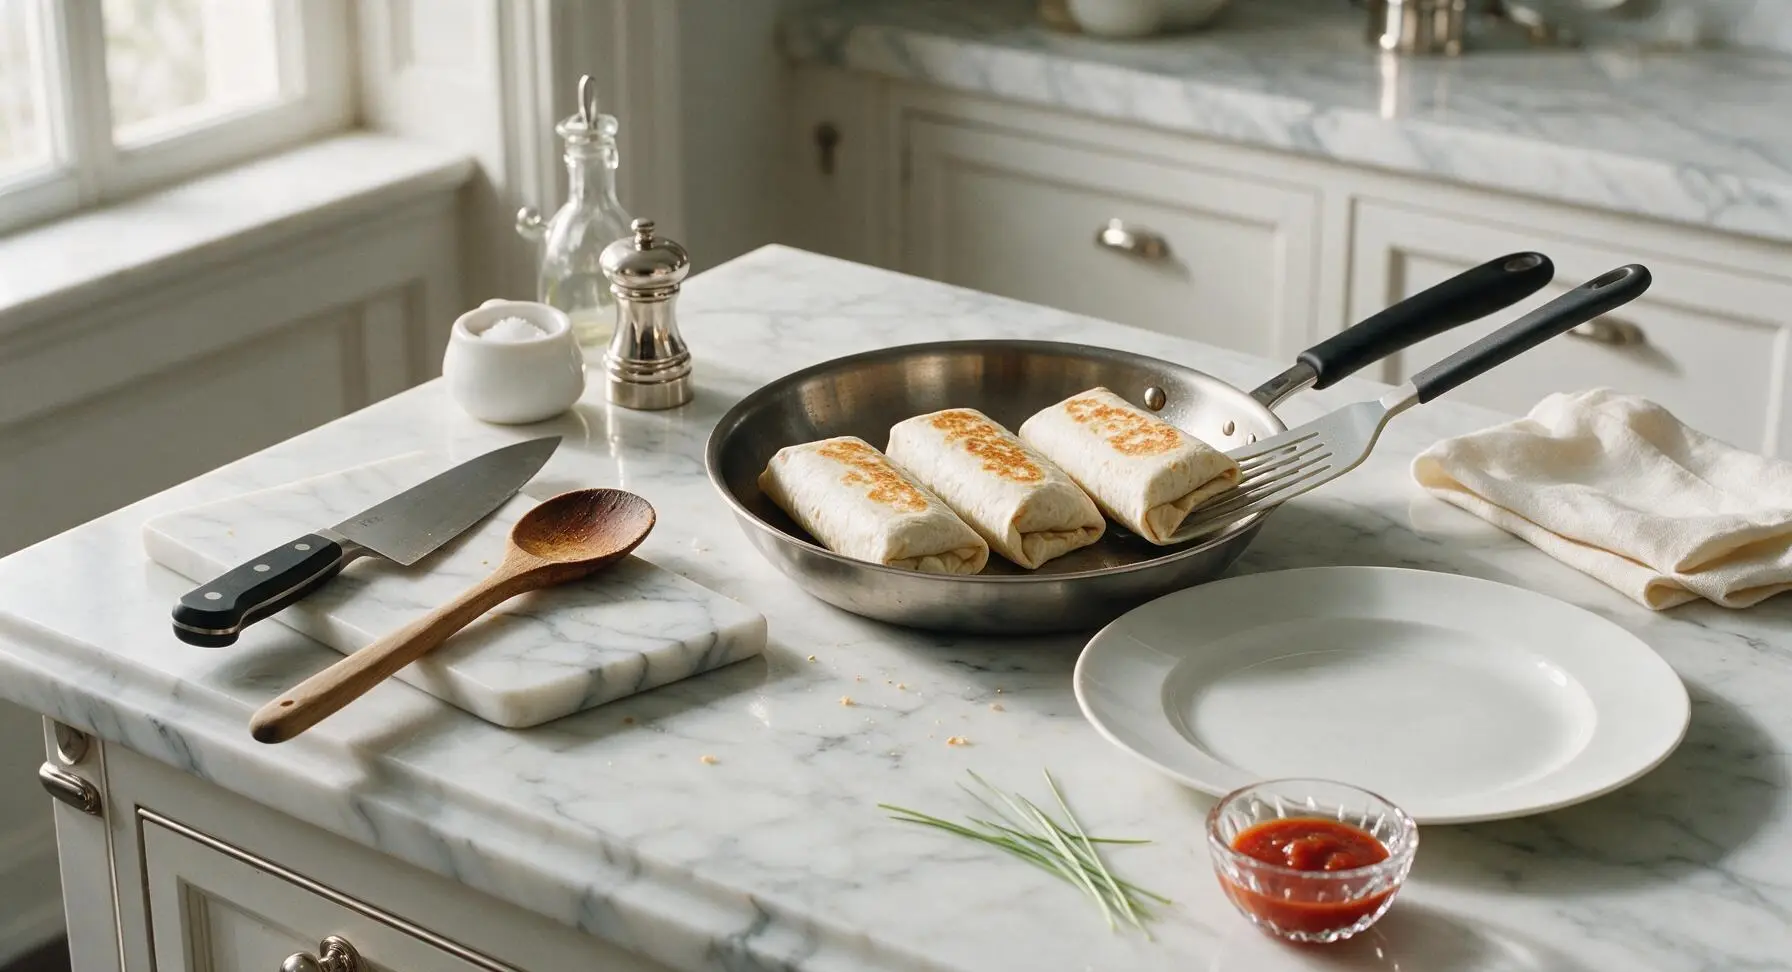
Return the skillet to medium heat (no extra oil needed). Place assembled burritos seam-side down in the dry pan, cook 1 minute per side until tortillas are lightly golden and crisp in spots, which seals the seam and adds crunchy texture. Transfer seared burritos to the fixed cream speckled stoneware dinner plate, cut diagonally in half, and serve with salsa in the terracotta ramekin, sour cream, and a sprinkle of chopped cilantro.
Step 7
step7:Sear and Plate Burritos

Tips

1.Squeeze excess moisture from frozen hash browns with a clean kitchen towel before cooking: this removes excess ice crystal water, ensuring extra crispy hash browns instead of soggy, mushy filling.
2.Avoid overstuffing tortillas: using more than 1 heaping cup of filling per tortilla will cause edges to split during rolling, leading to filling leaking out while searing or eating.
3.Cool fully assembled burritos completely, then wrap tightly in plastic wrap and aluminum foil to freeze for up to 3 months: reheat directly from frozen in a 350°F (175°C) oven for 15 minutes or microwave for 2 minutes for an easy grab-and-go breakfast.


✨ You May Also Like

Breakfast
🍜 United States

Crisp-edged, fluffy lard griddle cakes are a nostalgic homestyle staple, with rich savoriness from rendered lard, perfect topped with maple syrup or savory gravy.

⏱️ 25 minuteBreakfast ★ 4.8
Breakfast
🍜 United States

Flaky, buttery homemade buttermilk biscuits smothered in creamy, peppery pork sausage gravy: a beloved, hearty Southern American comfort food classic.

⏱️ 35 minuteBreakfast ★ 4.8
Breakfast
🍜 United States

Golden, custardy brioche stuffed with sweet cream cheese and fresh berries, pan-fried to crisp perfection. An indulgent, cozy breakfast perfect for slow weekend mornings.

⏱️ 30 minuteBreakfast ★ 4.7
Breakfast
🍜 United States

Flaky, buttery Southern-style biscuits stuffed with savory salty country ham, a portable, satisfying classic perfect for casual on-the-go meals.

⏱️ 25 minuteBreakfast ★ 4.8
Breakfast
🍜 United States

Iconic puffy baked pancake popularized in Seattle, with crisp golden edges and soft custardy center, served warm with classic sweet toppings.

⏱️ 35 minuteBreakfast ★ 4.6
Breakfast
🍜 United States

Fluffy, golden pancakes studded with juicy peak-summer mixed berries, drizzled with maple syrup for a bright, comforting, crowd-pleasing family breakfast.

⏱️ 25 minuteBreakfast ★ 4.7

aldi breakfast burrito:Frequently Asked Questions

1.Are all the ingredients for these breakfast burritos carried at standard Aldi locations? ▾
Absolutely! Every core ingredient is a year-round Aldi staple: their 10-inch flour tortillas, ground pork breakfast sausage, frozen shredded hash browns, large grade A eggs, and shredded sharp cheddar are all stocked in standard grocery sections, no limited-time specialty items required to make the recipe.
2.How do I keep these burritos from getting soggy when I make them for meal prep? ▾
The biggest trick is to let all hot fillings (cooked sausage, hash browns, scrambled eggs) cool completely for 15 to 20 minutes before assembling, and skip watery add-ins like fresh salsa for stored burritos. Wrap each tightly in parchment or plastic wrap, then foil, to lock out excess moisture.
3.Can I swap the pork breakfast sausage for a different protein to fit dietary preferences? ▾
Definitely! Aldi carries great, affordable swaps that work perfectly here: turkey breakfast sausage, meatless soyrizo, crumbled cooked bacon, or seasoned black beans for a vegetarian option. Just cook your protein fully, and drain off excess grease before adding to avoid sogginess.
4.What’s the best way to reheat these burritos from frozen? ▾
For the crispiest, most evenly heated result, remove all plastic and foil wrapping, then wrap the burrito in a damp paper towel. Microwave for 90 seconds, then crisp it in a dry skillet over medium heat for 1 to 2 minutes per side, or air fry at 375°F for 3 minutes until hot all the way through.
5.Do I need to thaw the frozen shredded hash browns before cooking them for the filling? ▾
No need to thaw at all! Cooking hash browns straight from frozen actually gives you crispier, less mushy results. Cook them in a thin layer over medium-high heat in a little oil, flipping once, for 8 to 10 minutes until golden, then drain excess oil on a paper towel before adding to fillings.
6.Can I add extra veggies to these burritos without ruining their texture? ▾
Absolutely! Diced bell peppers, onions, jalapeños, or even fresh spinach work great, just cook them first and drain off any excess moisture. Sauté veggies right after cooking your sausage, using the leftover sausage grease for extra flavor, and let them cool fully before assembling.
7.How long do assembled burritos stay fresh in the fridge for weekly meal prep? ▾
Properly stored in an airtight container or tightly wrapped, assembled burritos will stay fresh in the fridge for up to 4 days. I don’t recommend storing them longer than that, as tortillas will start to turn soggy and the egg filling can develop an off texture even at safe fridge temperatures.
8.What’s the easiest trick to get fluffy, non-rubbery eggs for the filling? ▾
Whisk your eggs with 1 tablespoon of milk or half-and-half per 4 eggs, plus a pinch of salt and pepper, before pouring into a warm nonstick skillet over medium-low heat. Stir slowly with a silicone spatula, pushing soft curds across the pan, until eggs are just set—don’t overcook them.
9.Can I use a different cheese if I don’t have sharp cheddar on hand? ▾
Of course! Aldi has tons of affordable cheese options that pair perfectly here: pepper jack for a little spicy kick, colby jack for a milder, creamier melt, or a pre-shredded Mexican cheese blend work great. Add cheese while fillings are still warm so it melts fully and evenly.
10.How do I fold the burritos so filling doesn’t leak out when I eat them? ▾
Warm your tortillas for 10 seconds in the microwave first to make them pliable, then add fillings in a line down the lower third of the tortilla. Fold the two short sides in over the filling, then roll tightly from the bottom up, tucking the edge under the filling as you go for a leak-proof seal.
11.Is there a way to make these burritos lower-carb? ▾
You can easily cut carbs by swapping the regular 10-inch flour tortillas for Aldi’s low-carb flour tortillas, or their whole wheat tortillas for extra fiber. You can also reduce the hash brown portion and add extra sautéed veggies or scrambled eggs to bulk up the filling without extra refined carbs.
12.Can I cook all the fillings ahead of time to speed up meal prep assembly? ▾
Absolutely! Cook the sausage, hash browns, and scrambled eggs up to 2 days ahead, and store them in separate airtight containers in the fridge. When you’re ready to assemble, warm fillings slightly, let them cool a bit, then wrap your burritos fresh to cut down on total prep time.
13.Do these burritos work well for kids’ breakfasts on busy school mornings? ▾
They’re perfect for busy school mornings! Scale back on spice by using mild sausage and skipping jalapeños, cut burritos in half diagonally for little hands, and reheat in 90 seconds flat. They’re hearty enough to keep kids full through first period, and way cheaper than drive-thru options.
14.Why are my hash browns coming out mushy instead of crispy? ▾
Mushy hash browns usually happen from overcrowding the pan, cooking at too low a temperature, or stirring them too often. Cook frozen hash browns in a single layer (work in batches if your skillet is small) over medium-high heat, only flipping once when the first side is deep golden, for perfect crispness.
15.What quick toppings work well if I’m eating these burritos right away instead of storing them? ▾
If you’re eating fresh, top with a dollop of Aldi’s sour cream, a spoonful of their store-brand salsa, a sprinkle of cilantro, a drizzle of hot sauce, or a side of sliced avocado. Skip adding these toppings before storing, though, since their high moisture content will make stored burritos soggy fast.

Comments (11)

2 hours ago

OMG these are SO good!!! I grabbed all the ingredients on my weekly Aldi run last night and whipped these up for breakfast this morning, total cook time was actually even less than 18 minutes for me? Game changer for weekday meal prep, I wrapped 6 of them up in foil to freeze for busy mornings before work. 10/10 no notes.

30 minutes ago

Wait do they reheat well straight from the freezer? I’ve had other frozen breakfast burritos get all soggy on the inside and I’m hesitant lol

5 minutes ago

Great question! If you wrap them tightly in foil before freezing, they reheat perfectly in the oven at 350F for 20-25 minutes, or 2-3 minutes in the microwave unwrapped if you’re short on time. No sogginess if you let any excess moisture from the fillings cool before wrapping!

yesterday

My kids loved it!!! I picked up all the ingredients on my weekly Aldi trip after work Friday, and I was scrambling to find a quick Saturday morning breakfast that didn’t come out of a box, so I whipped these up. They were perfect! Even my super picky 7 year old who only eats plain toast asked for a second burrito. Will be making these for our next soccer team potluck for sure.

yesterday

That makes our day! So glad the whole family (even the picky eater!) enjoyed them. They’re perfect for potlucks because you can make a big batch ahead and keep them warm in a slow cooker on low if you need to.

5 minutes ago

Super easy to throw together, even when I’m half asleep before my first cup of coffee. I swapped the regular sausage for the spicy Aldi breakfast sausage and added a dollop of their queso, chef’s kiss. Will be in my regular rotation.

3 days ago

Wait this is such a better deal than buying the pre-made frozen Aldi breakfast burritos?! I did the math and making these from scratch costs like 70 cents less per burrito, and they taste way fresher. Absolute win for anyone trying to cut down on grocery costs right now.

2 days ago

Wait did you use the Aldi brand eggs and cheese too? I swear their store brand stuff tastes just as good as name brand for half the price

2 days ago

Yep! All store brand, even the tortillas! The only thing I splurged on was their jarred salsa to put on top, and that’s still way cheaper than name brand alternatives.

1 week ago

Made these before an early morning day hike last weekend, wrapped them in foil and tossed them in my cooler, and they were still warm by the time we got to the trailhead. Perfect portable, filling breakfast that didn’t leave me crashing an hour in like sugary cereal does.

5 days ago

Love that portable hack! So smart to wrap them tight to hold in heat for early trips. Thanks for sharing how you used them!

30 minutes ago

Took me exactly 18 minutes start to finish, no fancy skills needed. I used all Aldi ingredients I already had on hand, plus some diced bell peppers I had leftover in the fridge to bulk them up a little, and it worked perfectly. Easy peasy. Only knocked off a star because I wish I’d added a little more salt, but that’s totally my own fault for forgetting to season the eggs while they cooked!

2 weeks ago

Made these for my friend brunch last weekend and everyone was asking for the recipe!!! I grabbed all the fillings from Aldi for way less than I expected, set up a little topping bar with sour cream, salsa, guac, and hot sauce so people could customize theirs, and it was such a hit. Way less work than making individual omelets or pancakes for a crowd.

1 week ago

Wait the topping bar idea is genius! I’m hosting brunch next month and I’ve been stressing about what to make that won’t have me stuck in the kitchen the whole time, this is perfect

1 week ago

The topping bar is such a fun call! It takes all the pressure off the cook and lets people make their burrito exactly how they like it. So glad your brunch was a hit!

5 days ago

These are good, but I recommend adding a couple spoonfuls of Aldi’s diced green chiles and a sprinkle of their taco seasoning to the egg mix for an extra kick. Game. Changer. I’ll never make plain breakfast burritos again.

3 days ago

Oh my god I have those green chiles in my pantry right now! I’m definitely trying that hack next time I make these, thanks for the tip!

2 days ago

So cheap and easy to make in my tiny dorm kitchen! I grabbed all the ingredients on my last Aldi run, and I don’t even have a full stove, just a little hot plate, and these came out perfect. Way better than spending $10 on a breakfast sandwich from the campus cafe every morning.

just now

I grabbed all the fixings from Aldi on my way home from work to make these, and I was a dummy and overstuffed the first two burritos so all the filling spilled out when I tried to fold them. Once I scaled back the portions a little they turned out perfect. Pro tip: don’t be like me, less is more when you’re folding these up! Still taste amazing even if the first ones looked like a hot mess.

just now

We’ve all been there! It’s so tempting to pack as much filling as possible, but leaving about an inch of space around the edges of the tortilla makes folding so much easier. Happy you stuck with it and they turned out tasty!

1 week ago

Wait why didn’t I think of making these earlier? I grabbed all the ingredients from Aldi for super cheap, and I’ve been blowing so much money on fast food breakfast on my way to work because I never have time to cook in the morning. I made a big batch on Sunday, froze them, and now I just grab one on my way out the door. Saved me like $30 already this week lmao

5 days ago

Same! I used to hit the drive thru every single morning and I was shocked how much money I was wasting once I added it up. These taste way better than any fast food breakfast burrito too

3 days ago

That’s what we love to hear! Meal prep wins like this make busy weekdays so much less stressful, and saving money is an awesome bonus. So glad these are working out for your routine!



