1.Why do my almond thins turn out chewy instead of shatteringly crisp?
▾
Chewy thins almost always stem from underbaking, spreading batter too thick, or trapping moisture while cooling. Spread each batter dollop paper-thin, bake until edges are deep golden, and let thins cool fully on a wire rack in a dry space before storing. Hold off on sealing them in an airtight container until they reach complete room temperature to avoid sogginess.
2.Can I use unblanched sliced almonds instead of blanched for this recipe?
▾
You absolutely can, just note the flavor and appearance will shift slightly! Unblanched almonds have a deeper, earthier note from their papery brown skin, and the thins will have a speckled, less uniform golden look. Keep a close eye on them while baking, as the almond skin can brown a bit faster than smooth blanched slices.
3.Do I need a silicone baking mat for these, or will parchment paper work?
▾
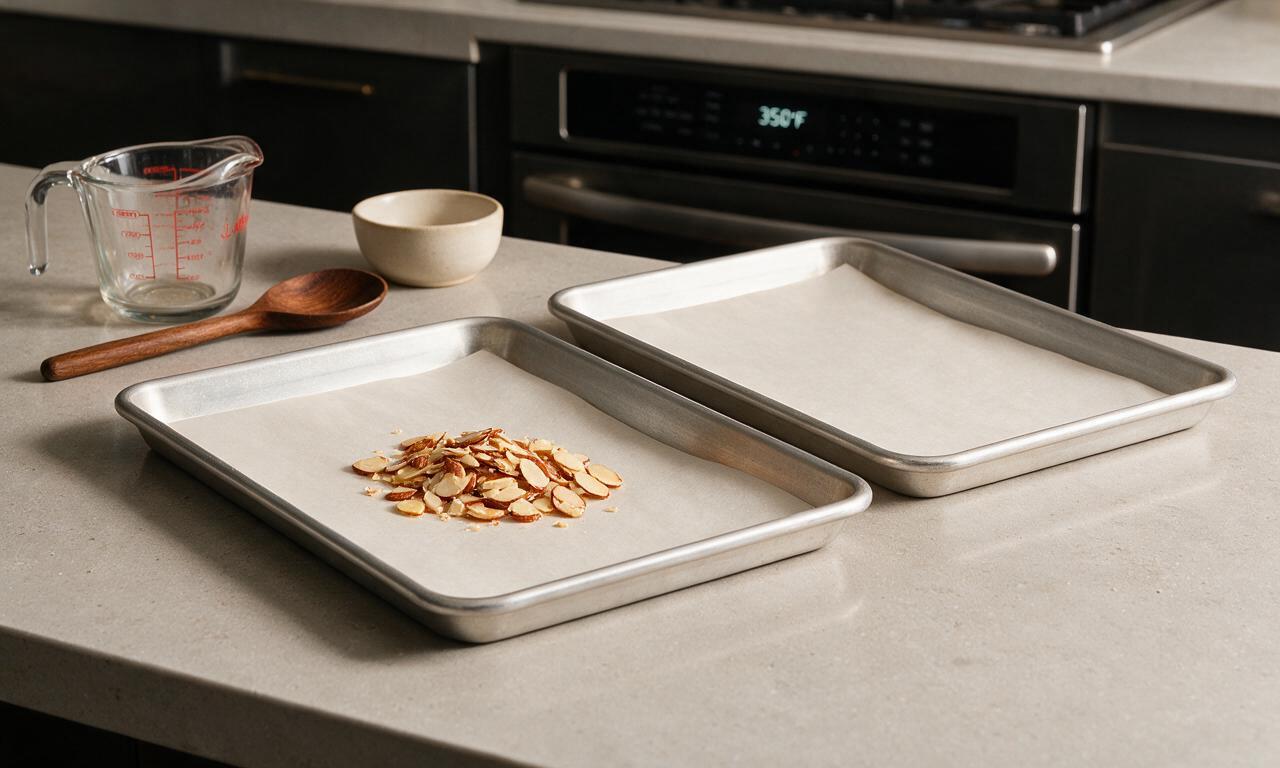
Parchment paper works perfectly well—you don’t need a special silicone mat! The key is to use a flat, unwarped baking sheet so the batter spreads evenly. If you’re using extra-thin, budget parchment, give it a light spritz of nonstick spray to prevent sticking as the butter melts and caramelizes during baking.
4.Can I make these without egg white for an egg-free version?
▾
The large egg white acts as a light, delicate binder that holds the thin almond and flour mixture together without making it dense, so skipping it entirely won’t work. For an easy egg-free swap, use 3 tablespoons of lightly frothed aquafaba (canned chickpea liquid) in place of the egg white for the same crisp texture.
5.How thin should I spread the batter to get that perfect crisp texture?
▾
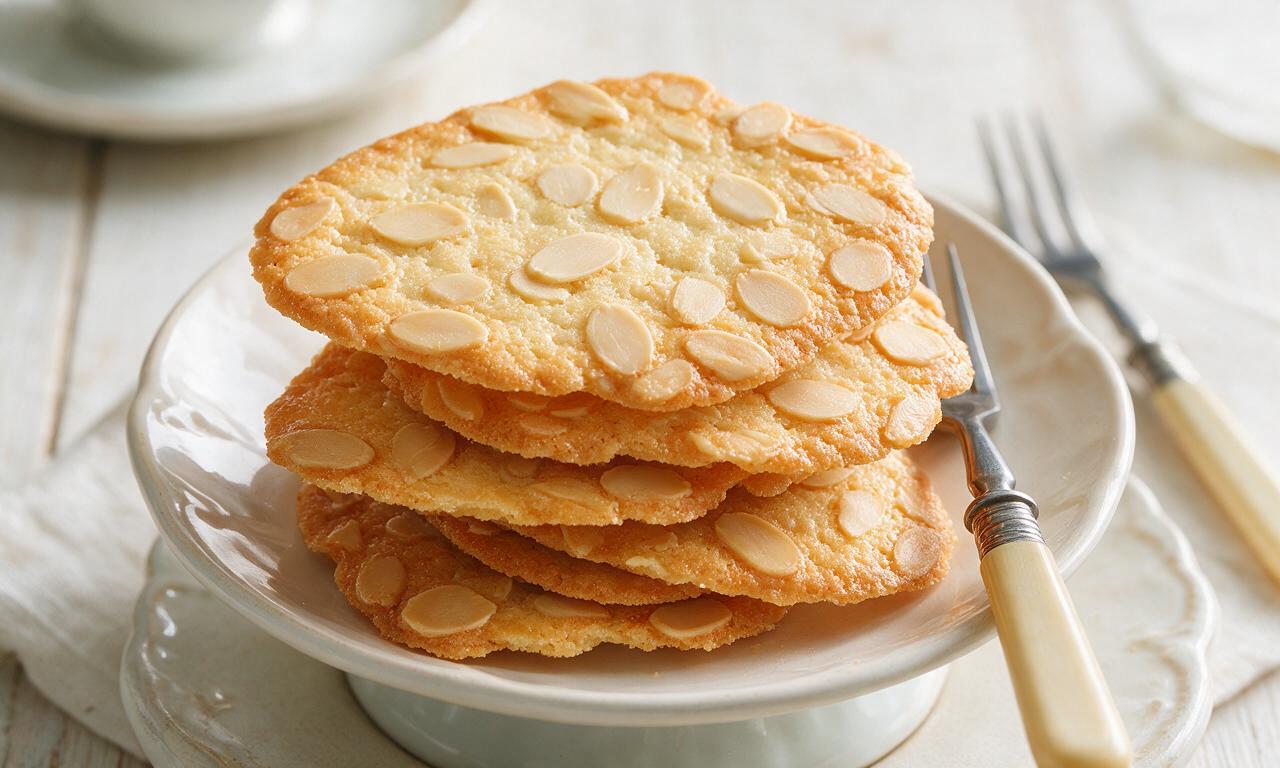
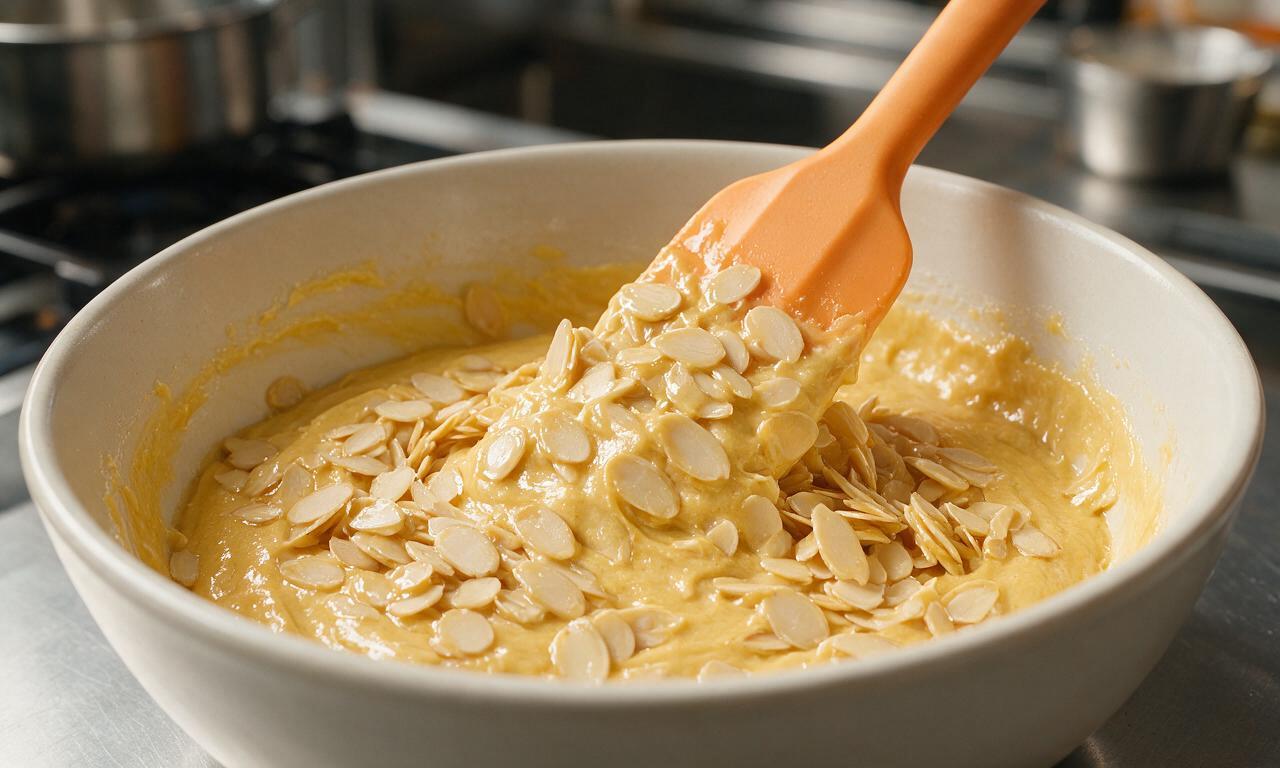
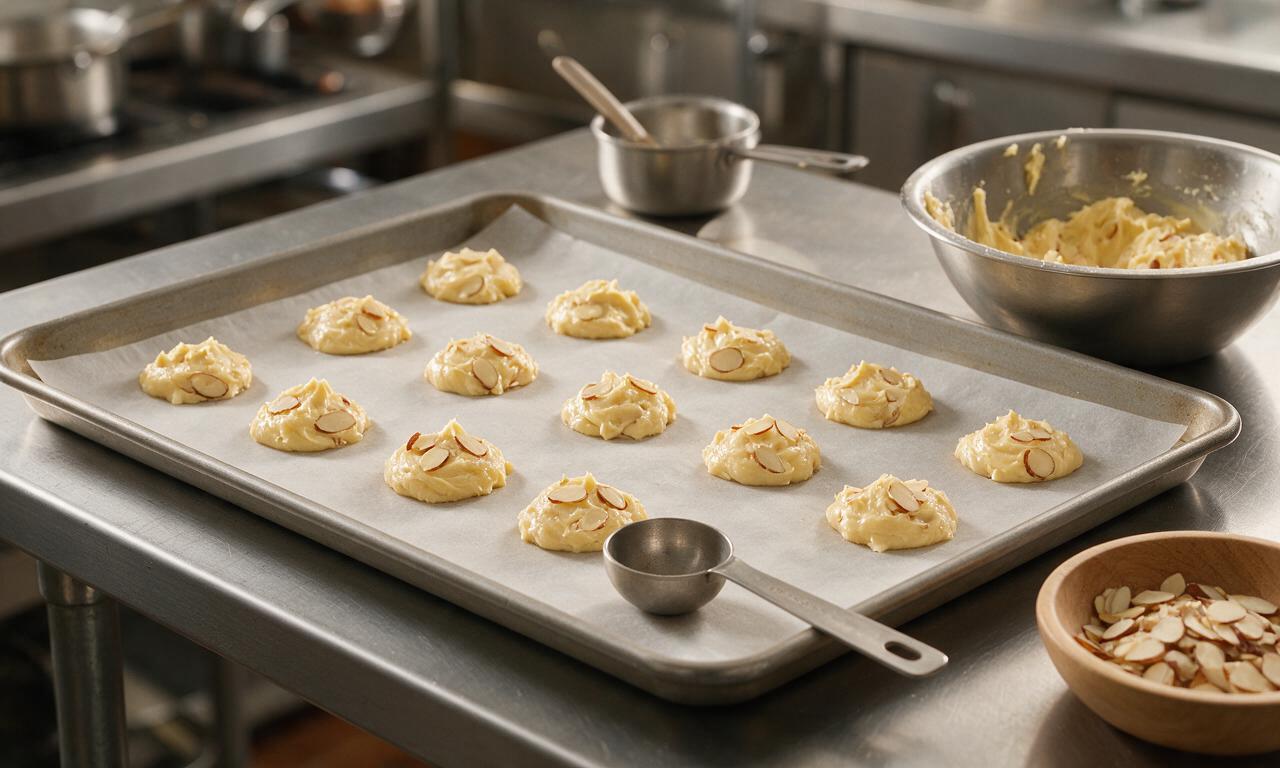
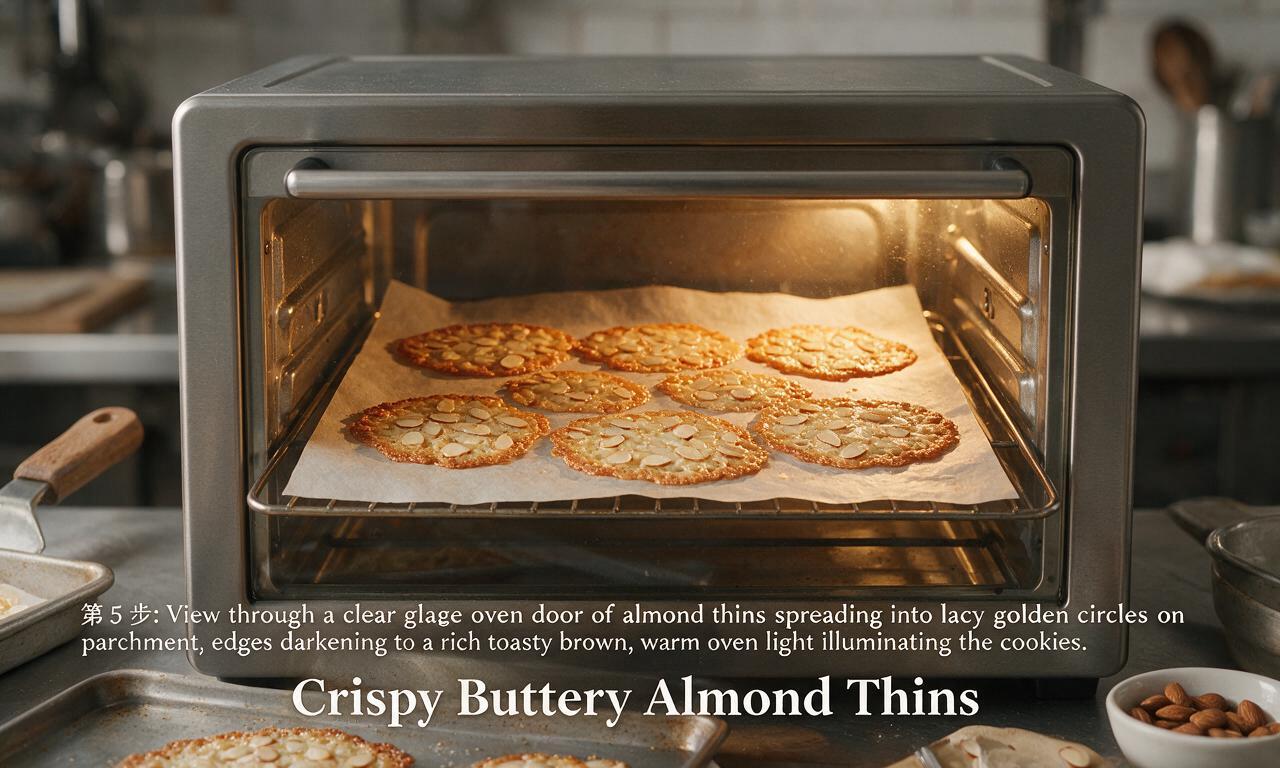
Aim for each portion of batter to spread to about 1/8 of an inch thick, with almonds arranged in a single, even layer with no thick clumps. If batter is too thick, the center will stay soft and cakey instead of crisping. Small gaps between almonds are totally fine—they’ll fill in as butter and sugar melt in the oven.
6.Why did my almond thins spread into one big connected sheet on the pan?
▾
That happens when your batter portions are too close together, or your butter is too warm when you mix the batter. Leave at least 3 inches of space between each dollop, as melted butter and sugar will spread significantly as they bake. If your kitchen is very warm, chill portioned batter on the pan for 10 minutes before baking.
7.How long do these thins stay fresh, and what’s the best way to store them?
▾
When stored correctly, these thins stay perfectly crisp for up to 10 days. Let them cool completely first, then tuck them into an airtight container with parchment between layers to prevent sticking, and keep them in a cool, dry cabinet away from steam or sunlight. Skip the fridge, as condensation will make them go soggy fast.
8.Can I add extra flavorings like vanilla or almond extract to the batter?
▾
Absolutely! A 1/4 teaspoon of pure almond extract or 1/2 teaspoon of pure vanilla extract pairs beautifully with the toasty nut and buttery flavor. Just don’t add more than that—too much extra liquid will throw off the delicate batter ratio and keep the thins from crisping up properly. A pinch of flaky salt on top is also lovely.
9.My almonds keep burning before the cookie is fully crisp—what am I doing wrong?
▾
That’s usually a sign your oven is running too hot, or you’re baking too close to the top heating element. Calibrate your oven with an inexpensive oven thermometer to confirm the actual temperature, and bake on the middle rack. If almonds brown too fast, tent the pan with loose foil for the last 2 to 3 minutes of baking.
10.Can I use salted butter instead of unsalted butter in this recipe?
▾
You can, just adjust the recipe to account for added salt. If using standard salted butter, skip any extra pinch of salt you might mix into the batter. Keep in mind different salted butter brands have wildly varying salt levels—for the most balanced, customizable buttery flavor, unsalted butter is always my top pick for these delicate cookies.
11.Can I freeze these almond thins to enjoy later?
▾
You sure can! Once they’re fully cooled, stack them between sheets of parchment paper in a freezer-safe airtight container, and freeze for up to 3 months. When ready to serve, let them come to room temperature on the counter for 15 minutes—no reheating needed, they’ll crisp right back up if you crack the lid to release condensation.
12.What are the best ways to serve these buttery almond thins?
▾
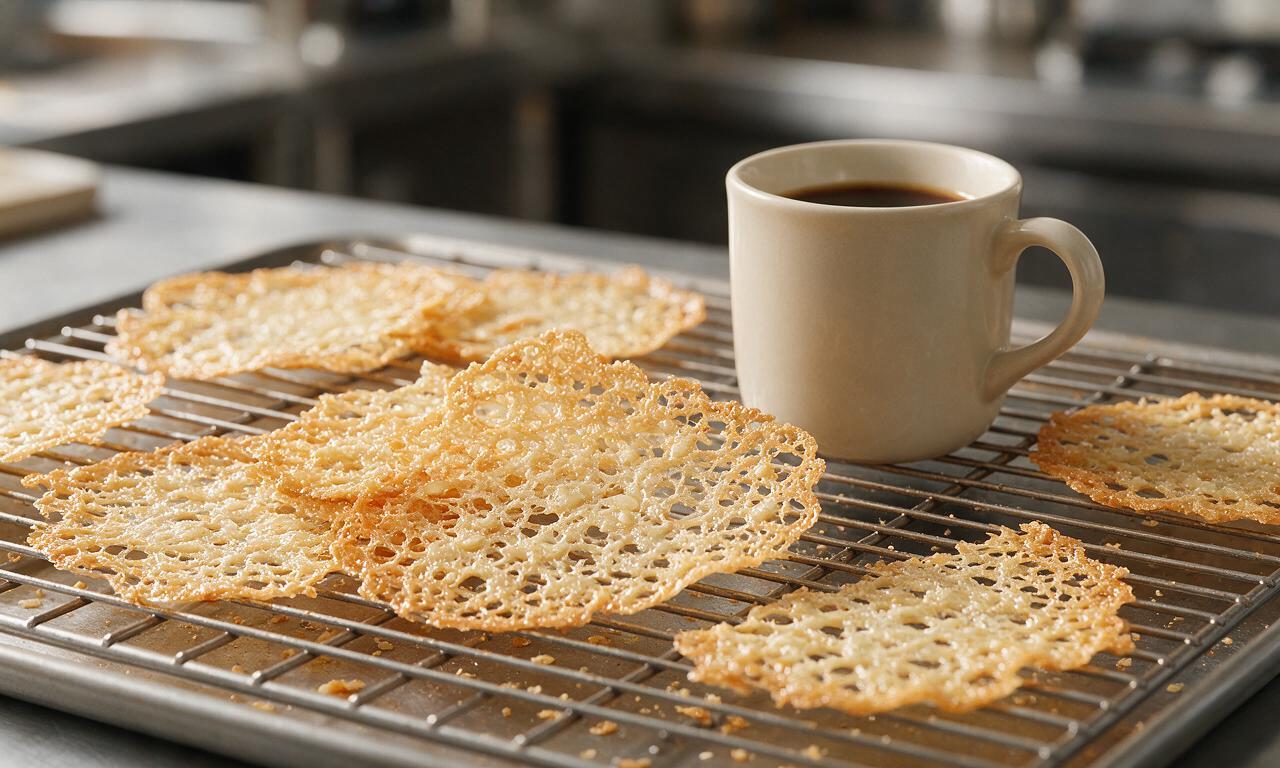
These shatteringly crisp thins are incredibly versatile! They’re a natural fit for holiday cookie platters, pair beautifully with black coffee or Earl Grey tea for a midday treat, and make a great crunchy garnish for vanilla ice cream, panna cotta, or lemon curd. They also work wonderfully alongside soft, creamy brie on a cheese board.
13.Can I use a different type of nut instead of sliced almonds?
▾
You can swap in other thin-sliced nuts for a different flavor—thinly sliced pecans, hazelnuts, or pistachios all work beautifully! Just make sure nuts are sliced thin (not whole or roughly chopped) so they lay flat in the thin batter, and adjust bake time by a minute or two since different nuts toast at slightly different rates.
14.Do I need to toast the almonds before mixing them into the batter?
▾
You don’t have to! The thin almond slices will toast perfectly as the cookies bake, developing that warm, nutty flavor without an extra prep step. If you want an extra-deep toasty note, you can toast slices on a dry pan for 3 to 4 minutes at 350°F first—just let them cool fully so they don’t melt the butter early.
15.Why are my almond thins sticking to the pan even when I use parchment paper?
▾
Sticking usually happens when you try to lift thins too early before they set, or if you’re using low-quality parchment without a nonstick coating. Let thins cool on the baking sheet for 2 full minutes after coming out of the oven—they’ll firm up as they cool, making them easy to lift with a thin, flexible spatula.
16.Can I adjust this recipe to make gluten-free almond thins?
▾
Absolutely! Swap the all-purpose flour for a finely milled 1:1 gluten-free all-purpose baking blend that contains xanthan gum for structure. Skip blends with added baking powder or baking soda, as leavening will make the thins puff up instead of staying thin, flat, and shatteringly crisp like the classic version.
17.Can I dip these thins in chocolate for a fancier, more indulgent treat?
▾
That’s one of my all-time favorite upgrades! Let the baked thins cool completely, then dip half of each thin in melted dark, milk, or white chocolate, and set them on a wire rack until the chocolate hardens. A light sprinkle of flaky sea salt or extra toasted almond crumbs over wet chocolate makes them feel extra special for gifting.
18.My home oven has noticeable hot spots—how do I get evenly baked thins?
▾
Hot spots are extremely common in home ovens, so don’t stress! Start with a small test batch of 2 to 3 thins to nail your exact bake time, then rotate your baking sheet 180 degrees halfway through baking to account for uneven heat. Stick to baking one sheet at a time on the middle rack for the most consistent results.







OMG these almond thins are a total game changer! I whipped them up for my kid’s soccer team snack this weekend and every single parent asked for the recipe. They’re so buttery and crispy, I couldn’t stop sneaking bites before I even packed them up. Can’t believe how easy they were too, total cook time was exactly what the recipe said no guesswork!
Tried these last night for my wife’s book club and they were a hit! I was worried they’d spread too much in the oven because I’ve had bad luck with thin cookies before, but they came out perfectly crisp, no burnt edges, just that perfect buttery almond taste. Only note: I used sliced almonds with the skins on and it added a great nutty depth.
Wait a second – is there a way to make these gluten free? My youngest has celiac and I’ve been hunting for a crispy, buttery cookie recipe that doesn’t taste like weird cardboard GF flours. These look exactly like the almond thins my grandma used to make back when we could eat regular flour!
Made these in my tiny dorm oven last night and they were insane! I didn’t even have a fancy baking sheet, just a beat up old pan I got from the campus thrift store, and they still turned out crispy and perfect. Way better than the sad vending machine cookies I usually live off of during midterms.
Brought these to our neighborhood potluck on Sunday and they were gone in 10 minutes flat! I’ve been the potluck coordinator for 6 years and I can always tell which recipes are keepers by how fast the plate is empty. Only change I made was adding a tiny drizzle of white chocolate on half the batch for the folks who love a little extra sweetness.
My kids are OBSESSED with these. I’ve made them three times in the last two weeks, they beg for them in their lunch boxes every day. I love that they don’t have a ton of weird processed ingredients, and they’re quick enough to throw together after work before dinner.
First time making any kind of cookie from scratch and these came out perfect! I was so nervous I’d mess them up but the steps were super straightforward, no weird techniques or fancy tools needed. They’re so crispy and buttery, I already ate a quarter of the batch while watching the game last night.
These are the perfect little sweet treat to have with my afternoon coffee! I’ve been trying to cut back on super sugary desserts and these hit the spot without being cloyingly sweet. The almond flavor is so rich, I love that they’re thin and crispy so I don’t feel like I’m eating a huge heavy cookie.
SO good. I added a little extra almond extract because I’m obsessed with that flavor and they tasted exactly like the fancy almond thins they sell at the Italian bakery by my apartment for a fraction of the price. Will be making these every weekend from now on.
These remind me so much of the butter cookies my mother used to make when I was little. The texture is perfect – crisp all the way through, not chewy, just that melt-in-your-mouth buttery taste with the crunch of almonds. I shared a tin with my bridge club and everyone asked for the recipe.
Meal prepped these for the week to have as quick snacks and they’re holding up so great! I stored them in an airtight container and they’re just as crispy on day 4 as they were when I pulled them out of the oven. Way better than store bought cookies that are full of preservatives. 10/10.