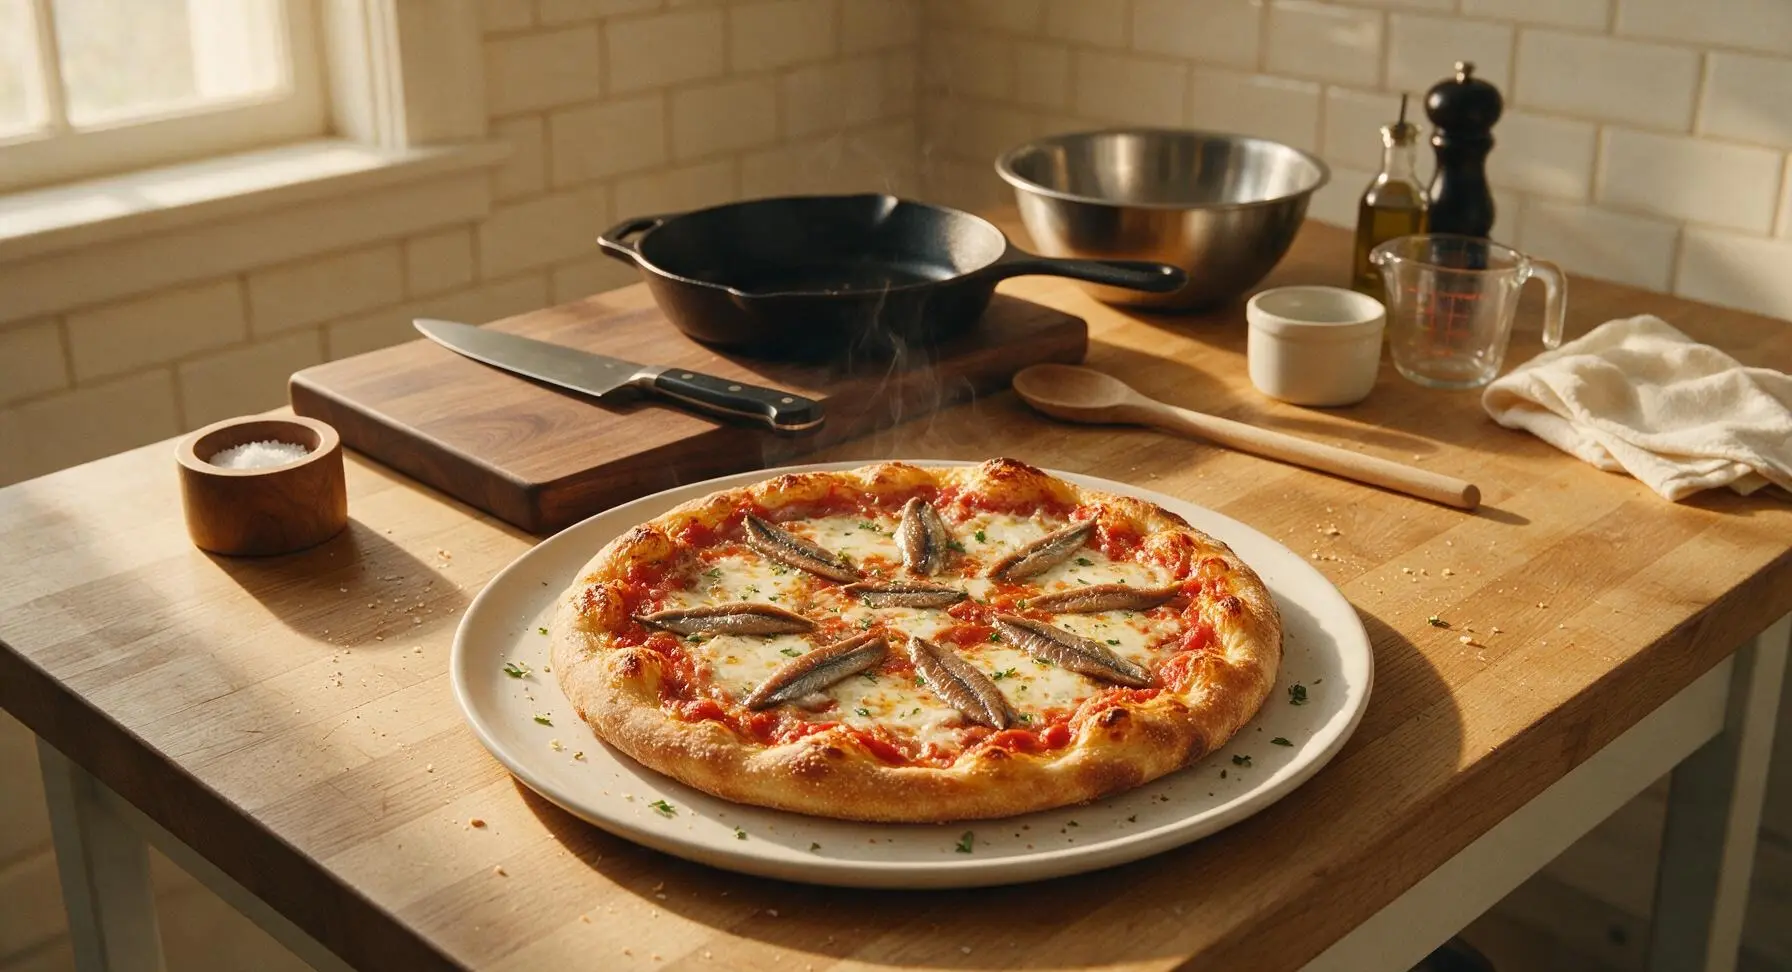
Anchovy Pizza

title 1
Anchovy Pizza
⏱️ cook time 12 minutes
🍽️ servings 4
⚡ Difficulty medium

intro

Bold, briny anchovies star in this classic Italian-American pizza, paired with melted mozzarella, bright tomato, and crispy, bubbled crust for an umami-packed, satisfying dinner.

Ingredients
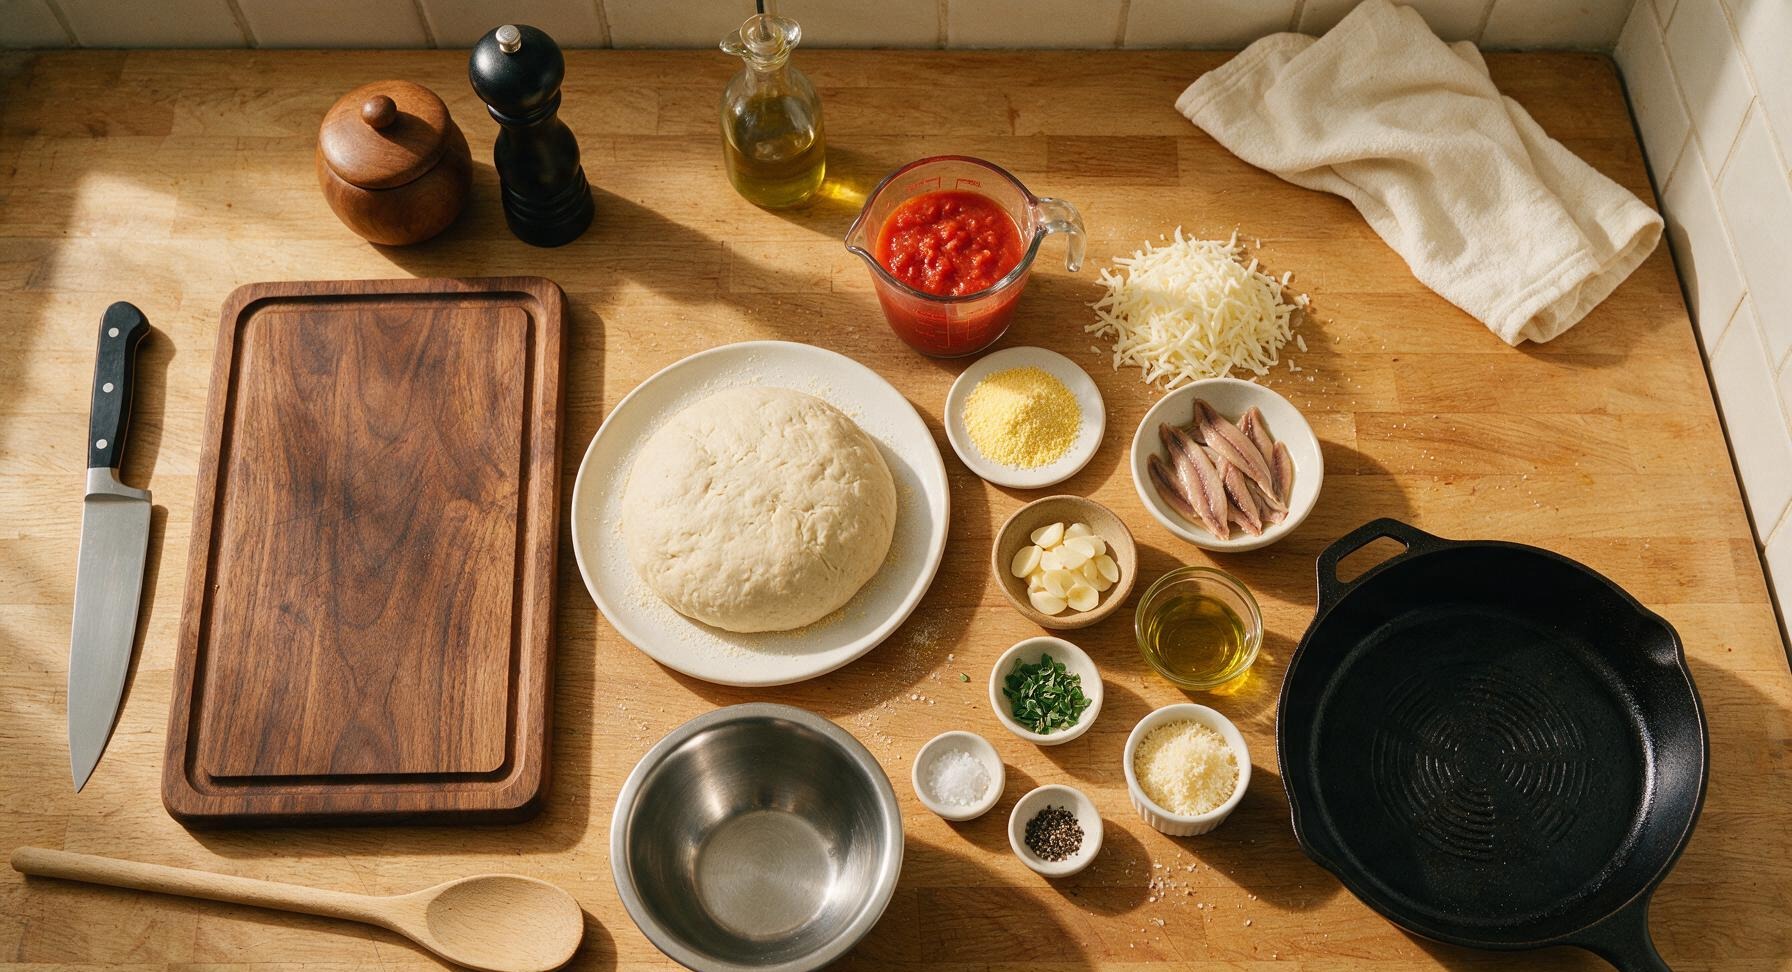
Rested pizza dough (room temperature) 1 lb (450g)
Fine semolina flour 2 tbsp
Crushed San Marzano tomatoes (drained) 1 cup (240ml)
Low-moisture mozzarella cheese (shredded, patted dry) 8 oz (225g)
Oil-packed anchovy fillets (drained, blotted) 2 oz (55g)
Garlic cloves (thinly sliced) 3 large
Extra virgin olive oil 2 tbsp
Fresh oregano leaves 1 tbsp, chopped
Finely grated parmesan cheese 2 tbsp
Flaky sea salt 1/4 tsp
Freshly cracked black pepper 1/4 tsp

Steps

1

Preheat Pizza Stone

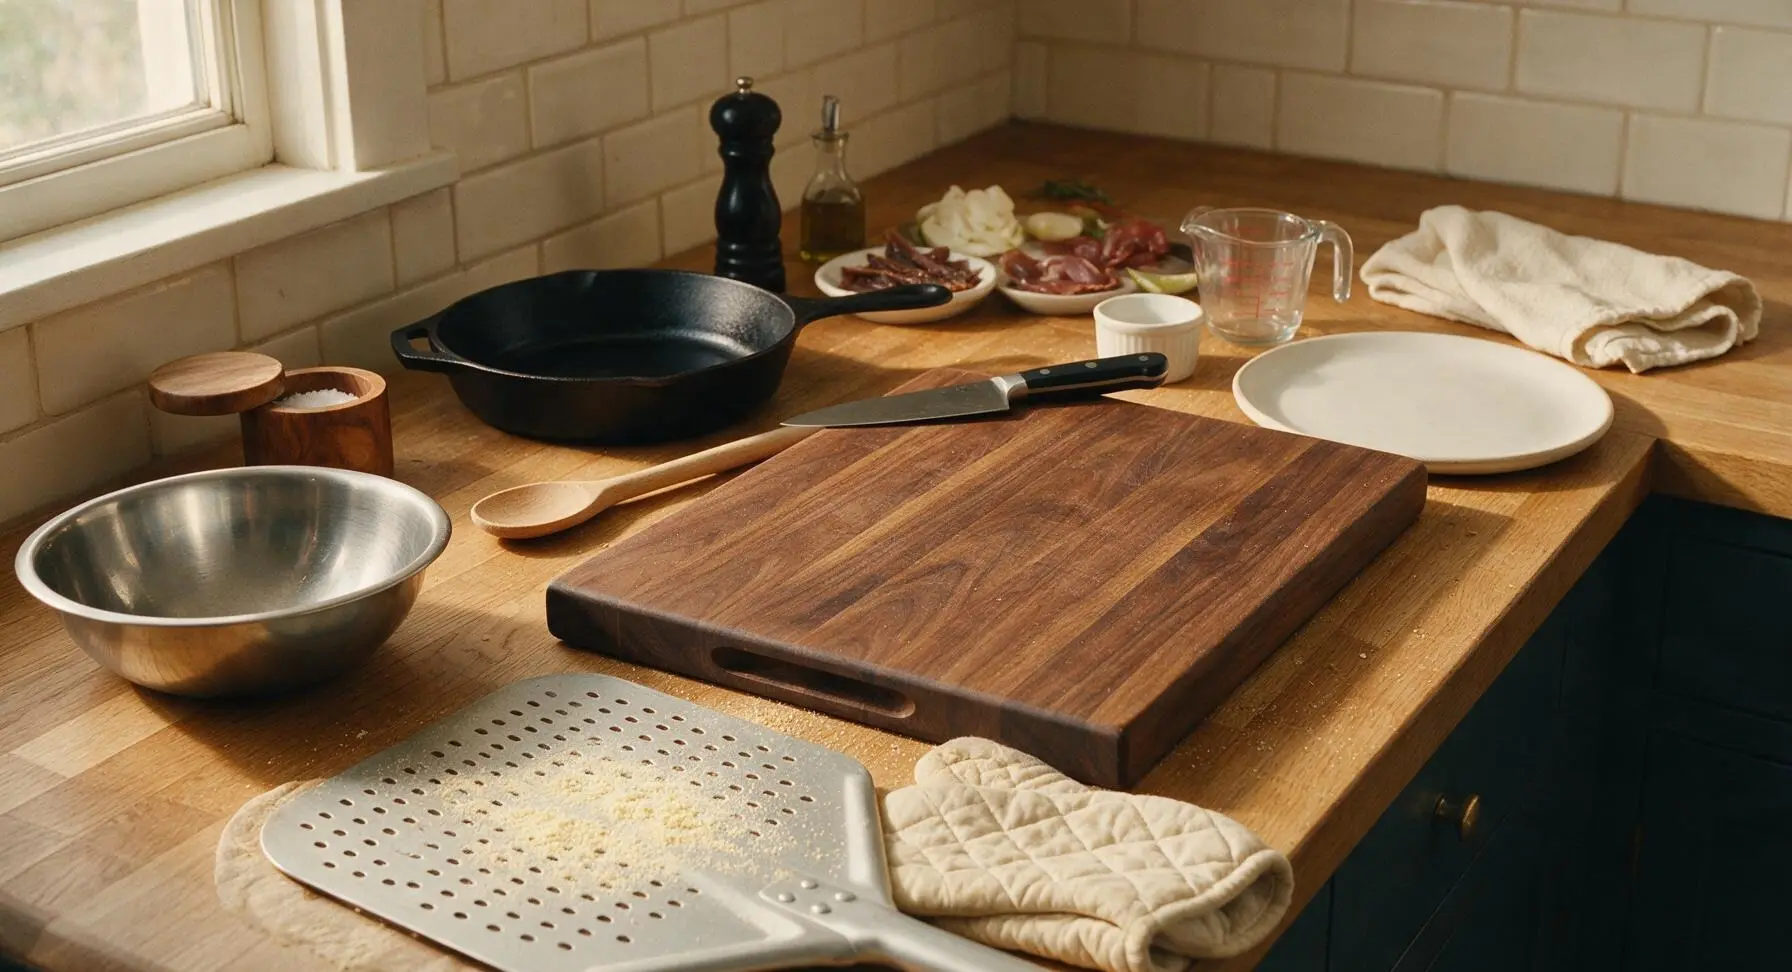
Place the cordierite pizza stone on the middle rack of your oven, then preheat oven to 500°F (260°C) for a full 30 minutes before baking—this high, sustained heat creates the crispy, blistered crust characteristic of great pizzeria pizza, rather than a soft, soggy base. While the oven preheats, lightly dust the 14-inch perforated aluminum pizza peel with 1.5 tablespoons of fine semolina flour to prevent sticking, and set the peel on the counter within easy reach.
Step 1
step1:Preheat Pizza Stone
2

Stretch Dough to Size

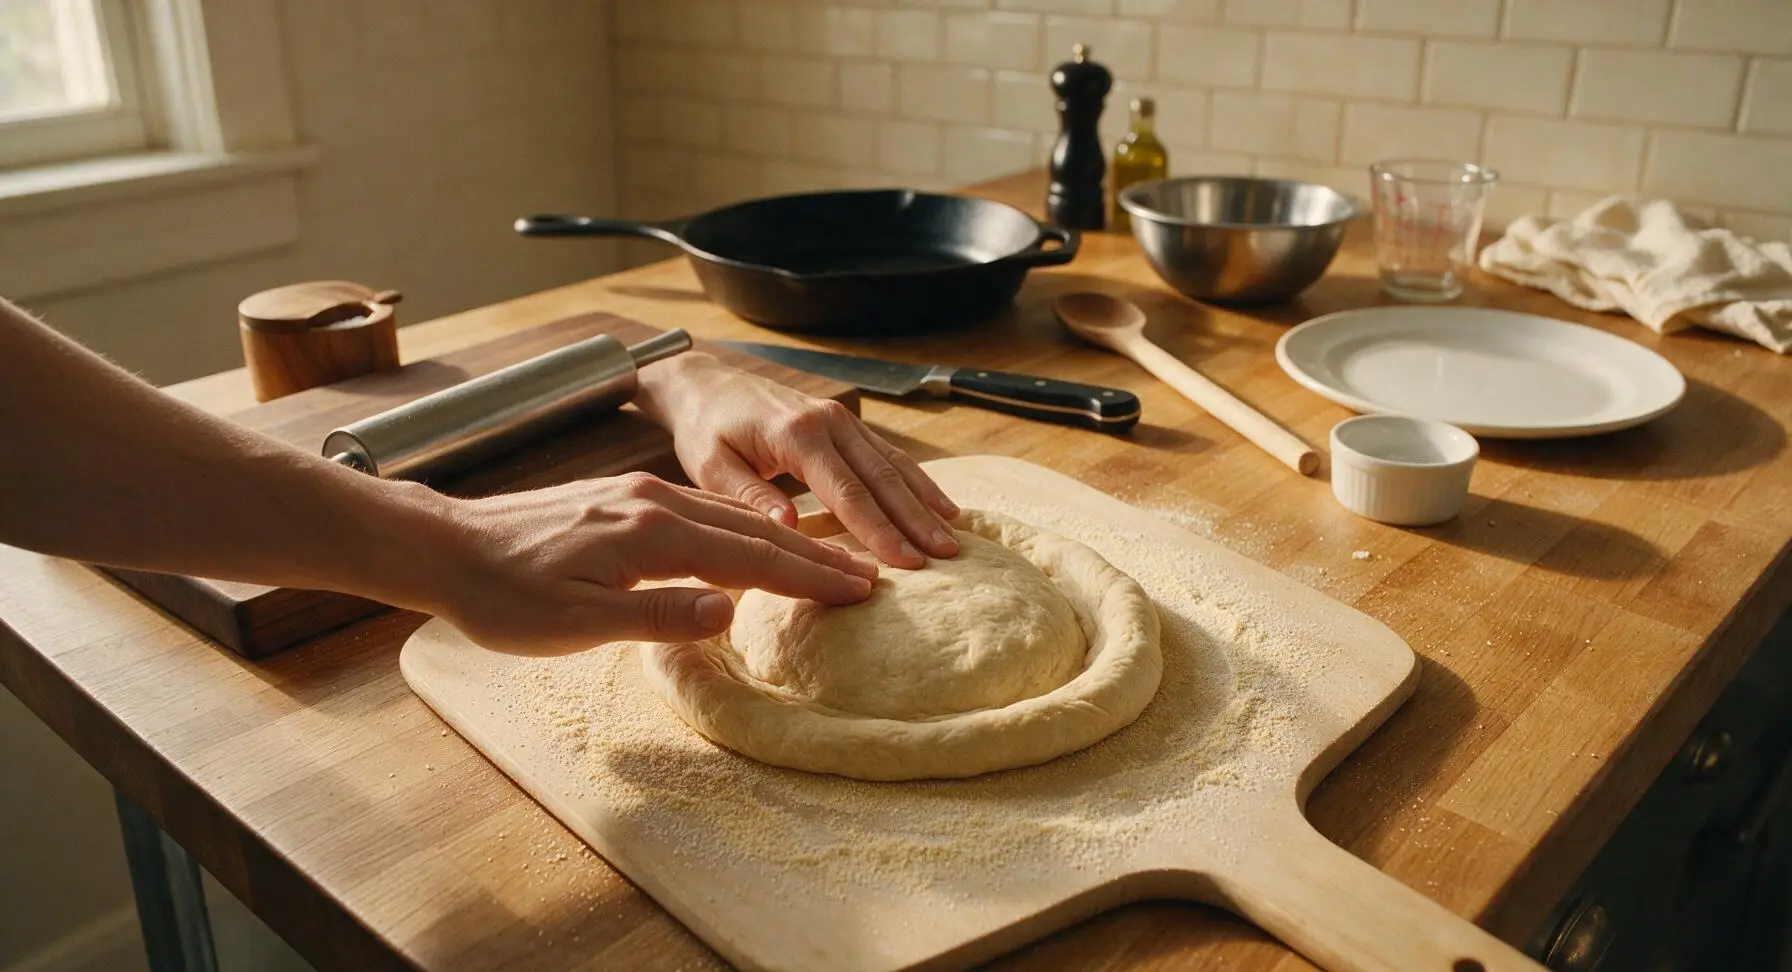
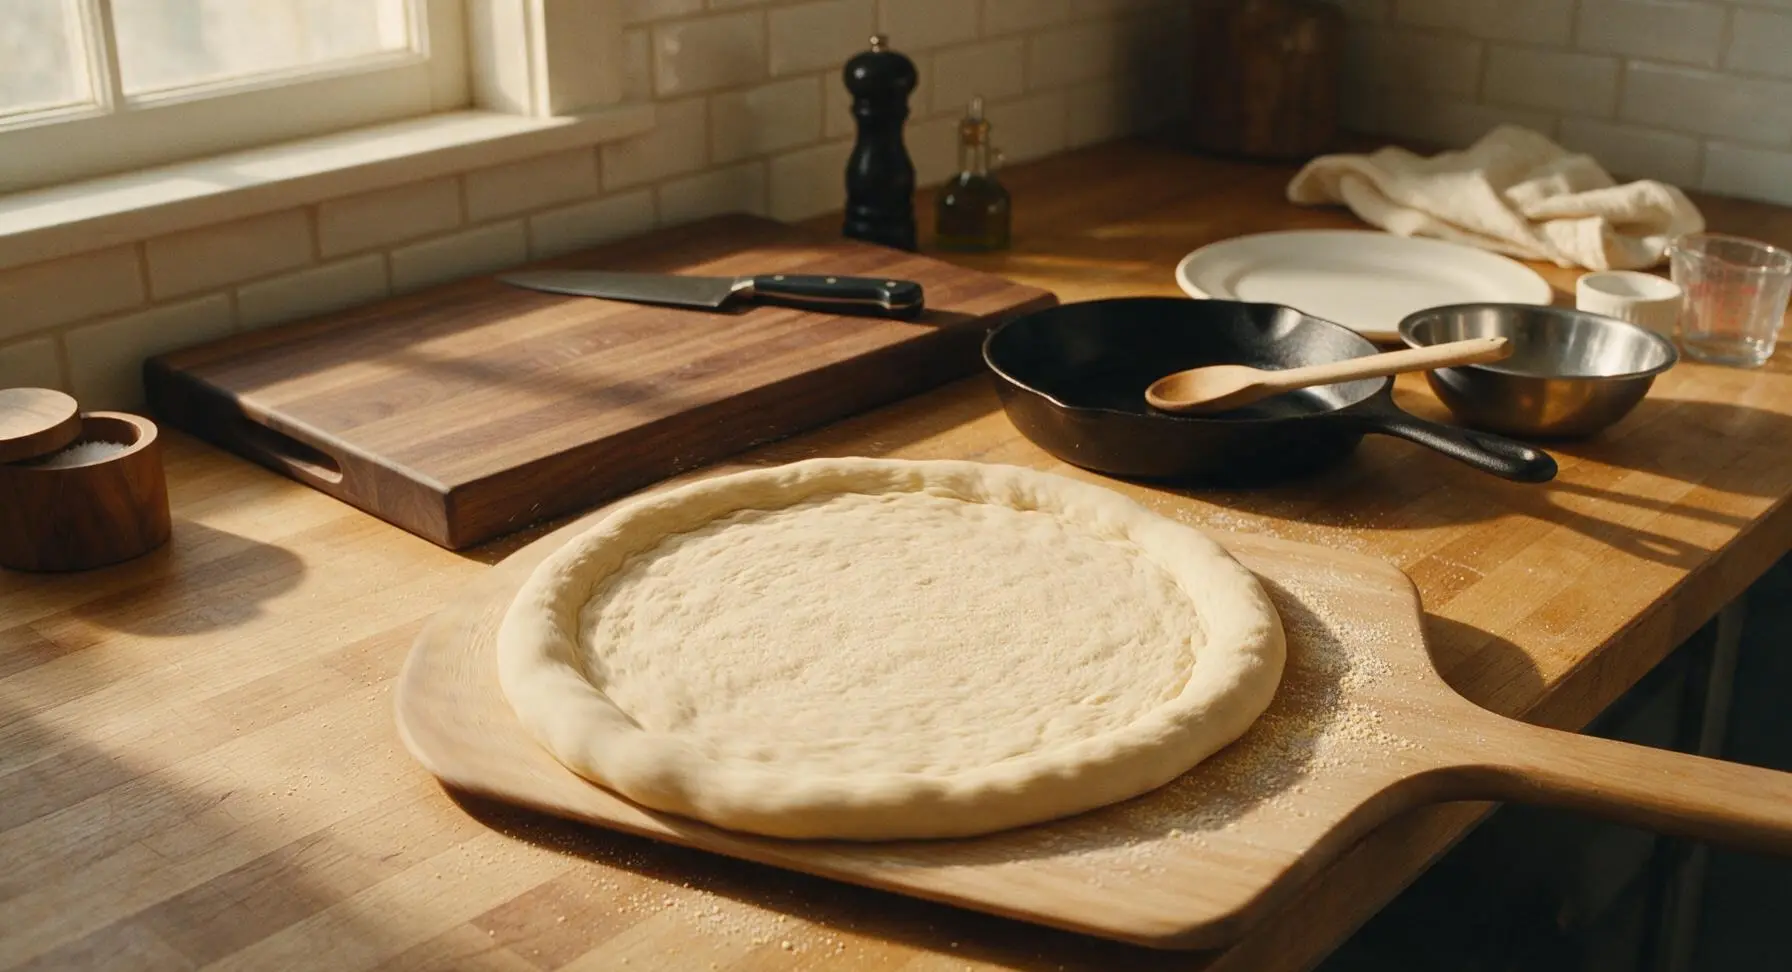
Set the room-temperature 1lb pizza dough ball on the center of the semolina-dusted pizza peel. Gently press the dough outward from the center with your fingertips, leaving a 1-inch thicker border to form the puffed crust edge. Stretch the dough slowly into an even 14-inch round, lifting and rotating it as you go to avoid tearing; use the stainless steel rolling pin lightly only if needed to achieve a consistent 1/4-inch thickness across the center. Give the peel a gentle, quick shake back and forth to confirm the dough slides freely without sticking—add a pinch more semolina under any spots that catch.
Step 2
step2:Stretch Dough to Size
Step 2
step2:Stretch Dough to Size
3

Mix Quick Tomato Sauce

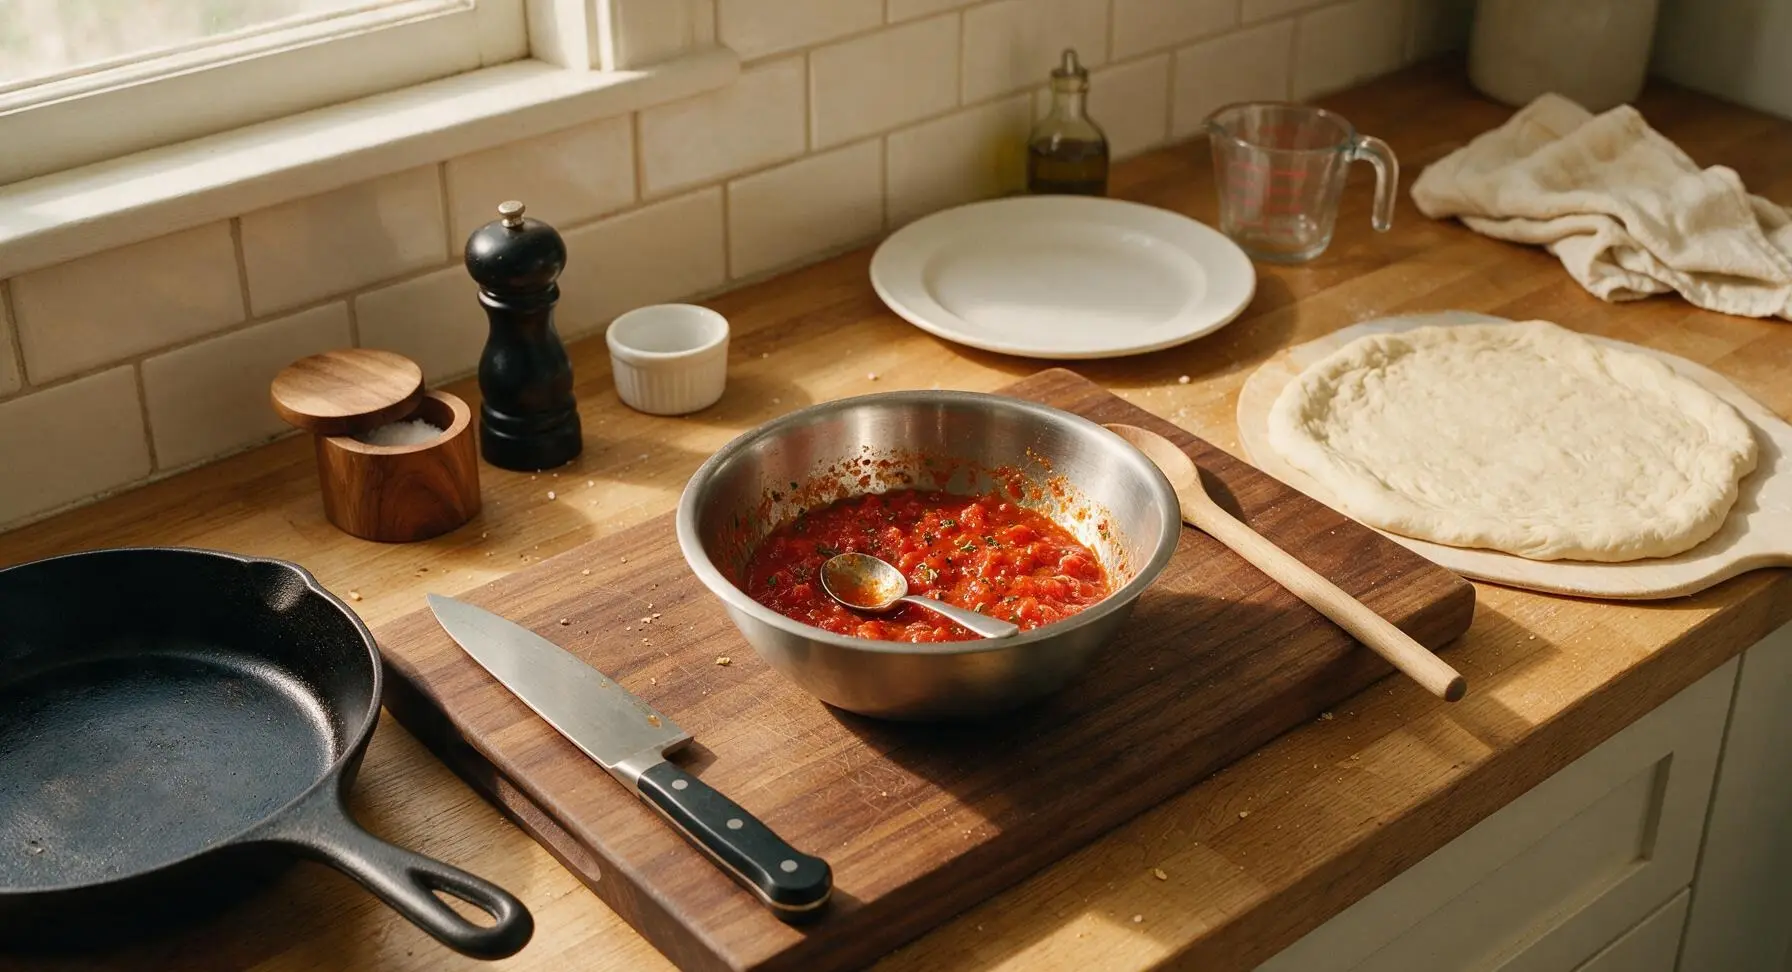
Add the 1 cup of drained crushed San Marzano tomatoes to the medium brushed stainless steel mixing bowl. Stir in 1 tablespoon of extra virgin olive oil, 1/4 teaspoon freshly cracked black pepper, and half of the chopped fresh oregano. Hold off on adding salt at this stage: the anchovy fillets will release rich, briny salt as they bake, and over-salting the sauce will make the final pizza too salty. Mix gently with the small stainless steel sauce spoon until just combined, leaving the sauce slightly chunky rather than fully smooth for better texture.
Step 3
step3:Mix Quick Tomato Sauce
4

Spread Sauce and Cheese

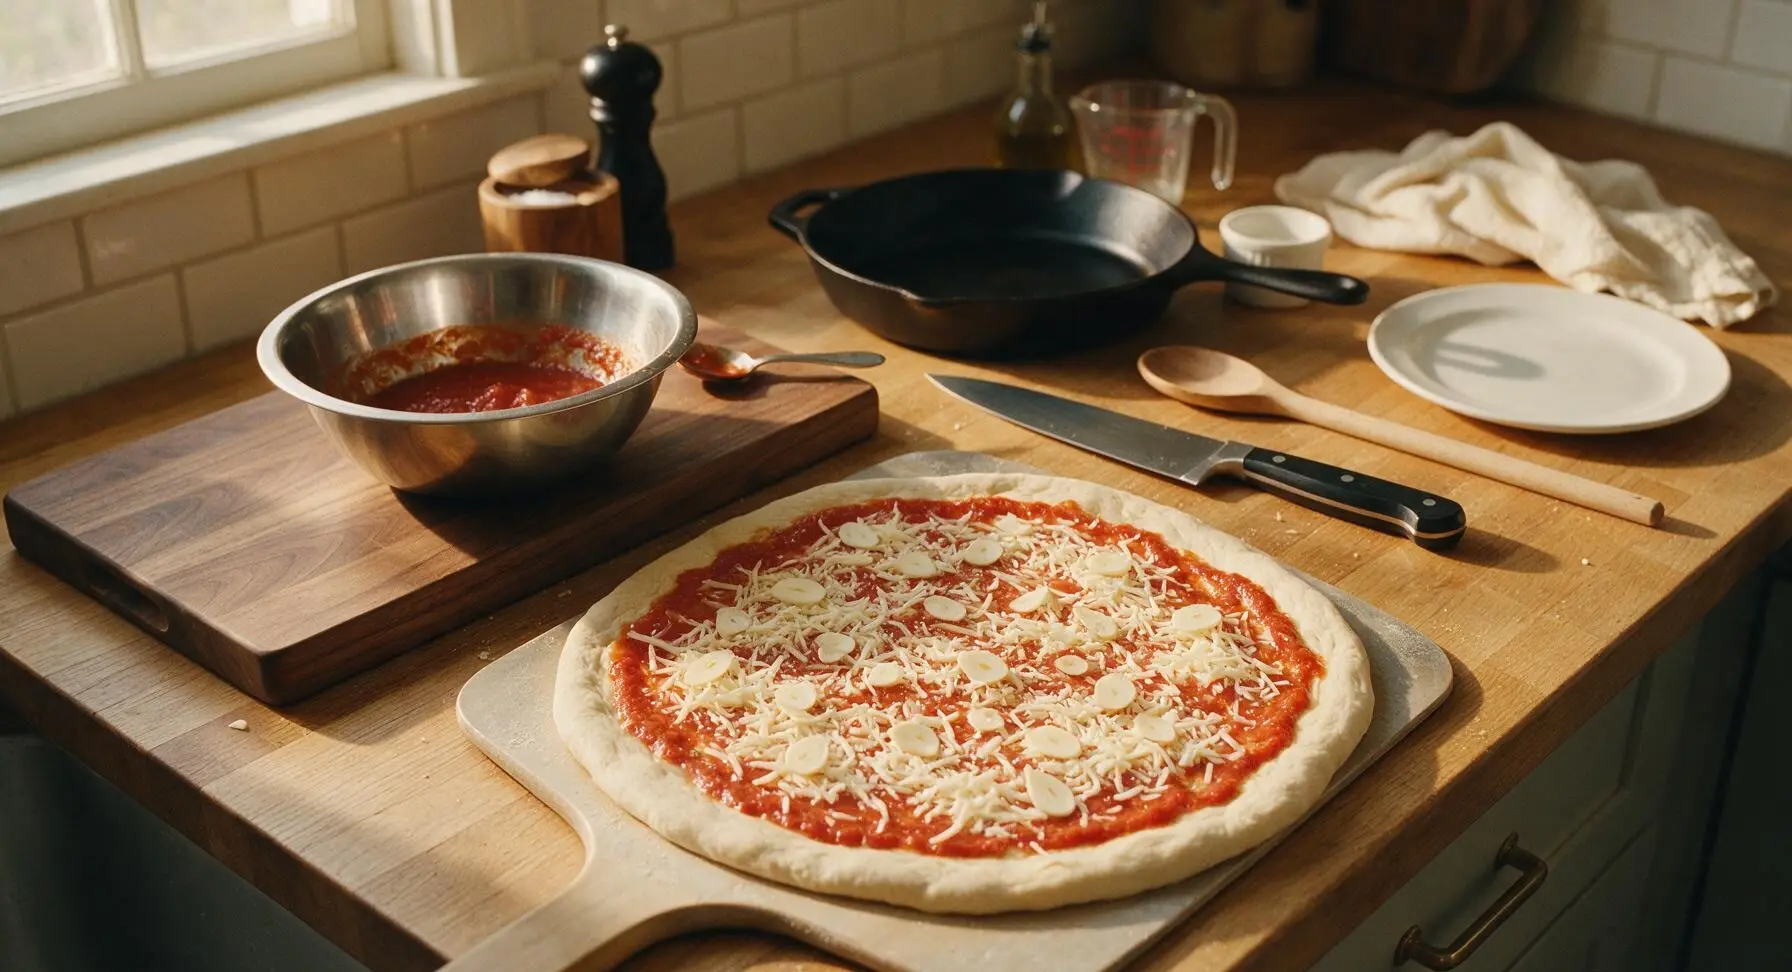
Using the small sauce spoon, dollop the tomato sauce in small spoonfuls across the center of the stretched dough, spreading it in a thin, even layer out to the 1-inch crust border. Resist the urge to add extra sauce—too much sauce will create a soggy middle that won’t crisp up, even on a hot stone. Sprinkle the patted-dry shredded mozzarella evenly over the sauce, leaving small gaps so the bright red tomato peeks through, then scatter the thinly sliced garlic cloves across the cheese.
Step 4
step4:Spread Sauce and Cheese
5

Add Anchovy Fillets

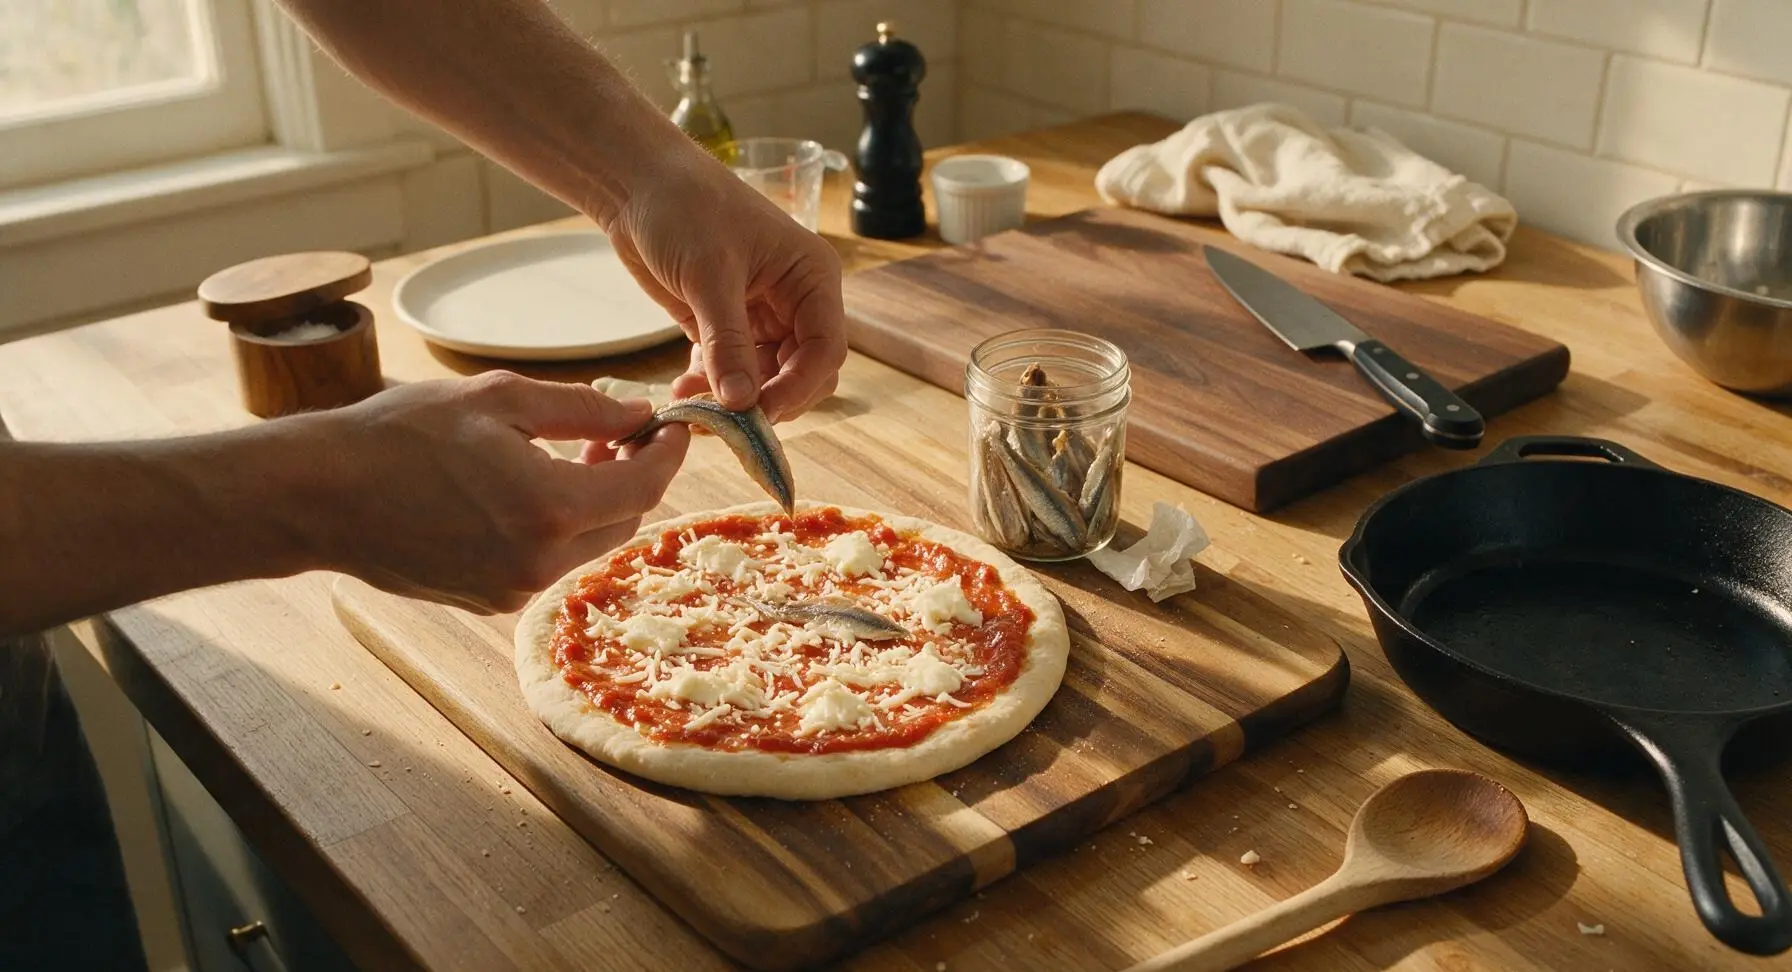
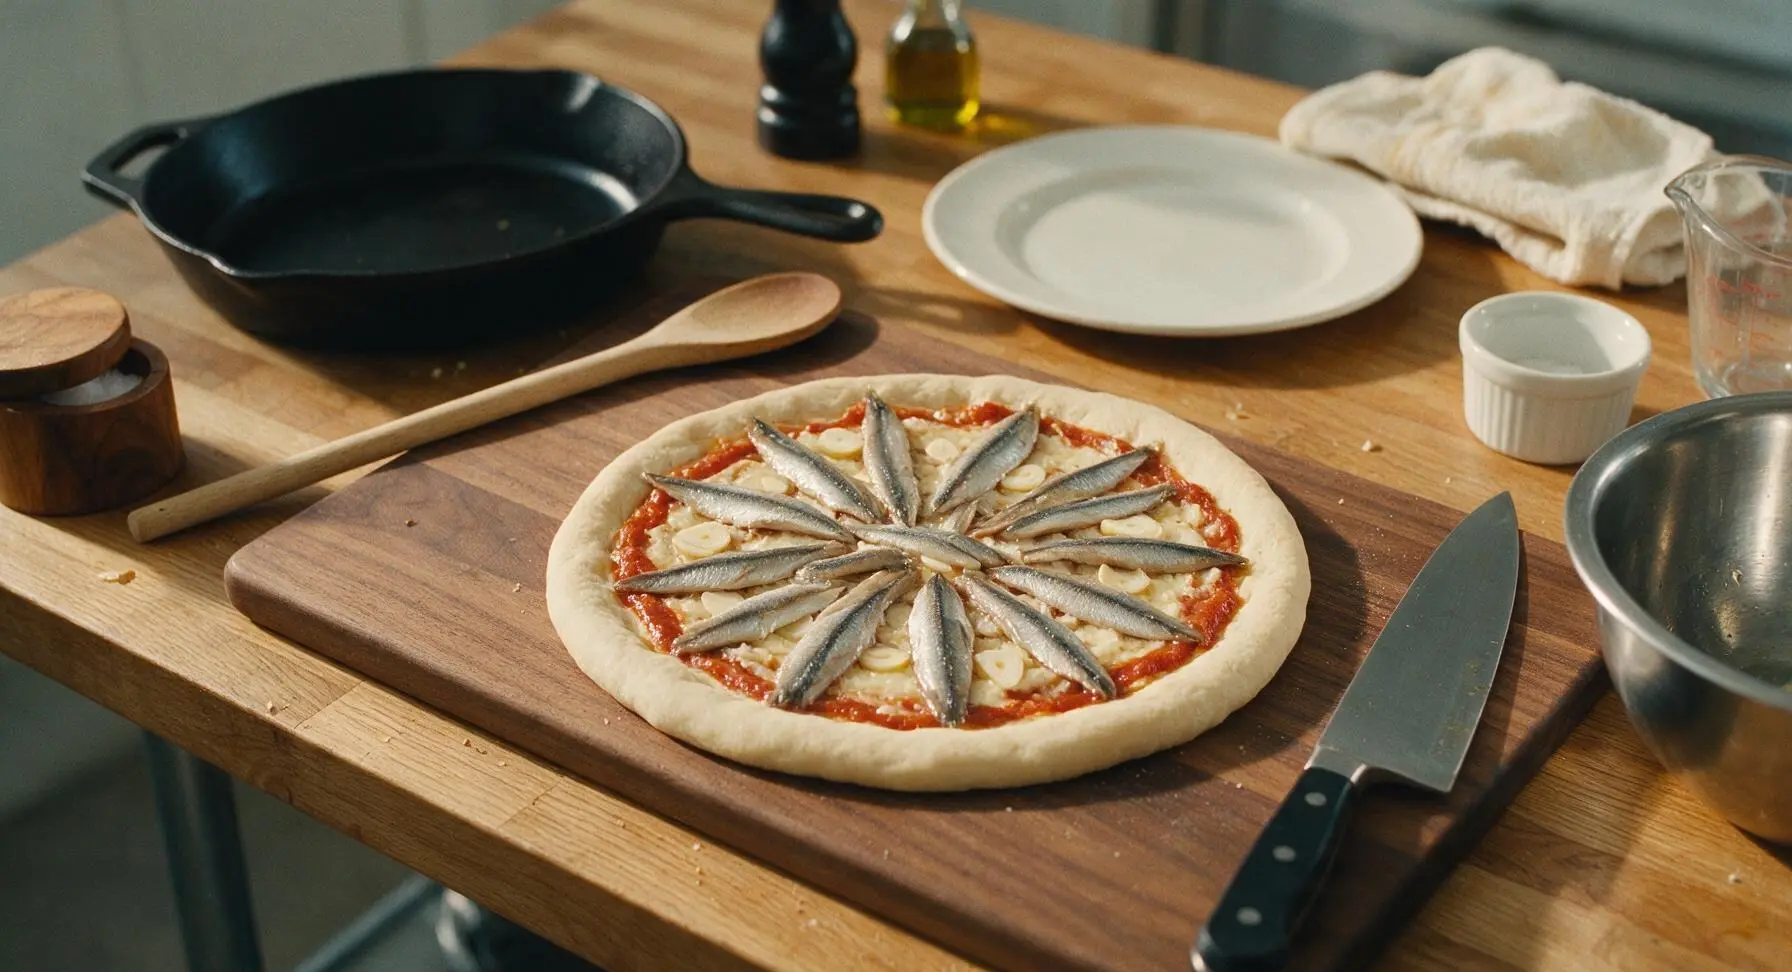
Lightly blot the drained anchovy fillets with a paper towel to remove excess surface oil, which prevents greasy, pooled spots on the finished pizza. Arrange the fillets evenly across the pizza in a loose spoke pattern, spacing them roughly 2 inches apart so every slice gets a portion of anchovy. Avoid piling fillets in a single spot—their bold, umami flavor is concentrated, so even distribution ensures balanced flavor in every bite.
Step 5
step5:Add Anchovy Fillets
Step 5
step5:Add Anchovy Fillets
6

Bake to Golden Perfection

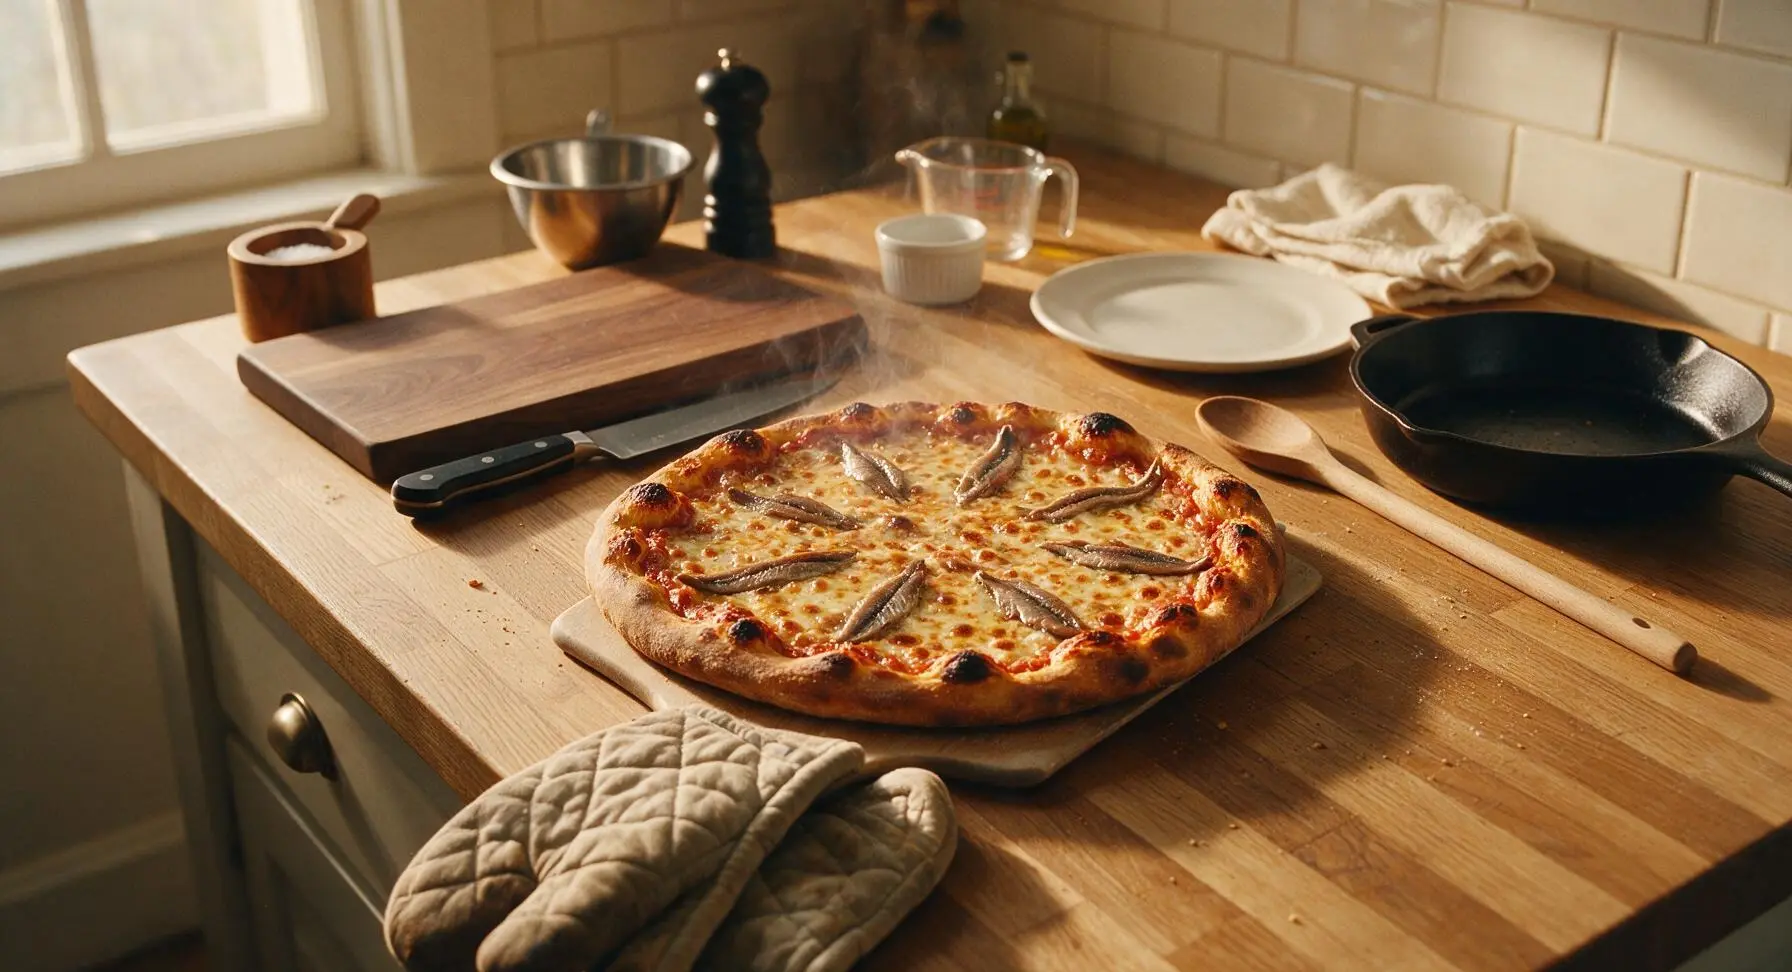
Give the pizza peel one final gentle shake to confirm the pizza slides freely, then carefully slide the pizza directly onto the preheated pizza stone in the oven. Bake for 10 to 12 minutes at 500°F (260°C), rotating the pizza halfway through with the peel for even browning. The pizza is done when the crust edge is deep golden brown, bubbled, and dotted with small dark char spots, the cheese is fully melted and bubbling across the surface, and the anchovy fillets are slightly curled at their edges. Slip on the quilted oven mitts, pull the oven rack out slightly, and slide the peel under the pizza to lift it out of the oven.
Step 6
step6:Bake to Golden Perfection
7

Garnish and Slice

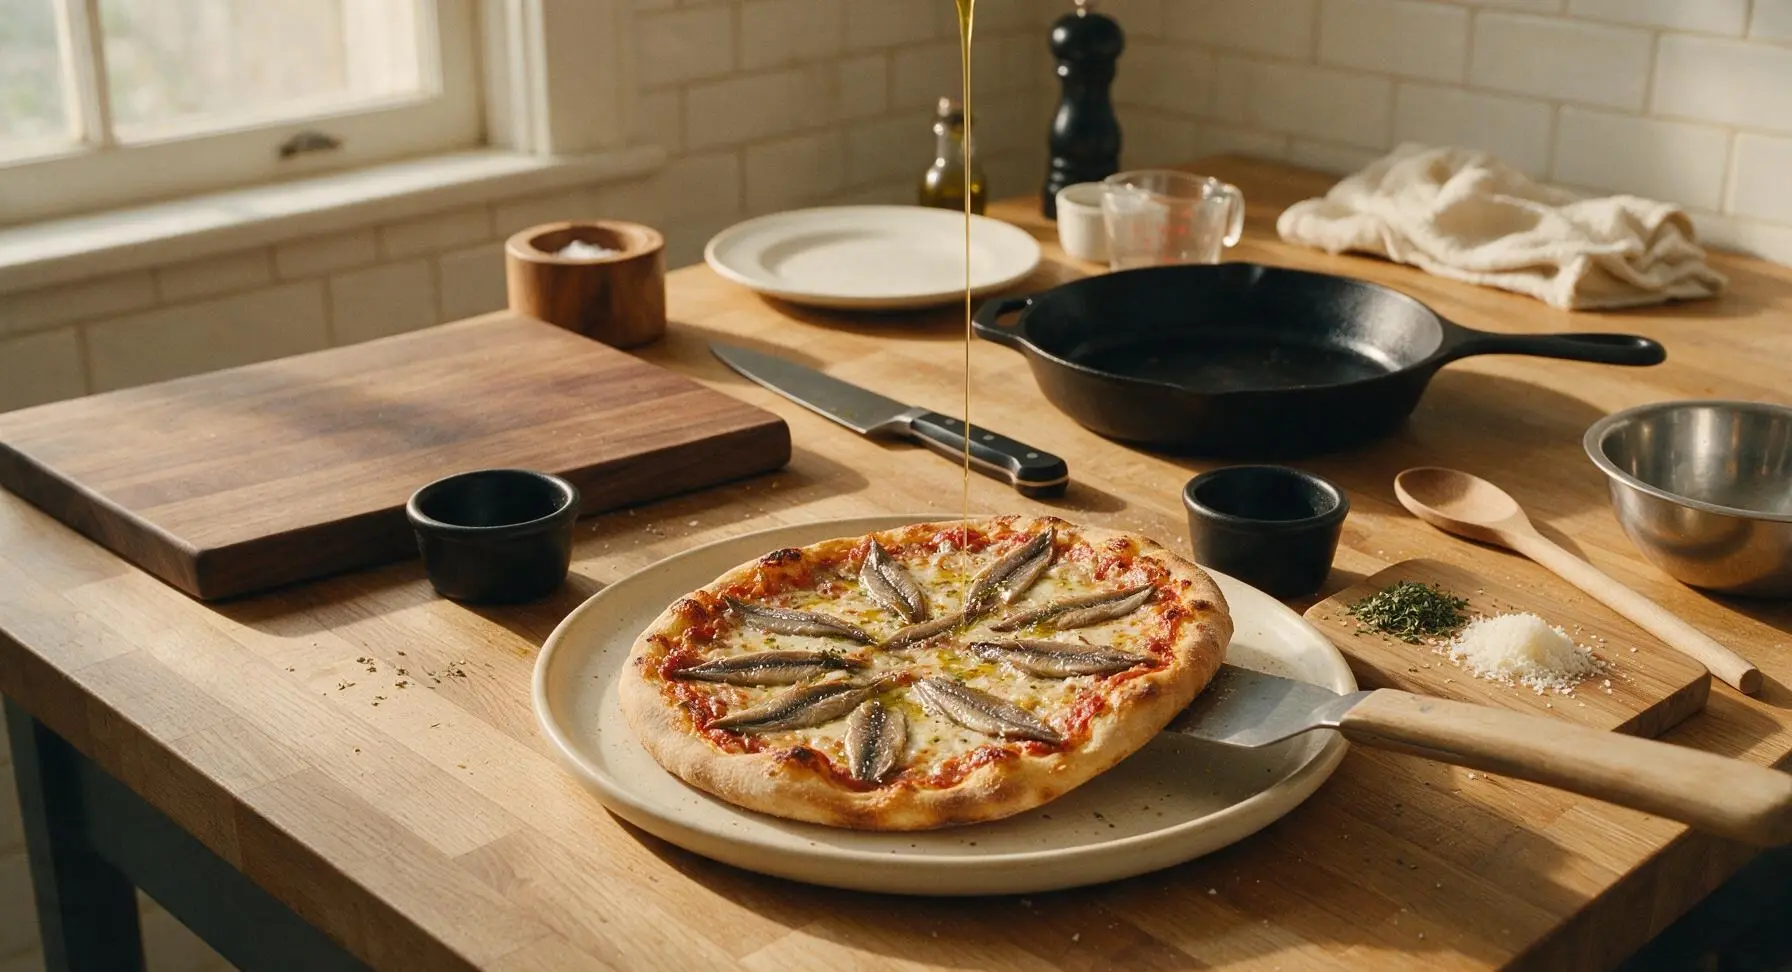
Immediately after removing the pizza from the oven, drizzle the surface with the remaining 1 tablespoon of extra virgin olive oil, sprinkle with the remaining chopped oregano, finely grated parmesan, and a tiny pinch of flaky sea salt (taste a small edge of crust first to check salt level, as anchovies vary in saltiness). Let the pizza rest for 3 full minutes to let the cheese set, then slide it onto the matte cream ceramic pizza platter and slice into 8 even wedges. Serve hot, with red pepper flakes and extra parmesan in the small black ramekins on the side.
Step 7
step7:Garnish and Slice

Tips

1.Always pat shredded mozzarella and drained anchovies dry with paper towels before adding them to the pizza: excess moisture from wet cheese or residual anchovy oil will create soggy, greasy spots on the crust, even when baking on a fully preheated stone.
2.Let the pizza rest for a full 3 minutes after removing it from the oven before slicing: this short wait lets the melted cheese set firmly, so toppings don’t slide off when you cut into it, and allows the briny anchovy flavor to meld evenly with the cheese and tomato sauce.
3.Keep sauce and cheese layers light: anchovy pizza shines when toppings are sparse enough to let the bold, umami anchovy flavor take center stage, rather than being buried under heavy layers of sauce and cheese. Taste a small bite of crust before adding extra salt, as anchovy fillets can vary widely in salt content between brands.
✨ You May Also Like

Dinner
🍜 United States

A festive, hearty spread of classic Swedish small plates, featuring cured fish, tender meatballs, cheese, and seasonal sides, perfect for holiday gatherings.

⏱️ 2 hoursDinner ★ 4.8
Dinner
🍜 United States

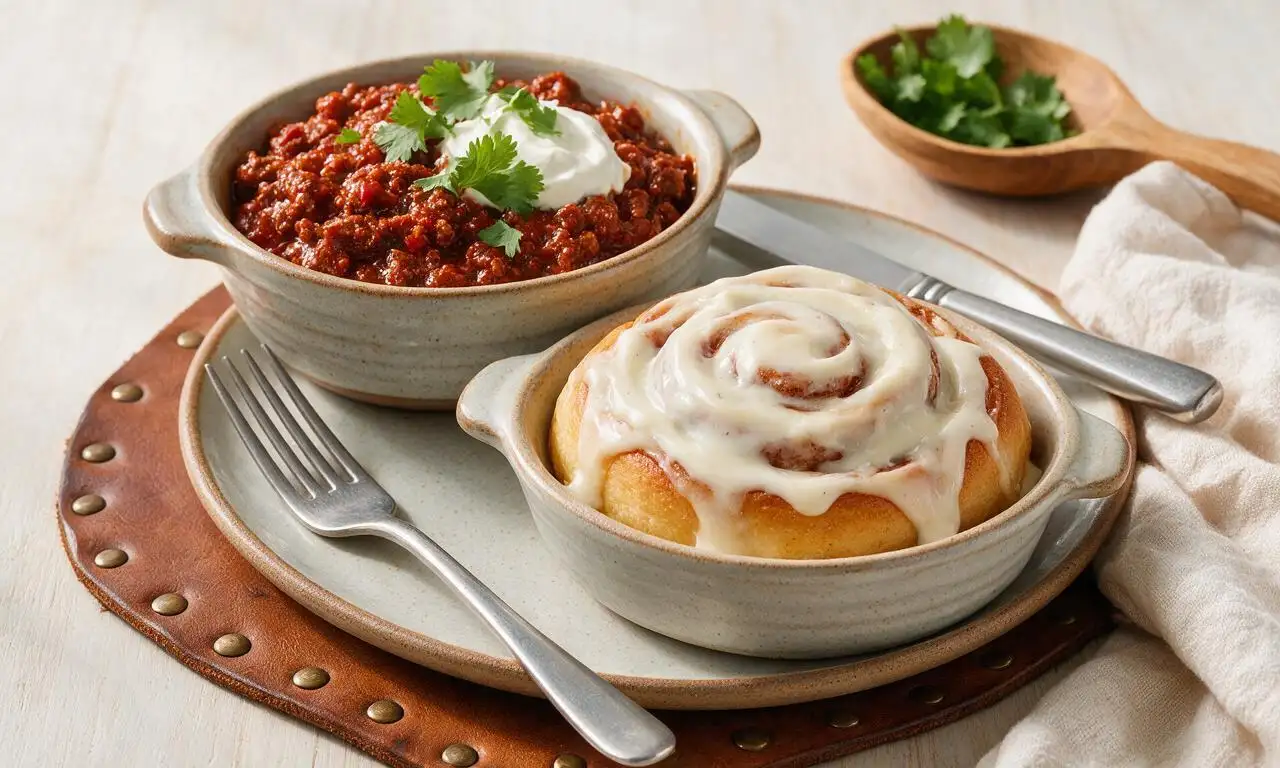
Iconic Midwestern comfort meal pairing rich, spiced beef chili with soft, frosted cinnamon rolls for the perfect sweet-savory cold-weather bite.

⏱️ 1 hour 45Dinner ★ 4.7
Dinner
🍜 Canada

A beloved sweet-savory pizza loaded with smoky ham, juicy pineapple, and gooey melted cheese on a crisp golden crust, perfect for casual shared meals.

⏱️ 25 minuteDinner ★ 4.9
Dinner
🍜 United States

Juicy herb-roasted turkey with savory sourdough stuffing and rich pan gravy, the iconic cozy holiday meal made for gathering loved ones around the table.

⏱️ 4 hours 3Dinner ★ 4.9
Dinner
🍜 Italy

Crispy chewy crust, tangy tomato sauce, gooey melted mozzarella, and spicy curled pepperoni: this takeout favorite is simple to make perfectly at home.

⏱️ 35 minuteDinner ★ 4.9
Dinner
🍜 Italy

Crispy, chewy crust loaded with colorful fresh veggies, melted mozzarella, and zesty tomato sauce: a satisfying, crowd-pleasing meatless meal.

⏱️ 35 minuteDinner ★ 4.8

Anchovy Pizza:Frequently Asked Questions

1.Why do I need to bring my rested pizza dough to room temperature before stretching it? ▾
Cold dough is tight, elastic, and prone to springing back as you stretch it, leading to uneven, thick crust. Letting rested dough sit at room temperature for 1 to 2 hours relaxes the gluten, making it easy to shape into a thin, even base that puffs up nicely in a hot oven for that perfect crispy, bubbled edge.
2.Can I use water-packed anchovies instead of oil-packed fillets for this pizza? ▾
Oil-packed anchovies have a richer, mellower brininess and softer texture that works perfectly for pizza, while water-packed fillets tend to be fishier, saltier, and drier when baked. If you only have water-packed, soak them in cold milk for 10 minutes first, then blot very dry to cut harsh salt and fishy notes.
3.Why do I need to pat my shredded low-moisture mozzarella dry before using it? ▾
Even low-moisture mozzarella releases extra whey as it melts, and that extra liquid combined with anchovy oil and tomato juice can turn your pizza crust soggy. Patted-dry cheese melts smoothly into a stretchy, even layer without leaving watery puddles on top of your finished pie.
4.What’s the point of using fine semolina flour instead of regular all-purpose for prepping my pizza peel? ▾
Fine semolina is coarser than all-purpose flour, so it acts like tiny ball bearings under your dough, letting it slide easily off the peel onto your hot pizza stone or steel without sticking. It also adds a subtle, pleasant nutty crunch to the crust bottom instead of leaving a raw, floury aftertaste.
5.My anchovies taste really salty out of the jar—will that make the whole pizza too briny? ▾
You’re already ahead by blotting the fillets dry to remove excess salty packing oil, but you can cut extra saltiness even more by laying fillets on a paper towel for 5 minutes before adding them to the pie. Skip adding extra salt to your tomato layer, too, as anchovies will release just enough savory salt to season the whole pizza as they bake.
6.Do I need to cook the anchovies before putting them on the pizza? ▾
No pre-cooking is required! Anchovy fillets are already cured and ready to eat, and they’ll soften, melt slightly, and infuse the whole pie with rich umami flavor as the pizza bakes at high heat. Pre-cooking them will only make them tough, overly fishy, and prone to burning before your crust finishes crisping.
7.Can I use fresh mozzarella instead of low-moisture mozzarella for this recipe? ▾
Fresh mozzarella has very high moisture content, so it will release a lot of water as it bakes and lead to a soggy crust if used straight from the brine. If you want to use it, cut it into thin slices, pat it completely dry between paper towels for 30 minutes, and use it sparingly mixed with a little low-moisture mozzarella for best texture.
8.How hot should my oven be to get that signature crispy, bubbled pizza crust? ▾
Crank your oven as high as it goes—usually 500 to 550°F for home ovens—and preheat a pizza stone or steel on the middle rack for at least 45 minutes before baking. That high, sustained heat hits the dough instantly, creating rapid oven spring for bubbly edges and a crispy, non-soggy bottom that holds up to anchovy and cheese toppings.
9.How many anchovy fillets should I add per pizza for balanced, not overpowering, flavor? ▾
For a standard 12-inch pizza, 8 to 10 evenly spaced fillets are perfect—you’ll get that signature briny, umami kick in every bite without overwhelming the tomato and cheese. You don’t need to cover the whole pie; anchovies melt slightly as they bake, so their flavor spreads further than you might expect.
10.Can I add extra toppings to this anchovy pizza, or will that throw off the flavor balance? ▾
Stick to simple, complementary toppings to keep the classic flavor profile working: a sprinkle of dried oregano, a few thinly sliced garlic cloves, a pinch of red pepper flakes, or a handful of briny black olives all pair beautifully. Avoid heavy, wet toppings that add excess moisture and weigh down the crisp crust.
11.Why is my dough tearing when I try to stretch it for the pizza base? ▾
Tearing usually happens if your dough is still too cold, hasn’t rested long enough, or you stretched it too thin too fast. Let it sit, covered, for 10 minutes to let the gluten relax if it springs back or tears, then resume stretching gently. Slow, even pressure from your knuckles works better than pulling hard at the edges.
12.Do I need to add extra salt to the crushed tomato layer for this pizza? ▾
Skip added salt entirely for your tomato layer! The oil-packed anchovies are naturally salty from curing, and they will release that savory, seasoned oil into the tomato and cheese as the pizza bakes. Adding extra salt will make the finished pie overly briny, masking the bright, sweet flavor of the San Marzano tomatoes.
13.How long should I bake this anchovy pizza for the best results? ▾
At 500 to 550°F, your pizza will only need 8 to 10 minutes to bake fully. Rotate it halfway through cooking to make sure it browns evenly, and pull it when the crust edges are deep golden and bubbly, the cheese is fully melted with small browned spots, and the anchovies are slightly curled and fragrant.
14.Can I make this anchovy pizza ahead of time for a party or game night? ▾
For the crispiest crust, it’s best to bake the pizza right before serving, but you can prep all components a day ahead: stretch dough and keep it on a semolina-dusted tray in the fridge, drain your tomatoes, pat cheese and anchovies dry, and store toppings in airtight containers. Assemble and bake right when guests arrive for fresh, hot pie in 10 minutes.
15.My pizza stuck to the peel when I tried to slide it into the oven—what did I do wrong? ▾
Sticking happens if you let the assembled pizza sit too long on the peel before baking, or if you didn’t use enough semolina under the dough. Next time, give the peel a gentle shake right after assembling to make sure the dough slides freely, and don’t let it sit more than a minute or two before transferring it to the hot stone.
16.What should I serve with anchovy pizza to make a full, balanced meal? ▾
Keep sides light and bright to cut through the rich, briny, cheesy flavor: a simple arugula salad tossed with lemon vinaigrette, marinated olives, or crispy roasted broccoli works perfectly. Pair it with a cold, crisp lager or a bright, high-acid white wine like Pinot Grigio to balance the bold umami notes of the anchovies.
17.How do I store leftover anchovy pizza, and how do I reheat it without getting a soggy crust? ▾
Store leftover slices in an airtight container in the fridge for up to 3 days. Skip the microwave—it makes crust soggy and anchovies rubbery. Instead, reheat slices in a dry skillet over medium-low heat for 3 to 4 minutes, or on a baking sheet in a 400°F oven for 5 minutes, until the crust is crispy again and cheese melts.

Comments (10)

2 days ago

OMG I was so skeptical about anchovy pizza because I thought it’d be too fishy, but this recipe is a GAME CHANGER. The saltiness of the anchovies pairs so perfectly with the melty mozzarella and that crispy thin crust! Made it for family dinner last night and even my teen who swears he hates fish went back for a third slice. 10/10, will be making this every other pizza night from now on.

yesterday

Wait did you rinse the anchovies first like the recipe says? I almost skipped that step and was curious if it makes a big difference for the fishy taste!

2 hours ago

So glad you and your family loved it! Rinsing the anchovies does help mellow that briny, overly fishy bite a bit, but if you love super bold anchovy flavor you can absolutely skip that rinse for extra punch. Happy pizza making!

3 days ago

This was SO good! I was worried the 12 minute cook time was too short to get the crust crispy, but my oven runs hot so it came out perfect. I added a little sprinkle of red pepper flakes on top for a tiny kick and it was chef’s kiss. Packed the leftover slices for my husband’s lunch today and he texted me saying it’s the best homemade pizza I’ve ever made.

2 days ago

Love the red pepper flake addition! That little hint of heat cuts through the rich cheese and briny anchovies so beautifully. So stoked your husband was a fan too — leftovers of this pizza hold up shockingly well for next day lunches!

1 week ago

Brought this to our neighborhood block party potluck last weekend and I swear people were hovering around the platter waiting for the last slice! I will say the medium difficulty rating is pretty fair — I messed up stretching the dough the first try, but the second go-round came out great. Pro tip: let your dough come to room temp for 30 minutes before stretching, it makes it way easier to work with!

2 hours ago

Okay full transparency, I’ve never made homemade pizza before and I was terrified to try this because anchovies feel fancy? But the instructions were super straightforward, the 12 minute cook time was totally accurate, and it turned out way better than the anchovy pizza I get at our local Italian spot. Only change I made was adding a handful of sliced black olives because I had them in the fridge.

30 minutes ago

The black olive addition sounds insane! I’m making this tonight and I totally have a can of kalamatas in my pantry, I’m definitely tossing those on too. Thanks for the idea!

yesterday

I was craving anchovy pizza but trying to cut back on regular refined flour crust, so I swapped the regular pizza dough for a cauliflower crust and adjusted the cook time a tiny bit (added 3 extra minutes) and it worked perfectly! The salty anchovy flavor is so satisfying it doesn’t even feel like a ‘diet’ meal. My kids loved it too, which is saying something because they turn their noses up at most veggie swaps.

2 hours ago

Oh thank you for sharing the cauliflower crust swap! I have celiac so I can’t do regular wheat dough, I was worried this recipe wouldn’t translate well to GF crusts. Did you pre-bake the cauliflower crust before adding toppings?

30 minutes ago

What a fantastic swap! For anyone using alternative crusts (cauliflower, GF, pre-made thin crust) just keep an eye on the edges while it bakes — you want that golden crispy edge without burning the cheese. And yes, pre-baking most veggie-based crusts for 5-7 minutes before adding toppings helps prevent sogginess!

30 minutes ago

Made this in my tiny dorm oven last night and it slapped. Used pre-made store bought dough because I don’t have time to make dough from scratch between midterms, added some extra anchovies because I love that salty briny flavor, and it was done in exactly 12 minutes like the recipe said. Way cheaper than ordering takeout pizza, will be adding this to my regular meal prep rotation.

5 days ago

Made this for my anniversary dinner with my partner last night because they are obsessed with anchovy pizza, and they said it was better than the pizza we had on our trip to Naples! I will say the medium difficulty feels a little overstated if you use store-bought dough — it came together so fast, we even had time to make a little side salad to go with it. 10/10, major partner points earned.

3 days ago

Huge congrats on nailing anniversary dinner, that’s what we love to hear! Using store-bought dough is such a smart time-saver, no shame in that at all — great pizza is all about the toppings and that hot oven, regardless of if the dough is homemade or store-bought. Hope you two had the best night!

1 week ago

Wait, hold on — has anyone tried adding a little drizzle of hot honey to this? I did that on a whim last night when I made it and the combo of salty anchovy, melty cheese, and sweet spicy honey is absolutely insane. I don’t think I can eat anchovy pizza without it now. Only downside is I ate three slices in one sitting and had a major food coma after, zero regrets though.

5 days ago

Hot honey on anchovy pizza is my secret weapon too! People think it sounds weird until they take a bite, the sweet-savory combo is unbeatable. I also add a little sprinkle of fresh oregano right when it comes out of the oven, chef’s kiss.

3 days ago

That hot honey hack is next level — we’ve tested that combo in the test kitchen and it’s honestly a match made in heaven. The sweet heat balances that briny anchovy flavor so perfectly, we might just have to add that as a variation note on the recipe! No judgment on the three slices, we’ve all been there.

2 weeks ago

I’ve been making pizza at home for 40+ years and I have to say, this anchovy pizza recipe is spot on. The ratio of cheese to anchovy to sauce is perfect, the 12 minute cook time at high heat is exactly what you need to get that crispy, blistered crust without overcooking the toppings. My only note is to make sure you’re using good quality oil-packed anchovies, not the cheap salt-packed ones that taste like straight salt.

1 week ago

Thanks for the tip about the oil-packed anchovies! I almost grabbed the salt-packed ones at the grocery store yesterday because they were cheaper, I’ll swap them for the oil-packed ones when I shop this weekend. Can’t wait to make this!

just now

Made a double batch of these on Sunday for meal prep for the week, and the slices hold up so well in the fridge! I just reheat a slice in the toaster oven for 3 minutes at lunch and it tastes just as fresh as when it came out of the oven. The whole family is obsessed, even my picky 7 year old asked for it in his school lunch this week. Total win for busy school nights!