
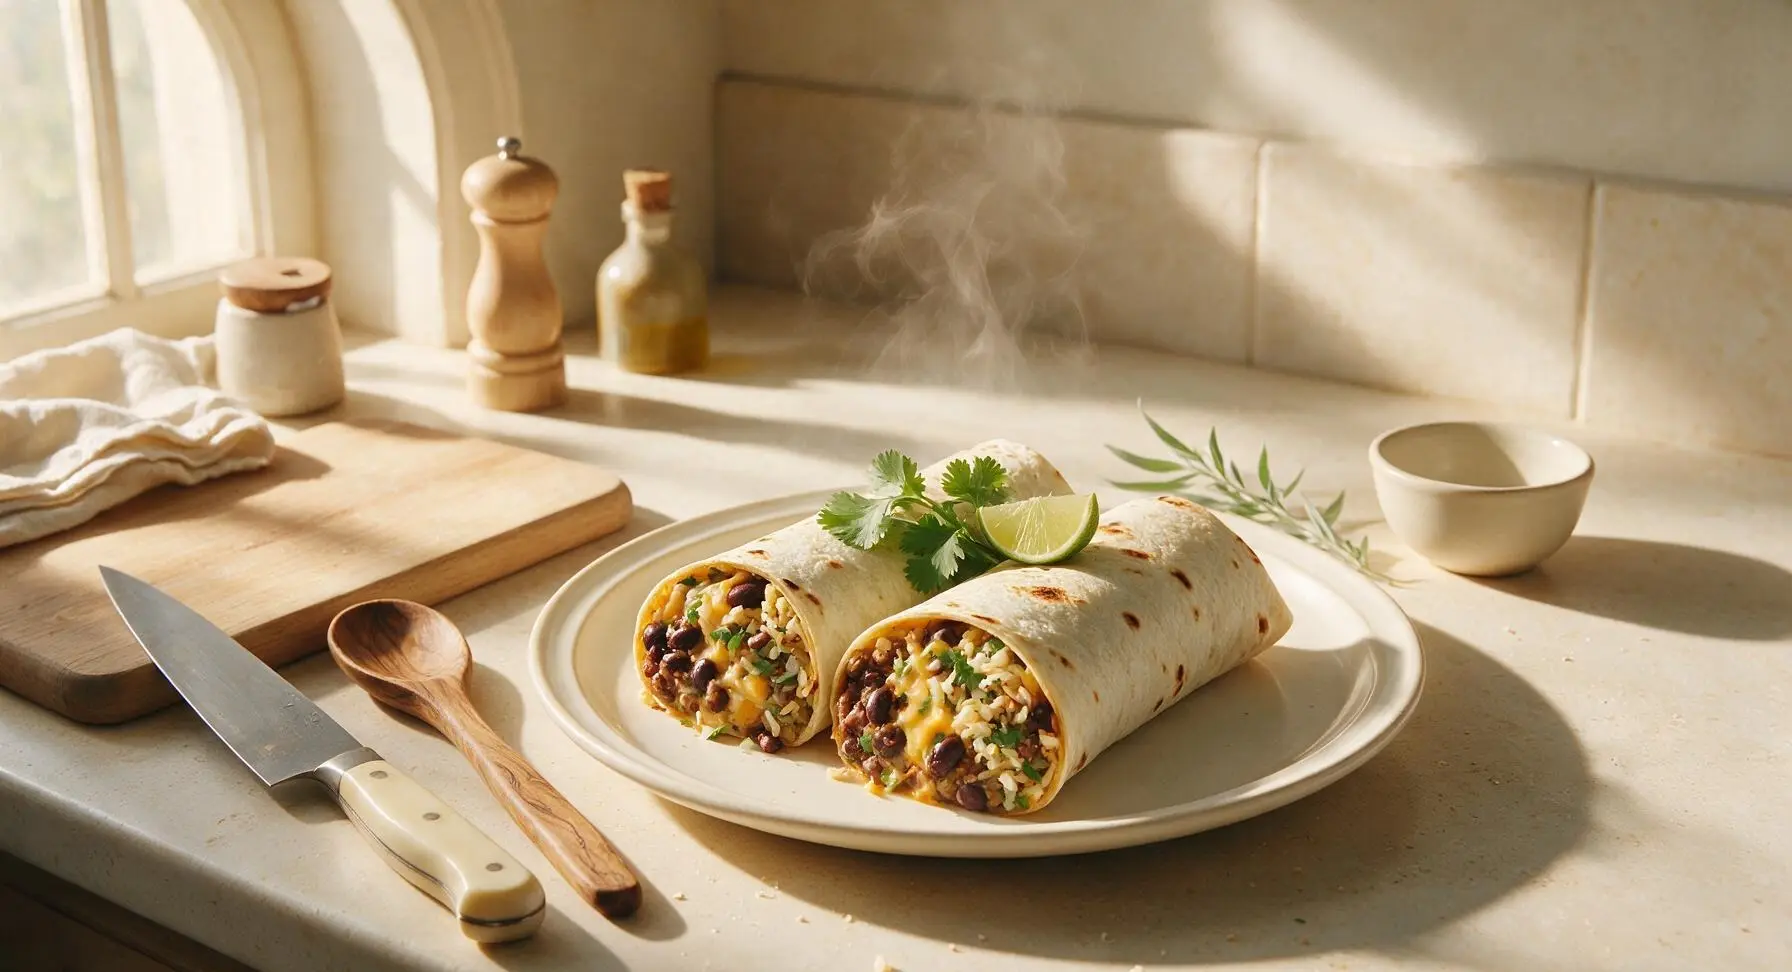
annies burritos

title 1
annies burritos
⏱️ cook time 20 minutes
🍽️ servings 4
⚡ Difficulty easy

intro

Annie’s signature home-style burritos are hearty, cheesy, and packed with spiced black beans, cilantro-lime rice, and crisp toasted tortillas—perfect for fast, satisfying weeknight meals the whole family will love.

Ingredients
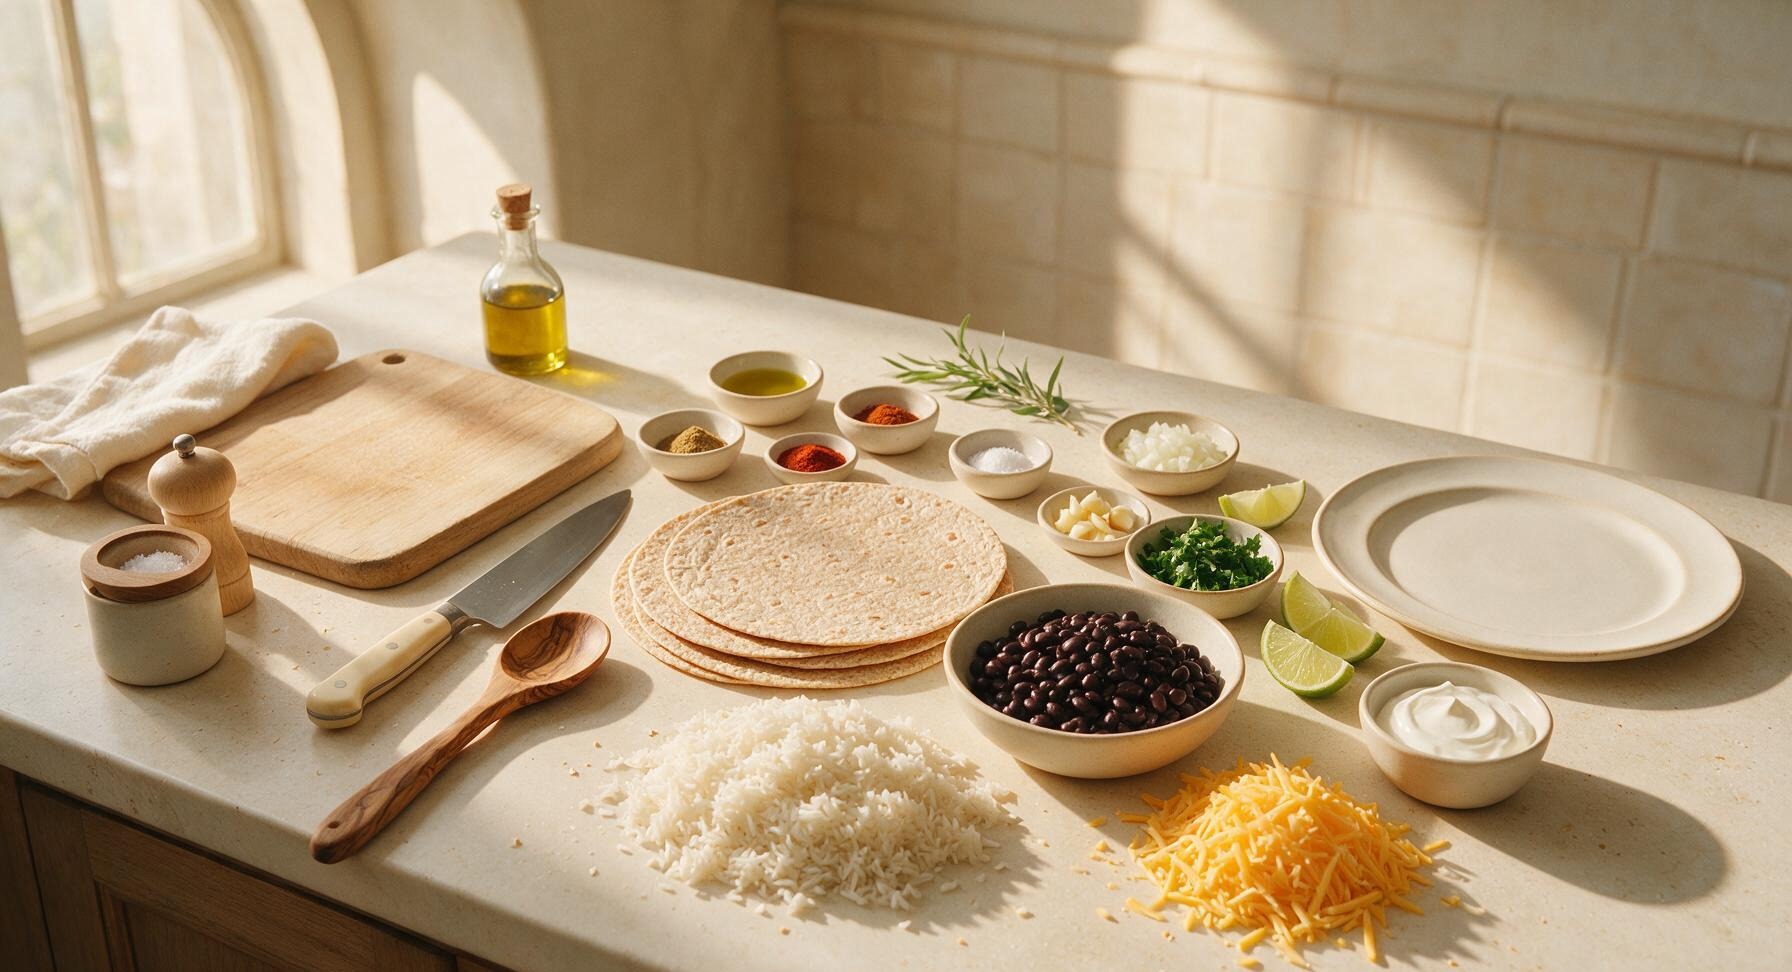
10-inch whole-wheat flour tortillas 4 each
Cooked long-grain white rice 2 cups, slightly cooled
Canned black beans 425g can, rinsed and drained
Shredded sharp cheddar cheese 1.5 cups
Extra-virgin olive oil 1 tablespoon
Small yellow onion 1 each, finely diced
Garlic cloves 2 each, minced
Ground cumin 1 teaspoon
Smoked paprika 1/2 teaspoon
Chili powder 1/2 teaspoon
Kosher salt 1/2 teaspoon
Fresh cilantro 1/4 cup, chopped
Fresh lime 1 each, cut into 4 wedges
Full-fat sour cream 1/2 cup

Steps

1

Sauté Spiced Aromatics

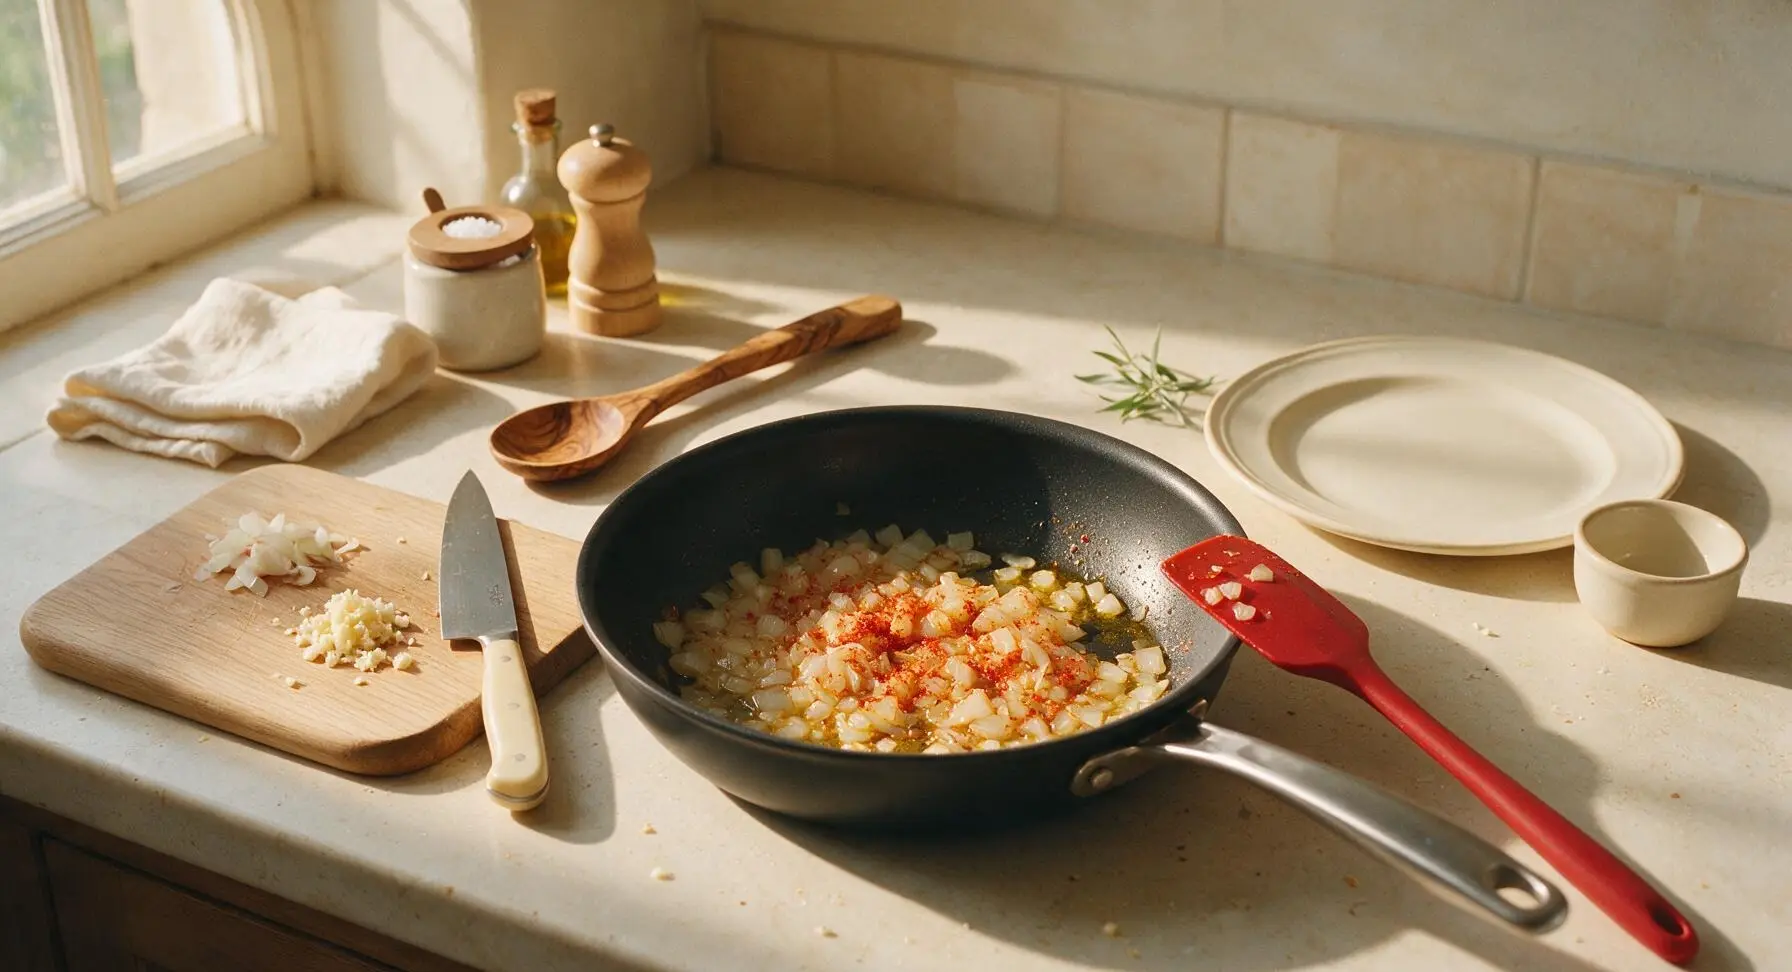
Heat the 12-inch matte black nonstick skillet over medium heat (350°F / 175°C). Add 1 tablespoon of olive oil, then toss in the finely diced yellow onion. Sauté for 3 minutes, stirring occasionally with the red silicone spatula, until the onion is soft and translucent. Add minced garlic, ground cumin, smoked paprika, chili powder, and kosher salt, and cook for 30 seconds more, stirring constantly, until the spices release a rich, warm aroma. Watch closely to avoid burning the garlic, which will turn bitter quickly.
Step 1
step1:Sauté Spiced Aromatics
2

Cook Creamy Spiced Beans

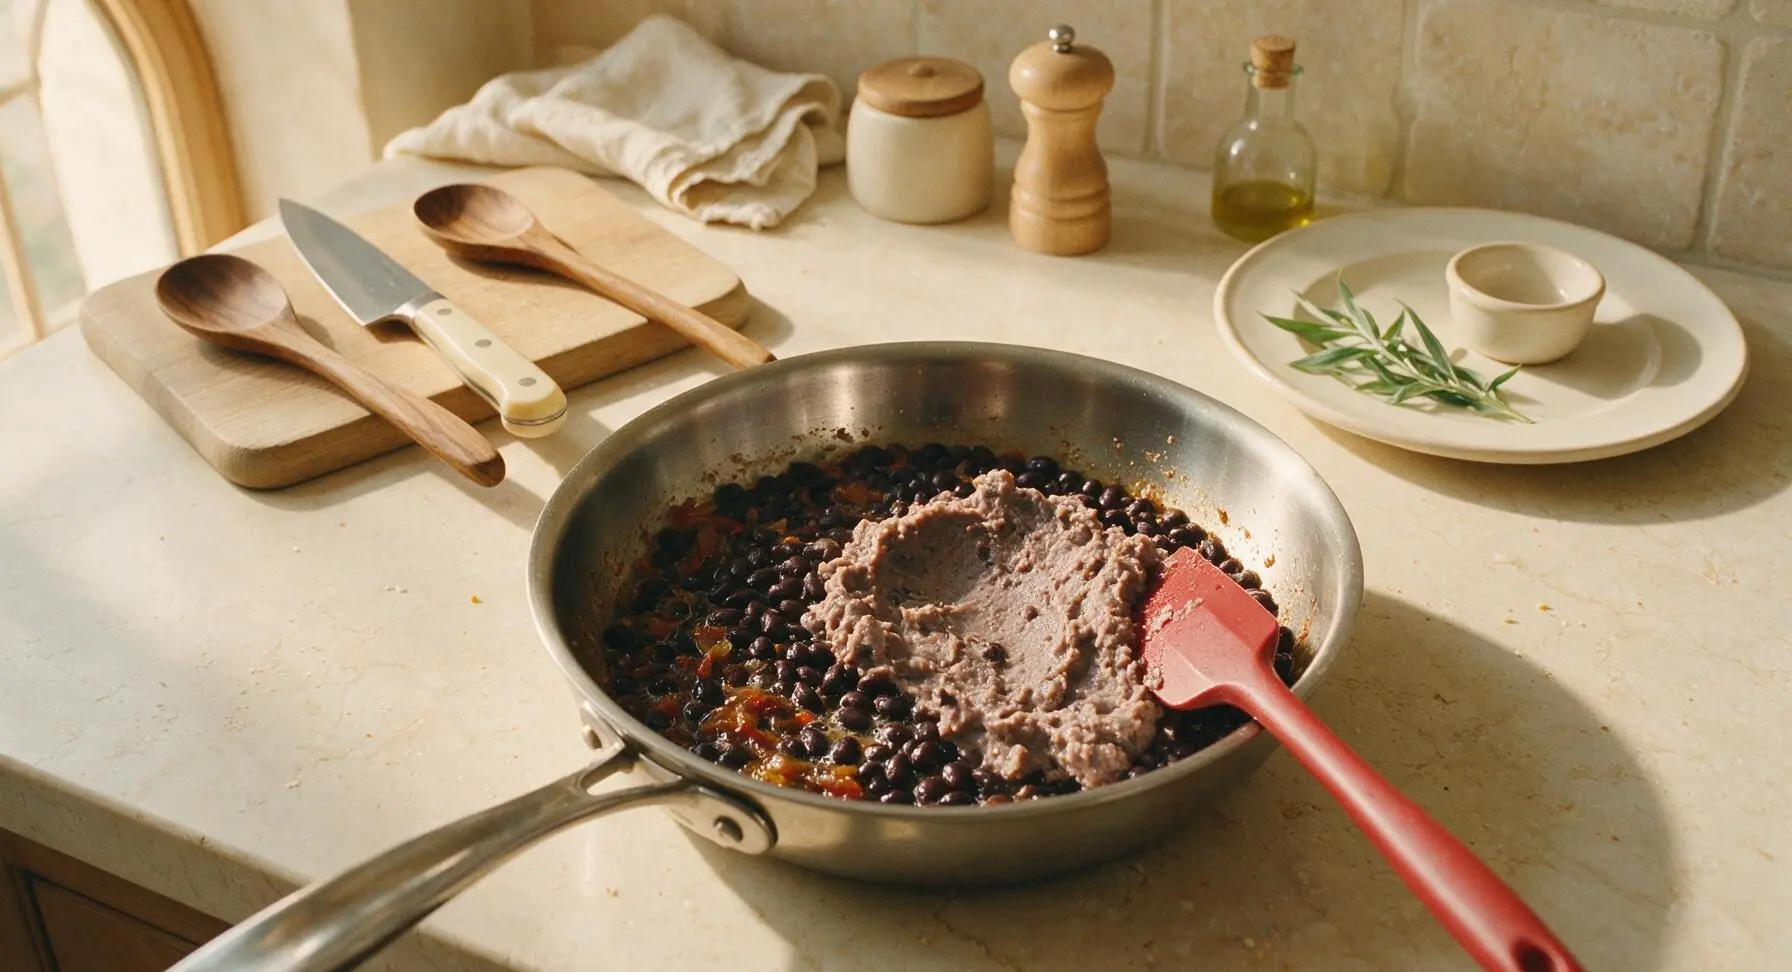
Add the rinsed, drained black beans to the skillet with the sautéed aromatics. Stir to fully coat the beans in the spice mixture, then cook for 4 minutes over medium heat. Use the back of the silicone spatula to mash roughly 1/3 of the beans against the skillet wall, creating a thick, creamy texture that holds the filling together, while leaving most beans whole for bite. The bean mixture will be fully heated through, with small bubbles forming around the pan edges when ready.
Step 2
step2:Cook Creamy Spiced Beans
3

Mix Cilantro-Lime Rice

Wipe the bamboo cutting board clean with a corner of the terracotta kitchen towel, removing all onion trimmings. Mound the slightly cooled cooked white rice on the center of the board, then toss with 2 tablespoons of chopped fresh cilantro and a squeeze from one lime wedge. Mix gently with the chef’s knife until cilantro is evenly flecked throughout the rice, and the rice has a faint bright citrus scent.
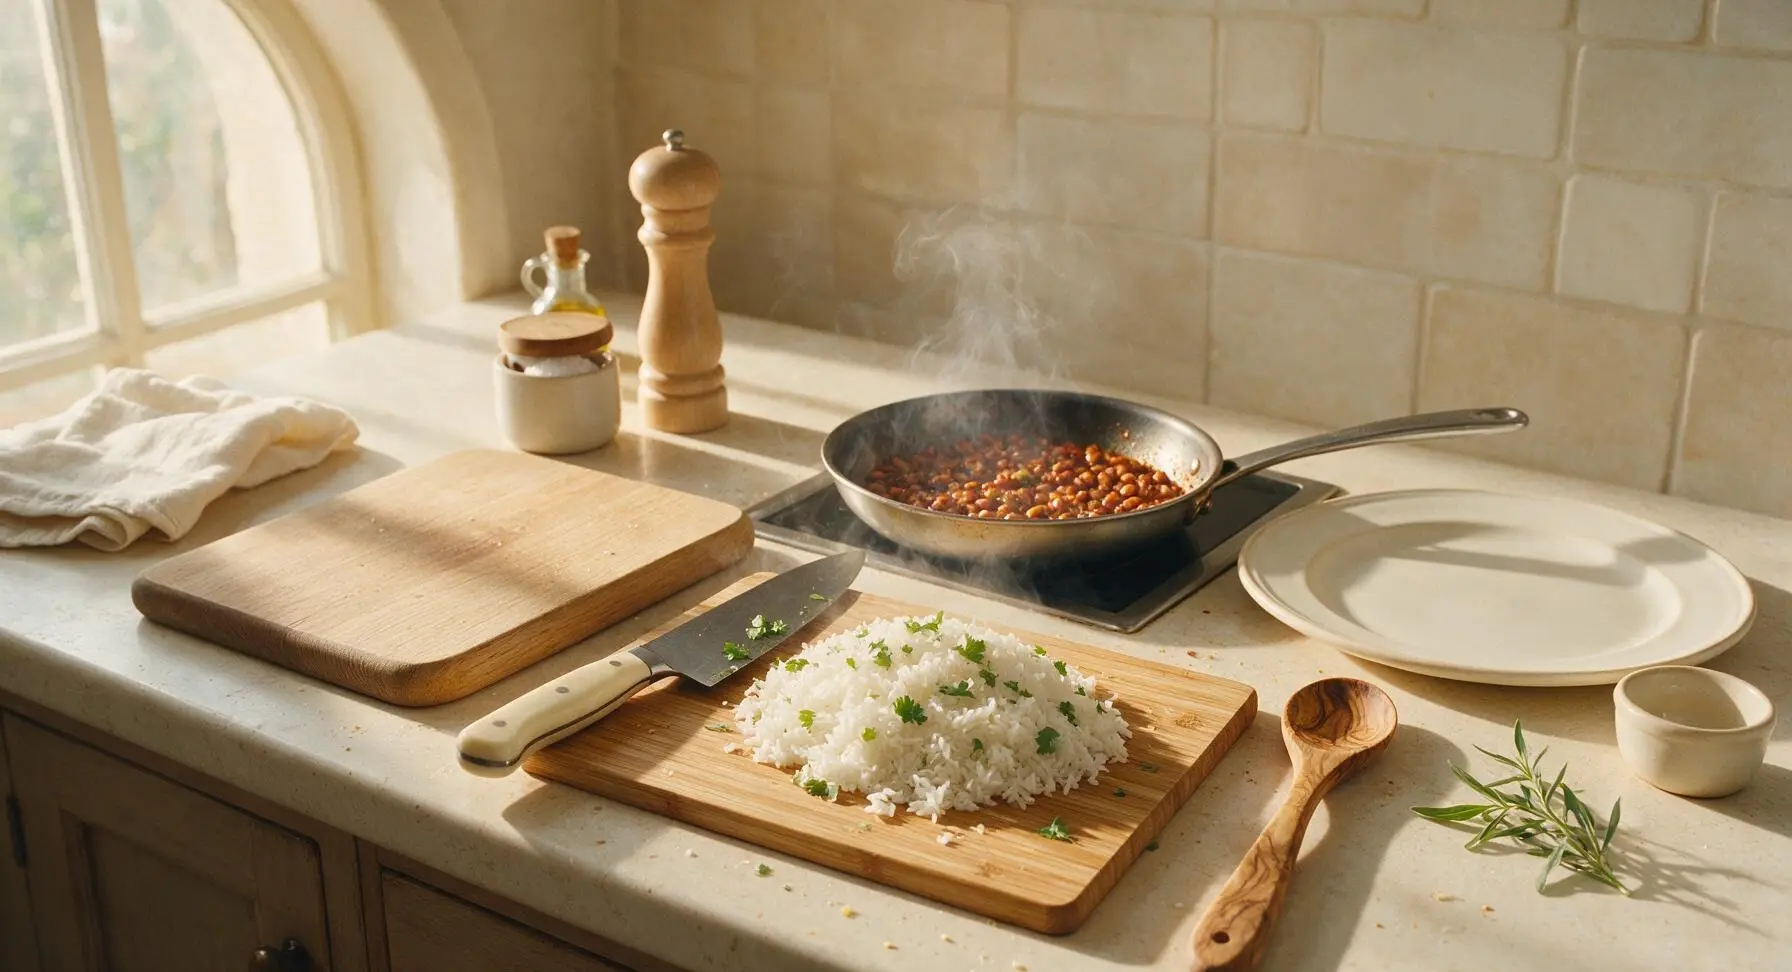
Step 3
step3:Mix Cilantro-Lime Rice
4

Warm Tortillas for Rolling

Reduce stovetop heat to low. Push the spiced bean mixture to one side of the skillet to create an empty space. Place one whole-wheat tortilla at a time on the empty skillet surface, warming for 15 seconds per side until soft, pliable, and easy to fold without cracking. Stack warmed tortillas on a small square of unbleached parchment next to the skillet as you work; never use cold tortillas, as they will split when rolled.
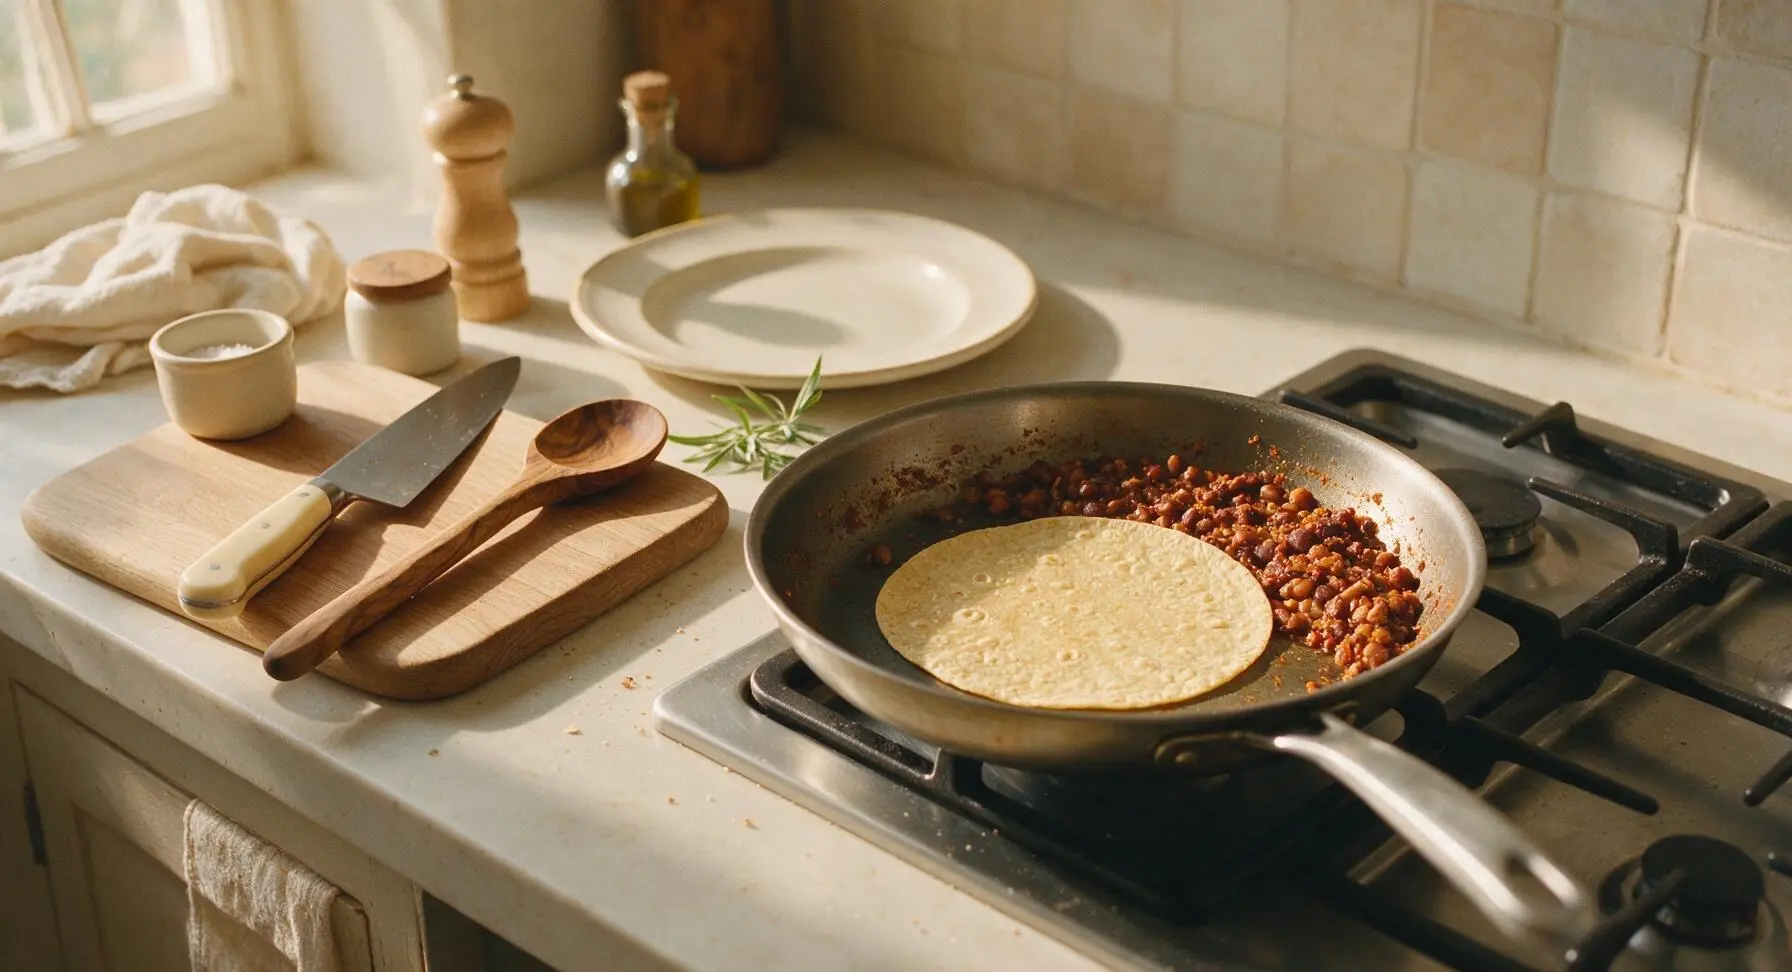
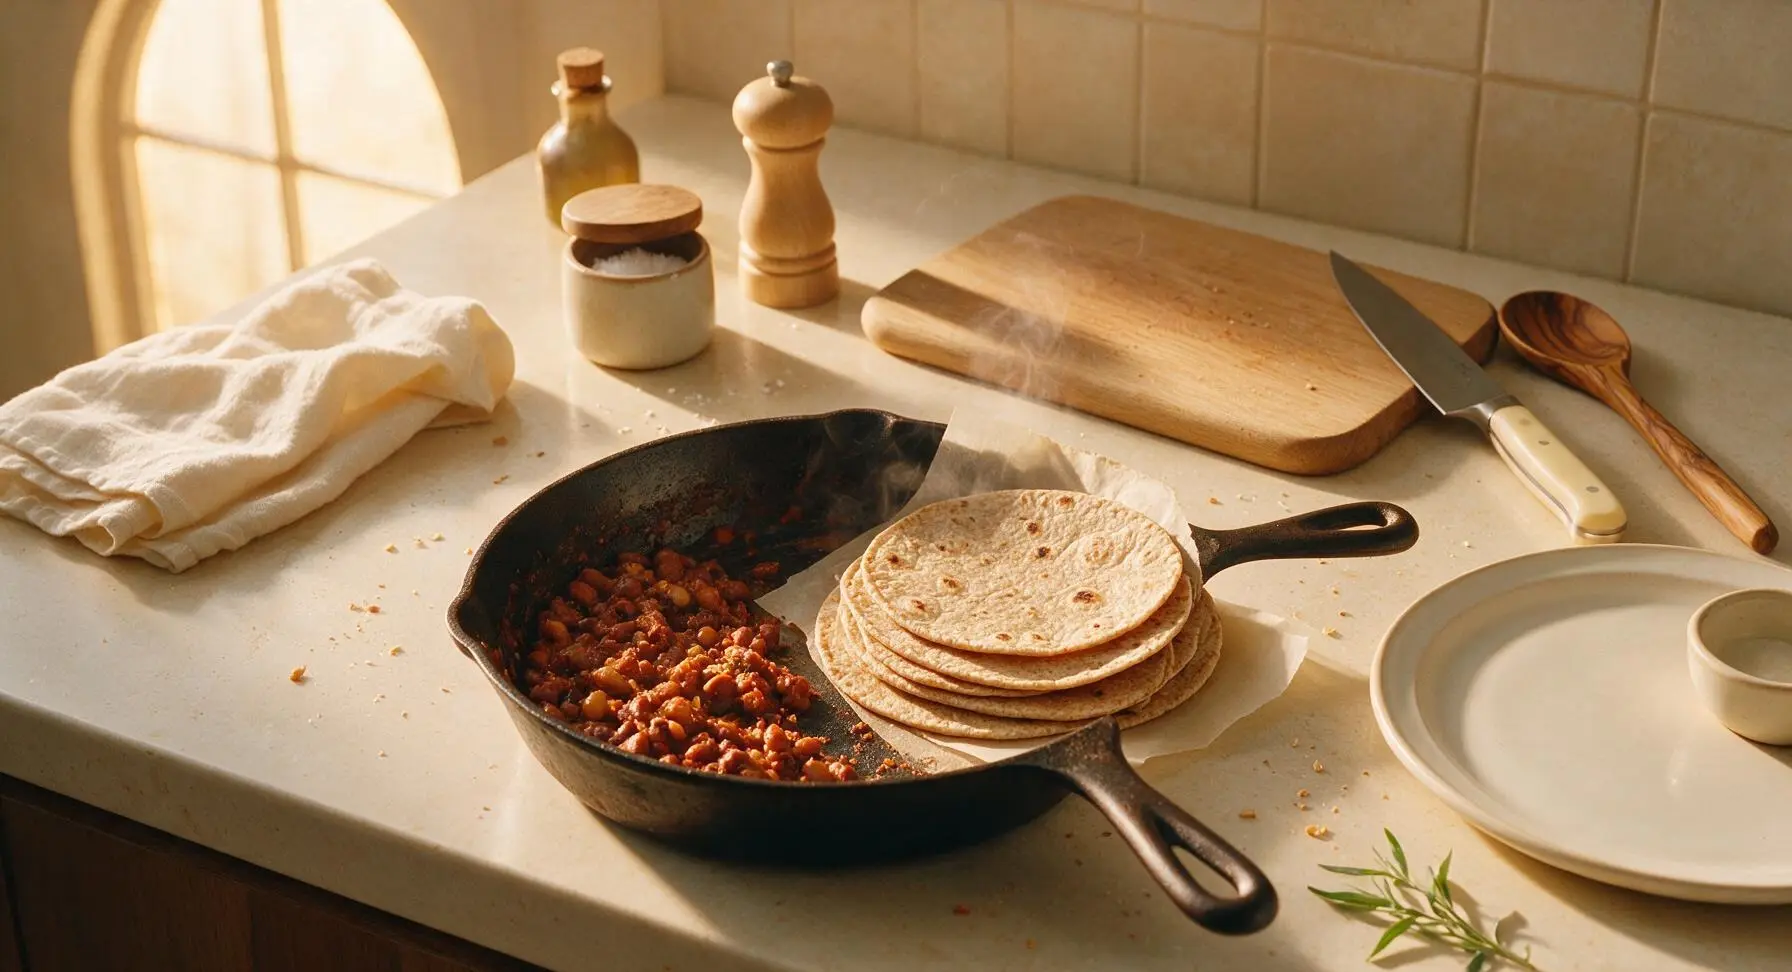
Step 4
step4:Warm Tortillas for Rolling
Step 4
step4:Warm Tortillas for Rolling
5

Fill and Fold Burritos

Lay one warmed tortilla flat on the bamboo cutting board. Layer 1/2 cup of cilantro-lime rice down the center third of the tortilla, leaving a 2-inch clear border at the top and bottom edges. Top the rice with 1/3 cup of spiced bean mixture, then sprinkle 1/3 cup of shredded sharp cheddar evenly over the beans. Fold the top and bottom tortilla edges in over the filling, then roll tightly from one long edge to the other to create a compact, sealed burrito. Repeat with the remaining three tortillas and filling.
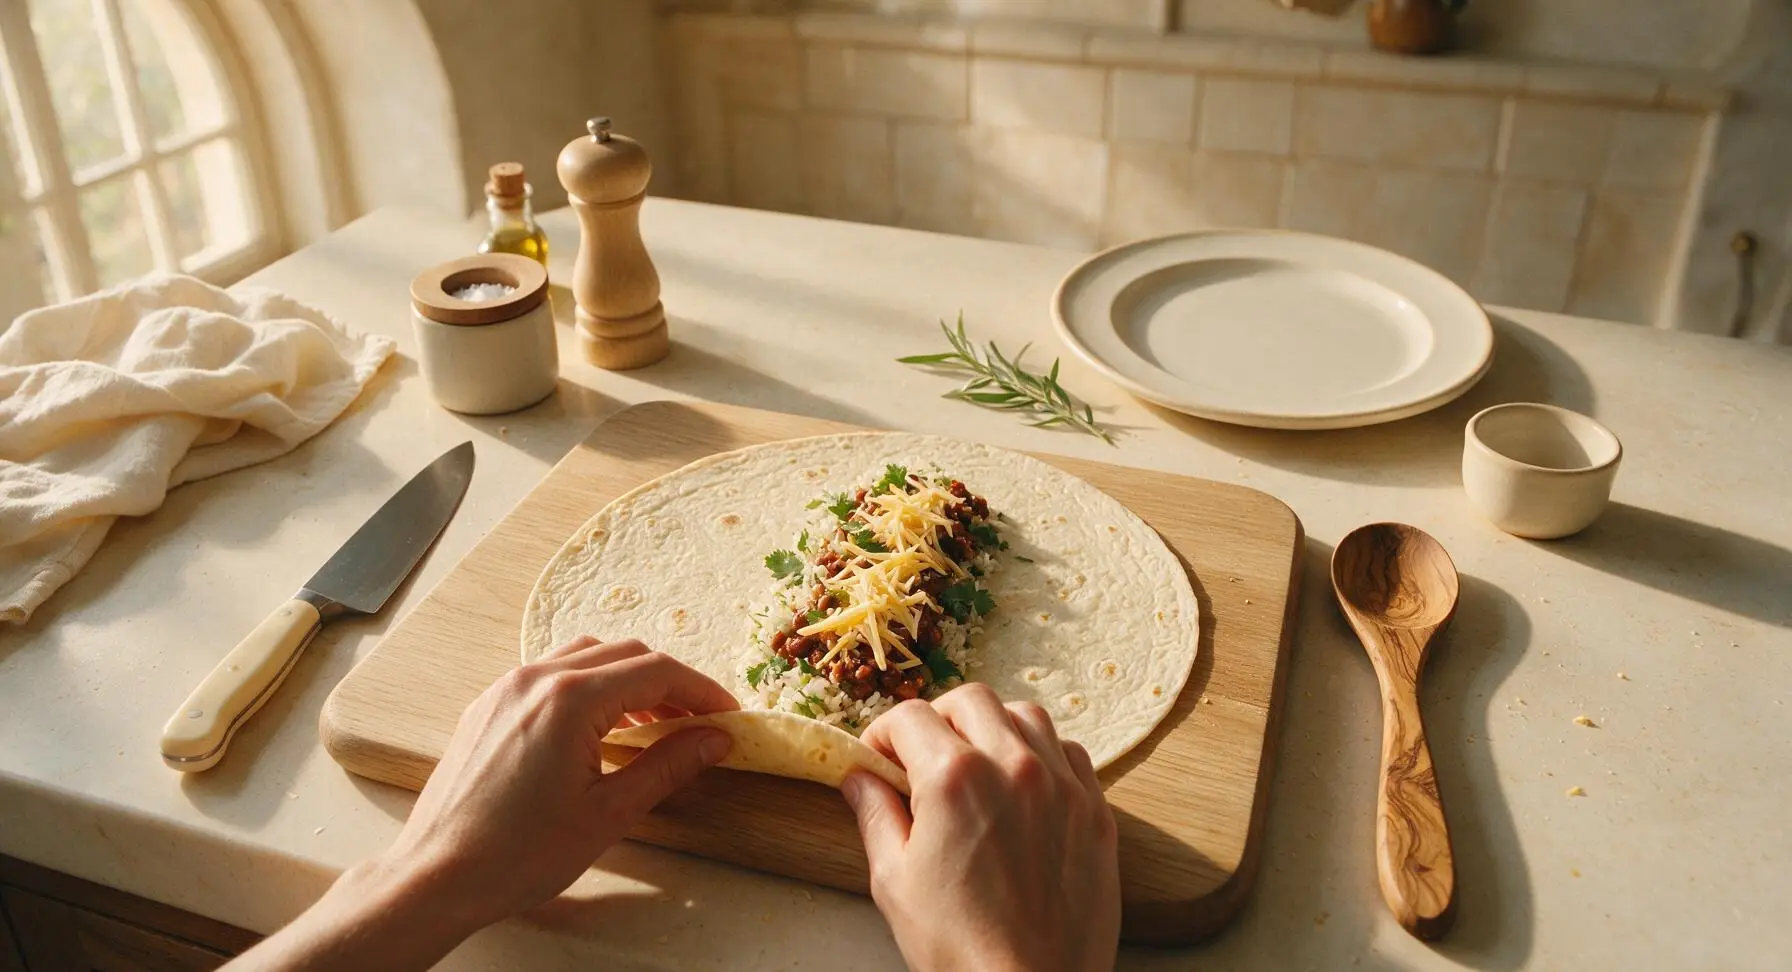
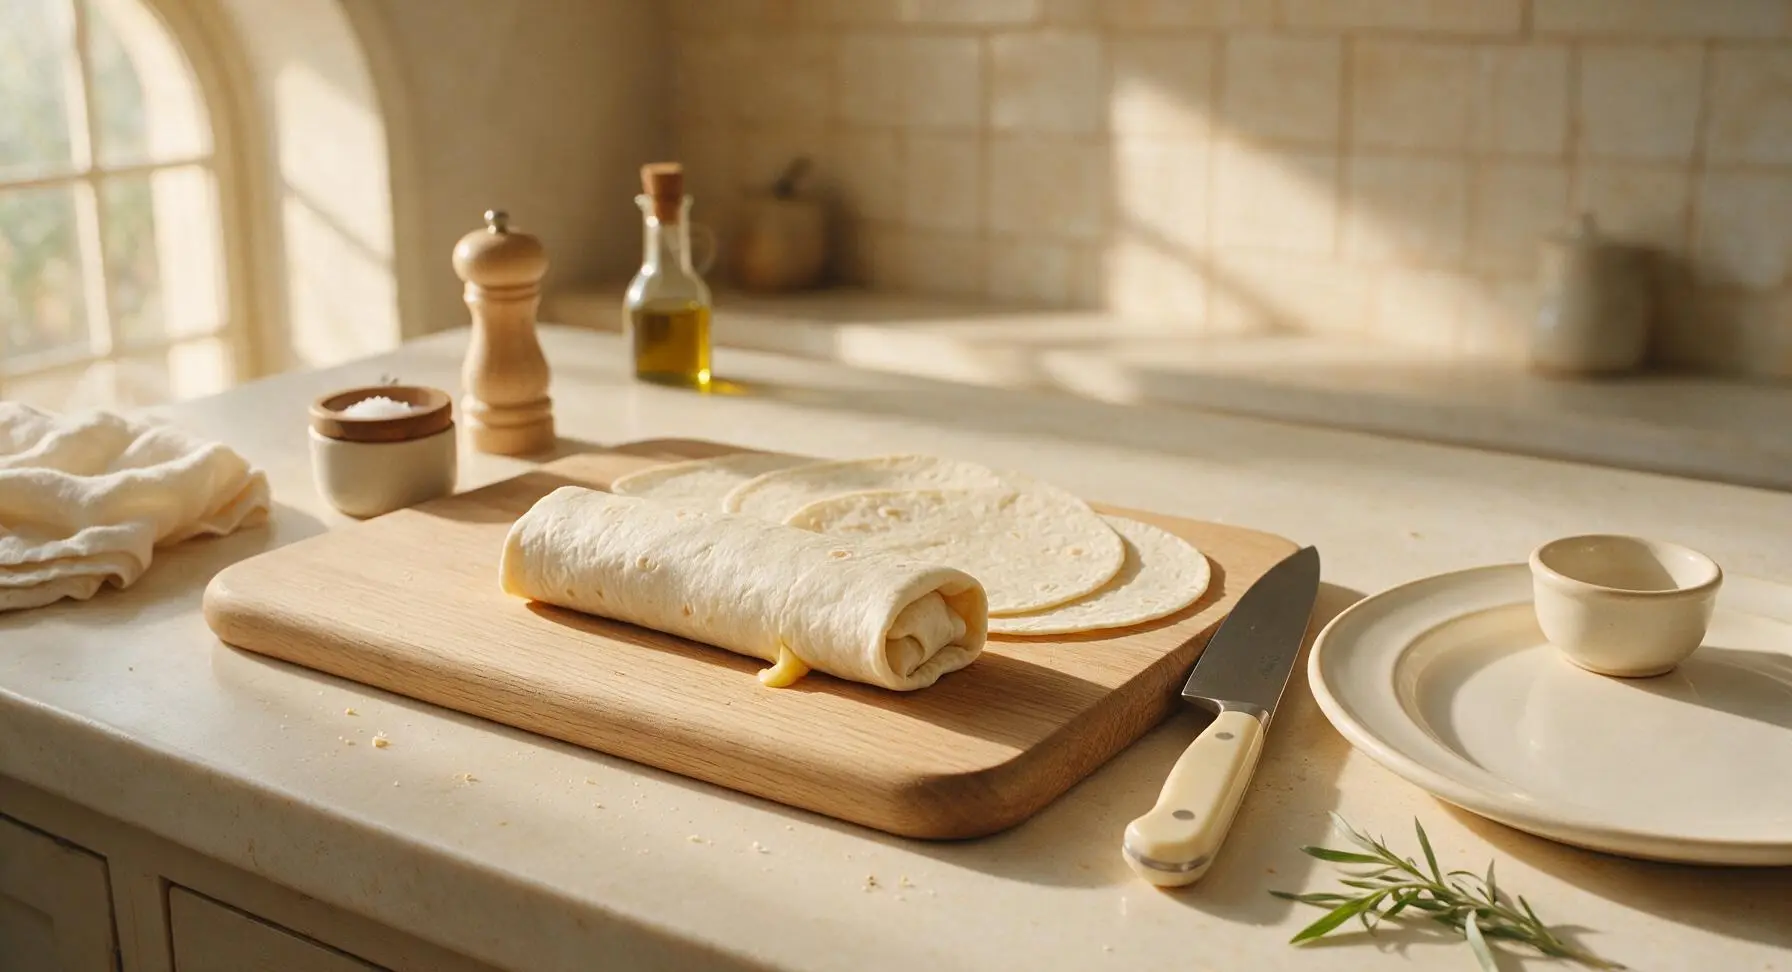
Step 5
step5:Fill and Fold Burritos
Step 5
step5:Fill and Fold Burritos
6

Toast Burritos to Crisp

Increase stovetop heat to medium-low. Place the folded burritos seam-side down in the skillet (work in two batches if needed to avoid crowding the pan). Toast for 2 minutes per side, pressing gently with the silicone spatula as they cook, until the tortilla exterior is deep golden and slightly crisp, and the cheese inside is fully melted. The seam will seal shut as it toasts, preventing filling from falling out.
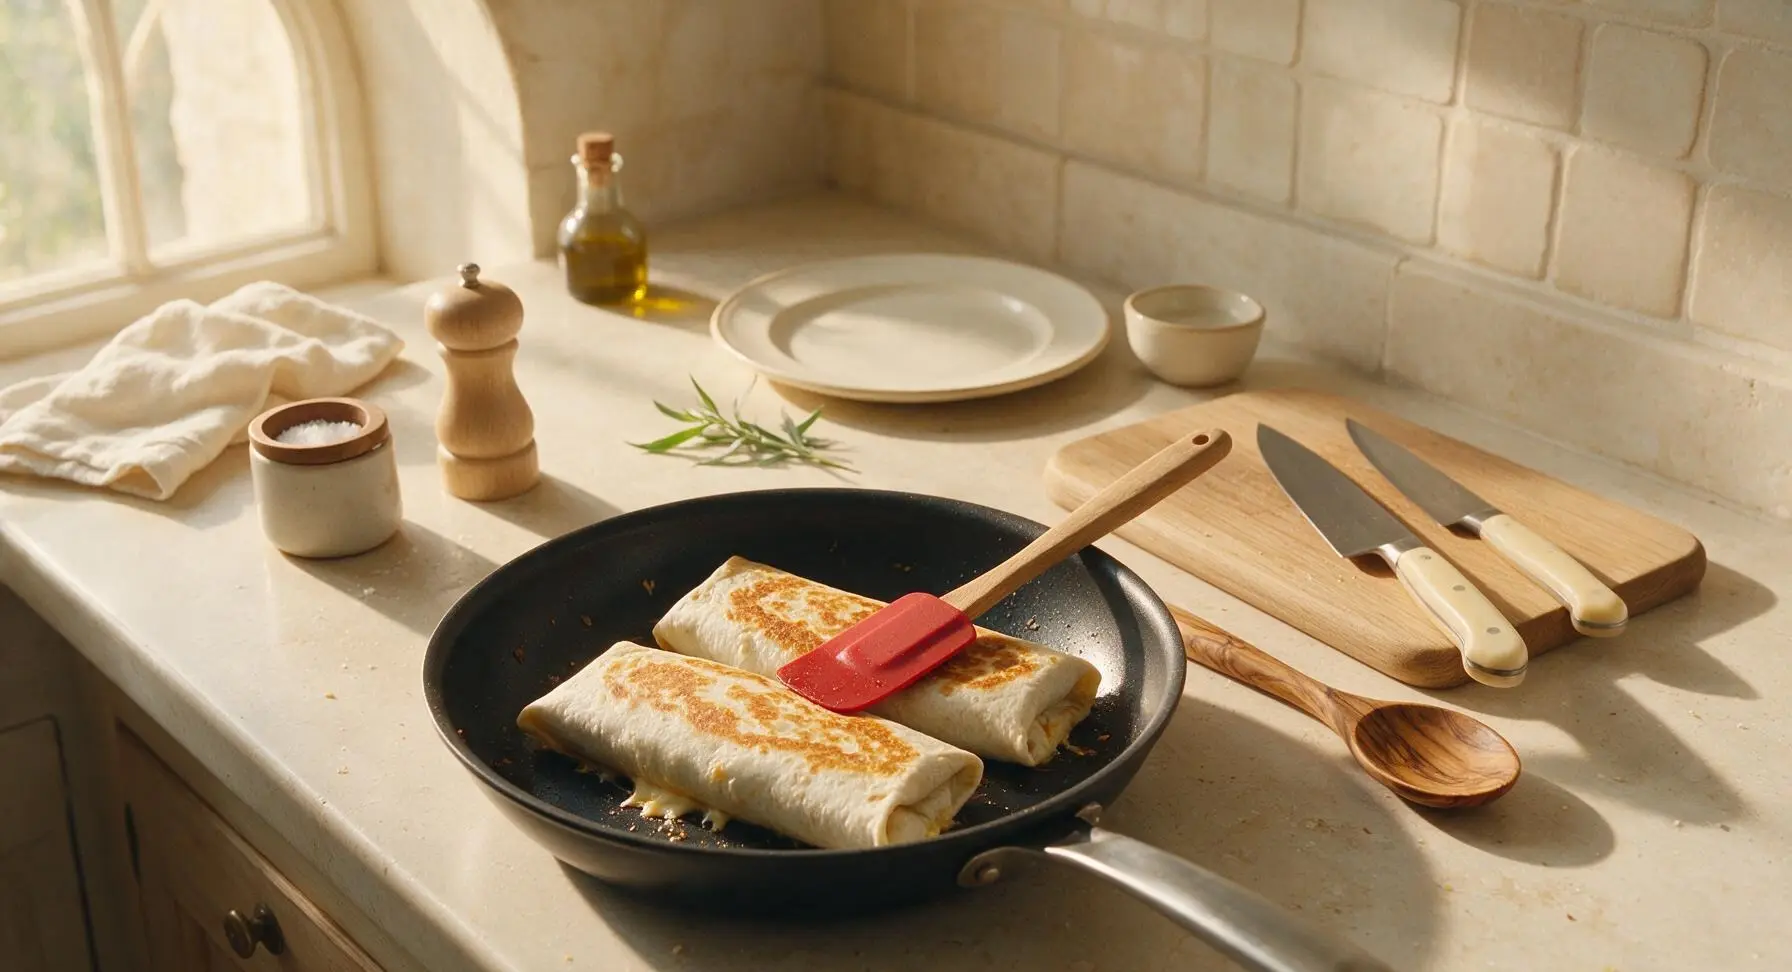
Step 6
step6:Toast Burritos to Crisp
7

Plate and Garnish Burritos

Transfer the toasted burritos to serving plates one at a time using the silicone spatula. Cut a 1-inch slit in the top of each burrito to vent hot steam, then top each with a 2-tablespoon dollop of sour cream, a light sprinkle of remaining chopped cilantro, and a lime wedge on the side. Serve immediately while the tortilla is crisp and the cheese is fully melted.
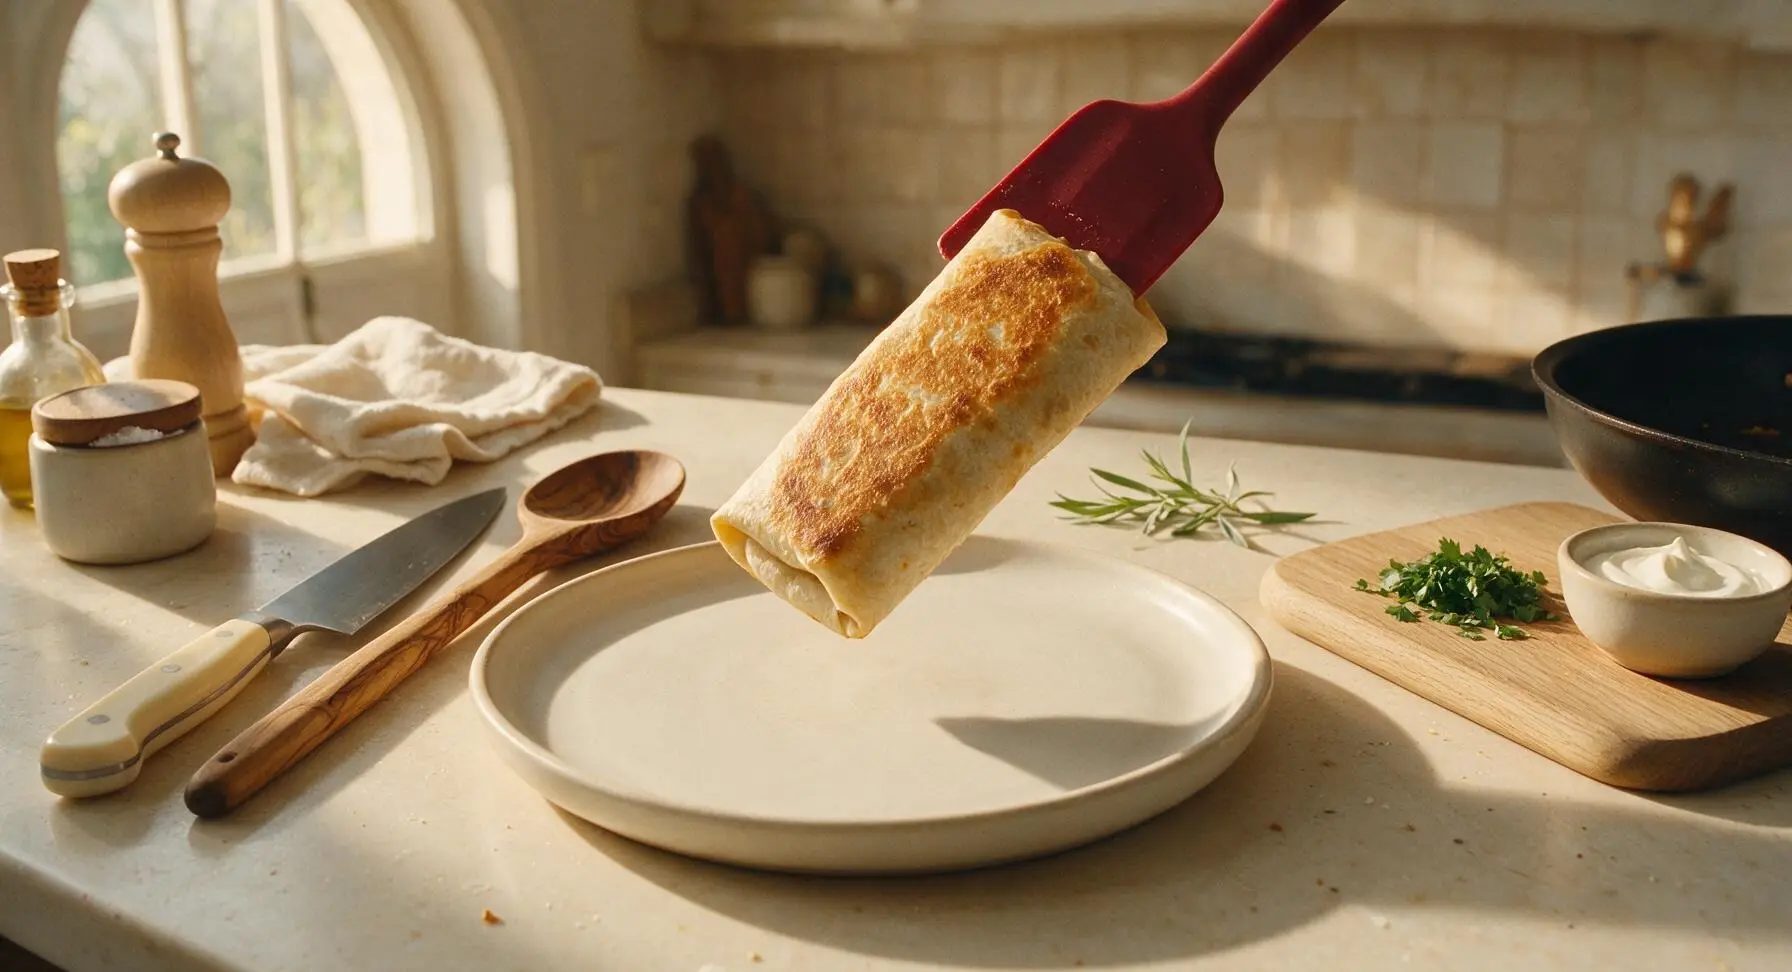
Step 7
step7:Plate and Garnish Burritos

Tips

1.Use slightly cooled, day-old leftover rice if possible: freshly cooked hot rice releases excess steam that will make tortillas soggy, while cooled rice stays fluffy and absorbs spice flavors without adding unwanted moisture.
2.Avoid overstuffing burritos: limit filling to 1/2 cup rice, 1/3 cup beans, and 1/3 cup cheese per tortilla, and keep a 2-inch clear border at the top and bottom edges. Too much filling will tear the tortilla and spill out during toasting.
3.For make-ahead meals, assemble and roll burritos (without toasting) and store wrapped in plastic in the fridge for up to 3 days, or freeze for up to 1 month. Toast directly from frozen for 5 minutes per side for an even faster meal.


✨ You May Also Like

Main Course
🍜 United Kingdom

A showstopping classic of tender seared beef, savory mushroom duxelles, and crisp prosciutto wrapped in flaky golden puff pastry, baked to juicy perfection.

⏱️ 2 hours 1Main Course ★ 4.7
Main Course
🍜 India

Tender charred marinated chicken simmered in a rich, spiced creamy tomato sauce, this iconic Anglo-Indian curry pairs perfectly with basmati rice or warm naan.

⏱️ 50 minuteMain Course ★ 4.6
Main Course
🍜 Thailand

Classic tangy, sweet, and savory Thai stir-fried rice noodles with shrimp, tofu, and crunchy garnishes, balancing all five core Thai flavor profiles.

⏱️ 30 minuteMain Course ★ 4.5
Main Course
🍜 United Kingdom

Crispy golden beer-battered cod and fluffy double-fried chips, served with tangy tartar sauce and malt vinegar: the timeless, beloved British pub comfort classic.

⏱️ 45 minuteMain Course ★ 4.7
Main Course
🍜 Mexico

Smoky, chile-marinated pork tacos with caramelized pineapple, fresh cilantro, and lime: a beloved classic Mexican street food perfect for casual summer gatherings.

⏱️ 1 hour 45Main Course ★ 4.8
Main Course
🍜 United States

Crunchy Fritos corn chips layered with savory beef chili and melted cheddar, topped with cool, zesty fixings for a beloved, cozy Tex-Mex comfort food.

⏱️ 35 minuteMain Course ★ 4.8

annies burritos:Frequently Asked Questions

1.Can I prep components of these burritos ahead of time for faster weeknight meals? ▾
Absolutely! You can cook the cilantro-lime rice and spiced black beans up to 3 days in advance, store them in airtight containers in the fridge, and shred the cheese 1 day ahead. When you’re ready to eat, just assemble the burritos and toast them in a pan—total cook time drops to under 10 minutes, perfect for busy weeknights.
2.My tortillas always crack when I roll them—how do I prevent that? ▾
Cracking usually happens when tortillas are cold or too dry. Before rolling, warm each tortilla for 10 to 15 seconds in a dry skillet over medium heat, or wrap a stack in a damp paper towel and microwave for 30 seconds. This makes them flexible enough to roll tightly around filling without splitting or cracking as you fold and toast.
3.Can I substitute a different cheese if I don’t have sharp cheddar on hand? ▾
Of course! Shredded Monterey Jack, pepper Jack, or a Mexican cheese blend work beautifully here, since all melt smoothly and pair well with the spiced beans and cilantro-lime rice. Avoid pre-shredded cheese with added anti-caking agents if possible, as it doesn’t melt as creamy as cheese you shred fresh from a block.
4.How do I get that perfectly crisp, toasted tortilla exterior without burning it? ▾
Heat 1 teaspoon of extra-virgin olive oil per burrito in a skillet over medium-low heat, not high. Once assembled, place burritos seam-side down in the pan, and cook for 2 to 3 minutes per side, pressing gently with a spatula, until golden and crisp all over. Lower heat prevents the outside from burning before the cheese inside fully melts.
5.Can I add extra protein like chicken or ground beef to these burritos? ▾
Definitely! These home-style burritos are super customizable. Add ½ cup of seasoned, cooked ground beef, shredded rotisserie chicken, or even crumbled seasoned tofu per burrito if you want extra protein. Just make sure any added fillings are warmed through before rolling, so they don’t keep the cheese from melting evenly.
6.How should I store leftover assembled burritos, and how do I reheat them? ▾
Let leftover burritos cool completely, then wrap each individually in plastic wrap or aluminum foil and store in the fridge for up to 3 days, or in the freezer for up to 3 months. To reheat, unwrap and place in a 350°F oven for 15 to 20 minutes (25 to 30 minutes from frozen) until heated through and crisp on the outside.
7.Do I need to rinse the canned black beans before using them in the filling? ▾
Yes, I always recommend rinsing canned black beans under cold running water for 30 seconds, then draining them well before adding your spices. The thick, starchy canning liquid can make bean filling watery and give it a slightly metallic off-flavor, so rinsing creates a cleaner, better-tasting filling that won’t make tortillas soggy.
8.Can I adjust this recipe to make vegan or dairy-free burritos? ▾
Absolutely! To make these dairy-free, simply swap the sharp cheddar for your favorite plant-based shredded melting cheese, and double-check that your whole-wheat tortillas don’t contain hidden dairy. You can keep the cilantro-lime rice and spiced black bean components exactly as they are, and toast as normal for the same great crispy, hearty texture.
9.What’s the best way to roll a burrito so filling doesn’t fall out while I eat it? ▾
Start by placing fillings in a neat line down the center of the warmed tortilla, leaving a 2-inch border on the short ends. Fold the two end flaps in over the filling, then tuck the long bottom edge tightly over the fillings and roll firmly away from you until sealed. Toasting seam-side down first helps glue the seal shut so nothing leaks out.

Comments (16)

2 days ago

OMG these were SO good! Threw these together on a random weeknight when I had zero dinner plans and both my kids asked for seconds. The seasoning is perfect, not too spicy for the little ones. Total game changer for our busy school night rotation!

30 minutes ago

Wait, can I swap the ground beef for ground turkey? I’m trying to cut down on red meat but don’t want to mess up the flavor profile!

5 minutes ago

Absolutely! Ground turkey works perfectly here—just add a tiny extra pinch of salt and a splash of beef broth if you want to amp up that savoriness to match the ground beef version. Hope you love it!

1 week ago

Made a double batch of these for my weekly meal prep on Sunday and they held up perfectly all week! Wrapped them individually in foil and just popped them in the microwave for 2 minutes at lunch. Saved me so much money on takeout this week.

5 days ago

Second this! I do the same and even freeze half of them for busy weeks—they reheat amazing straight from the freezer too!

3 days ago

Love that meal prep hack! So glad these fit into your weekly routine—freezing them individually is such a smart call for extra busy weeks.

yesterday

Took these to my weekly watch party with the guys last night and they were gone in 10 minutes flat. Everyone kept asking where I got the recipe! Only thing I added was a dollop of sour cream and a sprinkle of extra cheese on top, chef’s kiss.

2 hours ago

I brought these to my office potluck last month and had the exact same experience! Had three people text me the next day for the recipe, no joke.

5 minutes ago

As a broke college student with barely any cooking skills, this was so easy to make in my tiny dorm kitchen! Only took me 20 minutes like the recipe said, and I didn’t even need any fancy equipment. Way better than the frozen burritos I usually live off of.

3 days ago

I’m in charge of the main dish for our neighborhood block party next weekend and I’m strongly considering making these! How far in advance can I assemble them before baking? Don’t want to be stressed the morning of.

2 days ago

I assembled mine the night before, kept them covered in the fridge, and baked them right before guests arrived! Turned out perfectly, no sogginess at all.

2 days ago

Second Helen’s tip! I did the same for a potluck a couple weeks ago and they were a total hit. Just add 5 extra minutes to the bake time if they’re cold from the fridge.

2 hours ago

These are great, but I wish they had a little more kick! Any tips for dialing up the heat without throwing off the rest of the flavors?

30 minutes ago

Great question! You can add a diced jalapeño (seeds and all for extra heat) to the beef filling as it cooks, or stir in a 1/4 teaspoon of cayenne pepper. A drizzle of hot sauce on top before serving works great too!

2 weeks ago

My picky 7 year old who refuses to eat literally anything ate two whole burritos last night and asked if we could have them again tomorrow. I don’t know what magic is in this recipe but I’m never making another burrito recipe again. SO good.

30 minutes ago

So excited to try these! Quick question for folks who have made them already: has anyone had success using gluten free tortillas? I have celiac and have had so many GF wraps tear or get mushy in burrito recipes before.

5 minutes ago

I used the cassava flour GF tortillas from my local grocery store and they worked perfectly! I warmed them for 10 seconds in the microwave before filling so they were extra pliable, no tears at all.

just now

Corn tortillas work too if you prefer those! I make a batch with corn for my GF kid and regular flour for the rest of the family, everyone is happy.

5 days ago

Wait, can I freeze these after baking? I love having quick grab-and-go meals for nights when I get home late from work and don’t feel like cooking.

3 days ago

You sure can! Let them cool completely after baking, wrap each tightly in plastic wrap and foil, and they’ll keep in the freezer for up to 3 months. Reheat in the oven at 350°F for 20-25 minutes straight from frozen for the best texture.

1 week ago

Made these for our family Sunday dinner last weekend and everyone raved. The refried bean layer adds such a nice creaminess that I never think to add to my homemade burritos. 10/10, will be a regular in our dinner rotation for sure.

2 hours ago

Total beginner cook here—how tightly do I need to fold the burritos? I always end up with filling spilling out everywhere when I try to make burritos at home lmao

30 minutes ago

No stress! Fold the sides in first over the filling, then roll the bottom edge up tightly over the filling before tucking and rolling the rest of the way. If your tortillas are stiff, warm them for a few seconds in the microwave first to make them more flexible and less likely to tear.

5 minutes ago

Pro tip: don’t overstuff them! I used to pile way too much filling in and that’s why they always split on me. Stick to about 1/3 cup of filling per burrito and you’ll be golden.

2 days ago

I swapped the beef for black beans and roasted sweet potato to make these vegetarian and they were INCREDIBLE. The seasoning blend works so well with veggie fillings too, I was shocked how flavorful they were even without the meat.

yesterday

Oh I’m definitely trying that swap! I’ve been looking for more veggie-forward weeknight meals, this sounds perfect.

1 week ago

Made these for our college football tailgate last Saturday and they were such a hit. Easy to hold while standing around and chatting, no messy plates needed, and everyone kept coming back for more. Even beat out the usual burgers and brats for fan favorite, which is saying something.

3 days ago

I added an extra handful of shredded cheddar to the filling AND sprinkled more on top during the last 5 minutes of baking and it was so cheesy and delicious. Don’t skip the cheese, trust me.

2 days ago

That cheese hack sounds incredible—extra melty cheese is always a good call in our book! We’re definitely going to try that next time we make these ourselves.

yesterday

How long do these stay good in the fridge? I have a ton of leftovers from last night’s dinner and don’t want them to go to waste!

2 hours ago

I’ve kept mine in an airtight container in the fridge for up to 4 days and they tasted just as good as the night I made them! Just reheat in the microwave or oven and you’re good to go.

30 minutes ago

Frank is exactly right! Stored in a sealed airtight container, these will keep for 3-4 days in the fridge. For best results, reheat in the oven at 350°F for 10 minutes to keep the tortillas from getting soggy.



