1.What type of apples work best for this classic French apple tart, and can I use a substitute for Honeycrisp?
▾
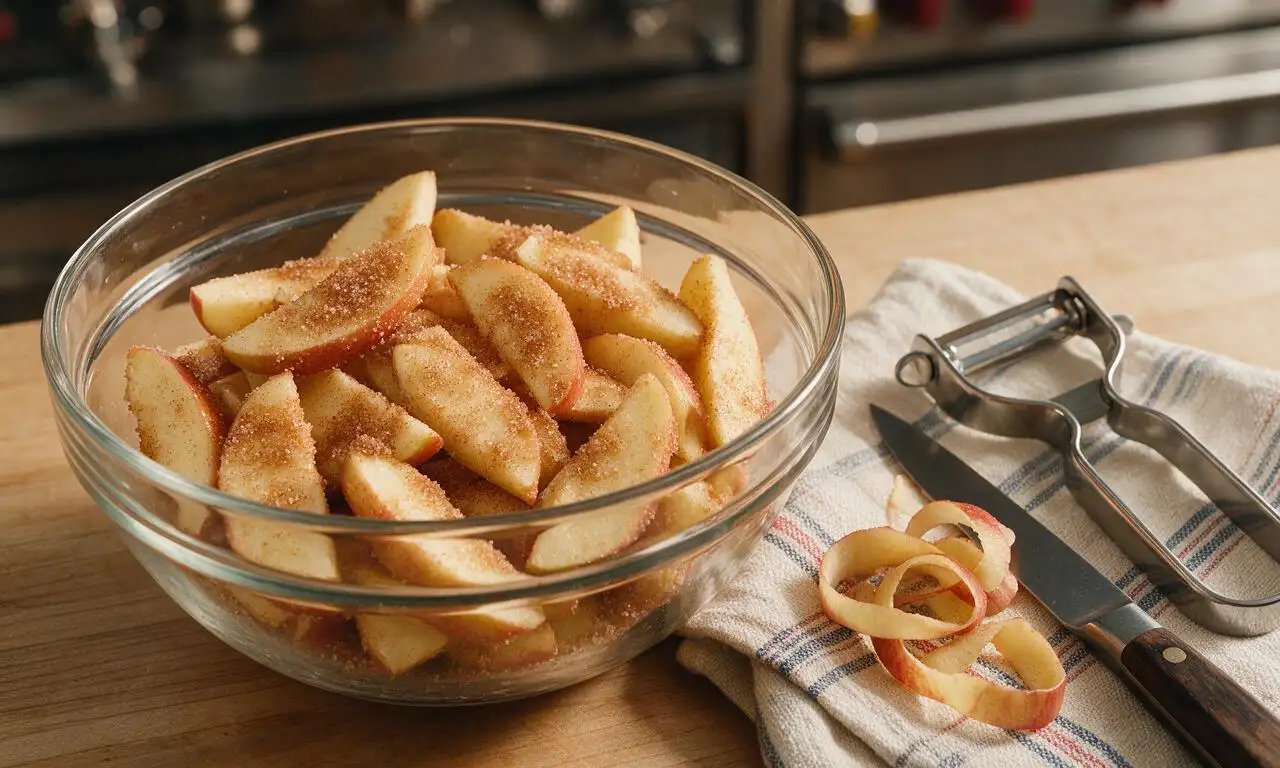
Honeycrisp apples are my top pick here because they strike the perfect sweet-tart balance, hold their shape beautifully during baking, and don’t turn mushy or watery. If you don’t have Honeycrisp, swap in other firm baking apples like Braeburn, Pink Lady, or a mix of Granny Smith and Gala for depth. Skip soft, mealy varieties like Red Delicious, as they’ll break down and make your crust soggy.
2.Why does the recipe specify cold unsalted butter for the crust, instead of room temperature or salted butter?
▾
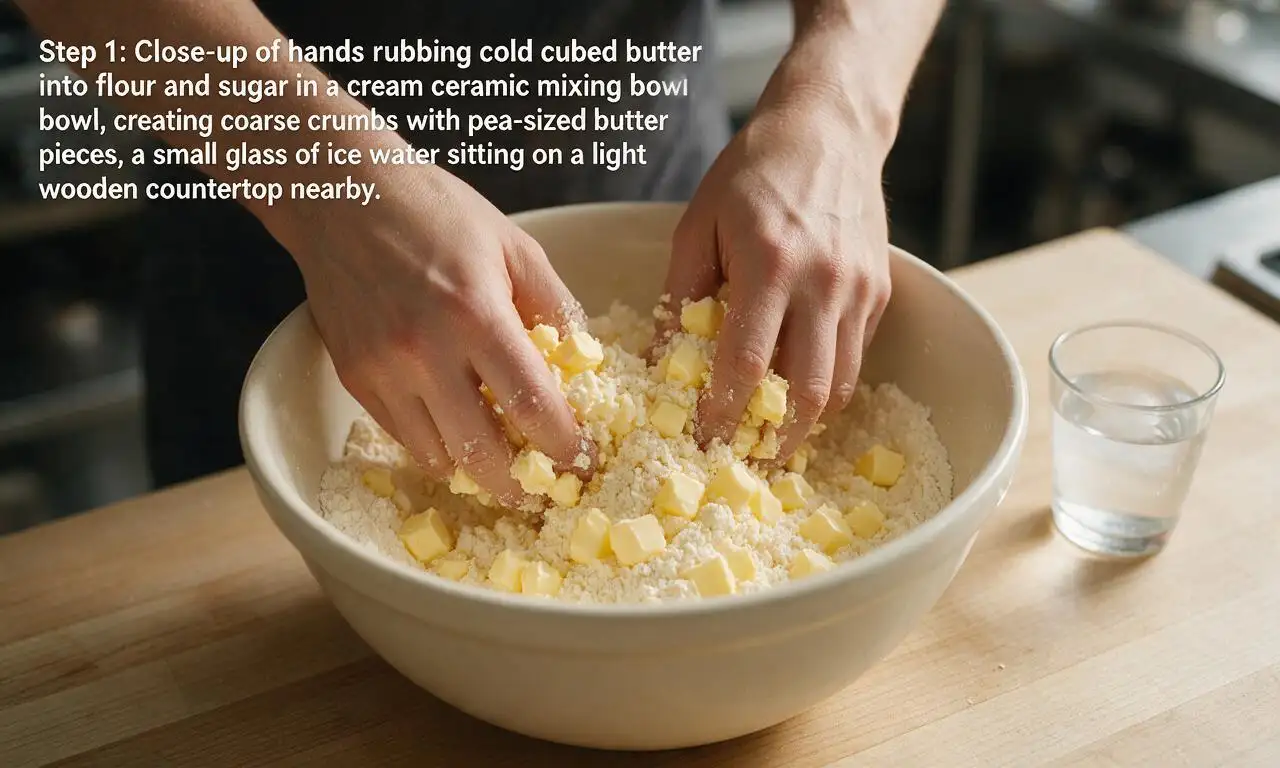
Cold butter is non-negotiable for that signature buttery, flaky tart crust. As cold butter melts in the hot oven, it creates steam pockets that lift the dough into light, crisp layers, instead of soaking into the flour to make a tough, dense crust. Using unsalted butter lets you control exactly how much salt goes into the dough, so you don’t end up with an overly salty final tart.
3.Do I need to blind bake the tart crust before adding the apple topping?
▾
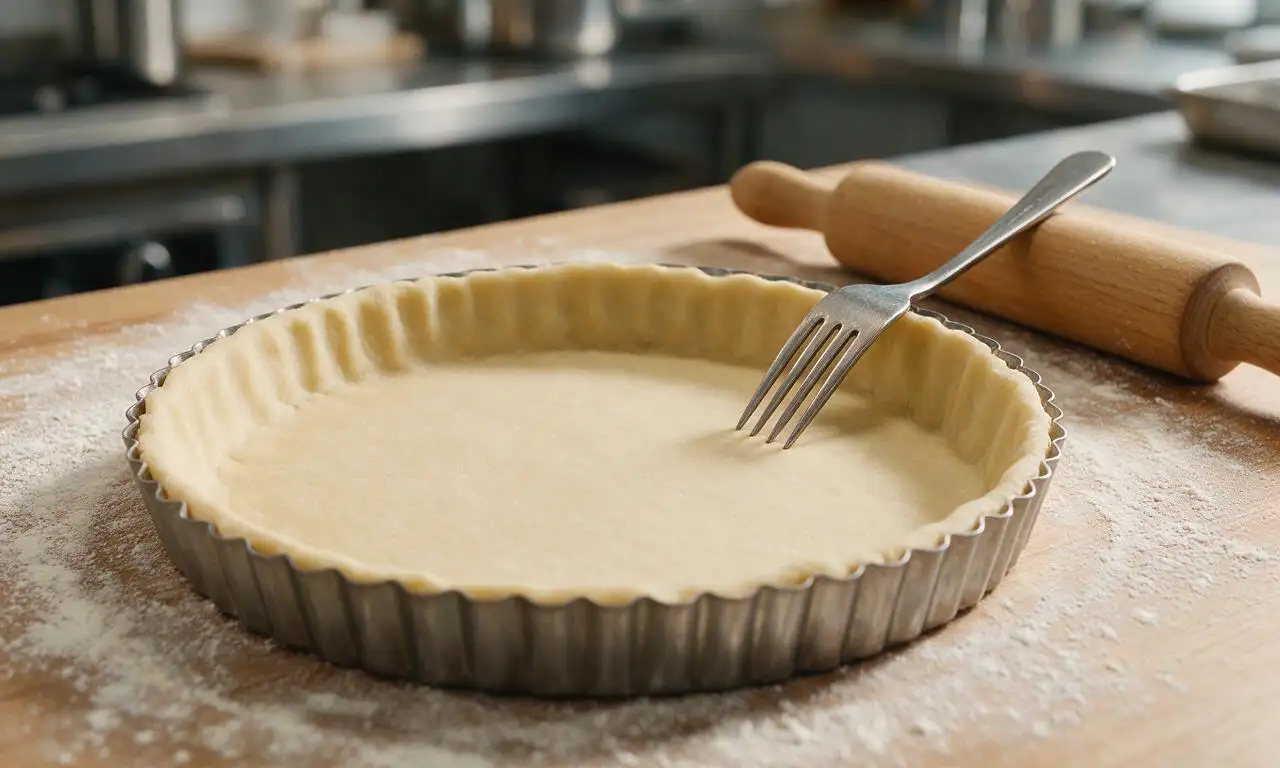
Yes, a short blind bake is key to avoiding a soggy bottom, since apple slices release juice as they cook. Line your chilled crust with parchment, fill it with pie weights or dried beans, and bake at 375°F for 12 minutes before removing the weights and adding your apple topping. This sets the crust structure so it stays crisp even under the moist fruit.
4.How thin should I slice the apples to get that classic, neatly arranged tart top?
▾
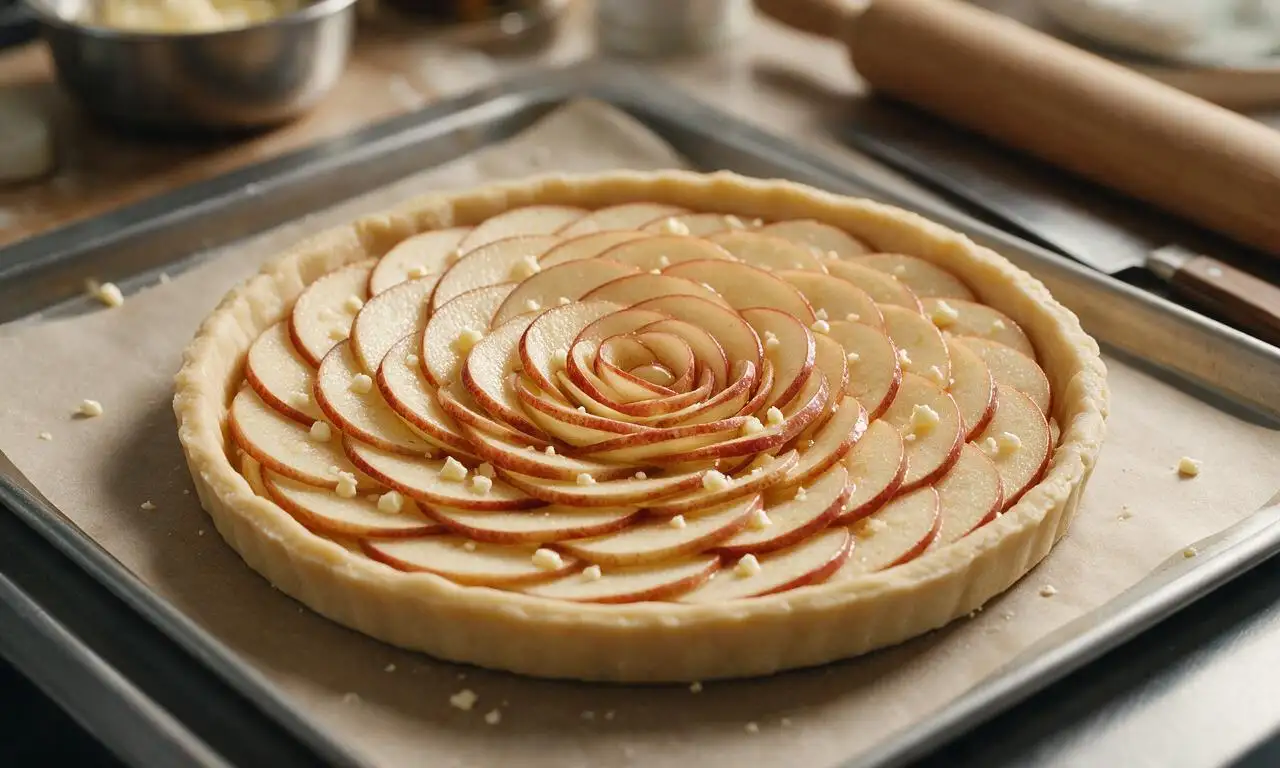
Aim for uniform 1/8-inch thick slices for that iconic, shingled French tart look. Slices that are too thick won’t cook through evenly and leave lumpy, uneven gaps, while paper-thin slices will overcook and turn mushy before the crust is done. A sharp mandoline makes quick, consistent work of this, but a sharp chef’s knife works perfectly too.
5.What is the purpose of the apricot glaze mentioned in the recipe intro?
▾
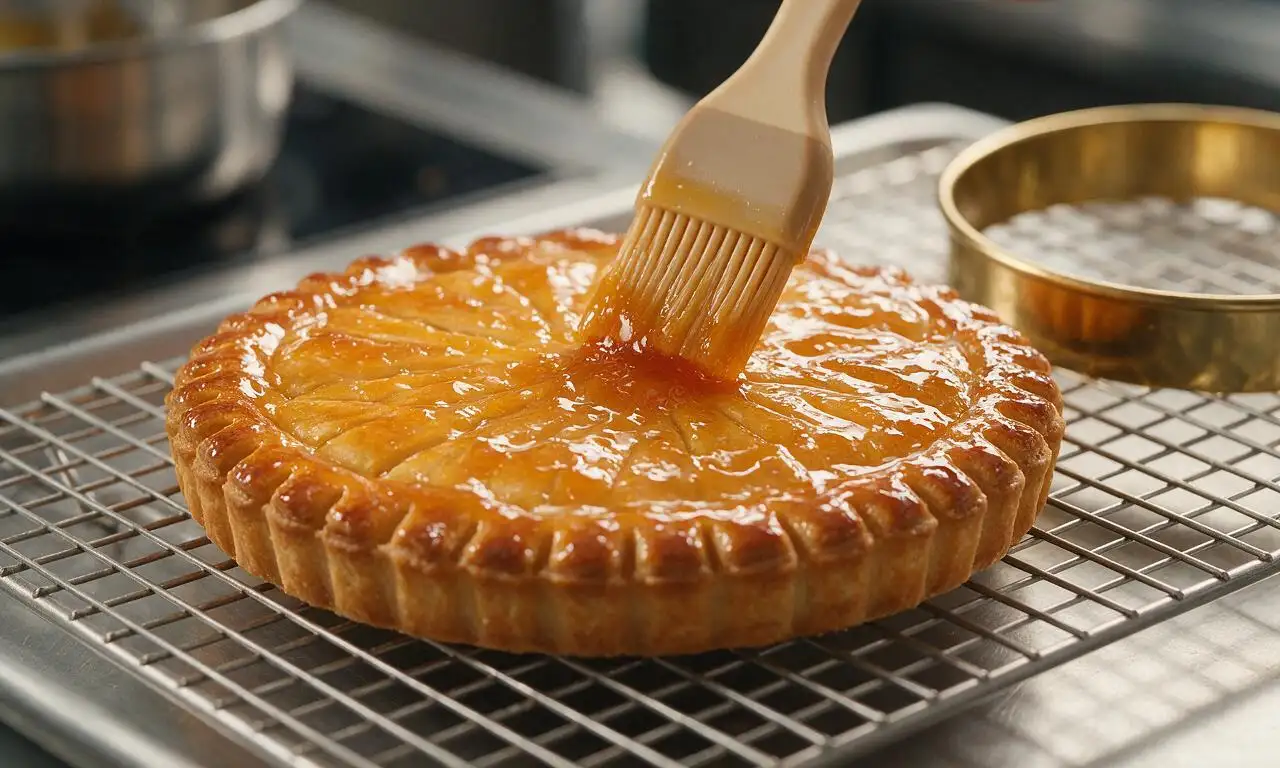
The apricot glaze does three key jobs: it gives the tart that signature shiny, professional bakery finish, it locks in moisture so apple slices don’t dry out or brown after baking, and it adds a subtle bright, fruity sweetness that complements warm cinnamon and buttery apple flavor without overpowering it. Warm strained apricot jam with a splash of water to brush on right after baking.
6.Can I make the tart crust ahead of time to cut down on prep work on baking day?
▾
Absolutely—making crust ahead is one of my go-to time-savers for dinner parties. You can wrap the tightly formed dough disk in plastic wrap and store it in the fridge for up to 3 days, or freeze it for up to 3 months. Just thaw frozen dough in the fridge overnight before rolling, and chill the rolled crust in the pan for 20 minutes before baking to prevent shrinkage.
7.How much ground cinnamon should I use, and will it overpower the fresh apple flavor?
▾
Stick to 1 to 1.5 teaspoons of ground cinnamon for a standard 9-inch tart—this gives that warm, cozy “cinnamon-kissed” flavor the recipe calls for, without masking the bright, fresh taste of peak autumn apples. Toss slices with cinnamon and a small amount of granulated sugar before arranging, so the spice is evenly distributed instead of clumping in spots.
8.My tart crust shrank a lot when I baked it last time—what did I do wrong?
▾
Crust shrinkage almost always comes down to two common issues: you didn’t chill the dough long enough before baking, or you stretched the dough when pressing it into the tart pan. When rolling and fitting dough, lift it gently to settle into the pan instead of pulling it tight, then chill the lined pan for 20 full minutes before blind baking to let gluten relax and butter re-solidify.
9.Can I use a different type of flour instead of all-purpose flour for the crust?
▾
All-purpose flour is ideal here because its moderate protein content creates a crust that’s tender but sturdy enough to hold apple slices and glaze without crumbling. If you need a swap, use a 1:1 gluten-free all-purpose baking blend with xanthan gum, but avoid cake flour (too tender, won’t hold shape) or bread flour (too high protein, makes tough crust).
10.How do I keep my cut apple slices from browning while I’m arranging them on the crust?
▾
As you slice your apples, toss them in a bowl with 1 teaspoon of lemon juice mixed into 1 cup of cold water—this mild acid stops the enzymatic browning that makes cut apples turn unappetizingly brown while you work. Drain slices well and pat them gently dry with paper towels before arranging, so excess water doesn’t seep into the crust and make it soggy.
11.Do I need a special fluted tart pan with a removable bottom to make this recipe?
▾
A 9-inch fluted tart pan with a removable bottom makes it much easier to get clean, pretty slices and show off that classic fluted edge, but it’s not strictly required. If you don’t have one, you can use a 9-inch pie dish, just note you won’t get the sharp, defined tart edge, and you may need 2 to 3 extra minutes of bake time to crisp the bottom crust fully.
12.How much granulated sugar does the recipe need, and can I reduce it for a less sweet tart?
▾
For a standard 9-inch tart, you’ll only need ¼ to ⅓ cup of granulated sugar total, split between a small amount in the crust and a light toss with the cinnamon-coated apples. Honeycrisp apples are naturally sweet, so you can cut the sugar added to apples by half if you prefer a more tart, fruit-forward dessert—just don’t skip the small crust portion, which helps it brown evenly.
13.How long do I bake the assembled tart, and how do I tell when it’s fully done?
▾
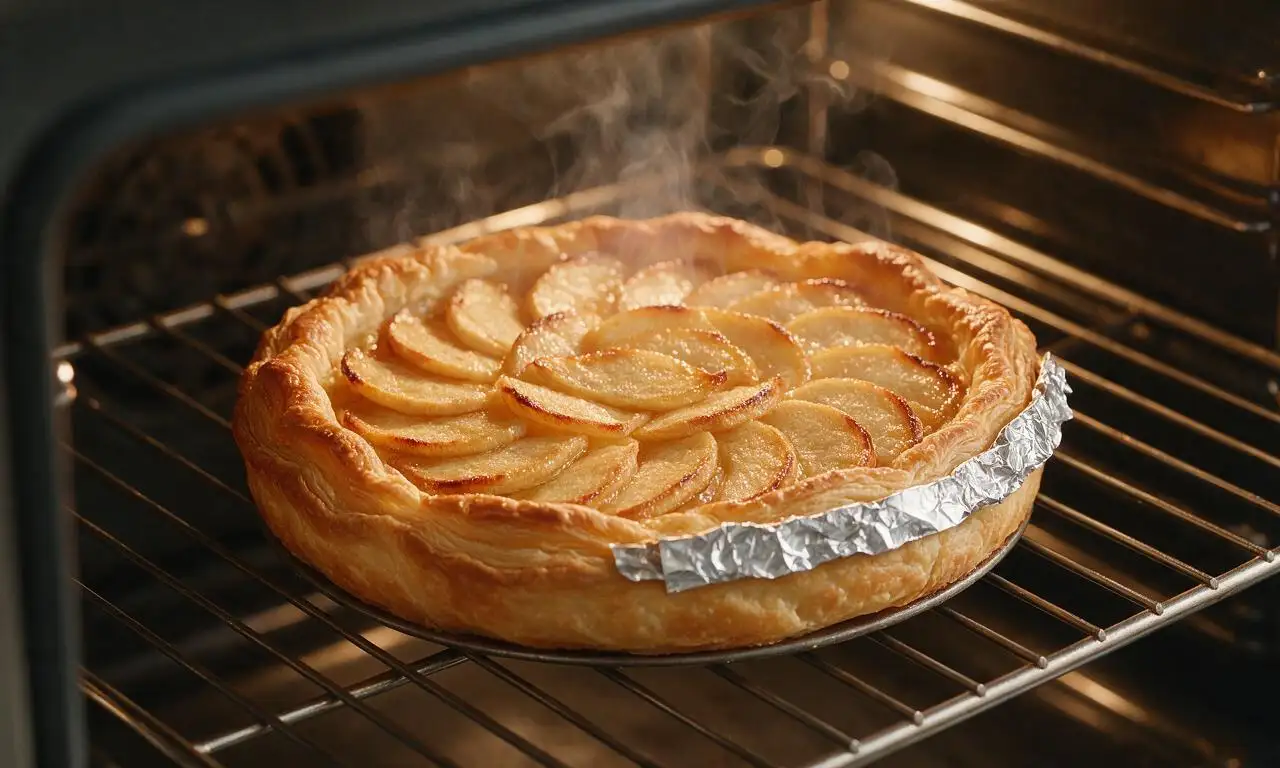
Bake the assembled tart at 375°F for 35 to 40 minutes total. You’ll know it’s done when the crust is a deep golden brown around the edges, the apple slices are tender when poked with a paring knife (with no tough, crunchy center), and the edges of the top apple slices have just started to caramelize to a light amber. Let it cool 15 minutes before glazing.
14.Can I freeze a fully baked classic French apple tart to enjoy later?
▾
You can freeze a fully baked, unglazed apple tart for up to 2 months, wrapped tightly in two layers of plastic wrap and one layer of aluminum foil to prevent freezer burn. Thaw it in the fridge overnight, then warm it in a 350°F oven for 10 minutes to crisp the crust back up before brushing on apricot glaze and serving. Don’t freeze glazed tarts, as the glaze turns gummy when thawed.
15.Why do my baked apple slices turn out mushy instead of tender but firm?
▾
Mushy apples almost always come from using the wrong apple variety, slicing them too thin, or baking the tart at too low a temperature. Stick to firm baking apples like the recommended Honeycrisp, slice them to a consistent 1/8-inch thickness, and make sure your oven is fully preheated so apples cook quickly instead of stewing in their own juices for too long.
16.What are the best ways to serve classic French apple tart?
▾
This tart is perfect served slightly warm or at room temperature, no fussy toppings required. A dollop of freshly whipped crème fraîche or small scoop of vanilla bean ice cream pairs beautifully with the warm cinnamon and bright apple flavor, but skip heavy, rich sauces like caramel—they’ll overpower the delicate, simple balance of buttery crust, sweet apple, and bright apricot glaze.
17.I don’t have apricot jam for the glaze—what’s a good substitute?
▾
If you don’t have apricot jam for the glaze, the best swap is strained peach or apple jelly, which has a similarly mild, light fruit flavor that won’t clash with the apples. Avoid strongly flavored jams like raspberry, blackberry, or strawberry, as they’ll darken the tart top and add bold berry flavor that distracts from the classic apple and cinnamon profile. Warm the jelly with a splash of water just as you would apricot jam.

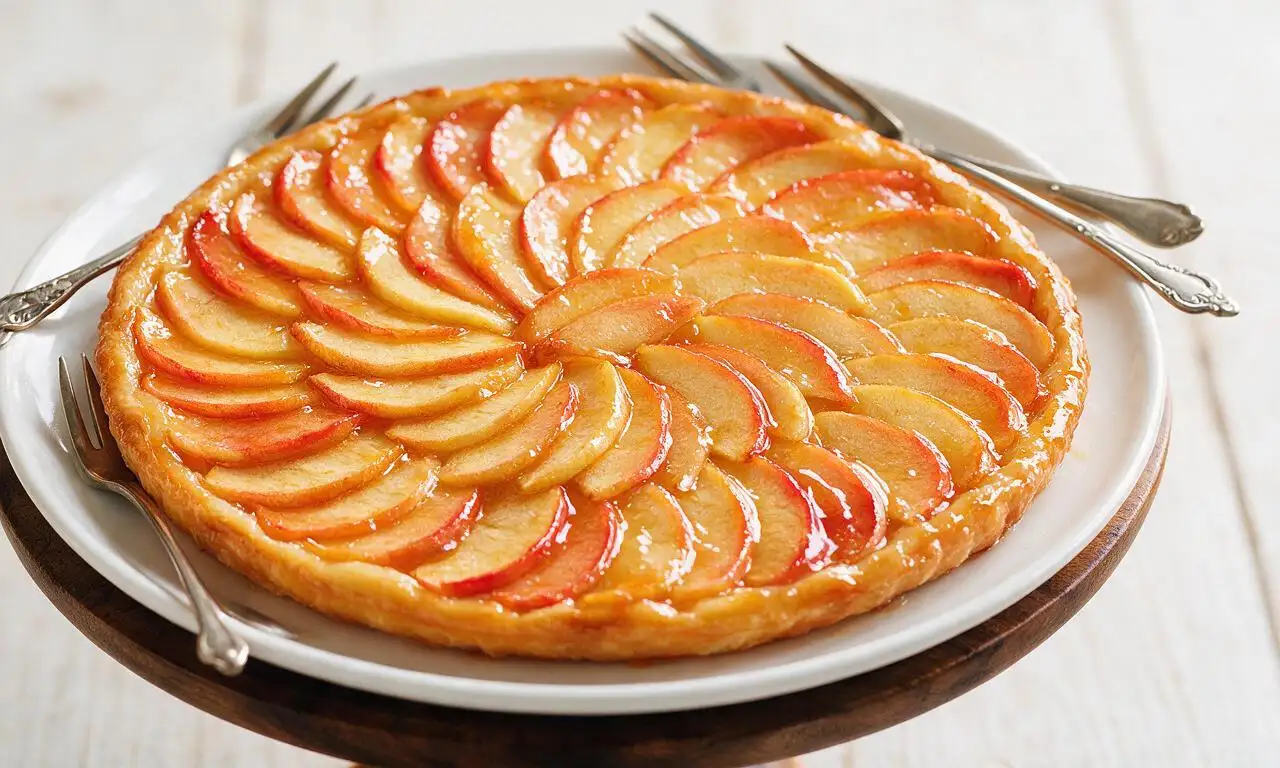






OMG this classic French apple tart was the star of our Sunday family dinner last night! I was nervous it’d be too fussy for a medium-difficulty recipe, but the instructions were so clear, even my 10 year old helped arrange the apple slices. The glaze on top? Total game changer. My in-laws asked for the recipe before they even left, no cap.
Took me a little over an hour and a half total, which matched the cook time pretty spot on. Used Honeycrisp apples like the recipe suggested and the flavor balance of sweet, tart, buttery crust was SO good. Only thing I’d change next time is adding a tiny dash of cinnamon to the apple layer, personal preference.
Full transparency, I’ve never made any kind of tart before and I was terrified I’d mess this up for my partner’s birthday dinner. The crust didn’t shrink when I blind baked it (!!) and the whole thing looked like it came from a fancy French bakery. My partner said it’s better than the one we had on our Paris trip. Wild.
My kids loved it! I cut the sugar just a tiny bit because my boys don’t love super sweet desserts, and they devoured half the tart after soccer practice. Served it with a scoop of vanilla bean ice cream on the side, chef’s kiss.
Tried this for a little date night in with my wife, and let me tell you — I almost burned the crust because I got distracted watching the football game, but even slightly overdone it was still amazing. Pro tip: set a timer, don’t be like me. Worth every minute of effort, though.
Swapped the regular all-purpose flour for a 1:1 gluten free baking flour for my roommate who has celiac, and it worked like a charm! The crust was still buttery and flaky, no weird gritty texture you sometimes get with GF baked goods. Will absolutely be making this again for our next girls’ night.
Made this in my tiny dorm kitchen with a super cheap tart pan I grabbed from the dollar store, and it still turned out great! I thought medium difficulty meant I’d need fancy equipment, but nope, all stuff I already had except the pan. Total win for impressing my roommates.
I’ve been making French apple tart for 40+ years, and this recipe is hands down one of the best home cook versions I’ve come across. The tip for fanning the apple slices in thin, even layers is exactly what so many new bakers miss, and the apricot glaze is that classic touch a lot of modern recipes skip for no reason. Great work on keeping it authentic.
Made this for my office potluck last week and people were coming up to me for two days asking for the recipe. I was worried it wouldn’t hold up being transported 20 minutes on the train, but it stayed perfectly crisp and didn’t get soggy at all. 10/10, will be making this for every work event from now on.
I used a mix of Granny Smith and Pink Lady apples instead of all Honeycrisp because that’s what I had in my fruit bowl from apple picking last weekend, and it was the perfect tart-sweet combo. If you have extra apples lying around from a fall orchard trip, this is the absolute best way to use them up.
Okay, full disclosure, I messed up the crust the first time because I overworked the dough and it got tough. I read the note in the recipe about not overmixing, I just got lazy! Second batch came out perfect, flaky, melt-in-your-mouth buttery. Don’t skip the note about handling the dough gently, y’all, it’s there for a reason.
I meal prepped the components for this on Sunday so I could bake it fresh for my roommate’s birthday on Tuesday, and it worked so well. The crust was pre-rolled, the apples were sliced and stored in lemon water so they didn’t brown, and assembly took 10 minutes max before popping it in the oven. Game changer for busy weeknight celebrations.
I added a tiny sprinkle of flaky sea salt on top right after taking it out of the oven, and let me tell you, that little salty kick with the sweet apples and buttery crust is unreal. If you’re a salted dessert girlie like me, do not sleep on that hack.
Served this at my weekend brunch last weekend alongside mimosas and quiche, and it was the perfect sweet addition to the spread. It’s not overly heavy, so people didn’t feel too stuffed after eating a slice, which is ideal for brunch. Will be adding this to my regular brunch rotation for sure.