
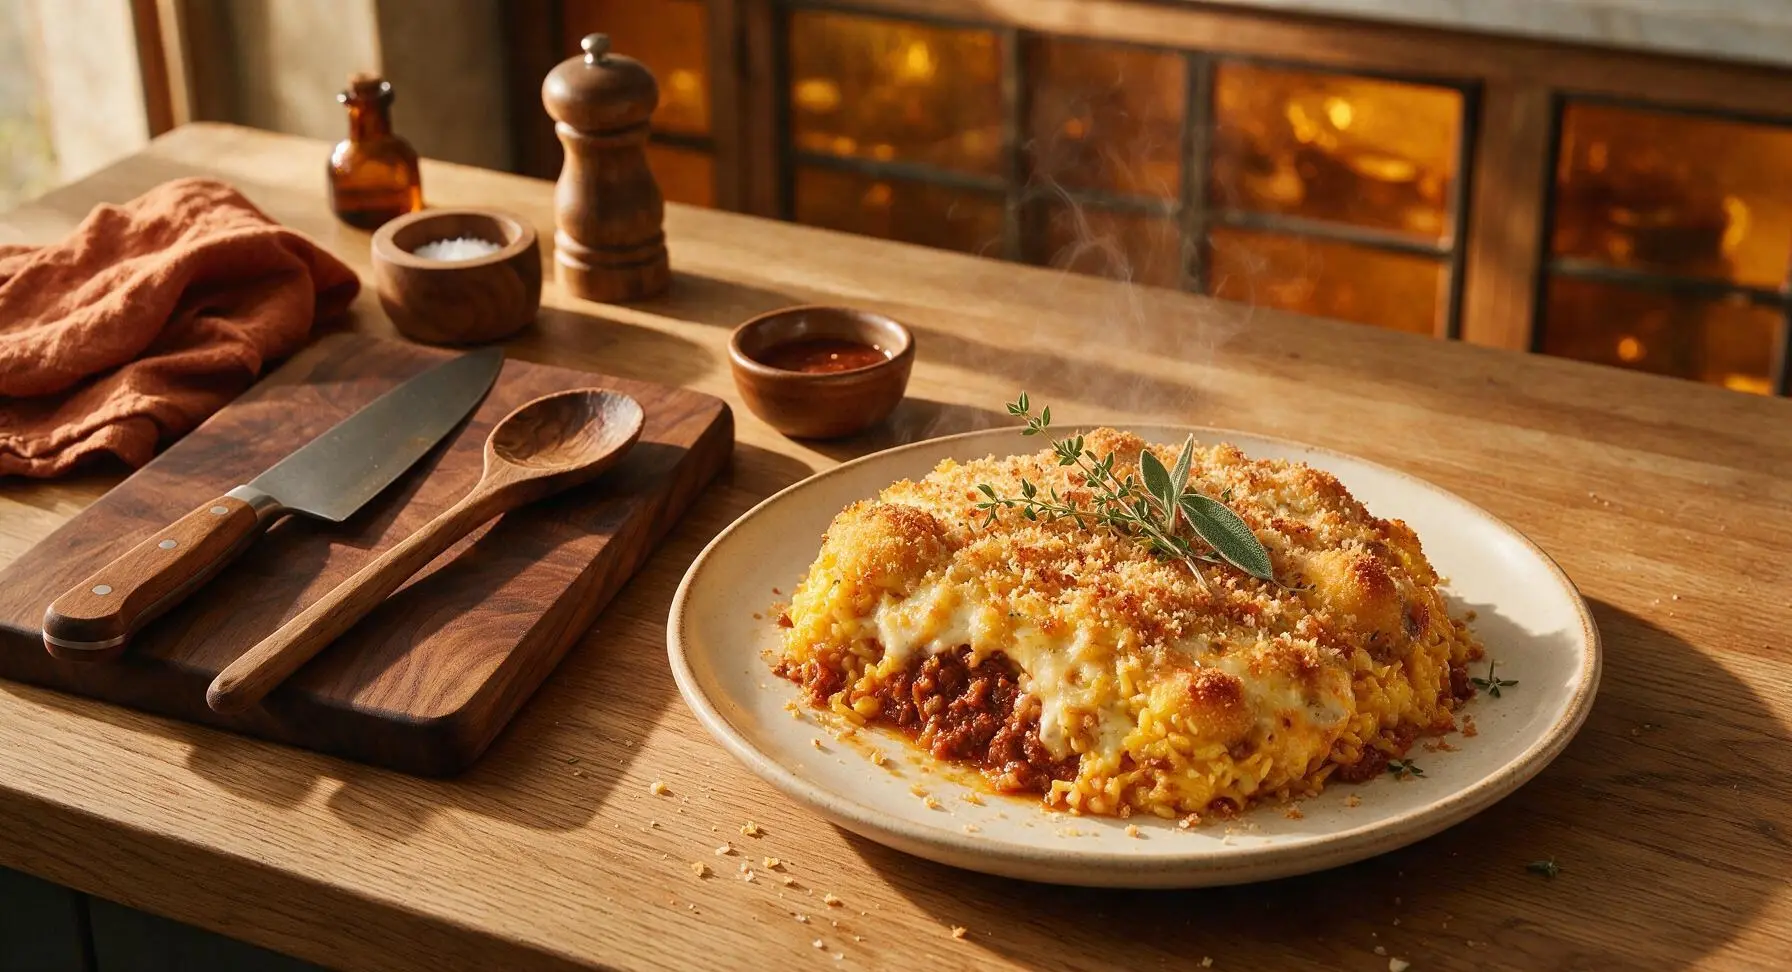
arancini casserole

title 1
arancini casserole
⏱️ cook time 1 hour 15 minutes
🍽️ servings 6
⚡ Difficulty medium

intro

All the saffron-kissed, cheesy, ragù-stuffed flavor of classic Sicilian street-style arancini, baked into a no-fry, shareable casserole topped with a crisp golden panko crust.

Ingredients
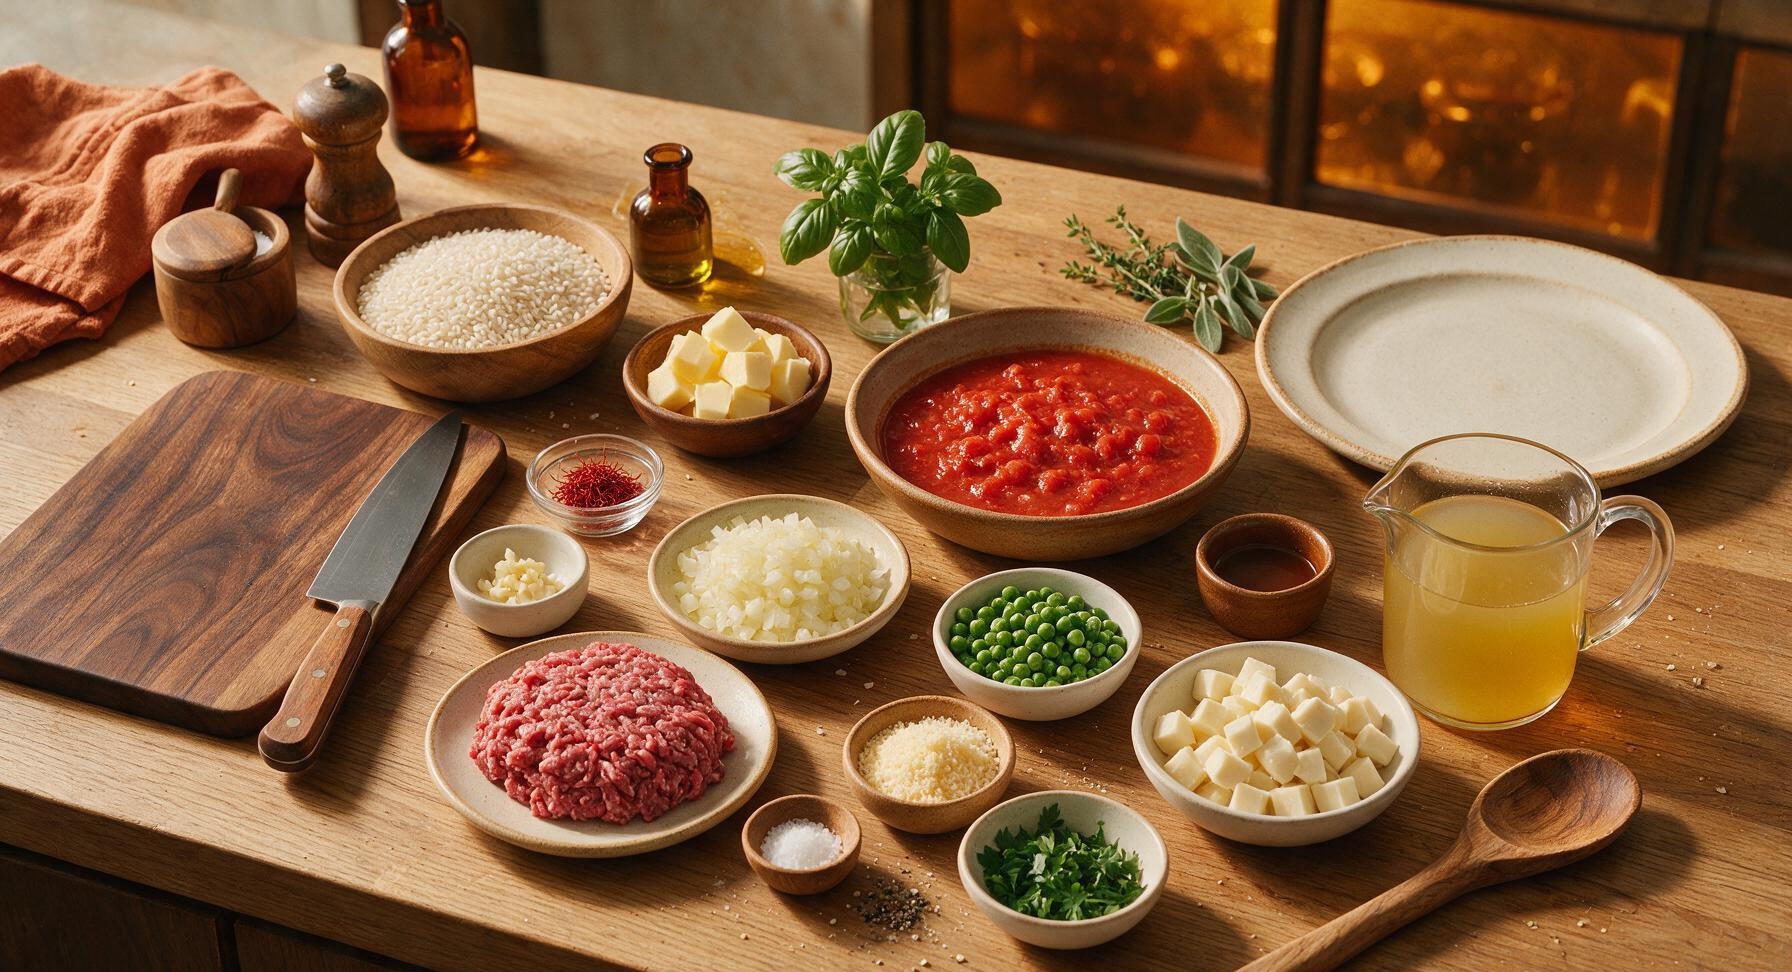
Arborio rice 300g
Saffron threads 1/4 teaspoon
Unsalted butter 30g
Yellow onion 1 medium (150g), finely diced
Garlic cloves 2, minced
80/20 ground beef 200g
Crushed tomatoes 400g can
Frozen green peas 100g
Low-sodium chicken broth 1L, warmed
Low-moisture mozzarella 150g, cut into 1cm cubes
Parmigiano-Reggiano cheese 50g, freshly grated
Panko breadcrumbs 60g
Extra-virgin olive oil 2 tablespoons
Kosher salt 1 teaspoon
Freshly cracked black pepper 1/2 teaspoon
Fresh flat-leaf parsley 2 tablespoons, chopped (for garnish)
Fresh basil 1 small bunch (for garnish)

Steps

1

Sauté Aromatics and Beef

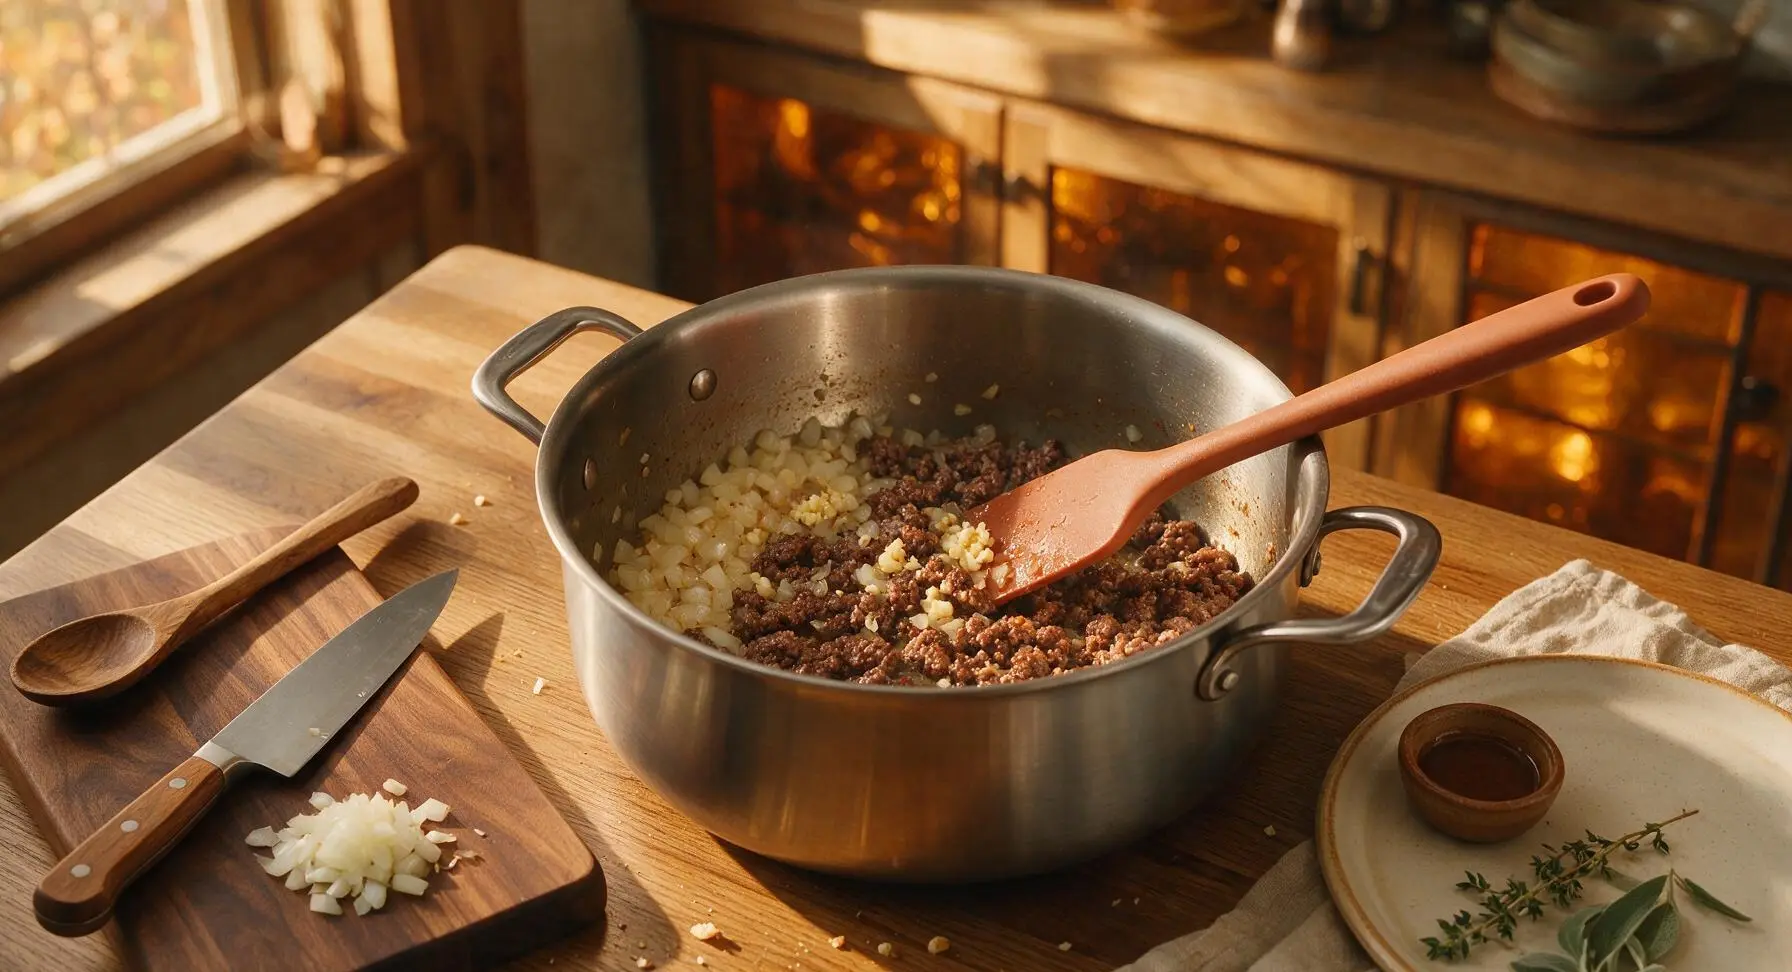
Heat 1 tablespoon olive oil and 15g unsalted butter in the brushed stainless steel Dutch oven over medium heat. Add the finely diced yellow onion, cook for 5 minutes until soft and translucent with no raw white crunch, then add minced garlic and cook 30 seconds until fragrant (do not let the garlic brown, as it will turn bitter). Add the 200g ground beef, break it apart into small crumbles with the terracotta silicone spatula, and cook for 6-7 minutes until fully browned with no remaining pink spots, seasoning with 1/2 teaspoon kosher salt and 1/4 teaspoon black pepper. Visual cue: the beef will have deep golden crispy edges, and the onion will be completely soft.
Step 1
step1:Sauté Aromatics and Beef
2

Simmer Quick Ragù

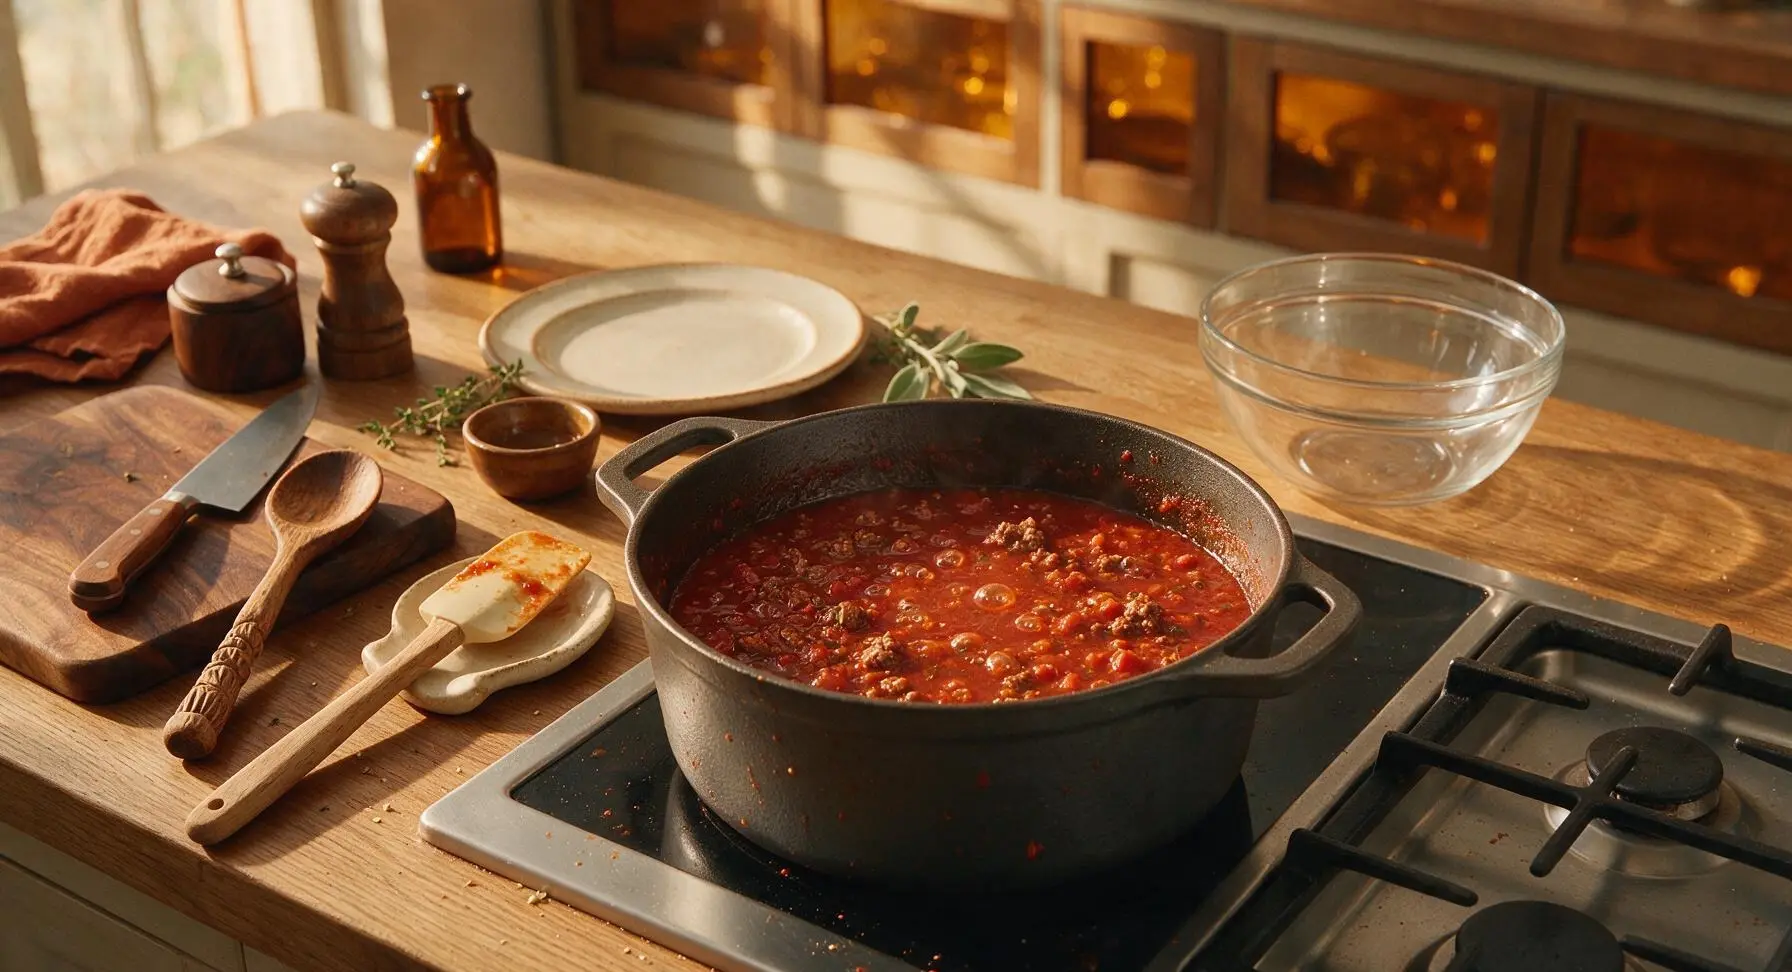
Pour the 400g crushed tomatoes into the Dutch oven with the browned beef, stir to fully combine, then reduce heat to medium-low. Simmer uncovered for 12 minutes, stirring occasionally with the silicone spatula, until the sauce thickens enough that a line drawn through it with the spatula holds its shape for 2 seconds. Stir in the 100g frozen peas, cook for 2 more minutes until the peas are bright green, then transfer the entire ragù mixture to a clean glass bowl and set aside. Wipe the Dutch oven lightly with a paper towel to remove any stuck-on sauce bits for cooking the rice.
Step 2
step2:Simmer Quick Ragù
3

Cook Saffron Risotto

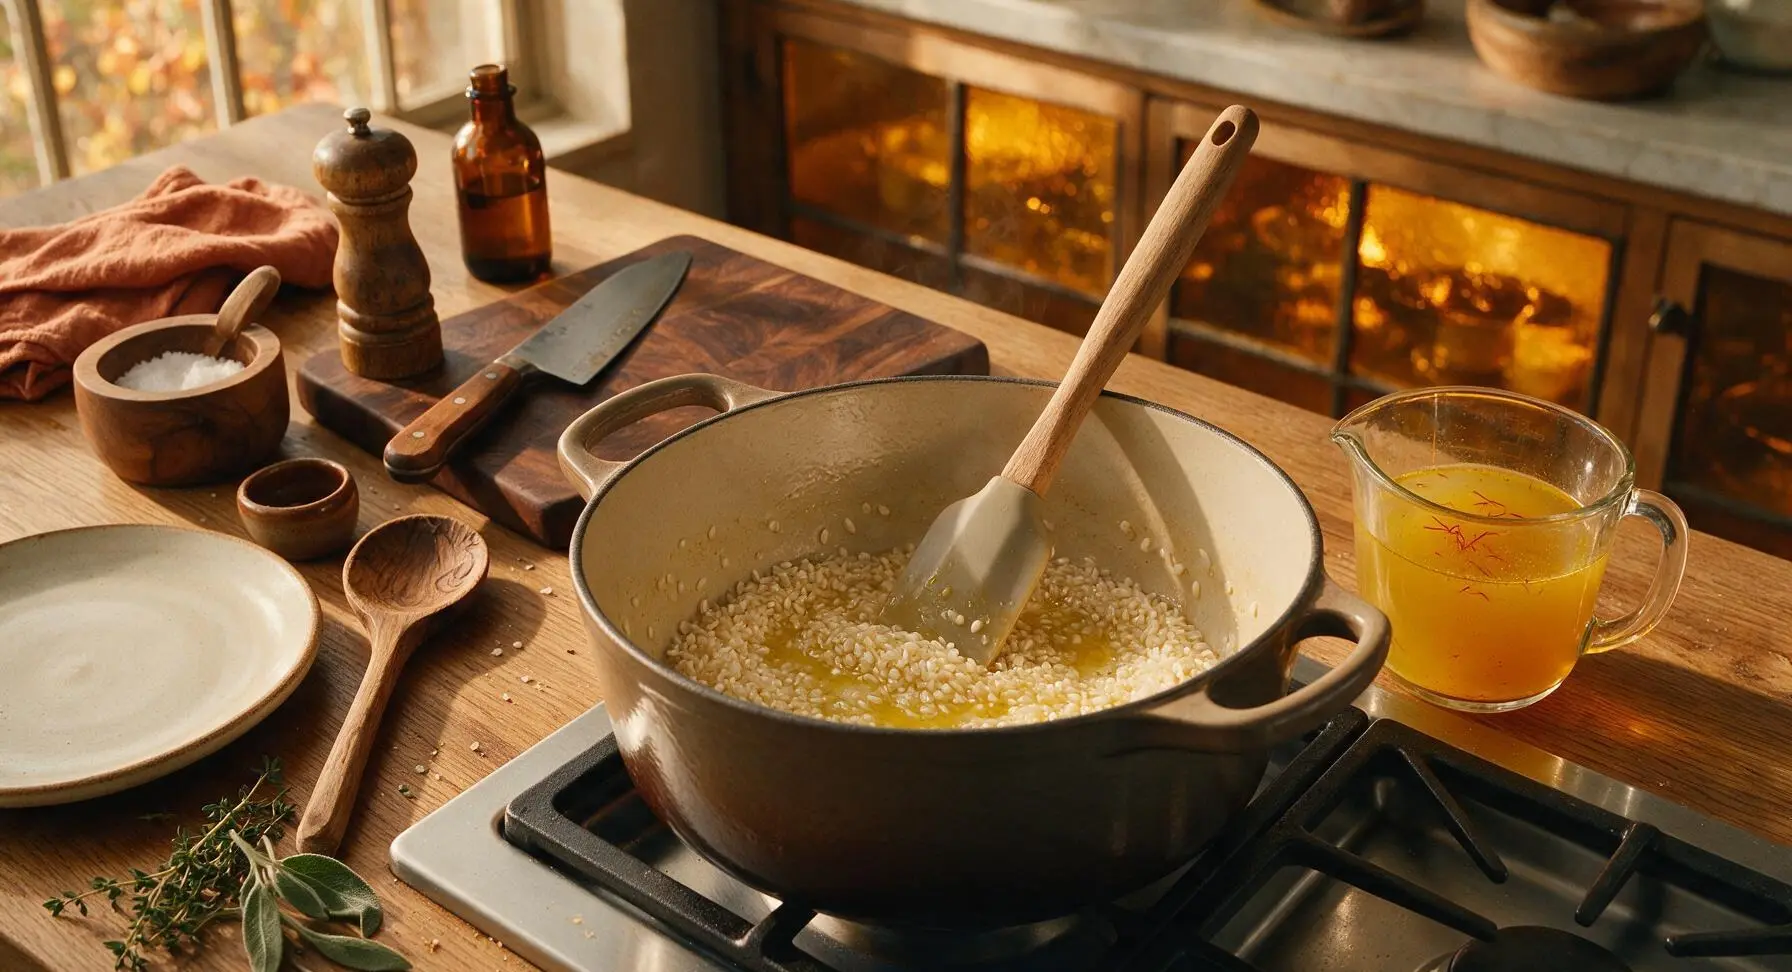
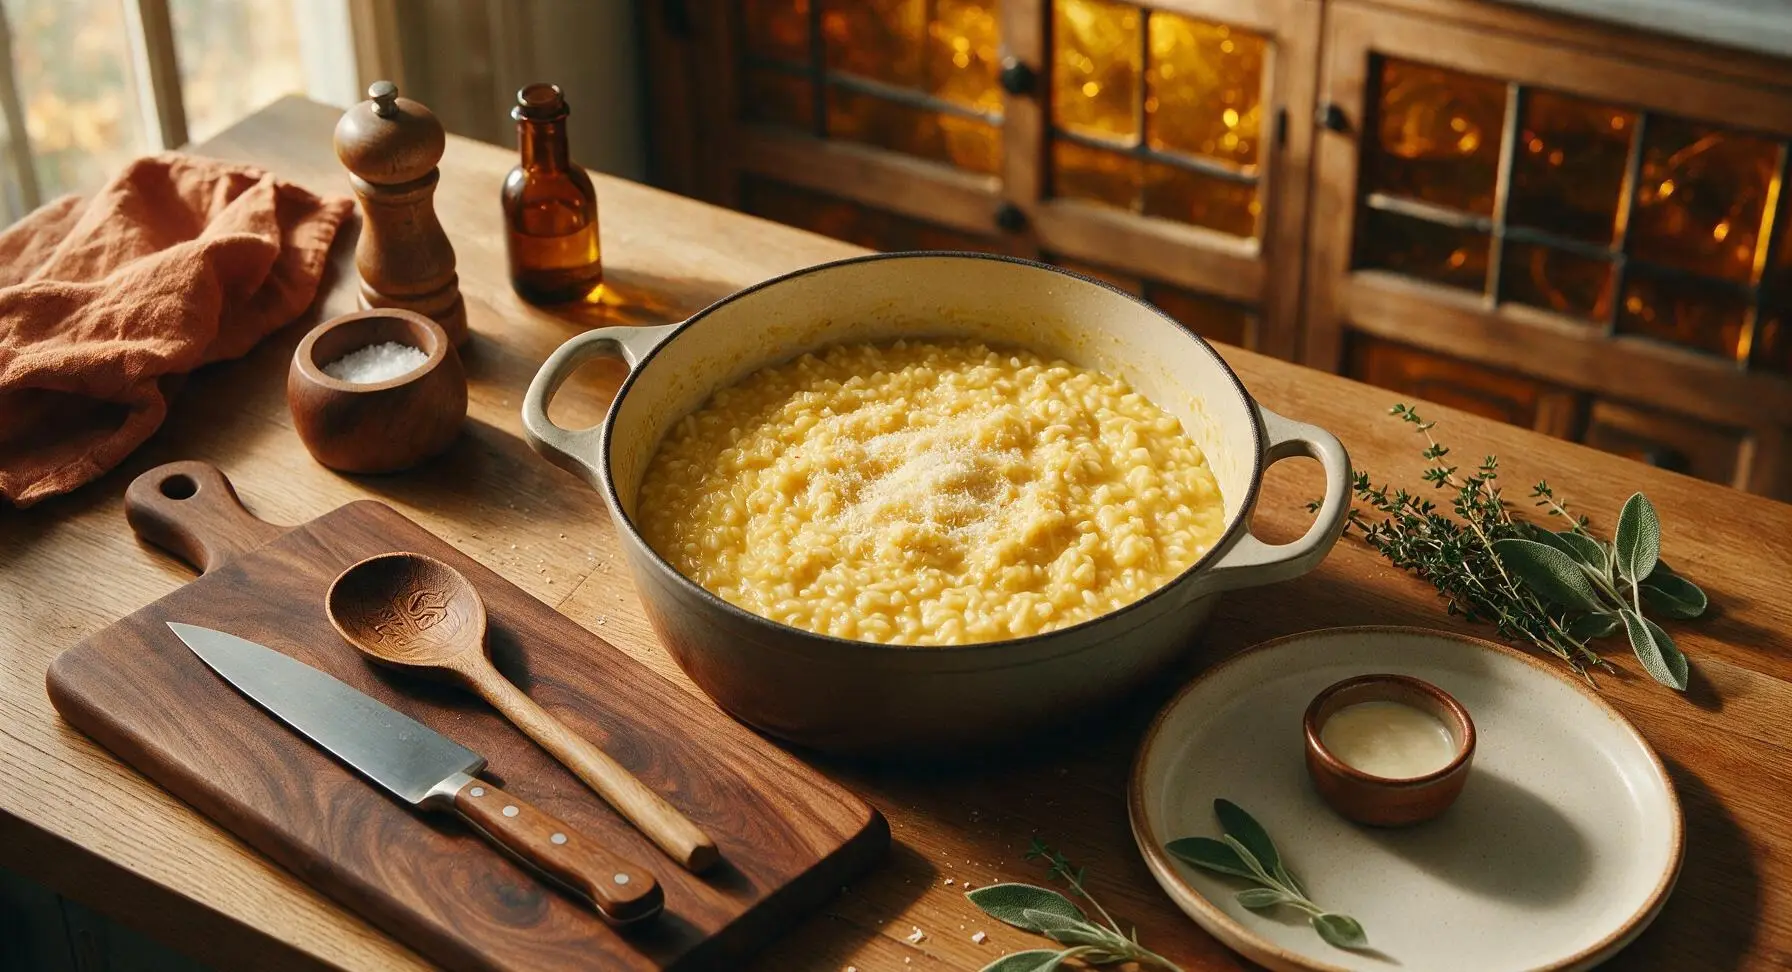
Return the wiped Dutch oven to medium heat, add the remaining 15g butter and 1 tablespoon olive oil. Add the 300g arborio rice, toast for 2 minutes, stirring constantly, until the outer edges of the rice grains turn translucent and give off a faint nutty aroma. Stir the 1/4 teaspoon saffron threads into the warmed 1L chicken broth until the broth turns a pale golden yellow, then add broth one 120ml ladle at a time, stirring constantly, waiting until each addition is fully absorbed into the rice before adding more. Cook for 18-20 minutes total, until the rice is al dente with a slight firm bite in the center, and the mixture is thick and creamy (not runny). Stir in 25g of the grated Parmigiano-Reggiano, remaining 1/2 teaspoon salt and 1/4 teaspoon pepper, then remove from heat.
Step 3
step3:Cook Saffron Risotto
Step 3
step3:Cook Saffron Risotto
4

Layer Casserole Components

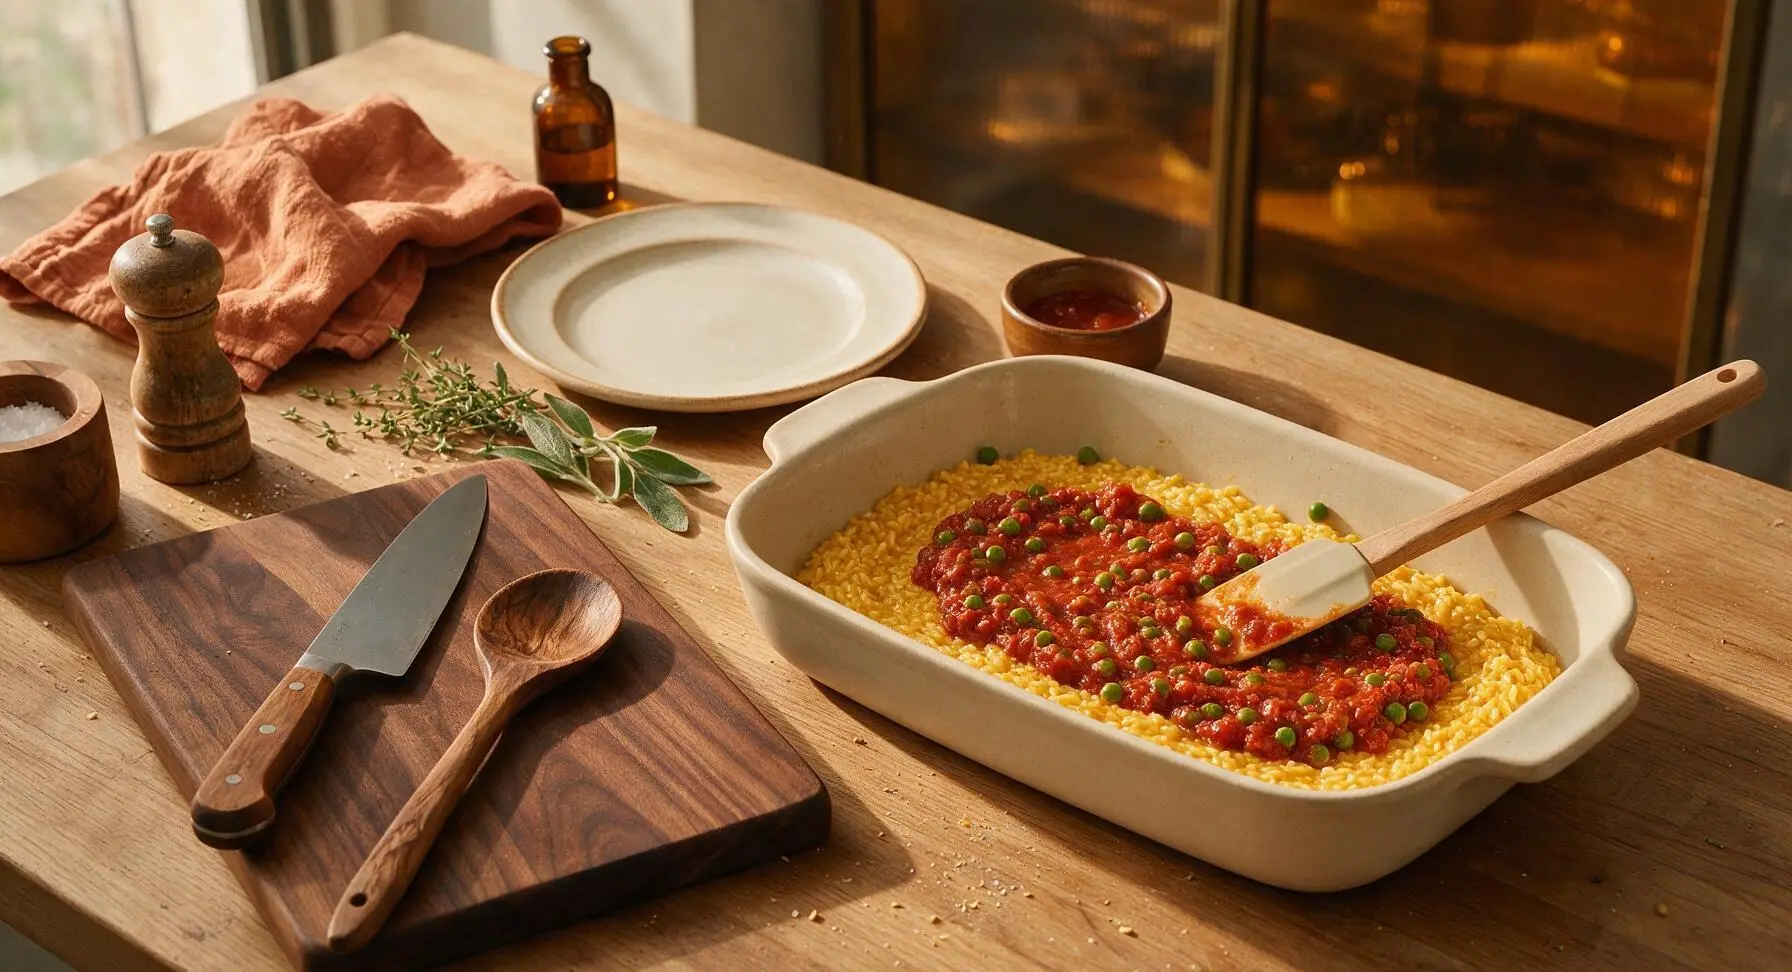
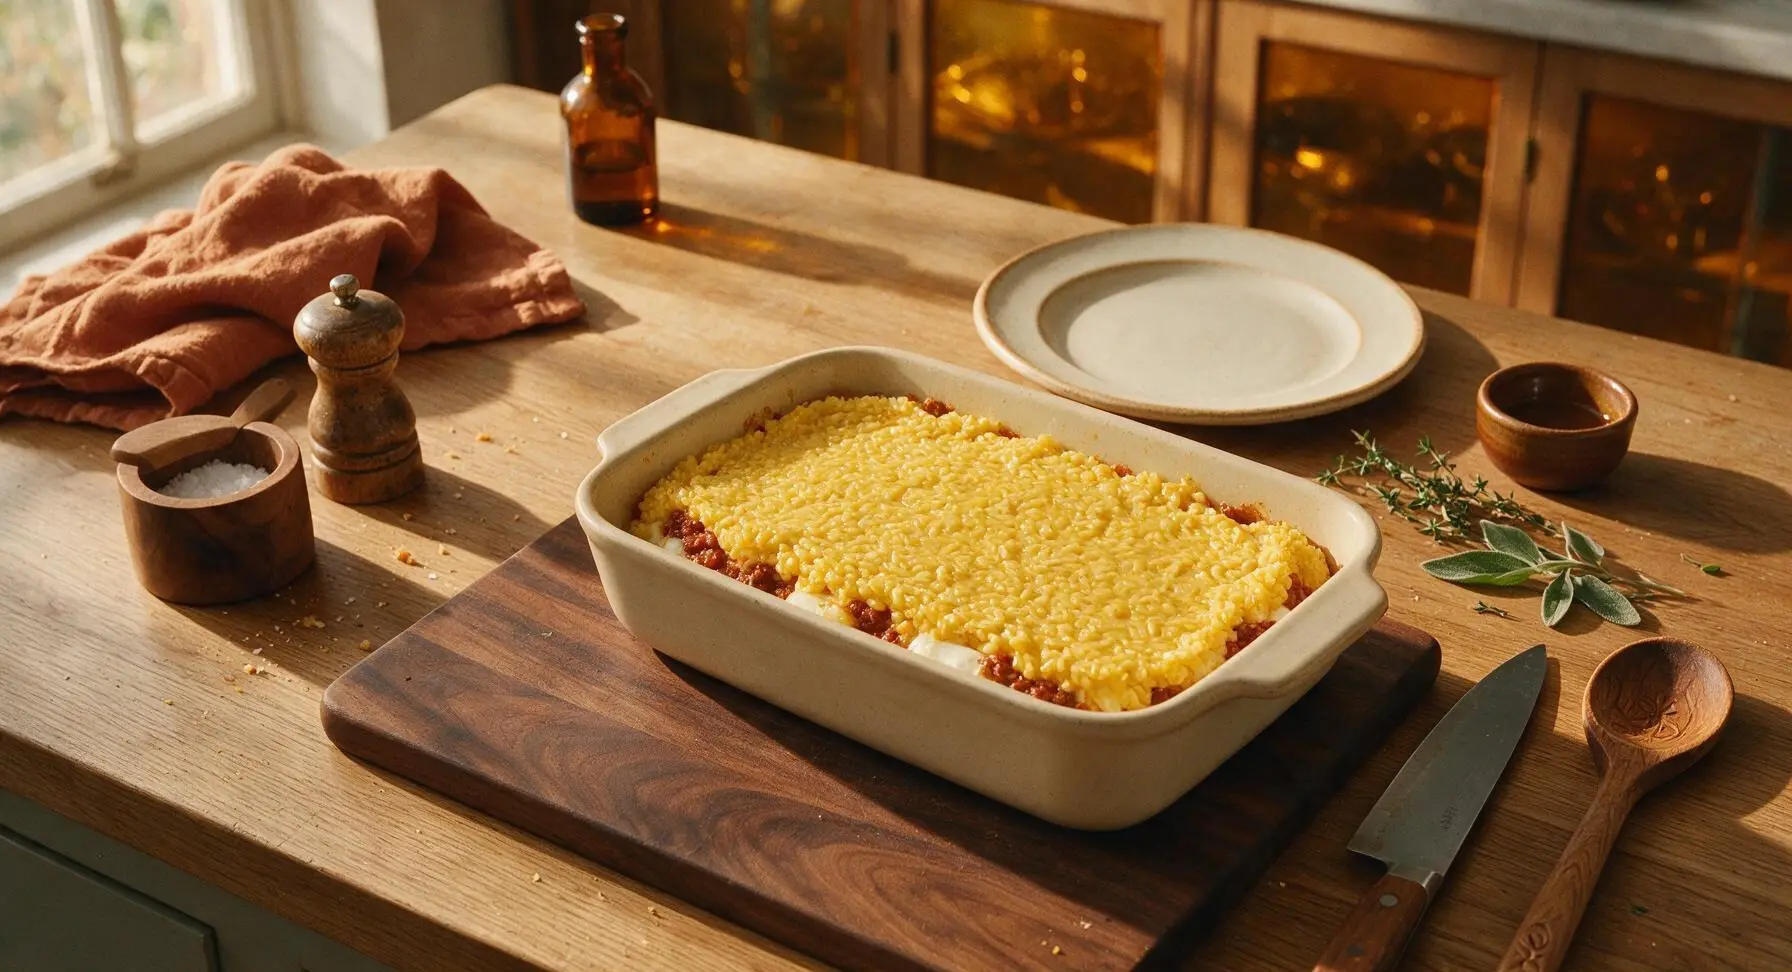
Preheat oven to 190°C (375°F). Spread half of the warm saffron risotto in an even 2cm layer across the bottom of the rectangular matte cream ceramic baking dish, pressing gently with the back of the silicone spatula to create a firm, compact base. Top the rice layer with all of the cooled ragù and pea mixture, spreading it evenly to within 1cm of the dish edge. Scatter the 150g cubed low-moisture mozzarella over the ragù in an even layer. Top with the remaining half of the risotto, spreading smoothly to cover the cheese and ragù completely, pressing gently around the edges to seal in the filling.
Step 4
step4:Layer Casserole Components
Step 4
step4:Layer Casserole Components
5

Add Crisp Panko Topping

Mix the remaining 25g grated Parmigiano-Reggiano with the 60g panko breadcrumbs in a small bowl until evenly combined. Sprinkle the crumb mixture in an even, thin layer across the entire top of the casserole, covering all exposed rice. Lightly mist the crumbs with a tiny amount of olive oil to encourage even browning and crisping in the oven.
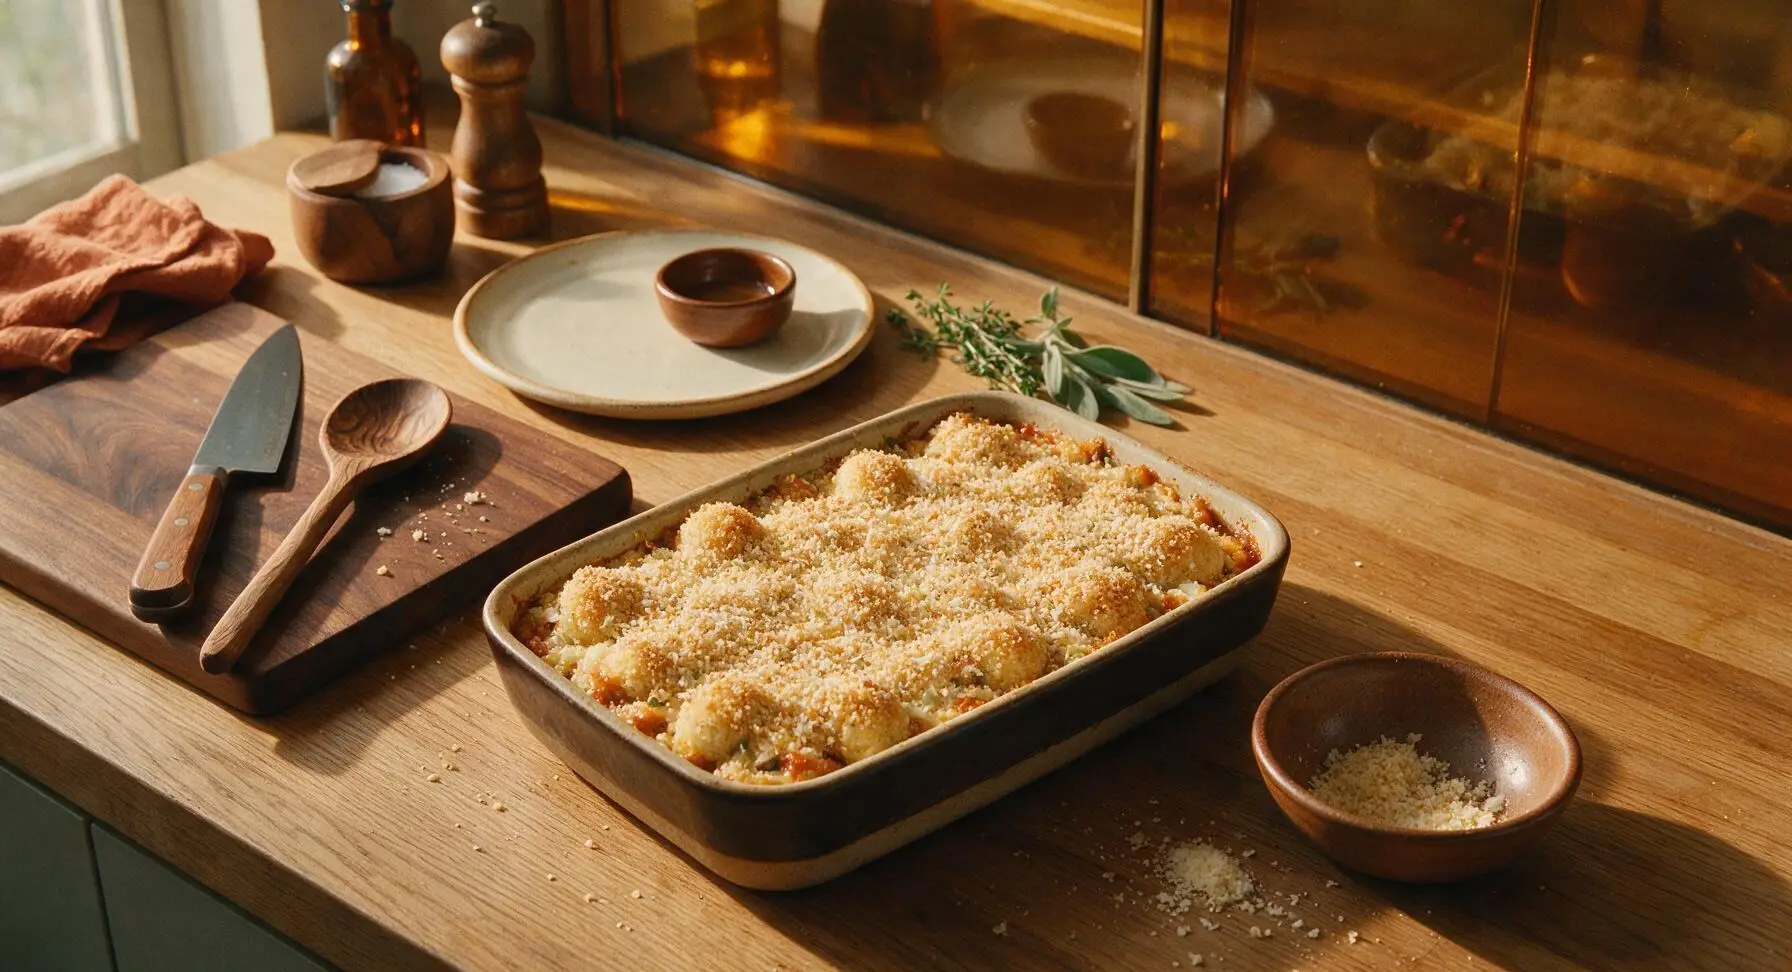
Step 5
step5:Add Crisp Panko Topping
6

Bake Until Golden

Place the assembled baking dish on the middle rack of the preheated 190°C (375°F) oven. Bake for 30-35 minutes, avoiding opening the oven door for the first 25 minutes to maintain even temperature, until the panko top is deep golden brown and crispy, and tomato sauce bubbles vigorously around the edges of the dish. Visual cue: small cracks will appear in the top rice layer, with melted cheese peeking through to confirm the center is fully heated.
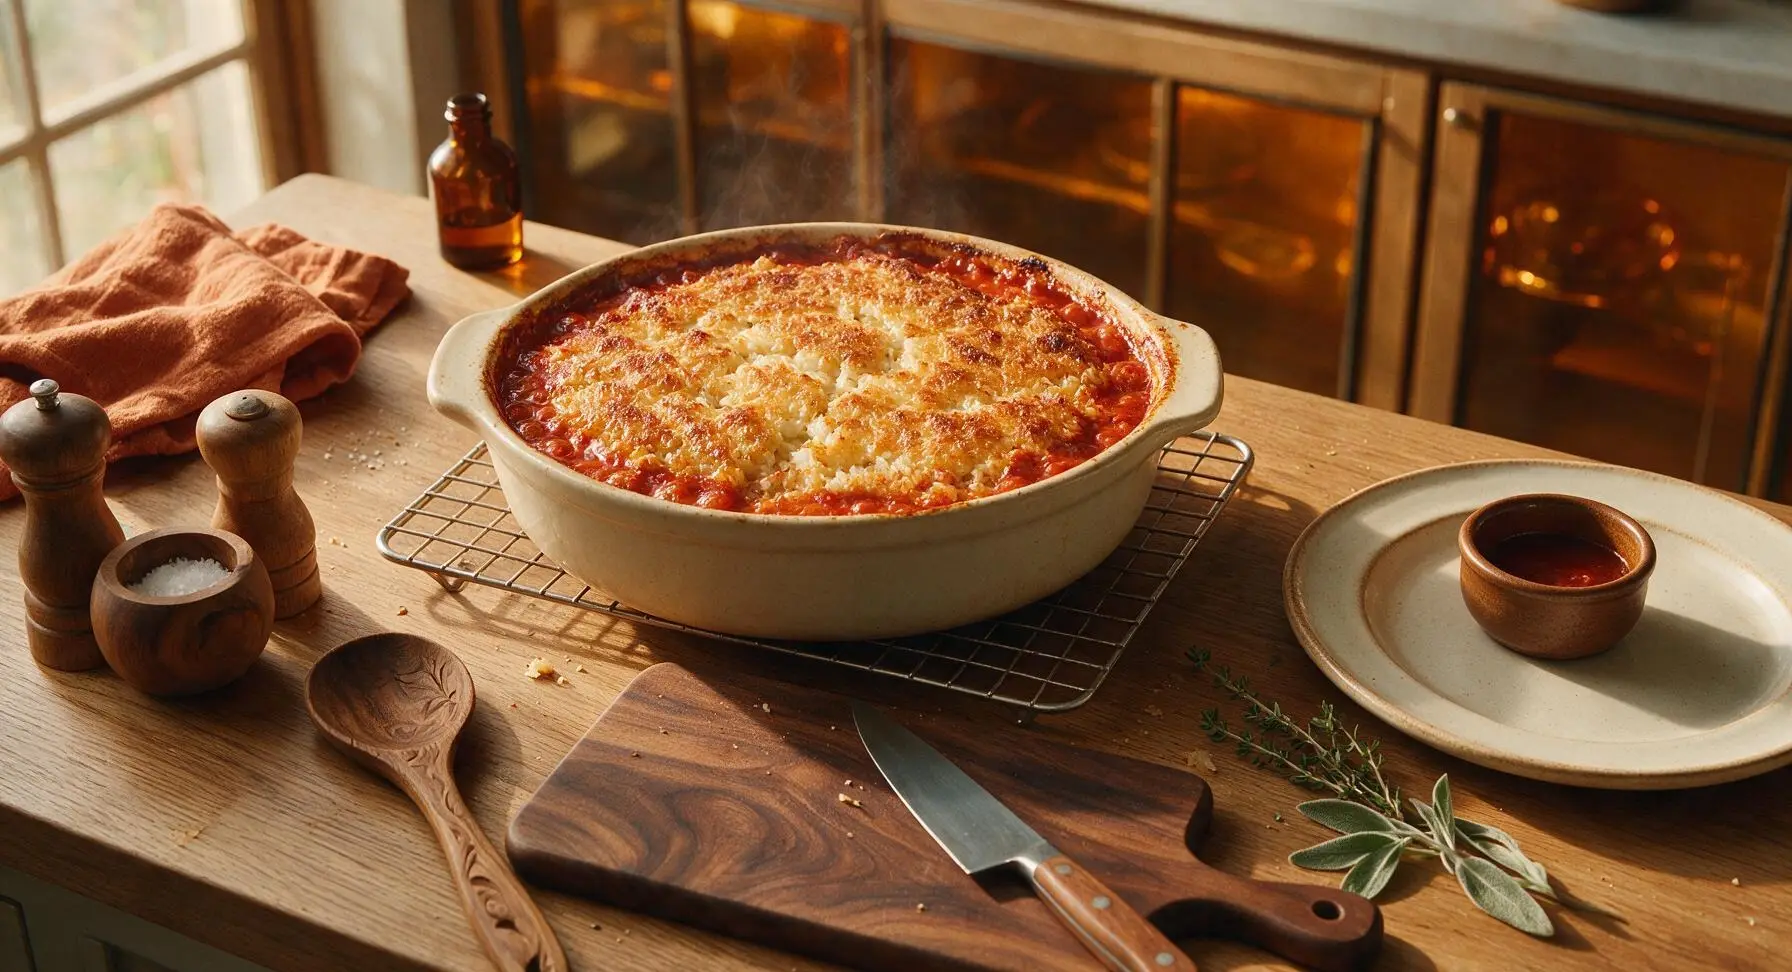
Step 6
step6:Bake Until Golden
7

Rest and Plate

Remove the baked casserole from the oven using oven mitts, transfer it to the metal wire cooling rack on the far right counter. Let it rest uncovered for 10 minutes to allow layers to set. Sprinkle the top with chopped fresh parsley, then slice into 6 equal square portions. Lift each slice carefully with a spatula to preserve the distinct layers, plating on the matte cream dinner plates, and garnish each slice with a small fresh basil leaf before serving.
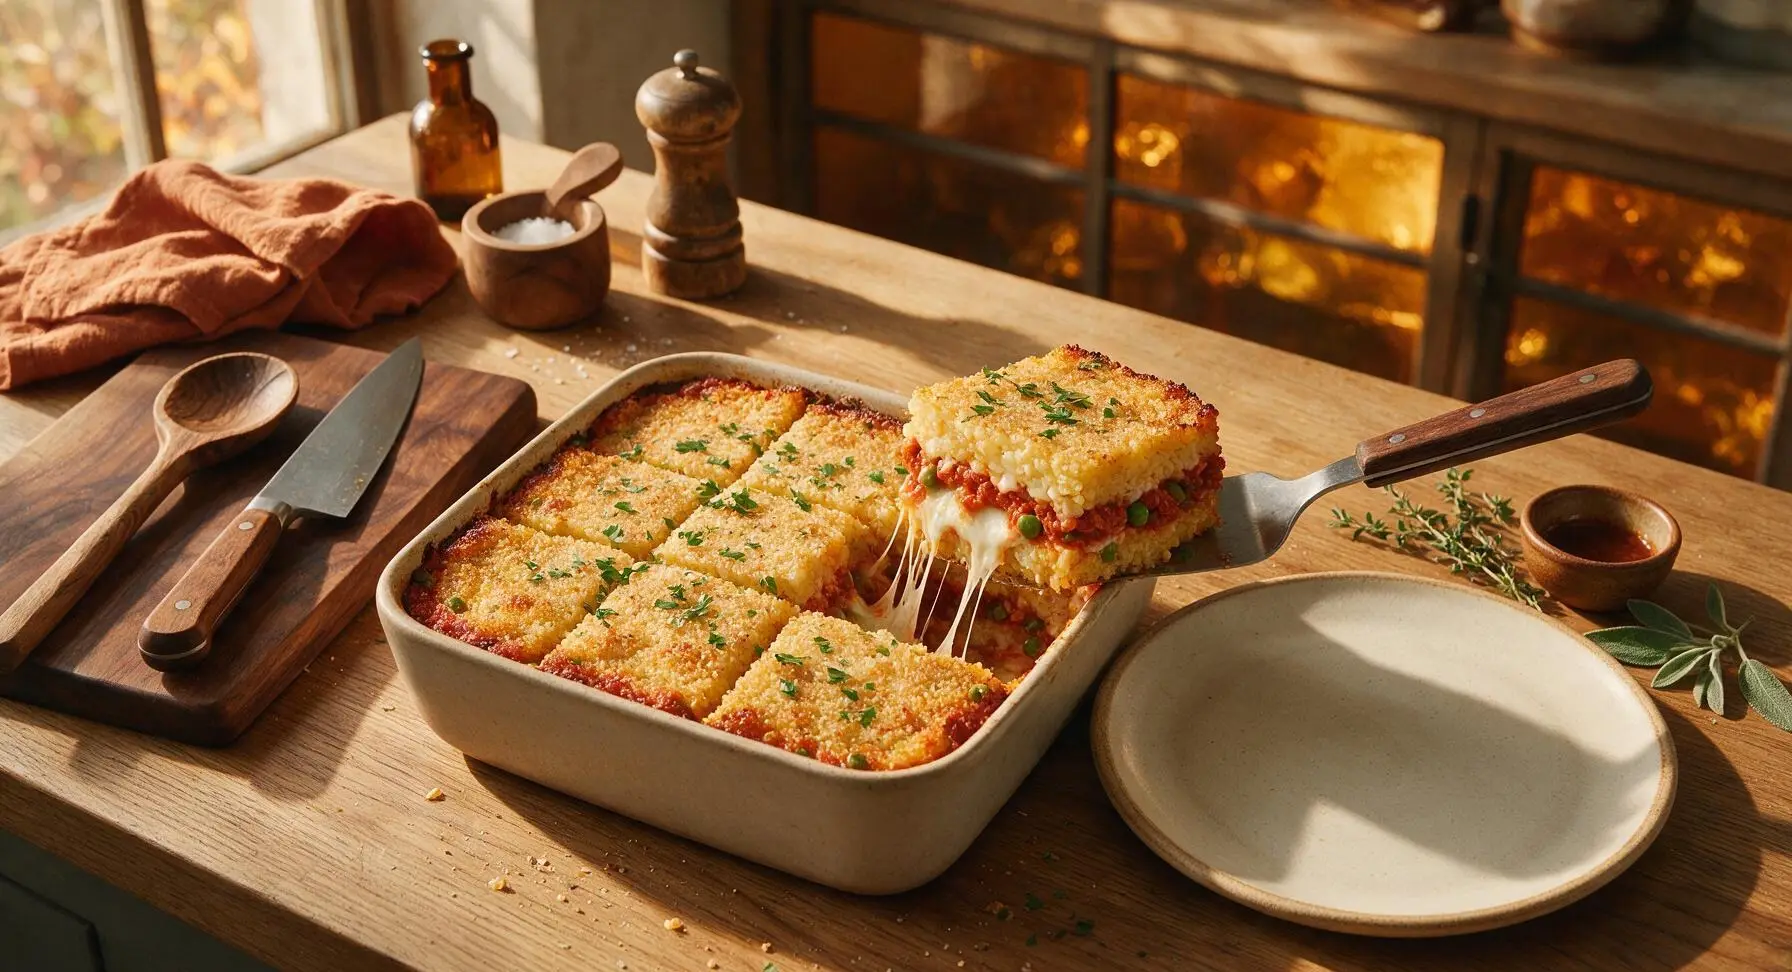
Step 7
step7:Rest and Plate

Tips

1.Use low-moisture mozzarella instead of fresh mozzarella: fresh mozzarella has a very high water content that releases as it bakes, leading to soggy, mushy rice layers instead of the firm, sliceable texture that mirrors classic fried arancini.
2.Stop cooking the risotto at al dente (a slight firm bite in the center of each grain): the rice will continue to cook and absorb moisture from the ragù and cheese during baking, so overcooking it on the stovetop will result in gluey, mushy casserole.
3.Let the casserole rest the full 10 minutes after baking: just like fried arancini need a minute to set after cooking, this rest time allows melted cheese to firm and rice layers to settle, so you get clean, neat slices with distinct layers instead of a runny, sliding scoop.


✨ You May Also Like

Main Course
🍜 United Kingdom

A showstopping classic of tender seared beef, savory mushroom duxelles, and crisp prosciutto wrapped in flaky golden puff pastry, baked to juicy perfection.

⏱️ 2 hours 1Main Course ★ 4.7
Main Course
🍜 India

Tender charred marinated chicken simmered in a rich, spiced creamy tomato sauce, this iconic Anglo-Indian curry pairs perfectly with basmati rice or warm naan.

⏱️ 50 minuteMain Course ★ 4.6
Main Course
🍜 Thailand

Classic tangy, sweet, and savory Thai stir-fried rice noodles with shrimp, tofu, and crunchy garnishes, balancing all five core Thai flavor profiles.

⏱️ 30 minuteMain Course ★ 4.5
Main Course
🍜 United Kingdom

Crispy golden beer-battered cod and fluffy double-fried chips, served with tangy tartar sauce and malt vinegar: the timeless, beloved British pub comfort classic.

⏱️ 45 minuteMain Course ★ 4.7
Main Course
🍜 Mexico

Smoky, chile-marinated pork tacos with caramelized pineapple, fresh cilantro, and lime: a beloved classic Mexican street food perfect for casual summer gatherings.

⏱️ 1 hour 45Main Course ★ 4.8
Main Course
🍜 United States

Crunchy Fritos corn chips layered with savory beef chili and melted cheddar, topped with cool, zesty fixings for a beloved, cozy Tex-Mex comfort food.

⏱️ 35 minuteMain Course ★ 4.8

arancini casserole:Frequently Asked Questions

1.Can I really get classic arancini flavor without deep frying? ▾
Absolutely—that’s the core of this shareable recipe! Instead of forming individual rice balls and submerging them in oil, you layer saffron-infused Arborio rice, ragù, and cheese in a casserole dish, top with buttered panko, and bake until golden. You get all the traditional Sicilian flavor with a fraction of the oil and messy prep.
2.What does saffron add to this dish, and can I skip it if I don’t have any? ▾
Saffron gives the rice its signature warm, earthy, subtly floral note and iconic golden hue that defines classic Sicilian arancini. If you don’t have it on hand, swap in ¼ teaspoon turmeric plus a tiny pinch of smoked paprika for similar color and warm depth, though you’ll miss that uniquely delicate saffron flavor.
3.Do I need to pre-cook the Arborio rice before assembling the casserole? ▾
Yes, you’ll want to parcook Arborio rice just like you would for risotto, first toasting it in unsalted butter with softened yellow onion and garlic before stirring in warm broth. You don’t need to cook it fully al dente, though—it will finish cooking evenly and absorb extra flavor as the casserole bakes.
4.Can I use pre-made ragù to cut down on prep time? ▾
Definitely! High-quality store-bought or leftover homemade ragù works perfectly here, and cuts total prep time by almost half. Just make sure your ragù is thick, not watery—excess liquid will make your casserole soggy instead of holding that classic dense, creamy arancini texture. Drain extra moisture if needed before layering.
5.How do I get the panko topping extra crispy without frying? ▾
Toss your panko crumbs in melted unsalted butter first, making sure every crumb is lightly coated, before sprinkling it evenly over the top of the casserole. Bake uncovered for the last 15 minutes of cook time, and if you want extra crunch, broil for 1-2 minutes at the end—just watch closely so it doesn’t burn.
6.What kind of cheese works best for the layered filling? ▾
Classic arancini uses low-moisture mozzarella for that perfect melty, stringy pull, plus a sprinkle of nutty Parmigiano-Reggiano mixed into the rice for extra savoriness. Skip fresh mozzarella here—it holds too much excess water that will make your casserole soggy, even if you drain it thoroughly first.
7.Can I assemble this casserole ahead of time to bake later? ▾
Absolutely! You can fully assemble the casserole (hold off on adding the panko topping until right before baking) up to 24 hours in advance, covered tightly in the fridge. When you’re ready to bake, add the buttered panko, and tack on 5-7 minutes of extra bake time to account for the cold starting temperature.
8.Why does my casserole turn out mushy instead of holding firm slices? ▾
Mushy arancini casserole almost always traces back to excess moisture: either your rice was overcooked before layering, your ragù was too thin, or you used high-moisture cheese. Parcook rice only to a very chewy stage, thicken runny ragù as needed, and stick to low-moisture cheeses for clean, set slices.
9.Is there a vegetarian swap for the meat ragù in this recipe? ▾
Of course! Swap meat ragù for a thick mushroom and lentil ragù, loaded with sautéed yellow onion and garlic for that same deep savoriness. Add a handful of well-drained frozen peas, a common add-in for traditional arancini, to match the classic flavor profile without any meat.
10.How should I store leftover Baked Arancini Casserole? ▾
Let leftover casserole cool completely to room temperature within two hours of baking, then cover the dish tightly or transfer sliced portions to airtight containers. It will keep well in the fridge for up to 4 days, and you can reheat slices in a 350°F oven or air fryer for 8-10 minutes to crisp the panko back up.
11.Do I need to bloom the saffron before adding it to the rice? ▾
Yes, blooming saffron unlocks its full flavor and vibrant color, which makes a huge difference in the final dish. Steep the saffron threads in 2 tablespoons of warm (not boiling) broth or water for 10 minutes before stirring it into your parcooked Arborio rice, rather than tossing dry threads straight into the pot.
12.Can I freeze this casserole for later make-ahead meals? ▾
You sure can! Freeze either the fully assembled unbaked casserole, or baked, cooled slices wrapped tightly in plastic and a layer of foil, for up to 3 months. Thaw overnight in the fridge before baking or reheating, and add the buttered panko topping right before baking if using an unbaked frozen casserole.
13.What size baking dish works best for this recipe? ▾
A standard 9x13 inch glass or ceramic baking dish is perfect for this shareable casserole, giving you enough room for even layers of rice, ragù, cheese, and panko without the filling bubbling over the edges as it bakes. If you use a deeper, smaller dish, add 10-15 minutes of bake time to heat it all the way through.
14.Can I add extra mix-ins like peas or prosciutto to the layers? ▾
Absolutely! Traditional arancini often includes add-ins like sweet green peas, diced prosciutto, or even chopped pistachios, so feel free to tuck those into the cheese and ragù layers as you assemble. Just make sure any wet add-ins, like canned peas, are well-drained first to avoid making the casserole soggy.
15.Why do I sauté onion and garlic in butter before adding the rice? ▾
Sautéing finely diced yellow onion and minced garlic in unsalted butter builds the rich flavor base for the rice, just like you would for classic risotto. Cooking the onion until soft and translucent before toasting the Arborio rice removes sharp raw allium bite and gives the entire dish a rounded, savory foundation.
16.How do I know when the casserole is fully done baking? ▾
The casserole is done when the edges are actively bubbling, the center hits 165°F on an instant-read thermometer, and the buttered panko topping is a deep, crisp golden brown all over. Let it rest for 10 minutes after pulling it out of the oven so it sets up cleanly for slicing, just like you would for lasagna.

Comments (16)

2 days ago

OMG this baked arancini casserole is a total game changer! I was so tired of standing over a pot of oil frying regular arancini for our Sunday family dinner, and this version cuts out all the mess but keeps every bit of that cheesy, creamy risotto flavor. My kids devoured two servings each and asked for it again next week!

yesterday

Right?! I was skeptical baked would hit the same but the crispy panko top is *chef's kiss* no grease splatters all over my stove top for once, worth every minute of prep.

yesterday

So happy this was a hit with your family! If you want an extra crispy top, you can spritz the panko with a little olive oil spray before baking, it makes such a difference!

1 week ago

Made this for my weekly meal prep and it held up so well all week! The only reason I’m not giving 5 stars is the cook time felt a little longer than I expected on a weeknight, but portioned out into containers with a side of marinara it’s the perfect work lunch. Even my coworker asked for the recipe when I heated it up in the break room!

5 days ago

Thanks so much for the feedback, Mia! If you want to cut down on weeknight cook time, you can prep the risotto base the night before and assemble the casserole right before baking – that shaves off almost 30 minutes of active work!

3 days ago

Brought this to our neighborhood block party last weekend and people were lined up for seconds! I added a little crumbled spicy sausage between the layers and it was chef’s kiss. 10/10, will be making this for every potluck from now on. SO good.

5 days ago

I was so excited to try this but I ran into a little trouble swapping regular panko for gluten free panko – the top got a little too dark before the center was fully heated through. Flavor was great when I covered it with foil for the last 10 minutes though!

3 days ago

I had the same issue with GF panko! I turned my oven temp down 25 degrees and kept the foil on for the first 40 minutes, then took it off to crisp the top, worked like a charm.

3 days ago

Great tip from Liz! Gluten free breadcrumbs tend to brown much faster than regular, so tenting with foil for the first half of bake time is the perfect fix. So glad you were able to rescue it and enjoy the flavor!

yesterday

Made this in my tiny apartment oven for my roommates and we all loved it! I didn’t have any peas so I swapped in roasted broccoli and it worked super well. Only complaint is I wish I made a double batch because it was gone in 10 minutes.

2 hours ago

Bro the roasted broccoli swap is genius! I hate peas so I’m definitely stealing that for when I make this this weekend.

2 weeks ago

Y’all. The melted mozzarella center in every bite??? I added extra parmesan to the risotto base and I think I could eat this entire casserole by myself. My husband said it’s better than the fried arancini we get at our favorite Italian spot downtown, no cap.

1 week ago

Wait I added extra fontina too and it was so stringy and perfect, 100% recommend loading up on the cheese if you’re a fellow cheese fiend.

1 week ago

Love all the cheese swaps! A blend of mozzarella, fontina, and parmesan is our go-to for ultra gooey, flavorful bites, so glad you two are on the same page.

30 minutes ago

Great recipe, medium difficulty is no joke though! I’m a pretty confident home cook and the risotto stirring took a little longer than I anticipated, so don’t go into this thinking it’s a 20 minute throw-together meal. The end result is totally worth the effort though.

2 hours ago

Made this for my son’s post-soccer team dinner and the teens demolished it! I served it with a big bowl of marinara for dipping and a side salad, and even the kid who swears he hates rice asked for a second helping. Total mom win.

30 minutes ago

That makes us so happy to hear, Lisa! We love serving this with warm marinara for dipping too, it’s the perfect pairing for hungry athletes (and kids of all ages!).

5 minutes ago

First time ever making risotto and it turned out way better than I thought it would! I was worried I’d mess it up since I usually just make frozen meals, but the instructions were super easy to follow. I accidentally put too much garlic in but honestly it still slapped.

just now

Dude too much garlic is never a problem in my book, I add an extra three cloves to every savory recipe I make, no regrets.

just now

We’re so proud of you for giving it a try, Tyler! Risotto can feel intimidating at first but you nailed it – and extra garlic is always a win in our kitchen.

1 week ago

Made this fully vegetarian by swapping the chicken broth for vegetable broth and adding in some sautéed spinach and sun-dried tomatoes, and it was absolutely divine. Perfect cozy Sunday night meal when the weather’s cold out.

just now

Used leftover saffron risotto from our takeout dinner the night before to make this, and it cut the prep time in half! Game changer move if you have leftover risotto from a restaurant or meal, don’t let it go to waste. Tasted just as good as the arancini we paid $18 for at the fancy Italian place.

just now

That is such a smart hack! I always have leftover risotto that turns gummy in the fridge, I’m definitely using that trick next time instead of throwing it out.

2 days ago

Added a teaspoon of red pepper flakes to the risotto and a handful of pepperoni slices on top for a little kick, and it was so tasty. Next time I might add a layer of ricotta too to make it extra creamy. Solid base recipe that’s super easy to customize.

yesterday

Made this for date night with my partner and they were so impressed they thought I ordered takeout! Paired it with a bottle of chianti and some garlic bread, and we had the coziest night in. 10/10 date night meal if you don’t feel like going out to a crowded restaurant.

2 hours ago

We love a cozy date night in! This casserole pairs perfectly with a bold red like chianti, so glad you two had a lovely meal together.

2 weeks ago

Can confirm this freezes AMAZINGLY. I cut it into individual squares, wrapped them tight in plastic wrap and foil, and pulled one out for a quick dinner last night after a long work day – tasted just as fresh as the day I baked it. Perfect for stocking the freezer for busy weeks!

1 week ago

Oh thank god you mentioned this! I’m 8 months pregnant and stocking my freezer with easy meals for after the baby comes, this is going straight to the top of my list.

1 week ago

So glad it worked for your freezer stash, Fran! It holds up great for up to 3 months in the freezer, just reheat covered in the oven at 350 until warmed through – perfect for new parents or busy weeks!

3 days ago

Tried cooking half of this in the air fryer basket as little bites to test vs the casserole bake, and both ways worked great! The air fryer bites got a little crispier, but the casserole was way easier for serving a crowd. Good recipe all around.

5 days ago

Flavor was great when I got it right, but I used a glass baking dish and the edges burned a little faster than the recipe said they would. I think next time I’ll lower the oven temp by 25 like I usually do for glass dishes, live and learn!

3 days ago

Thanks for sharing that helpful tip, Karen! Glass baking dishes do conduct heat differently than metal, so lowering the temp by 25 degrees is a great call to prevent burnt edges. So glad you enjoyed the flavor even with the little mishap!



