
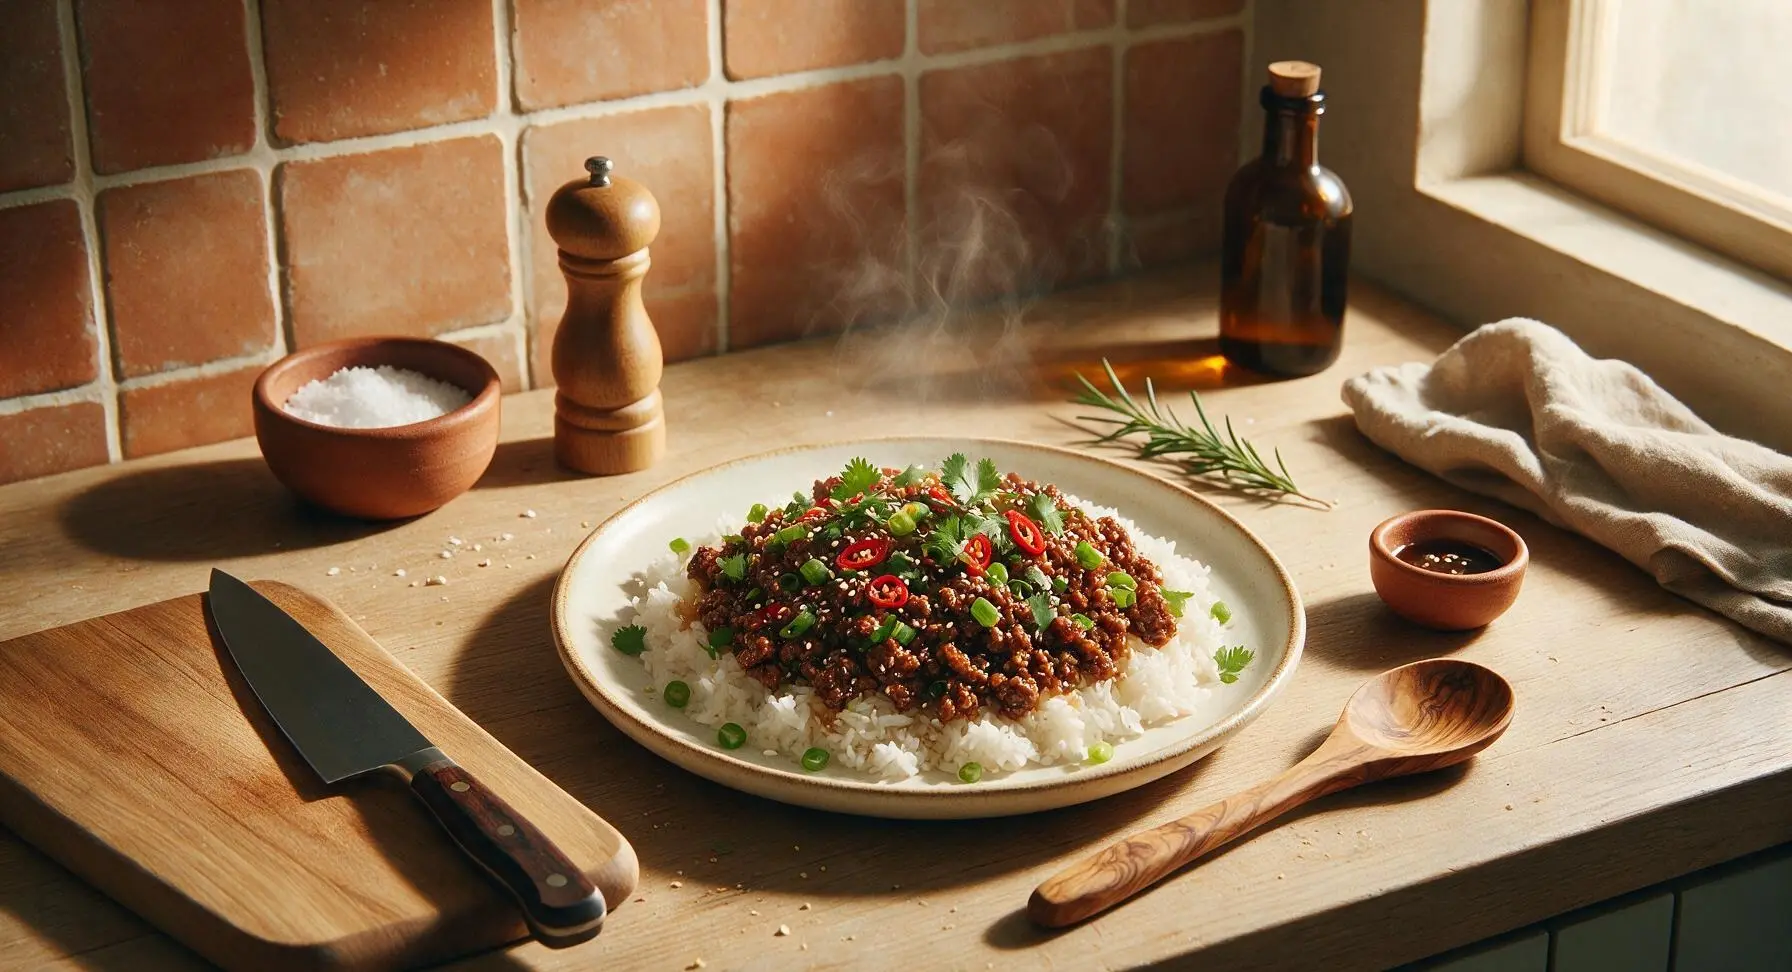
asian ground beef

title 1
asian ground beef
⏱️ cook time 10 minutes
🍽️ servings 4
⚡ Difficulty easy

intro

Juicy, umami-packed ground beef tossed in a glossy sweet-savory soy-sesame sauce, ready in 20 minutes to serve over rice for a fast, satisfying weeknight meal.

Ingredients
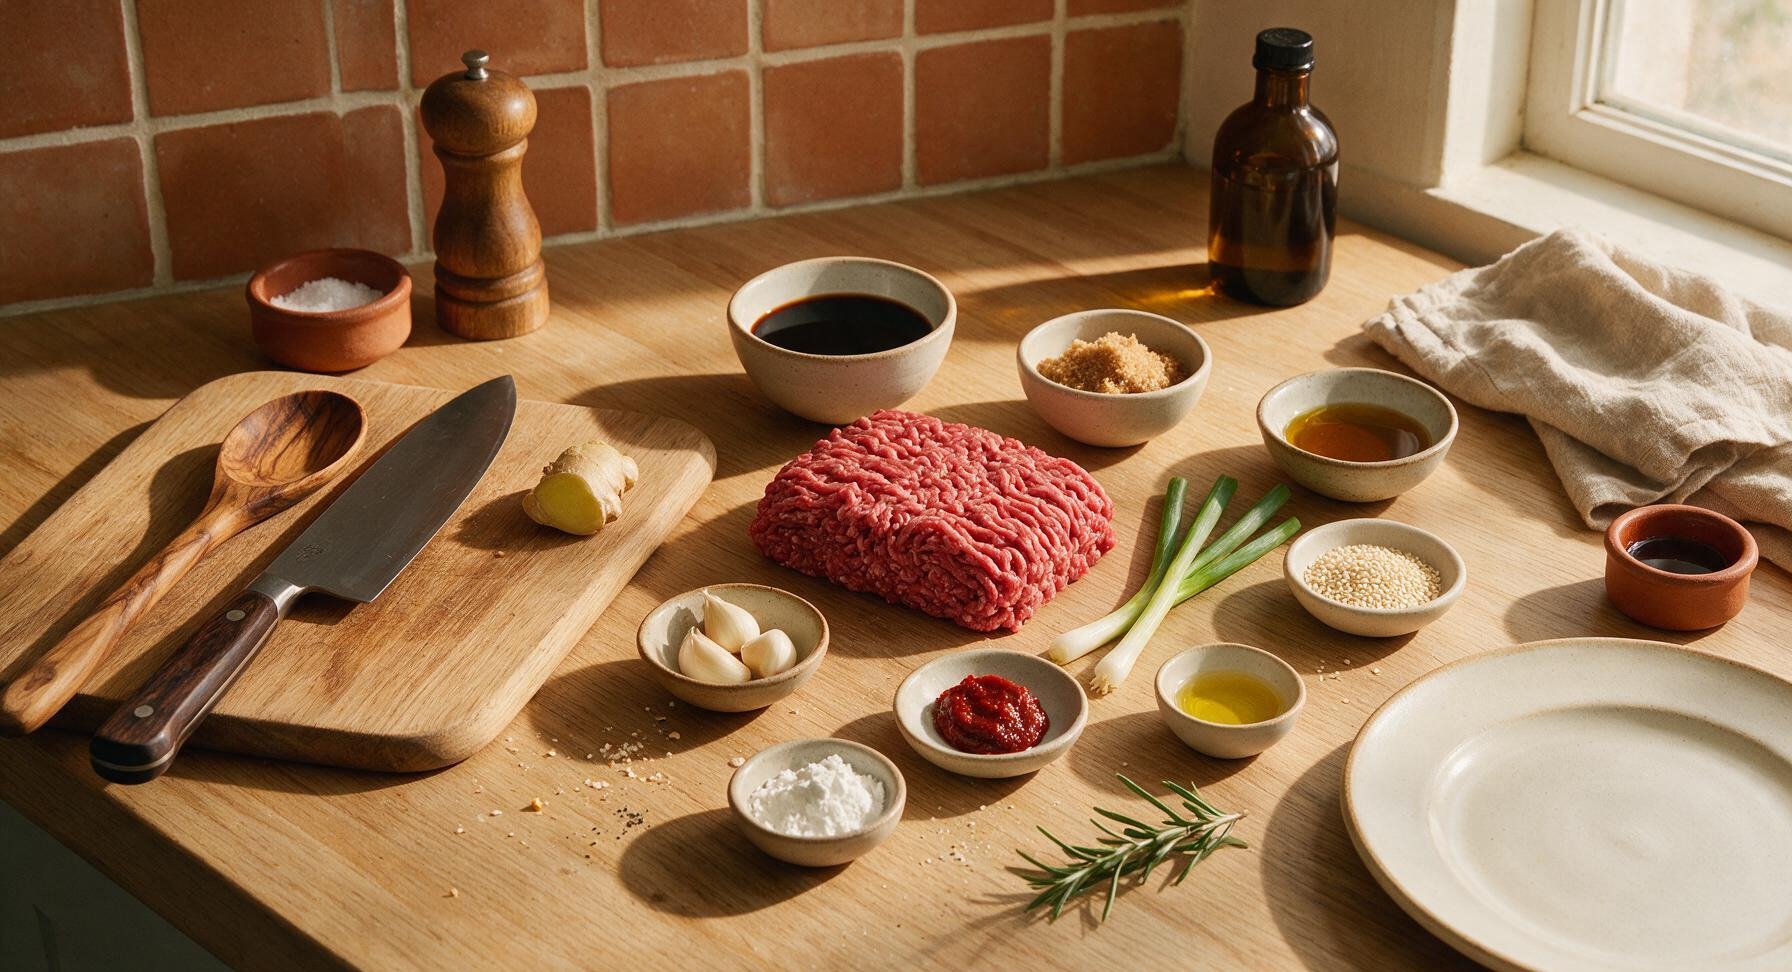
80/20 ground beef 500g
Low-sodium soy sauce 3 tablespoons
Light brown sugar 2 tablespoons (packed)
Toasted sesame oil 1 tablespoon
Gochujang (Korean chili paste) 1 teaspoon
Fresh garlic 3 cloves
Fresh ginger 2cm (1 inch) knob
Green onions (scallions) 4 stalks
Toasted white sesame seeds 1 teaspoon
Neutral canola oil 1 tablespoon
Cornstarch 1 teaspoon
Freshly ground black pepper 1/4 teaspoon

Steps

1

Prep Aromatics and Garnish

Place the light acacia wood cutting board in the center of the counter. Use the stainless steel chef's knife to trim the root ends from the 4 green onion stalks, separating the dark green tops from the white/light green lower sections; thinly slice both parts, setting the dark green tops aside in a pale sage pinch bowl for final garnish. Peel the 3 garlic cloves and 2cm ginger knob, then use the microplane grater to finely grate the garlic and ginger into a second sage pinch bowl. Gather papery garlic/ginger peels and onion root trimmings into a small scrap pile at the top left corner of the cutting board for easy disposal. This step takes approximately 4 minutes.
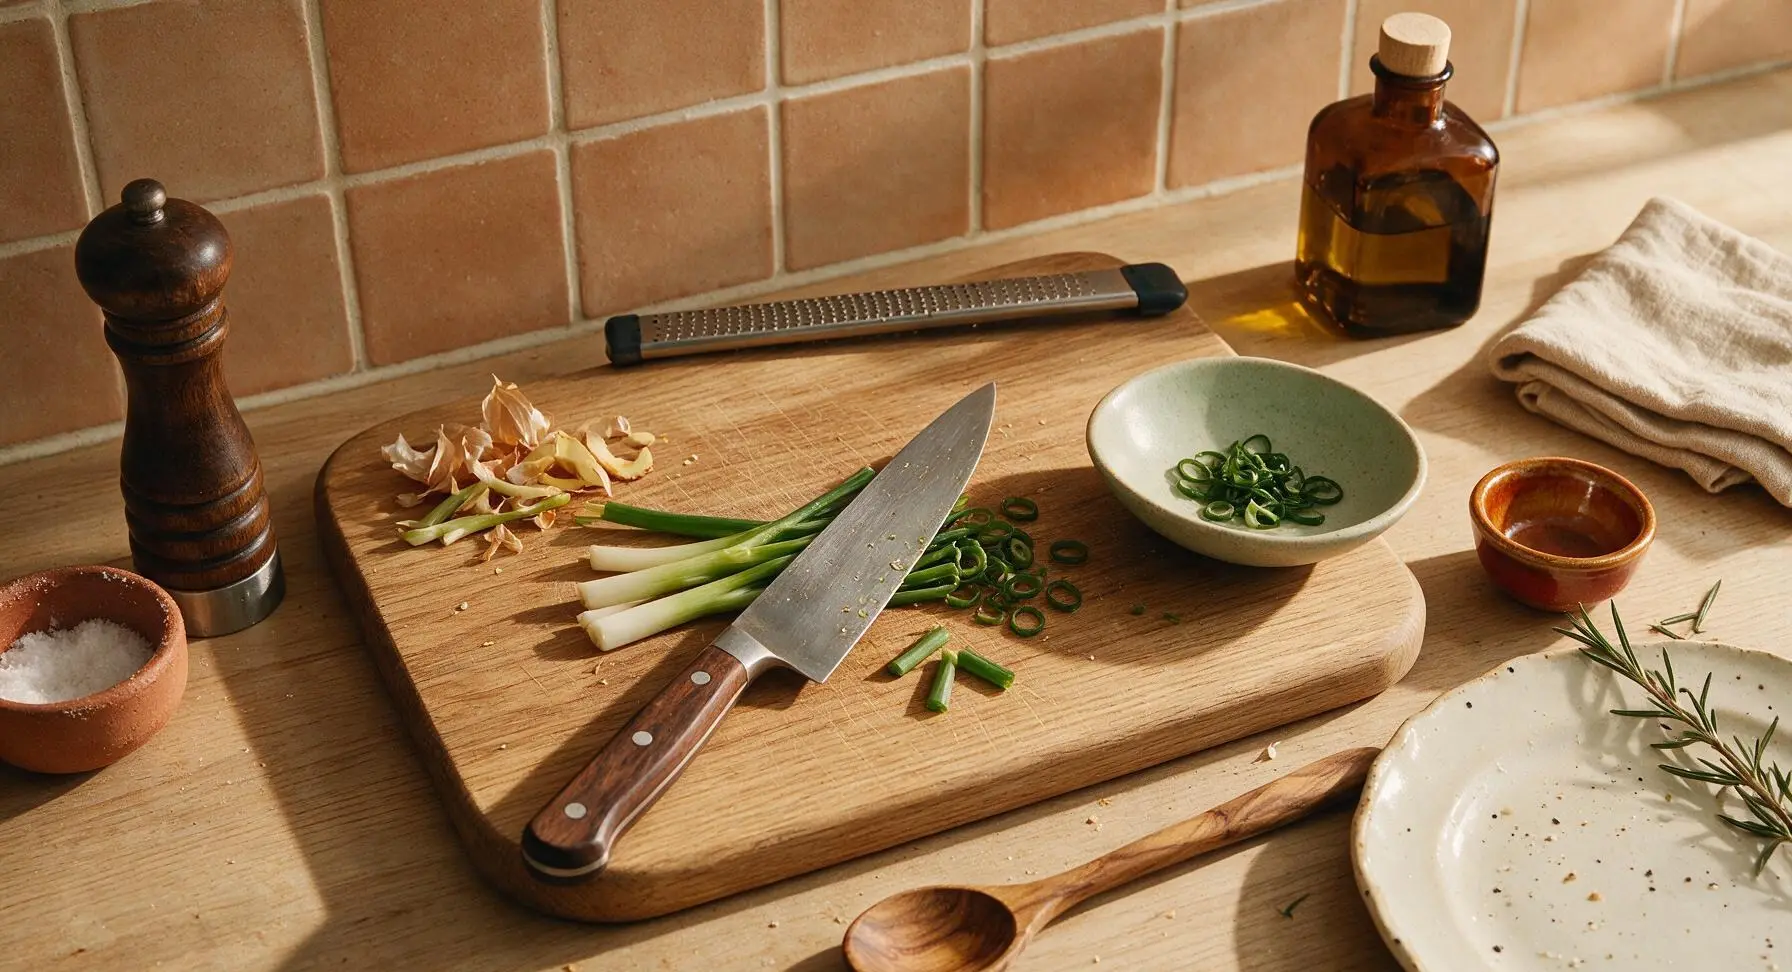
Step 1
step1:Prep Aromatics and Garnish
2

Mix Stir-Fry Sauce

Set the clear glass mixing bowl to the right of the cutting board. Combine 3 tablespoons low-sodium soy sauce, 2 tablespoons packed light brown sugar, 1 tablespoon toasted sesame oil, 1 teaspoon gochujang, 1 teaspoon cornstarch, and 1/4 teaspoon freshly ground black pepper in the bowl. Whisk with a small metal fork until the brown sugar and cornstarch are fully dissolved, with no visible white lumps remaining. Stir the pre-grated garlic and ginger into the sauce, mixing until evenly distributed. Set the bowl aside. This step takes approximately 2 minutes.
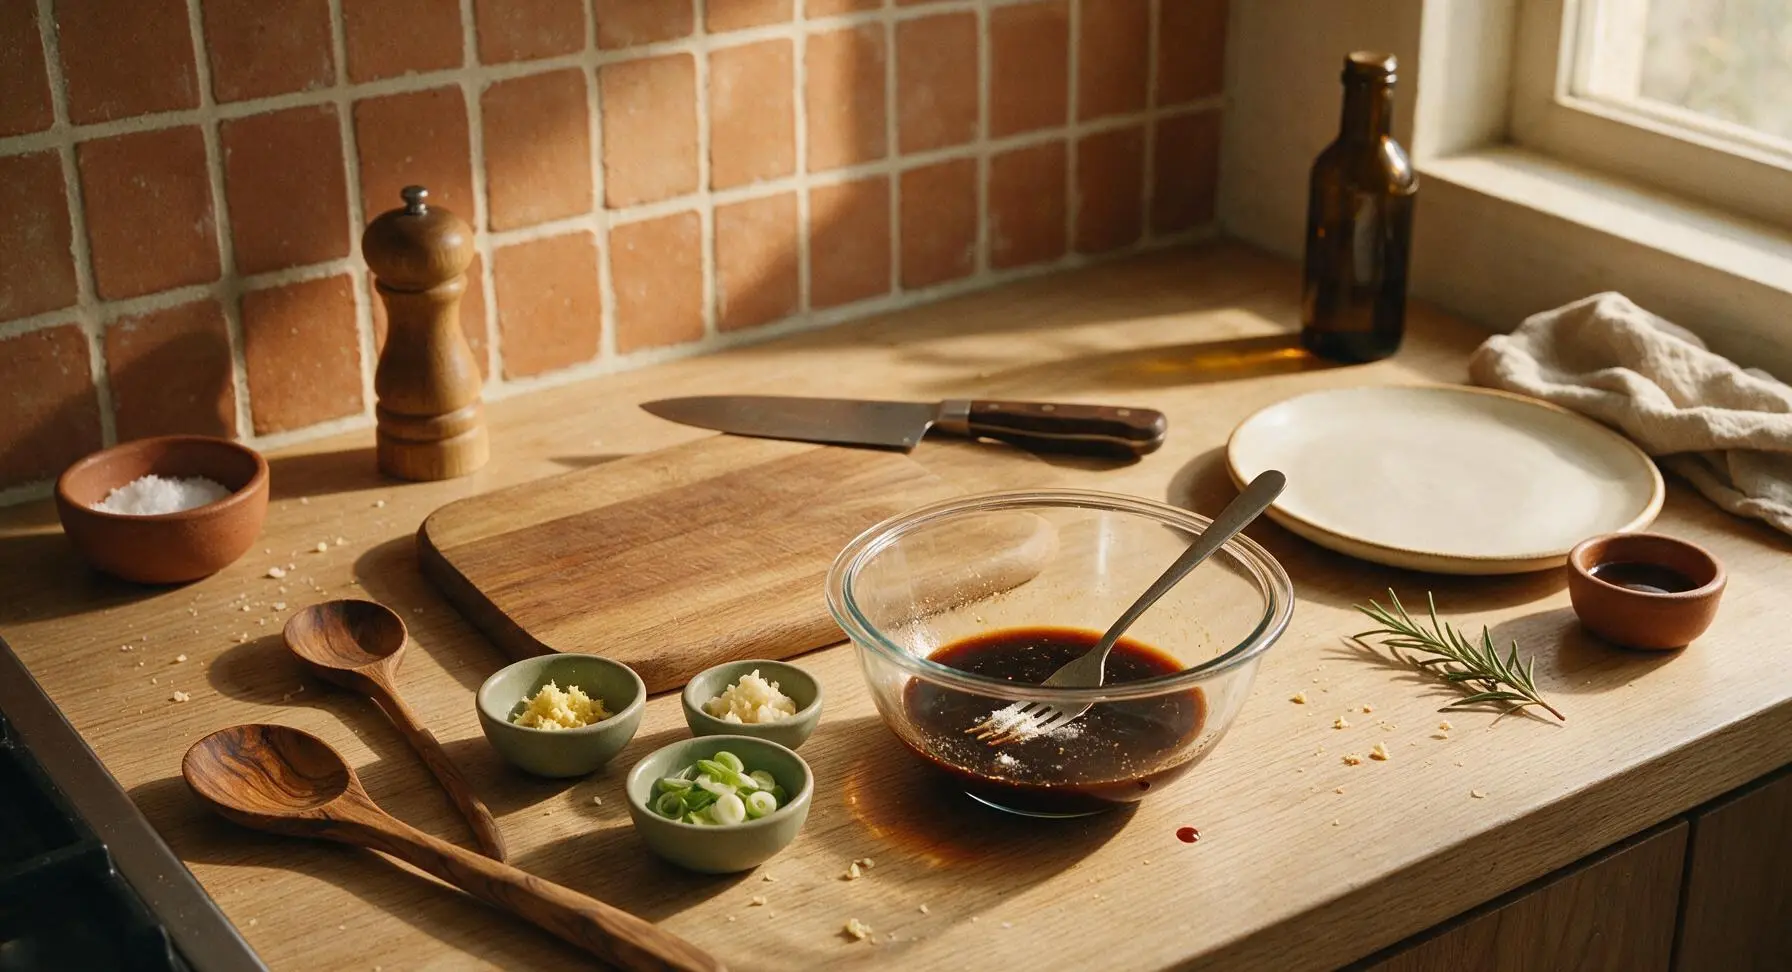
Step 2
step2:Mix Stir-Fry Sauce
3

Heat Wok and Oil

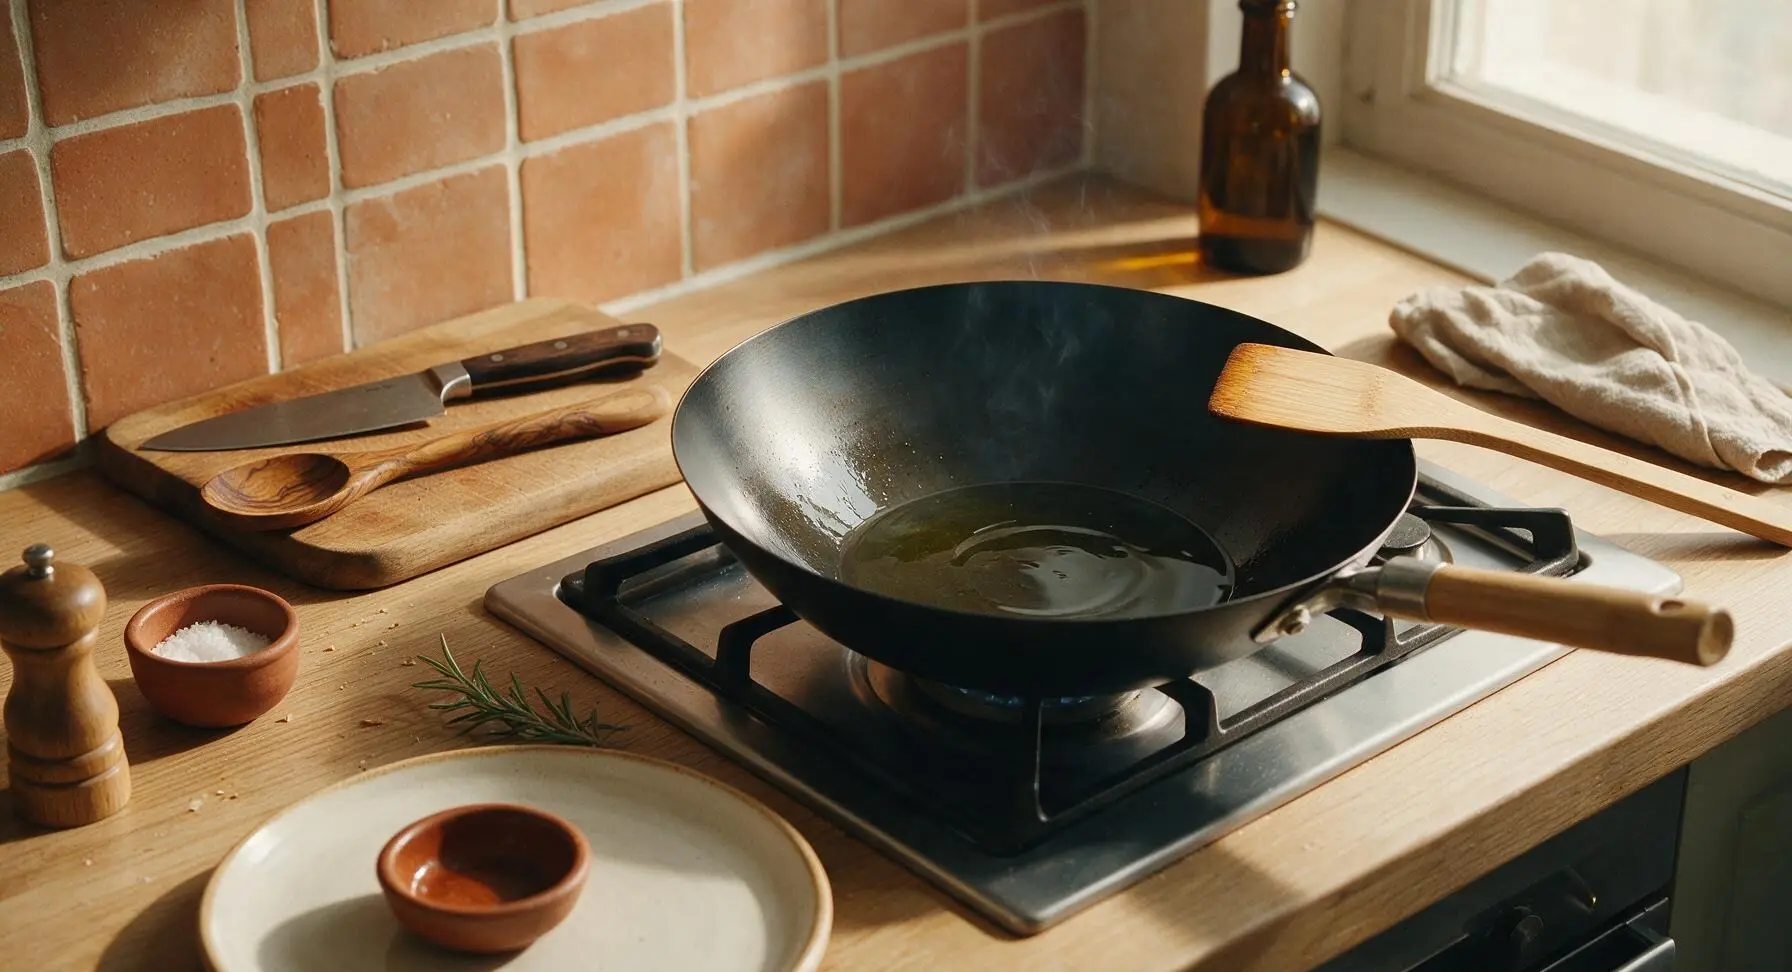
Slide the acacia wood cutting board (with prepped ingredients and knife on it) to the left back corner of the counter to clear center space. Place the seasoned carbon steel wok on the center-back butane burner, turn heat to medium-high, and add 1 tablespoon neutral canola oil. Heat the oil for 1 minute, until it shimmers across the wok bottom and just begins to send up thin, wispy trails of heat. Tilt the wok gently to coat the sloped sides evenly with oil. Do not let the oil smoke heavily, as this will create a burnt, bitter flavor.
Step 3
step3:Heat Wok and Oil
4

Brown the Ground Beef

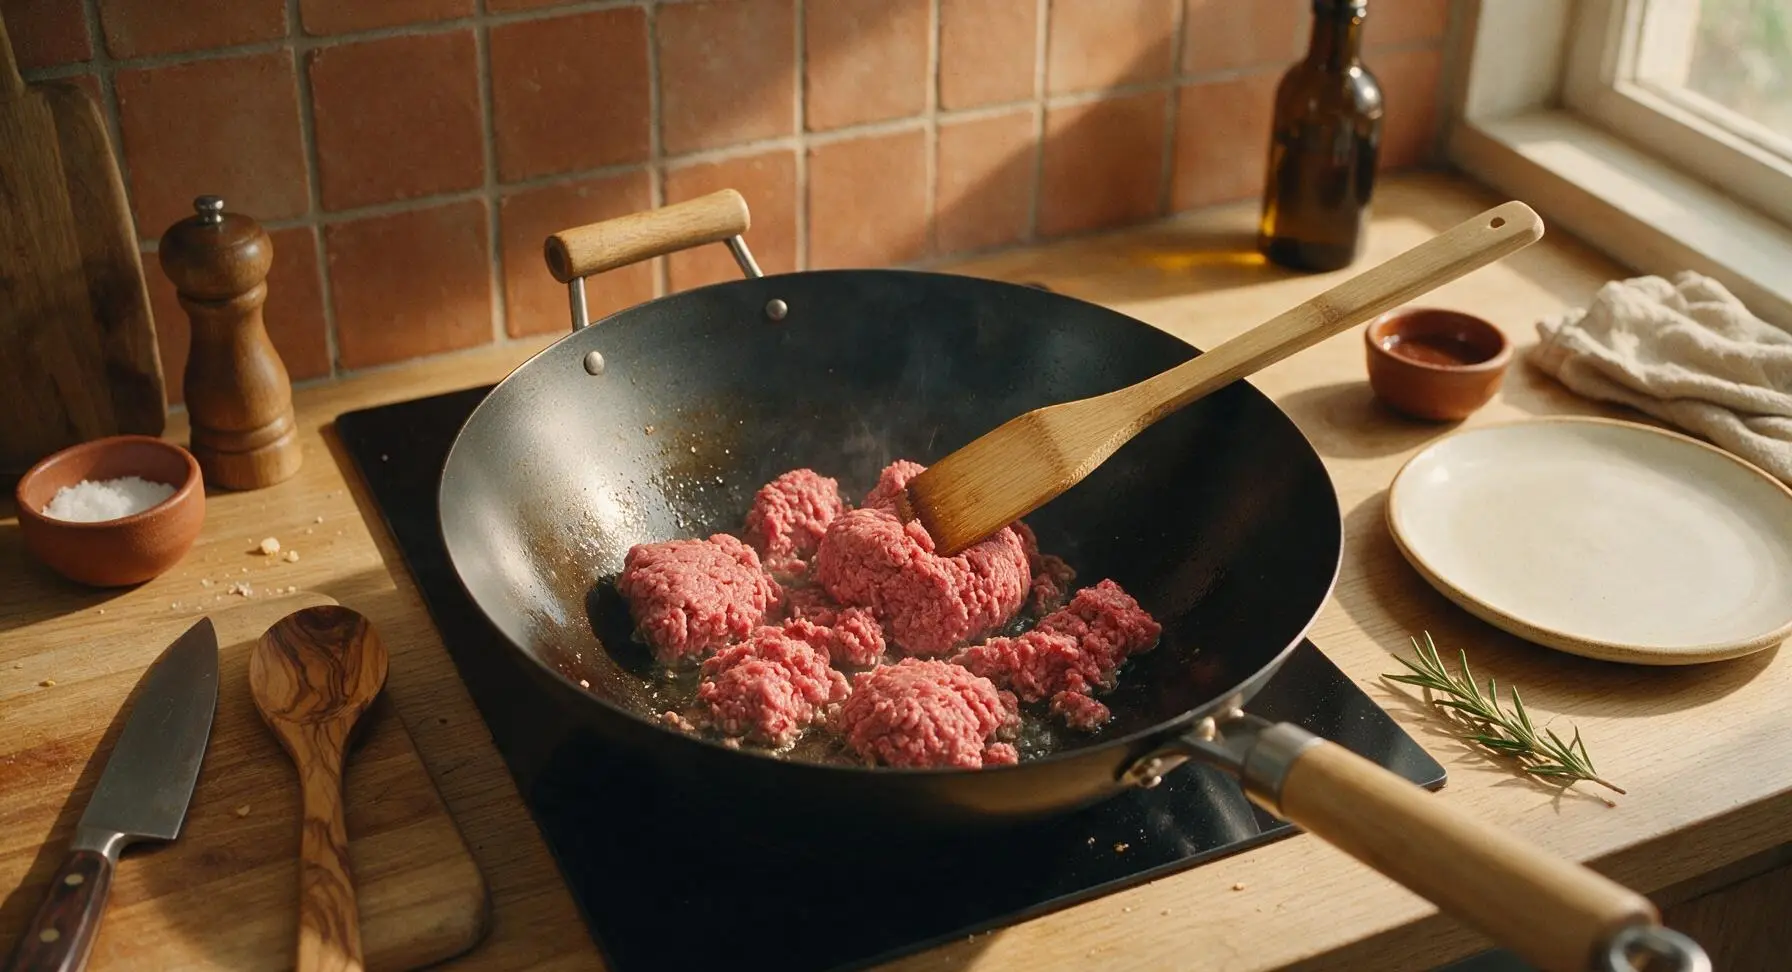
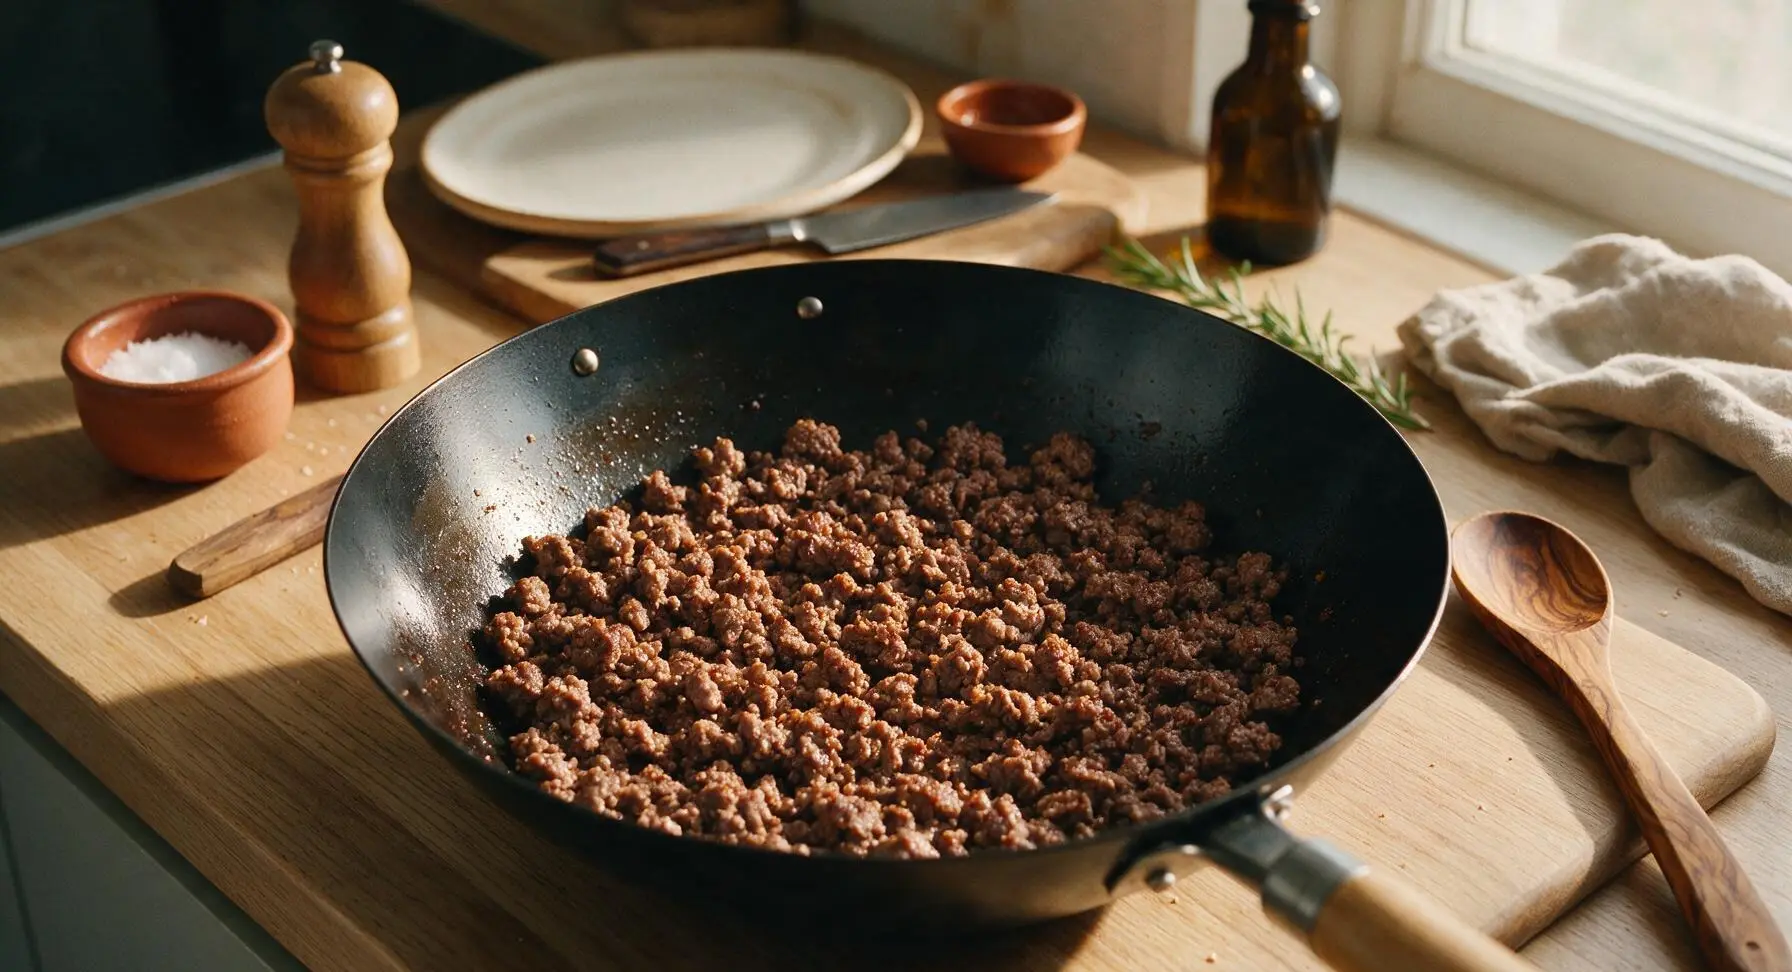
Add the full 500g of 80/20 ground beef to the hot oiled wok in large, loose crumbles. Use the bamboo spatula to break the beef apart into 1cm (1/2 inch) bite-sized crumbles as it cooks, stirring every 30 seconds. Cook for 4-5 minutes, until the beef is fully browned with no remaining pink spots, and any released water from the meat has fully evaporated. If more than 1 teaspoon of rendered fat remains in the wok, carefully pour off the excess to avoid a greasy finished dish. Do not over-stir initially; let the beef sit undisturbed for 1 minute at a time to develop light crispy browned edges on some crumbles for extra texture.
Step 4
step4:Brown the Ground Beef
Step 4
step4:Brown the Ground Beef
5

Toss Beef with Sauce

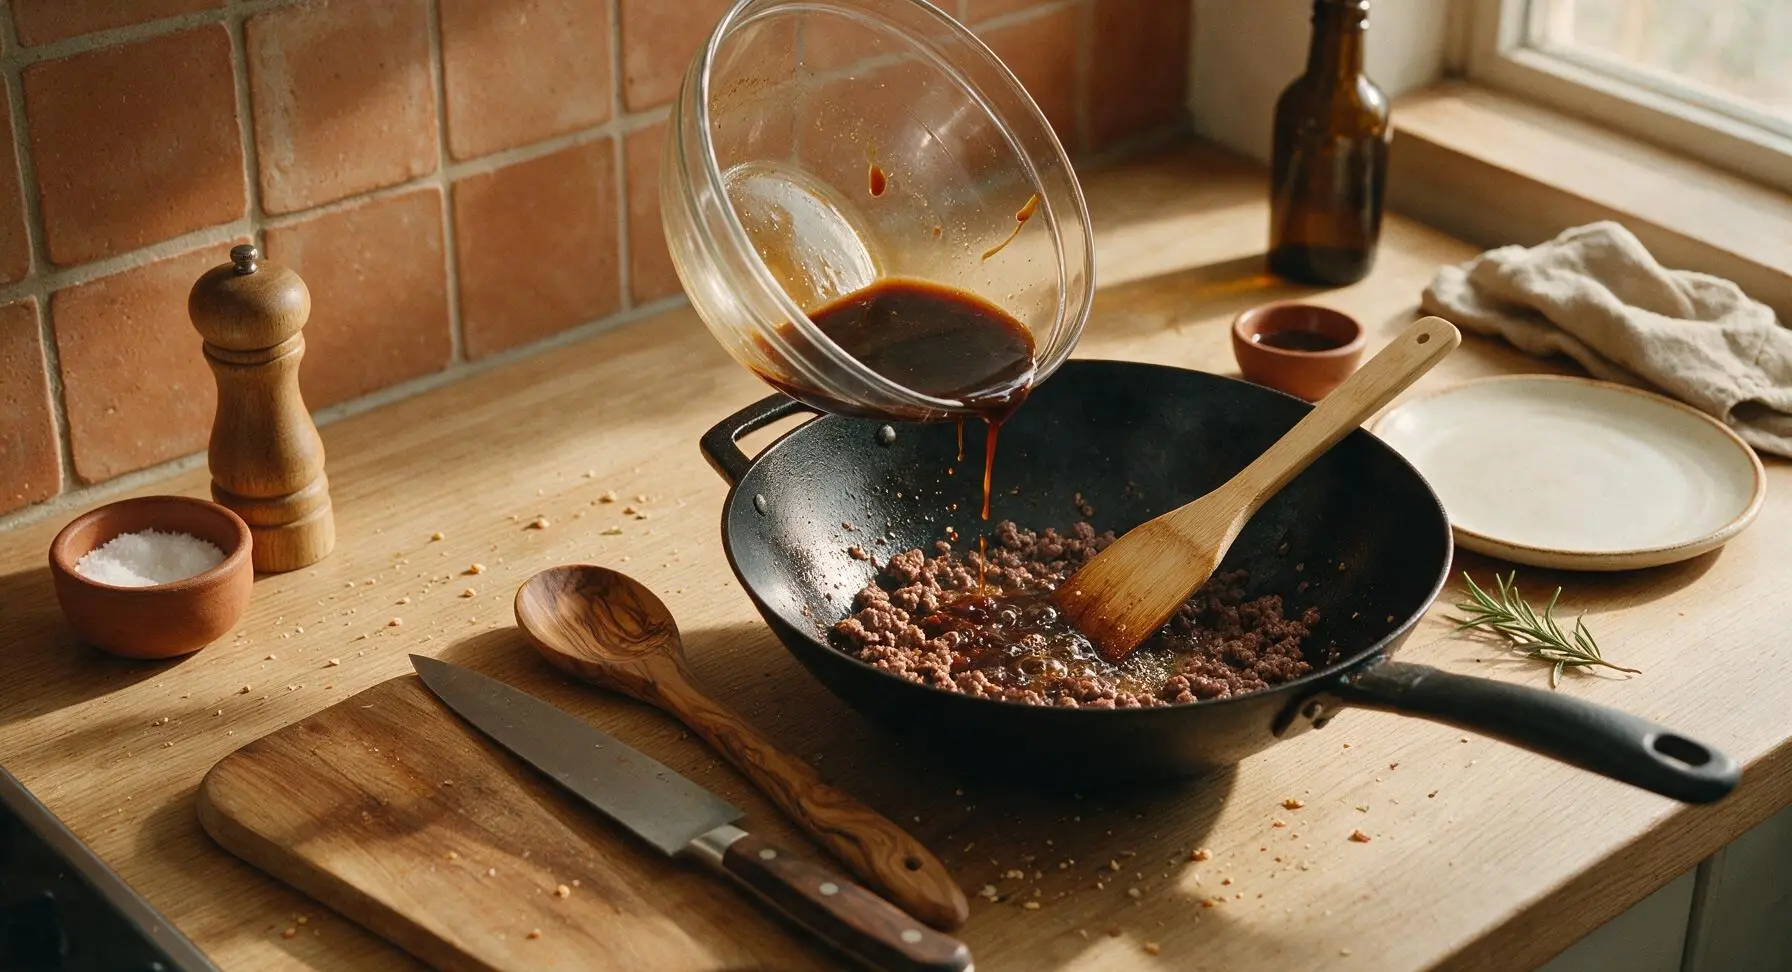
Give the reserved sauce mixture in the glass bowl a quick 2-second stir to re-incorporate any cornstarch that has settled to the bottom. Pour the sauce evenly over the browned beef in the wok. Stir continuously with the bamboo spatula for 1-2 minutes, until the sauce bubbles, thickens, and coats every crumble of beef in a glossy, thin layer. The sauce is ready when it no longer pools at the bottom of the wok, and clings tightly to the beef crumbles.
Step 5
step5:Toss Beef with Sauce
6

Add Scallion Whites

Add the sliced white and light green parts of the green onions to the wok, tossing to combine with the sauced beef. Cook for exactly 30 seconds, just until the scallion whites soften slightly and release their fresh, sharp aroma. Do not overcook the scallions, as they will turn mushy and lose their bright flavor if cooked longer than 1 minute.
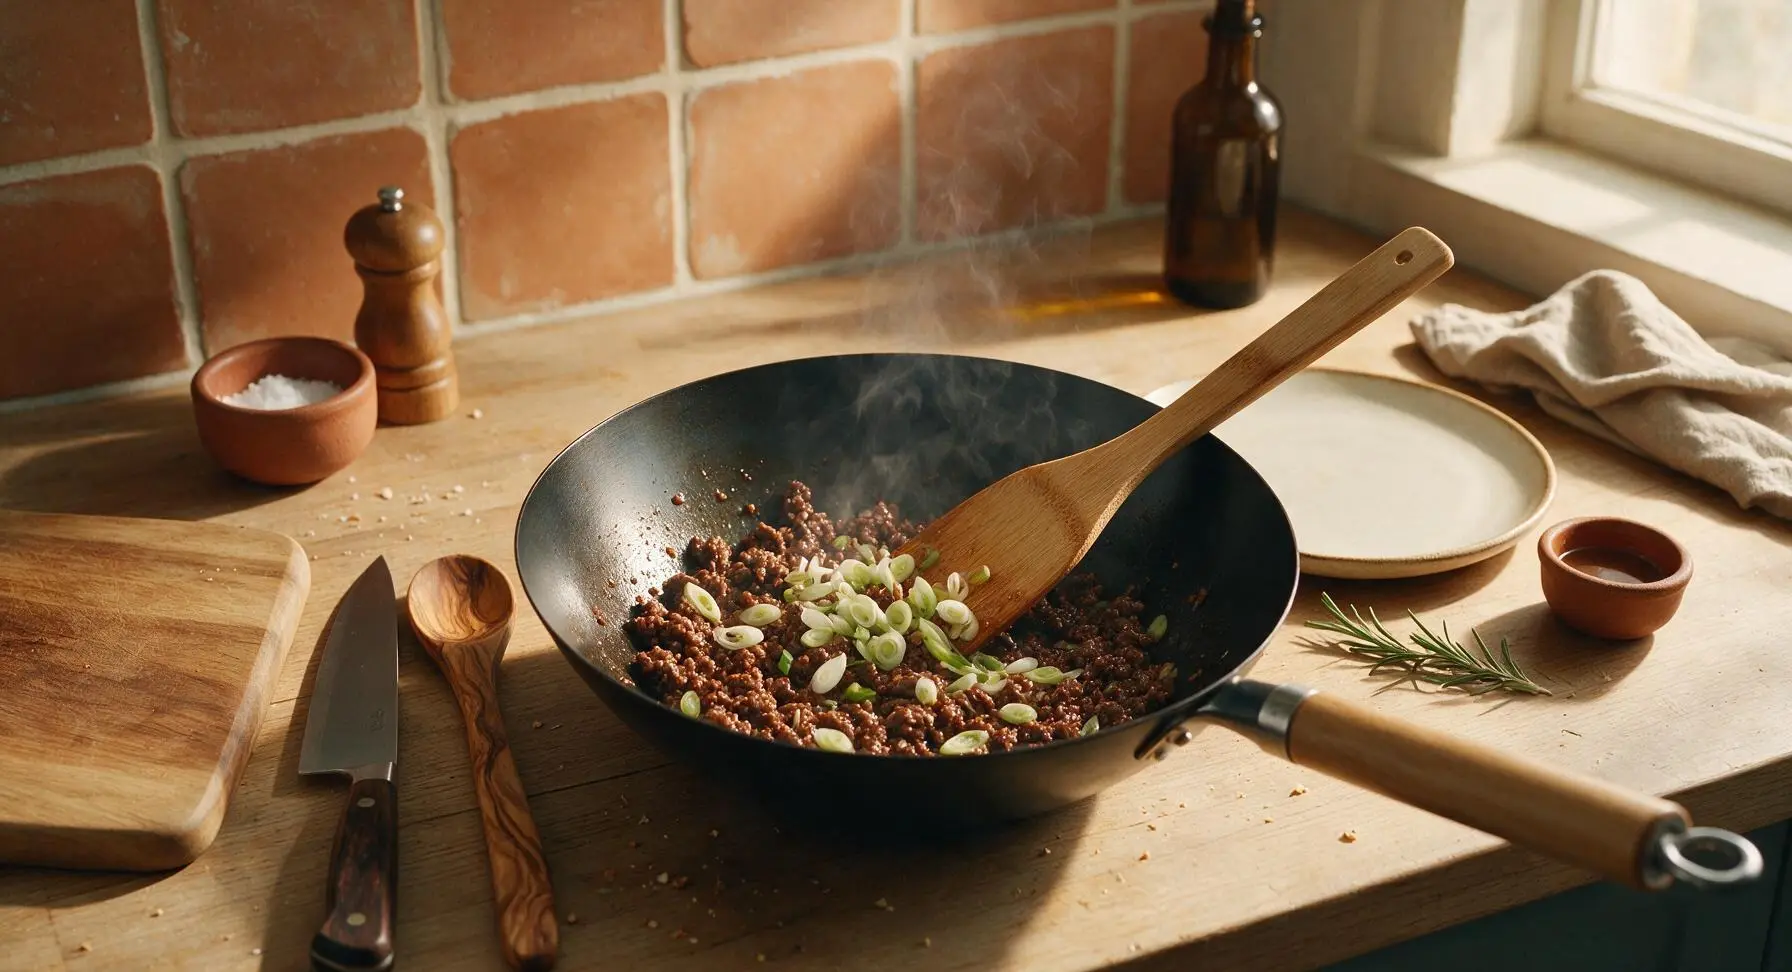
Step 6
step6:Add Scallion Whites
7

Plate and Garnish

Turn off the burner. Use the bamboo spatula to transfer the finished sauced beef to the matte off-white ceramic dinner plate, mounding it slightly next to an optional 1/2 cup serving of steamed short-grain white rice per plate. Top the beef with the reserved sliced dark green scallion tops and 1 teaspoon of toasted white sesame seeds. Serve immediately while hot for best flavor and texture.
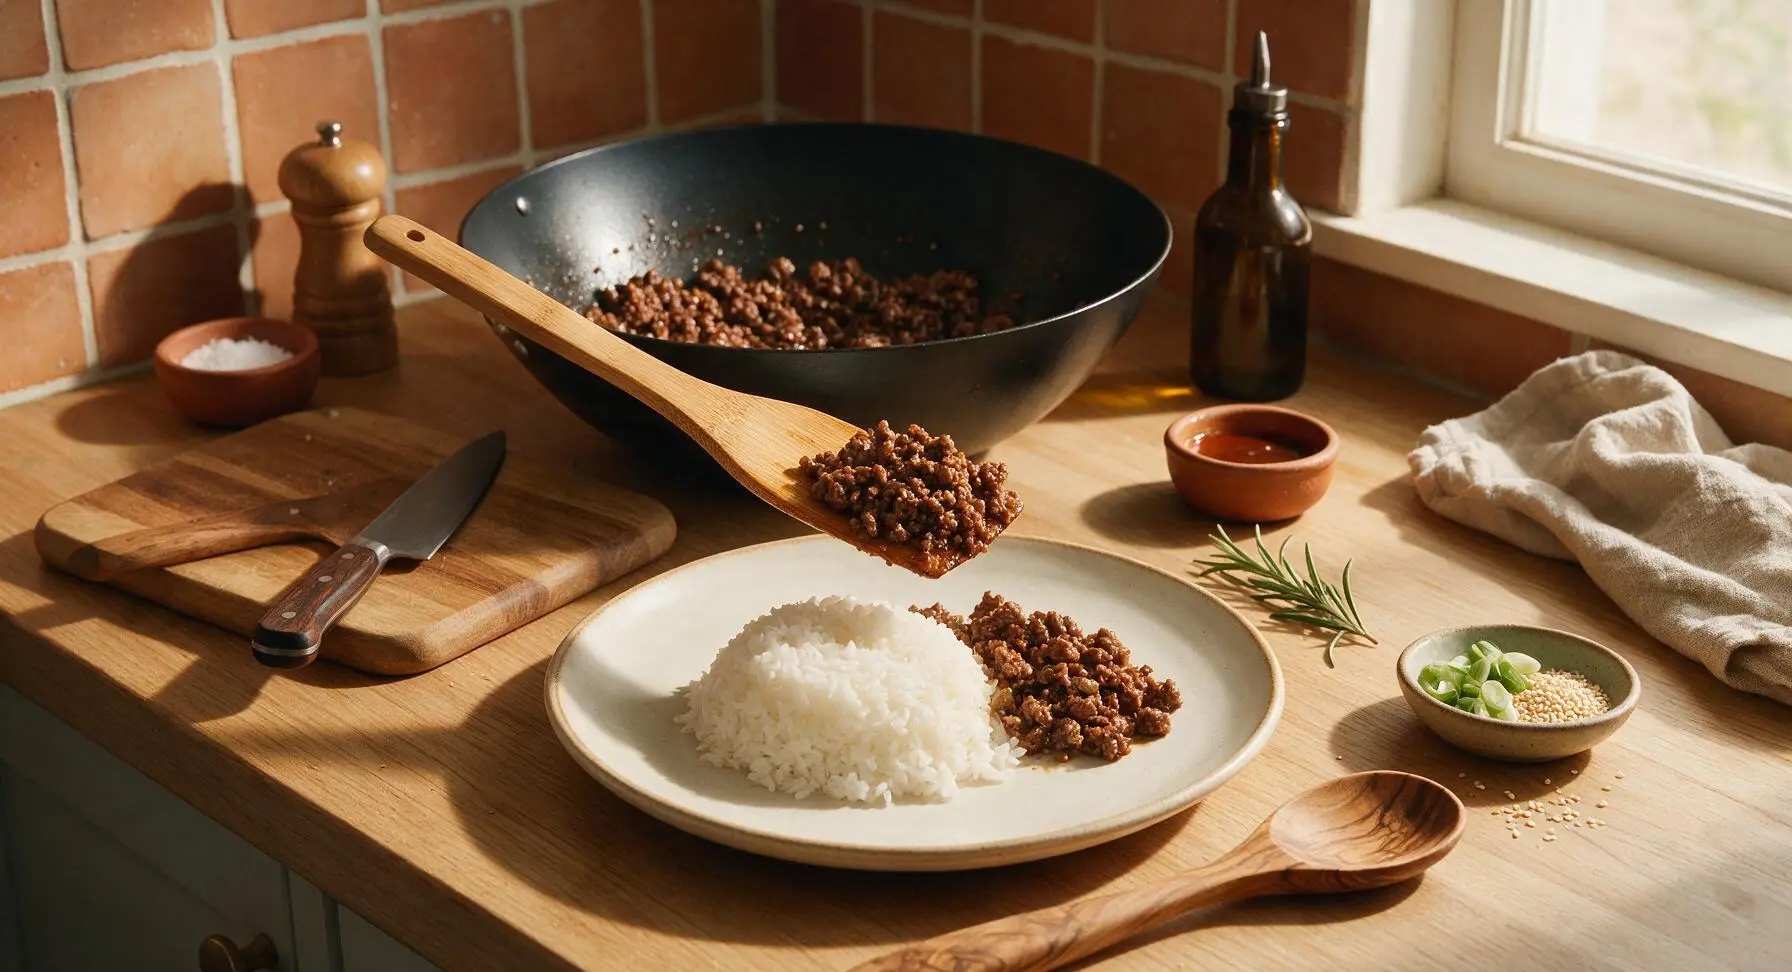
Step 7
step7:Plate and Garnish

Tips

1.Use 80/20 ground beef instead of extra-lean blends: the 20% fat content helps create crispy, caramelized edges on the beef crumbles, keeps the meat juicy, and prevents the dish from tasting dry, even when coated in thick sauce. Drain only excess rendered fat (more than 1 teaspoon) to avoid greasy results without losing flavor.
2.Always re-stir the sauce right before pouring it into the wok: cornstarch sinks quickly to the bottom of the mixing bowl, and skipping this quick stir will leave you with thin, runny sauce that fails to cling to the beef crumbles, leaving flavor at the bottom of the pan.
3.Reserve the dark green scallion tops for raw garnish, and only cook the white/light green parts for 30 seconds: overcooked scallions turn mushy and develop a bitter, flat flavor, while raw green tops add a bright, fresh contrast to the rich, savory beef.


✨ You May Also Like

Main Course
🍜 United Kingdom

A showstopping classic of tender seared beef, savory mushroom duxelles, and crisp prosciutto wrapped in flaky golden puff pastry, baked to juicy perfection.

⏱️ 2 hours 1Main Course ★ 4.7
Main Course
🍜 India

Tender charred marinated chicken simmered in a rich, spiced creamy tomato sauce, this iconic Anglo-Indian curry pairs perfectly with basmati rice or warm naan.

⏱️ 50 minuteMain Course ★ 4.6
Main Course
🍜 Thailand

Classic tangy, sweet, and savory Thai stir-fried rice noodles with shrimp, tofu, and crunchy garnishes, balancing all five core Thai flavor profiles.

⏱️ 30 minuteMain Course ★ 4.5
Main Course
🍜 United Kingdom

Crispy golden beer-battered cod and fluffy double-fried chips, served with tangy tartar sauce and malt vinegar: the timeless, beloved British pub comfort classic.

⏱️ 45 minuteMain Course ★ 4.7
Main Course
🍜 Mexico

Smoky, chile-marinated pork tacos with caramelized pineapple, fresh cilantro, and lime: a beloved classic Mexican street food perfect for casual summer gatherings.

⏱️ 1 hour 45Main Course ★ 4.8
Main Course
🍜 United States

Crunchy Fritos corn chips layered with savory beef chili and melted cheddar, topped with cool, zesty fixings for a beloved, cozy Tex-Mex comfort food.

⏱️ 35 minuteMain Course ★ 4.8

asian ground beef:Frequently Asked Questions

1.Why do you recommend 80/20 ground beef for this stir-fry? ▾
The 80/20 lean-to-fat ratio is ideal here because the small amount of rendered fat keeps the beef juicy without making the final dish greasy, and it adds rich, beefy depth that leaner blends (like 90/10) lack. You won’t even need extra cooking oil if you use this ratio—just crumble it straight into a hot skillet, no draining required for perfect texture.
2.Can I use regular full-sodium soy sauce instead of low-sodium? ▾
You absolutely can, but reduce the soy sauce amount by 25% and skip any added salt to avoid an overly salty final dish. Regular soy sauce has nearly double the sodium of low-sodium versions, and the brown sugar and gochujang already add balanced savoriness, so taste as you go before adding extra seasoning.
3.What’s a good substitute for gochujang if I don’t have it on hand? ▾
If you don’t have gochujang, mix 1 tablespoon of white miso paste with 1 teaspoon of chili garlic sauce and a tiny pinch of sugar to mimic its umami, mild heat, and subtle sweetness. Skip using sriracha alone—it lacks the fermented depth that makes the sauce feel rich, and it will make the stir-fry taste sharp instead of rounded.
4.How do I keep the ground beef from turning out mushy? ▾
To avoid mushy beef, make sure your skillet is fully preheated over medium-high heat before adding the beef, and don’t stir it constantly for the first 2 to 3 minutes. Letting it sit and develop a light golden crust on one side before crumbling builds great texture; cook in two batches if your skillet is smaller than 12 inches to avoid overcrowding.
5.Does this stir-fry work well for weekly meal prep? ▾
This stir-fry holds up beautifully for meal prep! Let it cool completely, then store in airtight containers in the fridge for up to 4 days, or freeze for up to 3 months. Reheat in the microwave or a small skillet with a splash of water to loosen the sauce, and serve over rice or with roasted veggies for easy grab-and-go meals.
6.Why use toasted sesame oil instead of regular sesame oil? ▾
Toasted sesame oil has a deep, nutty, warm aroma that untoasted sesame oil lacks, and it’s a core note in that classic savory Asian stir-fry profile. Add it at the very end of cooking instead of using it to sear the beef—high heat breaks down its delicate flavor and can make it taste bitter, so a final drizzle gives the best result.
7.Can I add extra vegetables to bulk up this stir-fry? ▾
Absolutely! This recipe is super flexible for add-ins. Toss in diced bell peppers, snap peas, shredded carrots, or chopped broccoli during the last 3 to 4 minutes of cooking so they stay crisp-tender, not soggy. Stick to no more than 2 cups of veggies total per batch, or you’ll dilute the glossy, flavorful sauce too much.
8.My sauce turned out too thin to coat the beef—how do I fix that? ▾
If your sauce is too thin, make a quick slurry of 1 teaspoon cornstarch mixed with 1 tablespoon cold water, then stir it into the simmering stir-fry for 30 to 60 seconds. It will thicken immediately into that glossy, clingy texture you want. Never add dry cornstarch straight to the pan, or you’ll end up with lumpy, uneven sauce.

Comments (9)

yesterday

OMG this is such a game changer! I threw this together after soccer practice last night when I had zero meal prep done and both my kids cleaned their plates? Like, they usually complain about anything with veggies but they ate every bite of the bell pepper and beef mix. 10 minute cook time is NOT a lie, I timed it. Served it over leftover jasmine rice, chef’s kiss.

2 hours ago

Same here! My 7 year old asked for seconds, which never happens. I tossed in a handful of frozen broccoli too and it worked perfectly.

30 minutes ago

So happy to hear it worked for your family! Frozen veggie add-ins are such a smart hack for extra busy nights, so glad that worked out for you.

2 days ago

This is going into my regular weekly rotation! I made a big batch on Sunday, portioned it out with brown rice, and it held up perfectly all week for work lunches. The sauce is so flavorful, way better than the takeout I usually waste money on. Only note: I added a little extra sriracha because I love heat.

yesterday

Great idea! I never thought to meal prep this, I usually make it for dinner and eat the leftovers for lunch the next day but making a big batch on Sunday is way smarter.

2 hours ago

Love that you used this for meal prep! Great call on the extra sriracha, I’m a huge spice fan too — adding a sprinkle of red pepper flakes works great as well if you want even more kick.

3 days ago

As someone who can barely boil pasta without burning it, this was so easy to pull off in my tiny dorm kitchen! I didn’t have fresh ginger so I used a pinch of ground ginger from my spice rack and it still tasted amazing. Total cost for the ingredients was like $8, fed me for three meals. 10/10

1 week ago

Brought this to our neighborhood block party potluck last weekend and people were hounding me for the recipe all night! I kept it warm in my slow cooker after making it, served with little cups of rice and chopsticks on the side. Even the self-proclaimed ‘Asian food snob’ on our block said it tasted better than his favorite local takeout spot.

5 days ago

Wait I was at that potluck! I had two servings, no lie. So glad I found the recipe here, I’m making it for my kid’s graduation party next month.

3 days ago

That makes my day to hear! It’s such a great potluck dish because it holds up so well, and it feeds a crowd easily. Hope it’s a hit at the graduation party!

5 days ago

So happy this recipe works with gluten free soy sauce! I swapped the regular soy for tamari and didn’t notice a difference in flavor at all. Super quick, perfect for those nights when my chronic pain flares up and I can’t stand at the stove for long. Thank you for an easy, accessible recipe!

2 hours ago

Wait, quick question — do I need to drain the grease from the ground beef before adding the sauce? I made this last night and it was a little oily for my taste, but maybe I used a fattier grind of beef than I was supposed to?

30 minutes ago

Great question! If you’re using a fattier ground beef (80/20 or similar), definitely drain the excess grease after browning before stirring in the sauce — that’ll cut down on the oiliness. 90/10 lean beef works great for minimal grease if that’s your preference!

30 minutes ago

SO good. I added some matchstick carrots and a can of water chestnuts for extra crunch, and it tasted exactly like the beef stir fry my mom used to make when I was a kid. Cooked in 10 minutes flat, no fancy ingredients required. Will be making this at least twice a month.

5 minutes ago

I accidentally doubled the garlic because I was distracted by my dog barking at the mailman, and honestly? It was even better. Garlic lovers unite. I served this over ramen noodles instead of rice and it was chef’s kiss. So quick, so forgiving for people who can’t follow a recipe exactly (aka me).

just now

Ha, extra garlic is never a mistake in my book! Serving it over ramen is such a fun swap, I’ll have to try that next time I make it — thanks for the idea!

2 weeks ago

This recipe saved my grocery budget this week! Ground beef was on sale for $3 a pack, I already had all the sauce ingredients in my pantry, so this whole meal cost me under $10 to make for my roommate and I. Way cheaper than ordering takeout, and faster too. We ate it straight out of the pan while watching the game, no plates needed.

1 week ago

Same! I’m on a super tight budget right now and this was way better than eating instant noodles for the third night in a row. The sauce is so simple I already had everything too.



