
authentic mexican burrito
intro
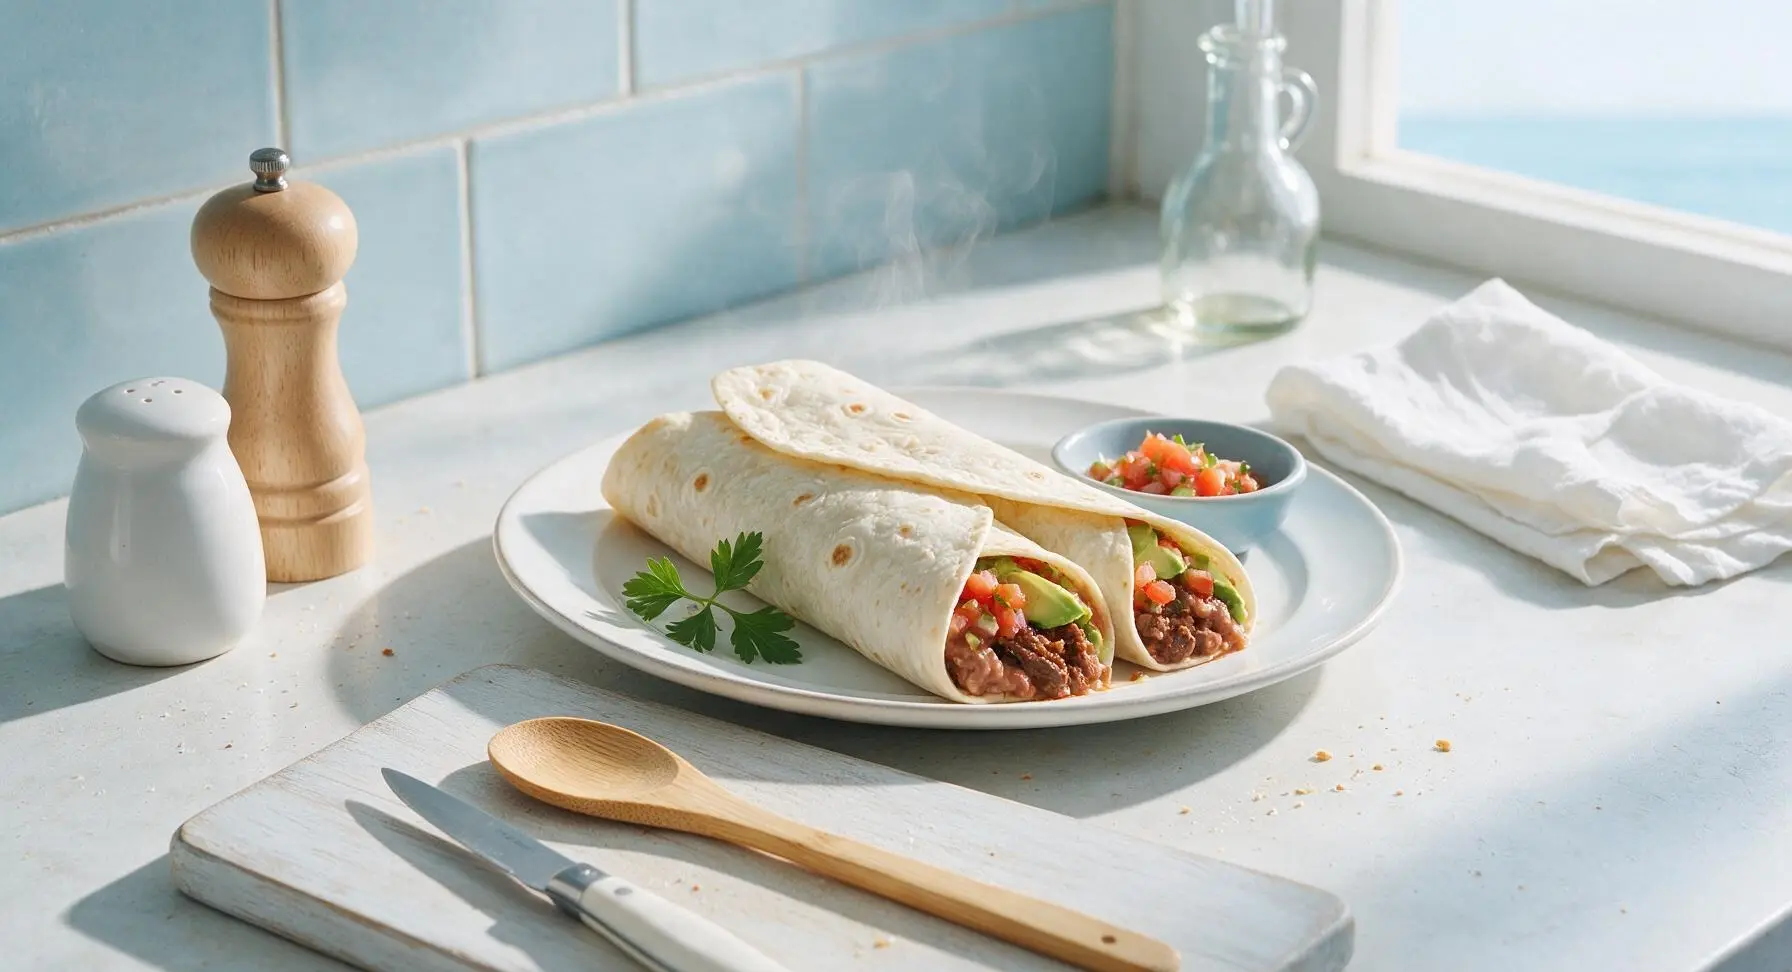
Tender spiced beef, creamy refried beans, bright fresh salsa, and cool avocado wrapped in warm, blistered flour tortillas—these authentic burritos are simple, satisfying, and perfect for easy weeknight meals.
Ingredients
Steps
Simmer Core Fillings
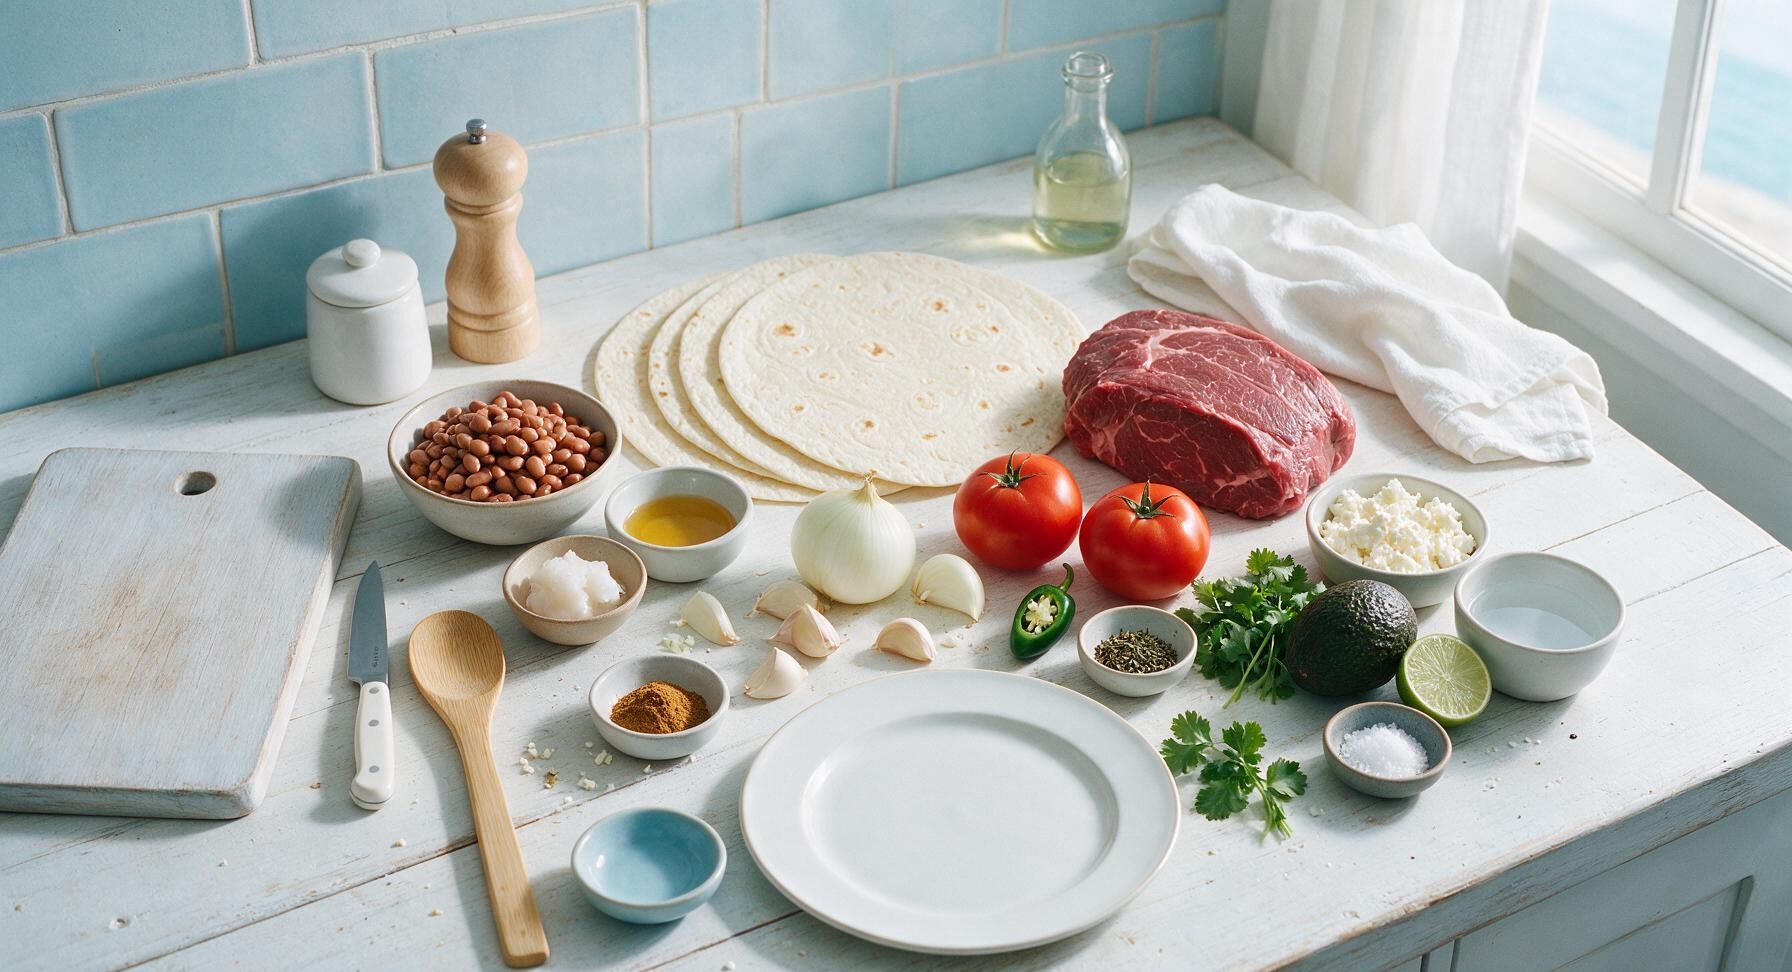
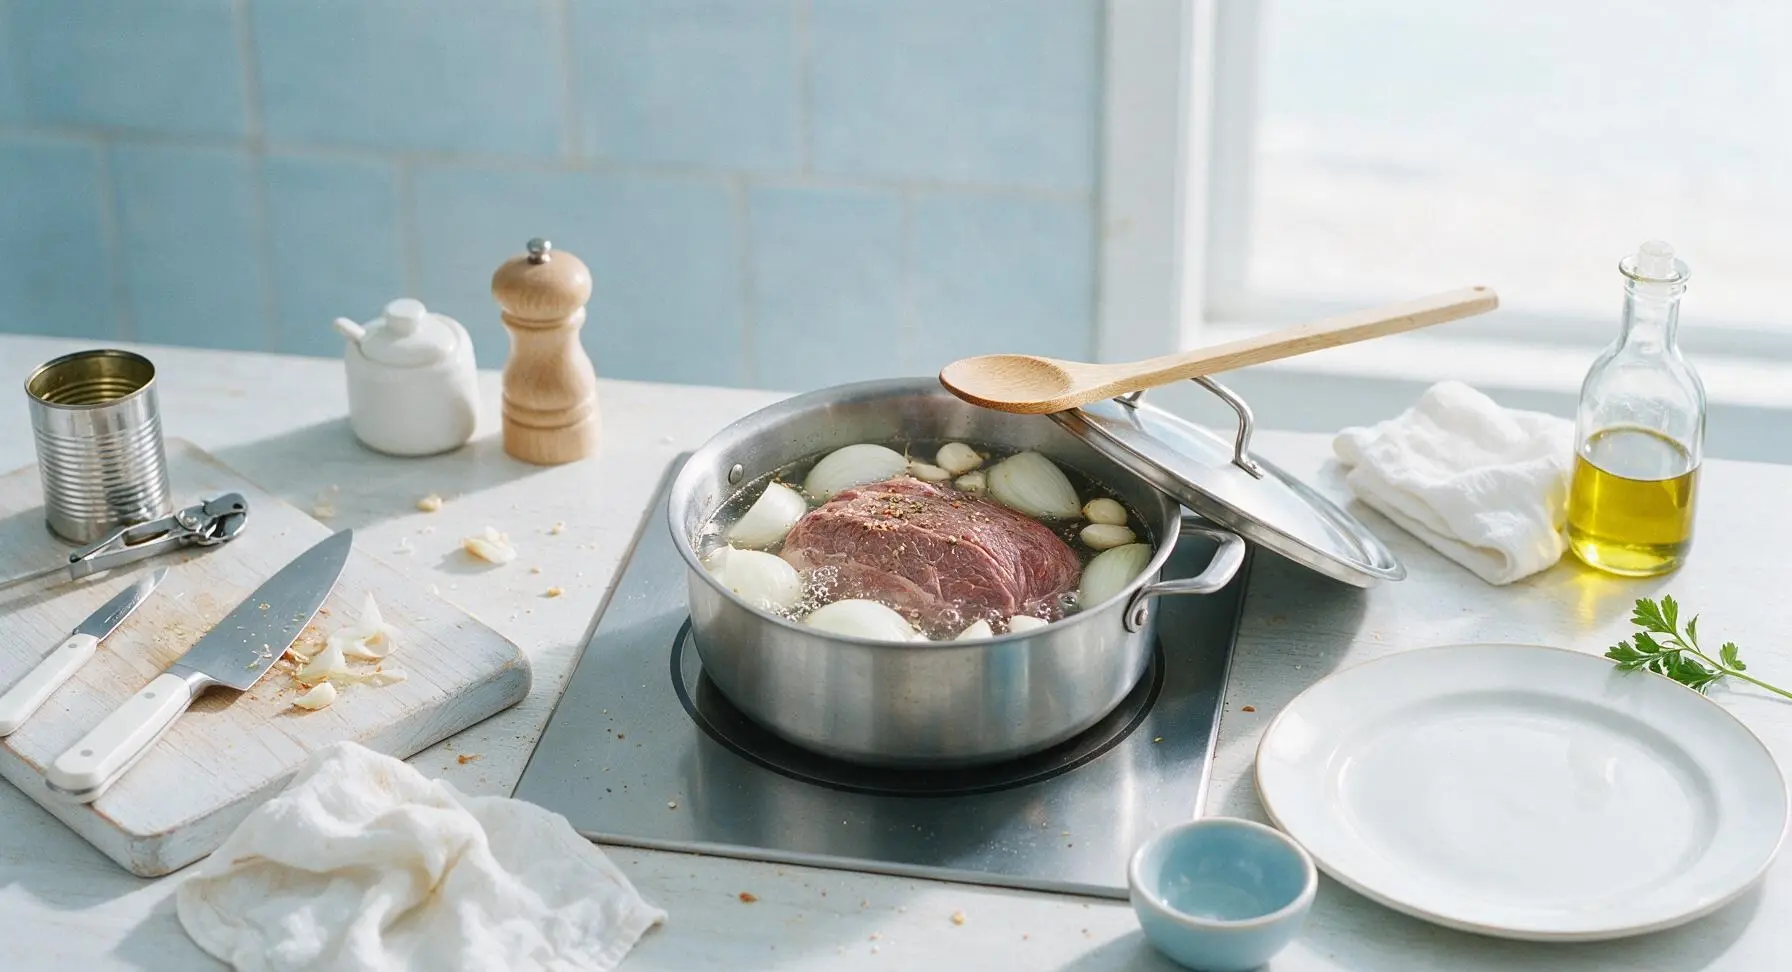
Add the whole trimmed beef chuck roast, 2 peeled garlic cloves, half the white onion (cut into 2 large wedges), 1 tsp salt, cumin, oregano, black pepper, and 200ml water to the 2-quart stainless steel saucepan. Bring to a rolling boil over medium heat, then reduce to low, cover with the lid, and simmer for 25 minutes until beef pulls apart easily with a fork. Add rinsed canned pinto beans to the pan, simmer uncovered for 5 more minutes to heat through. Do not drain the remaining cooking liquid.
Mix Fresh Salsa
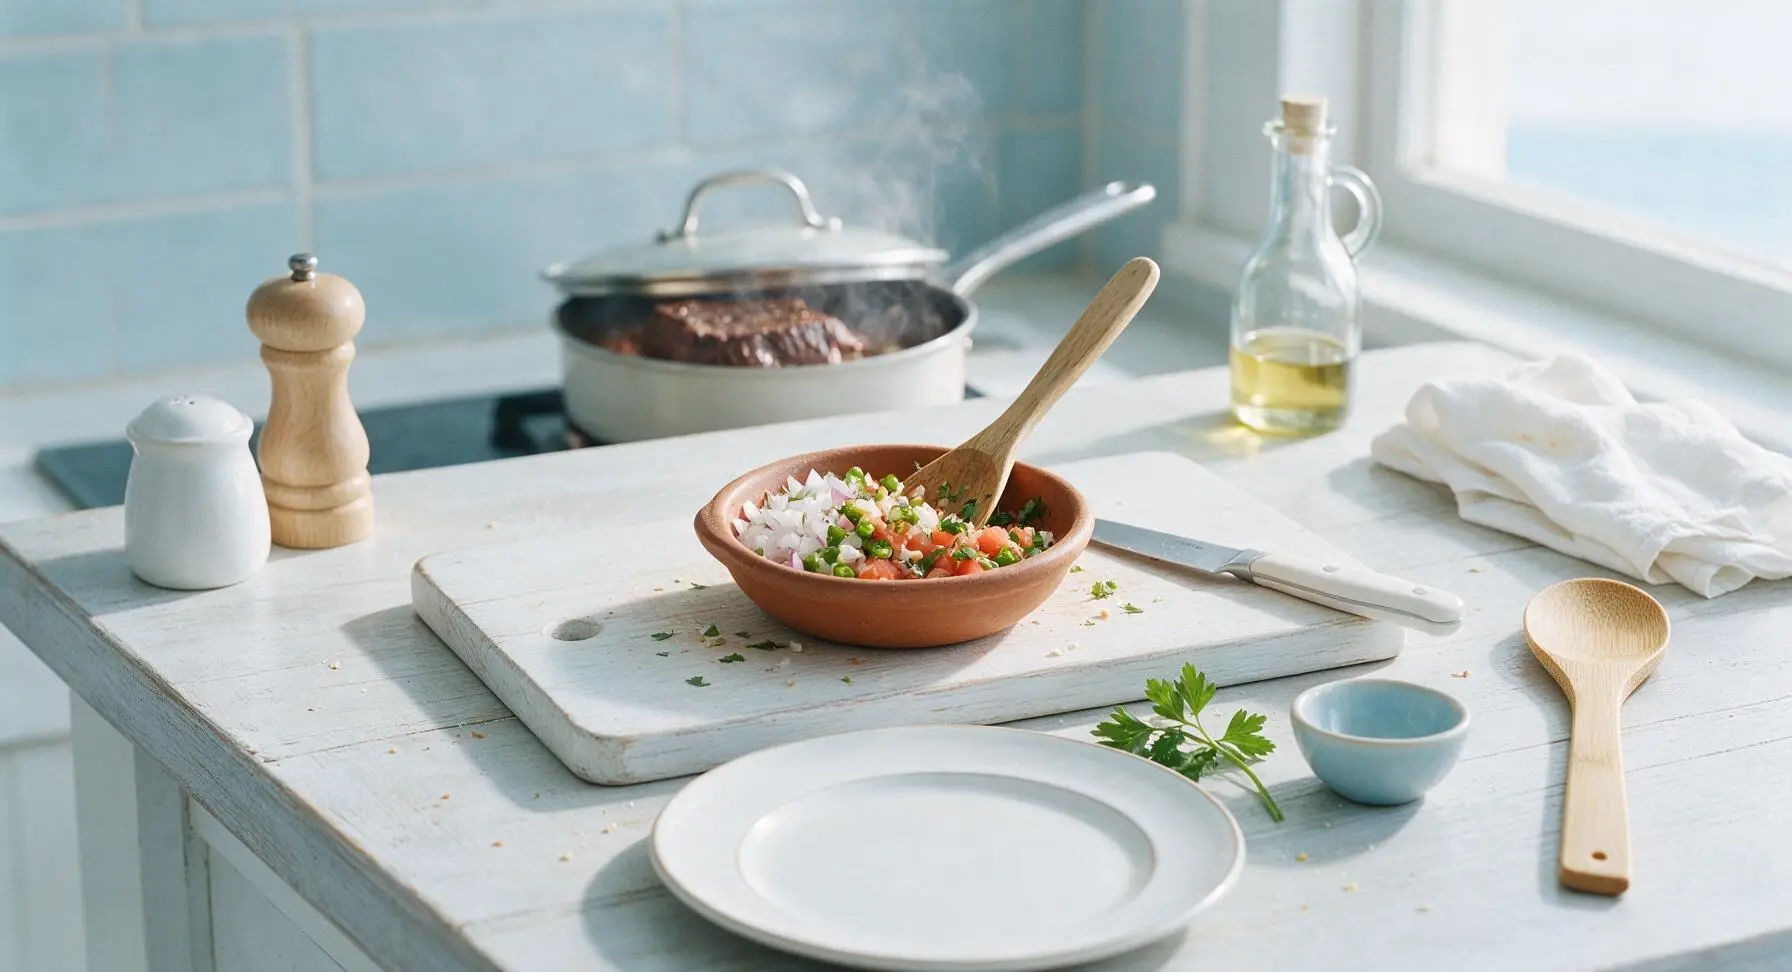
While the filling simmers, dice the remaining half white onion, mince the remaining 2 garlic cloves, seed and mince the jalapeño, dice the roma tomatoes, and chop 10g of the cilantro. Combine all in one small terracotta pinch bowl, stir in 1/4 tsp salt and 1 tsp lime juice, and set aside to let flavors meld.
Shred Beef, Mash Beans
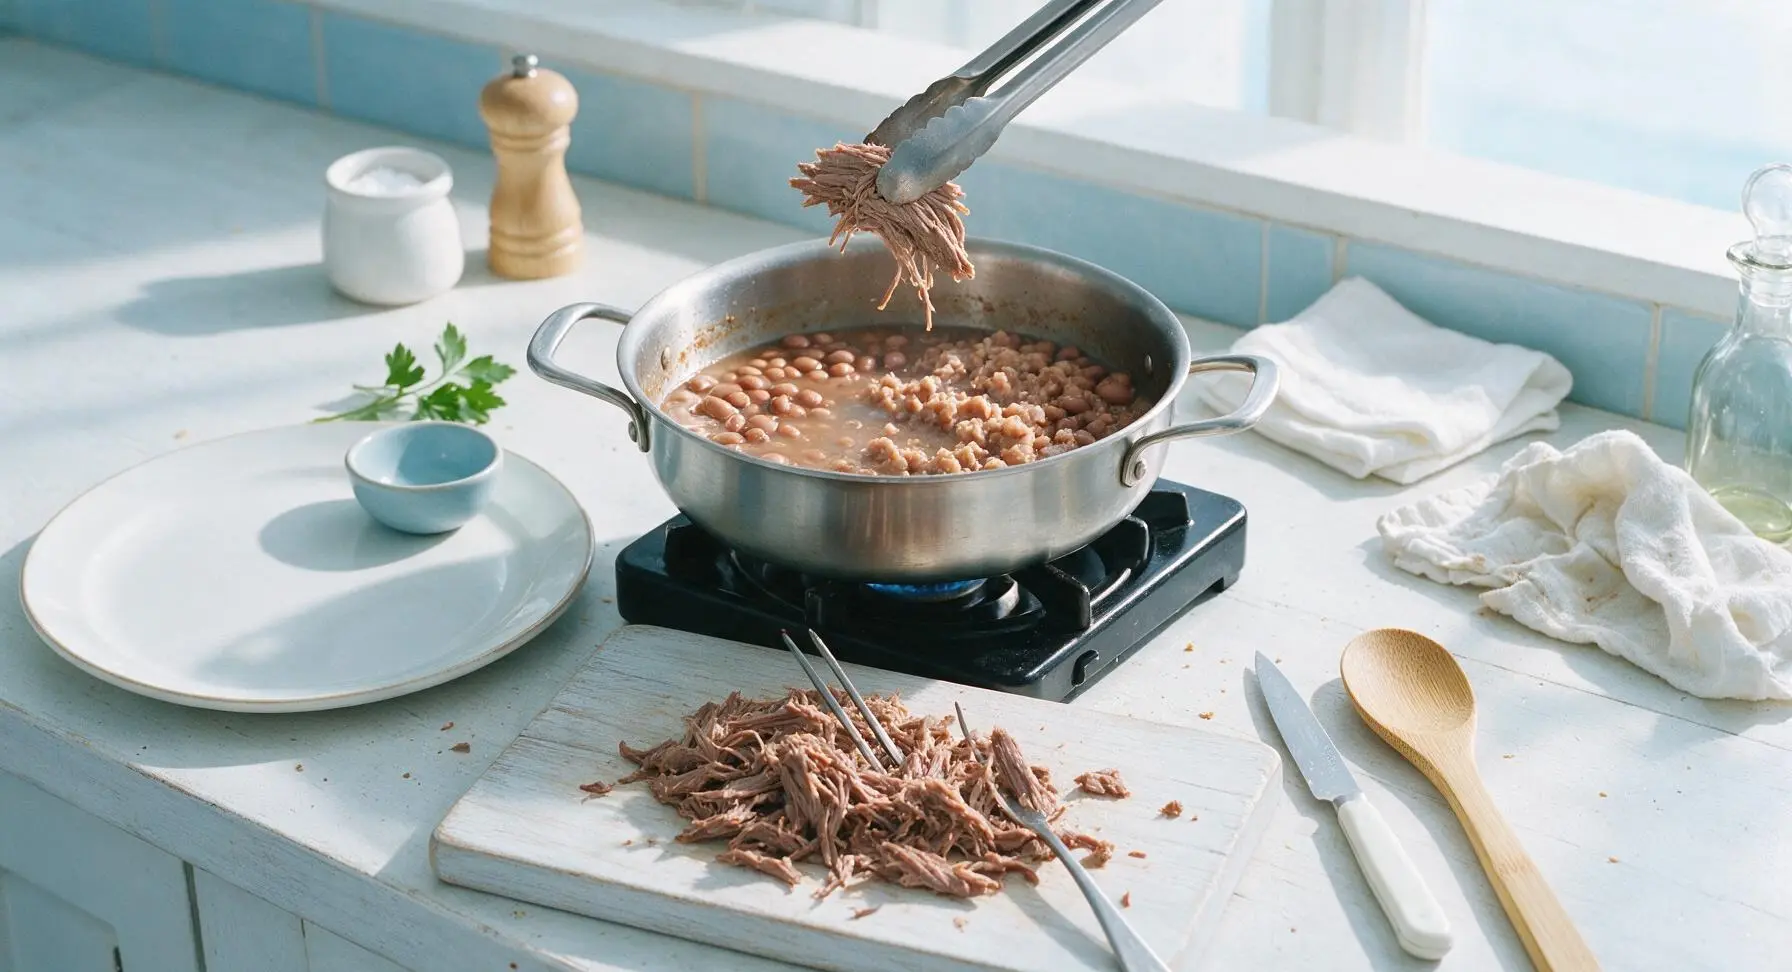
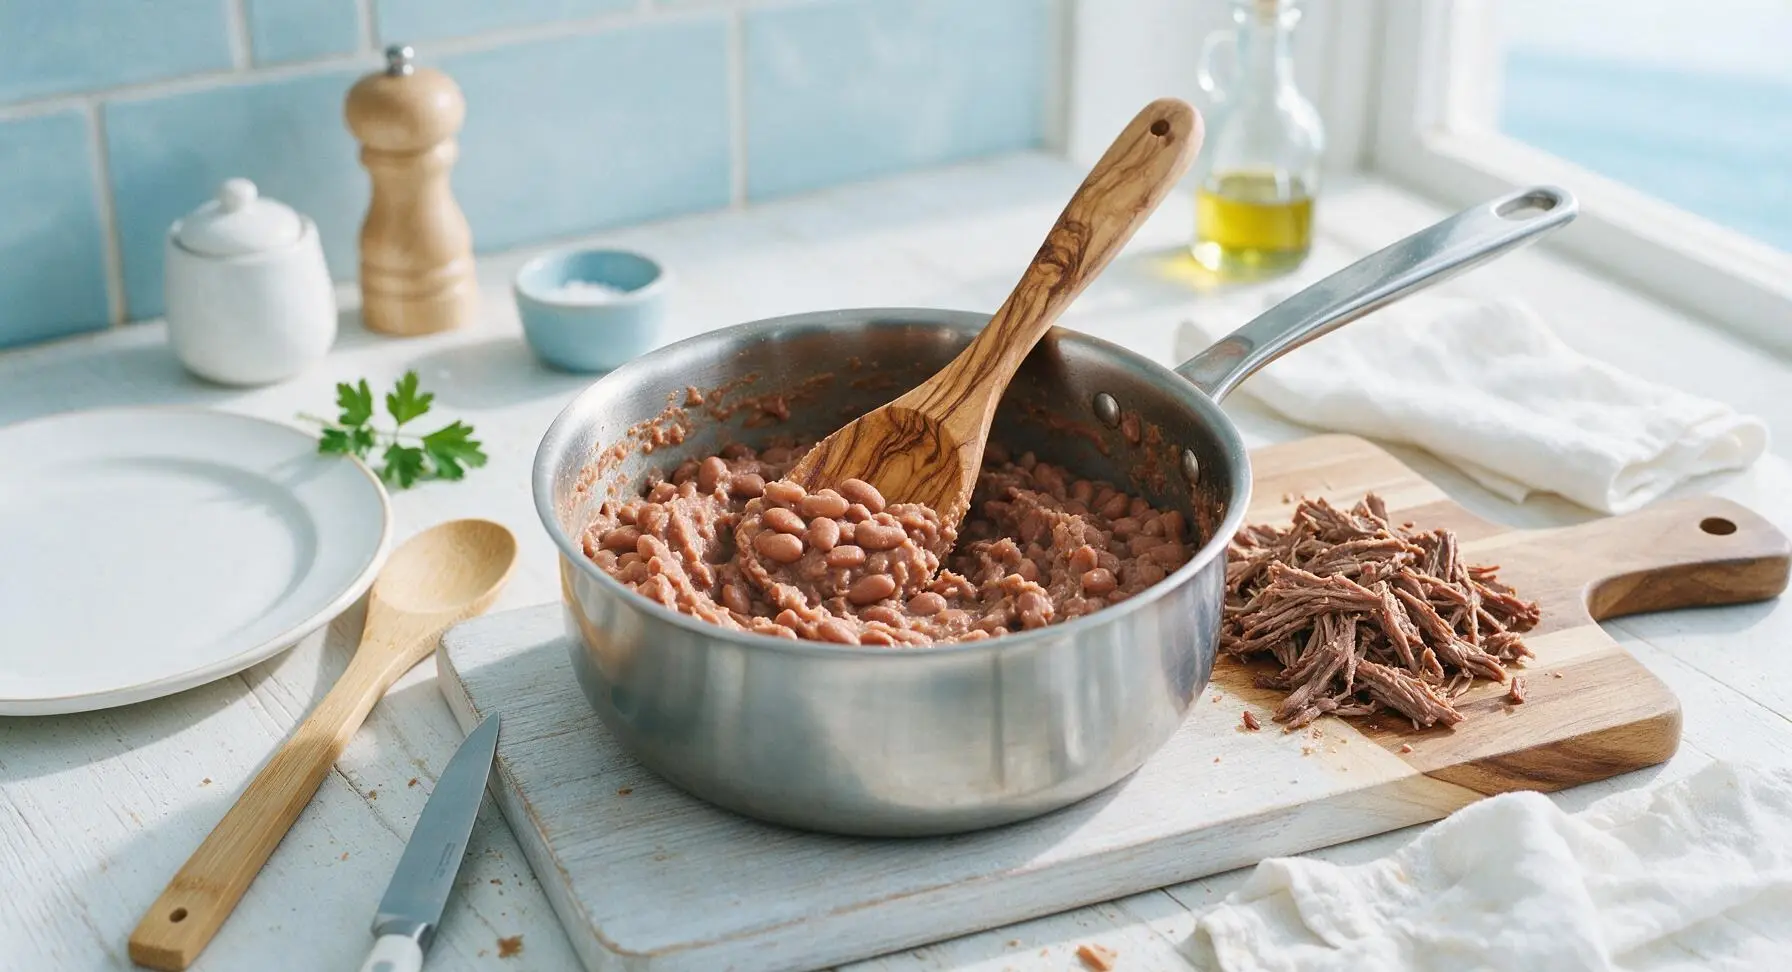
Once the 25-minute beef simmer is complete, use the stainless steel tongs to lift the beef chuck from the saucepan and transfer it to the maple cutting board. Use two forks to shred the beef into thin, bite-sized strands. Add 2 tbsp lard to the saucepan with the pinto beans and beef cooking liquid, simmer 2 minutes, then use the olive wood spoon to mash 3/4 of the beans against the side of the pan, leaving some whole beans for texture. Stir the shredded beef back into the bean mixture, taste, and add remaining 1/4 tsp salt if needed.
Prep Creamy Avocado
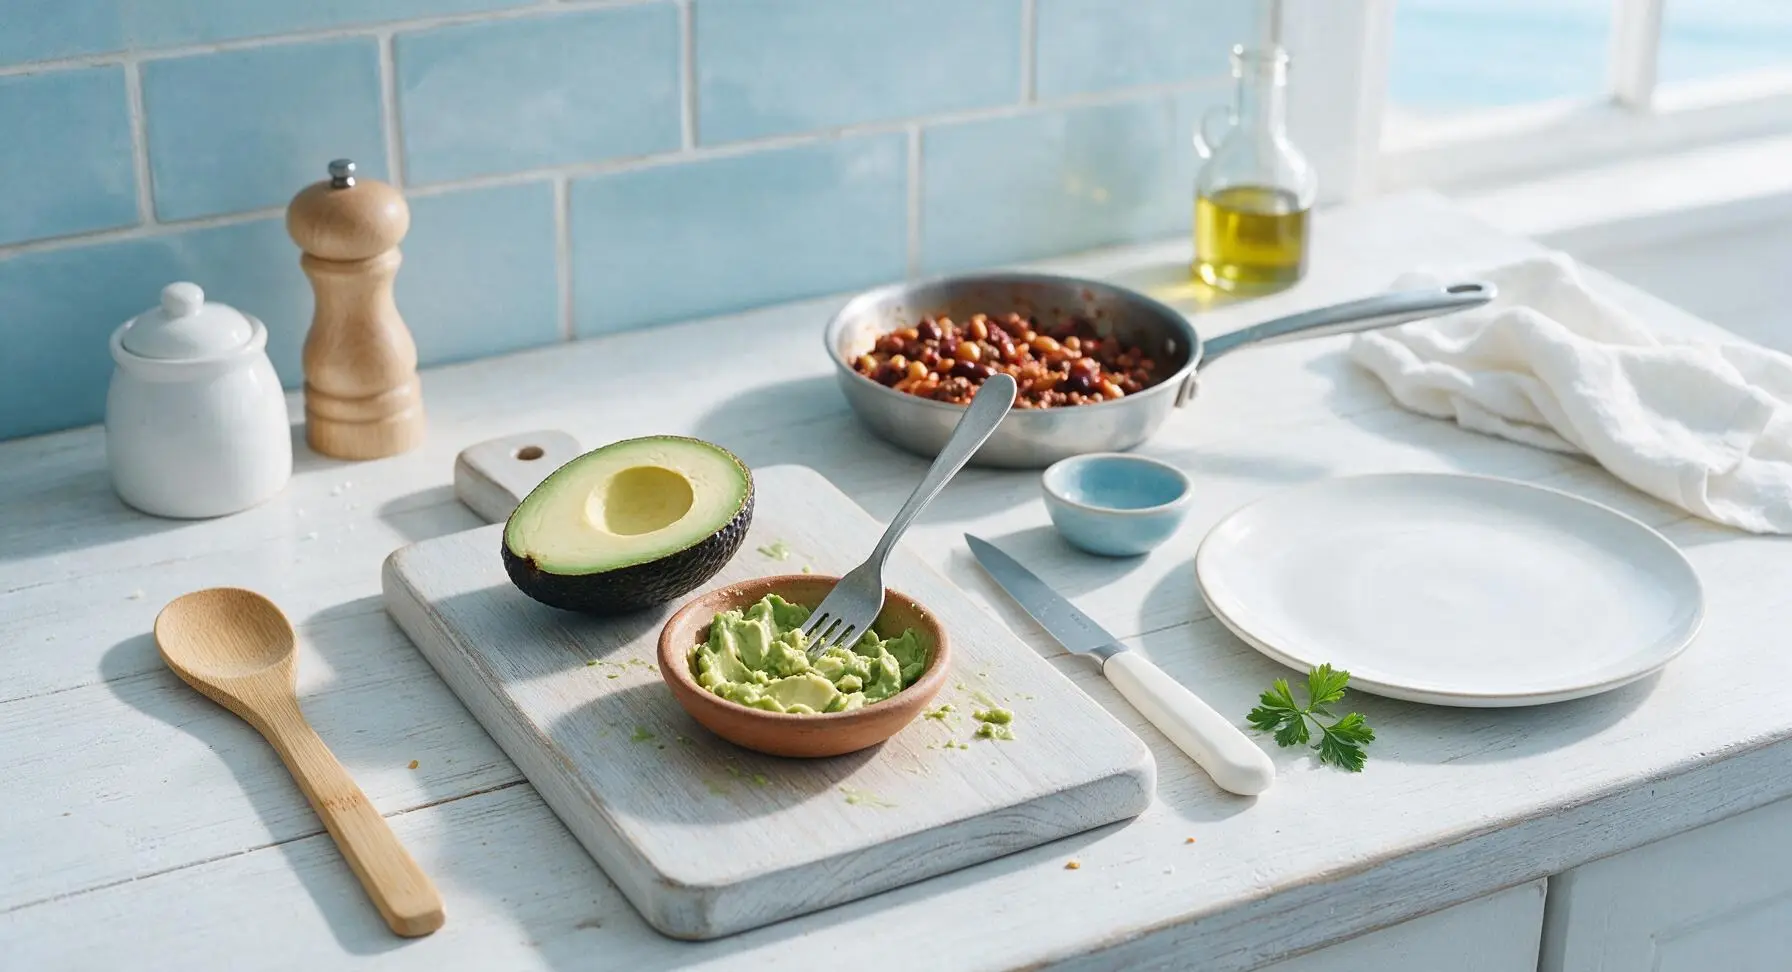
Cut the ripe avocado in half, remove the pit, scoop the flesh into a clean small terracotta pinch bowl. Mash lightly with a fork, stir in remaining lime juice and a pinch of salt, leaving small chunks for texture. Set aside.
Warm Tortillas on Comal
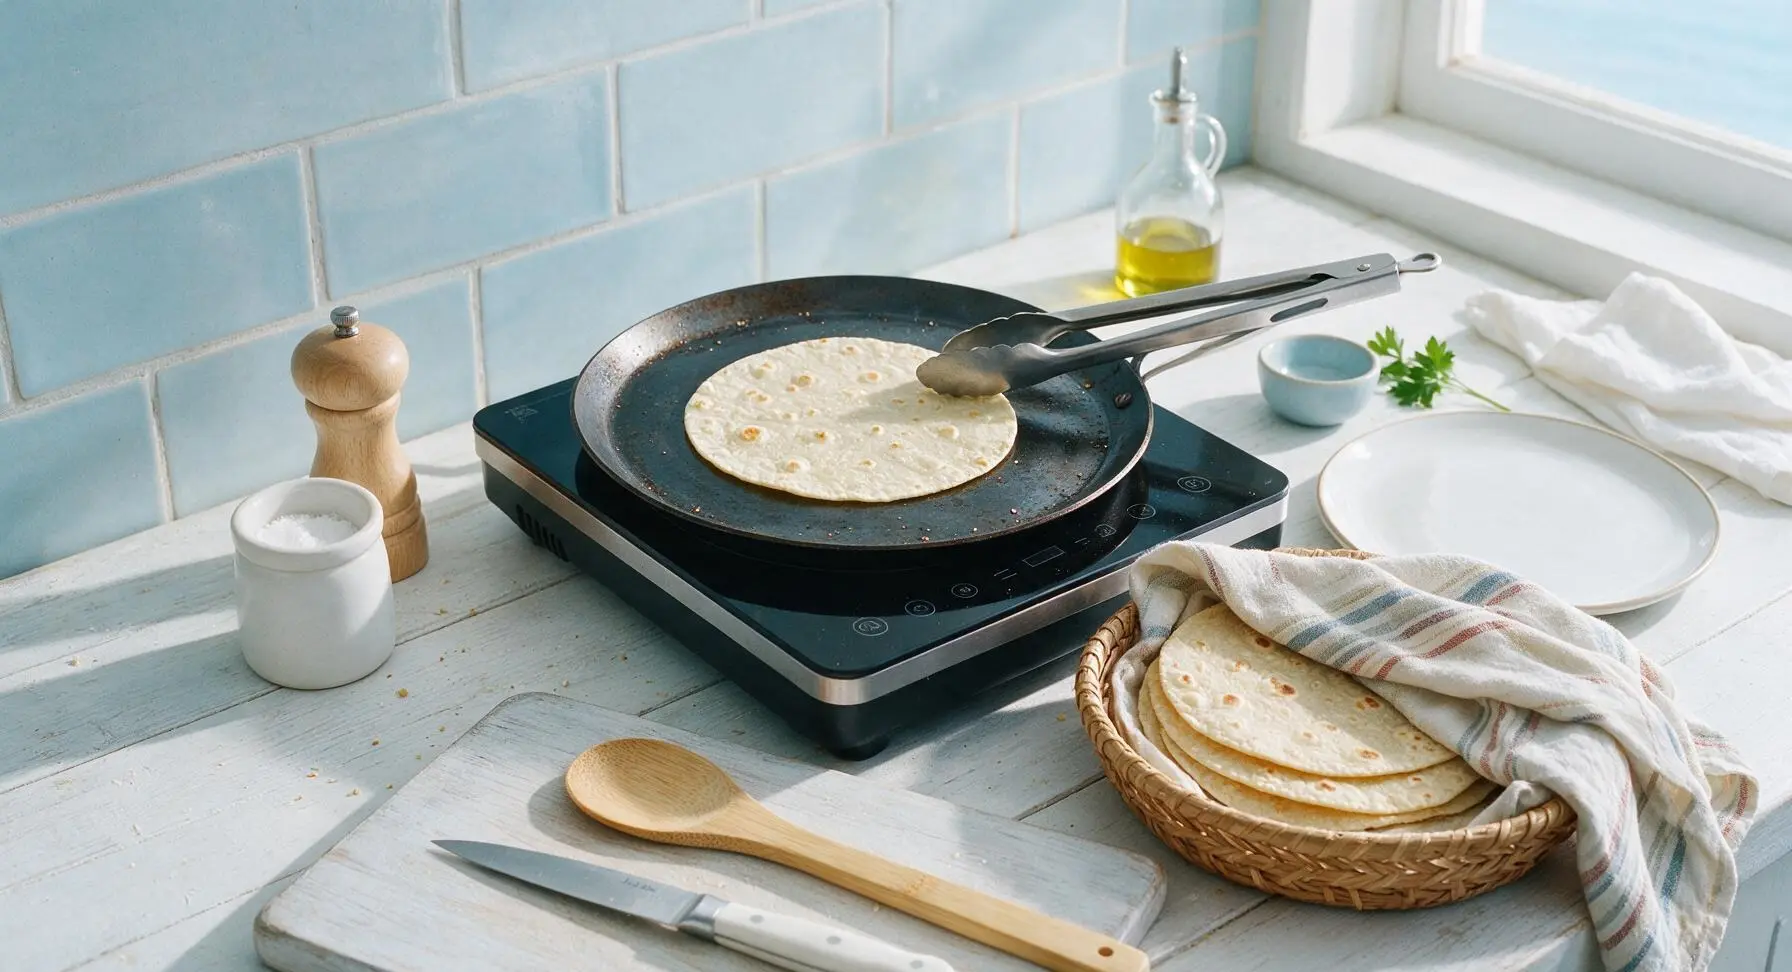
Heat the seasoned carbon steel comal over medium heat for 2 minutes until a drop of water dances and evaporates immediately. Place one flour tortilla on the comal at a time, cooking for 20 seconds per side until soft, pliable, and dotted with small golden blisters. Stack warmed tortillas in the cloth-lined rattan tortilla basket, covering loosely with the cotton kitchen towel to keep warm as you work.
Layer Burrito Fillings
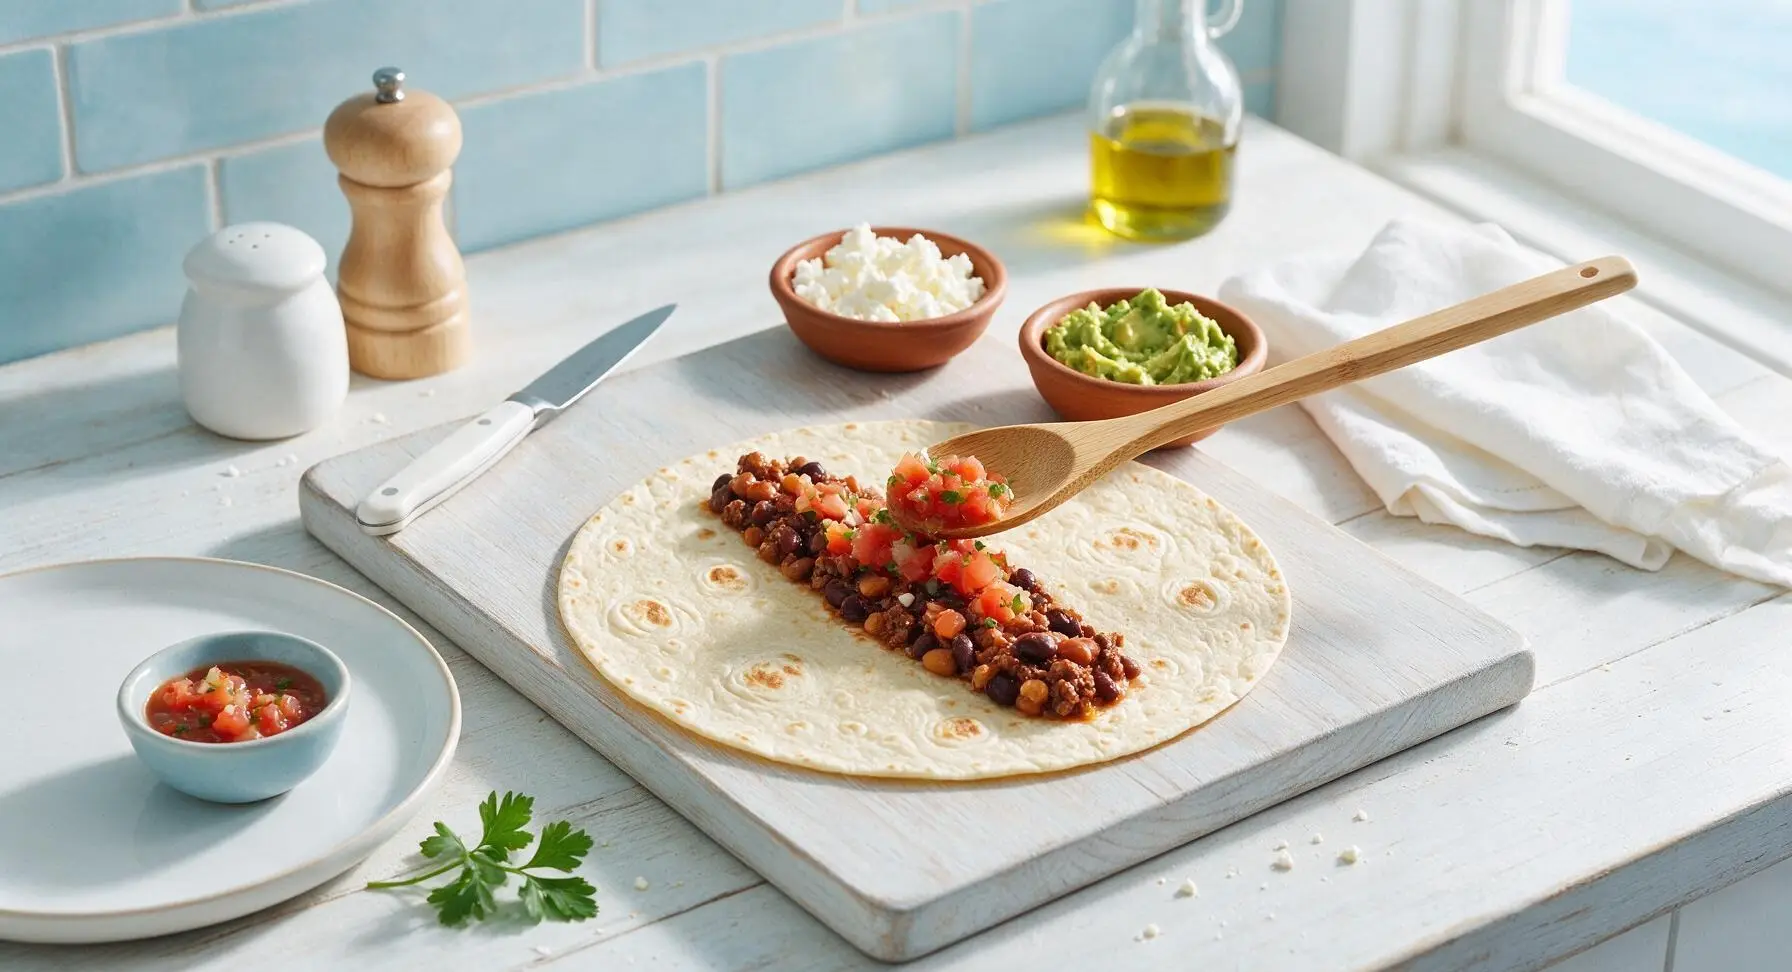
Lay one warm tortilla flat on the maple cutting board. Spoon 1/4 of the bean and beef mixture down the center of the tortilla, leaving a 5cm border at the top and bottom. Top with 1 tbsp of the fresh salsa, 1 tbsp of mashed avocado, and 1 tbsp of crumbled queso fresco. Do not overfill—overstuffing will cause the burrito to tear when rolling.
Roll Tight Burritos
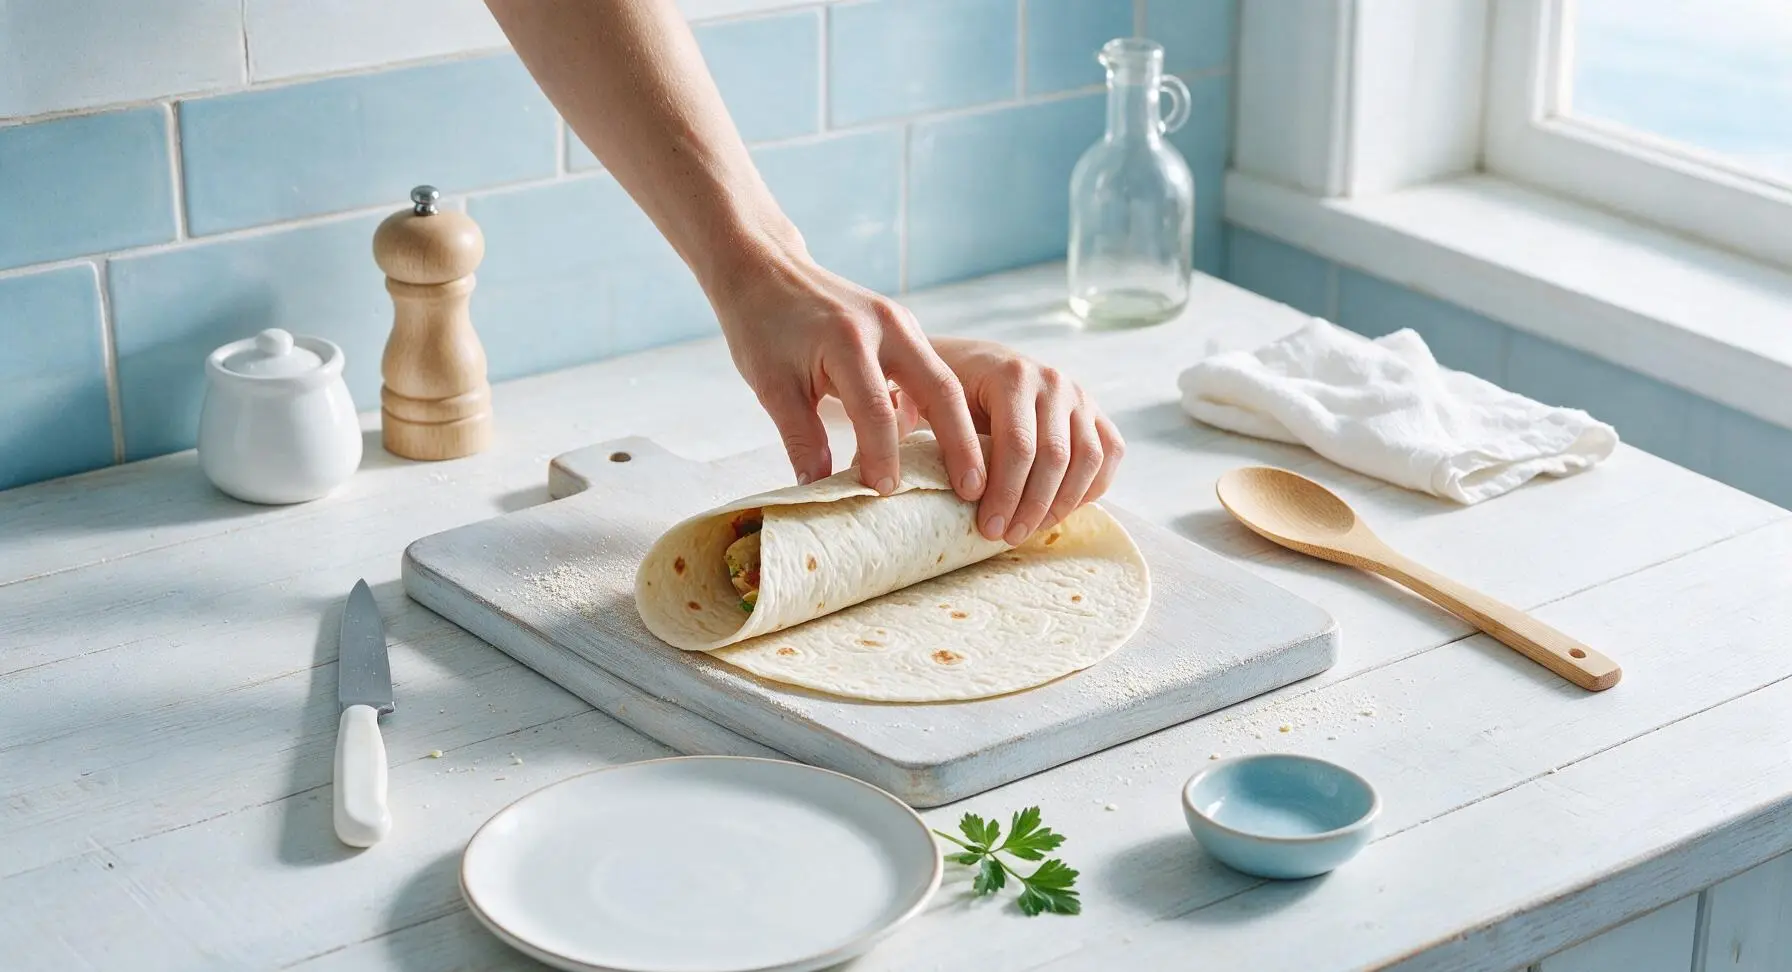
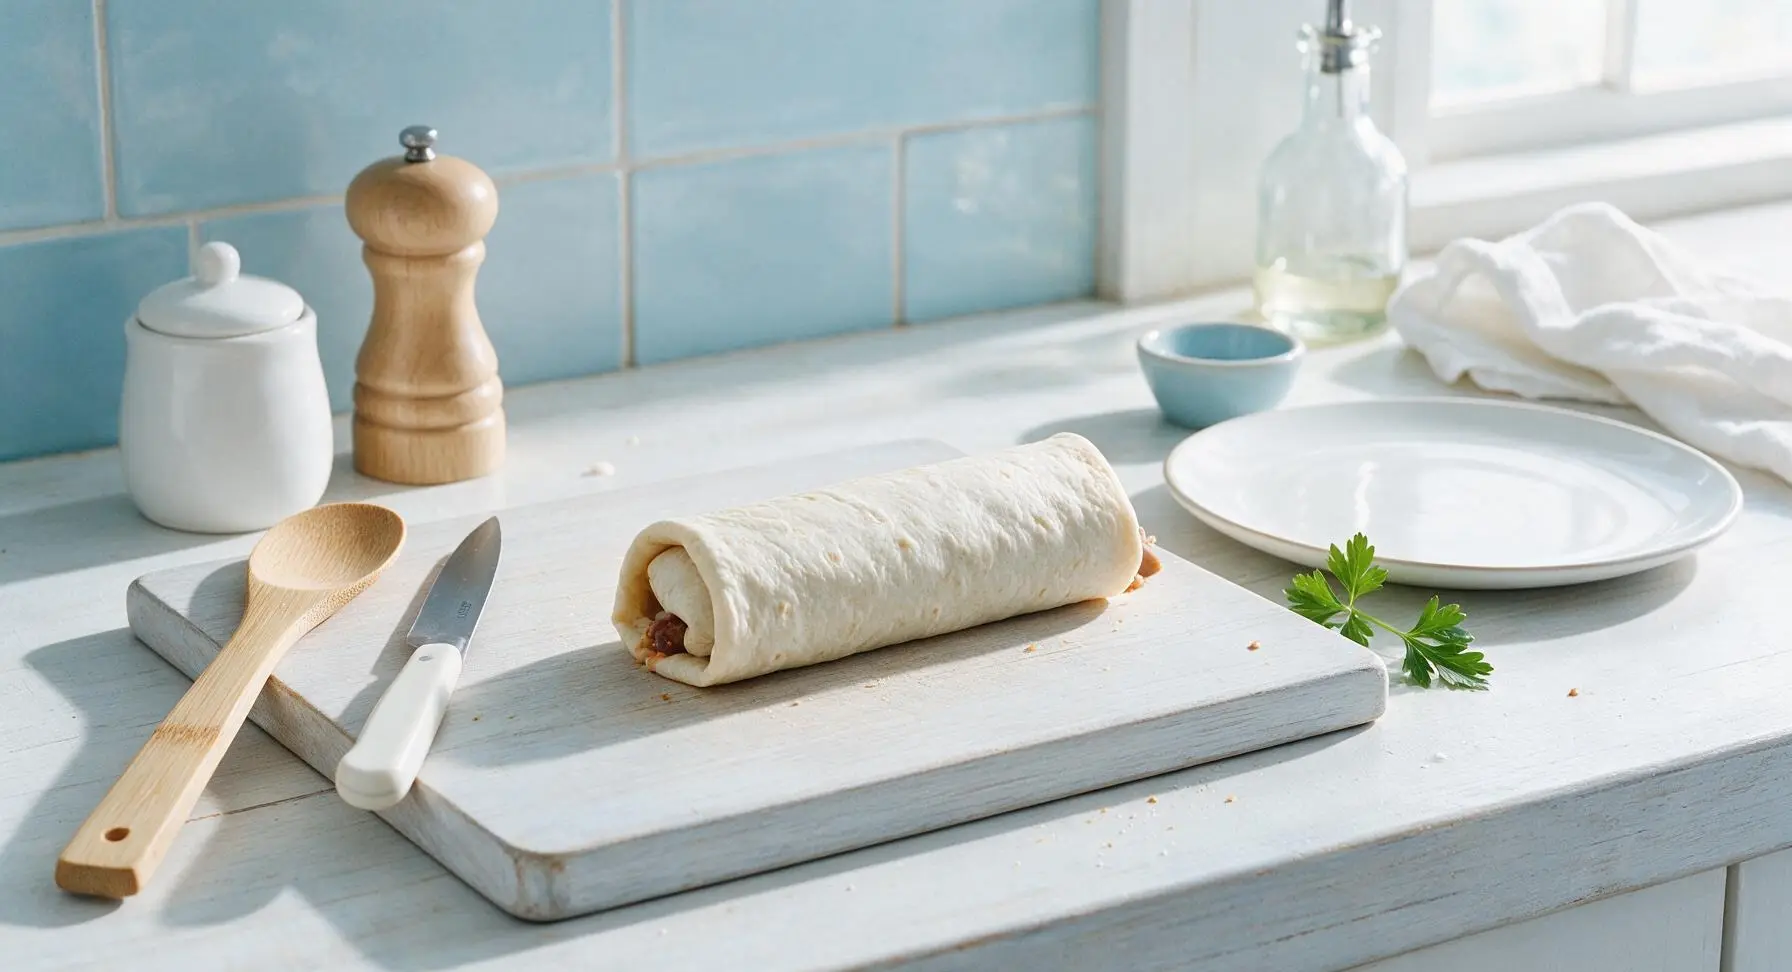
Fold the top and bottom 5cm borders of the tortilla in over the filling. Then, fold the right side of the tortilla tightly over the filling, tucking it under the ingredients to create a tight seal, and roll firmly to the left to form a neat, cylindrical burrito. Repeat with remaining tortillas and filling.
Toast to Seal Seams
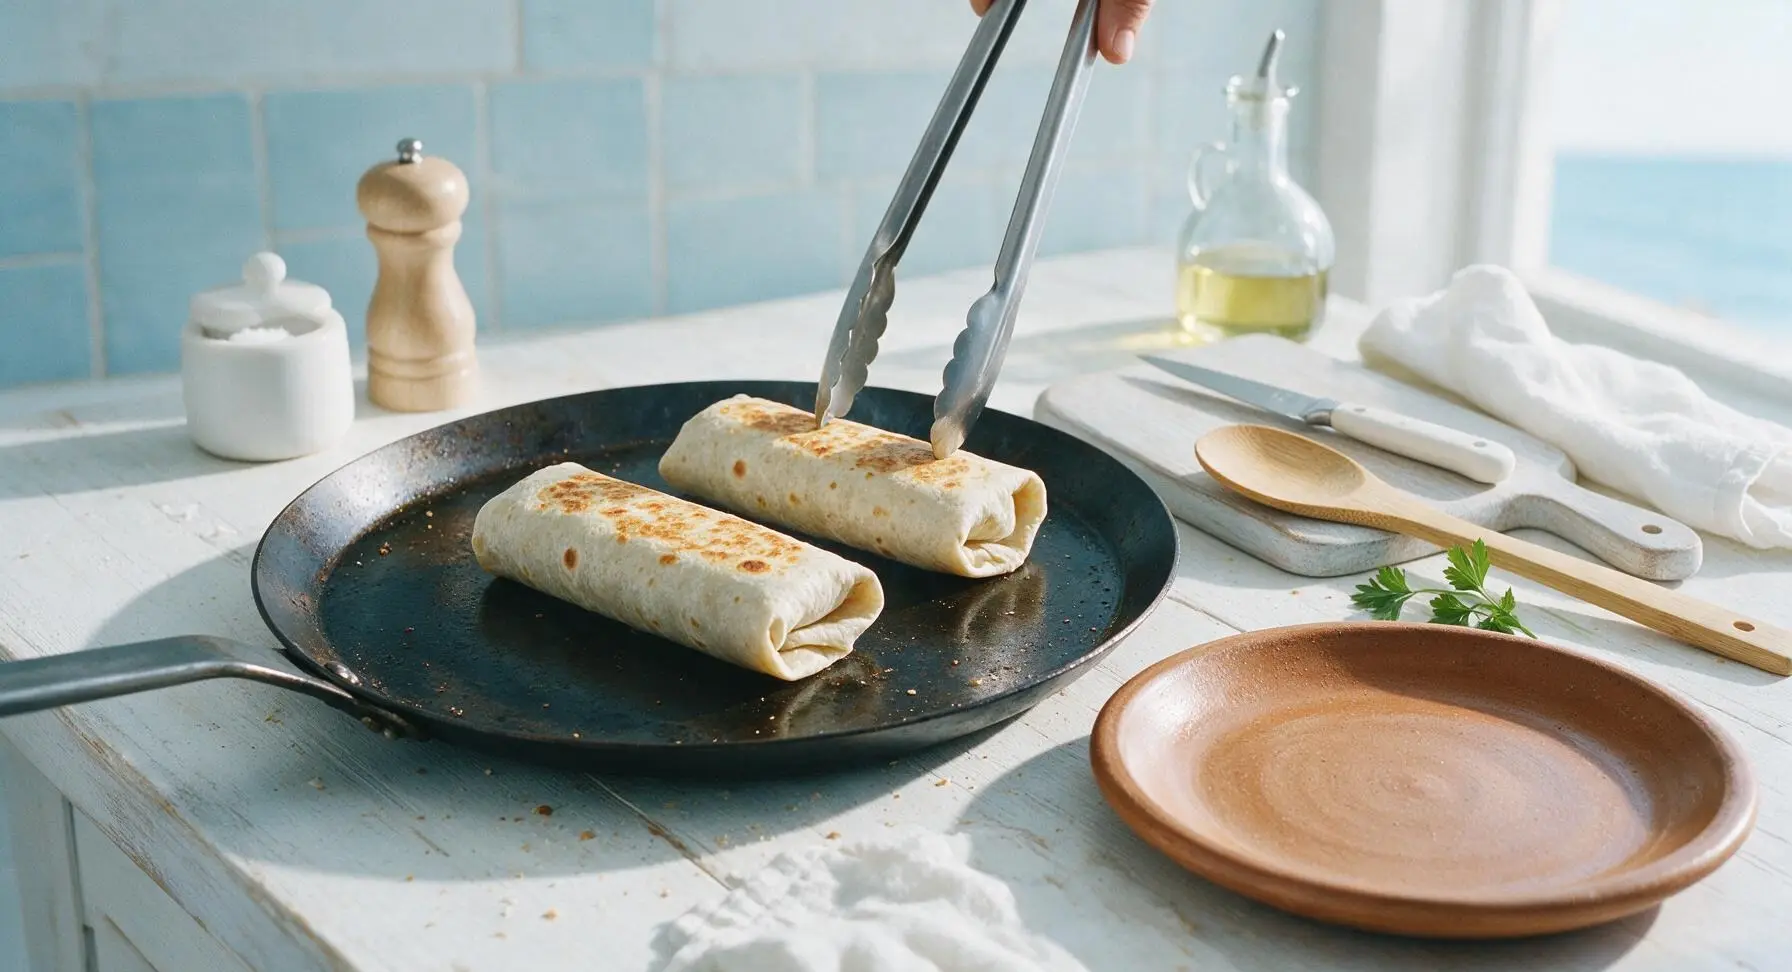
Return each rolled burrito to the heated comal, seam-side down, and cook for 30 seconds until the seam is sealed and the tortilla is lightly crisp and golden in spots. Transfer to the serving plate.
Tips
2.Warm tortillas properly: Cold or room-temperature tortillas crack easily when rolled. Warming them on the comal until soft and blistered, then keeping them covered in the cloth-lined basket traps steam to keep them pliable through assembly.
3.Toast burritos seam-side down first: This step melts the tortilla slightly to seal the seam shut, adds a subtle crisp texture to the outside, and warms the fillings all the way through for the best flavor and texture.






OMG these are SO good! I grew up eating northern Mexican burritos when my abuela would visit from Chihuahua and this recipe tastes exactly like hers. The trick with the melted cheese inside the tortilla before adding fillings? Total game changer. My kids devoured two each at dinner last night, even my picky 7 year old asked for seconds! Made enough to meal prep for the week too, which is perfect for our busy school nights.
Made these for my annual football watch party potluck and they were the first dish gone! Everyone was asking for the recipe, I felt like a total rockstar. Cook time was way shorter than I expected for something that tastes this authentic, 10/10 will be making these every game day from now on.
Super easy to follow! I swapped the carne asada for roasted portobello strips to make it vegetarian and it still slapped. Only reason it’s not 5 stars is I wish there was a note on alternative fillings for folks who don’t eat red meat, but otherwise zero complaints. Great base recipe!
As a broke college student always looking for cheap, filling meals that don’t taste like dorm food? This is a winner. Spent less than 20 bucks on ingredients, made 6 burritos that lasted me almost the whole week. No sad microwave meal here, these heat up so well!
Wait a minute, I’ve been making burritos wrong my whole life! The flour tortilla toasted slightly on the comal before filling? *Chef’s kiss* I added a little extra pickled red onion and a dollop of guac on the side, just like my favorite taqueria back home in Tucson. My husband said these are better than the ones we get on our date nights, which is the highest possible praise tbh.
First time ever making Mexican food from scratch and I was so nervous it would turn out bad, but this recipe was SO easy to follow! The steps were simple, no weird hard to find ingredients, and my roommate said it was the best thing I’ve ever cooked. 10/10, even a total beginner can nail this.
Made these for our family taco night (we switched it up to burrito night this week!) and everyone went back for seconds. I added a little rice and beans inside like the recipe said, and even set out sour cream, pico, and hot sauce for toppings. My teen said these are way better than the fast food burritos he begs for after practice, win for mom!
Super easy recipe, I packed these for a backcountry camping trip last weekend and they held up perfectly (I wrapped them in foil and kept them in the cooler). Even after a 6 mile hike, they tasted so fresh and filling, way better than the sad dehydrated meals I usually bring. Will be my new go-to backpacking meal for trips from now on.