
Bagnet Ribs
intro
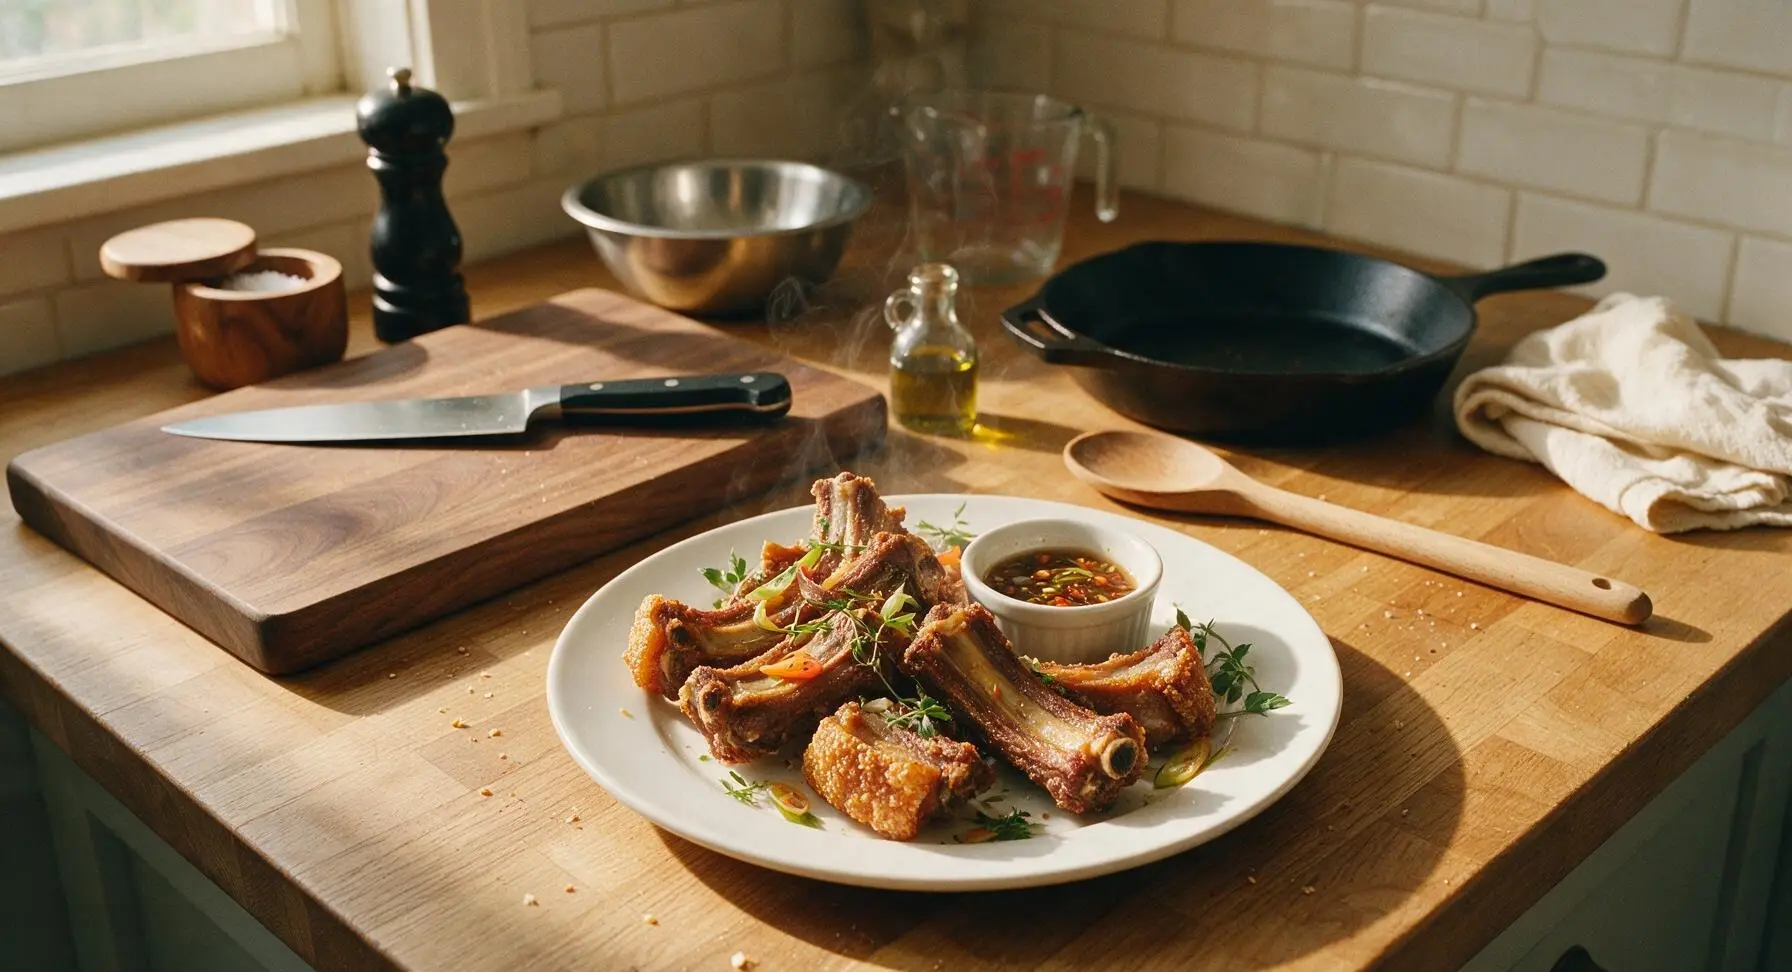
Shatteringly crisp double-fried pork ribs from the Ilocos region of the Philippines, with juicy tender meat under a golden crackling crust, served with tangy spiced vinegar dip.
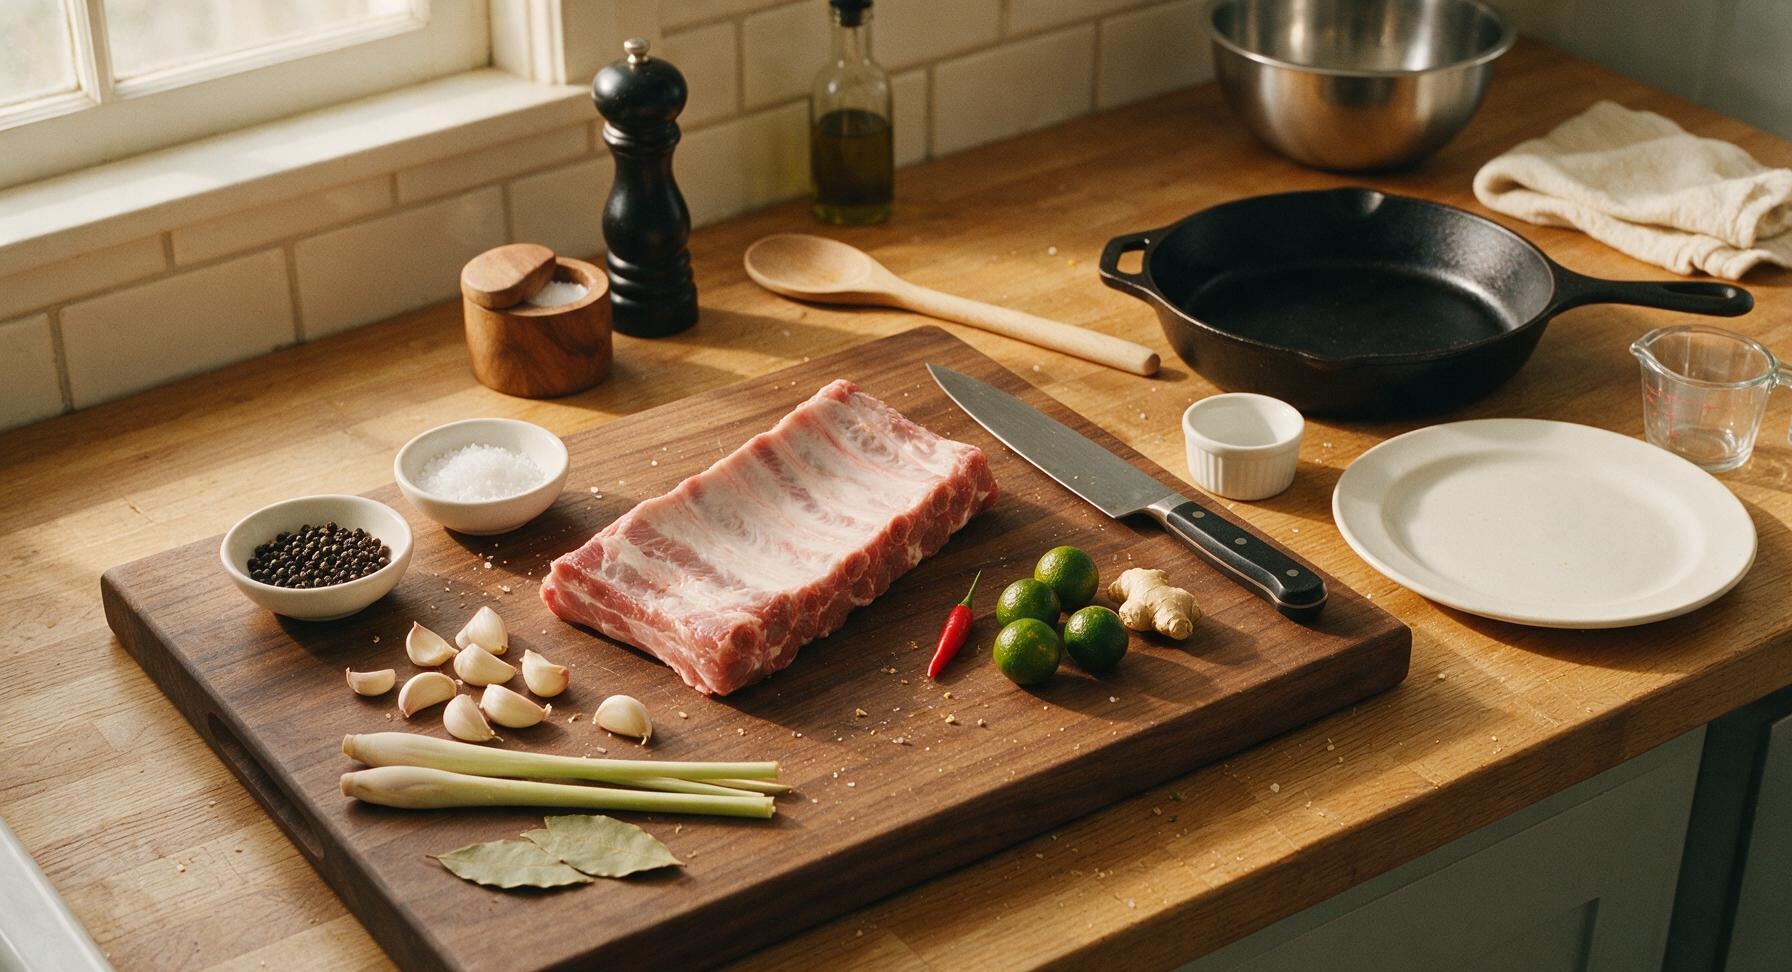
Ingredients
Steps
Trim and Prep Ribs
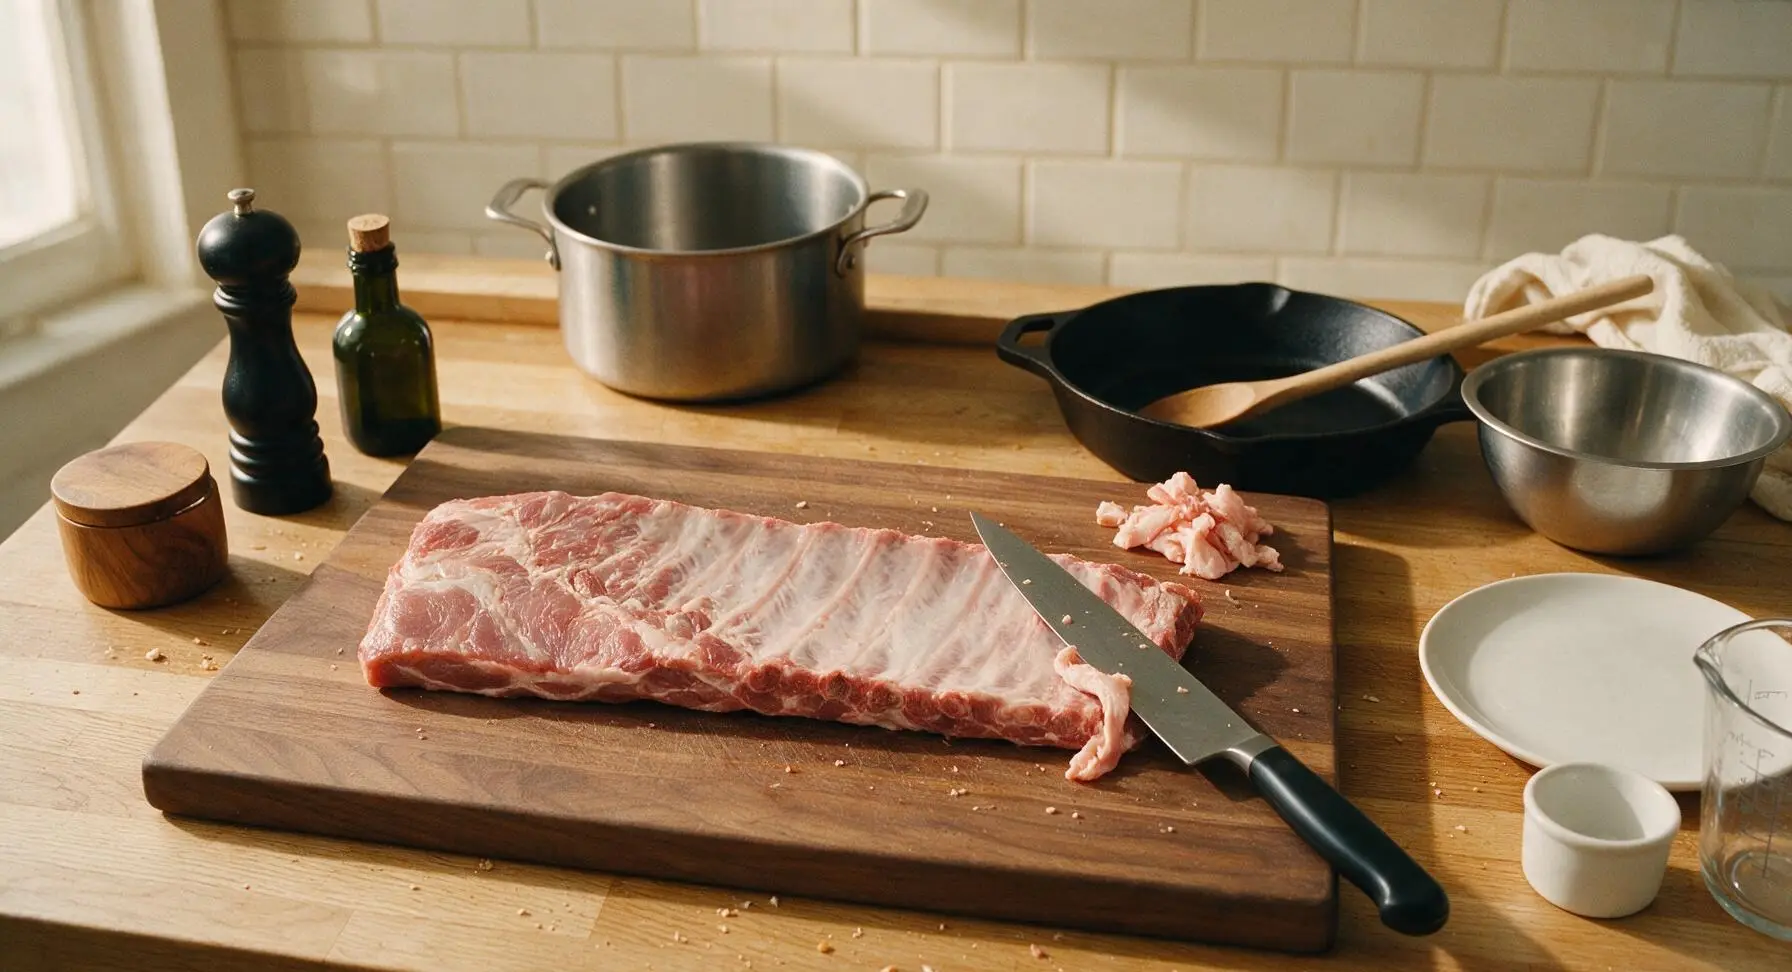
Place the 1kg pork spare rib rack on the acacia wood cutting board. Use the 8-inch chef knife to trim any loose hanging fat or silver skin from the ribs, leaving a uniform 5mm (1/4 inch) layer of skin and fat attached to the meat. Cut the full rack into 3-4 large sections (3-4 ribs each) to fit easily in the stock pot. Pat the rib sections lightly with a piece of paper towel torn from the fixed roll to remove loose surface moisture.
Boil Ribs with Aromatics
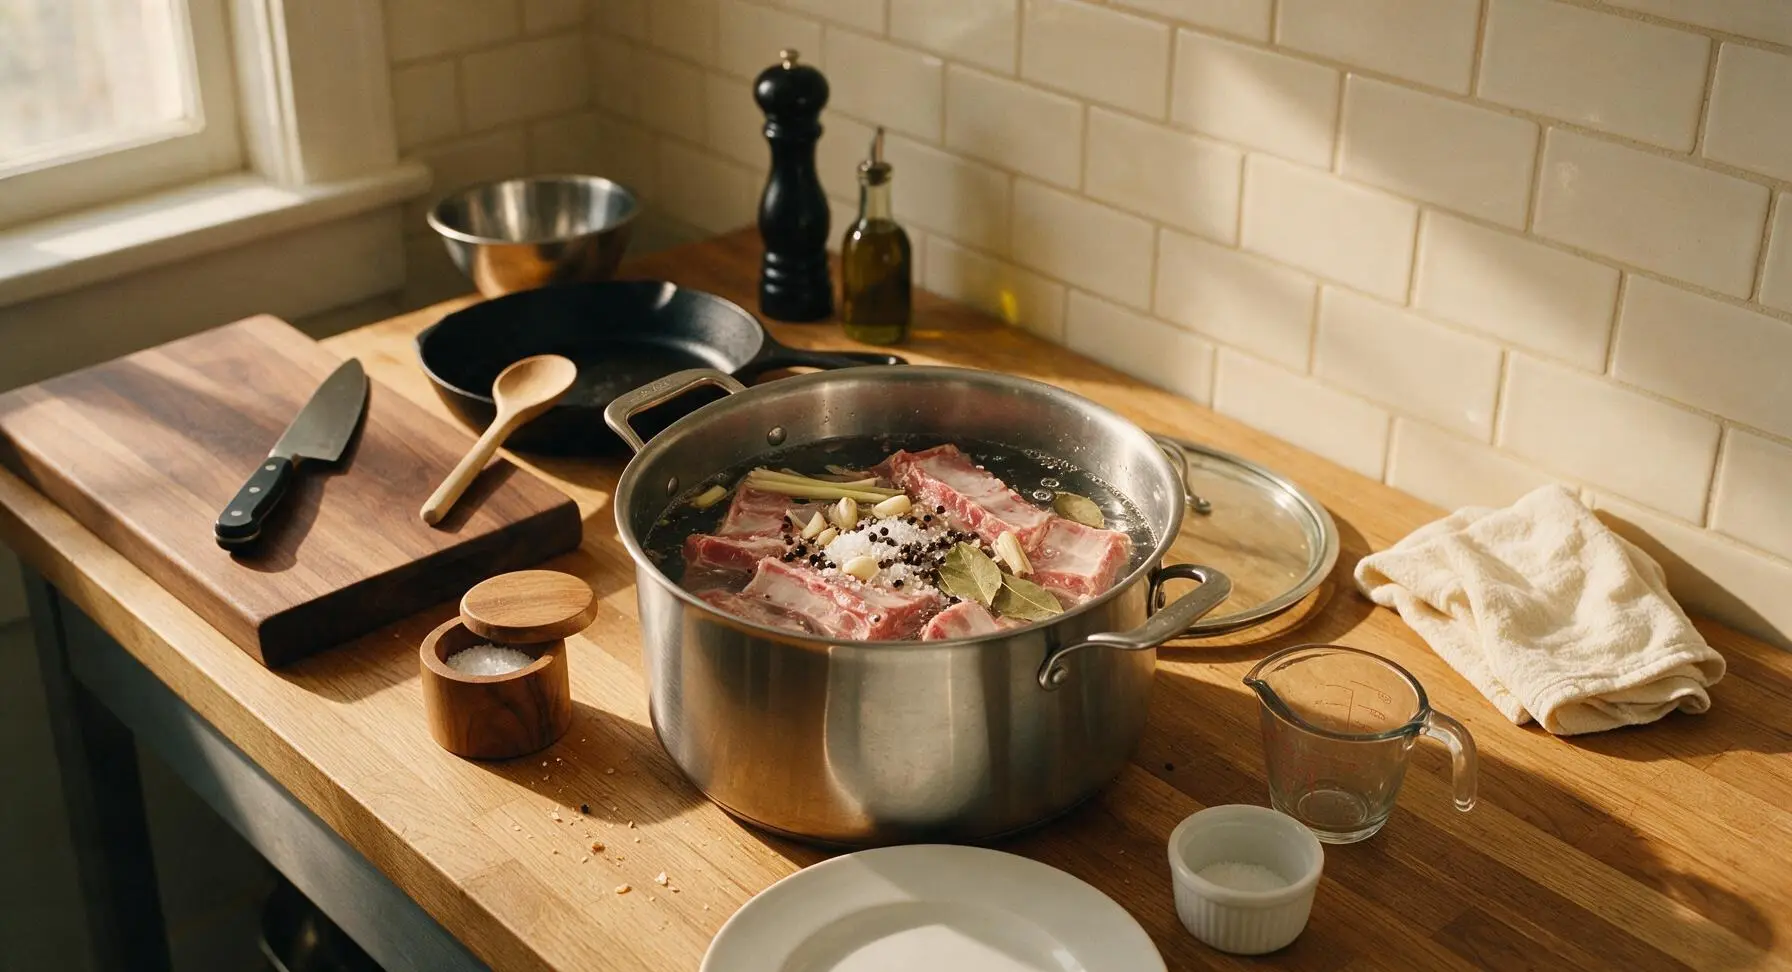
Place the trimmed rib sections into the 6L stainless steel stock pot. Add 1 tablespoon coarse sea salt (taken from the terracotta salt cellar), 1 tablespoon whole black peppercorns, 6 crushed garlic cloves, 3 lemongrass stalks (smashed with the flat of the chef knife to release flavor), and 2 dried bay leaves. Fill the pot with enough cold water to cover the ribs by 2cm. Bring to a rolling boil over high heat, then reduce to a gentle simmer, cover with the glass lid, and cook for 45 minutes until the meat is tender but not falling off the bone; a fork should pierce the meat easily with light pressure.
Dry Ribs Thoroughly
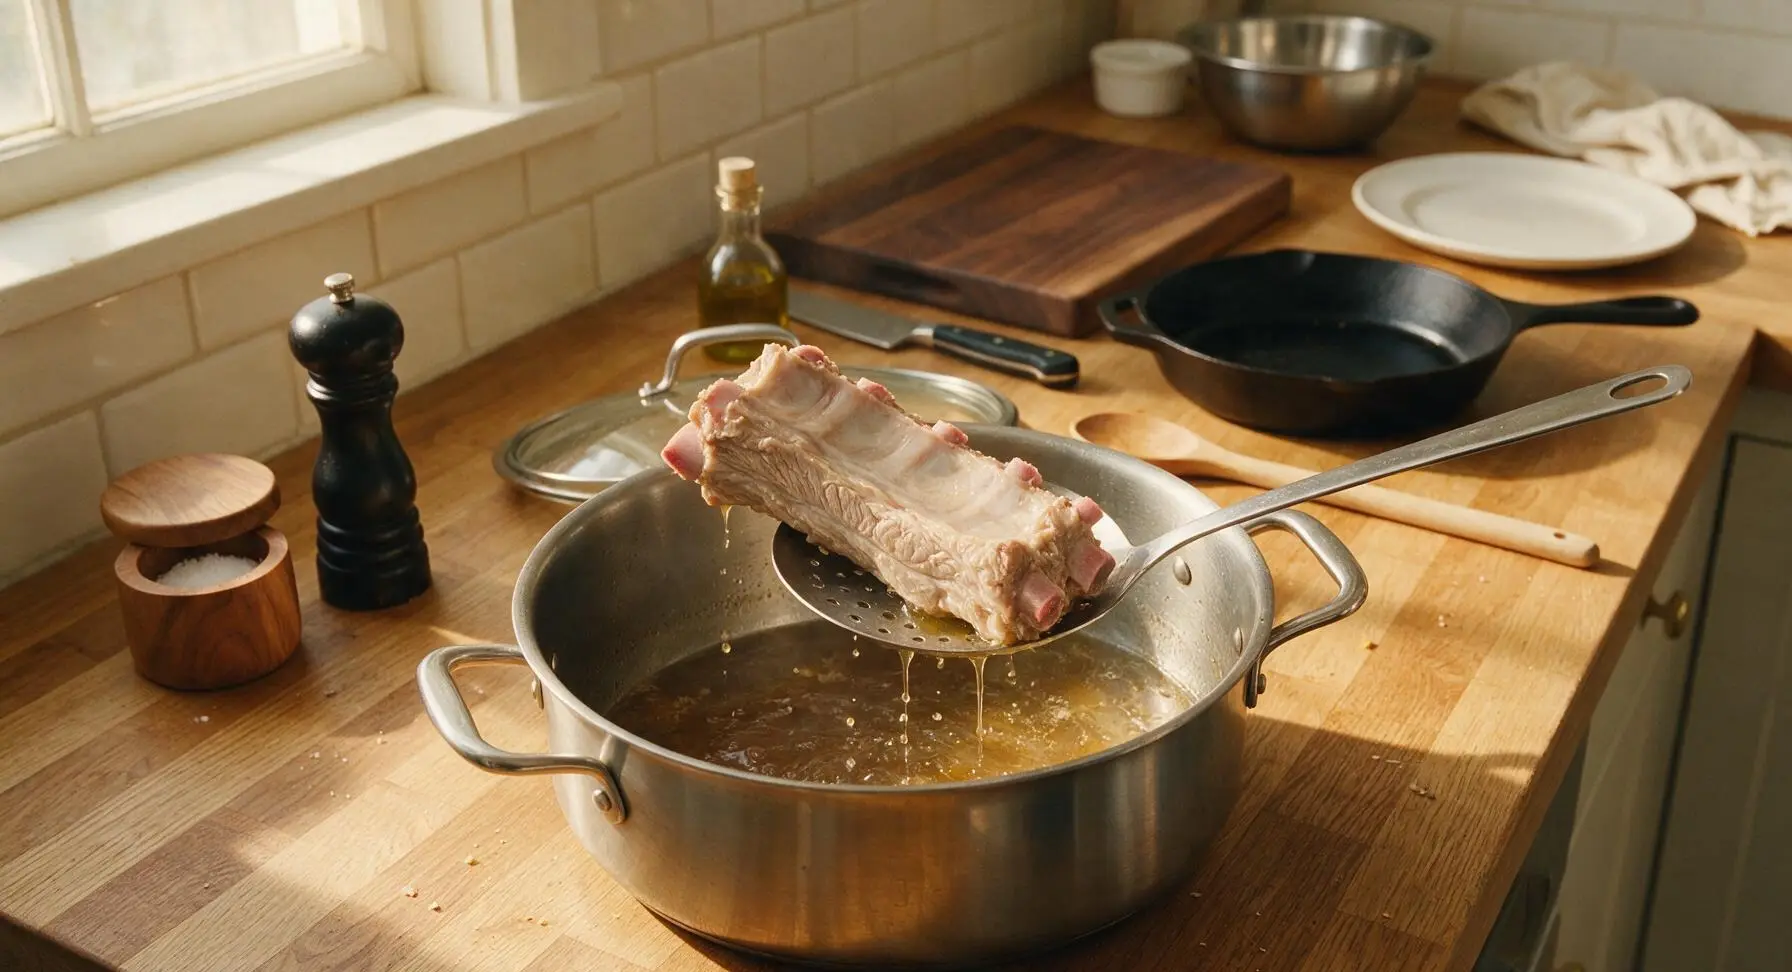
Use the slotted skimmer to carefully lift all cooked rib sections out of the boiling liquid, letting excess water drain off for 10 seconds. Transfer ribs to the chrome wire cooling rack set over the rimmed aluminum baking sheet. Tear sheets from the paper towel roll to pat every surface of the ribs completely dry, paying extra attention to the skin side. Let ribs rest, uncovered, at room temperature for 20 minutes until the surface is completely dry to the touch with no visible moisture remaining; this step is critical for crisp, splatter-free frying.
Heat Oil for First Fry
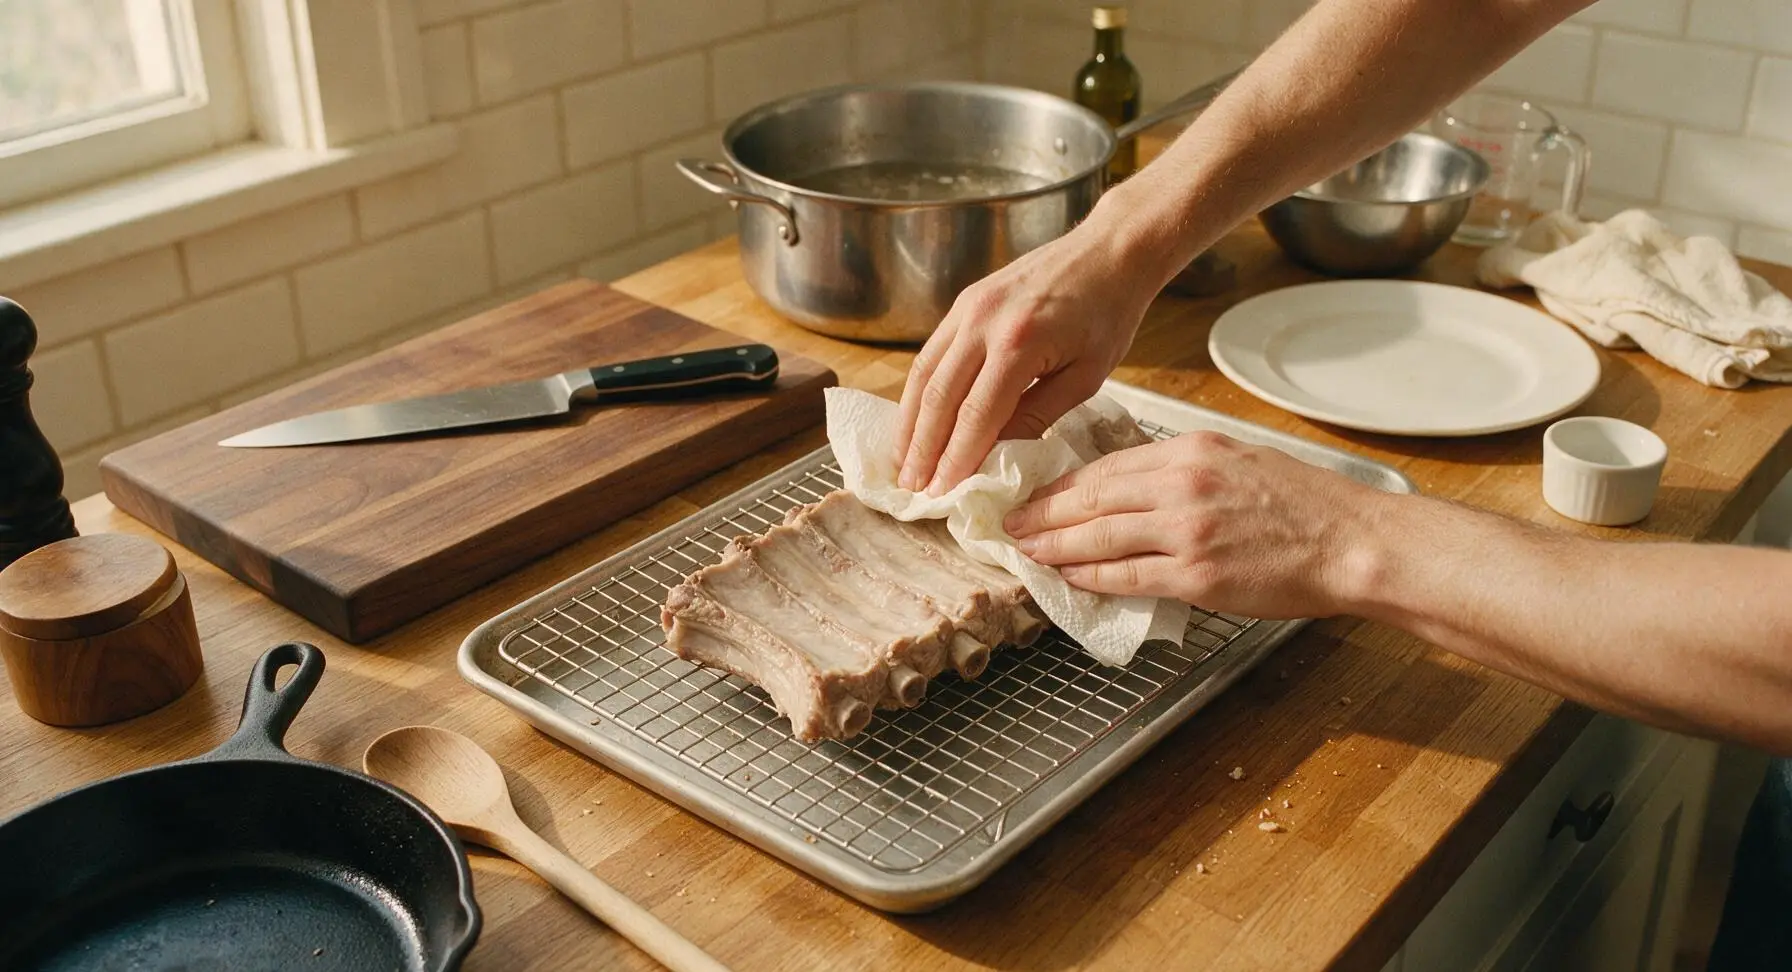
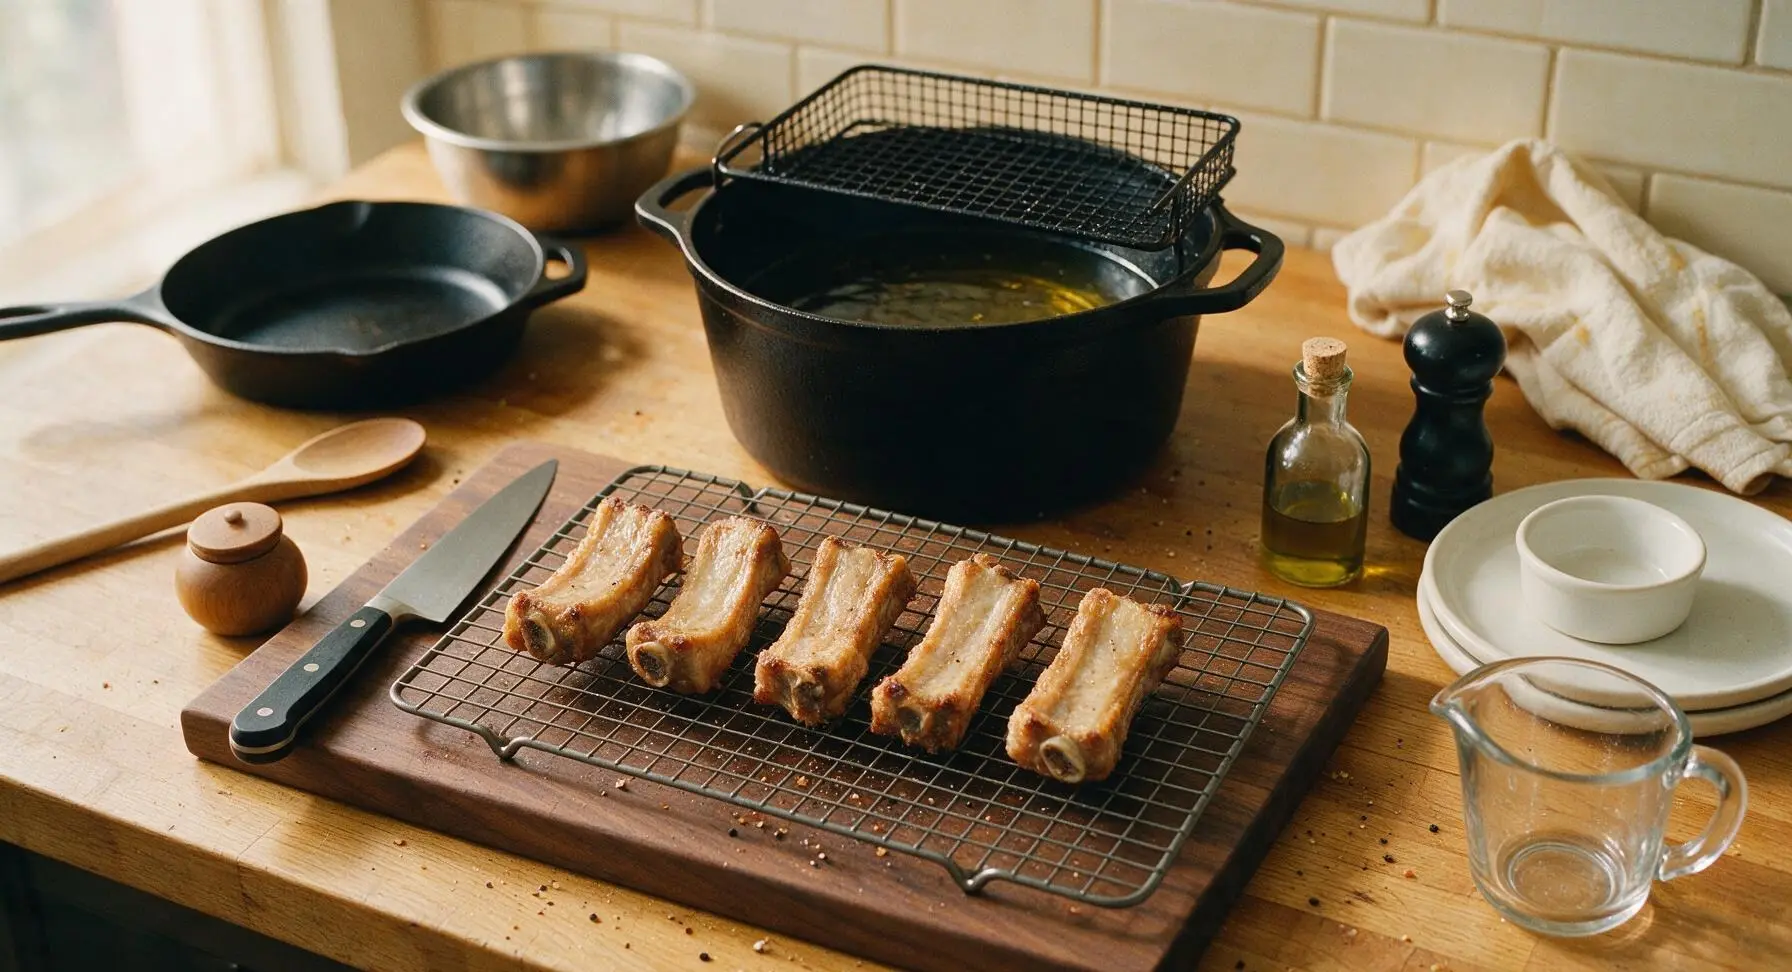
While ribs dry, pour 1 liter of neutral cooking oil into the 5L enameled cast iron Dutch oven. Heat oil over medium heat until it reaches a steady 160C (320F), checking temperature with the digital instant-read thermometer clipped to the pot edge. Do not leave hot oil unattended, and adjust burner heat as needed to maintain a consistent temperature.
First Fry Ribs Gently
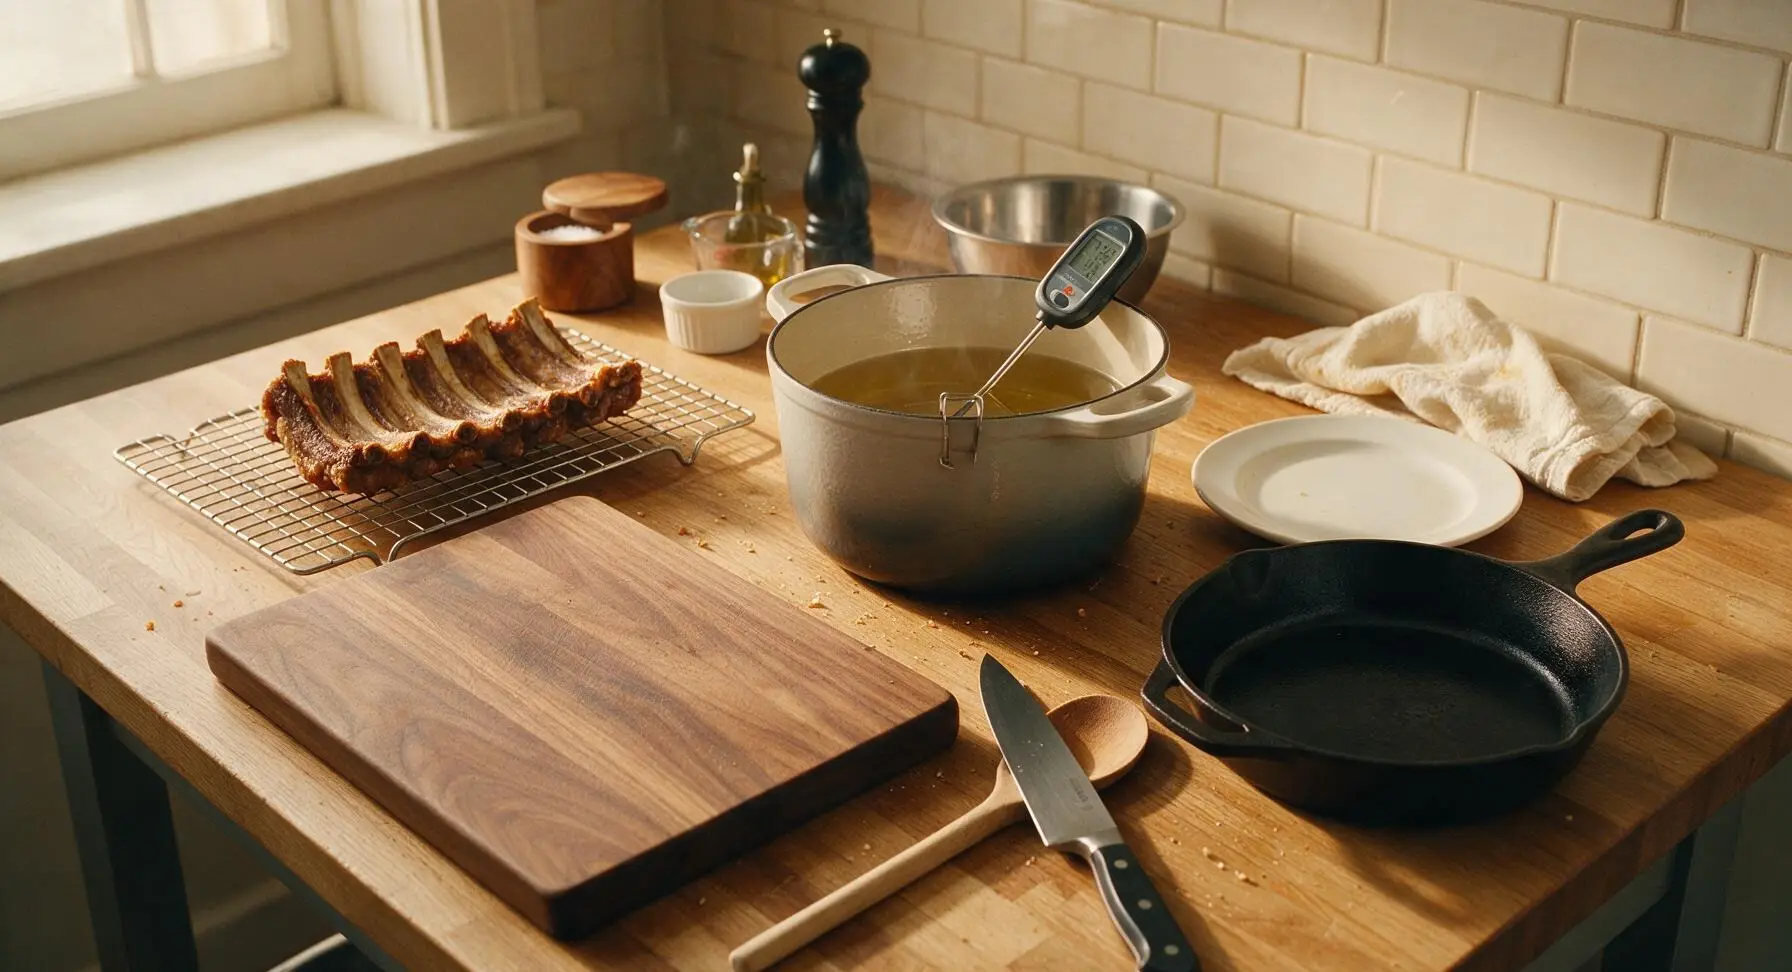
Use the silicone-tipped tongs to carefully lower 2 rib sections into the hot oil, working in batches to avoid dropping the oil temperature too quickly. Fry for 7 minutes total, turning once halfway through, until ribs are a light pale golden color all over. Remove ribs from oil with tongs, letting excess oil drain back into the pot, and return them to the wire cooling rack. Let ribs rest for 10 minutes to allow meat to reabsorb juices and the surface to cool slightly before the second fry.
Second Fry for Crispness
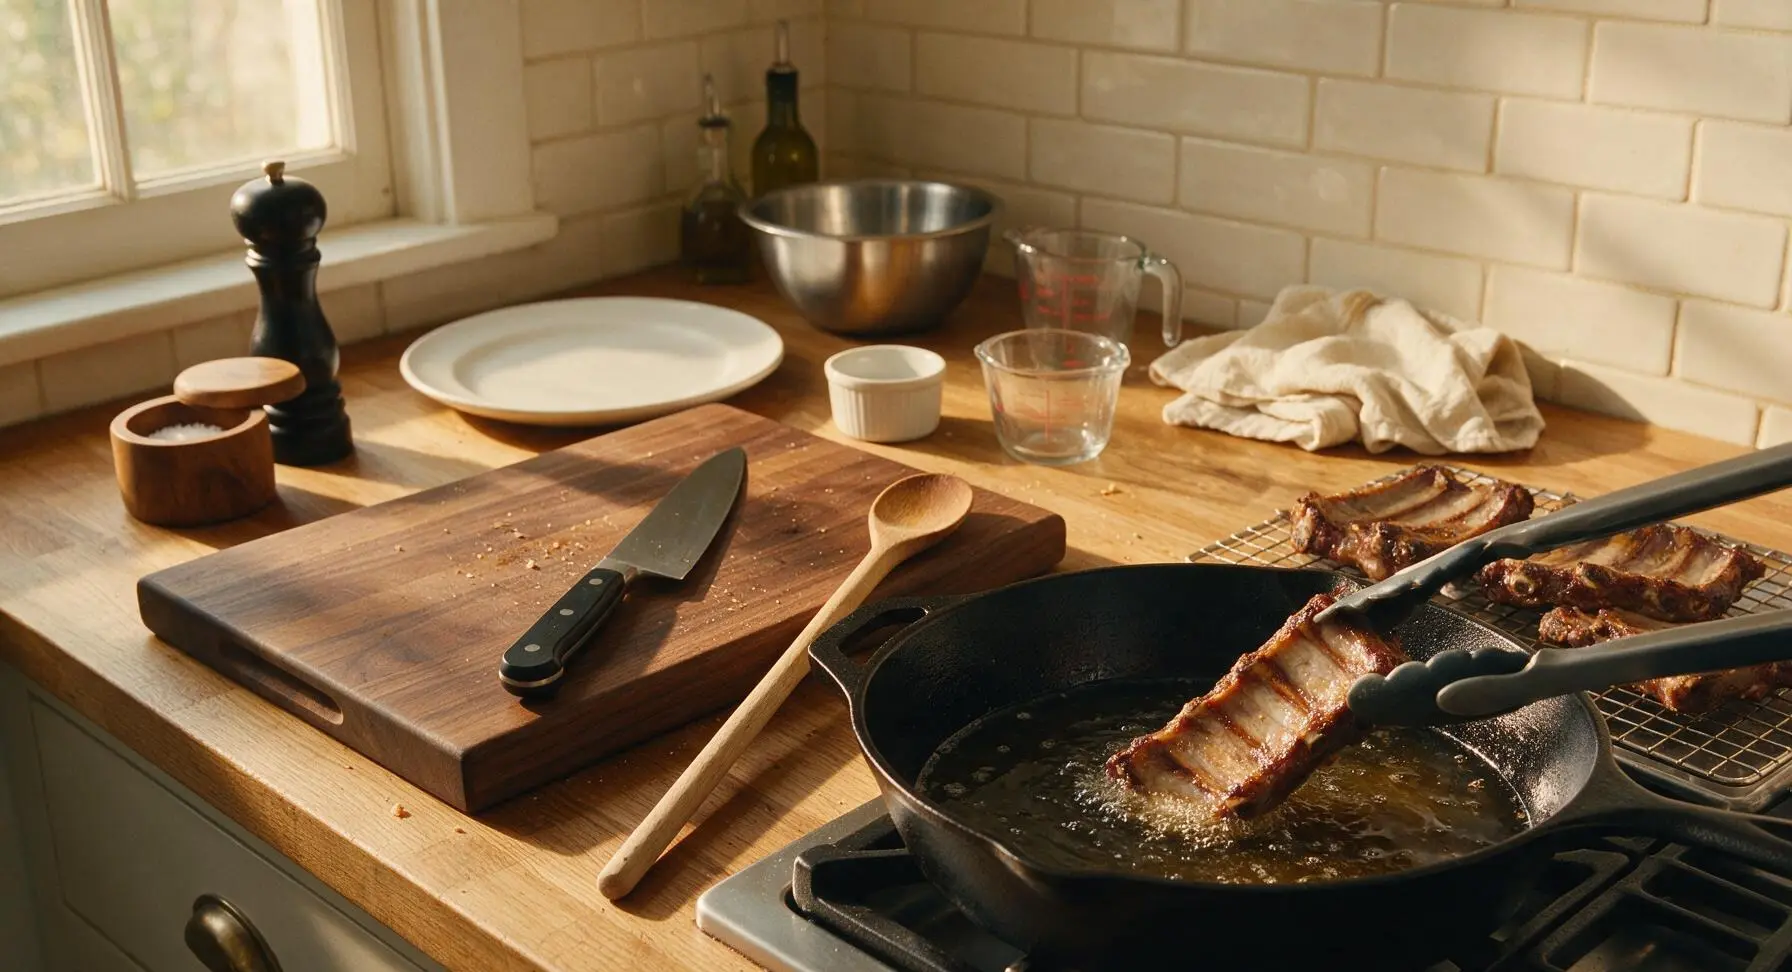
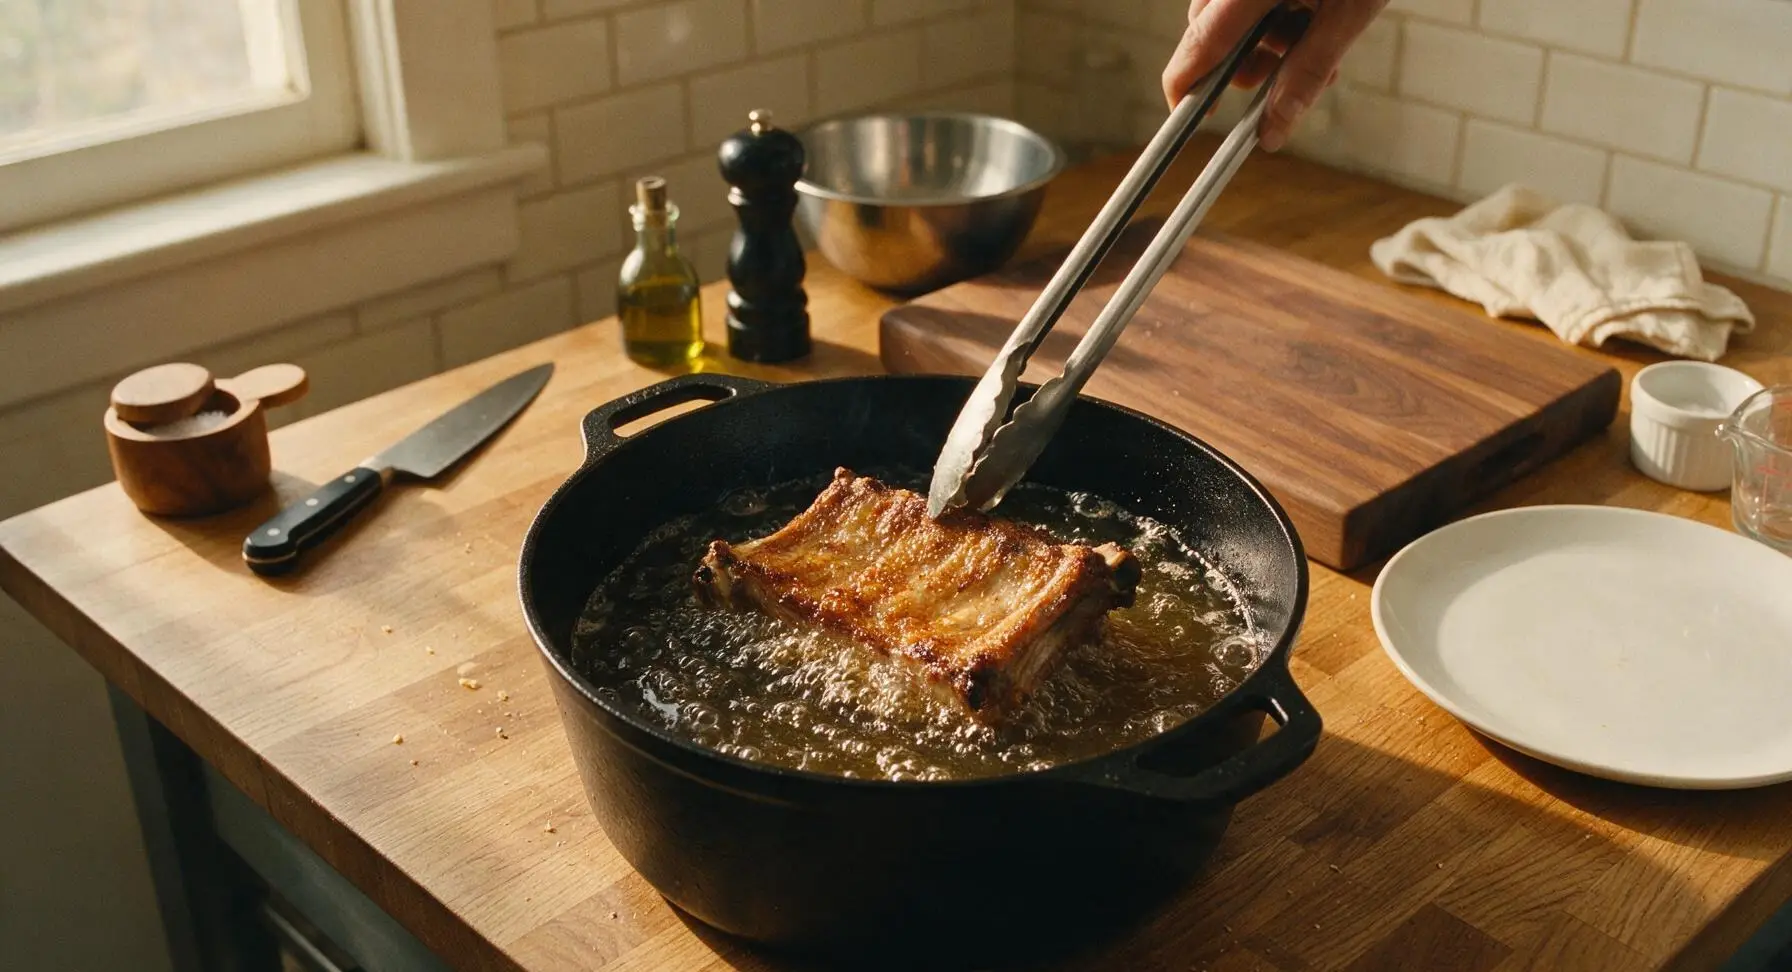
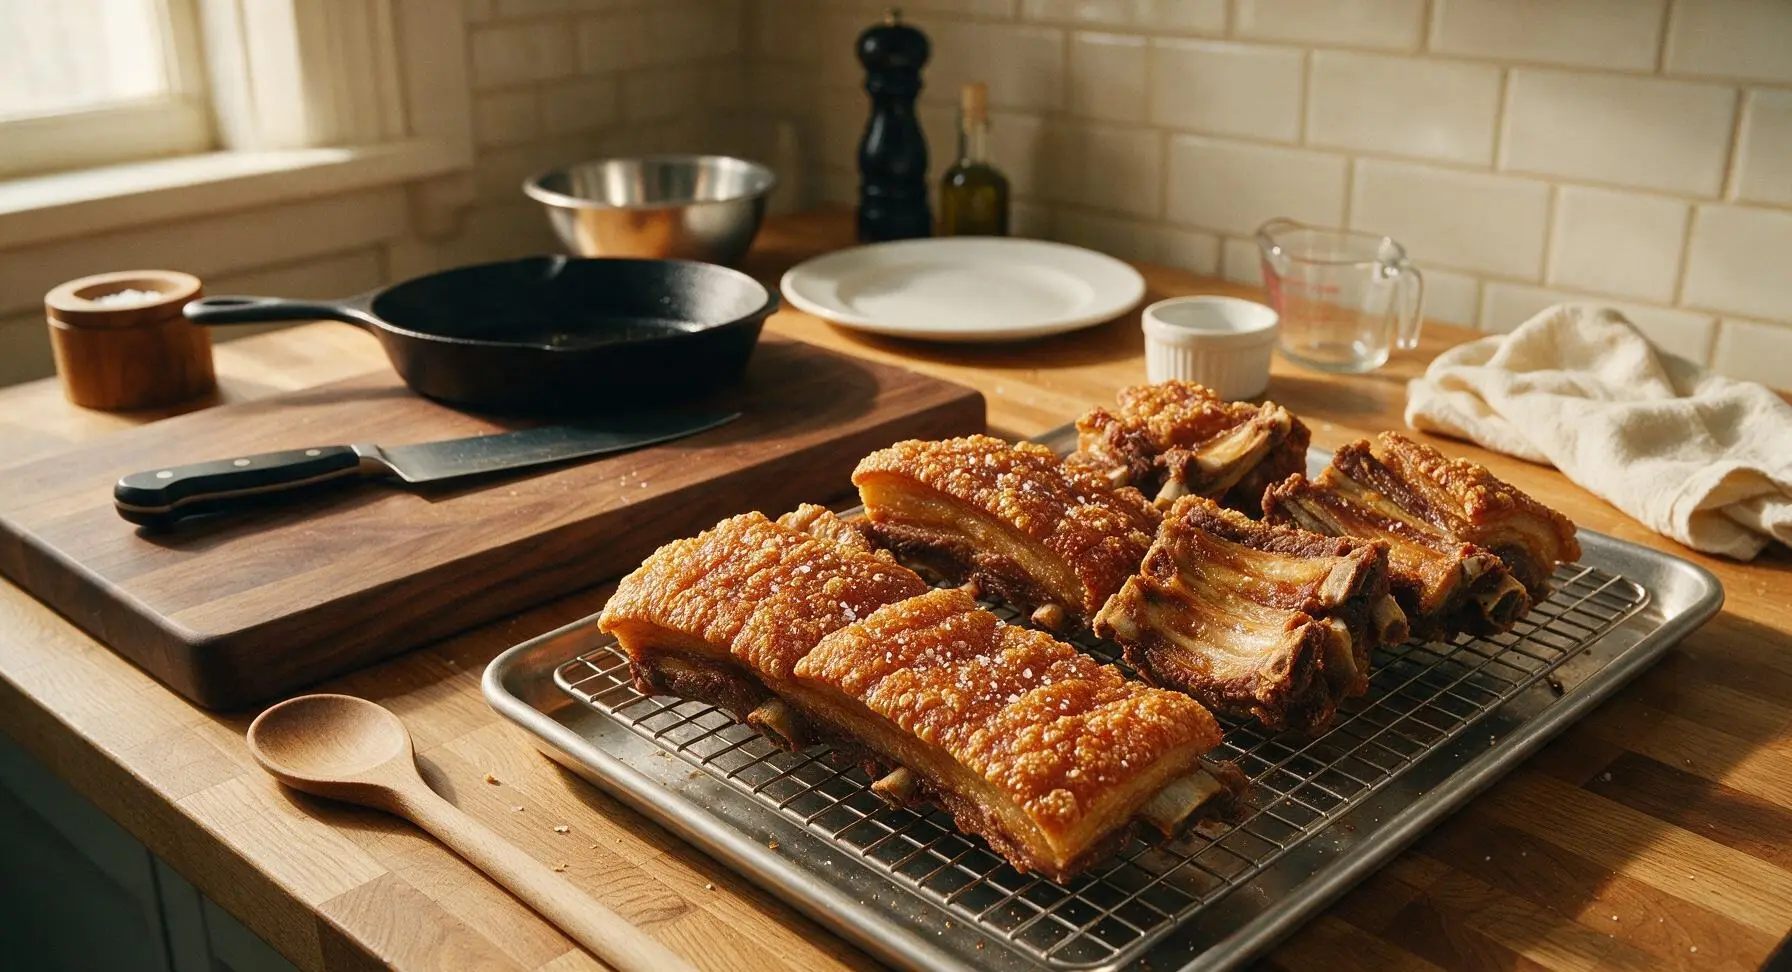
Increase heat under the Dutch oven to bring oil temperature up to 190C (375F). Carefully lower the rested rib sections back into the hot oil, working in batches. Fry for 3-4 minutes total, turning once, until the skin is a deep rich golden brown, shatteringly crisp, with tiny visible crackled bubbles across the entire surface. Watch carefully to avoid burning, as skin will crisp very quickly at this temperature. Remove ribs from oil, drain briefly on the rack, and sprinkle immediately with the remaining 1 tablespoon coarse sea salt while still hot.
Make Vinegar Dipping Sauce
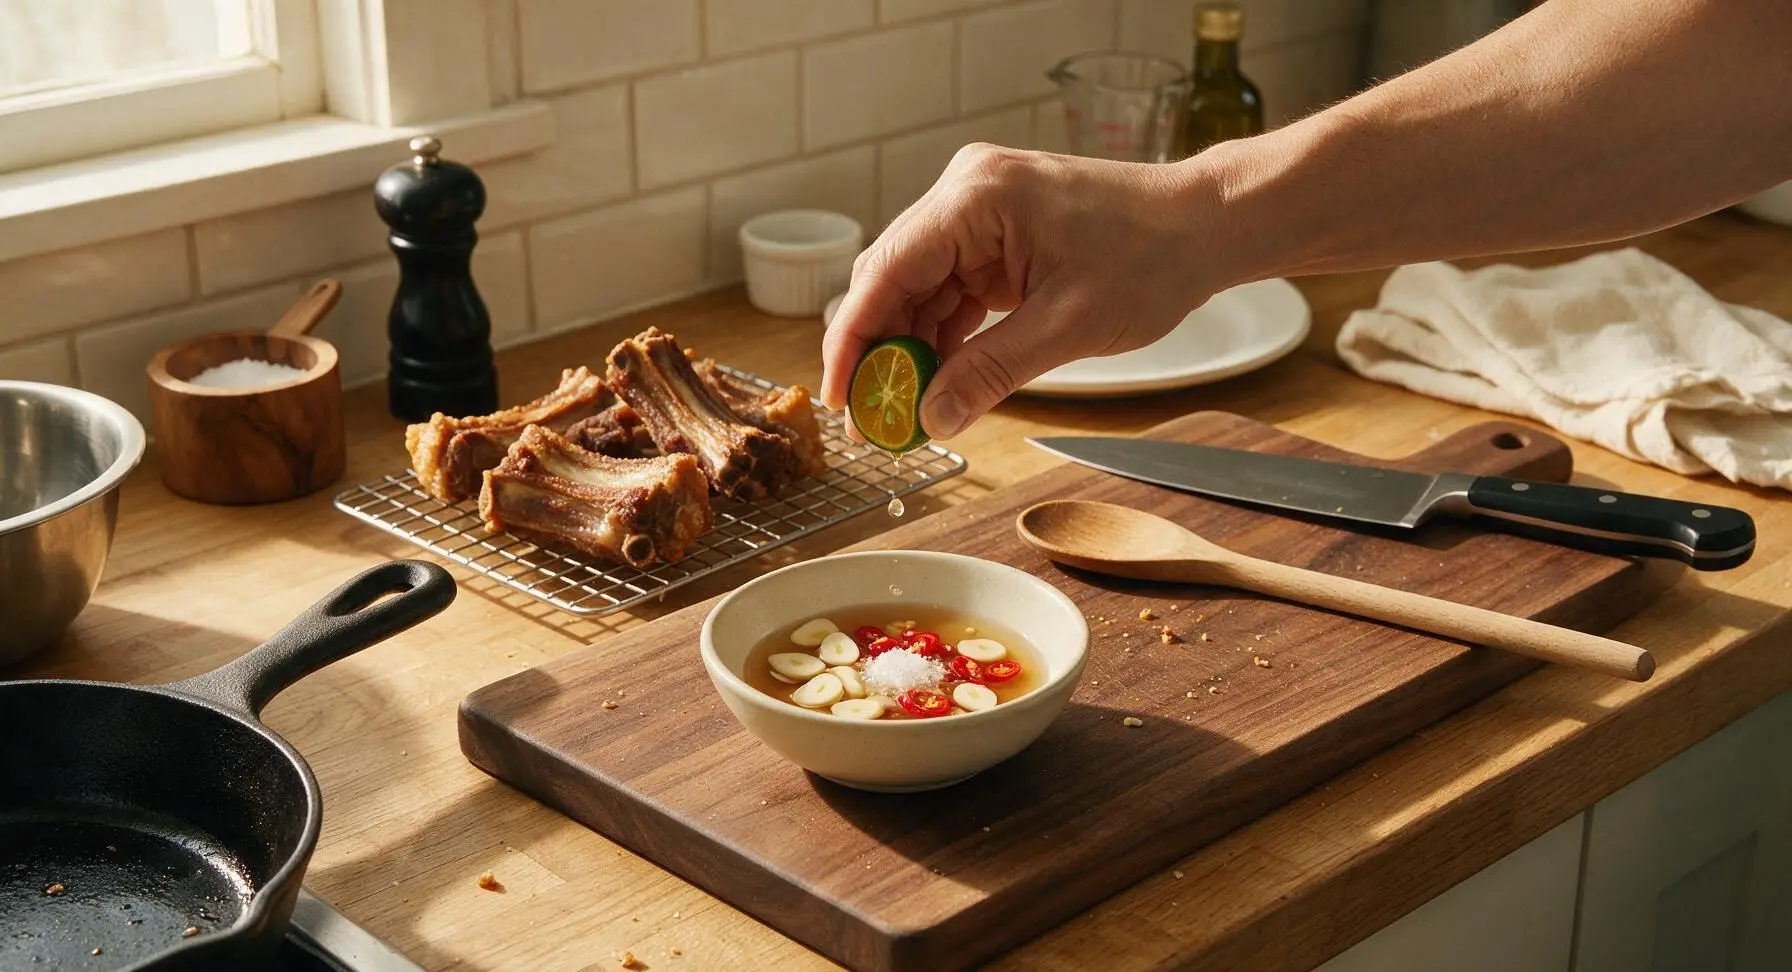
While fried ribs rest for 2 minutes, prepare the traditional dipping sauce. Pour 1/2 cup cane vinegar into the small cream stoneware sauce bowl. Add 2 thinly sliced garlic cloves, 1 sliced red bird's eye chili, and a pinch of coarse salt. Stir once, then squeeze 1 calamansi into the sauce, cutting the remaining 2 calamansi in half for serving on the side.
Cut and Plate Ribs
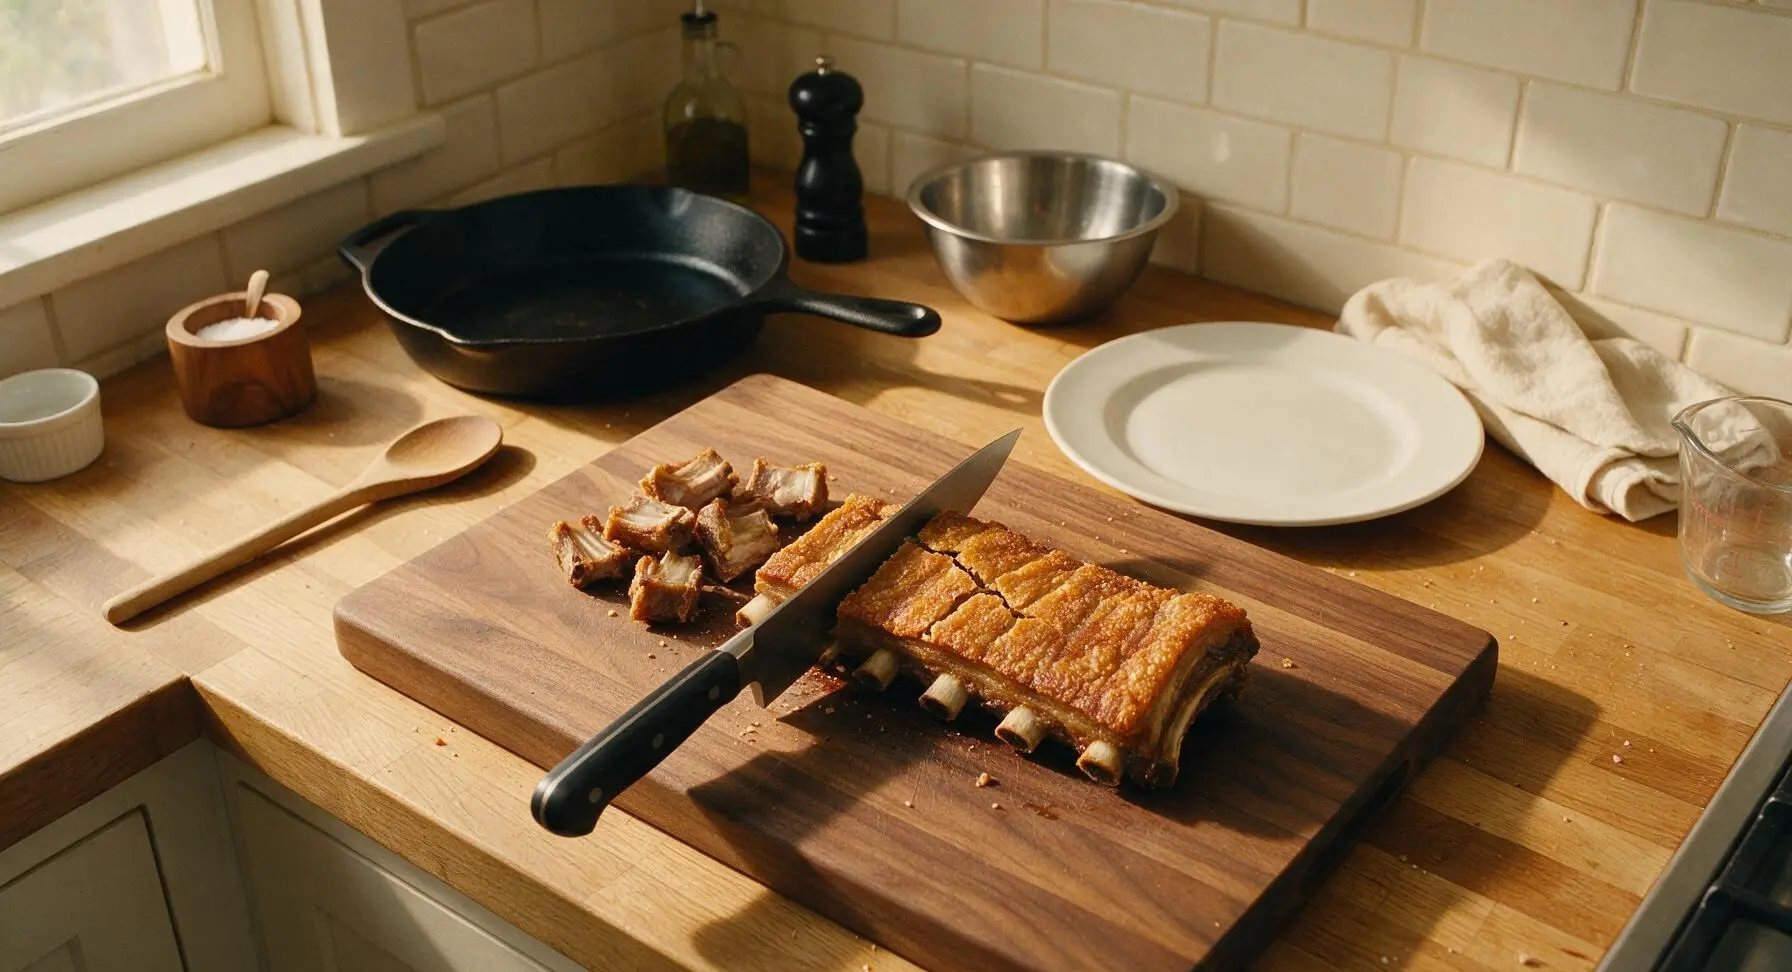
Transfer the hot crispy ribs back to the acacia cutting board. Use the chef knife to cut between the bones into individual 1-rib pieces, listening for the audible crunch of the crisp skin as you cut. Pile cut ribs onto the large cream stoneware dinner plate, arranging them so the crisp skin side faces up. Place the bowl of dipping sauce on the plate, tuck halved calamansi around the ribs, and serve immediately while skin is at its crispiest.
Tips
2.Maintain precise oil temperatures for both frying stages: the low-temperature first fry gently renders fat and sets the skin structure, while the high-temperature second fry puffs the skin for maximum crunch. If oil is too hot during the first fry, skin will burn before fat renders; if too cool during the second fry, ribs will absorb excess oil and turn greasy.
3.Serve Bagnet Ribs immediately after frying: the crisp skin will start to soften and turn chewy after 10-15 minutes, as moisture from the meat seeps up into the crackling. For large groups, keep fried ribs warm on a wire rack in a 100C (210F) oven for up to 20 minutes to retain crispness, rather than piling them on a plate where trapped steam will soften the skin.
OMG these were SO good! I made them for our Sunday family dinner and everyone went back for seconds. The crunch was insane, exactly like the bagnet I had when I visited Ilocos Sur a few years back. 10/10 will make again!
Tried this for my roommate’s birthday potluck and people were begging for the recipe! Only note is I had to fry them a couple minutes longer to get that perfect shatteringly crisp crust, but that’s probably just my stove being finicky. Worth every minute of cook time!
My kids are obsessed! They usually turn up their noses at pork ribs but these were gone in 10 minutes flat. I served them with a side of vinegar dipping sauce and steamed rice, chef’s kiss.
Pretty solid recipe! Difficulty level is spot on for medium – I’m a fairly new cook and I didn’t mess these up, which is a win. The only reason I’m not giving 5 stars is I found the boil step a little bland, so next time I’ll throw more garlic and peppercorns in the water.
Made these for meal prep this week and they held up way better than I expected! I was worried the crisp would get soggy in the fridge, but a quick 5 minute reheat in the air fryer brought them right back. Total game changer for weekday lunches.
Y’all, I messed up the first batch because I didn’t dry the ribs completely before frying – hot oil everywhere, total kitchen mess. Don’t be like me! Pat those babies dry until there’s zero moisture on the skin, it makes all the difference. Second batch came out perfect, crispy as can be.
Wow, this was my first time making any kind of Ilocano dish and it did not disappoint! My Filipino neighbor brought over some bagoong to pair with it and it was the perfect combo. Will definitely be adding this to our regular dinner rotation.
I made these for a game day watch party last weekend and they were gone before halftime! Even my picky brother who only eats fast food said they were better than the fried ribs at his favorite BBQ spot. Win in my book.
Cook time is pretty accurate, I clocked in at 1 hour 28 minutes from start to finish! The ribs came out juicy on the inside and so crispy on the outside, just as advertised. Will be making these for my dad’s birthday next month, he’s going to lose his mind.
I used a little less salt than the recipe called for because I’m watching my sodium intake, and they still came out packed with flavor! The crispy skin is so addictive, I had to stop myself from snacking on them before dinner was ready.
Wait, has anyone tried making these in an air fryer instead of deep frying? I’ve made them twice the traditional way and they’re amazing, but I live in a tiny apartment with no good ventilation for deep frying and want an easier lower-mess weeknight version.
I brought these to my office potluck yesterday and half my team asked for the recipe before I even left. The crispy skin texture is unbeatable, and the meat is fall-off-the-bone tender. 100% worth the effort!
Solid recipe, but I wish there was a note about how much oil you need for frying! I ended up pouring way too much and wasted half a bottle of canola oil my first go. Other than that, the ribs tasted amazing, just a heads up for other new cooks like me.
OMG I can’t believe how straightforward this was for a medium difficulty recipe! I was so intimidated because bagnet seems like such a fancy, restaurant-only dish, but the steps were super easy to follow. Served these with pickled papaya on the side and it was *chef’s kiss*.
I’ve tried a bunch of bagnet recipes online and this is by far the best one! The boil seasoning is perfect, and the double fry method gets that perfect crunch that lasts way longer than single fried ribs. Total game changer, no notes.