
bake sausage patties
intro
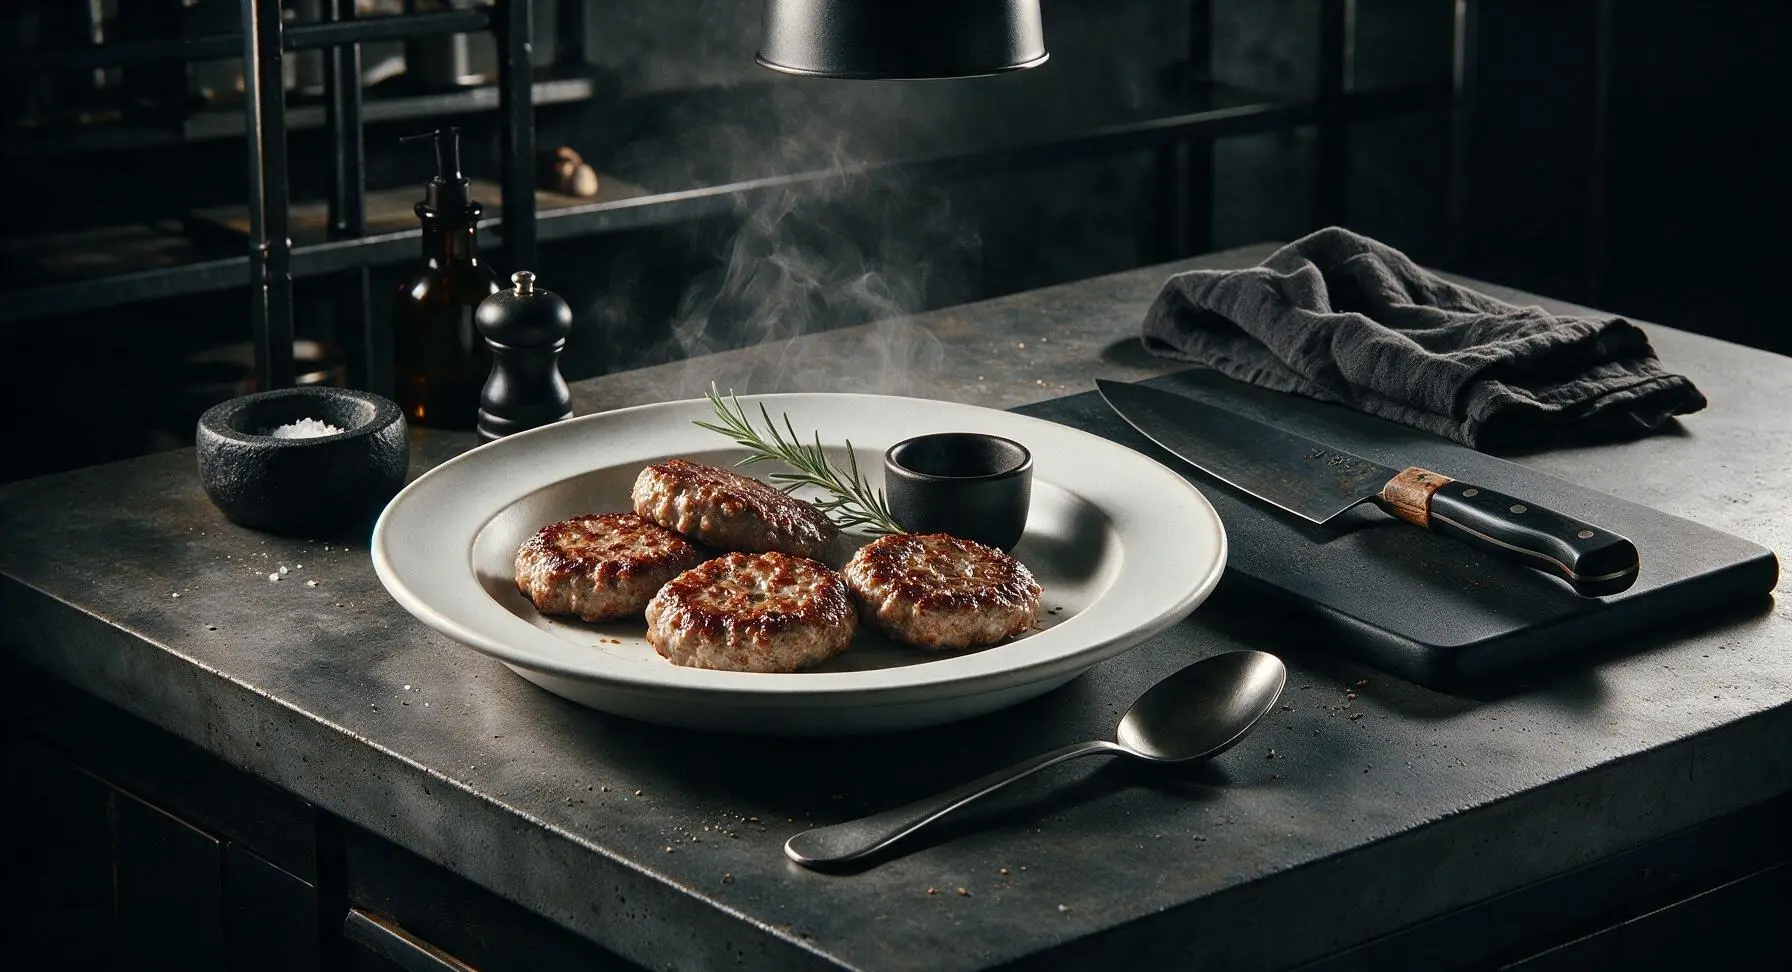
Juicy, evenly browned baked sausage patties with crisp golden edges and zero stovetop splatter. Perfect for quick breakfasts, meal prep, or breakfast for dinner, ready in 25 minutes.
Ingredients
Steps
Preheat Oven, Prep Pan
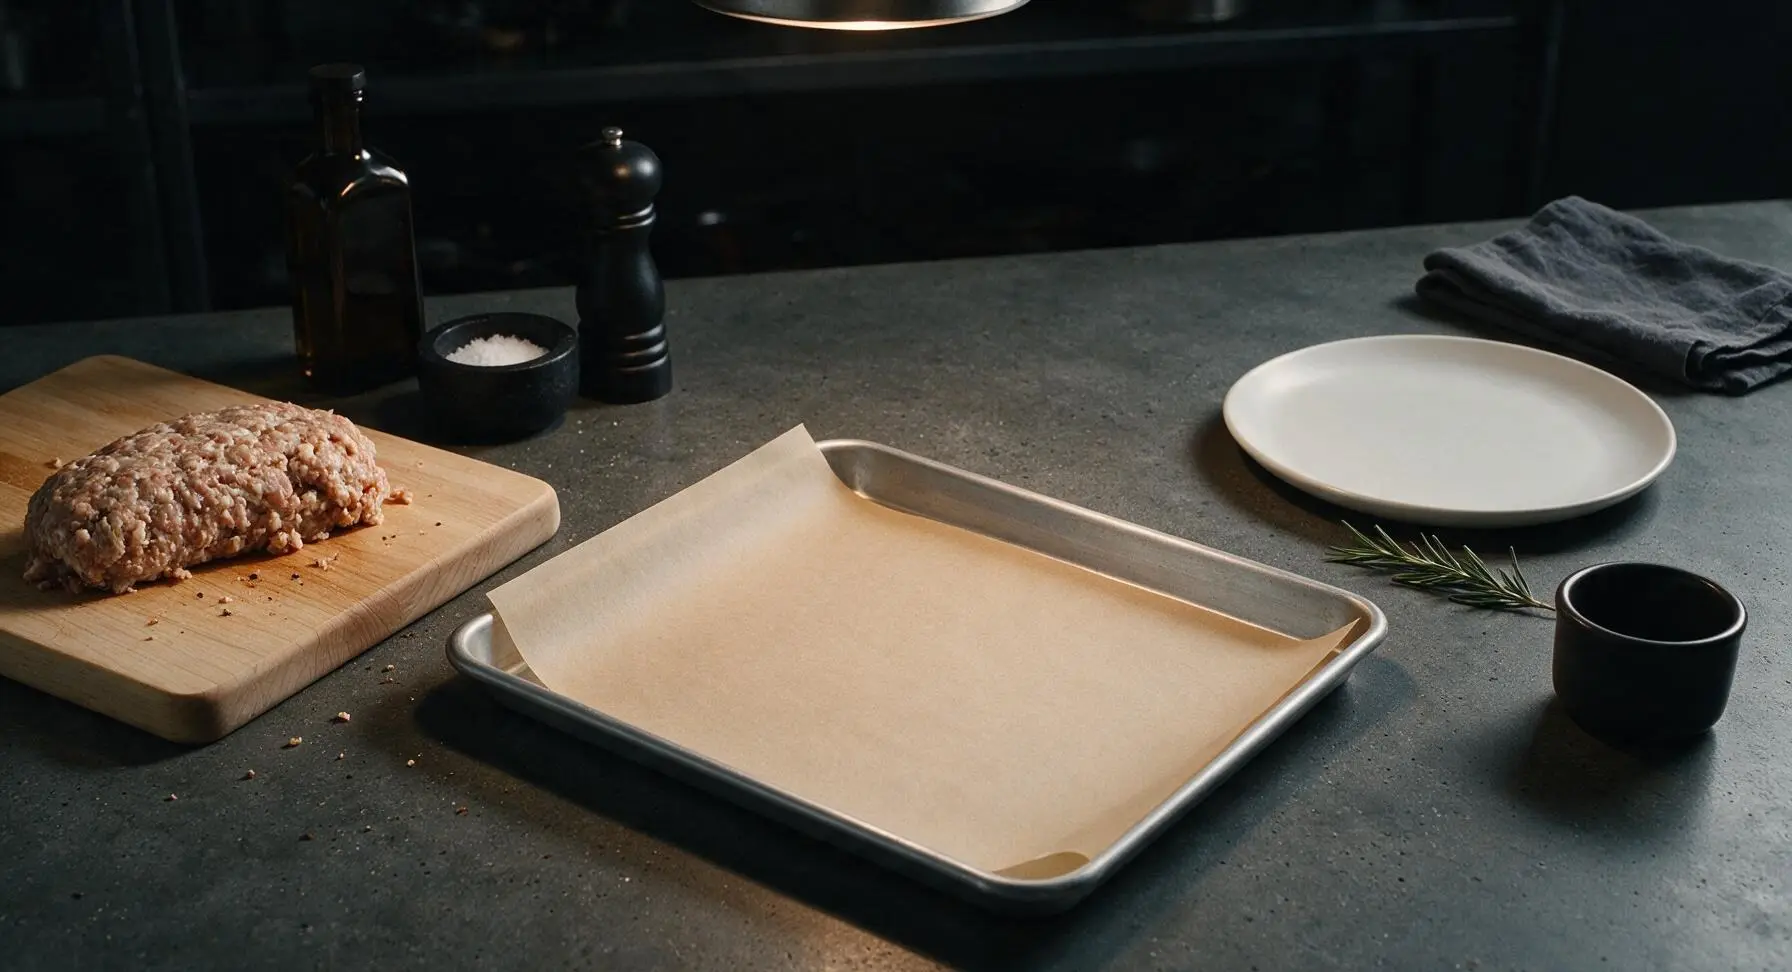
Adjust your oven rack to the middle position, then preheat oven to 205°C (400°F). Line the heavy-gauge aluminized steel half-sheet baking pan with a sheet of unbleached parchment paper, leaving a 2cm overhang on the two long edges to make lifting patties easy later. Do not grease the pan—the 80/20 sausage will render enough fat during cooking to prevent sticking.
Divide Sausage Evenly
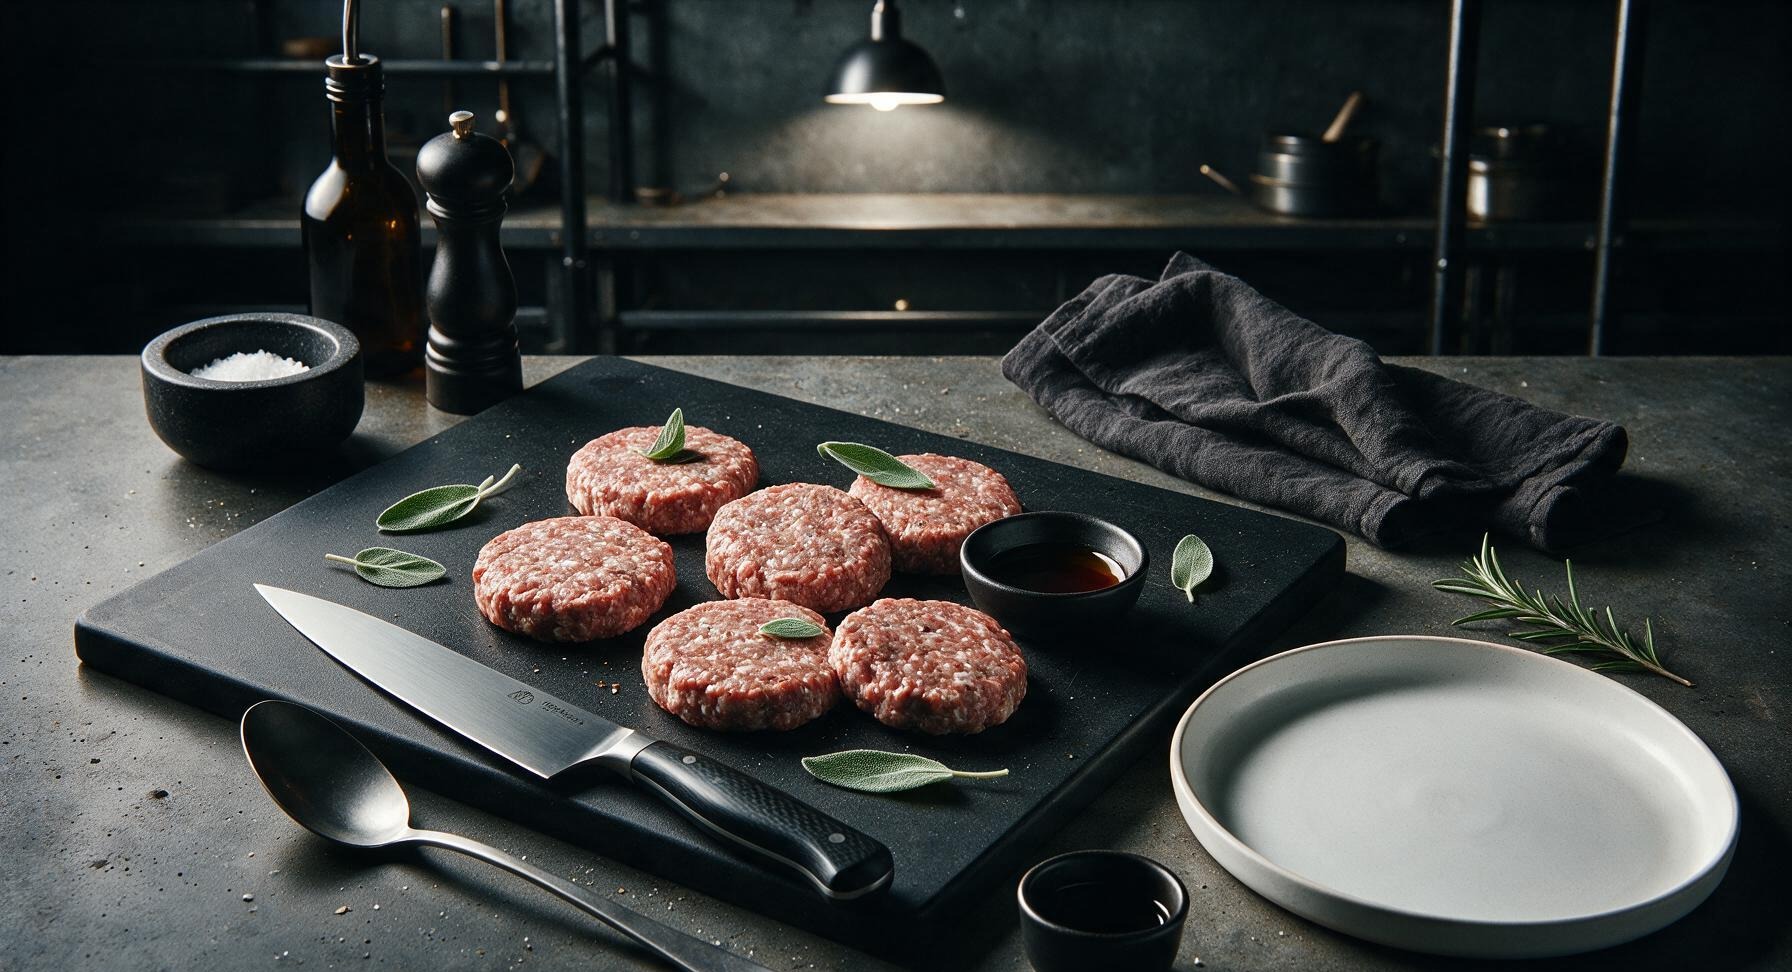
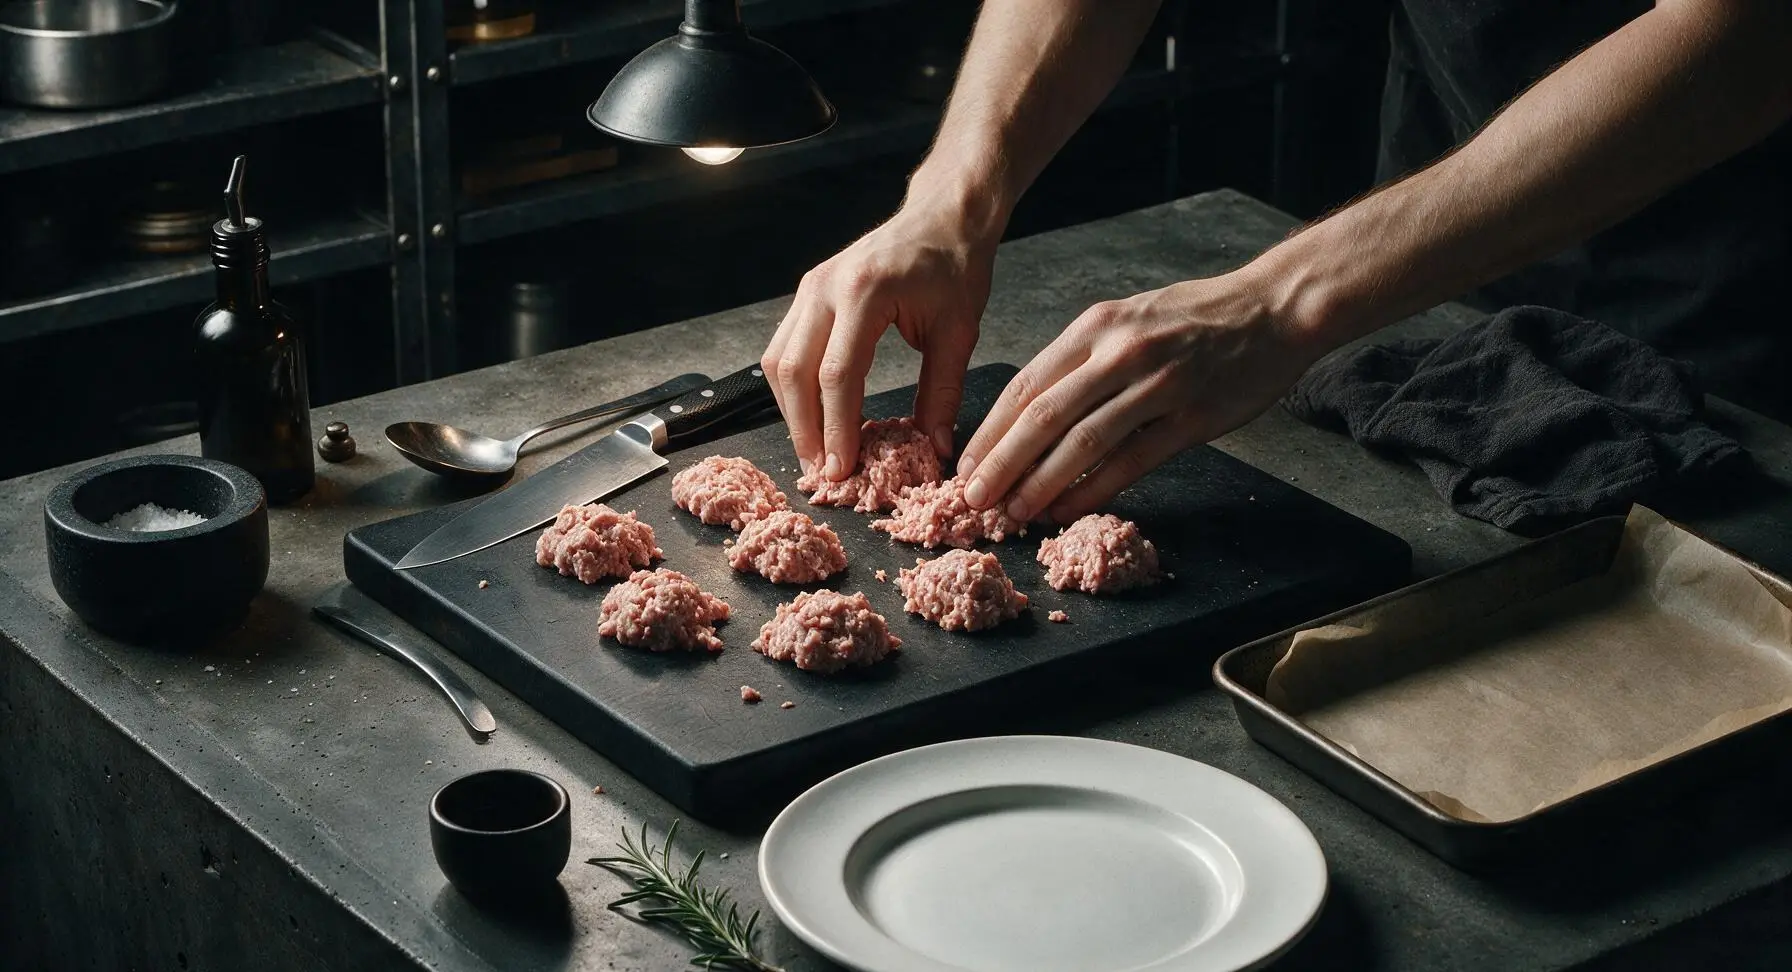
Transfer the bulk breakfast sausage from its butcher paper to the maple cutting board. With clean, dry hands, gently divide the meat into 8 equal portions, roughly 55g (2oz) each. Do not over-squeeze or knead the meat at this stage—overworking will lead to tough, dense finished patties.
Shape Uniform Patties
Roll each sausage portion into a loose ball between your palms, then press flat into a 7cm (3-inch) wide patty that is roughly 1cm (1/2 inch) thick. Press a shallow 5mm dimple into the center of each patty with your thumb to prevent patties from puffing into a domed shape as they cook, which causes uneven browning.
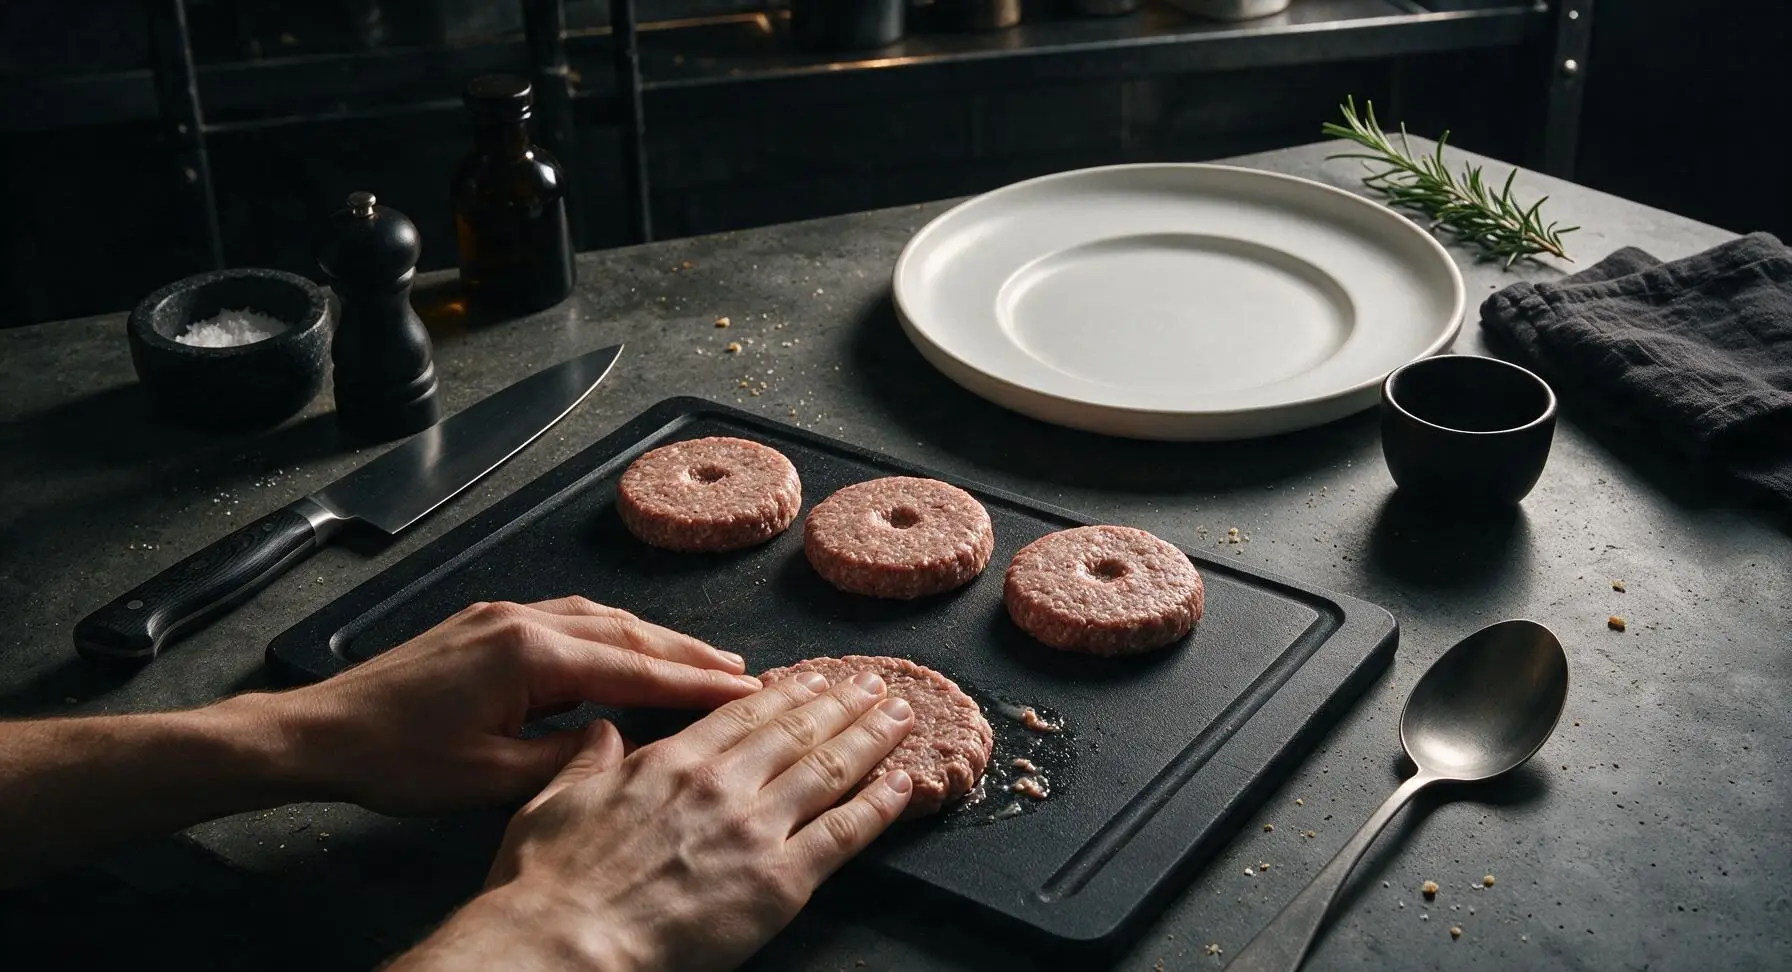
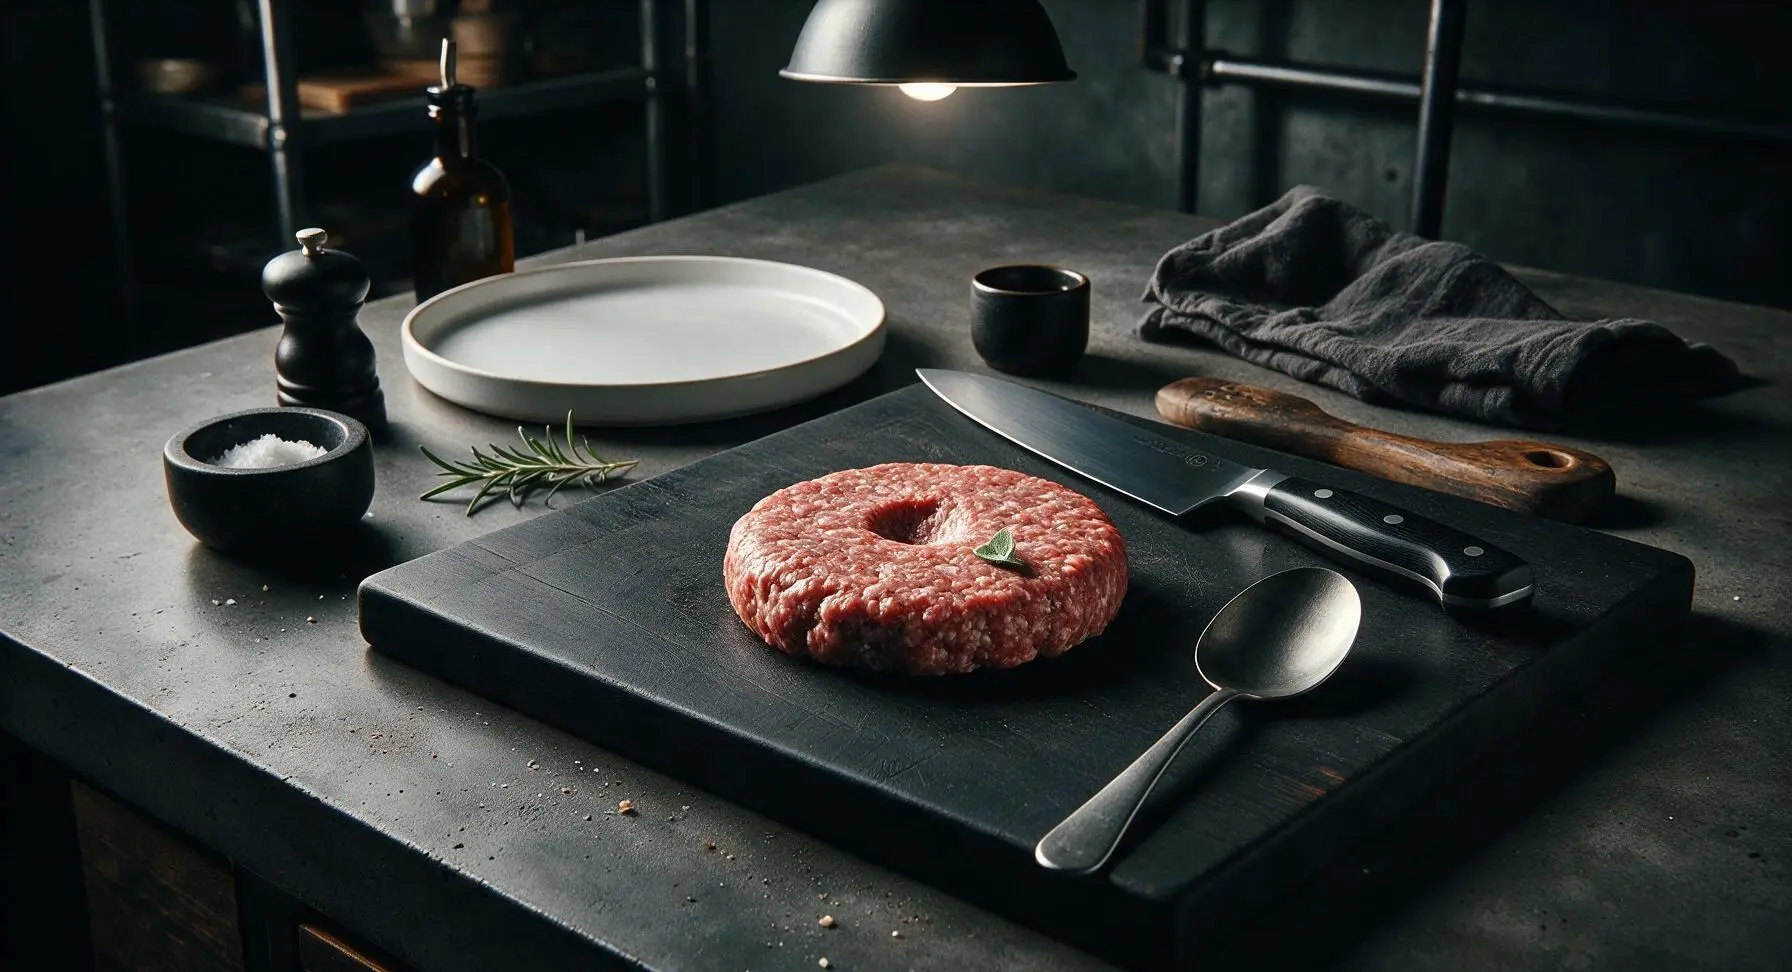
Arrange on Baking Pan
Transfer the shaped patties to the parchment-lined baking pan, spacing them 2cm (1 inch) apart to allow hot oven air to circulate evenly around every patty. Do not crowd the pan—if patties touch, they will steam instead of developing crisp, caramelized edges.
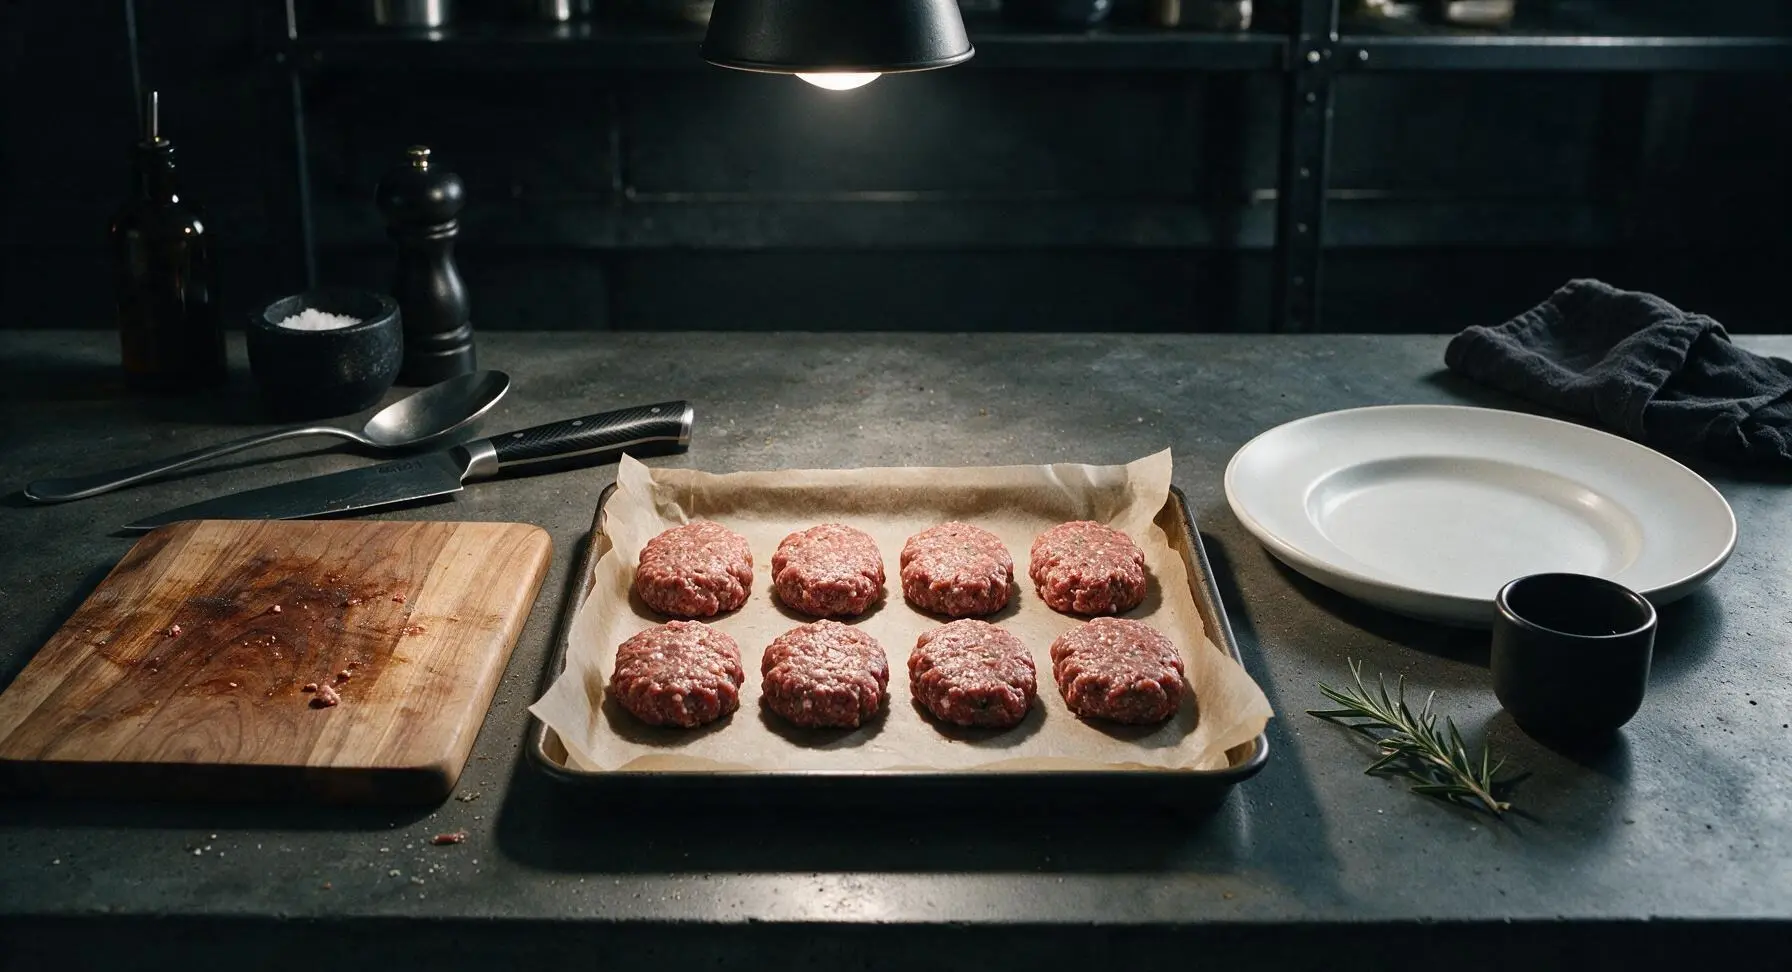
Bake to Golden Doneness
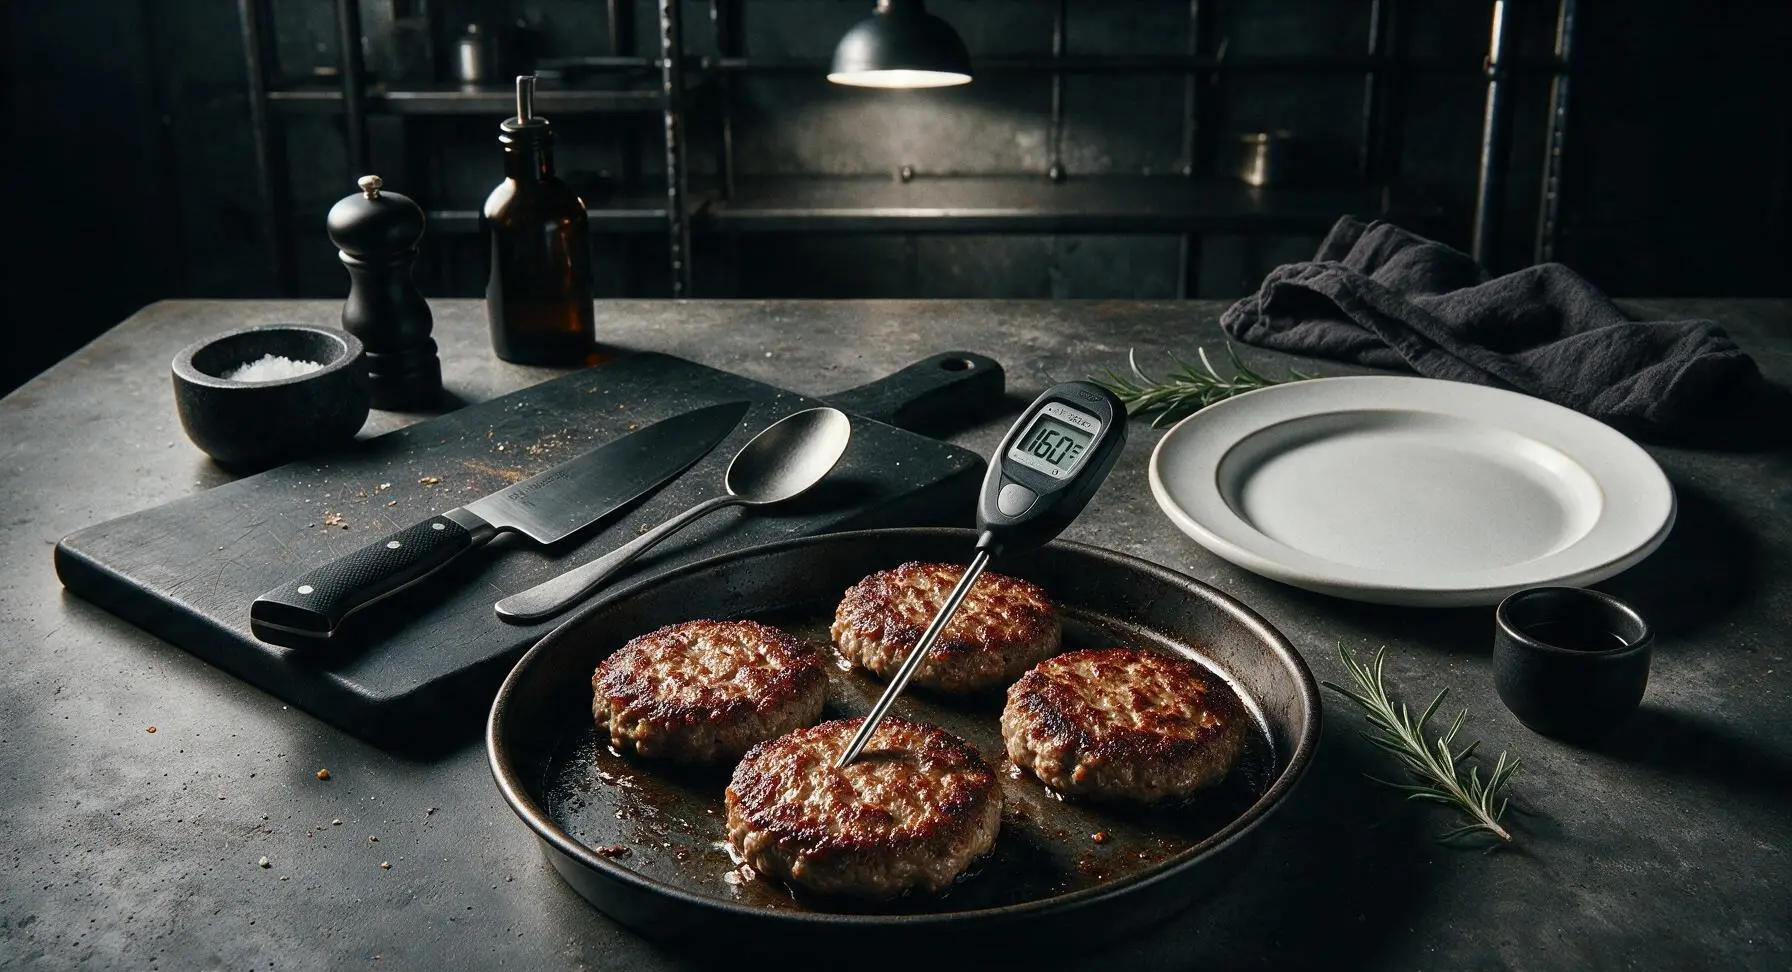
Place the baking pan on the middle oven rack. Bake for 18-20 minutes total, pulling the pan out briefly at the 10-minute mark to flip each patty with the slotted metal turner. Patties are fully done when they reach an internal temperature of 71°C (160°F) measured with the instant-read thermometer, are deep golden brown on both sides, have crisp slightly caramelized edges, and show no trace of pink in the center.
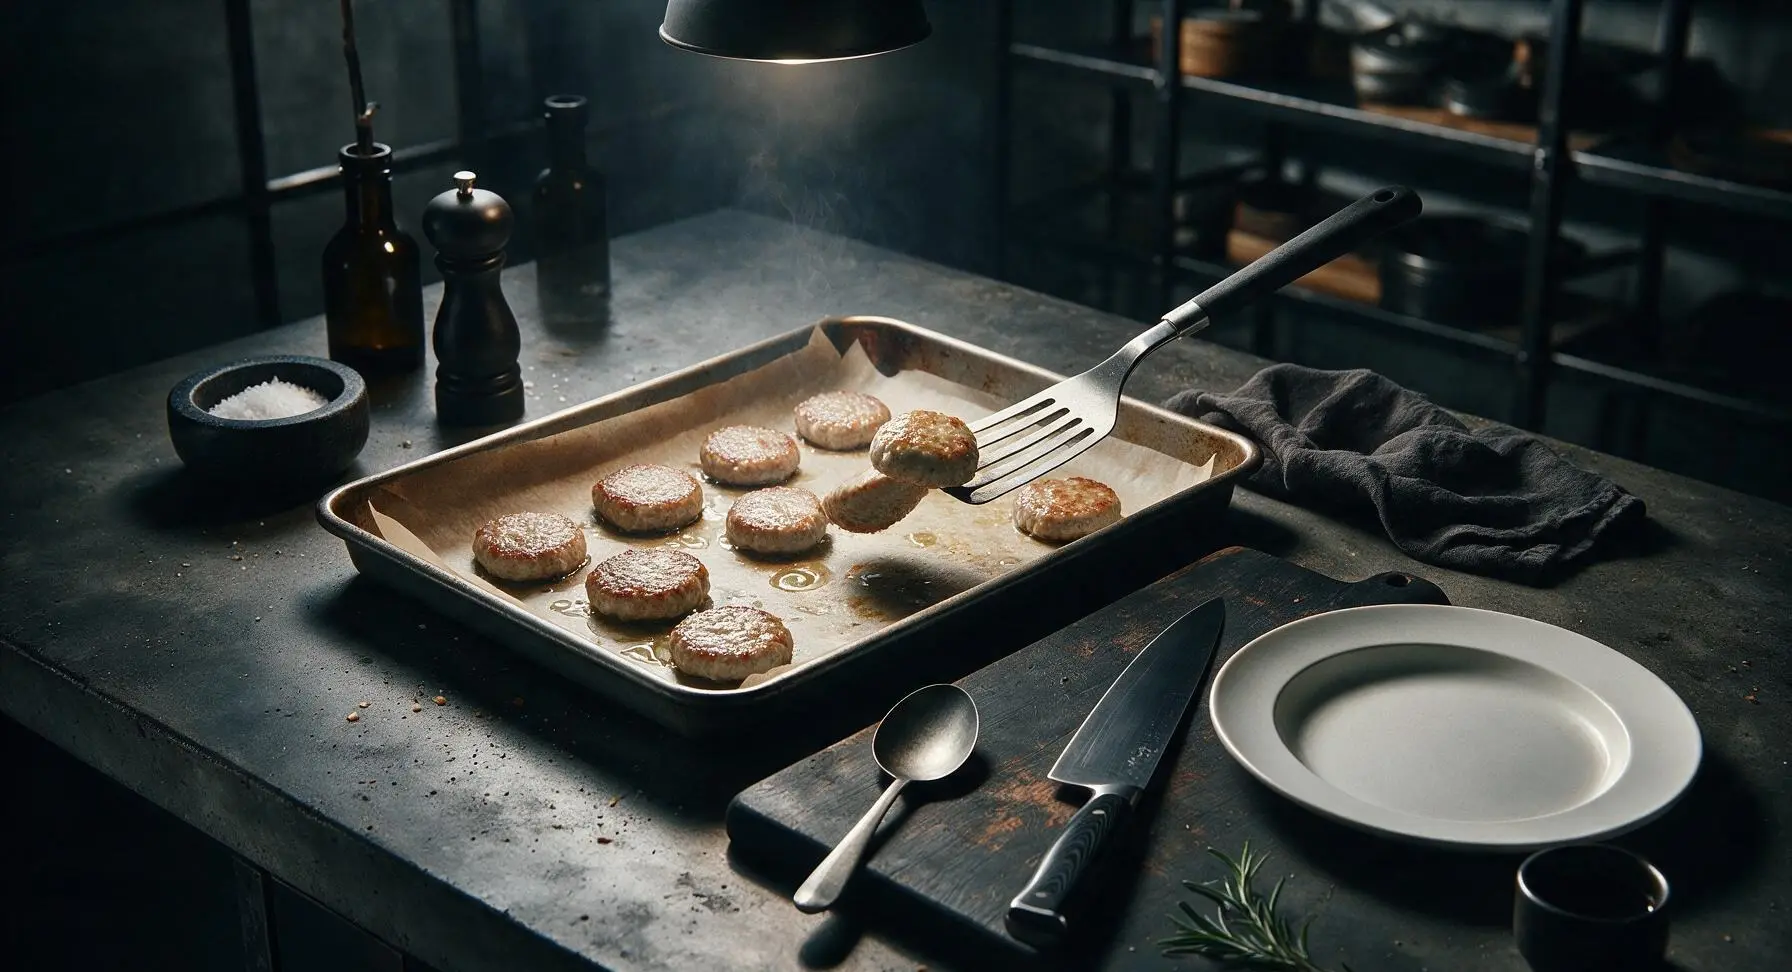
Drain Excess Fat
Use the slotted metal turner to transfer the baked patties from the baking pan to the chrome wire cooling rack, set over the empty corner of the baking pan to catch dripping fat. Let patties rest for 2 minutes to allow excess rendered fat to drain off; do not pat the patty tops dry, as this will remove the flavorful crispy outer crust.
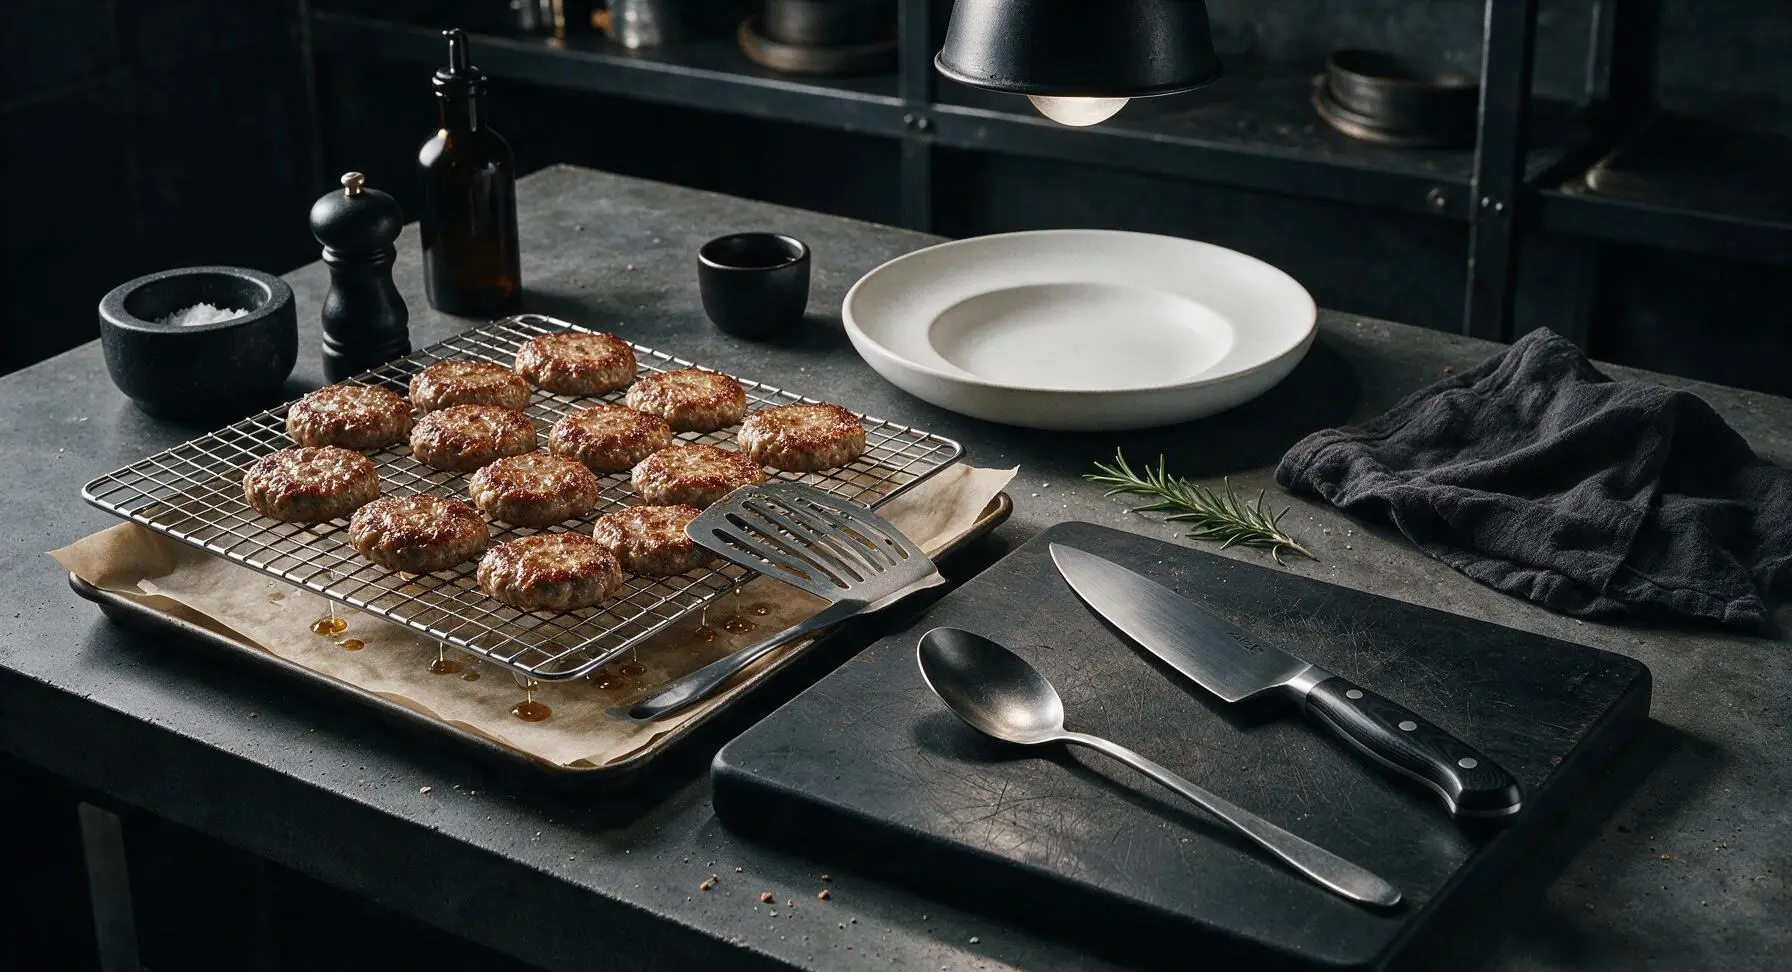
Plate and Serve Warm
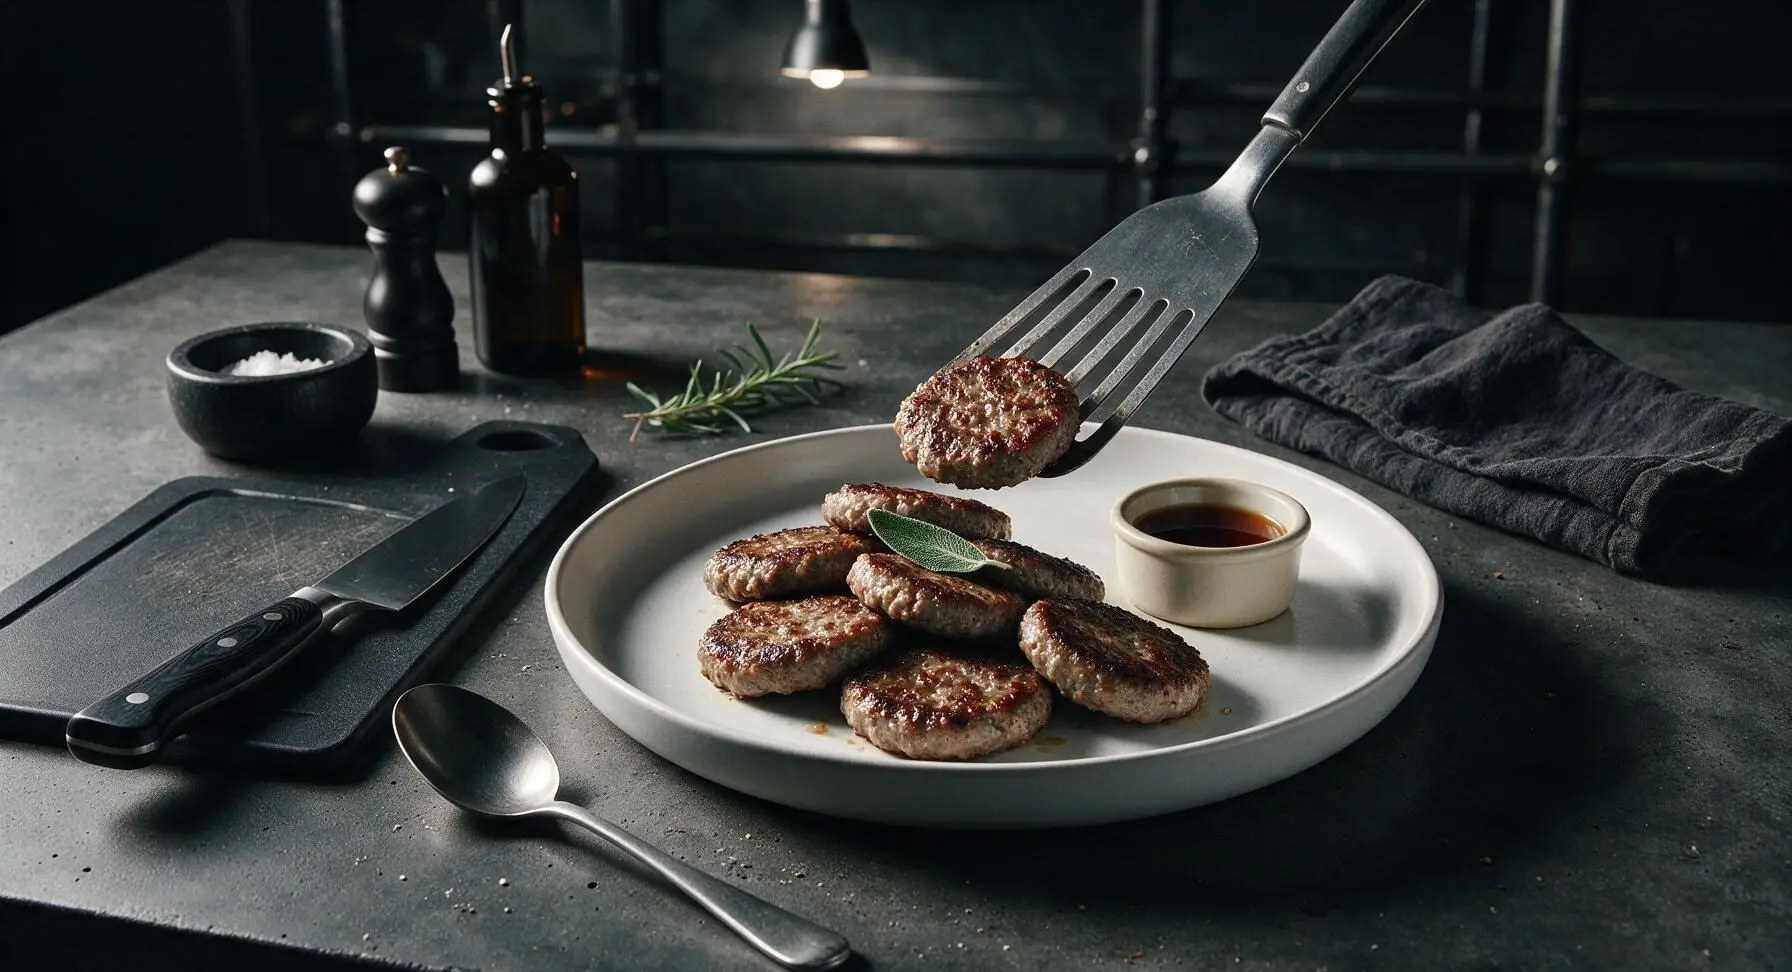
Transfer the drained sausage patties to the cream ceramic round dinner plate, arranging them in a slightly overlapping stack. Tuck one fresh sage leaf between the top two patties for a simple garnish, and serve alongside the small cream ramekin of maple syrup for dipping, if desired.
Tips
2.Skip the aluminum foil for lining your pan: foil traps moisture against the bottom of the patties, leading to soft, steamed edges instead of the crisp, golden crust you get from baking on parchment. Parchment paper allows just enough air circulation while still making cleanup fast.
3.Stick to the 1cm patty thickness as a guide: patties that are too thick will burn on the outside before cooking through in the center, while patties that are too thin will dry out quickly during baking. The thumb dimple is non-negotiable for flat, evenly cooked patties that work perfectly for breakfast sandwiches.






OMG this is such a game changer! I’ve been pan-frying sausage patties for weekend breakfast forever and always end up with grease splatters all over my stovetop. These came out perfectly juicy, no mess, and done in 20 minutes flat? My kids devoured theirs before I even got my own plate. Will be making these every Sunday from now on!
Super easy recipe, no complaints here! I added a little paprika and garlic powder to my sausage mix before shaping and they turned out great. Only heads up: my oven runs hot so they were done at 17 minutes instead of 20, so definitely keep an eye on them the first time you make ‘em.
Wow this was so easy even I couldn’t mess it up. I’m a total beginner in the kitchen and needed something cheap and filling to make for my roommates before our early tailgate last weekend. Everyone thought I bought these from the diner down the street lmao. 10/10 will make again.
Adding these to my regular weekly meal prep rotation STAT! I made a double batch on Sunday, stored them in the fridge, and they’ve been perfect for quick breakfasts when I’m running out the door to drop the kids at school. No standing over the stove, no mess, perfectly cooked every single time. SO good.
I brought these to my church potluck last Sunday and everyone was asking for the recipe! I’ve made sausage patties the old fashioned way for 50 years and never thought to bake them—what a time saver. They were evenly cooked, no burnt edges, and stayed warm the whole time we were serving. Thank you for sharing such a simple, wonderful recipe!
These are perfect for car camping! I pre-shaped the patties at home, kept them in the cooler, then baked them in my camp oven on our first morning at the site. Way less hassle than bringing a frying pan and dealing with grease over the camp stove. Held up great, tasted amazing with eggs and campfire toast.
Really solid recipe! I used hot Italian sausage instead of regular breakfast sausage for a little kick and it was chef’s kiss. My only tiny note is that I lined my baking sheet with parchment paper instead of a wire rack and they got a little soggy on the bottom, so definitely use the rack if you have it!
Made these for family dinner last night when we had breakfast for dinner night—total hit! I usually don’t have time to make a big breakfast spread on weekdays so doing breakfast for dinner is a fun treat, and these baked patties meant I didn’t have to stand over the stove while I was also making pancakes and scrambled eggs. No burnt patties, no grease fires, all three kids cleaned their plates. 10/10.