
baked burrito recipe beef

title 1
baked burrito recipe beef
⏱️ cook time 30 minutes
🍽️ servings 4
⚡ Difficulty easy

intro

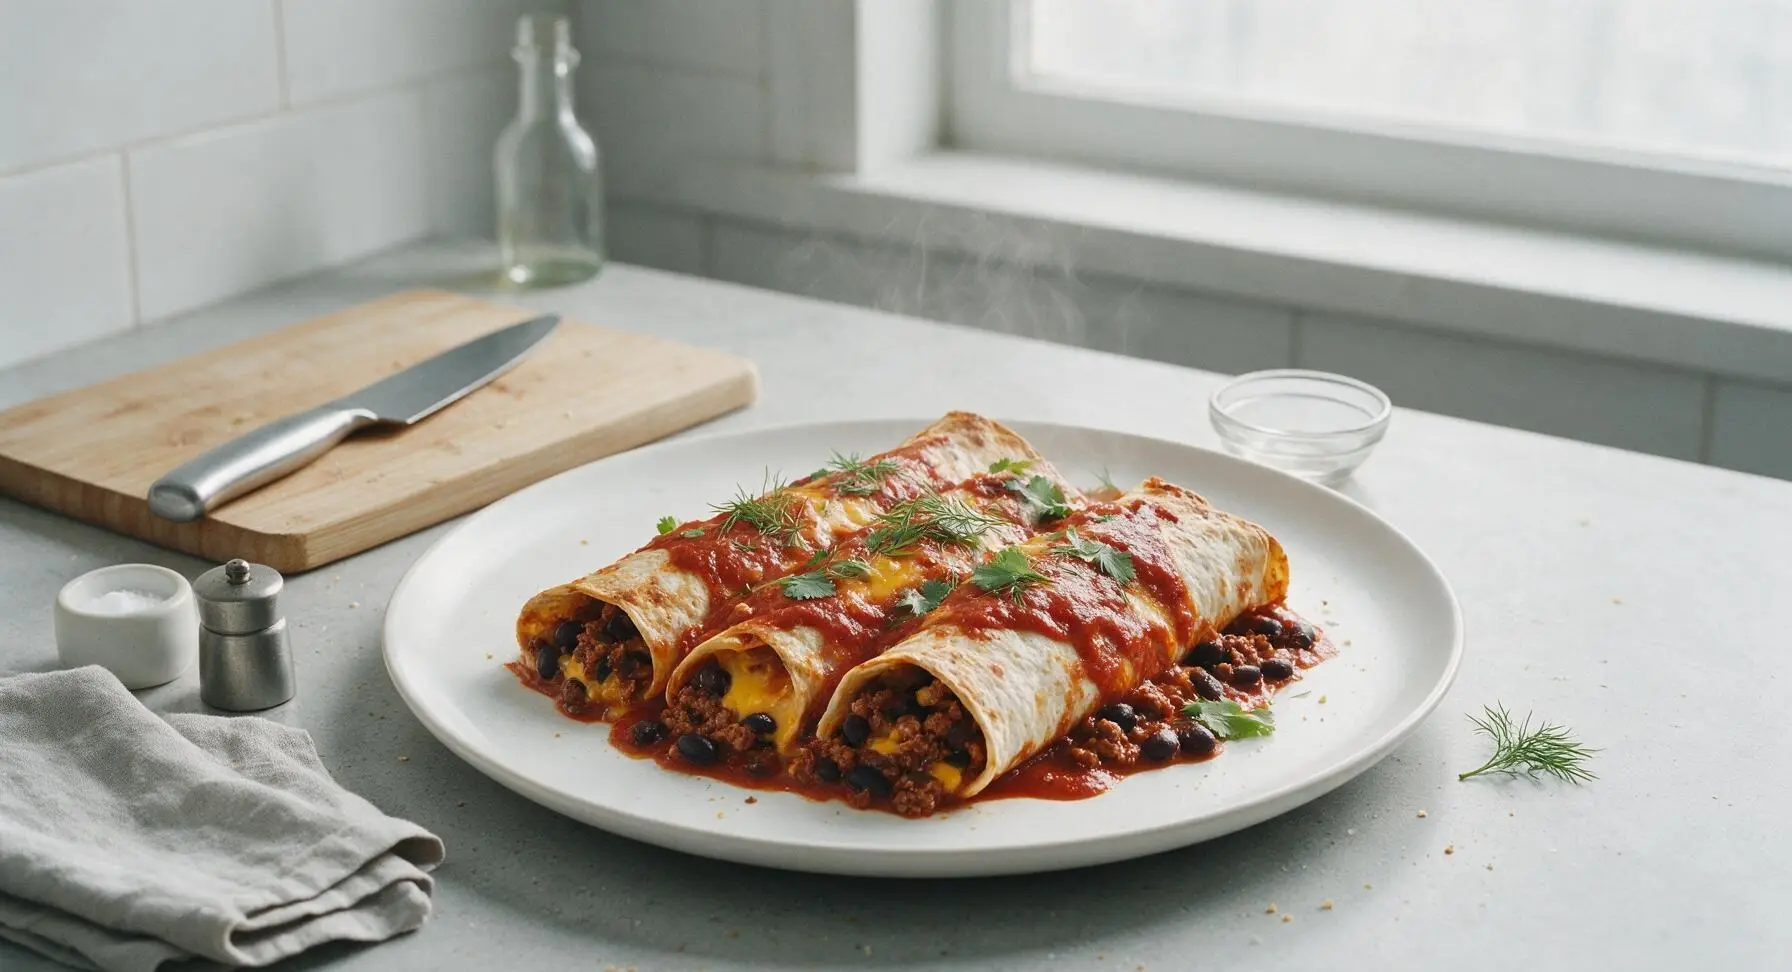
Crispy-edged flour tortillas stuffed with spiced ground beef, black beans, and melty cheddar, smothered in red enchilada sauce for a cozy, satisfying Tex-Mex comfort meal.

Ingredients
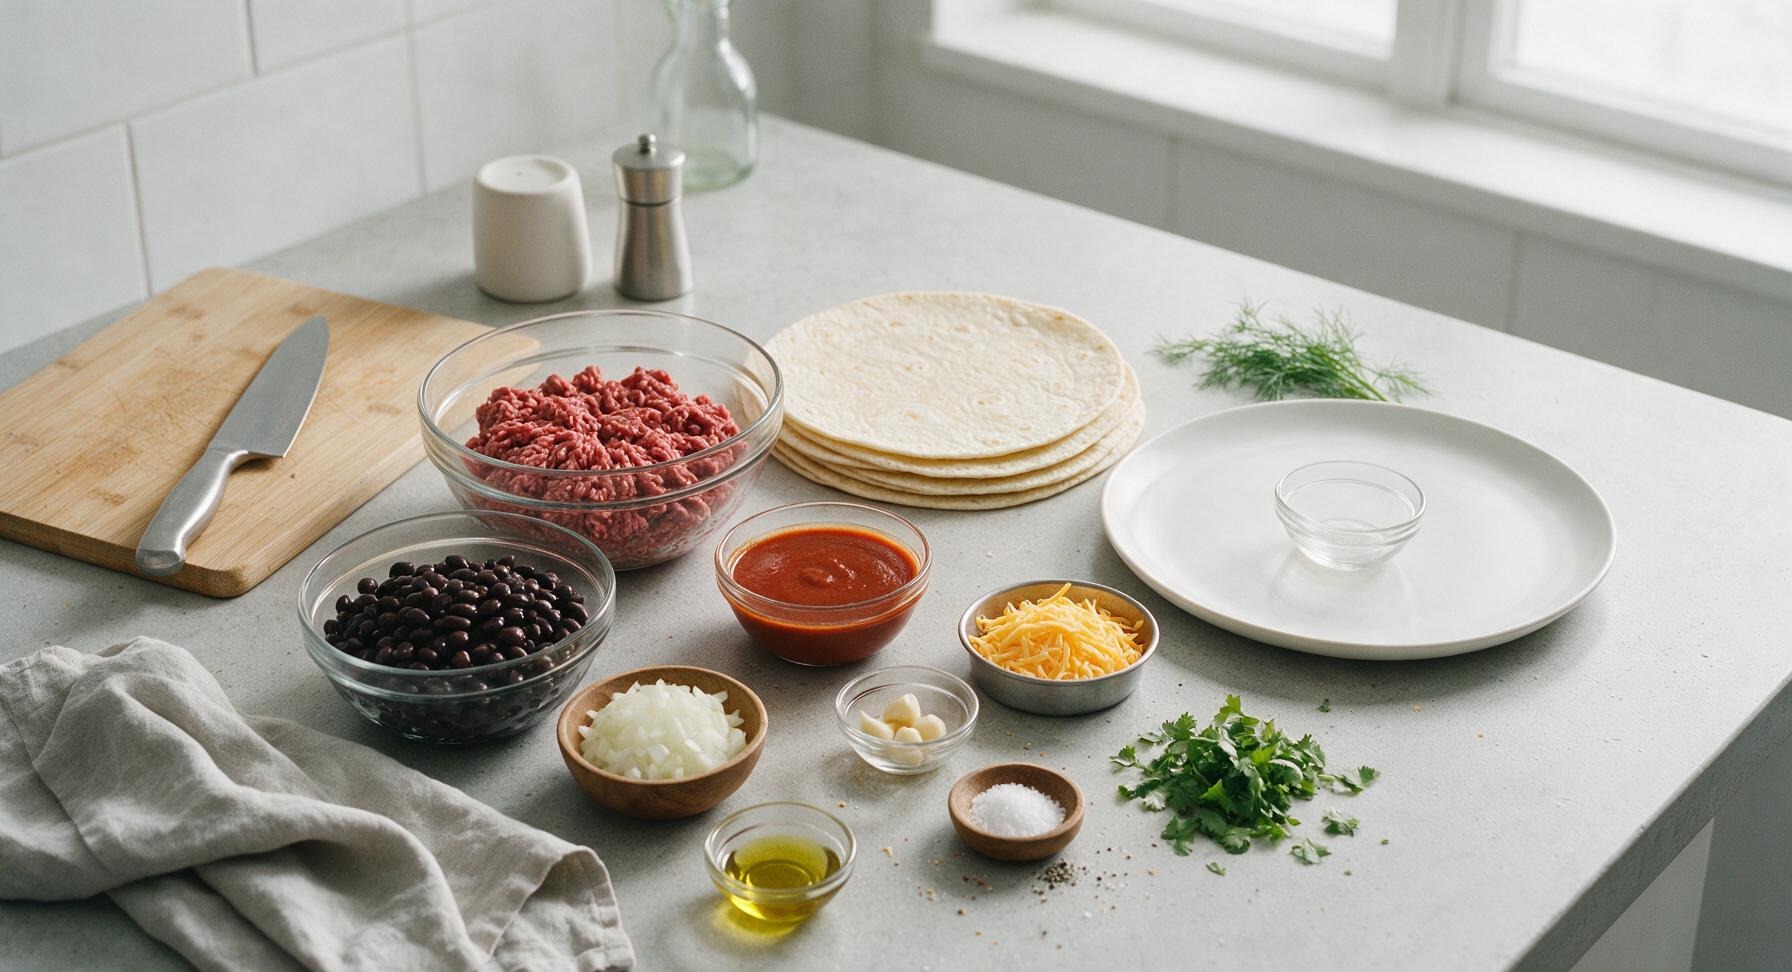
Lean ground beef (90/10) 450g (1 lb)
10-inch flour tortillas 4 each
Red enchilada sauce 300g (1.5 cups)
Sharp cheddar cheese 180g (2 cups, shredded)
Canned black beans, rinsed and drained 250g (1 can, drained)
Small yellow onion 120g (1 each, finely diced)
Garlic cloves 15g (3 each, minced)
Taco seasoning mix 20g (2 tbsp)
Olive oil 15ml (1 tbsp)
Kosher salt 5g (1 tsp)
Ground black pepper 2g (1/2 tsp)
Fresh cilantro 5g (2 tbsp, chopped)

Steps

1

Prep Ingredients and Oven

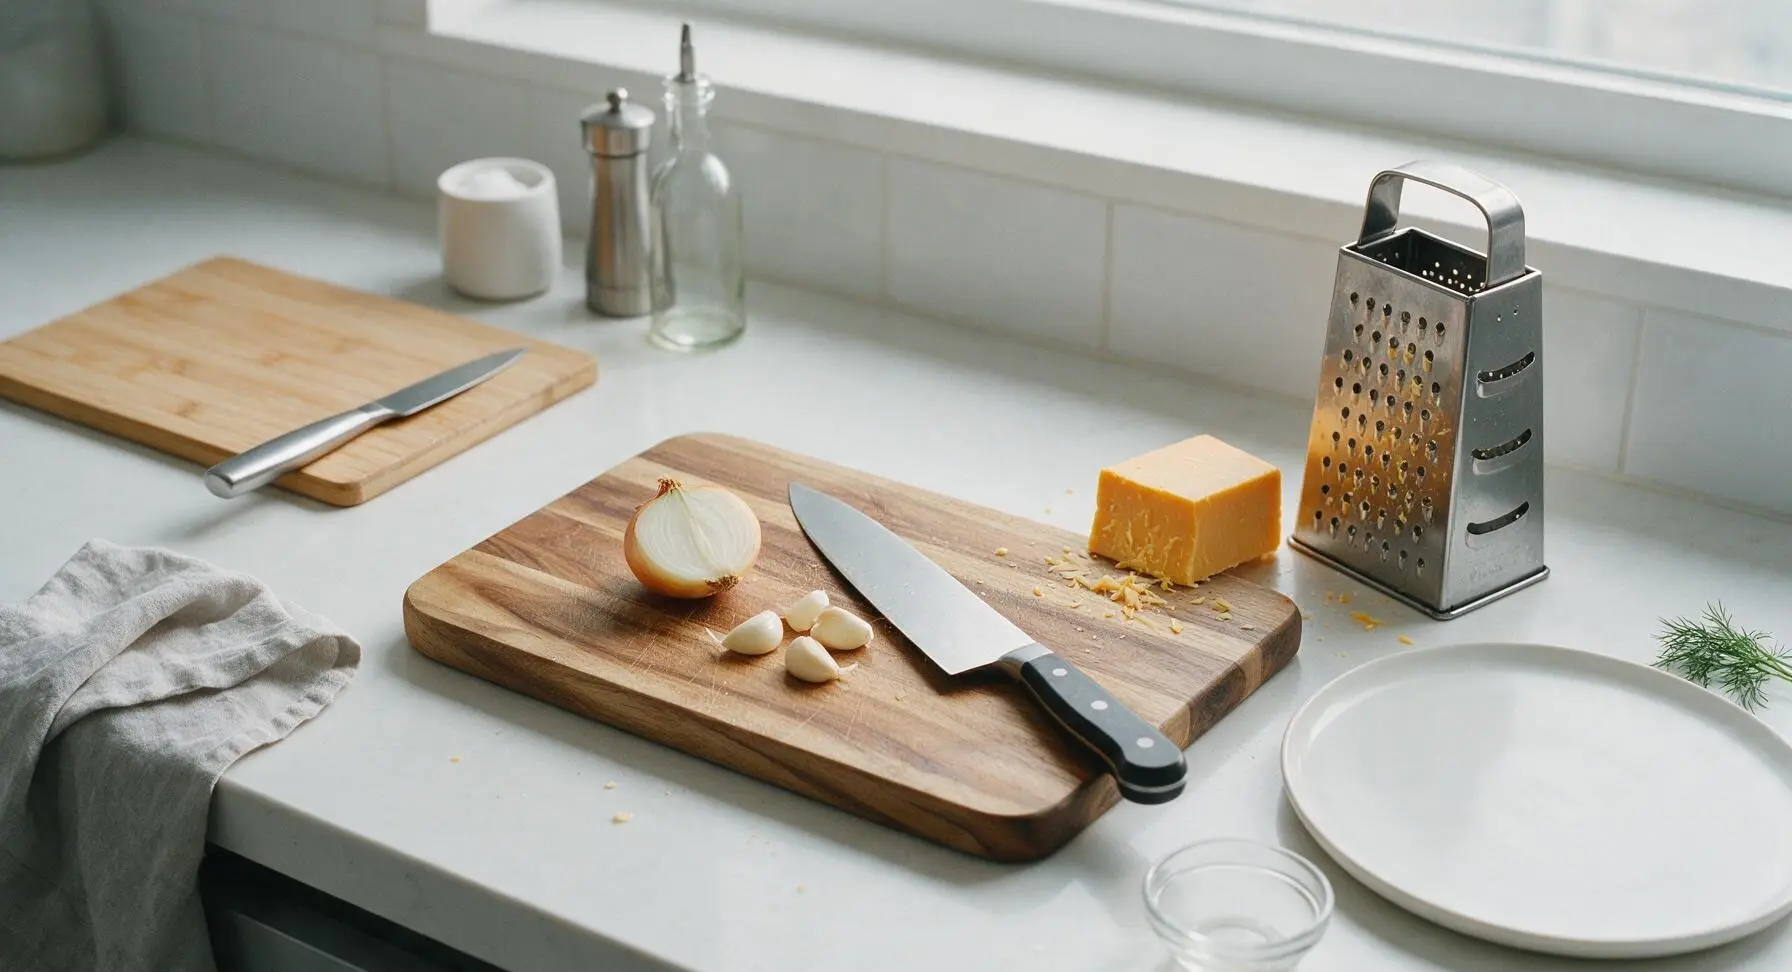
Arrange your workspace with the acacia wood cutting board at center. Preheat oven to 190°C (375°F) with a rack in the middle position. Use the 8-inch chef’s knife to finely dice 1 small yellow onion into 5mm pieces, mince 3 garlic cloves, and set on the edge of the cutting board. Use the stainless steel box grater to shred 180g sharp cheddar cheese, transfer to a small bowl, and set aside.
Step 1
step1:Prep Ingredients and Oven
2

Sauté Aromatics and Beef

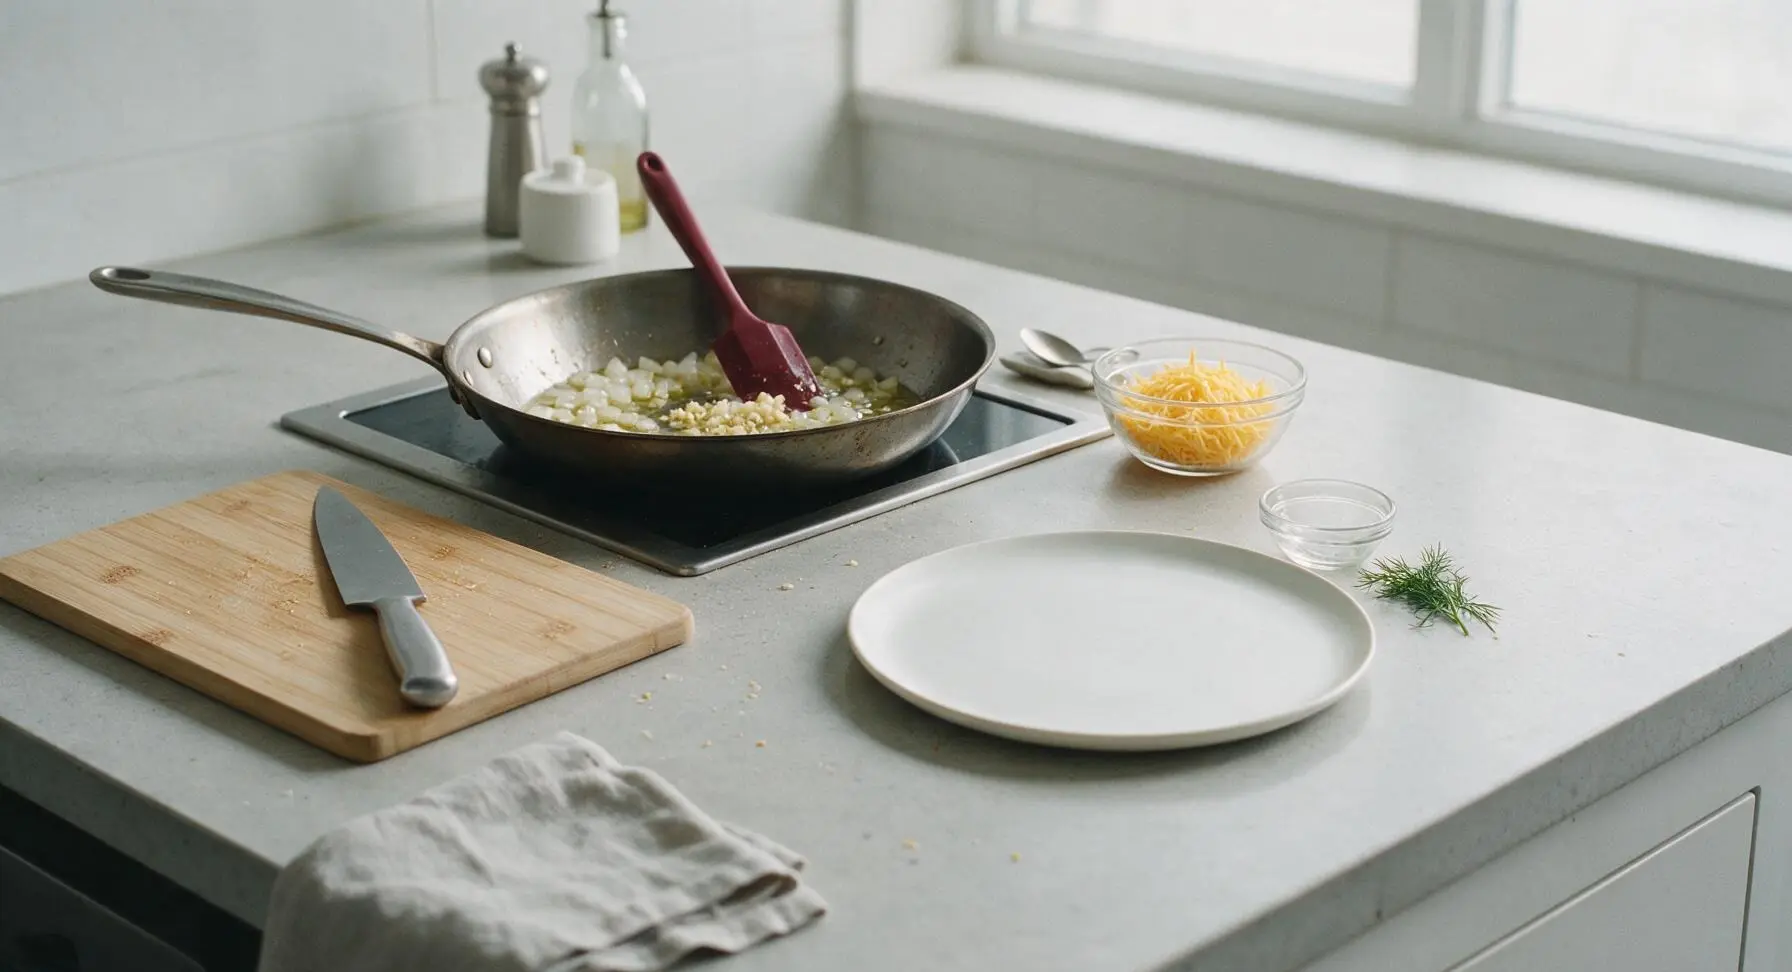
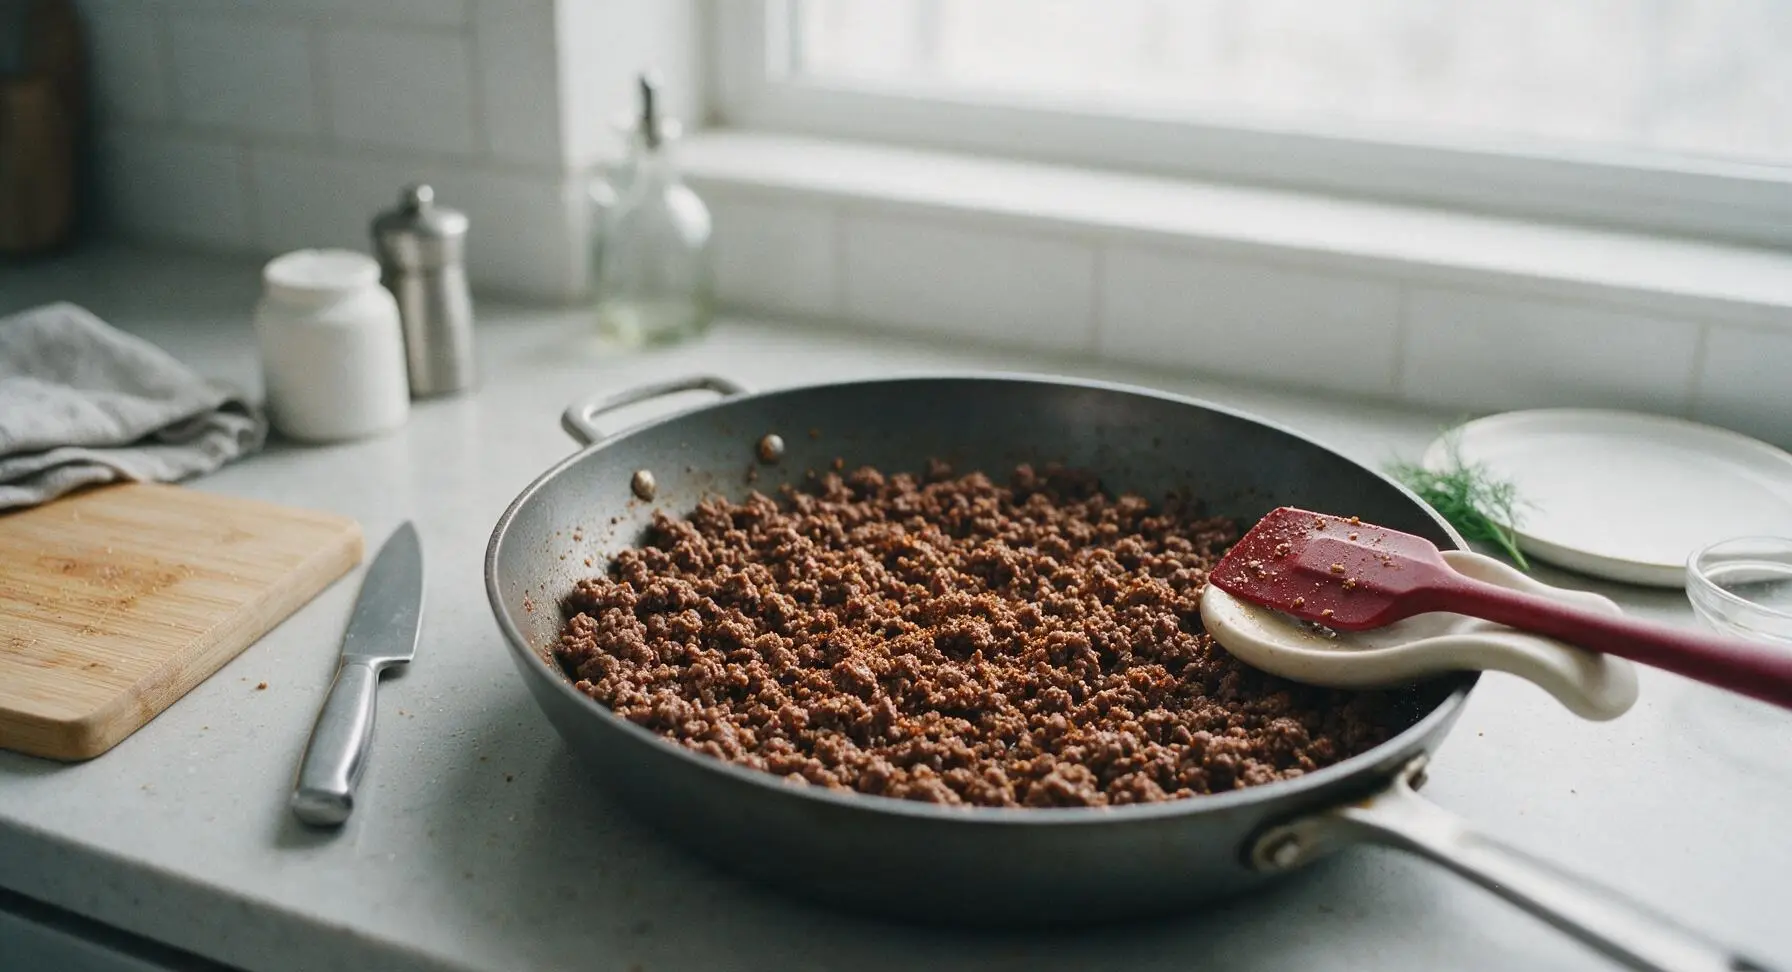
Place the 26cm carbon steel skillet on the stovetop over medium heat, add 1 tbsp olive oil. Once oil shimmers (about 1 minute), add diced onion and sauté for 3 minutes until soft and translucent. Add minced garlic and cook 30 seconds until fragrant, then add 450g lean ground beef. Break the beef apart with the deep red silicone spatula as it cooks, seasoning with 2 tbsp taco seasoning, 1 tsp kosher salt, and 1/2 tsp black pepper. Cook for 6-7 minutes until beef is fully browned with no pink remaining, then drain excess grease from the skillet.
Step 2
step2:Sauté Aromatics and Beef
Step 2
step2:Sauté Aromatics and Beef
3

Mix Beans and Sauce

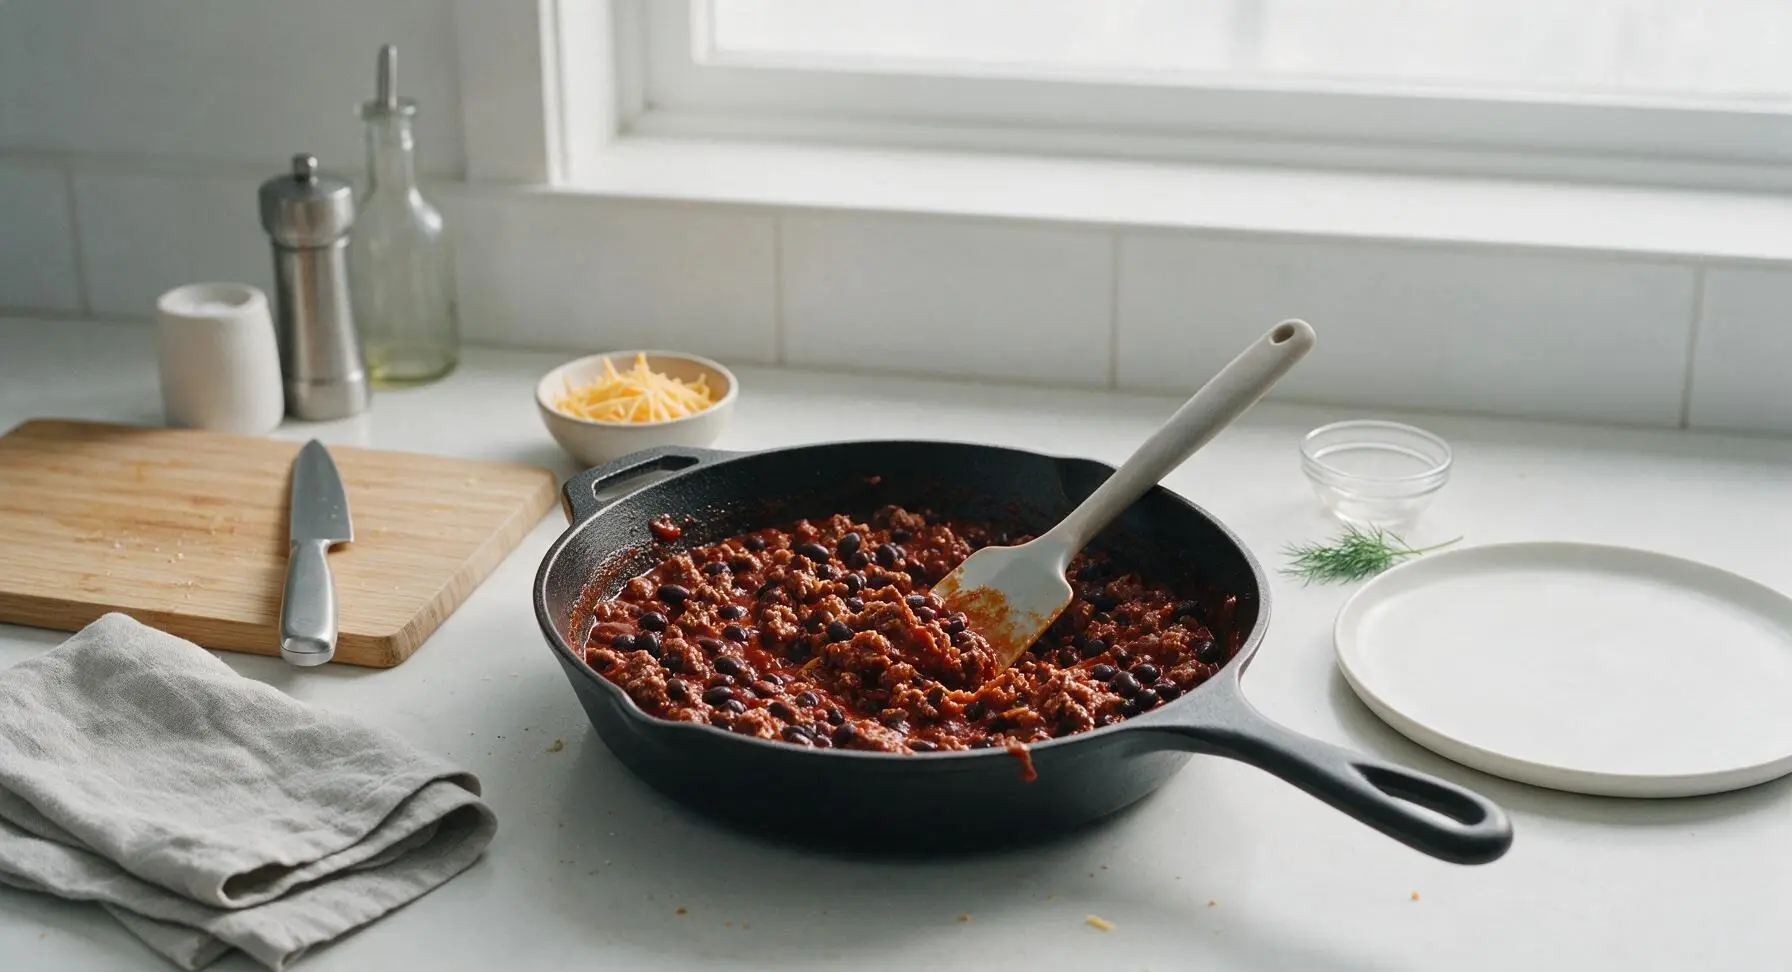
Return the skillet with browned beef to medium-low heat. Add 250g rinsed, drained black beans and 1/2 cup (100g) of the red enchilada sauce to the beef, stirring to combine with the silicone spatula. Cook for 2 minutes until the mixture is heated through and sauce coats the beef and beans evenly, then remove from heat. Set aside 1/2 cup (50g) of the shredded cheddar for topping, stir the remaining cheese into the beef mixture off heat until just melted.
Step 3
step3:Mix Beans and Sauce
4

Assemble the Burritos

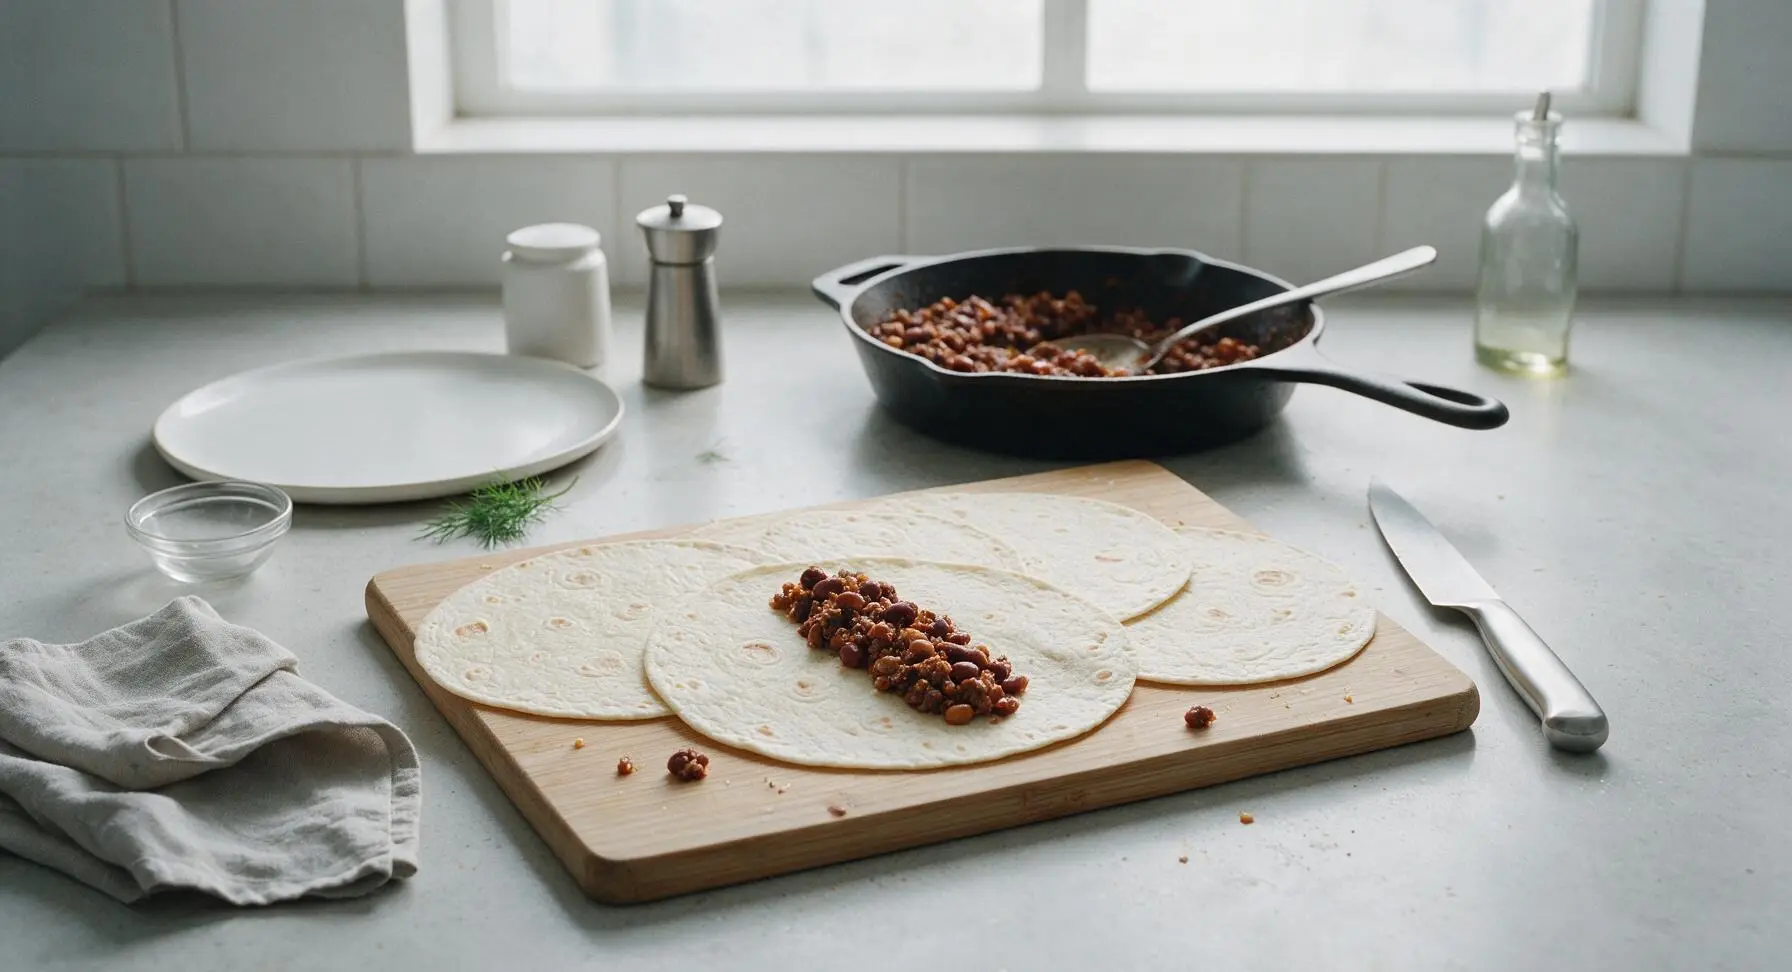
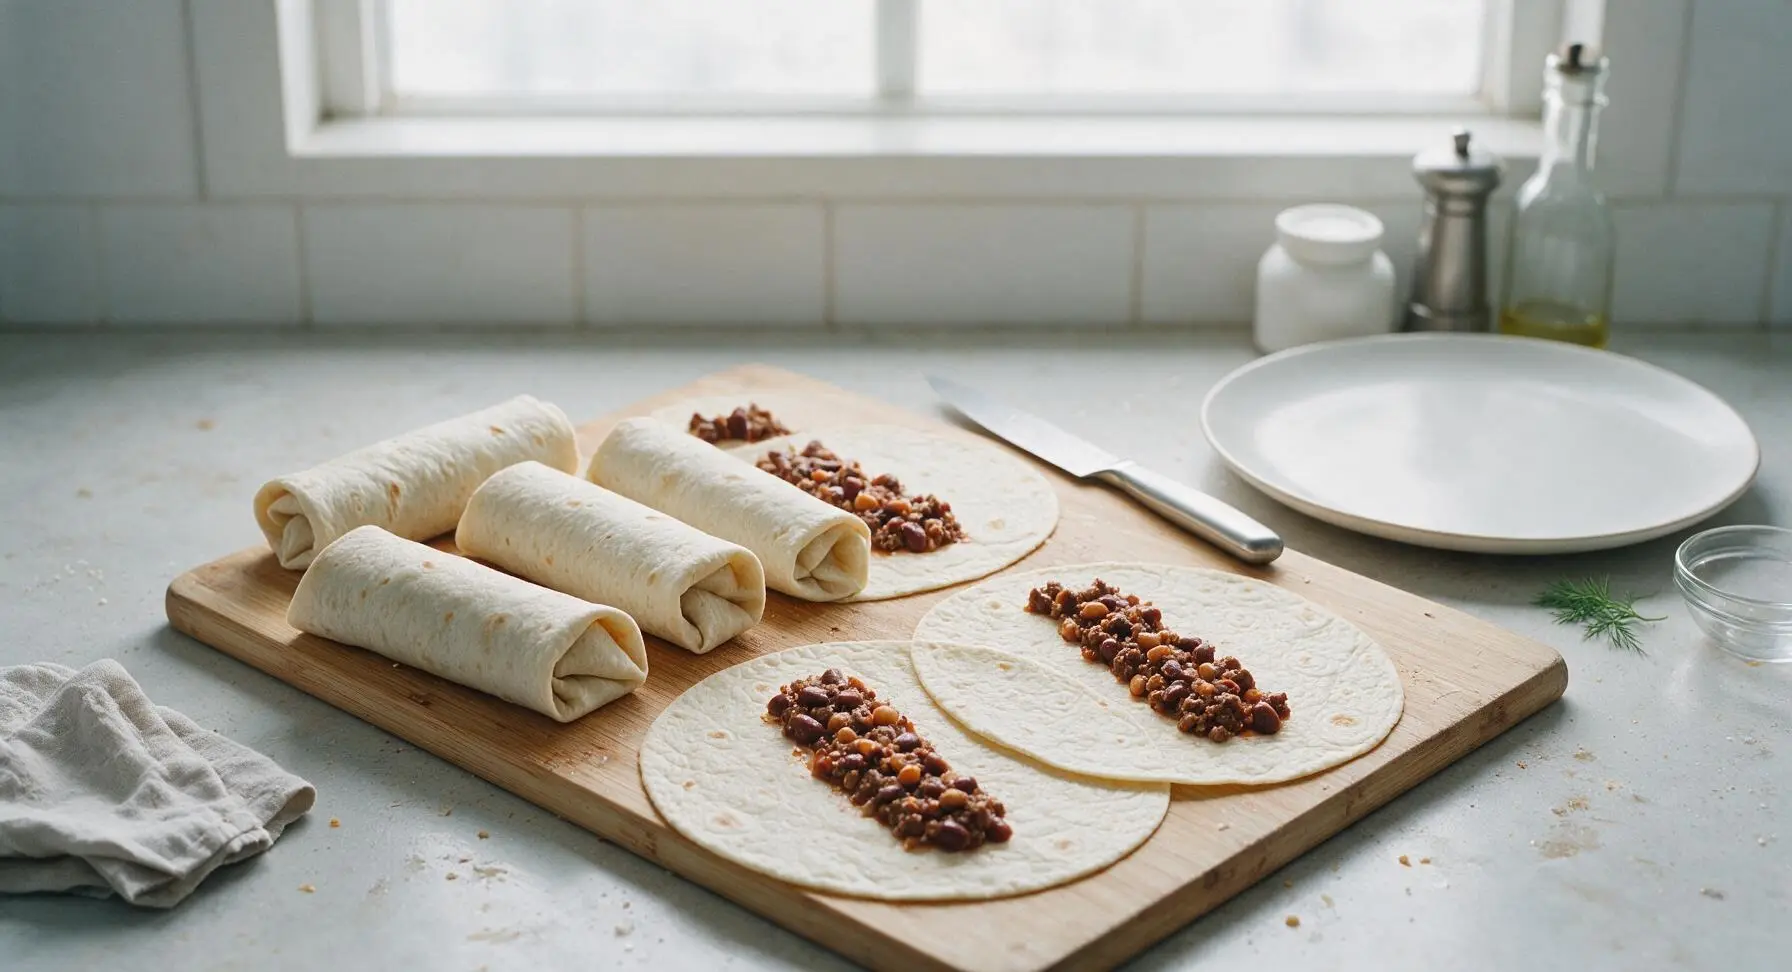
Lay the 4 large 10-inch flour tortillas flat on the acacia wood cutting board. Spoon an equal 1/4 portion (approx 1/2 cup) of the beef and bean filling down the center of each tortilla, leaving a 3cm border at the top and bottom. Fold the short ends of each tortilla in over the filling, then roll tightly from the long side to form a sealed burrito, making sure the seam side faces down to prevent unrolling while baking.
Step 4
step4:Assemble the Burritos
Step 4
step4:Assemble the Burritos
5

Arrange in Baking Dish

Pour 1/2 cup (100g) of the remaining red enchilada sauce into the bottom of the 9x13 inch cream white ceramic baking dish, spreading evenly with the silicone spatula to coat the bottom. Place the 4 rolled burritos seam-side down in the dish, arranged in a single row with small gaps between them to allow even cooking.
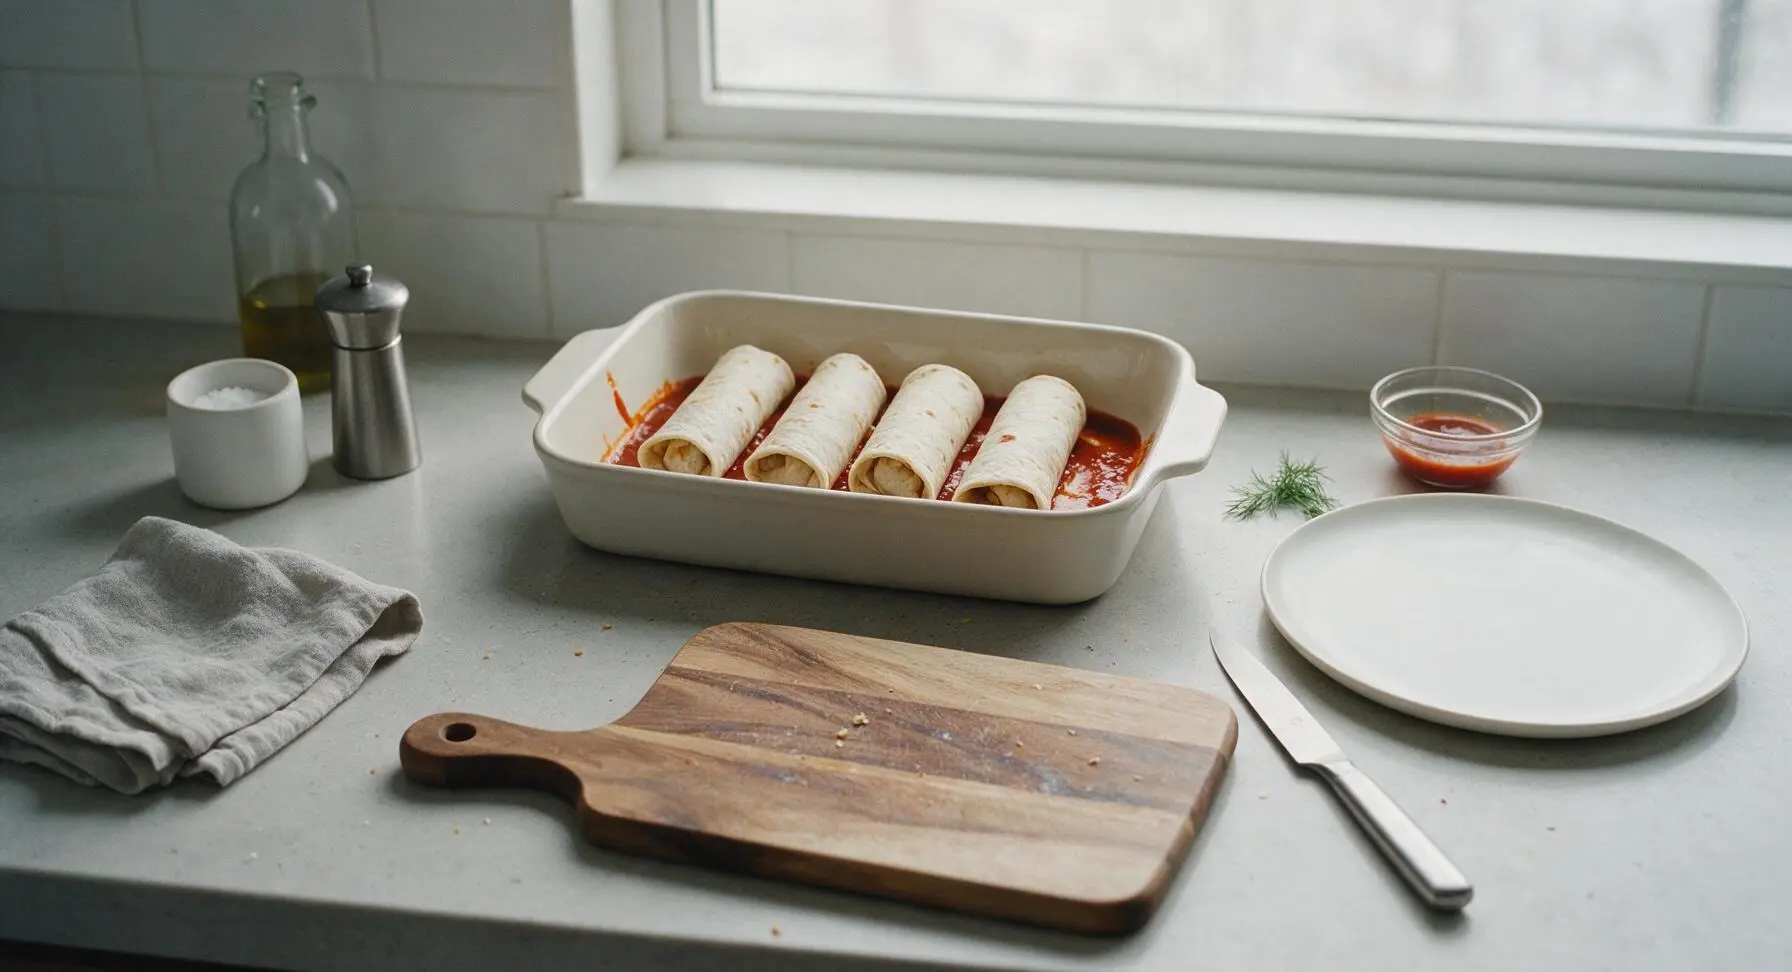
Step 5
step5:Arrange in Baking Dish
6

Top and Bake Burritos

Pour the remaining 1/2 cup (100g) enchilada sauce evenly over the top of the arranged burritos, making sure to cover the tortilla tops to prevent them from drying out. Sprinkle the reserved 1/2 cup shredded cheddar cheese evenly over the sauced burritos. Place the baking dish in the preheated 190°C (375°F) oven and bake for 15 minutes, until cheese is fully melted and bubbly, and tortilla edges are crisp and golden brown.
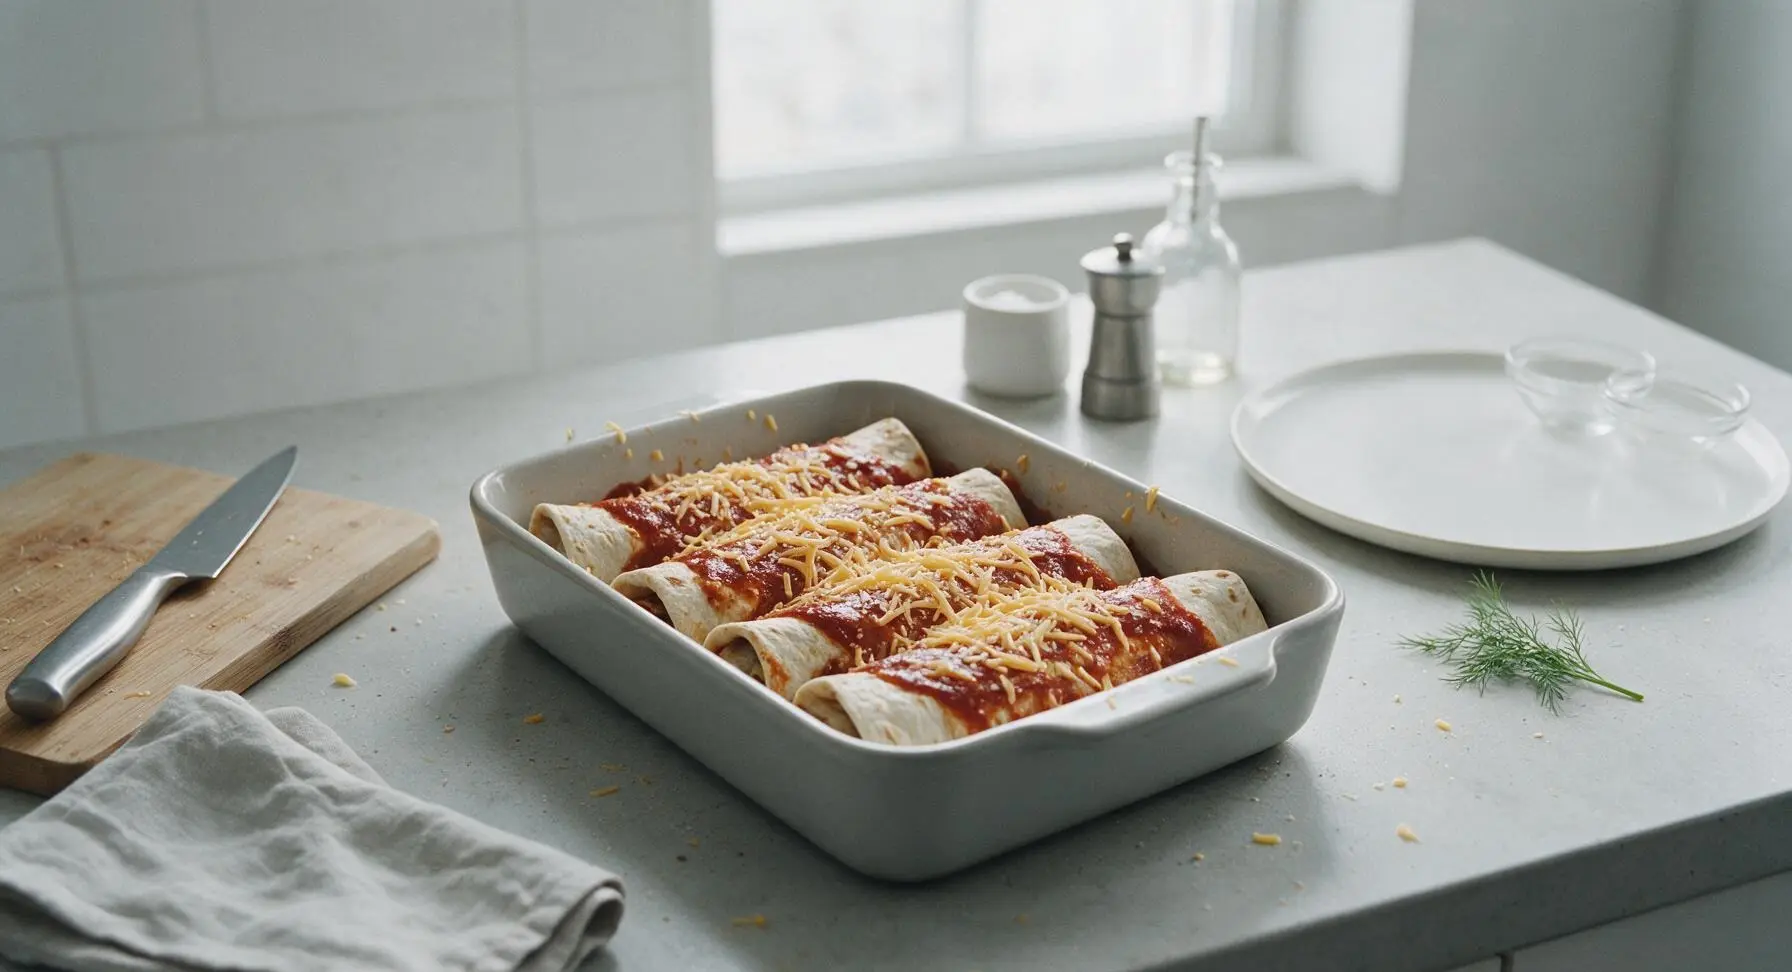
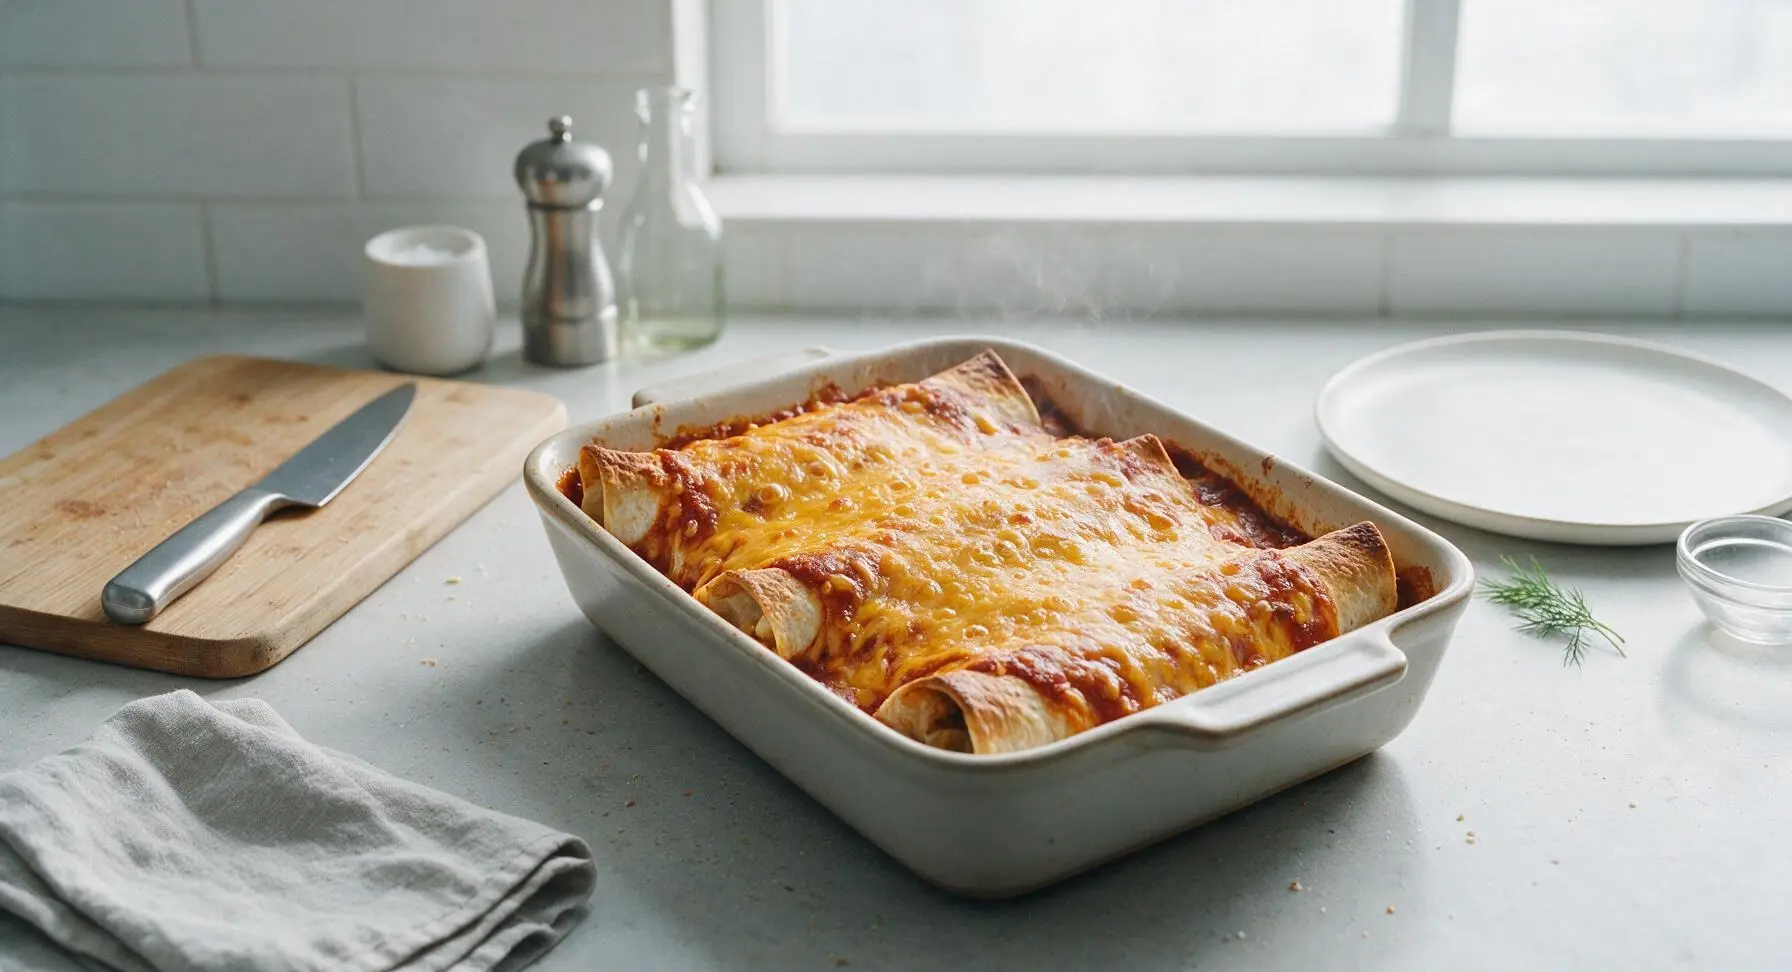
Step 6
step6:Top and Bake Burritos
Step 6
step6:Top and Bake Burritos
7

Garnish and Rest

Remove the baking dish from the oven using oven mitts, let the burritos rest for 5 minutes to allow the filling to set (this prevents them from falling apart when cut). Sprinkle the top with 2 tbsp fresh chopped cilantro before serving.
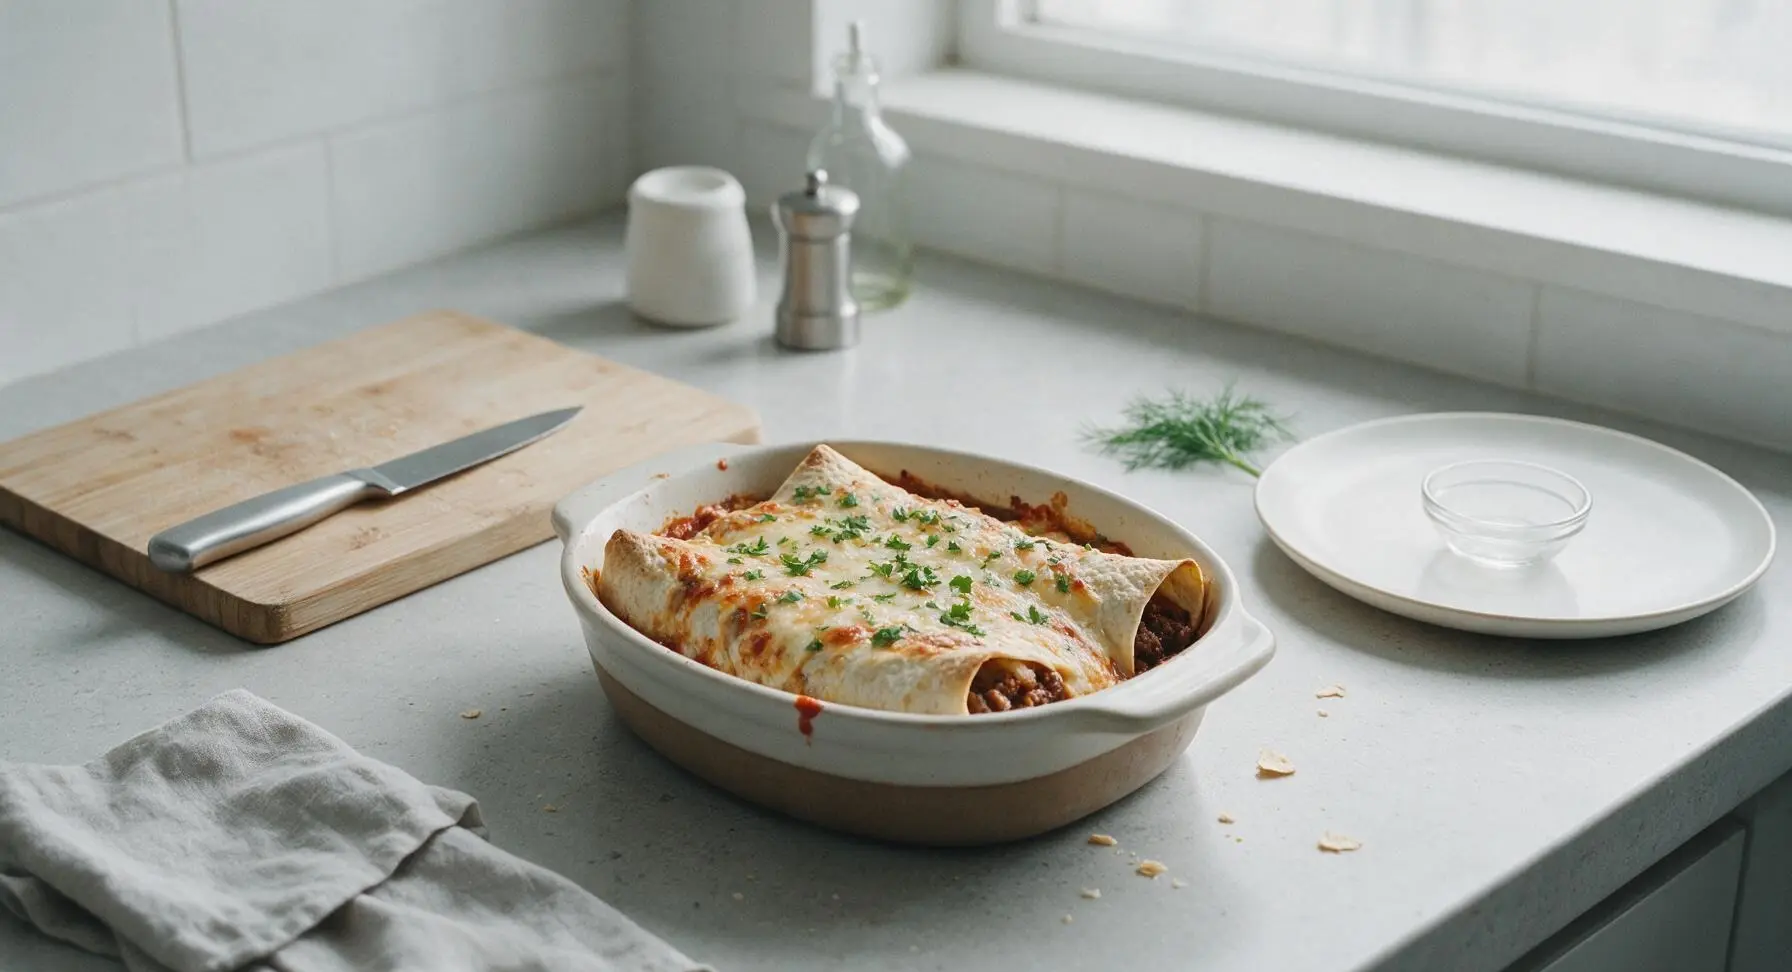
Step 7
step7:Garnish and Rest

Tips

1.Warm flour tortillas for 10 seconds in the microwave before assembling: this softens the tortilla gluten, making them more pliable and less likely to crack or tear when rolling tight, neat burritos.
2.Stick to ½ cup of filling per tortilla: overstuffing will cause burrito seams to split during baking, leading to filling leaking out and dry, unprotected tortilla edges.
3.Let baked burritos rest 5 minutes after removing from the oven: this allows the hot, loose filling to set, so burritos hold their shape when cut instead of oozing out onto the plate.


✨ You May Also Like

Main Course
🍜 United Kingdom

A showstopping classic of tender seared beef, savory mushroom duxelles, and crisp prosciutto wrapped in flaky golden puff pastry, baked to juicy perfection.

⏱️ 2 hours 1Main Course ★ 4.7
Main Course
🍜 India

Tender charred marinated chicken simmered in a rich, spiced creamy tomato sauce, this iconic Anglo-Indian curry pairs perfectly with basmati rice or warm naan.

⏱️ 50 minuteMain Course ★ 4.6
Main Course
🍜 Thailand

Classic tangy, sweet, and savory Thai stir-fried rice noodles with shrimp, tofu, and crunchy garnishes, balancing all five core Thai flavor profiles.

⏱️ 30 minuteMain Course ★ 4.5
Main Course
🍜 United Kingdom

Crispy golden beer-battered cod and fluffy double-fried chips, served with tangy tartar sauce and malt vinegar: the timeless, beloved British pub comfort classic.

⏱️ 45 minuteMain Course ★ 4.7
Main Course
🍜 Mexico

Smoky, chile-marinated pork tacos with caramelized pineapple, fresh cilantro, and lime: a beloved classic Mexican street food perfect for casual summer gatherings.

⏱️ 1 hour 45Main Course ★ 4.8
Main Course
🍜 United States

Crunchy Fritos corn chips layered with savory beef chili and melted cheddar, topped with cool, zesty fixings for a beloved, cozy Tex-Mex comfort food.

⏱️ 35 minuteMain Course ★ 4.8

baked burrito recipe beef:Frequently Asked Questions

1.Can I use a different fat ratio of ground beef instead of 90/10 lean? ▾
You absolutely can, just adjust for grease accordingly. 80/20 ground beef will render more fat as it browns, so drain it extra well to avoid soggy burrito bottoms. If you use extra-lean 93/7 beef, add a teaspoon of olive oil when sautéing to keep the filling from tasting dry, and skip extra draining steps.
2.Why do my baked burritos come out soggy on the bottom? ▾
Sogginess usually comes from excess moisture in the filling or too much sauce layered under the burritos. Make sure your rinsed black beans are fully drained, and browned beef is well-drained of grease. Lightly grease your baking dish instead of pouring sauce on the bottom first, and arrange burritos seam-side down to keep tortillas crisp.
3.Can I make these burritos ahead of time for meal prep? ▾
Definitely! Assemble the burritos (hold off on pouring top enchilada sauce until baking) and store them covered in the fridge for up to 3 days, or wrap individually in foil and freeze for up to 3 months. When ready to bake, add the sauce and extra cheese, and tack on 10-15 minutes to the bake time if cooking from cold.
4.Do I have to use flour tortillas, or can I swap for corn tortillas? ▾
10-inch flour tortillas are ideal because they’re flexible enough to fold tightly without cracking, and crisp up perfectly at the edges when baked. If you prefer corn, look for extra-large 10-inch corn tortillas, and warm them briefly on a dry skillet first to make them pliable enough to roll without splitting before filling.
5.What’s the best way to fold burritos so filling doesn’t leak out while baking? ▾
Start by placing filling slightly off-center, closer to the edge nearest you. Fold the left and right sides in over the filling first, then tuck the bottom edge up tightly over the filling and sides, and roll firmly away from you until fully sealed. Always place burritos seam-side down in the dish to prevent unrolling as they cook.
6.Can I add extra veggies to the beef filling? ▾
Absolutely, that’s a great way to boost flavor and nutrition. Diced bell peppers, sautéed onions, sweet corn, or roasted zucchini all work beautifully—just make sure to cook veggies first and drain off any excess moisture before mixing them into the beef and bean filling, so you don’t end up with watery, soggy burritos.
7.Is there a substitute for red enchilada sauce if I don’t have any on hand? ▾
If you don’t have pre-made red enchilada sauce, you can make a quick stand-in by mixing 1 cup of tomato sauce with 1 tablespoon of chili powder, ½ teaspoon of cumin, ¼ teaspoon of garlic powder, a pinch of dried oregano, and a pinch of salt. Simmer for 5 minutes to meld flavors, and it works perfectly for smothering burritos.
8.How do I get that perfectly crispy edge on the baked tortillas? ▾
For crispy, golden edges, don’t overstuff your burritos (which can cause tortillas to split and stay soggy), and brush the tops of the rolled burritos lightly with a thin layer of olive oil before baking. Bake uncovered at 375°F for the final 10 minutes of cook time, and you’ll get that signature crisp, slightly chewy edge everyone loves.
9.Can I use a different type of cheese instead of sharp cheddar? ▾
Sharp cheddar is classic for its tangy, melty texture, but you can absolutely swap it for other melty cheeses. Pepper jack adds a nice spicy kick, Monterey Jack is mild and super creamy, or a pre-mixed Mexican cheese blend works great too. Just avoid crumbly, non-melting cheeses like queso fresco as your main cheese.
10.Do I need to rinse the canned black beans before adding them to the filling? ▾
Yes, you definitely should rinse and drain your canned black beans thoroughly. The thick, starchy liquid in canned beans has a slightly metallic, briny flavor that can make your filling taste off, and it adds extra unneeded moisture that will lead to soggy burritos. A quick 30-second rinse and drain is all you need.
11.How long do these baked burritos keep in the fridge after cooking? ▾
Once fully baked, leftover burritos will keep well in an airtight container in the fridge for 3 to 4 days. To reheat, you can microwave them for 1-2 minutes for a quick meal, or pop them in a 350°F oven for 10 minutes to crisp the tortilla edges back up instead of letting them go soft in the microwave.
12.Can I make these burritos spicy? ▾
Of course! It’s easy to adjust the heat level to your taste. Add a diced jalapeño (seeded for mild heat, left with seeds for extra spice) to your beef as it browns, stir a teaspoon of cayenne into your spice mix, use spicy red enchilada sauce, or swap half the cheddar for pepper jack for a warm kick.
13.Why do my tortillas crack when I try to roll them? ▾
Cold tortillas are stiff and prone to cracking when you fold them, so take them out of the fridge 20 minutes before assembling, or warm them briefly. You can wrap a stack in damp paper towels and microwave for 30 seconds, or heat each one for 10 seconds per side on a dry skillet to make them soft and flexible.
14.Should I cover the baking dish with foil while the burritos bake? ▾
Cover the dish with foil for the first 15 minutes of baking to let the filling heat through and the cheese melt without the tortilla edges burning, then remove the foil for the last 10 minutes of bake time. This lets the tortilla edges crisp up and the top cheese get perfectly bubbly and golden, instead of staying steamed and soft.
15.Can I use ground turkey or chicken instead of ground beef? ▾
You absolutely can swap in lean ground turkey or ground chicken for the beef if you prefer. Since those proteins are a bit milder, bump up the seasoning slightly (add an extra ½ teaspoon of cumin and a pinch of smoked paprika) to keep the filling flavorful, and add a tiny splash of olive oil when browning to avoid dry filling.
16.What are good toppings to serve with these baked burritos? ▾
Classic Tex-Mex toppings pair perfectly here! Try a dollop of sour cream, fresh pico de gallo, sliced avocado or guacamole, chopped cilantro, a squeeze of fresh lime, pickled red onions, or a sprinkle of sliced black olives. Serve toppings on the side so people can customize their burritos to their own taste preferences.
17.How much filling should I put in each tortilla to avoid leaks? ▾
For 10-inch flour tortillas, stick to about ½ cup of total filling per burrito—that’s roughly a ¼ cup of the beef and bean mix, plus a light sprinkle of cheese. Overstuffing is the number one cause of split, leaky burritos, so resist the urge to pack in extra filling, and leave enough tortilla edge to fold and seal tightly.
18.Can I make these in an air fryer instead of a regular oven? ▾
Yes, air fryers work great for baked beef burritos! Assemble the burritos as directed, brush lightly with oil, and place them seam-side down in the air fryer basket in a single layer (work in batches if needed). Cook at 370°F for 8-10 minutes, topping with sauce and cheese the last 2 minutes, until tortillas are crispy and filling is hot.
19.Do I need to pre-cook the black beans before adding them to the filling? ▾
No, you don’t need to pre-cook canned black beans for this recipe. Since they’re already fully cooked during the canning process, all you need to do is rinse and drain them well, then stir them into the browned, spiced beef a minute or two before assembling just to warm them through, so they don’t get mushy.
20.Why is my cheese not melting smoothly on top of the burritos? ▾
Cheese that doesn’t melt smoothly is usually pre-shredded cheese coated in anti-caking agents, or cheese that’s too cold when it goes in the oven. For the gooiest melt, shred your own sharp cheddar straight from the block, and sprinkle it on top of the sauced burritos right before baking for even, bubbly coverage.

Comments (18)

2 days ago

OMG these baked beef burritos are a total game changer! I threw them together on a busy weeknight when I had zero energy to cook, and my whole family devoured them. The 30 minute cook time is no joke, even my 7 year old who turns his nose up at everything asked for seconds. 10/10 will be adding these to our regular dinner rotation!

yesterday

So happy to hear your whole family loved them, Sarah! They’re perfect for those chaotic weeknights when you need something fast and satisfying. Feel free to swap in ground turkey or black beans if you ever want to mix up the filling!

3 days ago

I made these for our neighborhood block party potluck last weekend and they were gone in 10 minutes flat! Everyone was asking me for the recipe, I lost count of how many people came up to rave about how crispy the edges were and how flavorful the beef filling was. Only note: I added a little extra taco seasoning because my crew likes things spicy, and it worked perfectly.

2 days ago

Oh that extra taco seasoning hack is genius! I’m always worried these will come out bland, I’ll definitely add an extra teaspoon of chili powder too when I make them this weekend.

2 days ago

Love that you brought these to a potluck, Patty! So fun that they were such a hit. Adding extra seasoning is such a smart call for folks who love heat — I sometimes throw in a diced jalapeño for an extra kick too!

1 week ago

SO good! I made a big batch on Sunday for weekday lunches, and they held up perfectly in the fridge all week. I wrapped them individually in foil so I could just pop one in the oven at work for 10 minutes and have a hot, filling lunch way better than any takeout around my office. Will be making these monthly for sure!

yesterday

Tried these last night for taco Tuesday, and honestly? Way easier than I expected. I was worried folding the burritos would be a mess (my wrapping skills are notoriously bad) but I just tucked the ends in tight and they didn’t leak at all in the oven. My teen said these are better than the fast food burritos he begs for, so that’s a massive win in my book. Knocked a star off only because I forgot to spray the baking sheet first and a little cheese stuck to the pan, totally my bad though.

2 hours ago

Pro tip: line your baking sheet with parchment paper instead of spraying! No stuck cheese, super easy cleanup — I do that every time I make these now.

5 days ago

My kids are super picky, so I was nervous they’d turn their noses up, but they went crazy for these! I snuck in some finely diced bell peppers and zucchini into the beef filling and they didn’t even notice. It’s so hard to find easy dinners that get veggies into them without a fight, this one is a keeper.

4 days ago

I do the exact same thing! Finely shredded carrots work too, they get so soft in the beef you can’t taste them at all. My kids think they’re just getting a ‘treat’ burrito, little do they know 😂

3 days ago

Wait that’s such a good idea! I’ve been trying to get more veggies into my husband’s diet too, he’s pickier than the kids, I’m definitely trying that veggie sneak next time I make these.

2 weeks ago

These are so delicious! I used gluten free flour tortillas since I have a sensitivity, and they baked up just as crispy as the regular ones, I was so happy. I was worried GF tortillas would fall apart, but they held all the filling perfectly. Thank you for such a simple, adaptable recipe!

1 week ago

That makes me so happy to hear, Gina! I’m glad the gluten free tortillas worked out so well — I’ve had a few readers ask about GF swaps, so I’ll definitely add that note to the recipe card for future bakers!

30 minutes ago

Game changer. Made these last night, SO good. Will make again.

5 minutes ago

First time ever making burritos at home, and these turned out pretty good! The only problem I had was that my tortillas got a little too crunchy on the edges, almost cracker-like? Did I do something wrong? Flavor was 10/10 though, I’d love to nail the texture next time.

just now

Hi Nate! So glad the flavor was spot on for you! If the edges are getting too crispy, try wrapping the burritos a little tighter so there’s no loose tortilla edge sticking out, and double check that your oven temp isn’t running hot — some ovens run 25 degrees higher than the dial says! You can also brush a tiny bit of oil on the outside of the tortillas instead of leaving them dry to keep them chewy-crisp instead of hard.

just now

I had the same problem my first batch! I turned my oven down 25 degrees and baked them for 25 minutes instead of 30, and they came out perfect after that. Hope that helps!

1 week ago

I made a double batch and froze half of them for busy nights, and they reheat perfectly! I just pulled one out of the freezer last night, baked it at 375 for 40 minutes straight from frozen, and it tasted just as good as the fresh batch. This recipe is perfect for building up a freezer stash.

6 days ago

That’s such a smart freezer meal hack, Fran! I love doing this too for nights when I don’t even have 30 minutes to prep from scratch. I’ll add that freezing and reheating note to the recipe so other folks can try it too!

2 hours ago

Perfect easy recipe for a dorm oven! I used pre-shredded cheese and pre-made taco seasoning to cut down on prep even more, and it still slapped. Way cheaper than ordering delivery, my roommates are already begging me to make these again this weekend.

2 weeks ago

These baked burritos are the perfect base for all my favorite toppings! I set out a little bar with sour cream, guac, pico de gallo, pickled red onions, and hot sauce when I made these for my friend group last weekend, and everyone got to customize their own. Such a fun, low-fuss dinner for having people over.

1 week ago

The topping bar idea is *chef’s kiss*! I’m hosting game night next weekend and I was stuck on what to make, this is way easier than doing tacos because there’s no messy shells breaking everywhere.

1 week ago

Love the build-your-own burrito bar idea, Tina! It’s such a fun way to serve these for groups, and you really can’t go wrong with any toppings. Pickled red onions are one of my favorite add-ins too!

3 days ago

I used leftover pot roast I had in the fridge instead of ground beef for this, and it was insane. Shredded it up, mixed it with a little of the taco seasoning and some enchilada sauce, stuffed it in the tortillas, baked it up, and it tasted like a totally new meal. 10/10 repurposing leftovers recipe.

2 days ago

Oh my gosh leftover pot roast burritos sound incredible! I have a ton of leftover brisket from our Labor Day cookout in the freezer, I’m totally defrosting that to use in this recipe later this week. Thanks for the idea!

yesterday

I’ll admit, I thought 30 minutes was too fast for these to actually taste good, but I stand corrected. The beef gets so flavorful, the cheese melts all the way through, and the outside gets that perfect crisp that regular microwaved burritos could never dream of. Great recipe, even for people who hate complicated cooking (like me).

20 hours ago

Haha I love that you gave them a chance even when you were skeptical, Steve! I’m all about easy recipes that don’t taste easy — no need to spend hours in the kitchen to get a really great meal on the table.

2 days ago

Made these for my husband for his birthday dinner (they’re his favorite!) and he said they’re better than the ones at our local Mexican restaurant. Win for wife points! 🎉

5 days ago

I added a scoop of Spanish rice and some refried beans to the filling to make these extra filling, and they were so hearty! One burrito was enough for dinner, and I didn’t feel hungry an hour later like I do with some lighter weeknight meals. Such a flexible recipe, you can really stuff them with whatever you have on hand.

4 days ago

Adding refried beans is my go-to move too! It makes the filling so creamy and helps everything stick together so nothing falls out when you take a bite. Game changer for less mess.

3 days ago

Wait I never thought to add Spanish rice! I usually just do beef and cheese, but adding rice would make these stretch further for my big family of 6, I’m definitely trying that next time.

1 week ago

Took these to my office potluck last week and every single one got eaten. Multiple people asked if I catered them, little did they know it took me 20 minutes of prep. Chef's kiss.

2 hours ago

This was the first real dinner I’ve ever made by myself without calling my mom for help, and it turned out amazing! I followed the directions exactly, didn’t burn anything, and my roommate said it was the best thing I’ve ever made. Thank you for making the steps so easy to follow, I actually feel confident cooking now!

1 hour ago

Riley, this makes my whole day! There’s no better feeling than nailing a first recipe and feeling confident in the kitchen. So proud of you — can’t wait to hear what you cook next!

3 days ago

These were really solid! My only feedback is that I wish there was more cheese in the filling, I added an extra half cup of shredded cheddar on my second batch and it was way better for my cheese-obsessed taste buds. Super easy, super fast, great base recipe.

2 days ago

Same! I mix a little queso dip into the beef filling sometimes for extra cheesy goodness, it’s so decadent and delicious. Highly recommend if you’re a cheese fiend like us.

1 day ago

Thanks for the feedback, Chloe! Cheese is always a welcome addition in my book — I usually note that folks can add as much extra cheese as their heart desires, I’ll make that note more prominent on the recipe card!



