
baked chicken tenderloin

title 1
baked chicken tenderloin
⏱️ cook time 18 minutes
🍽️ servings 4
⚡ Difficulty easy

intro

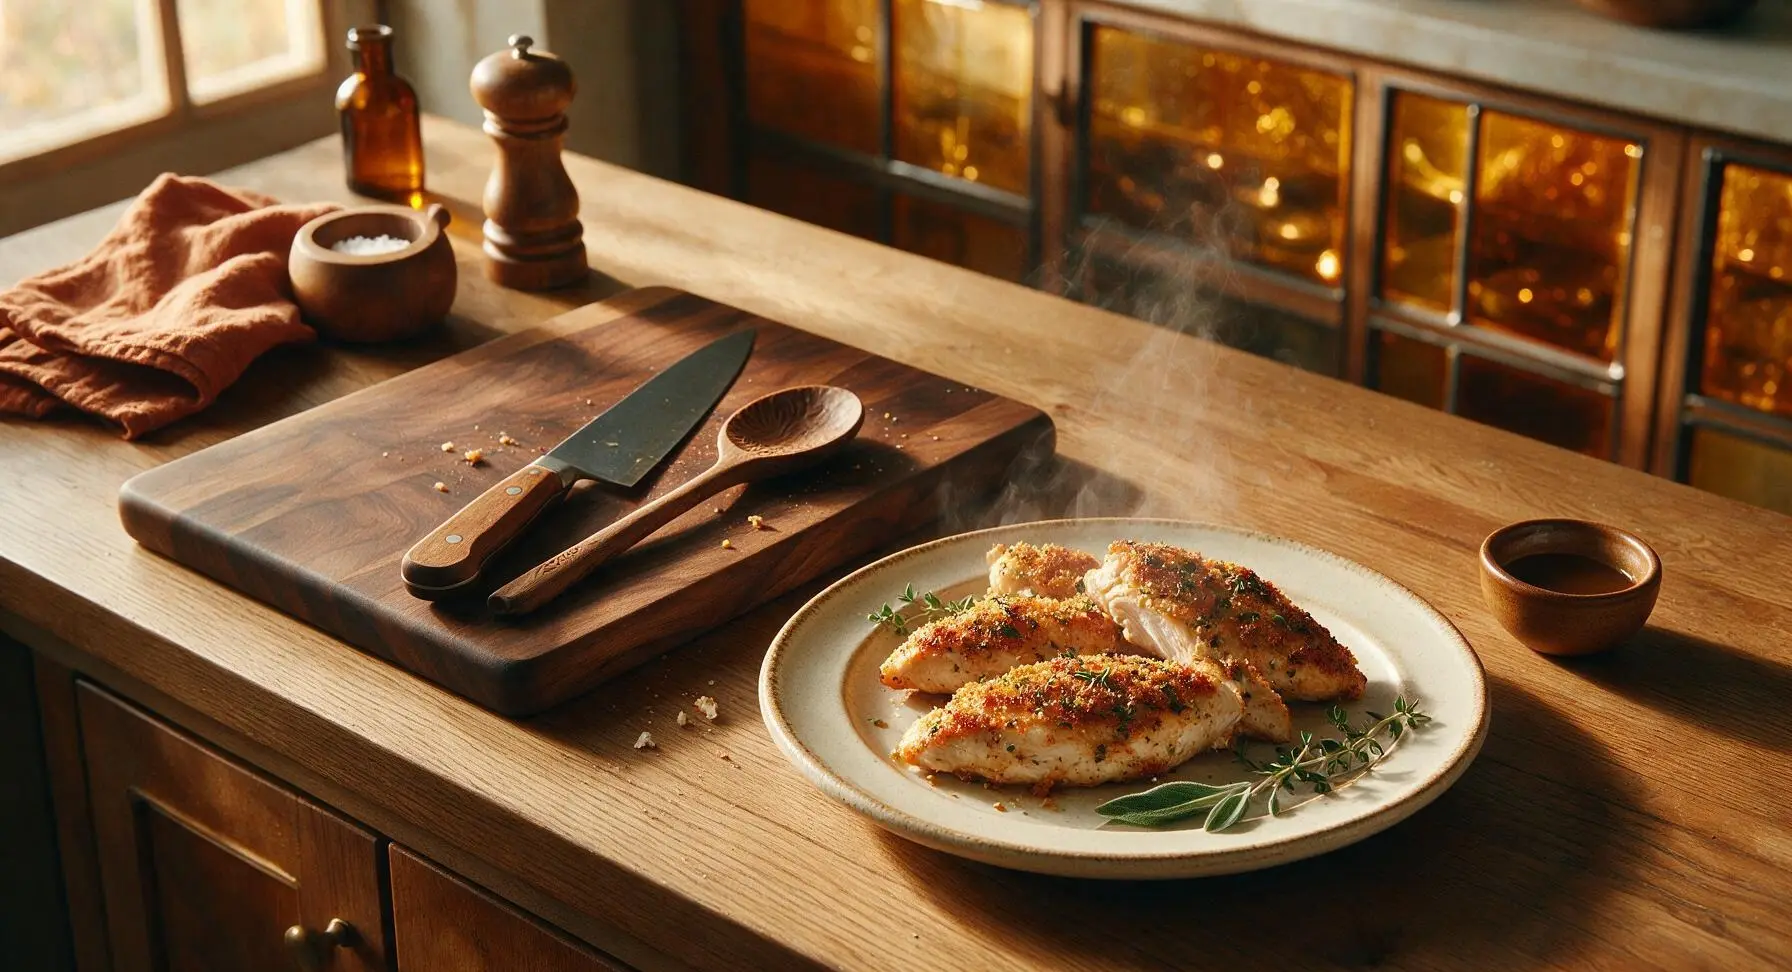
Juicy, herb-crusted baked chicken tenderloins with a crisp, flavorful exterior, ready in under 30 minutes for a simple, satisfying weeknight family meal.

Ingredients
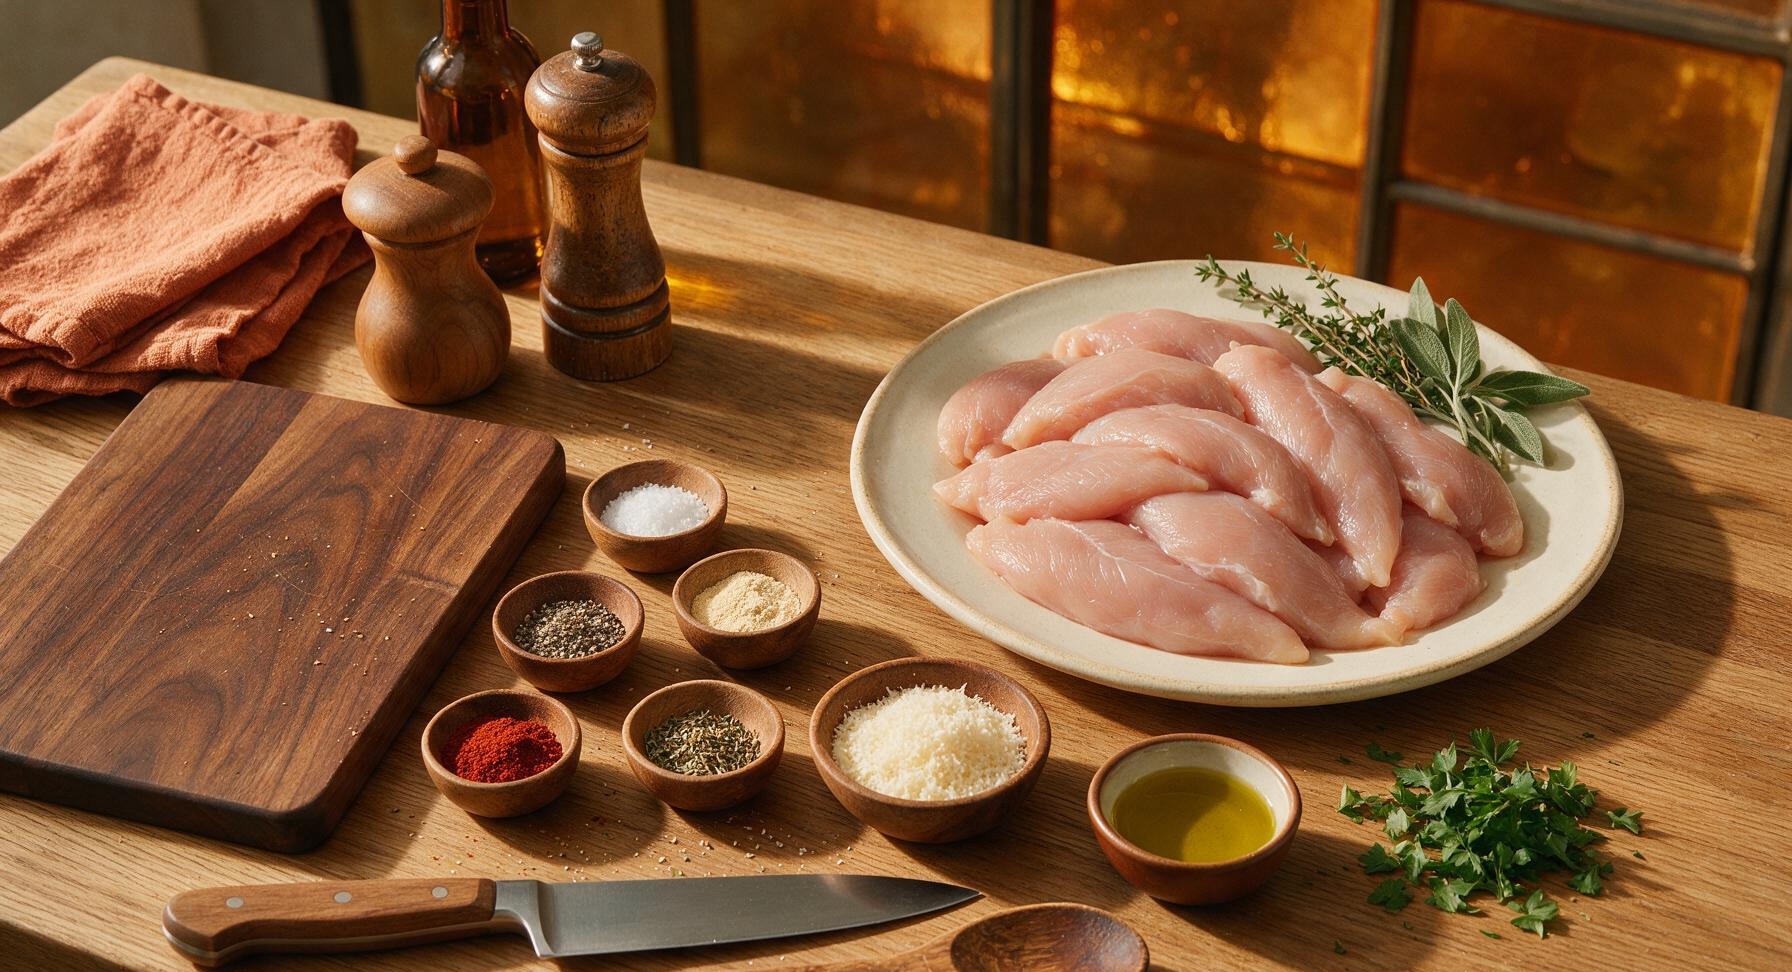
Chicken tenderloins 1.5 lbs (680g)
Extra-virgin olive oil 2 tbsp
Kosher salt 1 tsp
Freshly ground black pepper 1/2 tsp
Garlic powder 1 tsp
Smoked paprika 1/2 tsp
Dried thyme 1/2 tsp
Finely grated parmesan cheese 2 tbsp
Fresh flat-leaf parsley 2 tbsp (chopped)

Steps

1

Prep and trim tenders

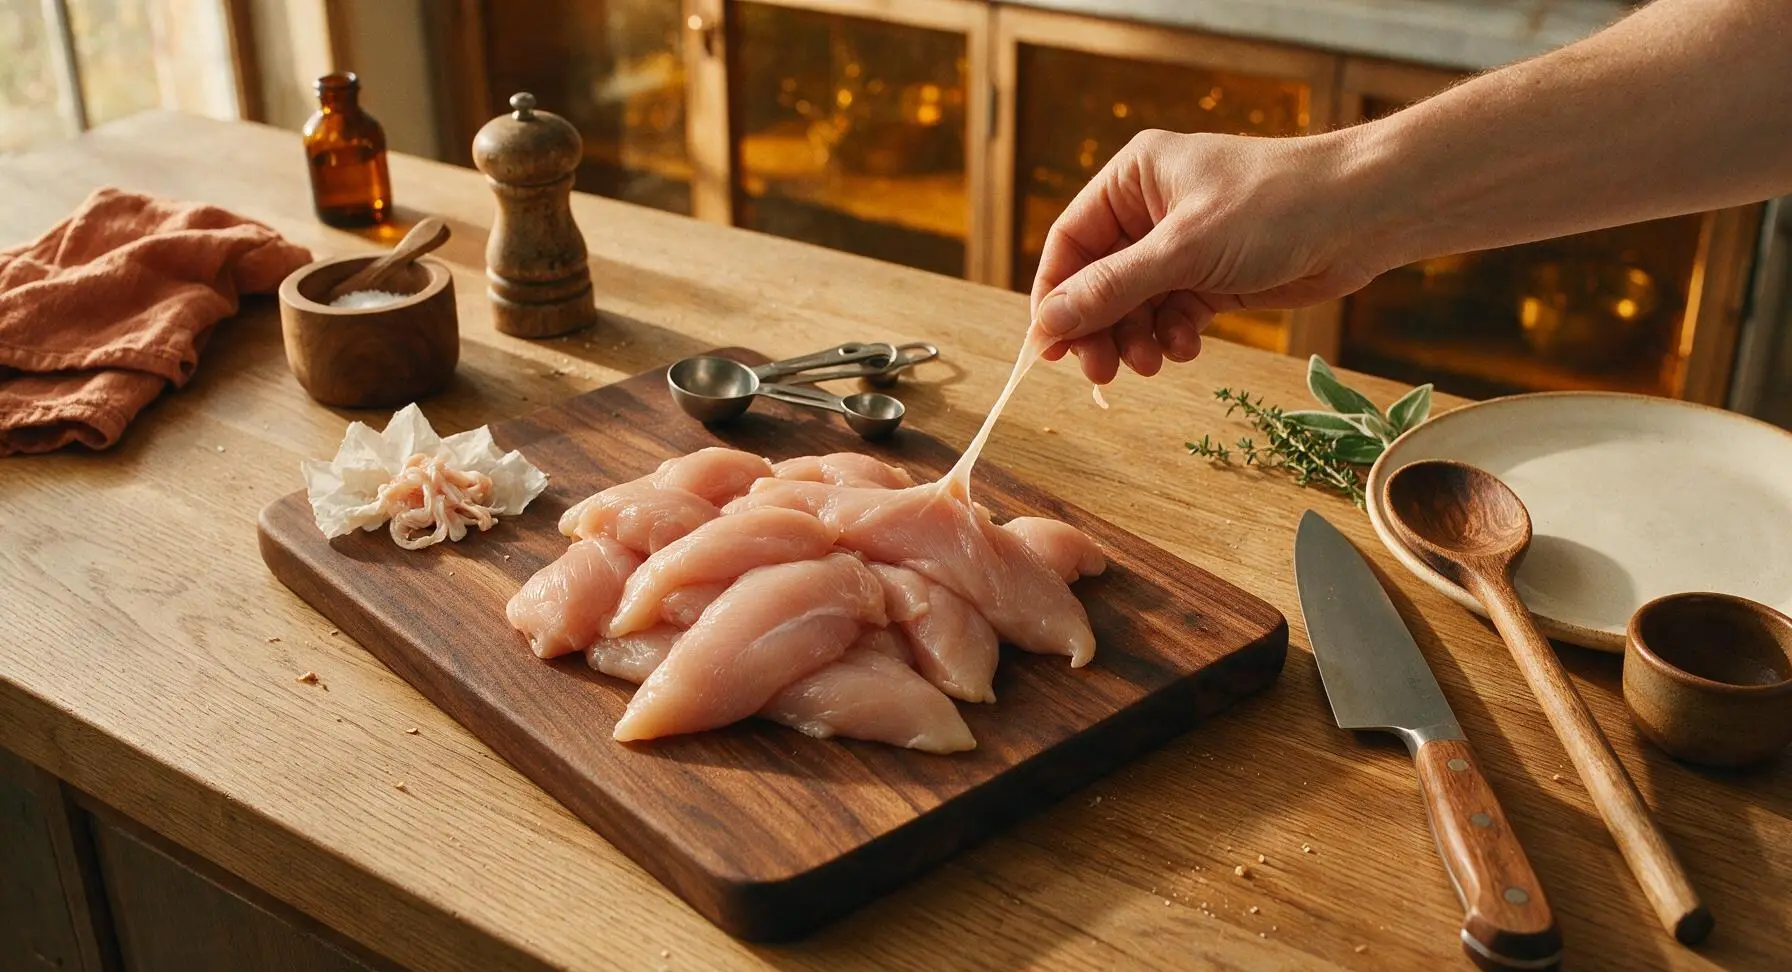
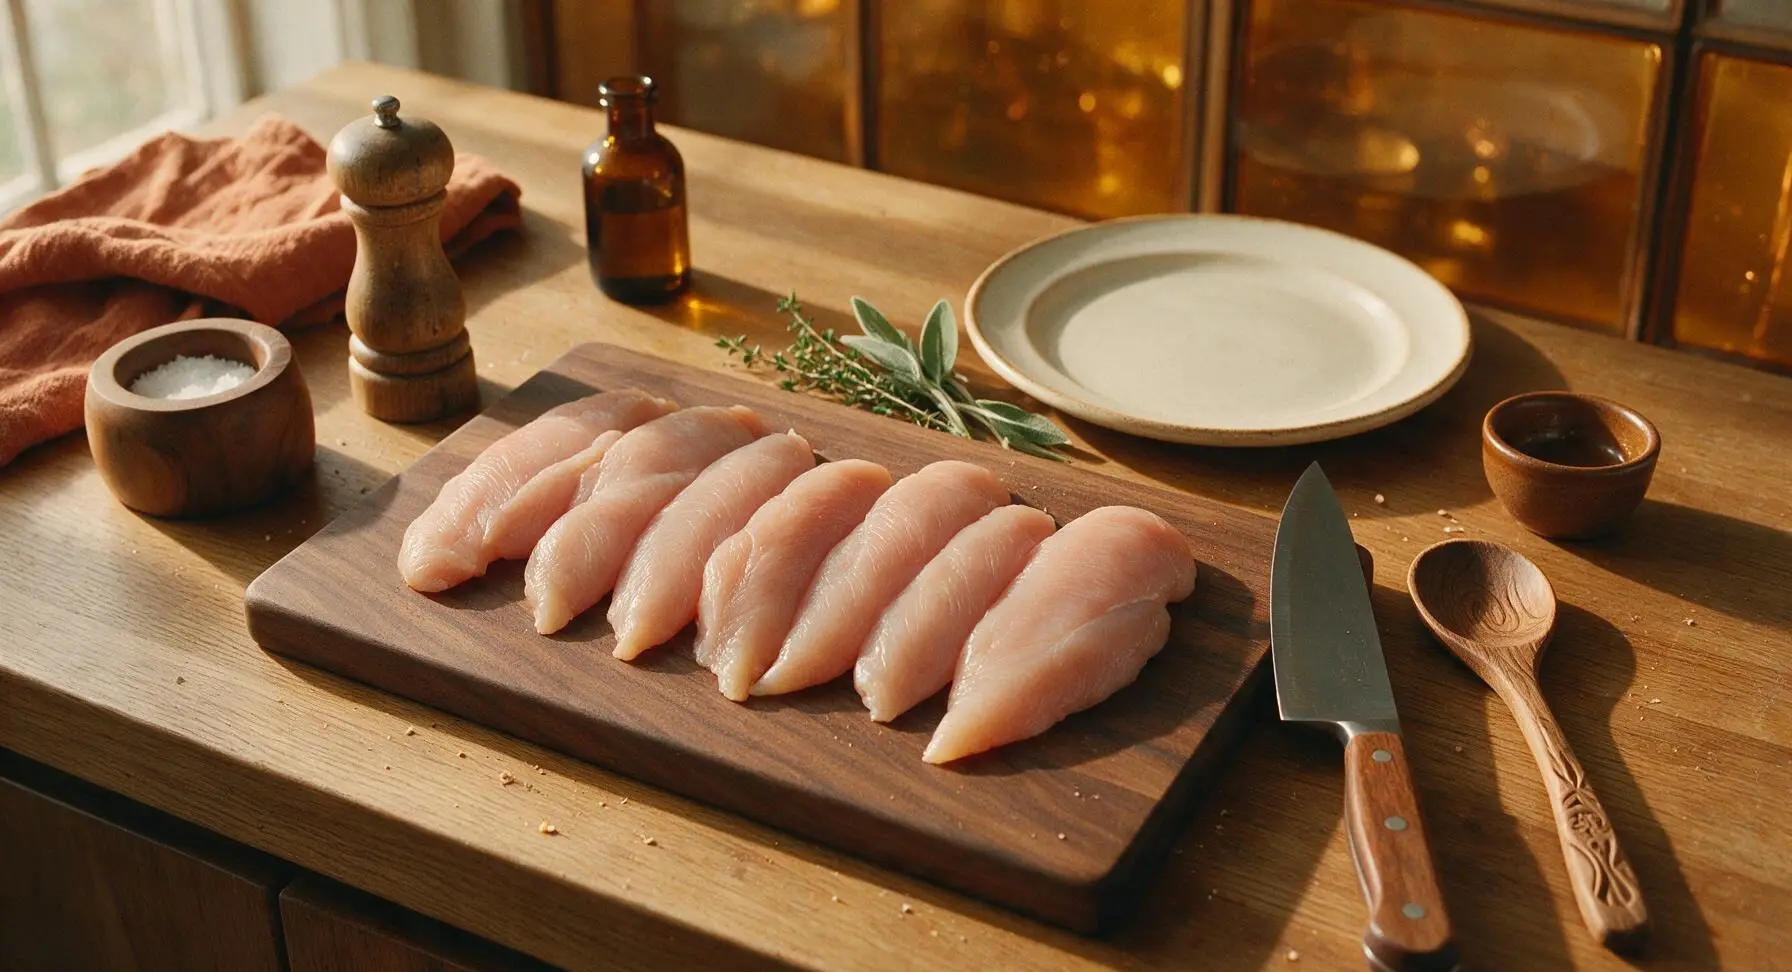
Place raw chicken tenderloins on the center acacia wood cutting board. Use your fingers to locate the thin, tough white tendon running along the edge of each tender; grip the end of the tendon and pull it away from the meat to remove it completely. Pat all sides of the tenders thoroughly dry with paper towels, discarding used towels to the side. Proper drying is critical for a crisp, not soggy, baked crust. The chicken should feel matte and dry to the touch, with no visible surface moisture.
Step 1
step1:Prep and trim tenders
Step 1
step1:Prep and trim tenders
2

Preheat oven, prep pan

Adjust oven rack to the middle position, then preheat oven to 400°F (200°C). Pull the rimmed baking sheet from storage, line it with a sheet of unbleached parchment paper cut to fit, and set it on the counter 15cm behind the cutting board. Ensure the parchment lies flat against the pan, with no curled edges that will stick to the chicken as it bakes.

Step 2
step2:Preheat oven, prep pan
3

Mix spice seasoning blend

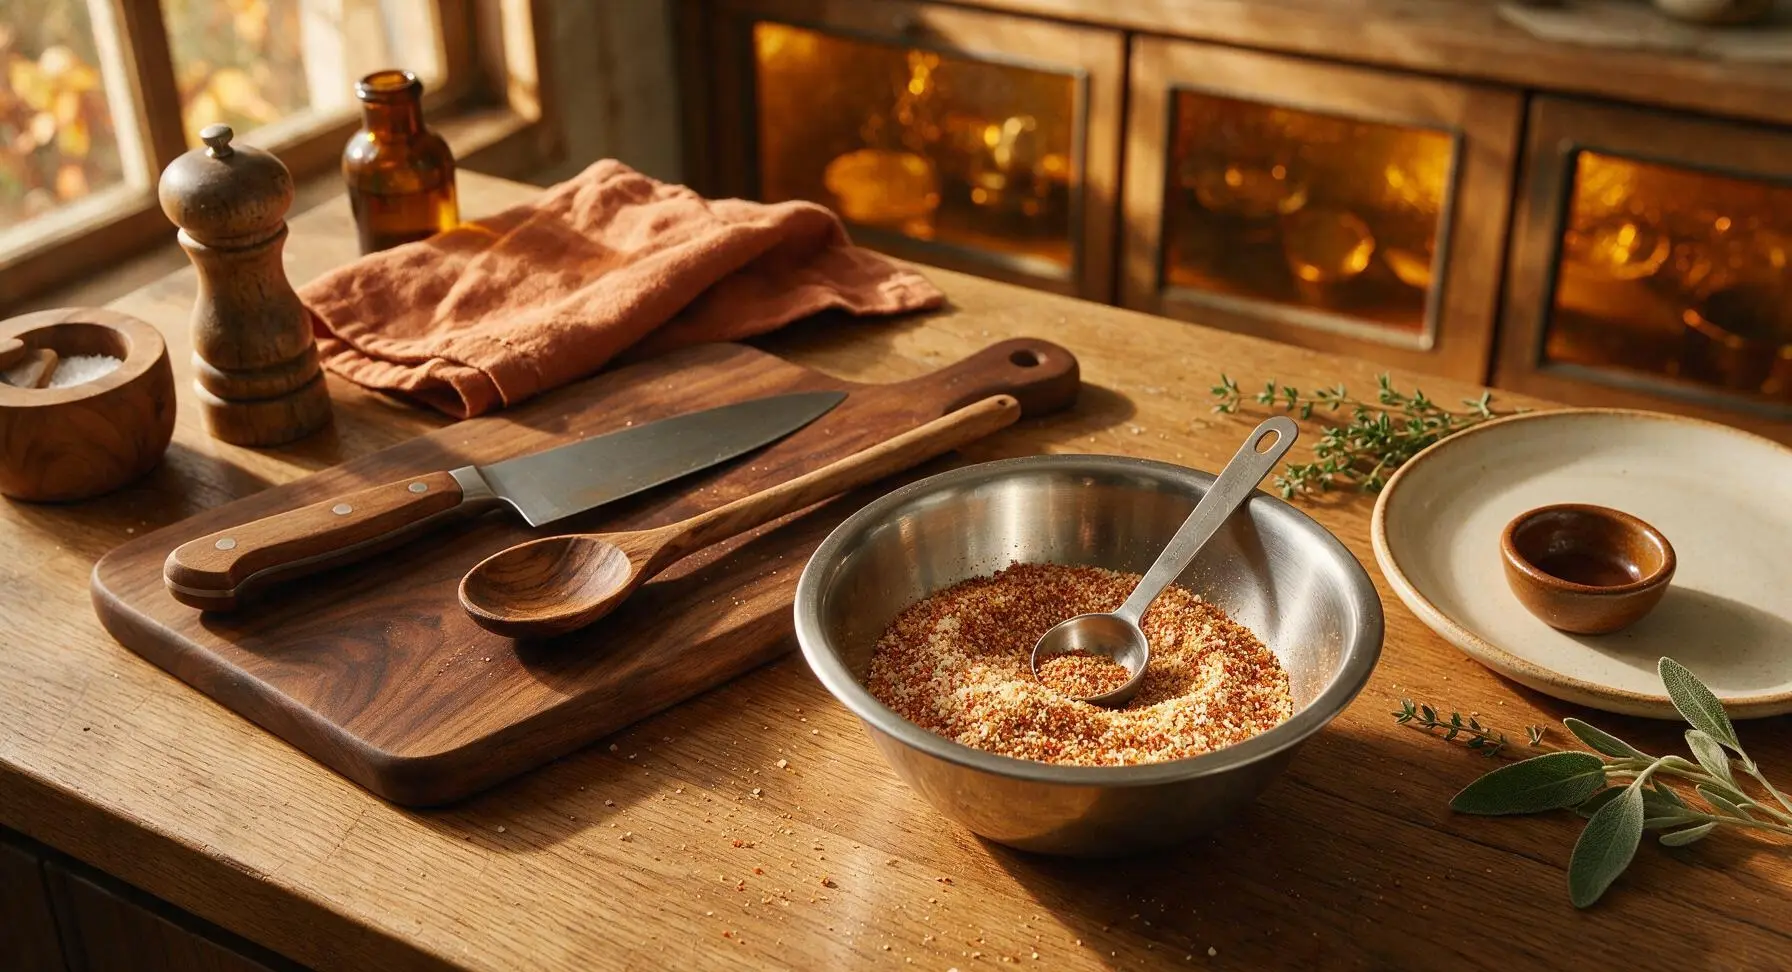
In the small stainless steel mixing bowl to the right of the cutting board, combine 1 tsp kosher salt, 1/2 tsp black pepper, 1 tsp garlic powder, 1/2 tsp smoked paprika, 1/2 tsp dried thyme, and 2 tbsp finely grated parmesan cheese. Stir with the smallest measuring spoon until all ingredients are evenly combined, with no clumps of spice or cheese visible.
Step 3
step3:Mix spice seasoning blend
4

Coat tenders with oil

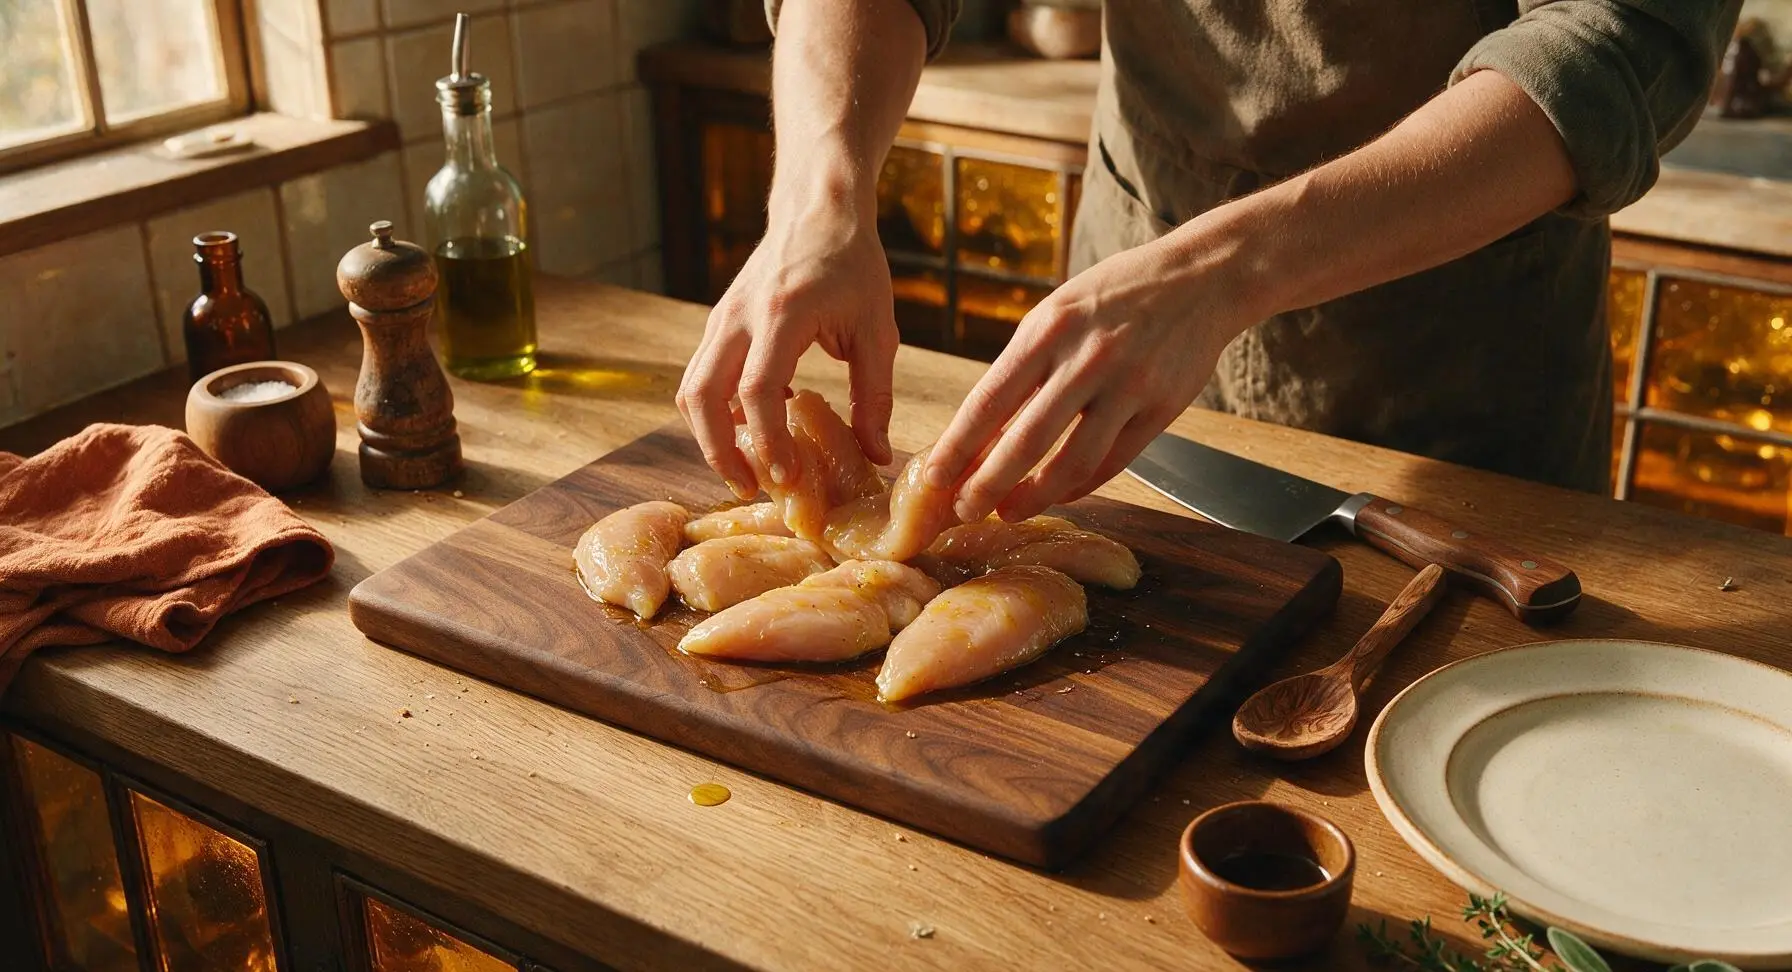
Drizzle 2 tbsp of extra-virgin olive oil over the dried chicken tenderloins on the cutting board. Use clean hands to toss the tenders until every piece is lightly and evenly coated in oil, with no dry patches remaining on the meat surface. The oil will help the seasoning adhere and create a crisp crust during baking.
Step 4
step4:Coat tenders with oil
5

Apply seasoning evenly

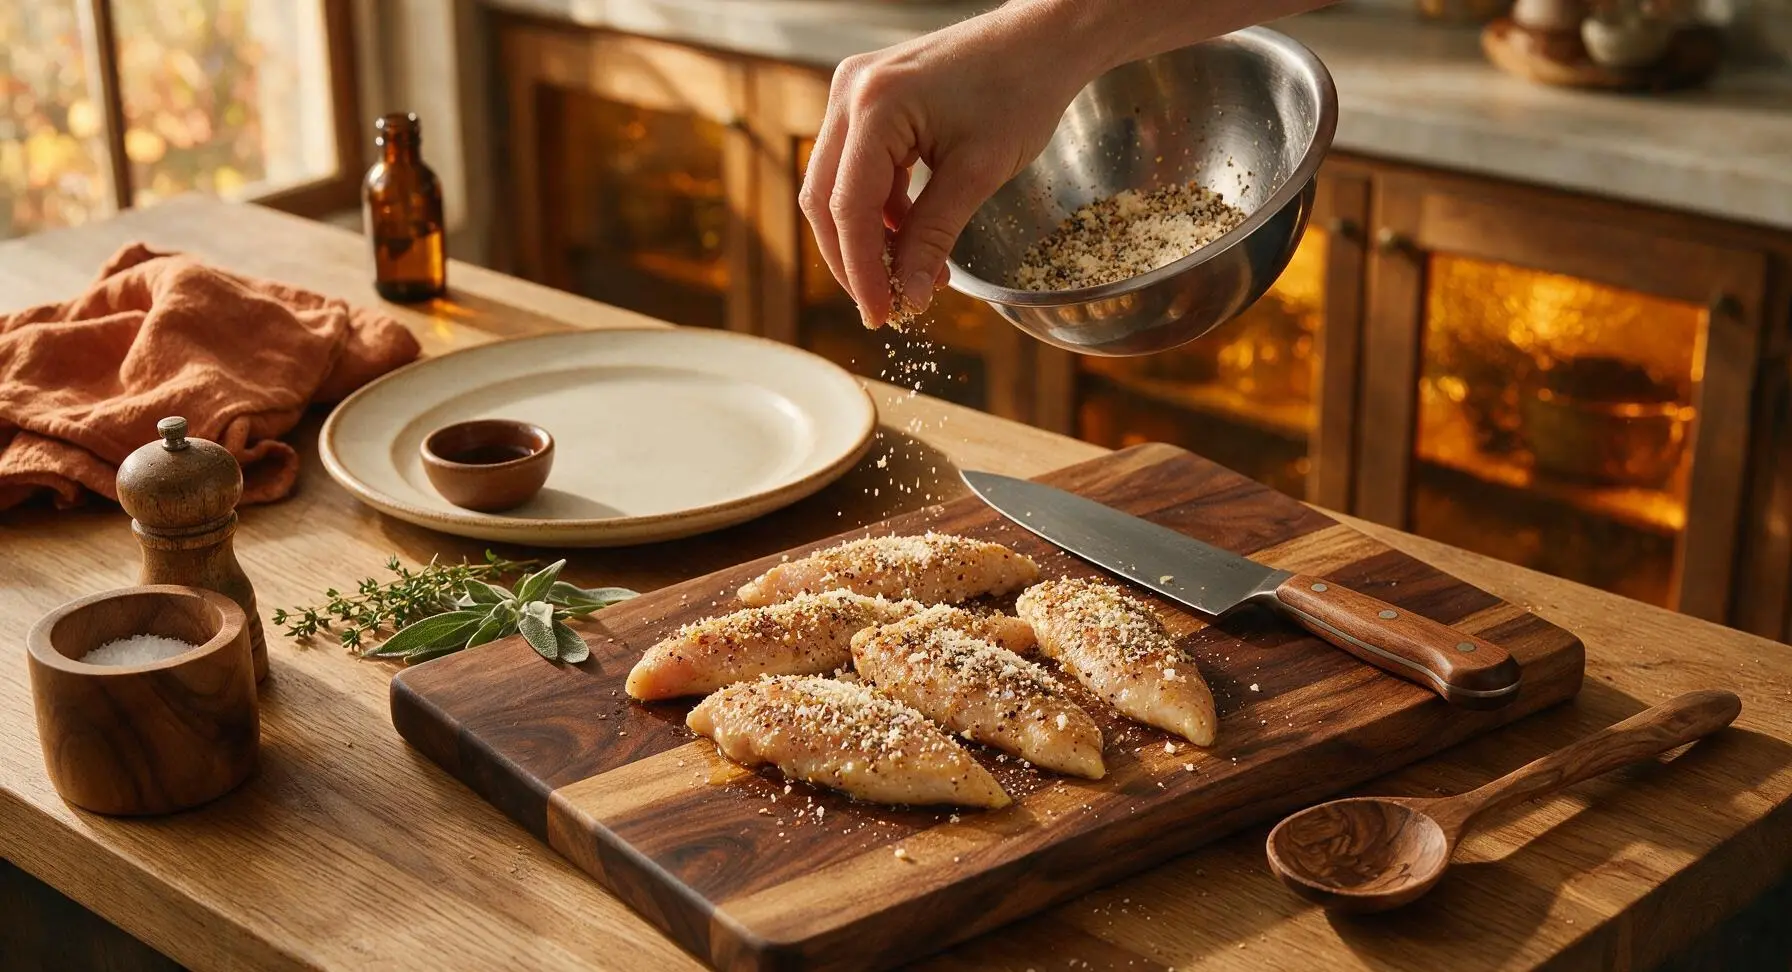
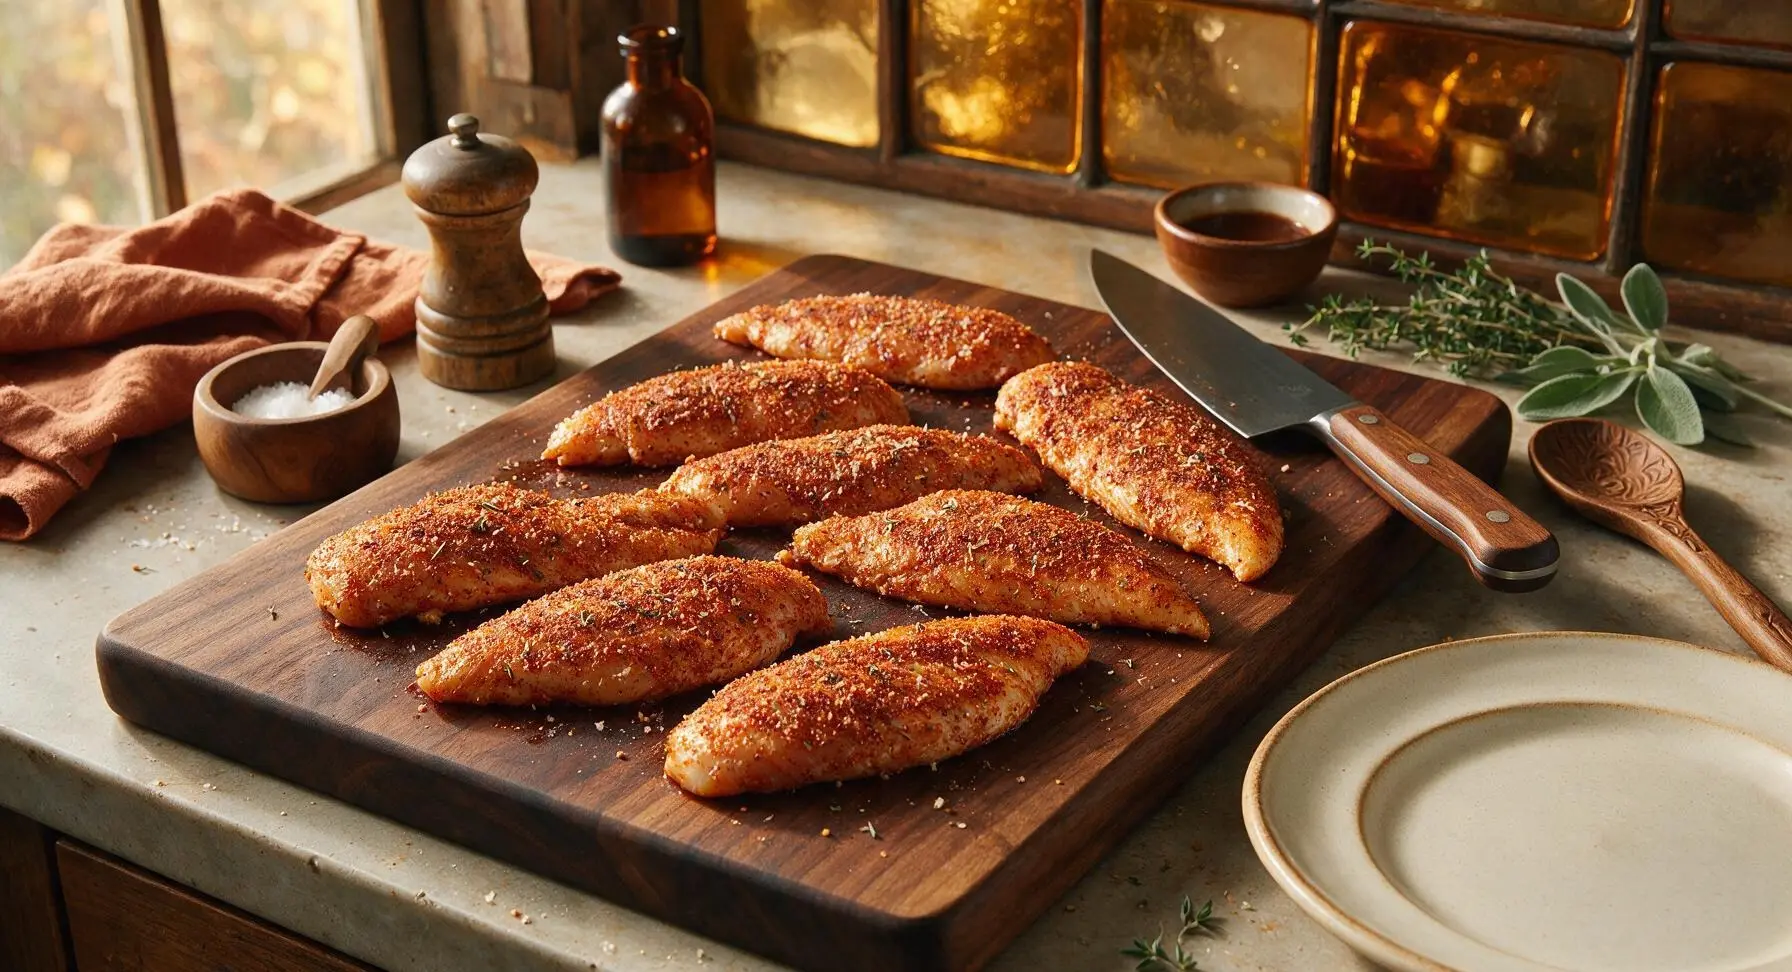
Sprinkle the mixed spice and parmesan blend over the oiled chicken tenders, turning each piece with your hands to ensure every side is evenly coated in seasoning. Press the seasoning lightly into the surface of the chicken so it adheres and does not fall off during transfer to the baking sheet. No large bare patches of chicken should be visible once seasoned.
Step 5
step5:Apply seasoning evenly
Step 5
step5:Apply seasoning evenly
6

Arrange on baking sheet

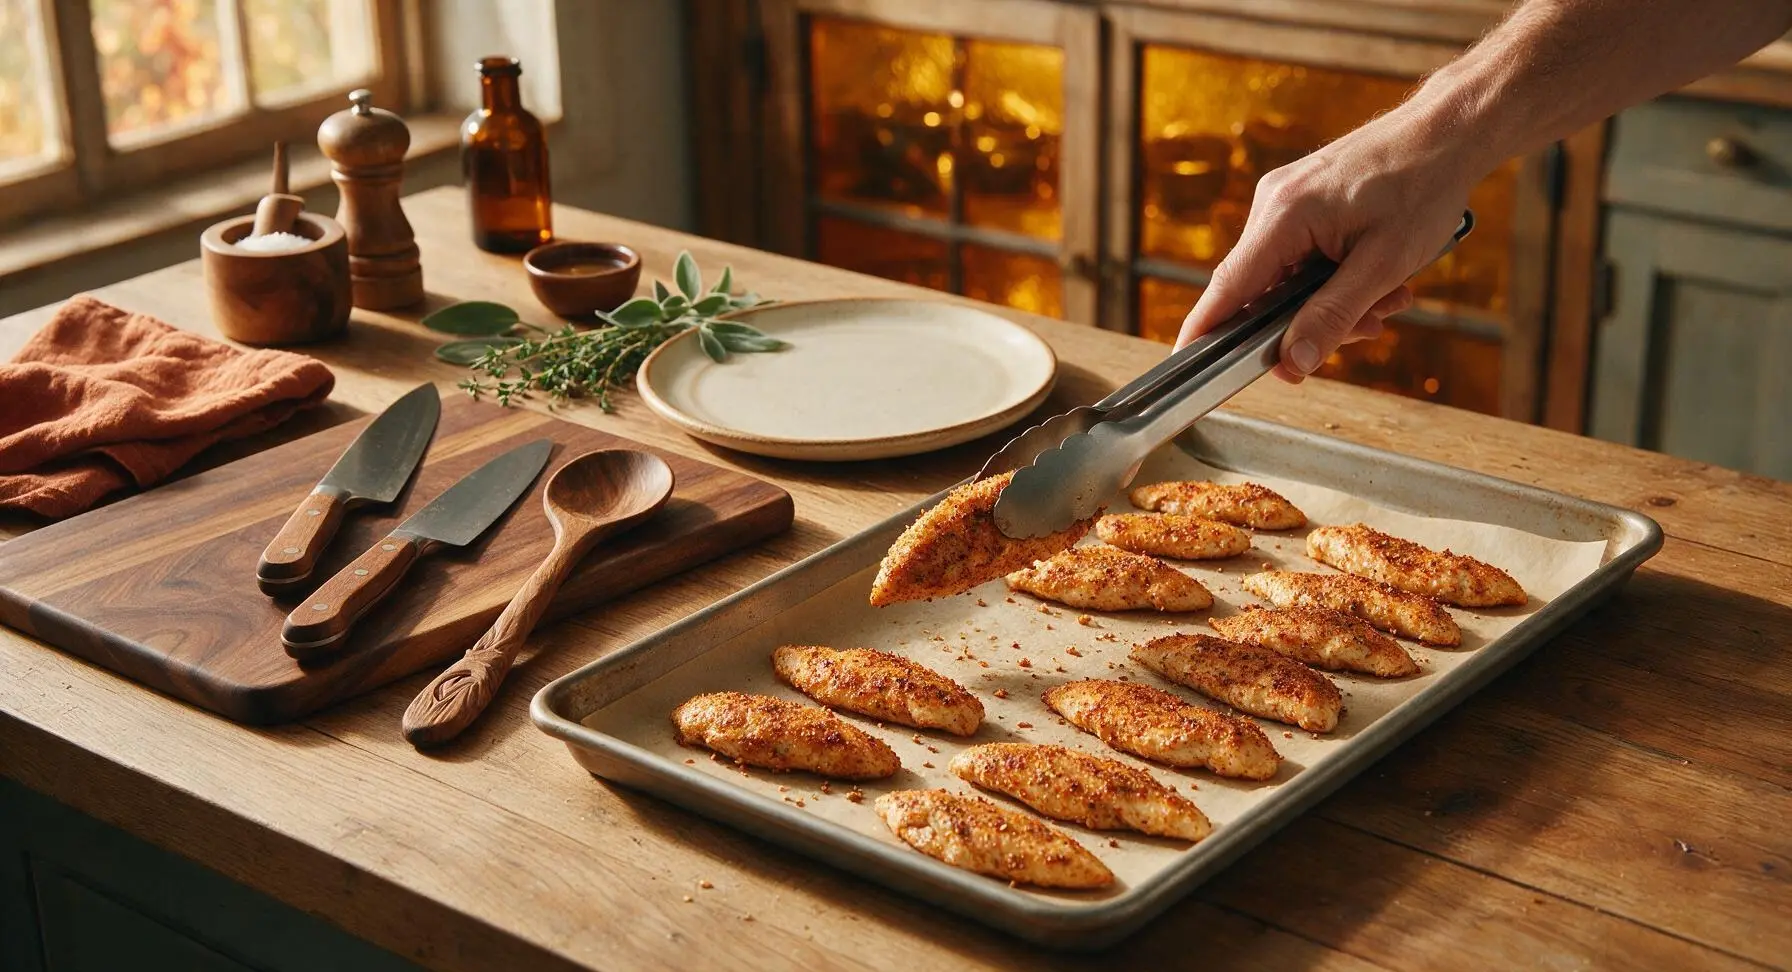
Use the stainless steel tongs to transfer each seasoned tender to the parchment-lined baking sheet, arranging them in a single even layer with 1cm of space between each piece. Do not overcrowd the pan—spacing allows hot air to circulate, ensuring even crisping instead of steaming. Tuck any loose seasoning bits that fall onto the parchment next to the tenders to avoid burning.
Step 6
step6:Arrange on baking sheet
7

Bake until juicy

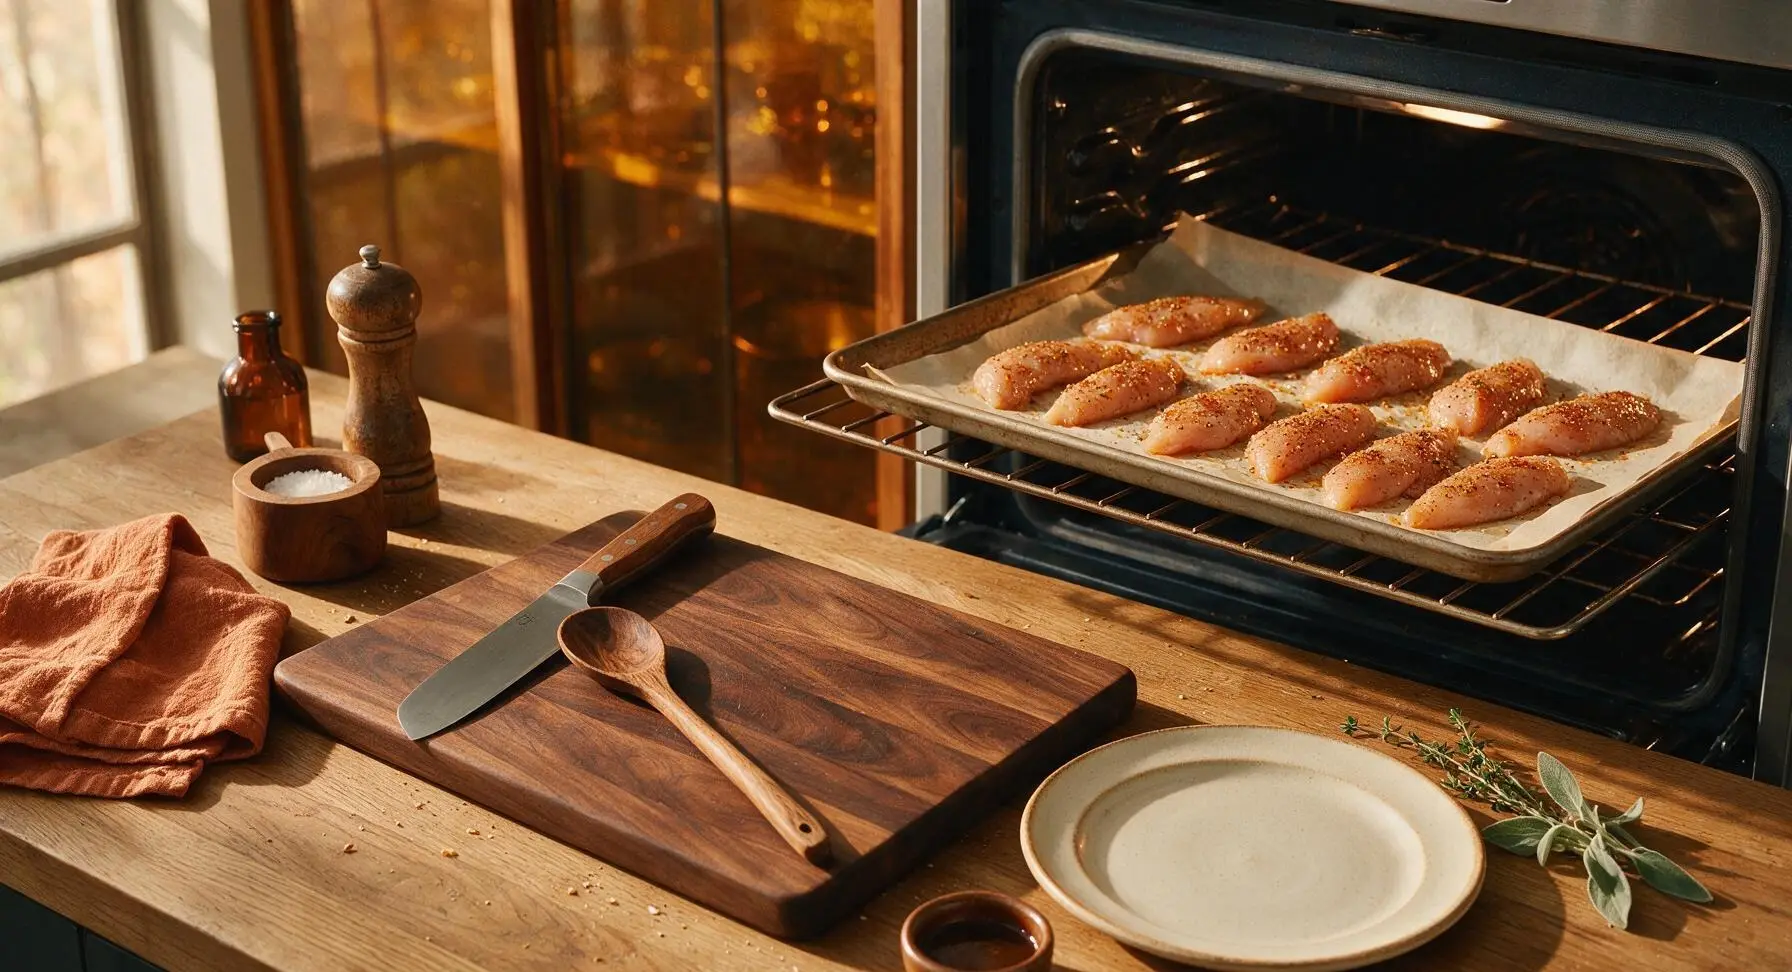
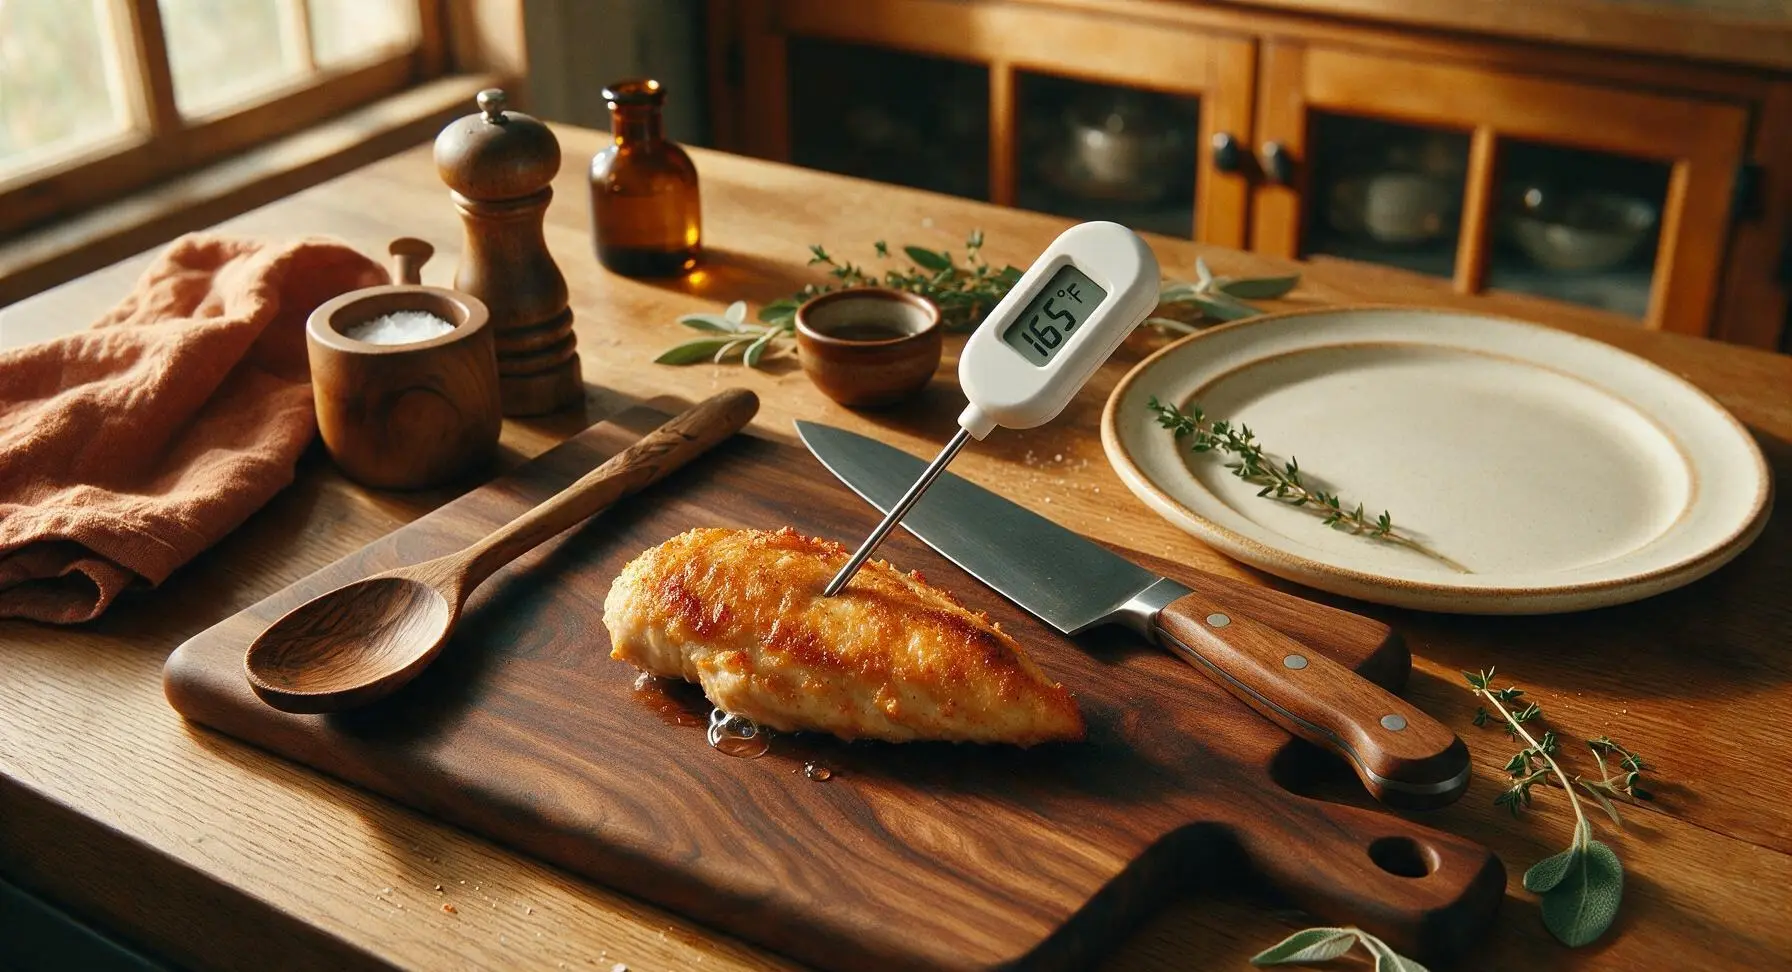
Place the baking sheet on the middle oven rack and bake for 15-18 minutes at 400°F (200°C). Halfway through baking (at the 8 minute mark), use tongs to flip each tender to ensure even browning on both sides. The chicken is done when the internal temperature reads 165°F (74°C) on the digital meat thermometer inserted into the thickest part of the largest tender, and the exterior is golden brown and slightly crisp. Do not overbake, as tenderloins are lean and will dry out quickly if left in the oven too long.
Step 7
step7:Bake until juicy
Step 7
step7:Bake until juicy
8

Rest, garnish, serve

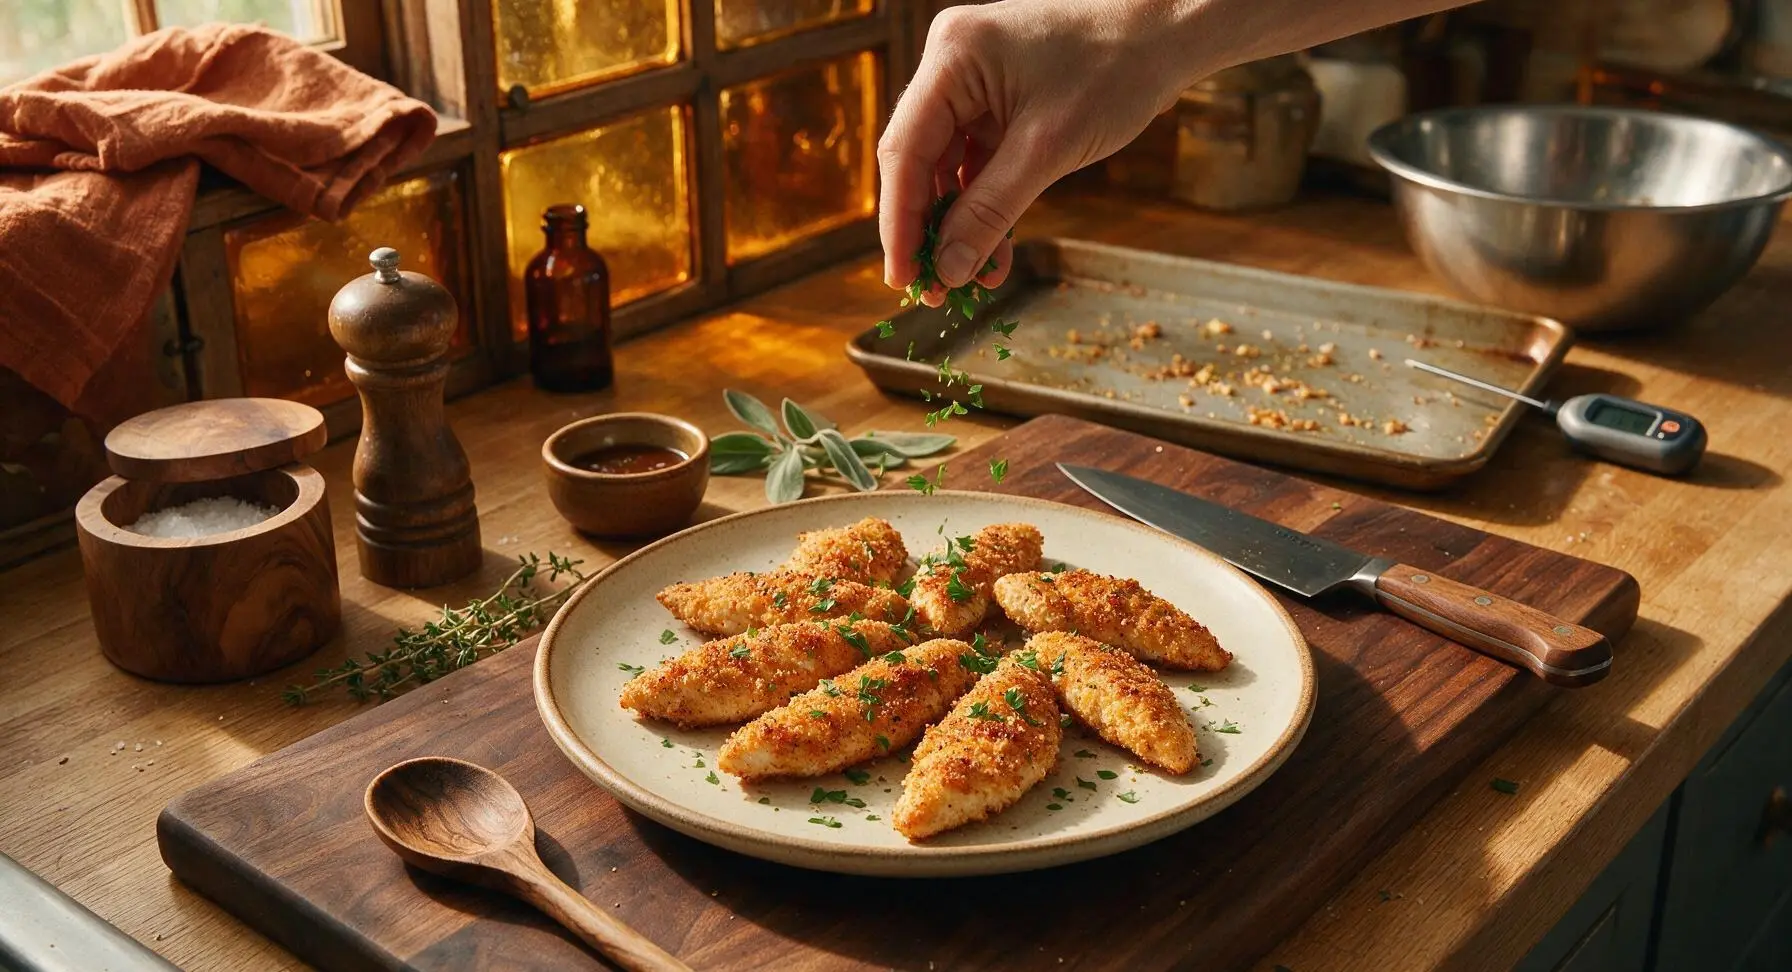
Once done, use tongs to transfer the baked tenders from the baking sheet to the matte cream ceramic dinner plate. Let them rest for 3 minutes to allow juices to redistribute through the meat, rather than running out when cut. Sprinkle with 2 tbsp of chopped fresh flat-leaf parsley as a bright garnish before serving.
Step 8
step8:Rest, garnish, serve

Tips

1.Pat chicken completely dry before adding oil and seasoning: residual surface moisture will steam the chicken during baking instead of allowing a crisp, flavorful crust to form, leading to soggy, bland results.
2.Avoid overcooking: lean chicken tenderloins have minimal fat content, so baking beyond the 165°F (74°C) internal temperature mark will quickly produce tough, dry meat. The 3-minute rest period after baking lets residual heat finish cooking gently while locking in juices.
3.Remove the tough white tendon from each tender before cooking: this fibrous, chewy strip does not soften during the short baking time, and leaving it attached will create an unpleasant stringy texture in every bite.


✨ You May Also Like

Main Course
🍜 United Kingdom

A showstopping classic of tender seared beef, savory mushroom duxelles, and crisp prosciutto wrapped in flaky golden puff pastry, baked to juicy perfection.

⏱️ 2 hours 1Main Course ★ 4.7
Main Course
🍜 India

Tender charred marinated chicken simmered in a rich, spiced creamy tomato sauce, this iconic Anglo-Indian curry pairs perfectly with basmati rice or warm naan.

⏱️ 50 minuteMain Course ★ 4.6
Main Course
🍜 Thailand

Classic tangy, sweet, and savory Thai stir-fried rice noodles with shrimp, tofu, and crunchy garnishes, balancing all five core Thai flavor profiles.

⏱️ 30 minuteMain Course ★ 4.5
Main Course
🍜 United Kingdom

Crispy golden beer-battered cod and fluffy double-fried chips, served with tangy tartar sauce and malt vinegar: the timeless, beloved British pub comfort classic.

⏱️ 45 minuteMain Course ★ 4.7
Main Course
🍜 Mexico

Smoky, chile-marinated pork tacos with caramelized pineapple, fresh cilantro, and lime: a beloved classic Mexican street food perfect for casual summer gatherings.

⏱️ 1 hour 45Main Course ★ 4.8
Main Course
🍜 United States

Crunchy Fritos corn chips layered with savory beef chili and melted cheddar, topped with cool, zesty fixings for a beloved, cozy Tex-Mex comfort food.

⏱️ 35 minuteMain Course ★ 4.8

baked chicken tenderloin:Frequently Asked Questions

1.How do I keep baked chicken tenderloins from drying out? ▾
The trick to juicy results is three simple steps: first, pat the chicken surface completely dry with paper towels so seasoning sticks and you get a crisp crust, second, coat lightly in extra-virgin olive oil to lock in moisture, and third, pull them at 165°F internal, then rest 3-5 minutes so juices redistribute instead of running out when cut.
2.Do I need to pound chicken tenderloins to an even thickness before baking? ▾
It’s a quick, highly recommended step! Most tenderloins have a plump thick end and a thin, tapered tip, so gently pound the thicker end to a uniform ½-inch thickness with a meat mallet or heavy pan. This ensures every piece cooks at the same rate, so you won’t get dry, overcooked thin ends while waiting for the thick section to cook through.
3.Can I use regular table salt instead of kosher salt for this recipe? ▾
You can, but you’ll need to adjust the amount to avoid over-salting. Kosher salt has larger, flakier grains that dissolve more slowly and distribute evenly, so if you swap for fine table salt, use exactly half the measured amount. I recommend sticking to kosher salt for the most consistent, well-balanced seasoning across every bite.
4.How long do these chicken tenderloins take to bake from start to finish? ▾
At 425°F—the ideal temp for a crisp, quick-cooking exterior without dryness—they’ll take 12-15 minutes, depending on thickness. You don’t need to flip them halfway if using a parchment-lined sheet, but a flip at the 8-minute mark boosts all-over crispness. Total prep and cook time lands around 25 minutes, perfect for busy weeknights.
5.Should I remove the white tendon from chicken tenderloins before cooking? ▾
Absolutely—that chewy, tough white tendon running along one edge of each tenderloin is unpleasant to eat, so remove it first. Lay the tenderloin flat, slide a sharp paring knife tip under the tendon end, grip the tendon with a paper towel, and scrape your knife along it to separate it cleanly from the meat in one easy pull.
6.Can I add herbs to the seasoning for that herb-crusted exterior mentioned in the intro? ▾
Of course! The base kosher salt, black pepper, and garlic powder is a perfect blank canvas. Add 1 teaspoon of dried herbs like oregano, thyme, or smoked paprika, or 1 tablespoon of chopped fresh rosemary or parsley to the olive oil toss for that classic herb crust. Just skip heavy, wet seasonings that will make the crust soggy.
7.How do I tell when the tenderloins are done without cutting into them? ▾
The only reliable, no-guess method is using an instant-read meat thermometer. Insert the tip into the thickest part of the largest tenderloin, and pull them as soon as it reads 165°F. If you don’t have a thermometer, look for firm, opaque white meat with no pink, and clear (not pink or cloudy) juices when pressed gently.
8.Can I prep these chicken tenderloins ahead of time for faster weeknight meals? ▾
You can prep them up to 24 hours ahead! Pat the tenderloins dry, remove the tendons, toss them with olive oil and seasonings, then store in a sealed airtight container in the fridge. When you’re ready to cook, just spread them on a baking sheet and pop them in the oven—no extra prep needed to cut down on weeknight chaos.
9.Why isn’t the exterior of my baked tenderloins getting nice and crisp? ▾
Soggy crust almost always traces back to one of two issues: either you didn’t pat the chicken fully dry before seasoning, so excess surface moisture steams the meat instead of crisping it, or your oven was too cold. Make sure your oven is fully preheated to 425°F, and leave ½ inch of space between pieces for air flow.
10.Can I use chicken breasts cut into strips instead of pre-packaged tenderloins? ▾
Absolutely! If you don’t have tenderloins, cut boneless, skinless chicken breasts into 1-inch thick, uniform strips that match the size of standard tenderloins. Pound them to an even ½-inch thickness just like you would with regular tenderloins so they cook evenly, and add 1-2 minutes of cook time if your strips are extra thick.
11.Do I need to line my baking sheet, or can I put tenderloins directly on the pan? ▾
You can cook them directly on a lightly oiled rimmed baking sheet, but lining the sheet with parchment paper or a silicone baking mat makes cleanup almost zero effort, and prevents the seasoned crust from sticking. Skip wax paper, which burns at high temps, and only use a wire rack if you want extra all-over crispness.
12.How should I store leftover baked chicken tenderloins, and how long do they last? ▾
Let leftovers cool completely to room temperature (don’t leave them out longer than 2 hours for food safety), then store in a sealed, airtight container in the fridge for up to 4 days. Reheat in a 350°F oven for 5-7 minutes, or in the microwave in 30-second bursts, taking care not to overheat and dry the meat out.
13.Can I use fresh garlic instead of garlic powder for this recipe? ▾
Fresh garlic works, but use it carefully to avoid burning. Mince 2-3 fresh garlic cloves very finely and toss them with the olive oil before coating the chicken—burnt fresh garlic turns bitter and unpleasantly crunchy at 425°F, so keep a close eye on the pan if you make this swap. Garlic powder is far more forgiving for even flavor.
14.Can I freeze these baked chicken tenderloins for later meal prep? ▾
Yes, they freeze really well! Let cooked tenderloins cool fully, then wrap them tightly or place them in a labeled freezer-safe zip-top bag with as much air pressed out as possible. They’ll keep in the freezer for up to 3 months. Thaw in the fridge overnight before reheating in the oven to retain their juicy texture, instead of reheating from frozen.
15.What are easy serving ideas to turn these tenderloins into a full weeknight meal? ▾
These versatile tenderloins pair with almost any quick side! Serve them over a simple green salad, with roasted broccoli or baked sweet potato fries, tossed on top of pasta, or sliced up in wraps or grain bowls. They also pair great with a side of honey mustard, ranch, or barbecue sauce for dipping for kids and picky eaters.

Comments (7)

2 days ago

OMG these were SO good! I’ve been messing up baked chicken tenderloins for years, they always come out dry and rubbery no matter what I do. Followed this exactly, 18 minutes in the oven, and they were perfectly juicy? My kids devoured them at dinner last night, even my youngest who refuses all chicken usually asked for seconds! Total game changer for weeknight family dinners.

yesterday

Right?! I made a big batch on Sunday for meal prep and they stayed juicy all week in the fridge, no sad dry chicken for my work lunches! I tossed a little extra paprika on mine for a kick, chef’s kiss.

yesterday

So glad the whole family loved them! Great call adding extra paprika, that’s one of my favorite easy swaps to mix up the flavor for meal prep too.

5 days ago

Decided to try these instead of firing up the grill for our potluck last weekend since it was pouring rain, and I was shocked how much everyone raved about them. Super easy, didn’t have to babysit them on the grill, and they had way more flavor than I expected. Will absolutely be making these again, even when the weather’s nice.

2 hours ago

Wait, 18 minutes total cook time? No brining, no fancy steps? I was skeptical because every “easy” chicken recipe I’ve tried in my tiny dorm oven has been a disaster, but these actually turned out perfect! I dipped mine in ranch and it hit so good after my evening class.

30 minutes ago

So happy these worked out in your dorm oven! No fancy steps required, just simple seasoning and the right cook temp to keep them juicy — ranch dip is a classic pairing, 10/10 choice.

1 week ago

Obsessed with this recipe for my post-workout meals! High protein, no weird additives, and they don’t taste like sad diet food at all. I did swap the regular salt for garlic salt to add a little extra flavor, zero regrets.

5 days ago

Garlic salt swap is genius! I did the same thing last week and added a pinch of cayenne, so good. My teen who runs cross country has been taking these in his lunch every day since.

5 days ago

Love those easy flavor swaps! Garlic salt and a little cayenne is such a great combo, I’ll have to add that note to the recipe tips for folks who like a little heat.

yesterday

This is literally the first chicken recipe I’ve ever made that didn’t make me panic I was going to give my roommate food poisoning lol. It was so easy, the instructions were super clear, and it came out juicy just like the name says! We ate it with roasted broccoli and rice for our weekly roommate dinner.

3 days ago

I made these for my church potluck last Sunday and I got asked for the recipe no less than 6 times! I will say I added a little honey drizzle over the top the last 2 minutes of baking for a tiny bit of sweetness, and it was chef’s kiss. So easy, no fuss, perfect for bringing to group events.

2 days ago

Oh the honey drizzle sounds amazing! I’m making these for our neighborhood block party next weekend, I’m definitely stealing that tip.

5 minutes ago

Was so happy to find a baked chicken tender recipe that doesn’t require breadcrumbs! I have celiac so so many chicken tender recipes are off limits for me, but this one is naturally gluten free, so juicy, and I don’t feel like I’m missing out at all. Served it with a side of mashed cauliflower for dinner last night, 10/10.

just now

That makes me so happy to hear! This recipe is totally adaptable for all kinds of dietary needs, and I love that you paired it with mashed cauliflower — that sounds like the perfect cozy, easy dinner.



