
baked chicken tenders

title 1
baked chicken tenders
⏱️ cook time 15 minutes
🍽️ servings 4
⚡ Difficulty easy

intro

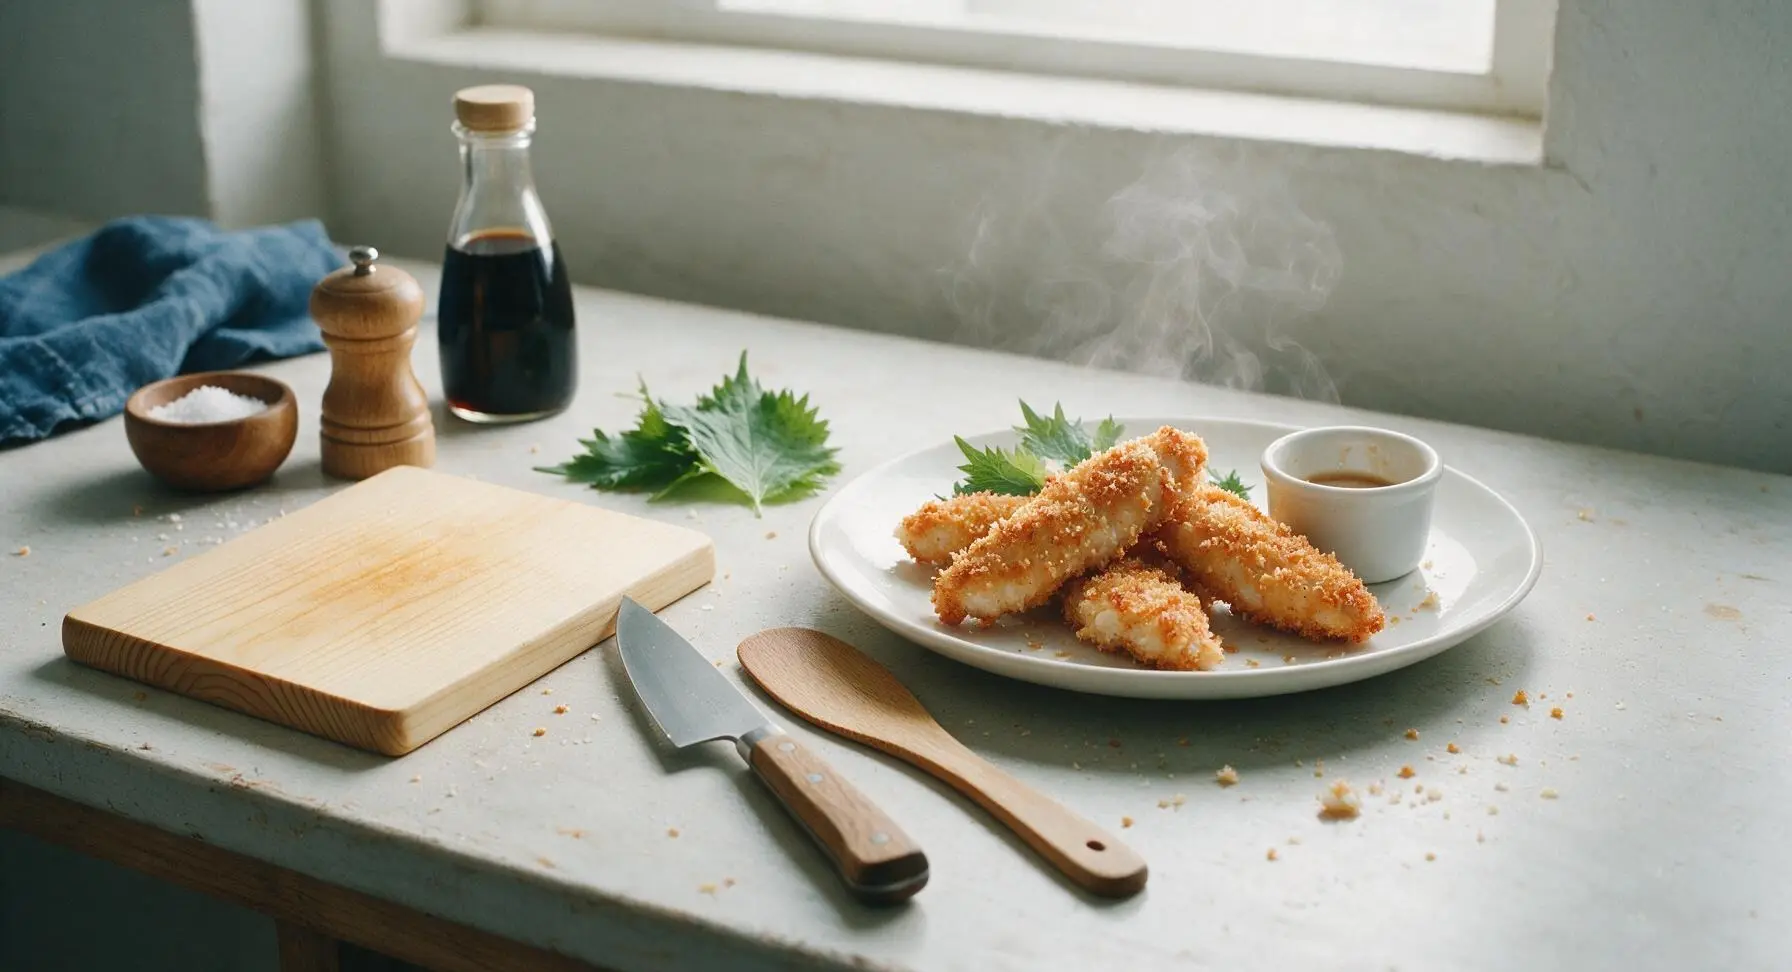
Crispy, golden panko-crusted baked chicken tenders are juicy, flavorful, and completely fry-free—perfect for fast, family-friendly weeknight meals with minimal cleanup.

Ingredients
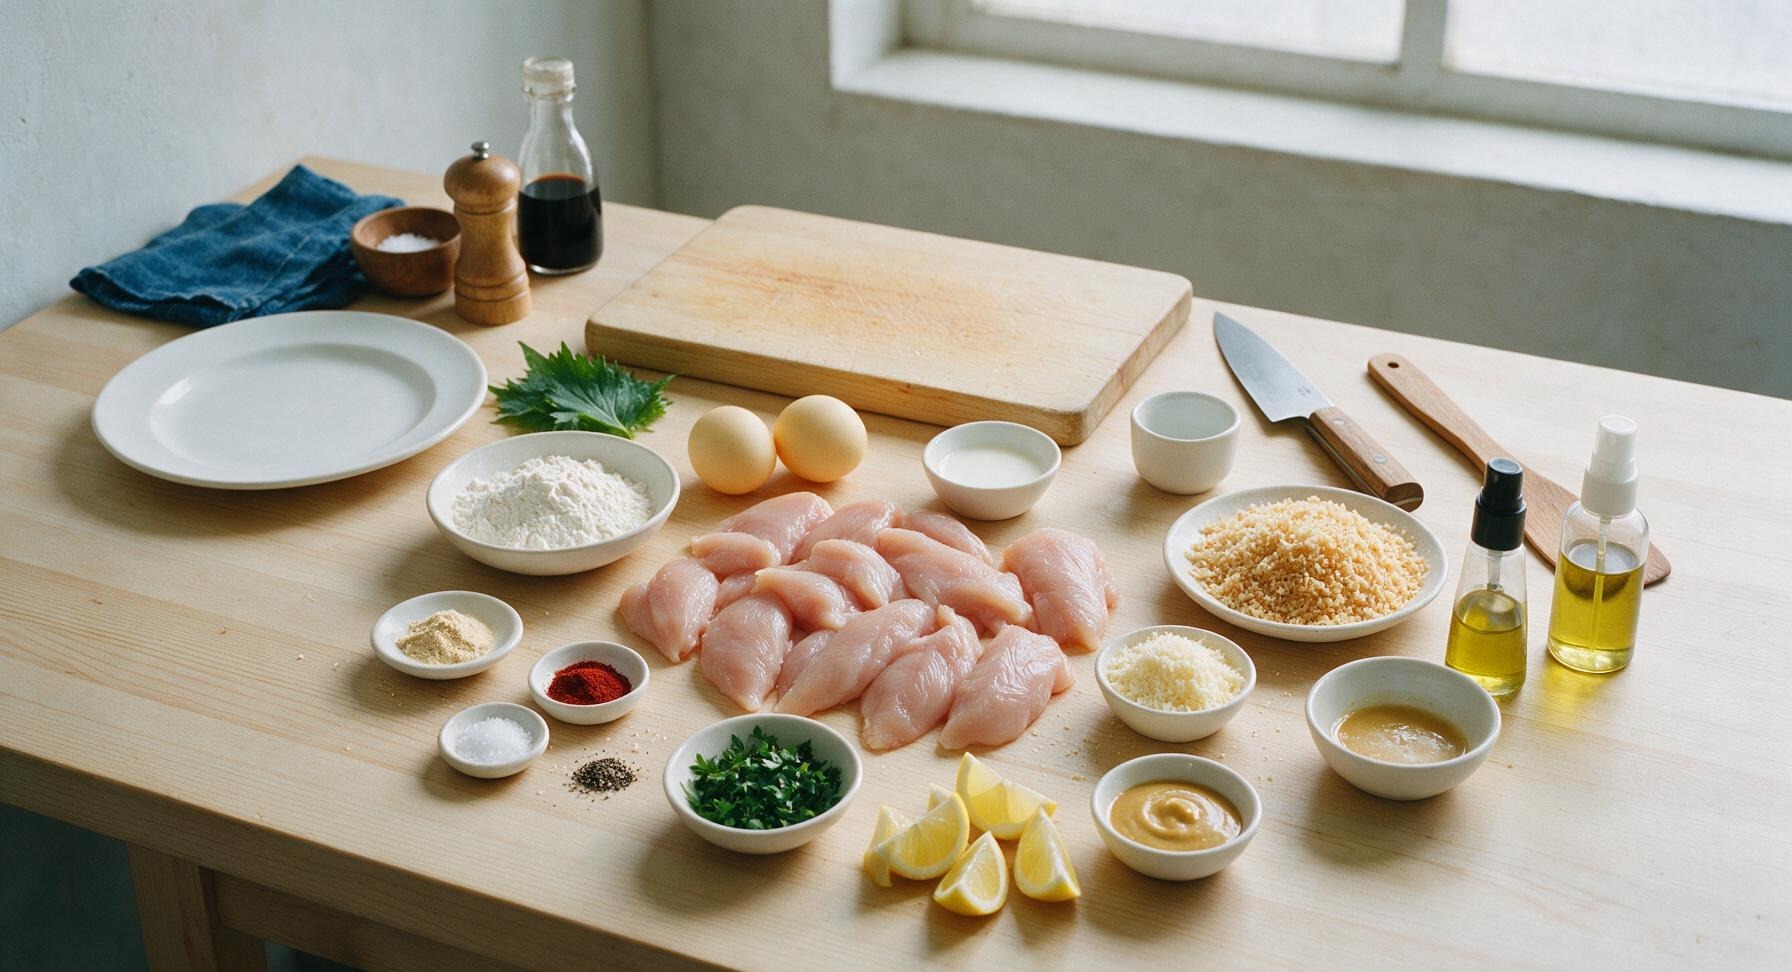
Boneless, skinless chicken tenders 600g (approx 12 pieces)
All-purpose flour ½ cup (65g)
Large eggs 2
Whole milk 2 tablespoons
Panko breadcrumbs 1 ½ cups (90g)
Finely grated parmesan cheese ¼ cup (25g)
Garlic powder 1 teaspoon
Smoked paprika ½ teaspoon
Kosher salt 1 teaspoon
Freshly ground black pepper ½ teaspoon
Olive oil cooking spray as needed
Fresh flat-leaf parsley 2 tablespoons (chopped, for garnish)
Lemon 1 (cut into wedges)
Honey mustard dipping sauce ¼ cup (for serving)

Steps

1

Preheat Oven and Prep Pan

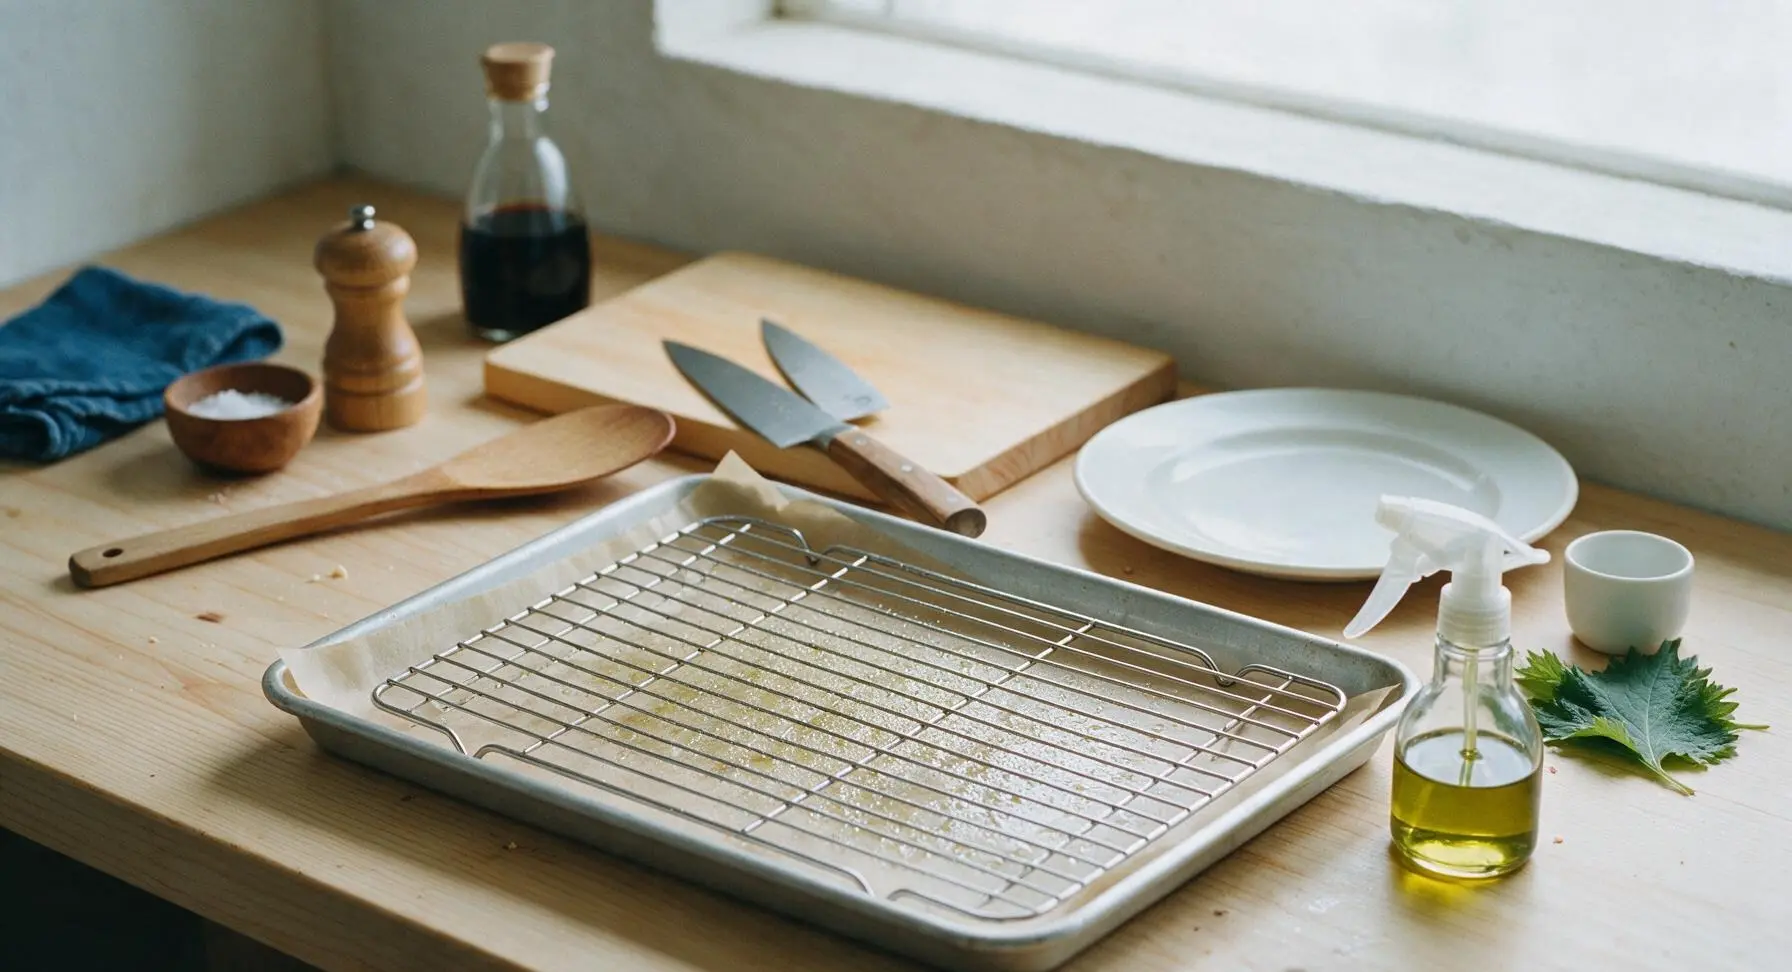
Adjust oven rack to middle position, preheat oven to 425°F (220°C). Line the rimmed aluminum baking sheet with unbleached parchment paper for easy cleanup, then set the stainless steel wire rack inside the baking sheet. Lightly coat the rack with olive oil cooking spray to prevent sticking; this setup allows air to circulate around the tenders for even crisping instead of sogginess.
Step 1
step1:Preheat Oven and Prep Pan
2

Arrange Breading Station

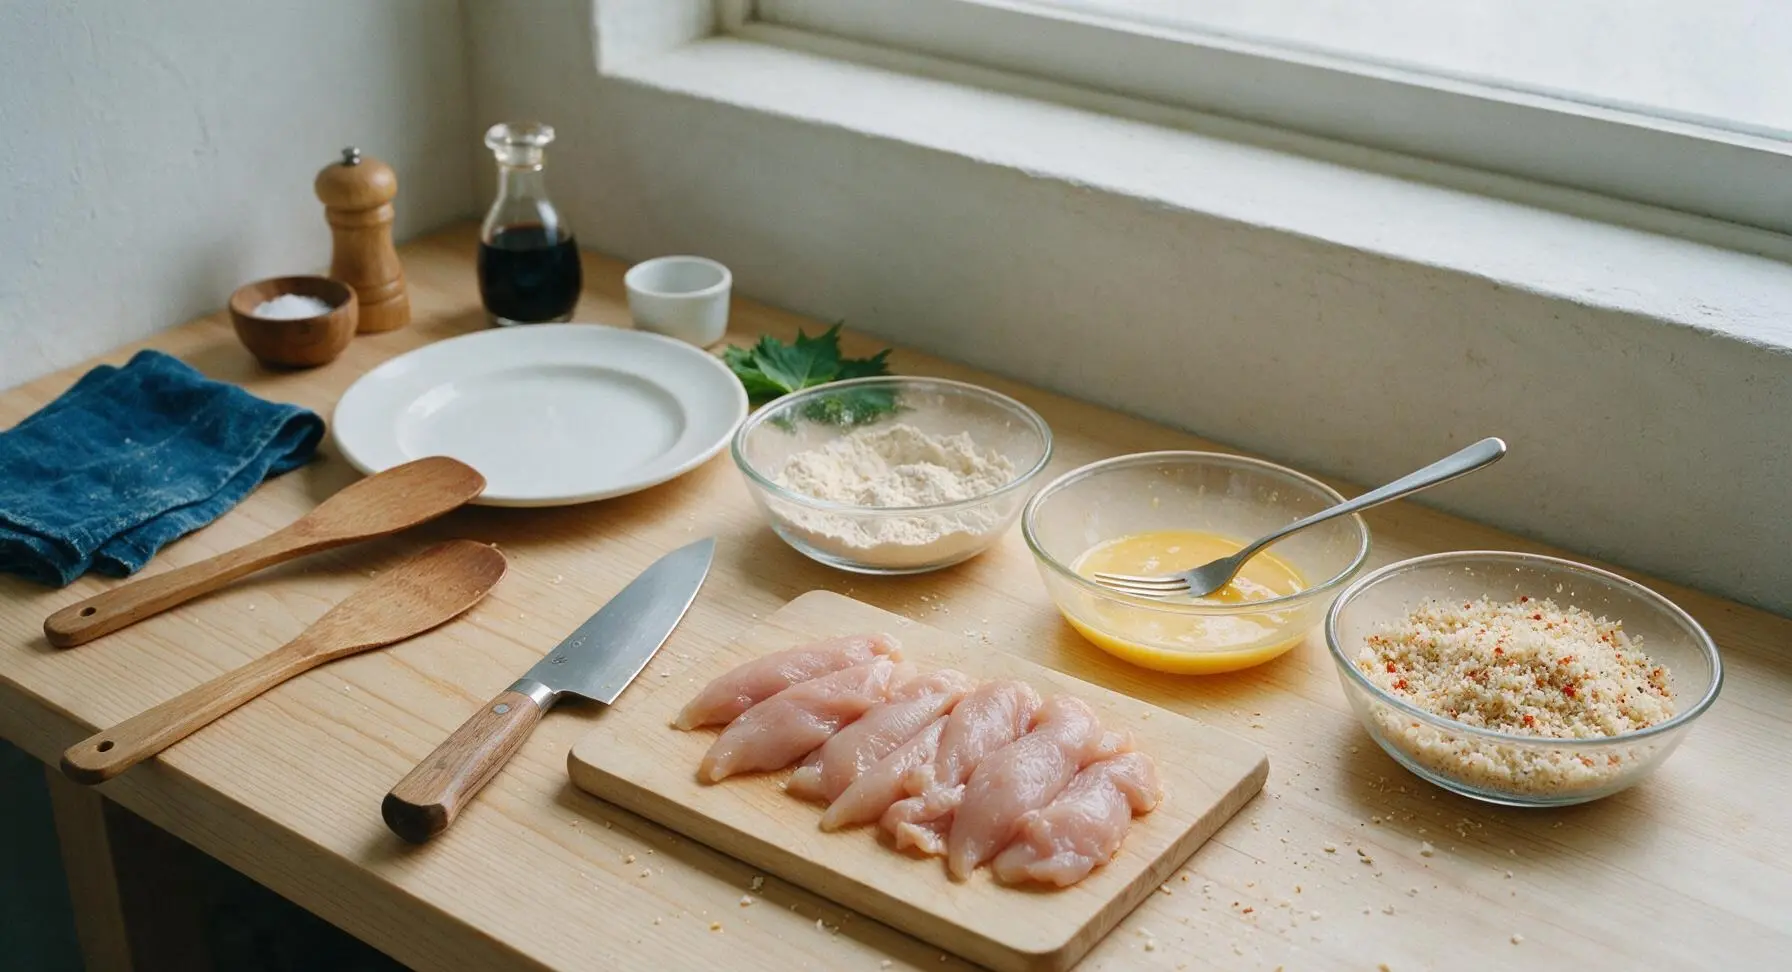
Set the three clear shallow glass bowls in a line to the right of the birch cutting board: 1) First bowl: add ½ cup all-purpose flour mixed with ¼ teaspoon kosher salt and ⅛ teaspoon black pepper, stir to combine. 2) Second bowl: crack 2 large eggs, add 2 tablespoons whole milk, whisk with the stainless steel fork until completely smooth with no streaks of egg white. 3) Third bowl: mix 1 ½ cups panko breadcrumbs, ¼ cup finely grated parmesan, 1 teaspoon garlic powder, ½ teaspoon smoked paprika, remaining ¾ teaspoon kosher salt, and remaining ⅜ teaspoon black pepper, stir until evenly mixed.
Step 2
step2:Arrange Breading Station
3

Dredge Tenders in Flour

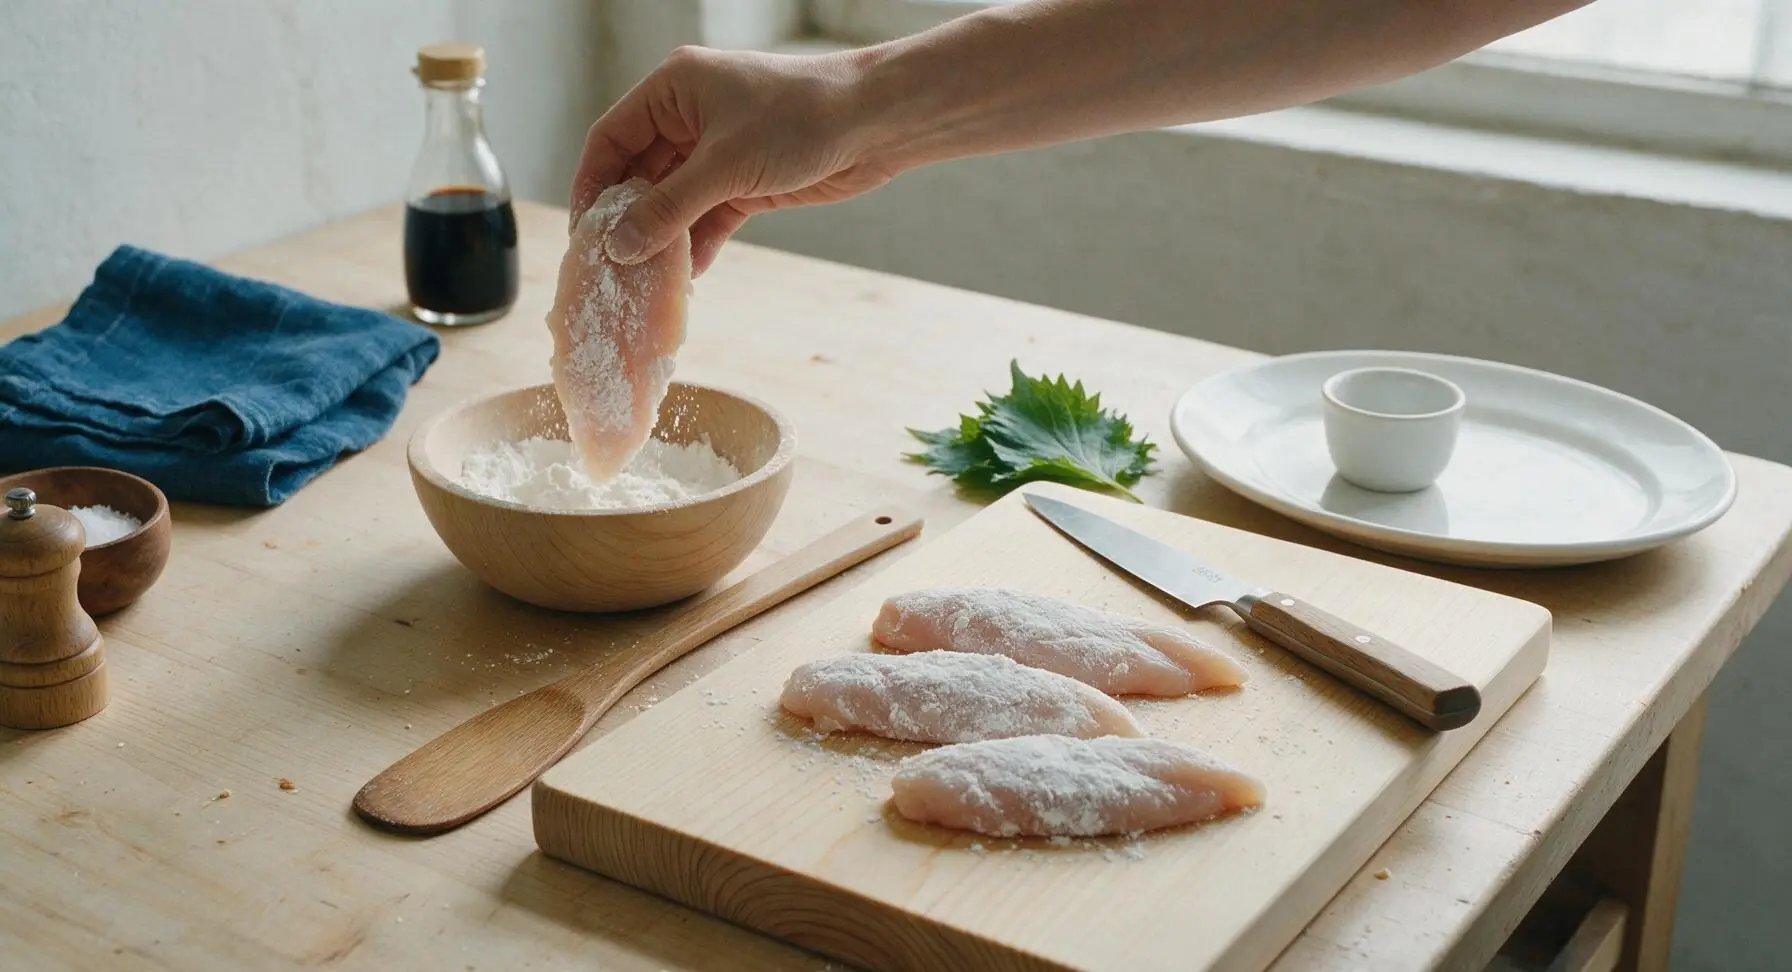
Working one at a time, place a chicken tender in the flour bowl, turn to coat completely, then shake off any excess flour so only a thin, even layer remains. The flour layer helps the egg wash adhere evenly to the chicken, preventing the breading from sliding off during baking. Transfer flour-coated tenders to a clean spot on the cutting board as you work.
Step 3
step3:Dredge Tenders in Flour
4

Dip in Egg Wash

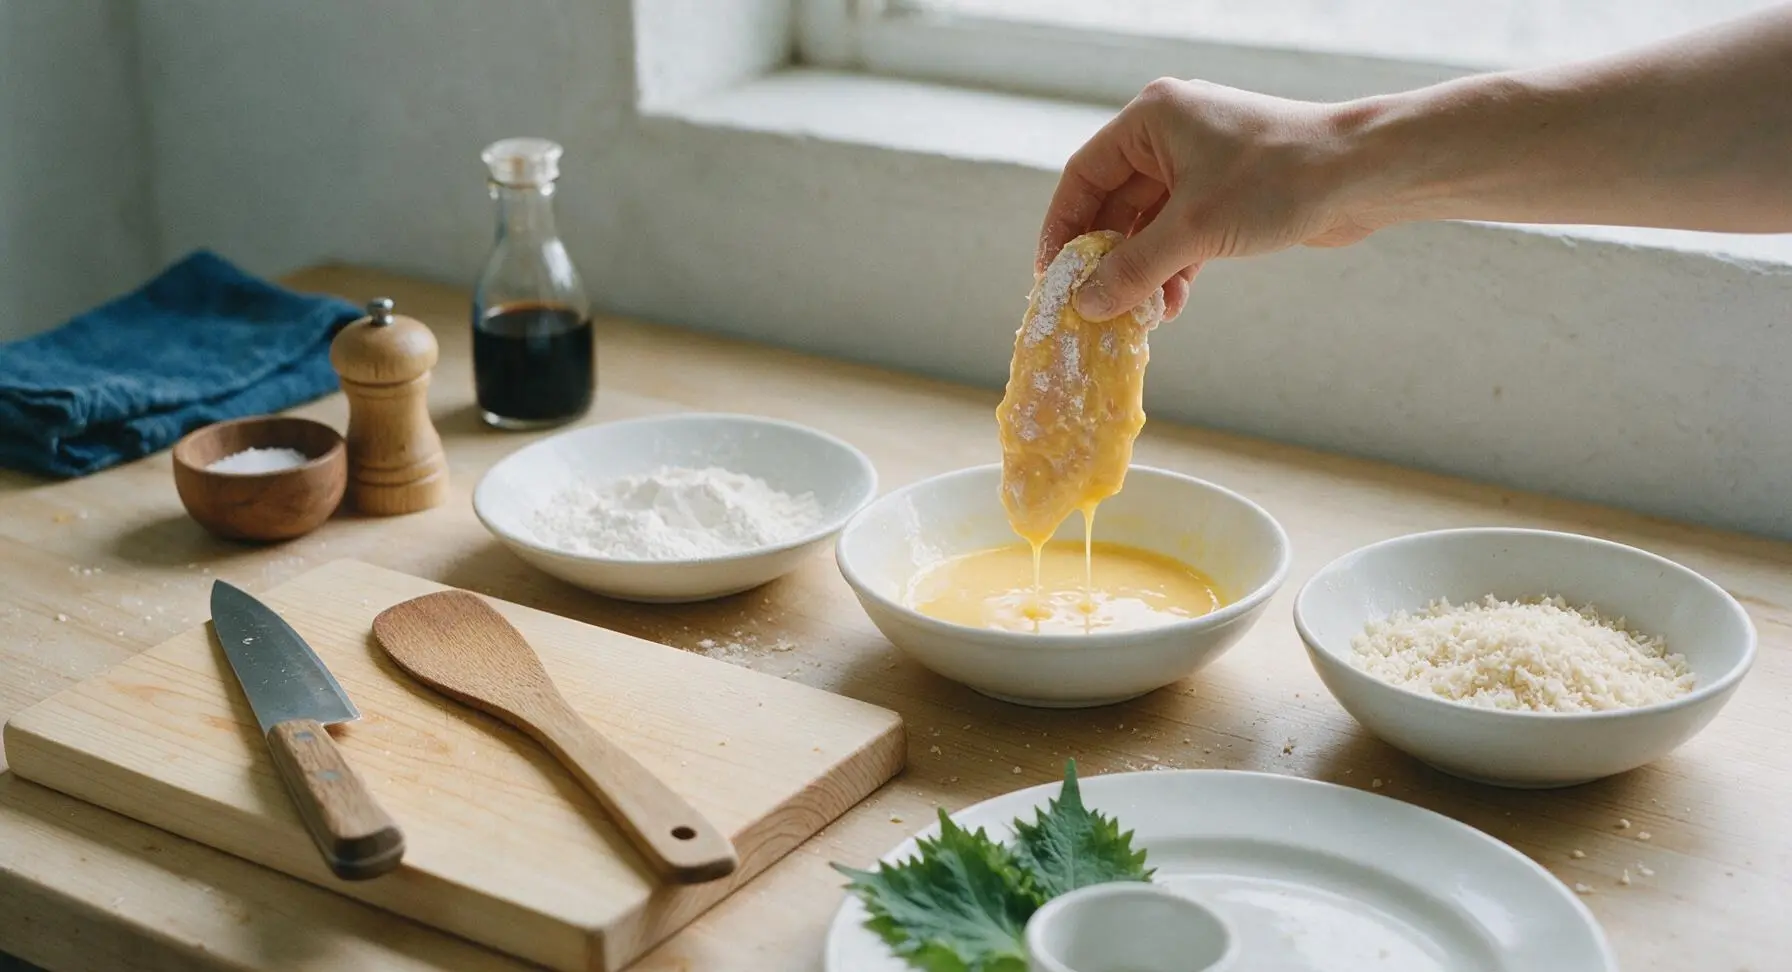
Take each flour-coated tender and submerge it fully in the egg wash, turning to coat every surface. Lift the tender out of the egg, let excess egg drip back into the bowl for 2 seconds—too much egg will cause soggy spots in the final crust. Do not stack coated tenders; move directly to the panko bowl after egg coating.
Step 4
step4:Dip in Egg Wash
5

Press into Panko Crust

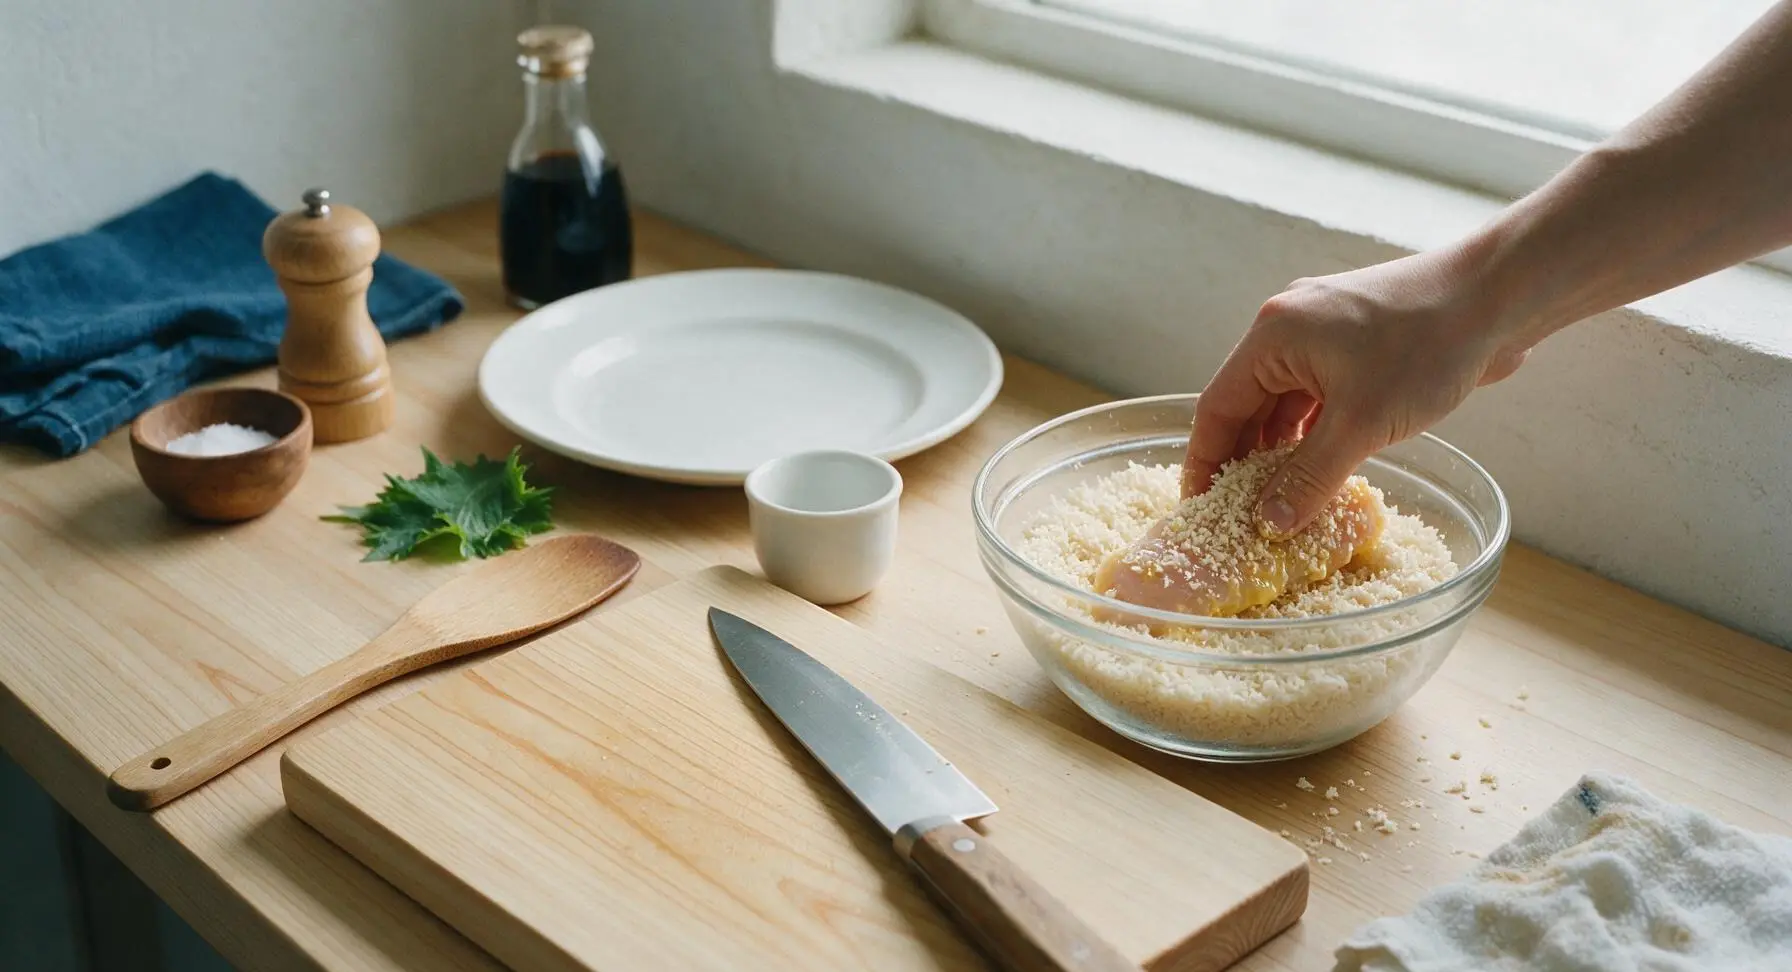
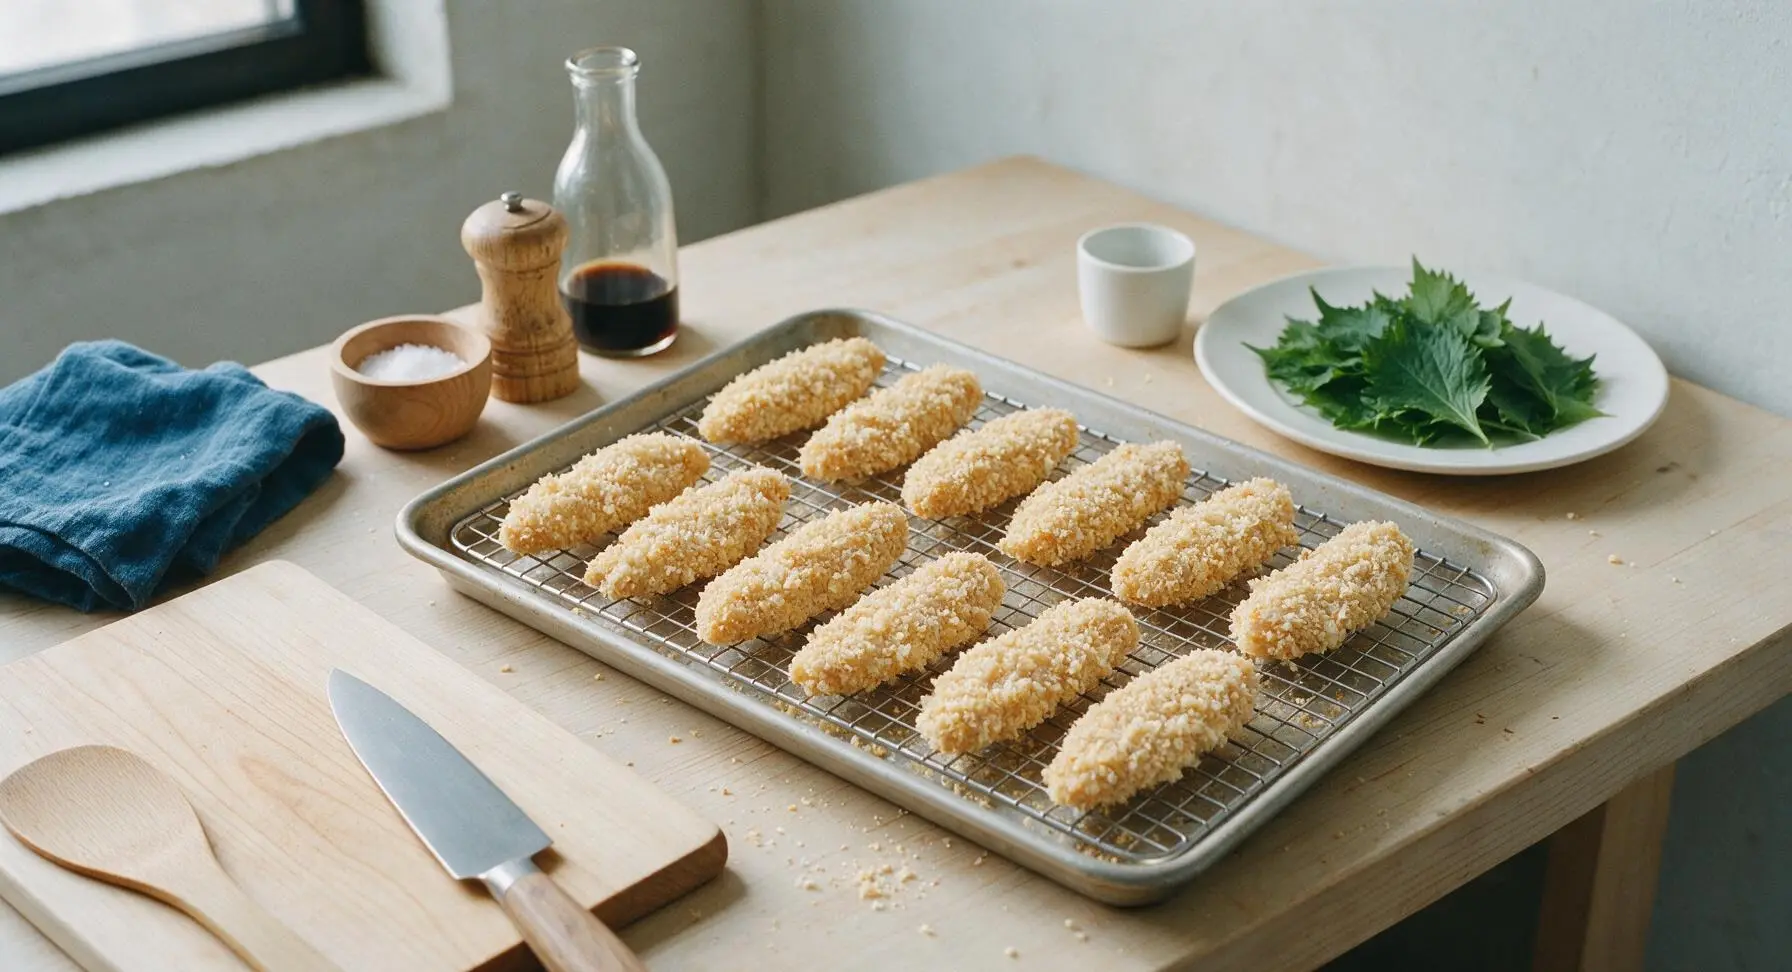
Place the egg-washed tender into the panko-parmesan mixture, press crumbs firmly onto every side of the tender so the coating adheres in a thick, even layer. Do not just dip—pressing ensures the crumbs stick and create a craggy, crispy crust instead of falling off during baking. Gently shake off loose crumbs, then place the breaded tender on the prepared wire rack on the baking sheet, leaving 1cm of space between each tender for air flow.
Step 5
step5:Press into Panko Crust
Step 5
step5:Press into Panko Crust
6

Spray and Bake Tenders

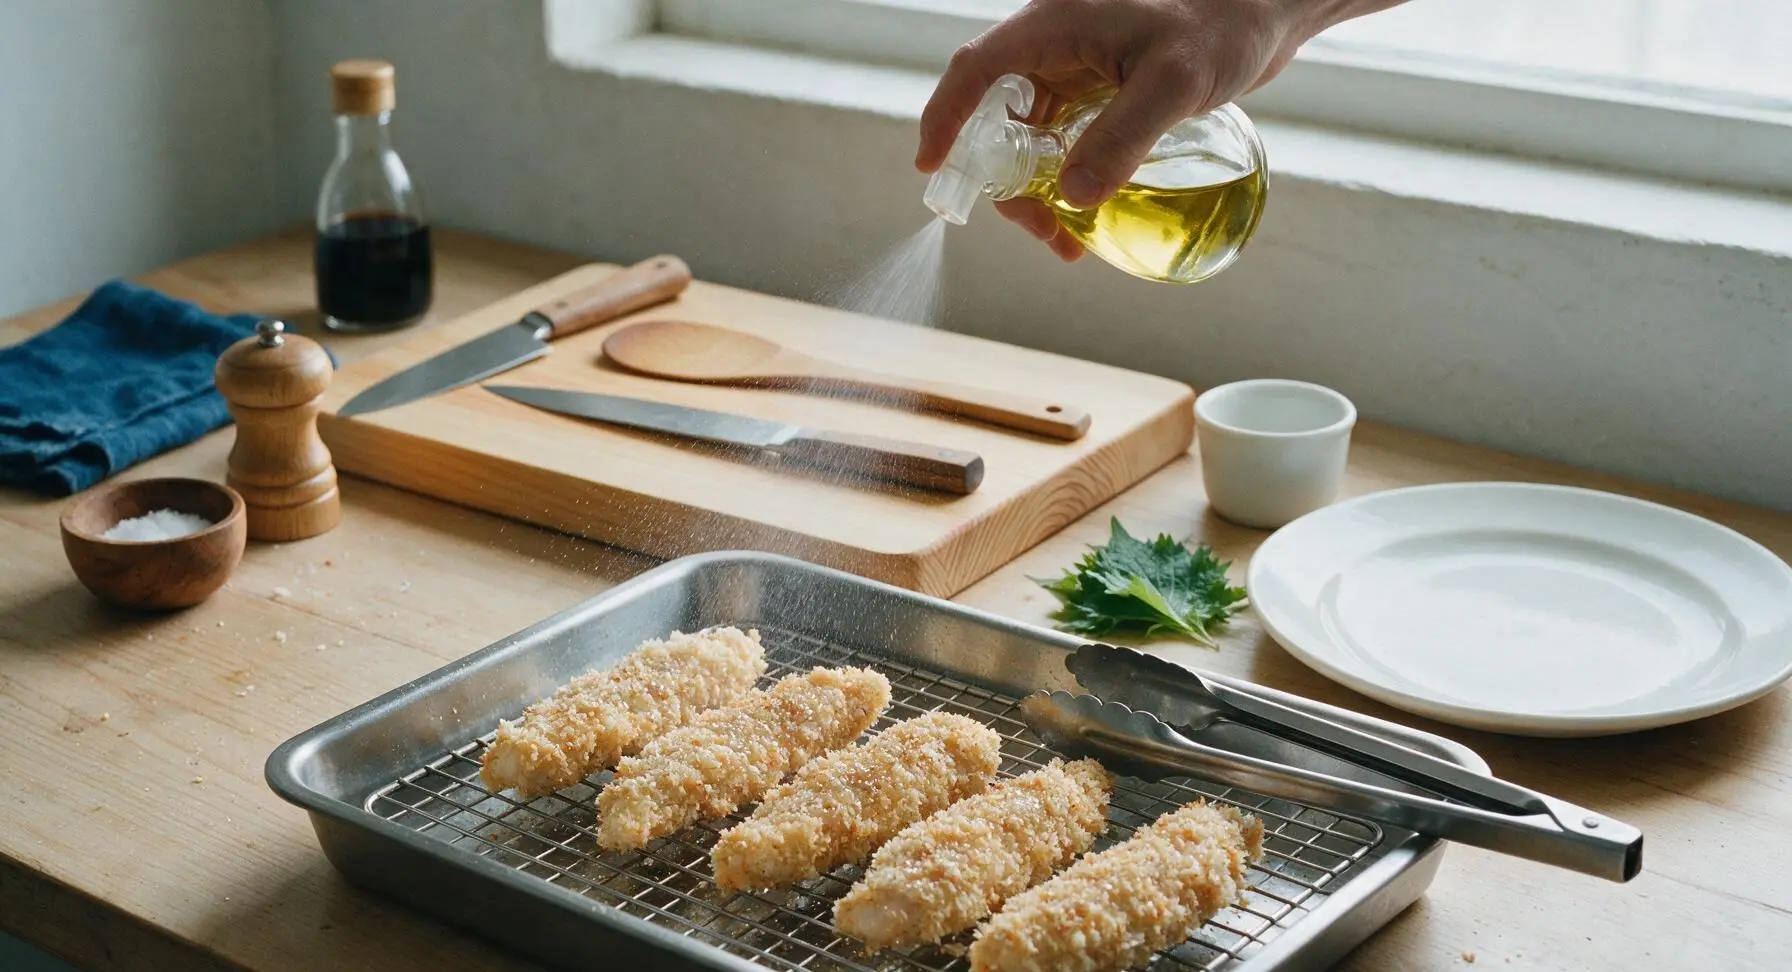
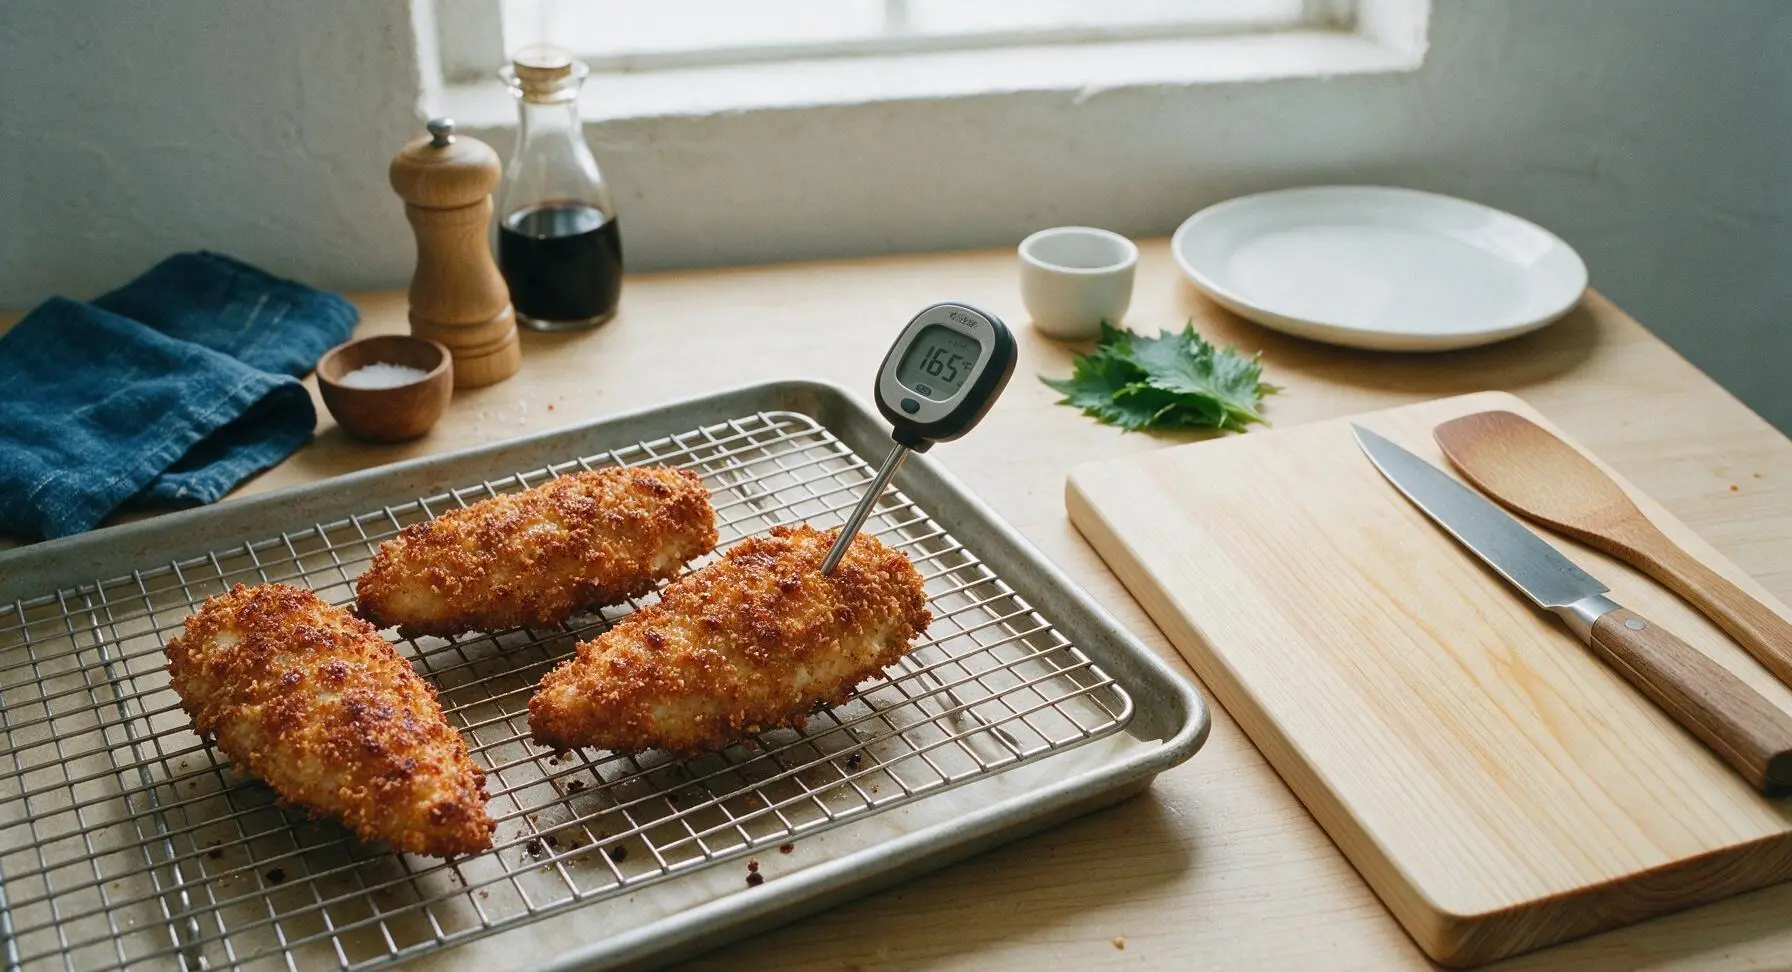
Lightly coat the top of every breaded tender with olive oil cooking spray—this helps the panko turn golden and crispy in the oven instead of staying dry and pale. Place the baking sheet on the middle oven rack, bake for 12 minutes at 425°F (220°C), then use the stainless steel tongs to carefully flip each tender. Spray the second side lightly with oil, bake for an additional 3-5 minutes until the crust is deep golden brown and the internal temperature of the chicken reaches 165°F (74°C) when checked with the instant-read thermometer.
Step 6
step6:Spray and Bake Tenders
Step 6
step6:Spray and Bake Tenders
7

Rest and Plate Tenders

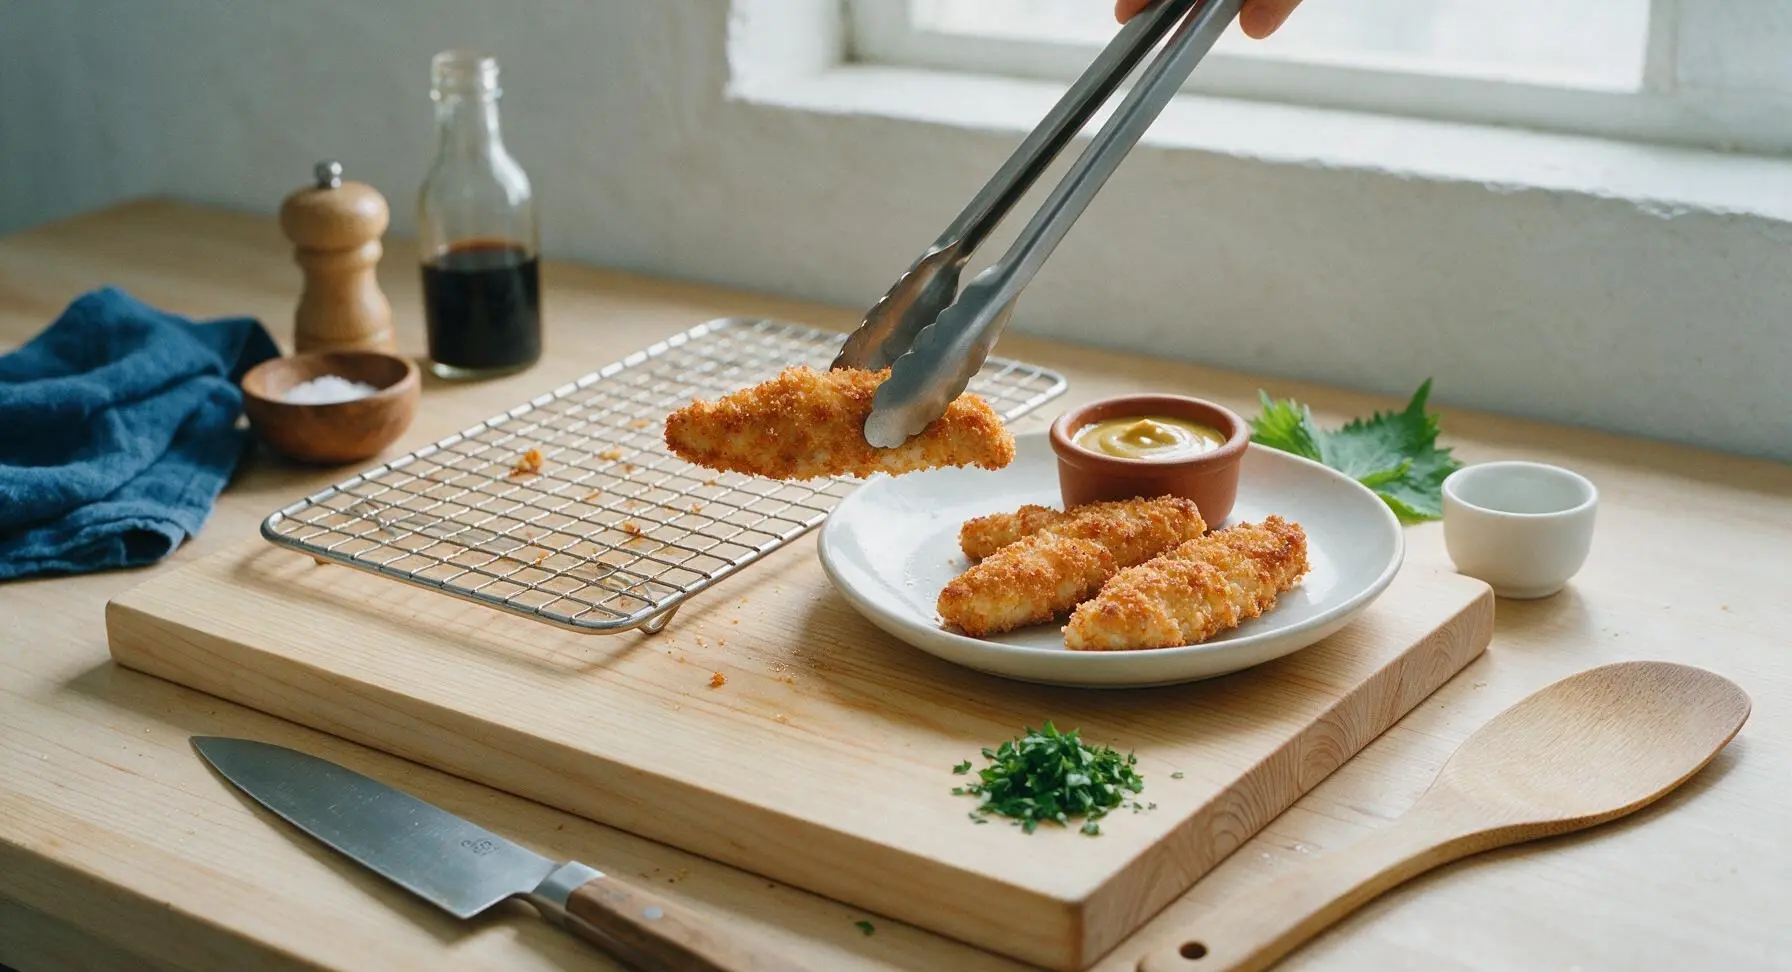
Let the baked tenders rest on the wire rack for 2 minutes after removing from the oven—this allows the crust to set and the chicken juices to redistribute, so every bite is juicy instead of dry. Transfer 3 tenders per serving to the cream white ceramic dinner plate, garnish with chopped fresh parsley, serve with lemon wedges and honey mustard dipping sauce in the terracotta ramekin.
Step 7
step7:Rest and Plate Tenders

Tips

1.Skip fine dried breadcrumbs and use panko for the coating: panko’s larger, flakier crumbs create a lighter, shatteringly crisp crust that doesn’t turn soggy during baking, unlike fine crumbs that compact into a dense layer.
2.Always bake tenders on a wire rack set inside the baking sheet, not directly on the parchment: air circulates under the tenders as they cook, crisping the bottom crust evenly instead of letting it steam and turn soft against the hot pan.
3.Resist the urge to cut into tenders immediately after pulling them from the oven: resting for 2 minutes lets the muscle fibers relax and reabsorb juices, so every bite stays moist instead of letting all the flavorful juice run out onto the plate.


✨ You May Also Like

Main Course
🍜 United Kingdom

A showstopping classic of tender seared beef, savory mushroom duxelles, and crisp prosciutto wrapped in flaky golden puff pastry, baked to juicy perfection.

⏱️ 2 hours 1Main Course ★ 4.7
Main Course
🍜 India

Tender charred marinated chicken simmered in a rich, spiced creamy tomato sauce, this iconic Anglo-Indian curry pairs perfectly with basmati rice or warm naan.

⏱️ 50 minuteMain Course ★ 4.6
Main Course
🍜 Thailand

Classic tangy, sweet, and savory Thai stir-fried rice noodles with shrimp, tofu, and crunchy garnishes, balancing all five core Thai flavor profiles.

⏱️ 30 minuteMain Course ★ 4.5
Main Course
🍜 United Kingdom

Crispy golden beer-battered cod and fluffy double-fried chips, served with tangy tartar sauce and malt vinegar: the timeless, beloved British pub comfort classic.

⏱️ 45 minuteMain Course ★ 4.7
Main Course
🍜 Mexico

Smoky, chile-marinated pork tacos with caramelized pineapple, fresh cilantro, and lime: a beloved classic Mexican street food perfect for casual summer gatherings.

⏱️ 1 hour 45Main Course ★ 4.8
Main Course
🍜 United States

Crunchy Fritos corn chips layered with savory beef chili and melted cheddar, topped with cool, zesty fixings for a beloved, cozy Tex-Mex comfort food.

⏱️ 35 minuteMain Course ★ 4.8

baked chicken tenders:Frequently Asked Questions

1.Why don’t my baked chicken tenders turn out as crispy as the recipe says they should? ▾
The most common culprits are crowding the baking pan, skipping a wire rack for air circulation, and skipping a light spritz of oil on the panko. Make sure your oven is fully preheated to 425°F, pat chicken dry before breading, and leave ½ inch of space between tenders so hot air can reach every side for even, golden crunch.
2.How do I keep the breading from falling off my chicken tenders while they bake? ▾
Start by patting the chicken completely dry with paper towels so the coating has a dry surface to stick to. Follow the order: flour first, then egg and milk wash, then firmly pressed panko. Let breaded tenders rest 10 minutes before baking to set the coating, and don’t flip them for the first 12 minutes of cook time.
3.Can I use regular fine breadcrumbs instead of panko for this recipe? ▾
You can, but know that fine breadcrumbs create a denser, less shatteringly crisp crust than light, flaky panko. If you substitute, toast the breadcrumbs for 3 to 4 minutes in a dry pan first to boost crunch, and add a pinch of extra seasoning to make up for the less textured, milder crust.
4.What internal temperature do chicken tenders need to reach to be safe to eat? ▾
Per USDA food safety guidelines, chicken is safe to eat when it reaches an internal temperature of 165°F, measured at the thickest part with an instant-read thermometer. Pull tenders when they hit 160 to 162°F, because carryover cooking will raise the temp as they rest 3 to 5 minutes, keeping them juicy instead of dry.
5.Do I really need to spray the panko coating with oil before baking? ▾
A light, even spritz of neutral cooking spray (like avocado or canola oil) over the breaded tenders makes a huge difference for that golden, fried-like finish. It helps the panko toast evenly instead of coming out pale, dry, or floury, and you only need a thin coat to get that perfect crunch without deep frying.
6.Can I adapt this recipe to be gluten-free? ▾
Absolutely! Swap the all-purpose flour for a 1:1 gluten-free all-purpose flour blend, and use certified gluten-free panko breadcrumbs (or crushed rice cereal if you can’t find GF panko). Double check that your cooking spray has no hidden gluten additives, and the recipe will turn out just as crispy and flavorful as the original.
7.Why do my chicken tenders always come out dry and tough? ▾
Dry, tough tenders almost always come from overcooking, baking at too high a temperature, or skipping the post-bake rest. Stick to the 425°F oven temp, pull tenders at 160°F internal temp, and let them rest 5 minutes so juices redistribute back into the meat instead of running out when you bite into them.
8.What’s the best way to add extra flavor to these tenders? ▾
Mix your seasonings directly into the flour and panko layers, rather than only adding them to the egg and milk wash, for even coverage across every bite. Great go-to additions include garlic powder, onion powder, smoked paprika, dried oregano, a pinch of cayenne, and ½ teaspoon of kosher salt per cup of coating.
9.Is it better to bake tenders on a wire rack or directly on the baking sheet? ▾
Baking on a wire rack set inside a rimmed baking sheet is always the better pick, because it lets hot air circulate all around each tender for all-over crispness, instead of leaving the bottom soggy where it touches the pan. If you don’t have a rack, flip tenders halfway through baking and line the pan with parchment for easy cleanup.
10.Can I make these chicken tenders ahead for meal prep? ▾
You can prep raw, breaded tenders on a wire rack in the fridge for up to 24 hours before baking for quick weeknight meals, or store fully cooked, cooled tenders in an airtight container in the fridge for 3 to 4 days. Reheat in a 400°F oven instead of the microwave to keep the panko crust crisp.
11.Can I freeze these crispy baked chicken tenders? ▾
Yes, they freeze beautifully for quick, kid-friendly meals later. Let fully cooked tenders cool completely, then arrange them in a single layer on a baking sheet to flash freeze for 2 hours before transferring to a labeled freezer bag for up to 3 months. Reheat straight from frozen at 400°F for 12 to 15 minutes until hot and crisp.
12.What dipping sauces pair best with these baked chicken tenders? ▾
Classic, crowd-pleasing pairings include honey mustard, ranch dressing, tangy barbecue sauce, buffalo sauce, and sweet and sour sauce. For a fun grown-up twist, try garlic aioli, spicy maple mayo, or creamy sriracha dip, and serve with carrot and celery sticks for a full, balanced weeknight meal.

Comments (18)

2 days ago

OMG these are SO good! I’ve tried so many baked chicken tender recipes that come out soggy but these stayed perfectly crispy even after 15 minutes in the oven. My kids devoured an entire batch for dinner last night and asked for them again tonight. Total game changer for weeknight family dinners!

yesterday

So glad your kids loved them, Sarah! The trick to keeping them crispy is making sure your oven rack is positioned in the upper third and you don’t overcrowd the baking sheet – happy to hear it worked out for you!

yesterday

Made these for my Sunday football potluck yesterday and everyone was begging for the recipe! The panko crust gets so crunchy you’d swear these were fried. I added a little extra paprika to the breading for a tiny kick and it was chef’s kiss. 10/10 will make again.

2 hours ago

Wait did you use regular paprika or smoked? I’ve been wanting to add a little smoky flavor but wasn’t sure if it’d overpower the other seasonings!

30 minutes ago

I used smoked! It was perfect, not too strong at all. Definitely give it a shot next time you make them.

1 week ago

These are my new go-to for weekly meal prep! I make a double batch every Sunday, portion them out with roasted veggies and rice, and they hold up perfectly all week in the fridge. They don’t get soggy when I reheat them in the air fryer for 3 minutes, which is a total win. So easy to throw together too!

30 minutes ago

Wait, is there a substitute for panko? I only have regular breadcrumbs at home and don’t feel like running to the store tonight. Would that work or will they get soggy?

5 minutes ago

Regular breadcrumbs will work in a pinch, Mike! For extra crispiness, toast them in a dry pan for 2-3 minutes before breading the chicken to remove excess moisture. That’ll help them stay crunchy instead of getting soggy in the oven.

3 days ago

My 3 and 5 year old are SO picky about chicken and they ate every last bite of these for dinner tonight! I served them with honey mustard dipping sauce and sweet potato fries, and it was the easiest weeknight meal I’ve made all month. No more fighting them to eat protein, hallelujah!

2 days ago

What honey mustard recipe did you use? I’ve been searching for a good one to pair with these and all the store bought ones are too tangy for my kids!

2 days ago

I just mixed 1/2 cup mayo, 3 tbsp honey, 2 tbsp yellow mustard, and a tiny splash of apple cider vinegar! My kids go crazy for it, super sweet and creamy.

2 weeks ago

Super easy recipe even for a guy who can barely boil water! Only took me 20 minutes total from start to finish, and they came out crispy on the first try. Way cheaper and better than the frozen tenders I usually buy. 10/10 for broke college students.

5 days ago

Has anyone tried these with gluten free panko? I have celiac and have been looking for a good gluten free chicken tender recipe that doesn’t taste like cardboard. Would love to know if it works before I buy the ingredients!

3 days ago

Gluten free panko works perfectly here, Gina! I’ve tested this recipe with multiple GF panko brands and the crisp factor is exactly the same as regular panko. Just double check that your other seasonings are certified GF if you need to avoid cross-contamination!

yesterday

Made these for my date night last night and my boyfriend thought I ordered takeout from our favorite sports bar! The seasoning blend is perfect, not too salty, and the crust was shatteringly crisp. Served them with waffle fries and ranch, total home run.

yesterday

Wait did you spray the tenders with olive oil before baking? I’ve had issues with the crust not browning evenly in the past so I’m curious!

2 hours ago

Great question! A light spritz of cooking oil (olive oil or avocado oil works great) over the breaded tenders before baking helps them brown and crisp up evenly without frying. Don’t douse them, just a light mist is all you need!

1 week ago

Made these for our neighborhood block party last weekend and they were gone in 10 minutes flat! People were coming back for seconds and thirds before I even got to try one (luckily I stashed a few at home for myself lol). So easy to make a big batch for a crowd.

5 minutes ago

Quick question: what temperature do I set my oven to? I swear I looked through the recipe three times and I must be missing it! Don’t want to burn these on my first try.

just now

No worries at all, Nate! Oven temp is 425°F (220°C), and you’ll want to bake them for 7-8 minutes per side until the internal temp hits 165°F. I’ll make that note a little more prominent on the recipe card for future bakers – thanks for the heads up!

2 hours ago

Has anyone tested these in the air fryer instead of baking? I hate heating up my whole oven in the summer, would love to make these without turning the whole kitchen into a sauna.

30 minutes ago

I made them in my air fryer last week! 400°F for 10 minutes, flip halfway, they came out even crispier than the oven version. Total game changer for summer cooking!

5 minutes ago

Great tip! Air fryer works perfectly for this recipe – just make sure you don’t stack the tenders in the basket so air can circulate around them, and give them a light spritz of oil just like you would for the oven method.

2 days ago

These are so good I ate half the batch straight off the baking sheet with a giant bowl of ranch. No shame. The crunch is unreal for baked chicken – I will never go back to fast food chicken tenders again. So easy, so flavorful, 100% recommend.

3 days ago

This recipe is a lifesaver for busy weeknights. I can get the breading station set up while the oven preheats, pop them in for 15 minutes, and dinner is done before my kids even finish their homework. No messy deep frying, no greasy kitchen, perfect.

2 days ago

Same! I keep a bag of pre-cut chicken tenders in the freezer just so I can make these on nights I don’t have time to plan a whole meal. Total weeknight hero!

5 days ago

I was worried the seasoning would be too bland because it’s just garlic powder, paprika, salt, and pepper but wow, it’s perfect! I was tempted to add a bunch of extra stuff but I followed the recipe exactly and it didn’t need anything else. Sometimes simple is best, right?

3 days ago

I added a pinch of cayenne to the breading last time I made these and it gave such a nice little heat without being overpowering! Would recommend if you like a tiny kick.

2 days ago

Oh that’s a good call! I’ll have to try that next batch, my partner loves spicy food so that’ll be a hit.

1 week ago

Can you freeze these after breading them but before baking? I want to stock my freezer with quick meals for after the baby comes, these would be perfect to just pull out and pop in the oven on no-sleep days.

5 days ago

Absolutely! Arrange the breaded uncooked tenders on a baking sheet in a single layer, freeze until solid, then transfer to a freezer bag for up to 3 months. When you’re ready to bake, just add 3-5 minutes to the cook time – no need to thaw first. Congrats on the new baby!

2 weeks ago

Made these last night and dipped them in buffalo sauce, honey mustard, and ranch (don’t judge, I love my sauces) and they worked with every single one. The crust is sturdy enough that it doesn’t fall off when you dip, which is my biggest pet peeve with homemade chicken tenders. 10/10.

just now

I’ve never cooked chicken in my life (yes, really) and I was so nervous I’d undercook it or burn it, but these came out perfect on the first try! The 15 minute cook time is spot on, and the crust was so crispy I couldn’t believe I made them myself. So proud lol.

just now

Yay, so proud of you! This is the perfect beginner recipe, it’s almost impossible to mess up. Once you make these a few times you’ll start experimenting with different seasonings, it’s so fun!

3 days ago

Ugh, mine came out soggy! I followed the recipe exactly but the crust was mushy on the bottom and didn’t crisp up at all. What did I do wrong? I really want these to work because everyone says they’re amazing!

2 days ago

Did you put them directly on the baking sheet or use a wire rack? I always set mine on a wire rack over the baking sheet so air can circulate under them, no more soggy bottoms! Total game changer.

yesterday

Tess is exactly right! Placing the breaded tenders on a wire rack set inside your baking sheet allows hot air to circulate all around them, so the crust crisps up on every side instead of getting soggy where it touches the pan. Also make sure you’re not overcrowding the pan – if the tenders are too close together, they’ll steam instead of crisp. Give it another try, I bet they turn out perfect!



