
baked eggs for sandwiches

title 1
baked eggs for sandwiches
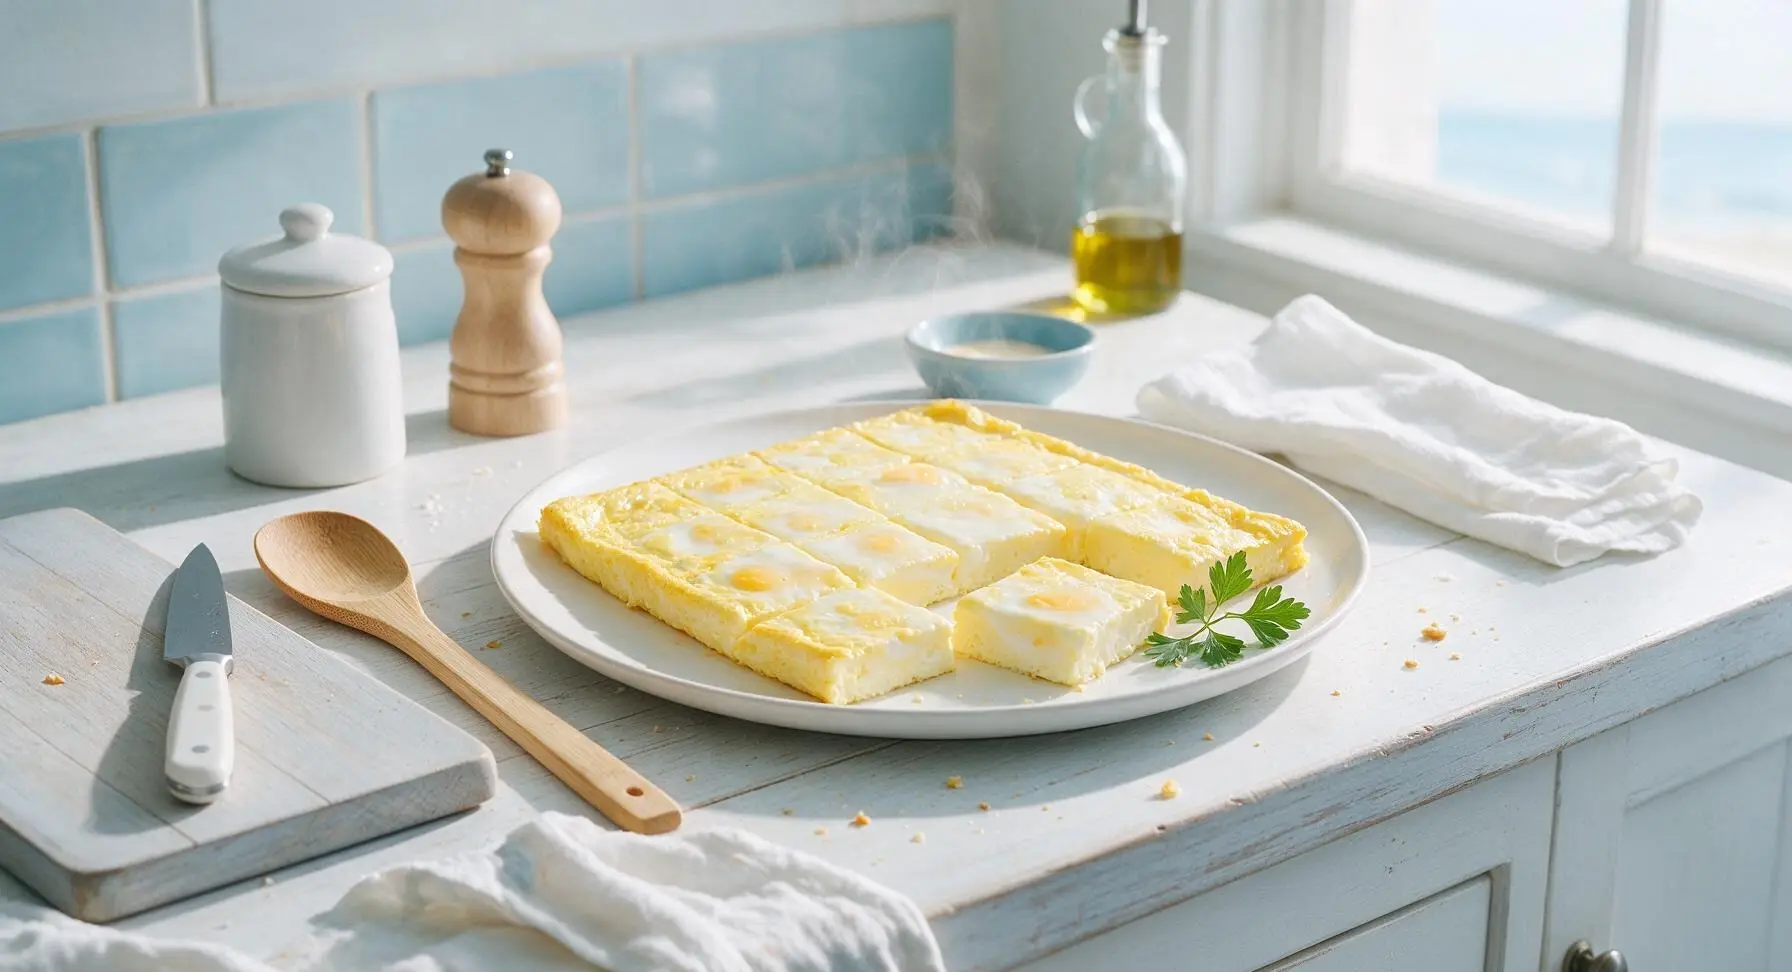
⏱️ cook time 12 minutes
🍽️ servings 4
⚡ Difficulty easy

intro

Tender, evenly baked sheet-pan eggs with a creamy fully set center, cut into neat squares perfect for stacking in breakfast sandwiches with no runny mess or lopsided slices.

Ingredients
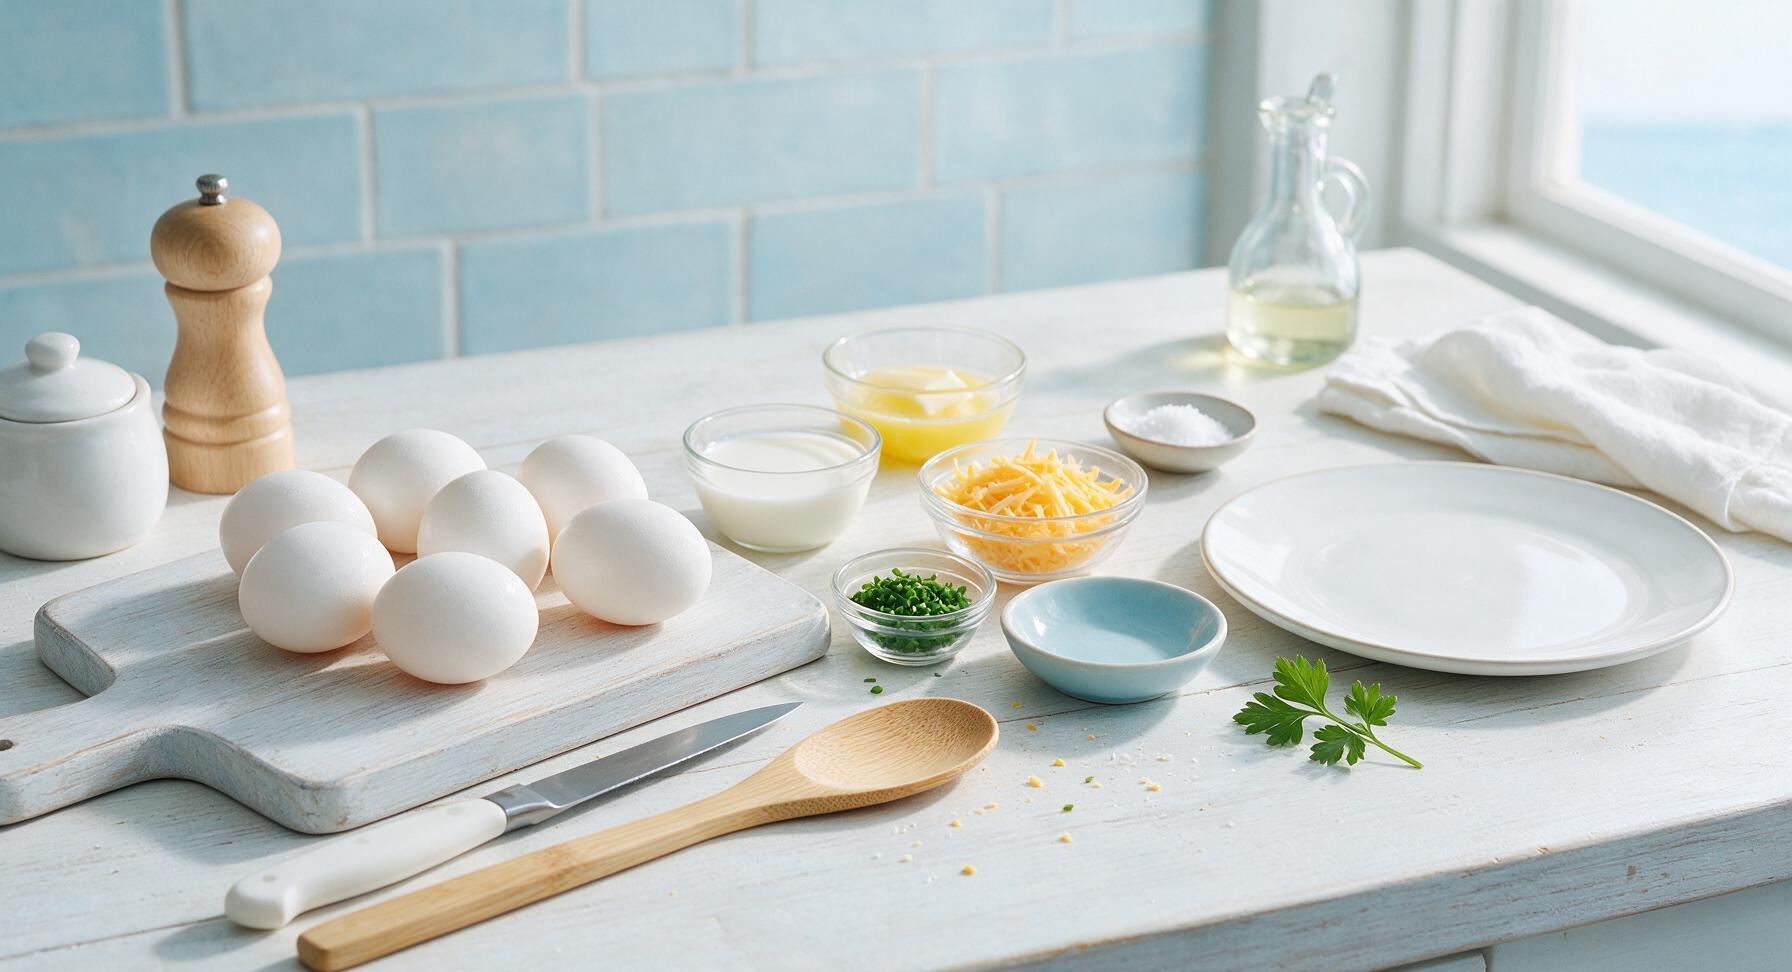
Large eggs 6 each
Whole milk 2 tbsp
Unsalted butter 1 tbsp, melted
Kosher salt 1/2 tsp
Freshly ground black pepper 1/4 tsp
Shredded mild cheddar cheese 1/4 cup
Fresh chives 1 tbsp, finely chopped

Steps

1

Prep Pan and Oven

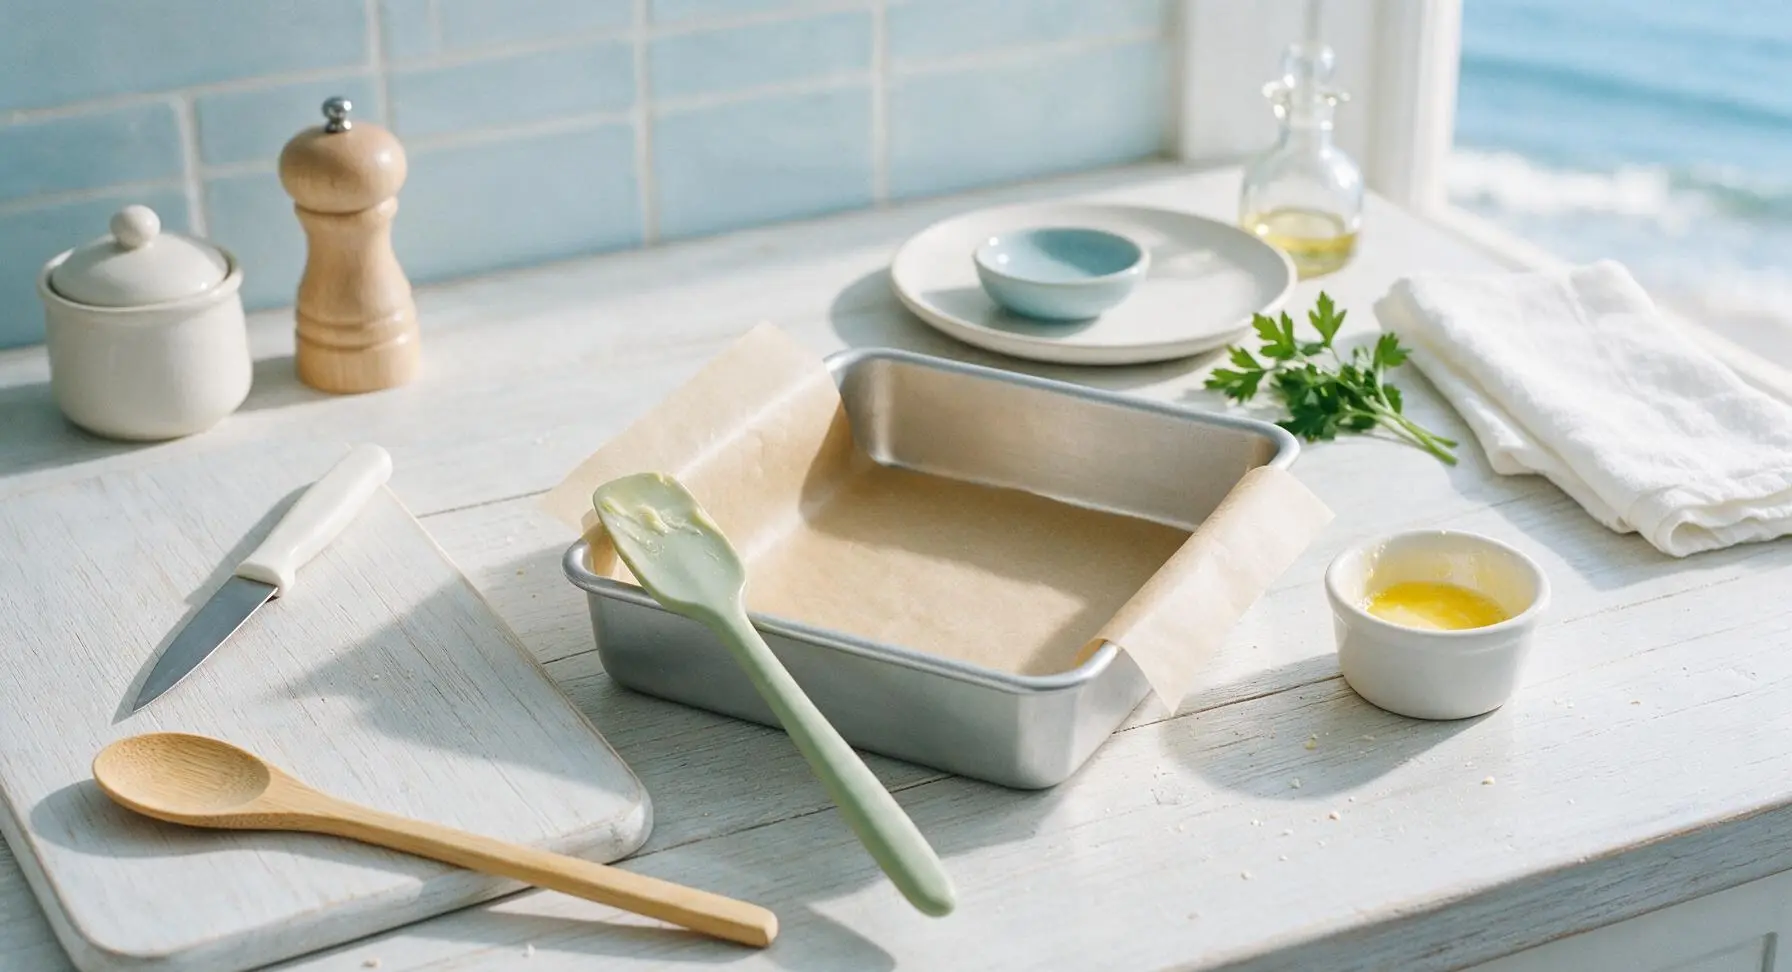
Adjust oven rack to middle position and preheat oven to 375°F (190°C). Cut a 9x9 inch square of unbleached parchment paper to line the bottom of the matte silver aluminized steel baking pan, leaving a 1-inch overhang on two opposite sides to act as lift handles. Use the pale sage green silicone spatula to brush half the melted butter across the parchment and exposed pan sides to prevent sticking.
Step 1
step1:Prep Pan and Oven
2

Whisk Egg Mixture

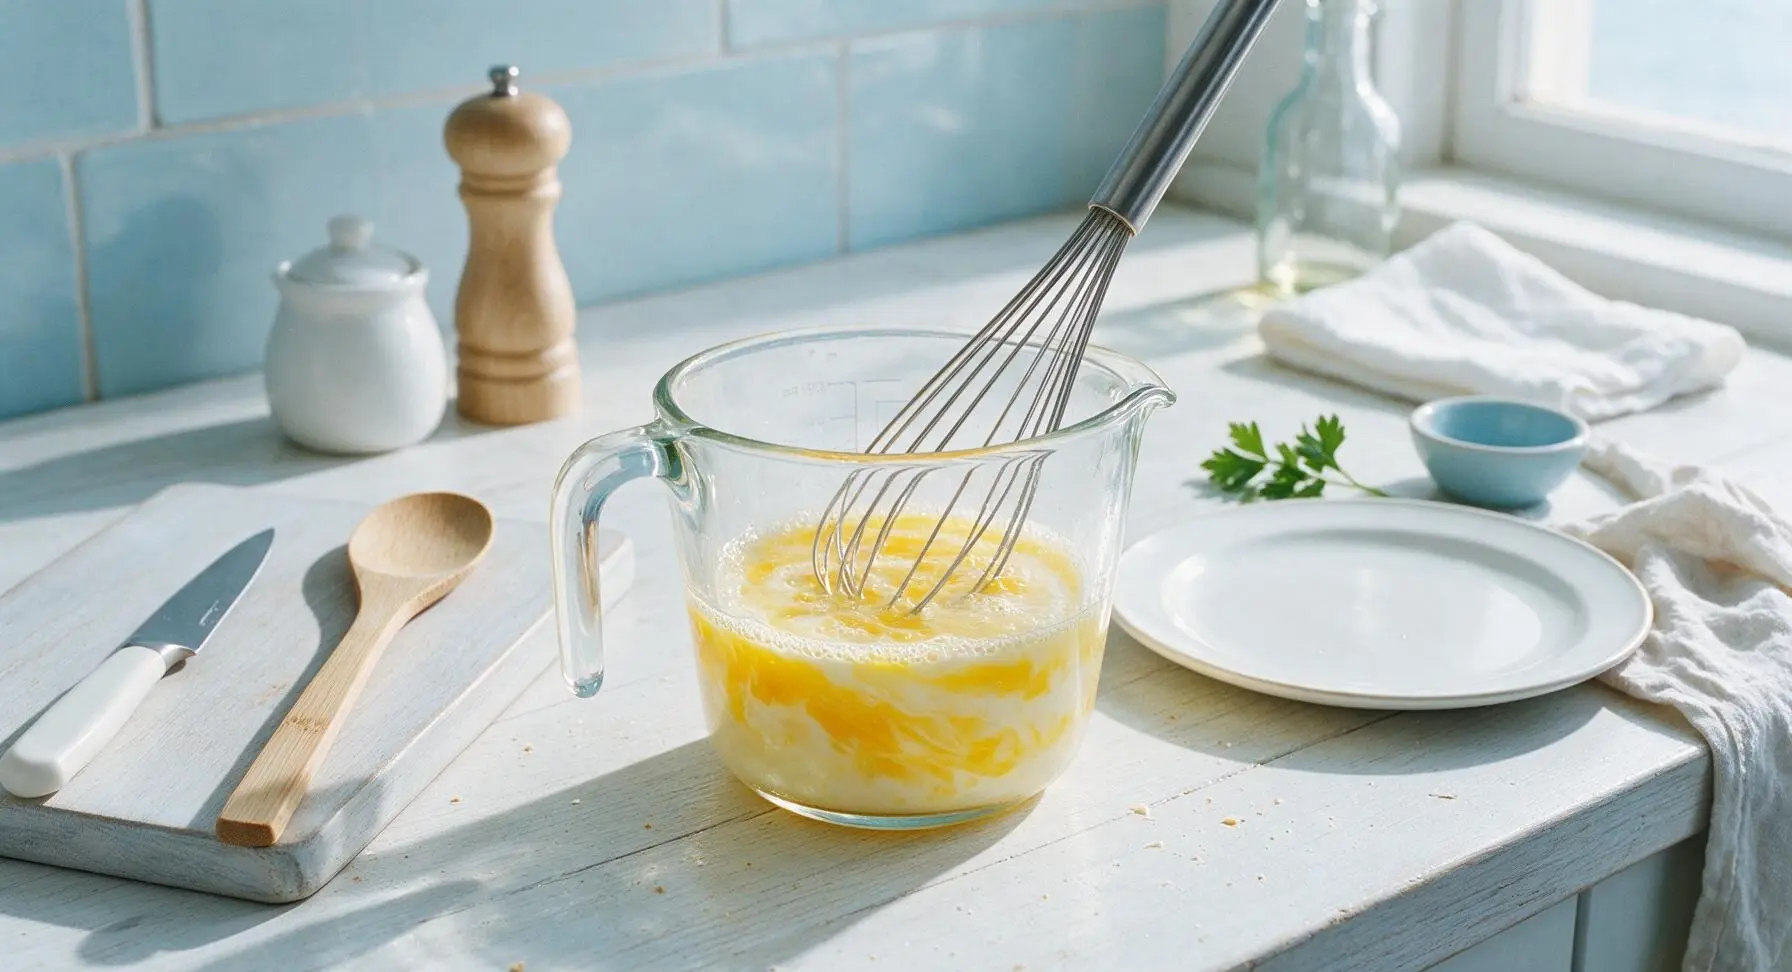
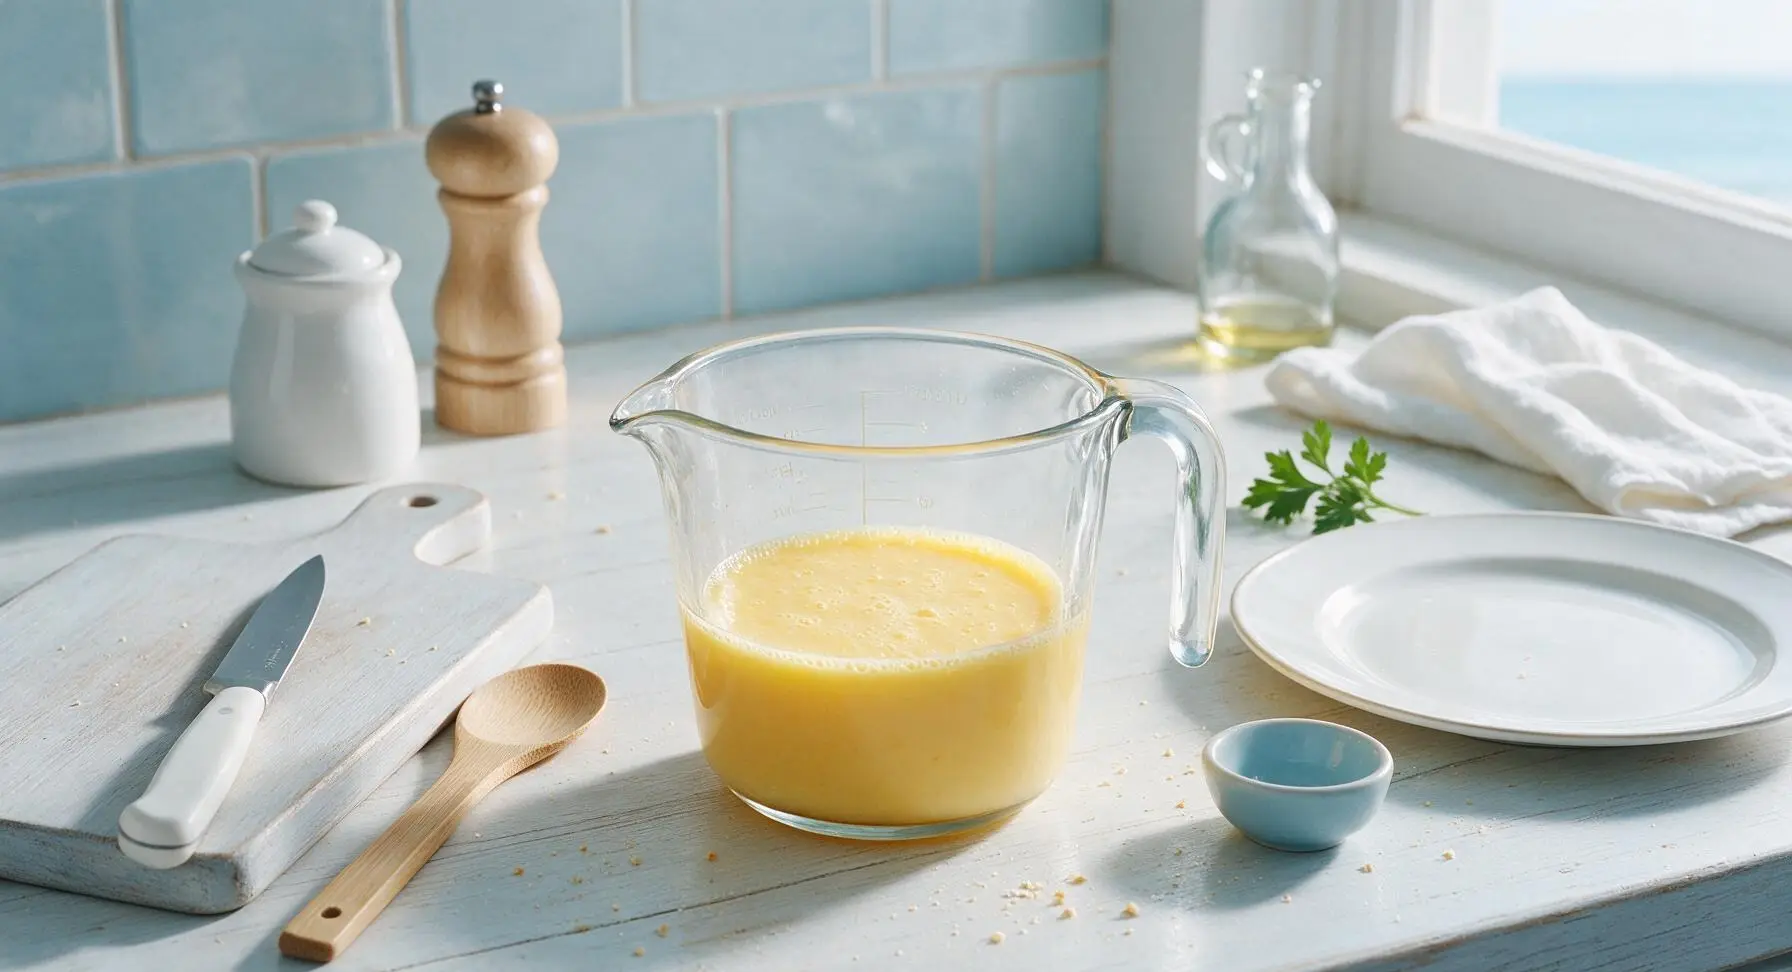
Crack all 6 large eggs into the clear glass 2-cup measuring cup. Add 2 tablespoons whole milk, 1/2 teaspoon kosher salt, and 1/4 teaspoon freshly ground black pepper. Use the stainless steel wire whisk to beat the mixture for 45 seconds, until yolks and whites are fully combined with no streaks of clear egg white remaining, and the surface holds a thin layer of tiny bubbles. Avoid over-whisking, as excess air creates puffed, rubbery eggs that deflate as they cool.
Step 2
step2:Whisk Egg Mixture
Step 2
step2:Whisk Egg Mixture
3

Pour Eggs Into Pan

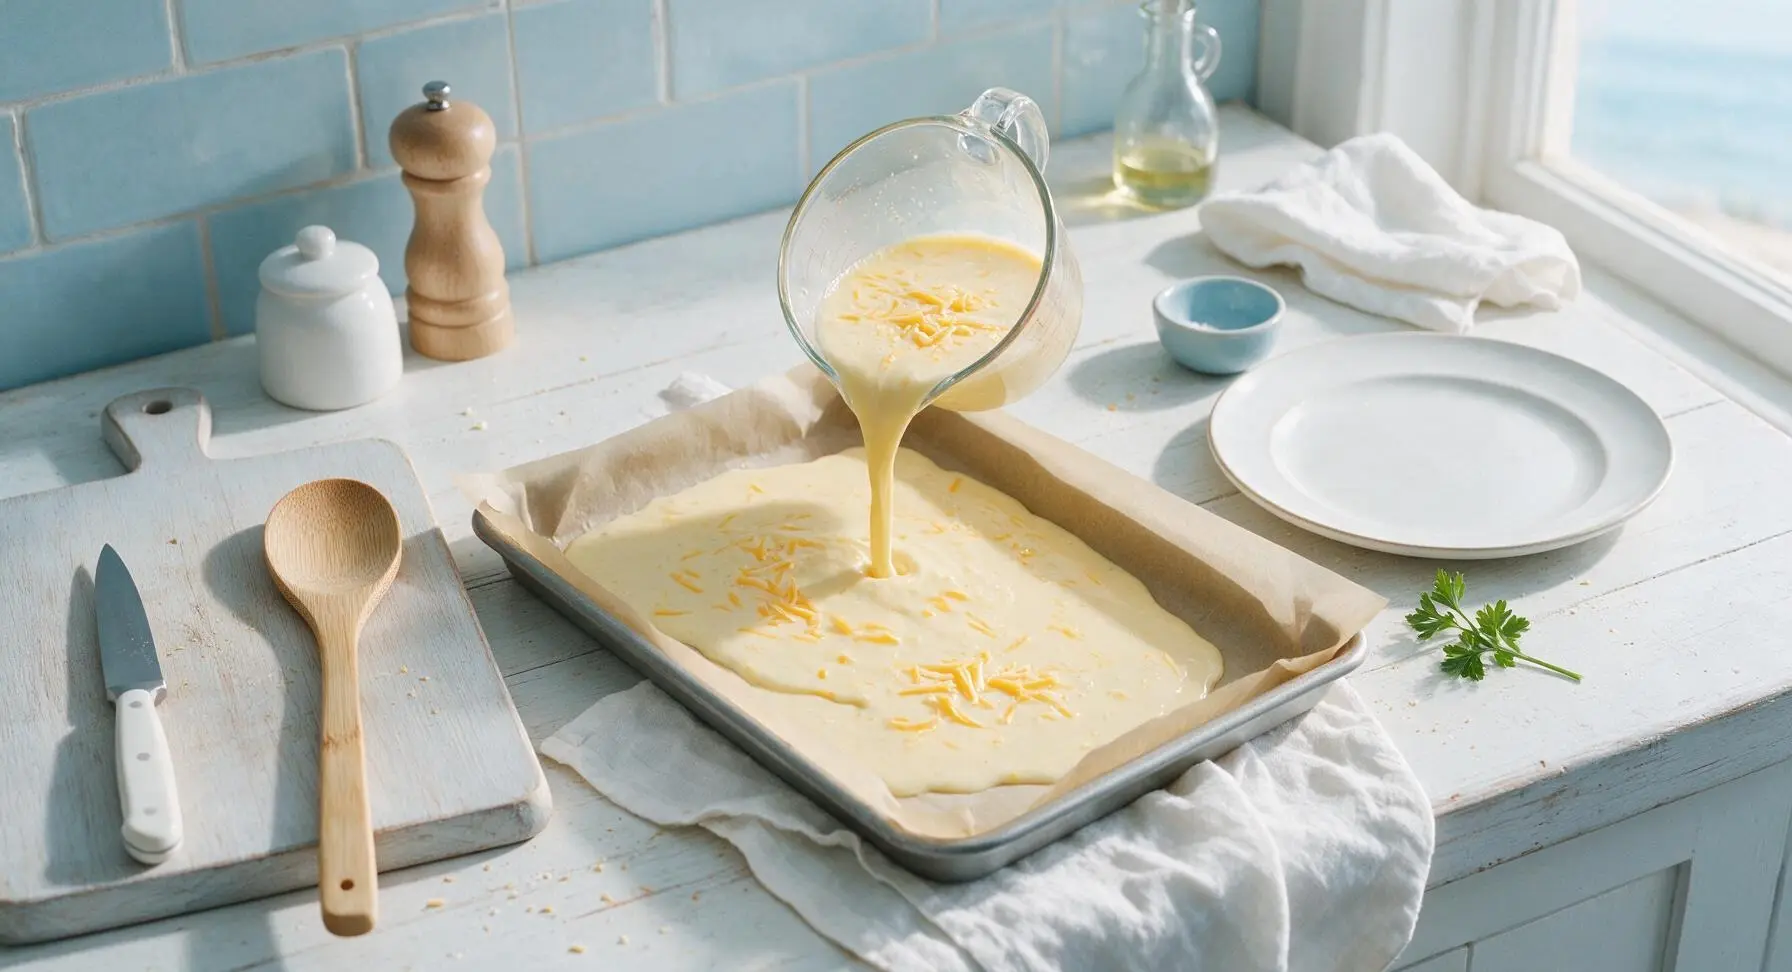
Stir 3 tablespoons of the shredded mild cheddar into the whisked egg mixture, reserving 1 tablespoon for topping. Carefully pour the entire egg mixture into the parchment-lined, buttered baking pan, tilting the pan gently to spread the liquid in a perfectly even layer across the pan bottom.
Step 3
step3:Pour Eggs Into Pan
4

Bake Until Set

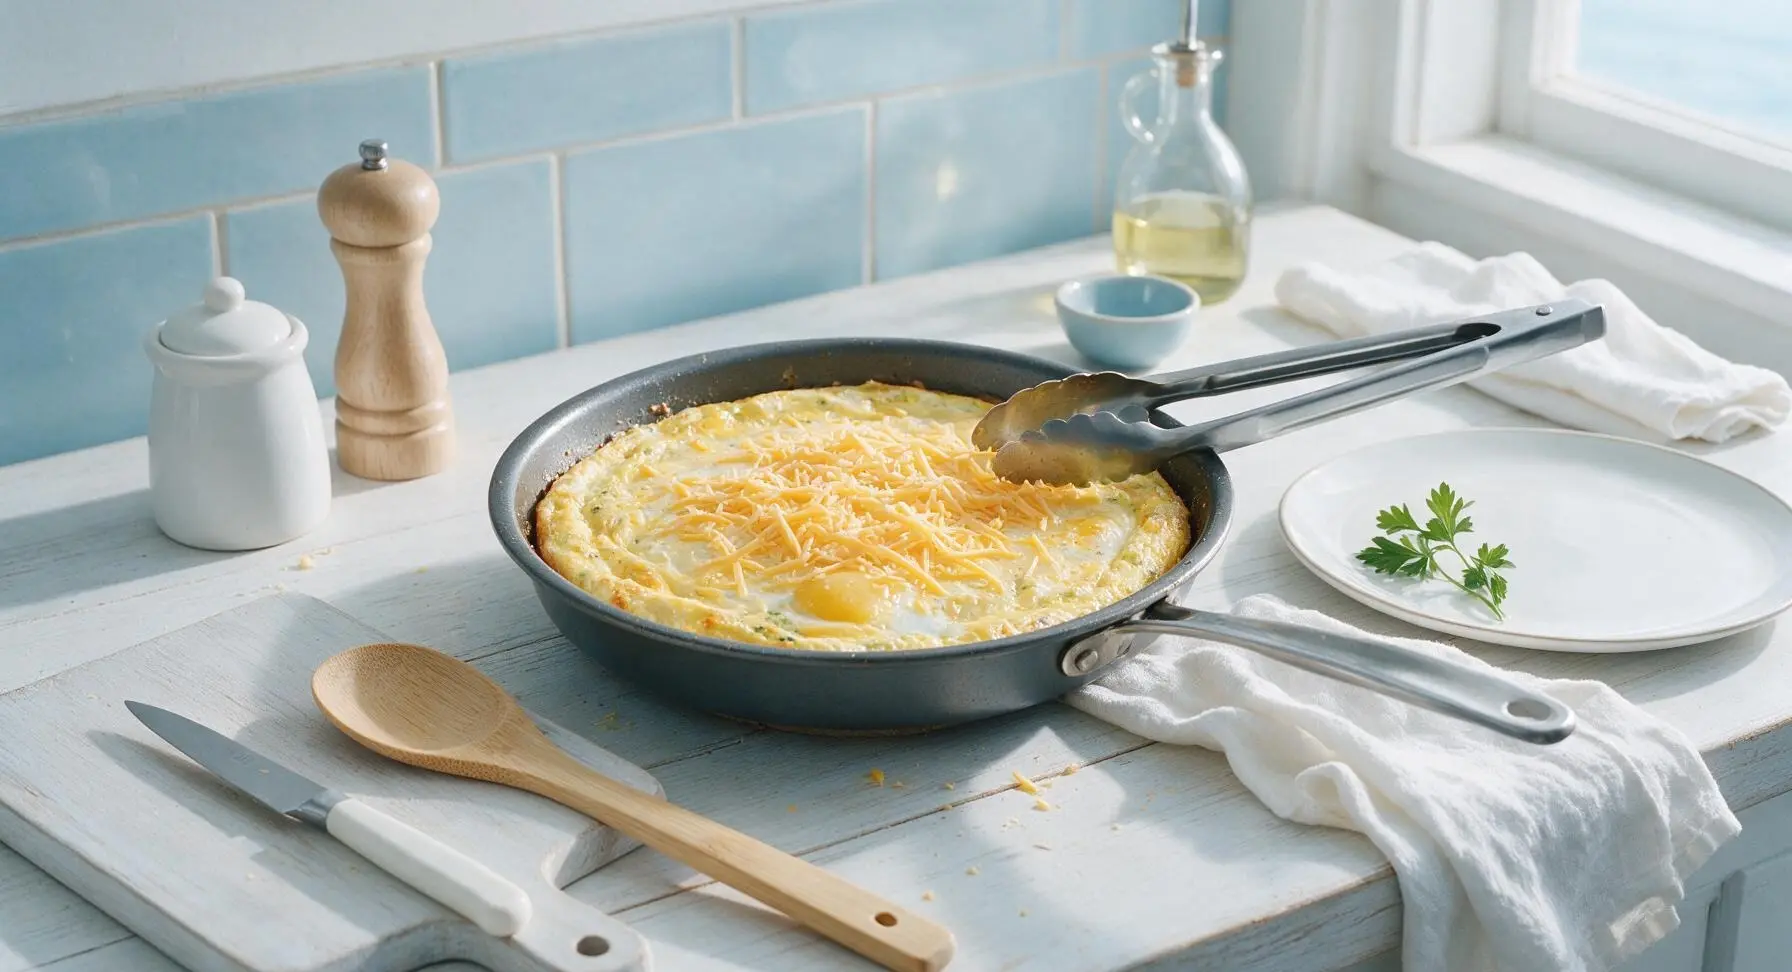
Sprinkle the reserved 1 tablespoon of shredded mild cheddar evenly across the top of the poured egg mixture. Grip the pan edge with the stainless steel tongs to transfer it to the preheated middle oven rack. Bake for 10 to 12 minutes, until eggs are fully set across the center with no jiggly liquid when the pan is gently nudged, and edges are just turning pale golden. Do not overbake, as this creates tough eggs that squeeze out of sandwich bites.
Step 4
step4:Bake Until Set
5

Cool and Lift Eggs

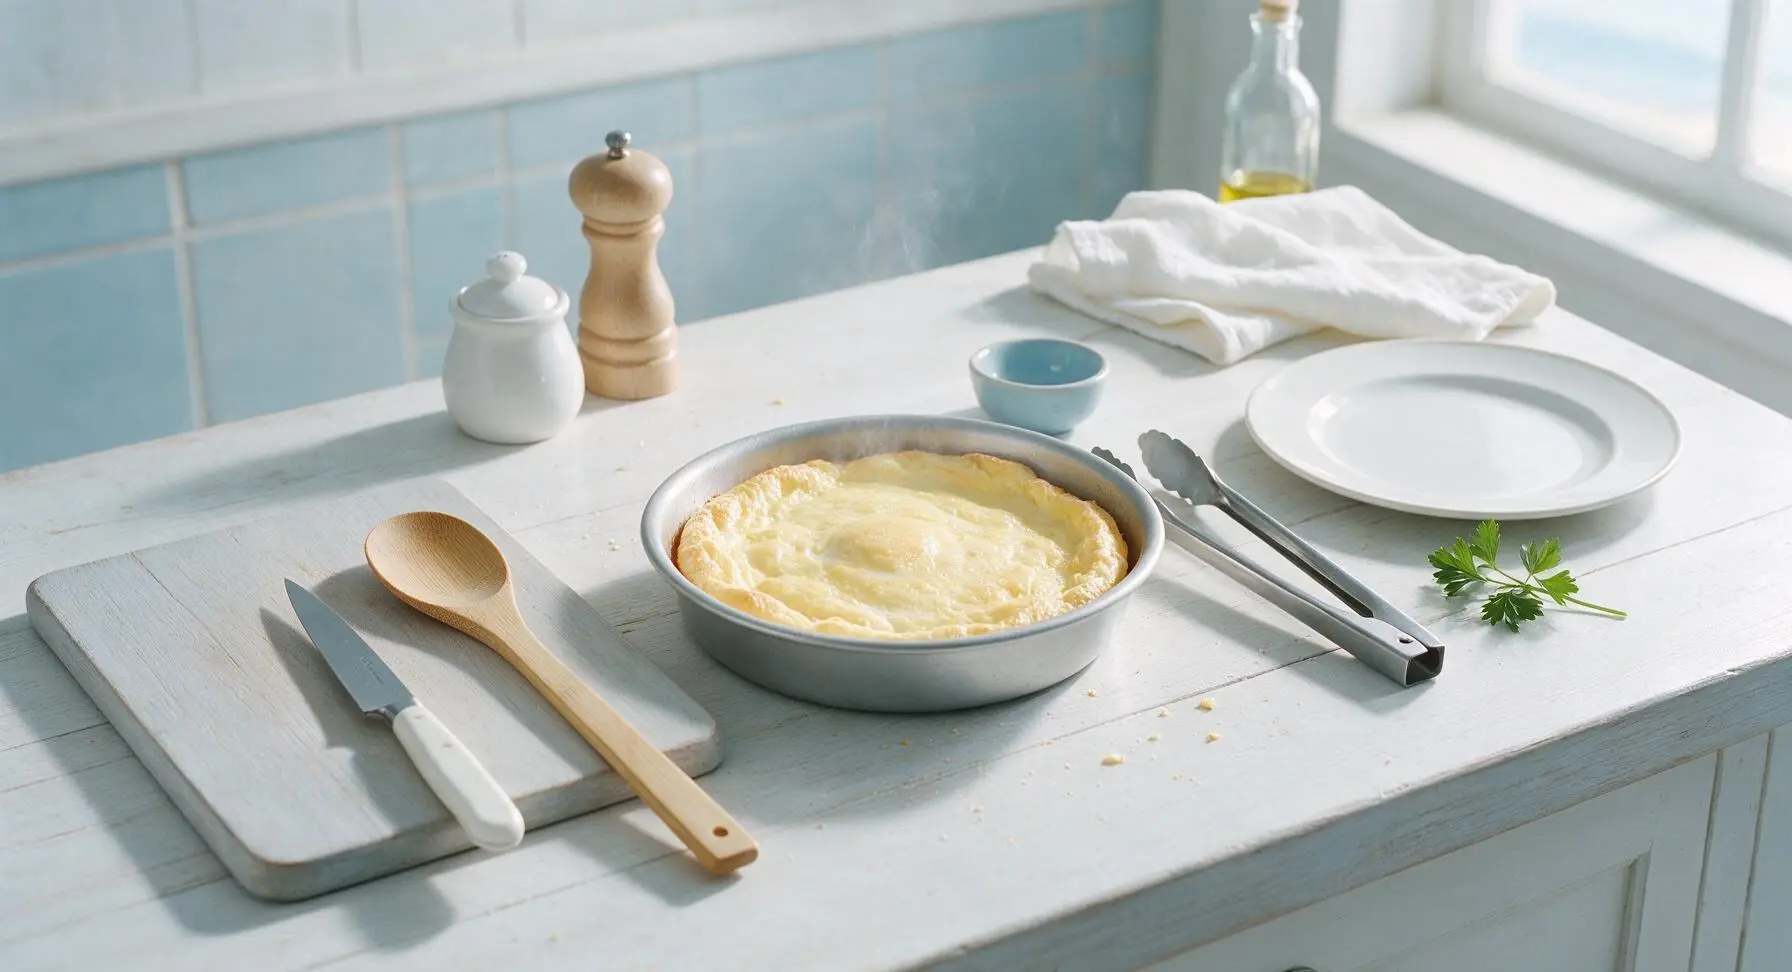
Once baked, use the stainless steel tongs to carefully remove the pan from the oven and set it back on the central counter to cool for 3 minutes. Eggs will be slightly puffed at the edges when first removed, and will settle into a flat, even layer as they cool. Grip the parchment paper overhangs to lift the entire solid egg sheet out of the pan and transfer it to the matte cream square ceramic plate.
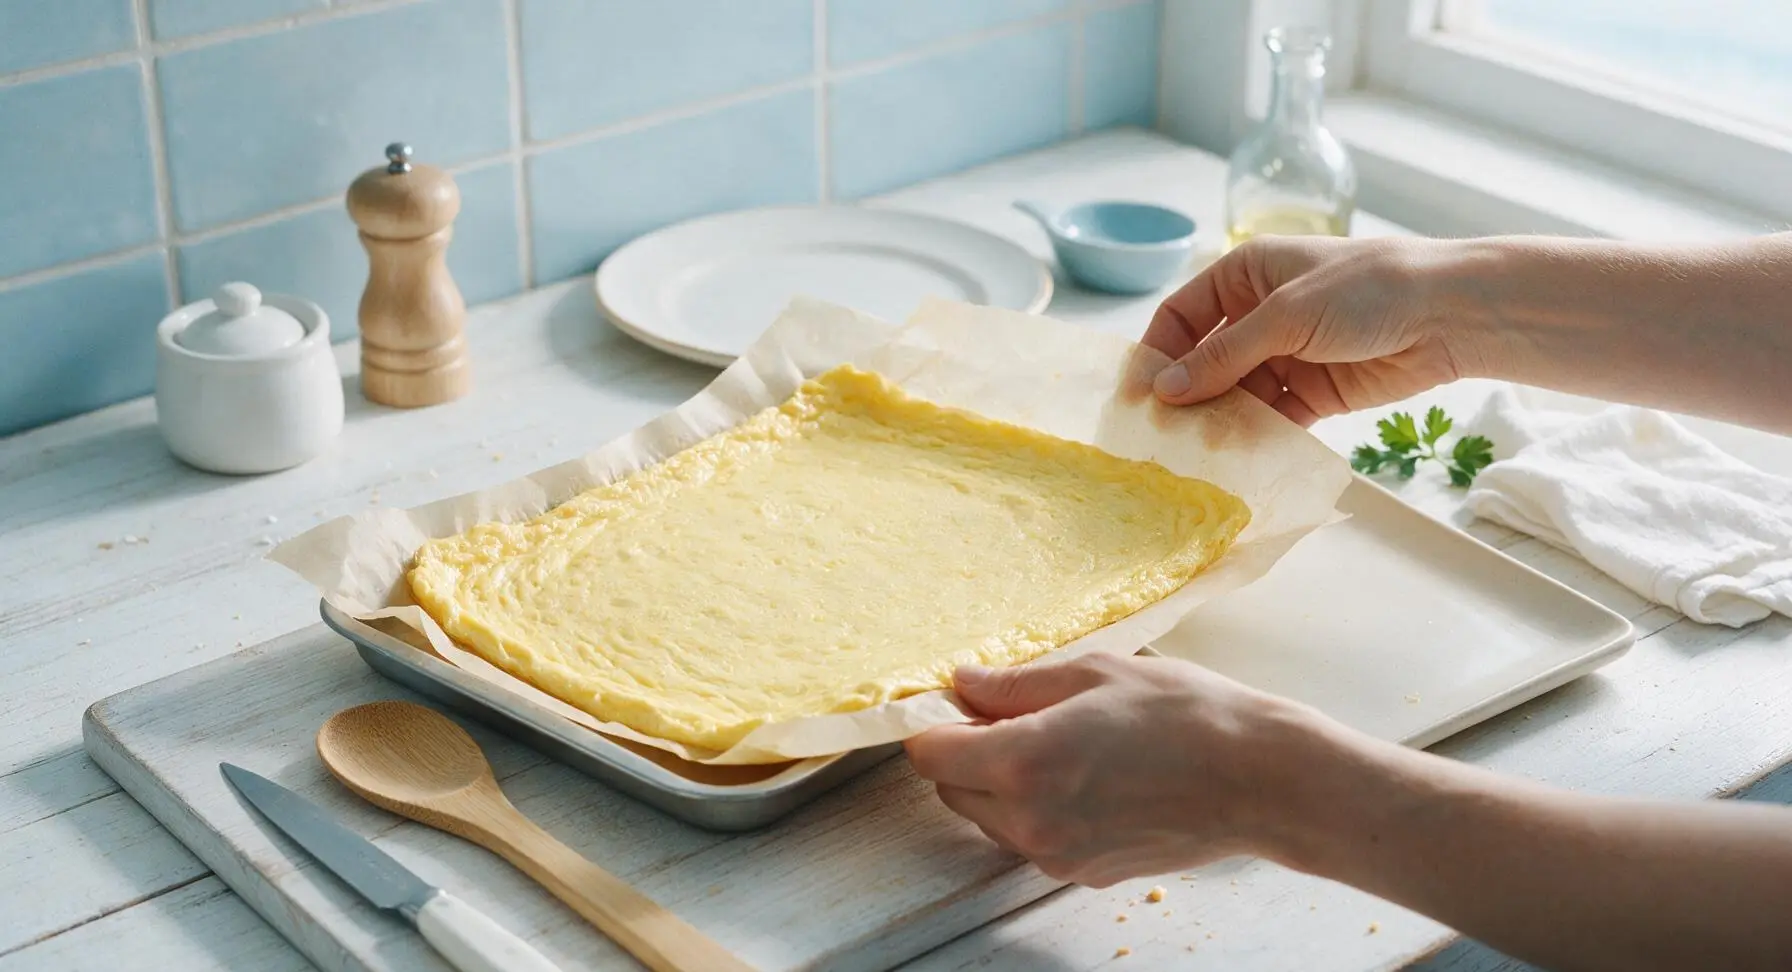
Step 5
step5:Cool and Lift Eggs
Step 5
step5:Cool and Lift Eggs
6

Cut Even Portions

Peel the parchment paper away from the bottom of the lifted egg sheet. Use the black-handled 8-inch chef knife to cut the egg sheet evenly into 4 equal square portions, sized to fit standard sandwich bread or English muffins. Wipe the knife blade between cuts for clean, smooth edges with no ragged crumbs.
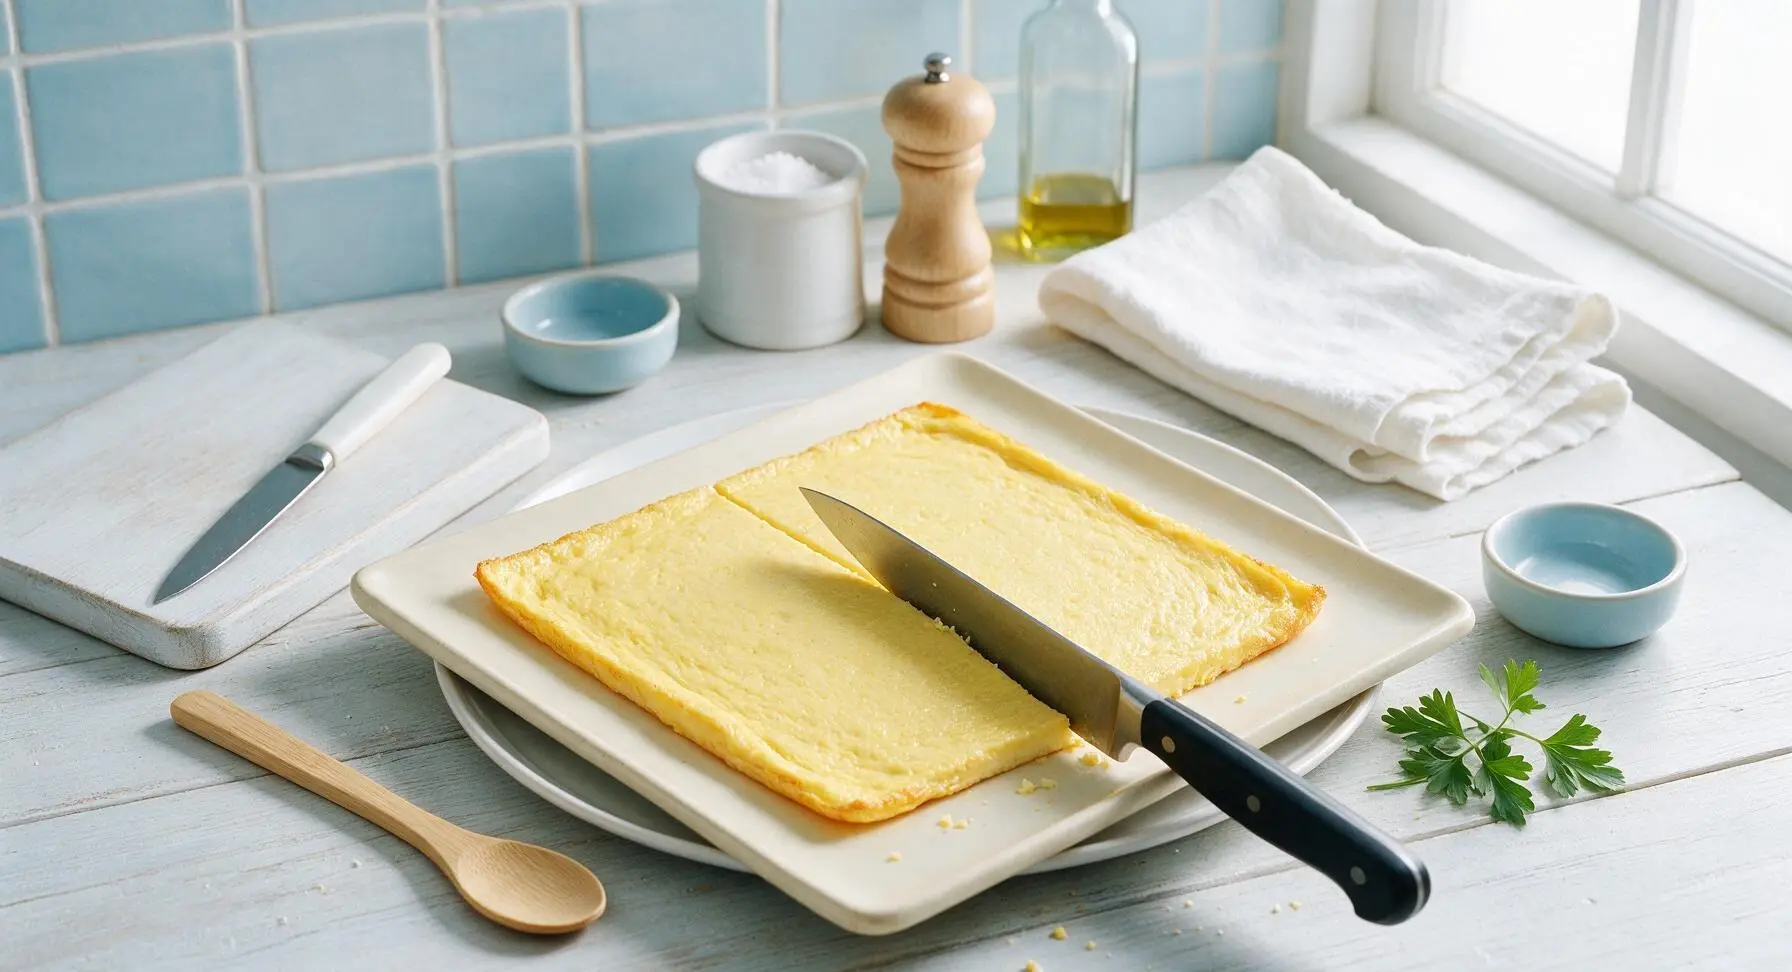
Step 6
step6:Cut Even Portions
7

Garnish for Serving

Sprinkle the cut egg portions evenly with 1 tablespoon of finely chopped fresh chives, plus an extra light crack of black pepper if desired. Patties are ready to stack onto toasted sandwich bread with favorite fillings, or can be stored in an airtight container in the fridge for up to 4 days for quick meal prep.
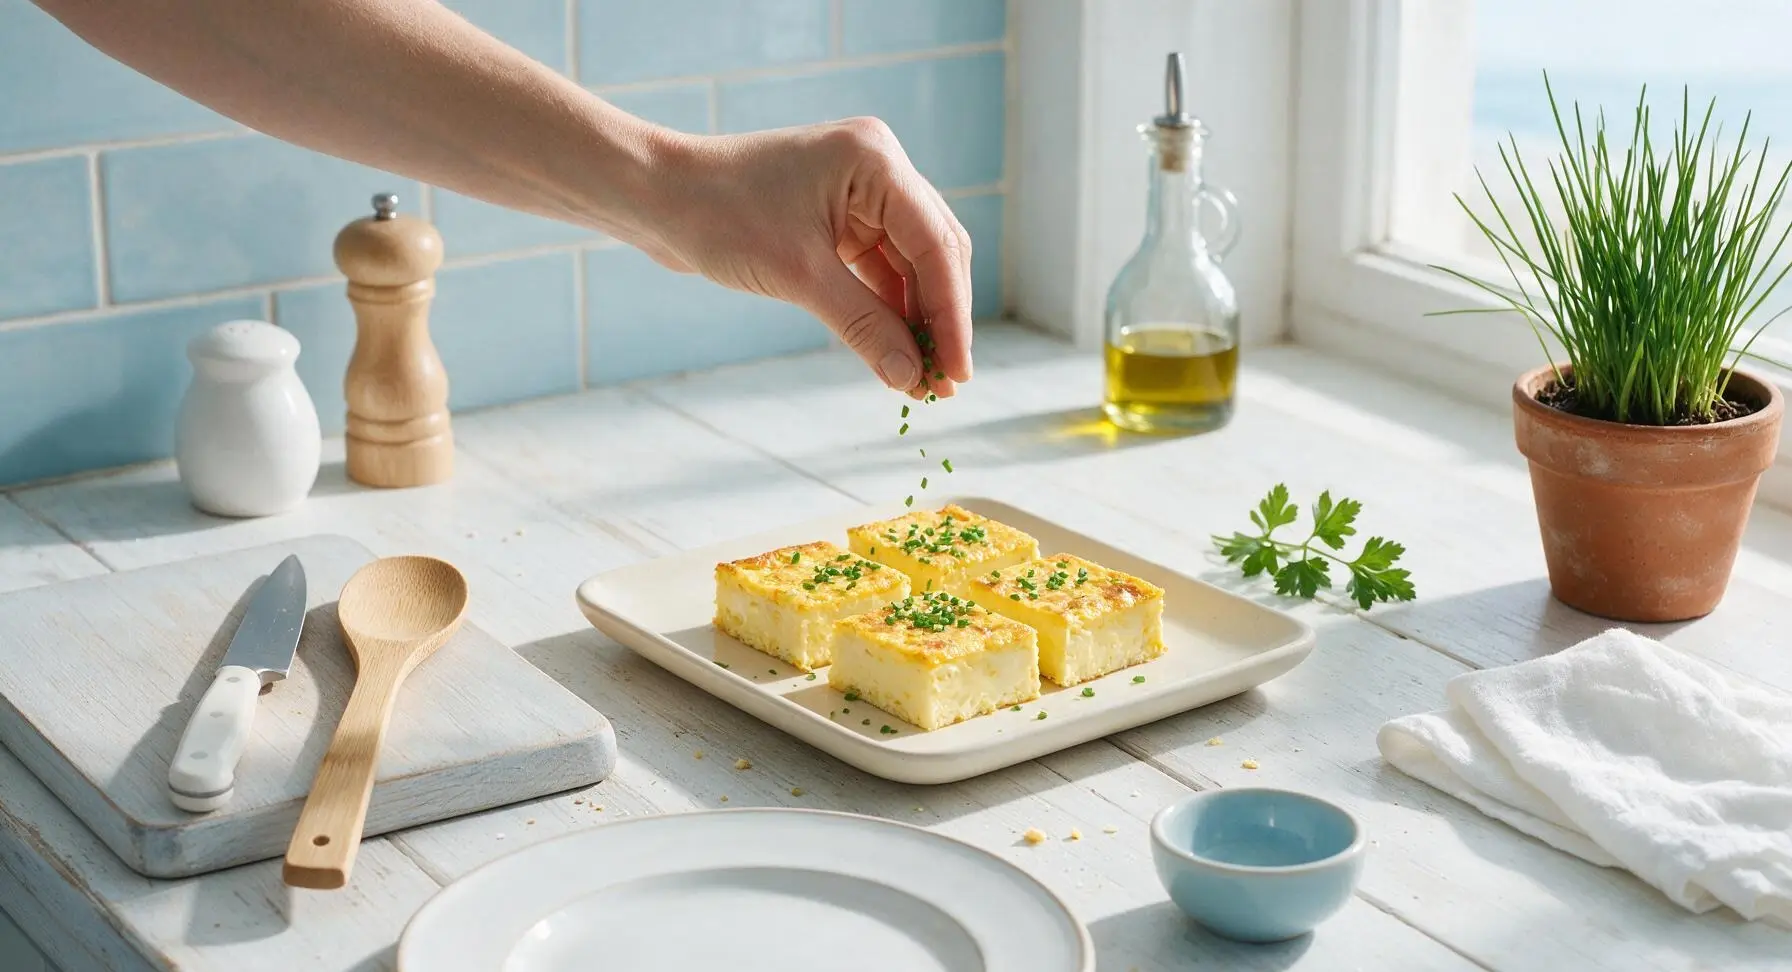
Step 7
step7:Garnish for Serving

Tips

1.Don’t over-whisk the egg mixture: beating in too much air creates large pockets that cause eggs to puff dramatically in the oven then deflate into a wrinkled, uneven surface that won’t stack neatly on sandwiches.
2.Use the parchment paper overhang handles: this lets you lift the entire cooked egg sheet out in one smooth piece, so you get clean, even square portions instead of crumbly, ragged edges from scraping the pan.
3.Let eggs rest 3 minutes after baking: this allows the egg proteins to set fully, so patties hold their shape when stacked and won’t squeeze out of sandwich sides when you take a bite.


✨ You May Also Like

Breakfast
🍜 United States

Crisp-edged, fluffy lard griddle cakes are a nostalgic homestyle staple, with rich savoriness from rendered lard, perfect topped with maple syrup or savory gravy.

⏱️ 25 minuteBreakfast ★ 4.8
Breakfast
🍜 United States

Flaky, buttery homemade buttermilk biscuits smothered in creamy, peppery pork sausage gravy: a beloved, hearty Southern American comfort food classic.

⏱️ 35 minuteBreakfast ★ 4.8
Breakfast
🍜 United States

Golden, custardy brioche stuffed with sweet cream cheese and fresh berries, pan-fried to crisp perfection. An indulgent, cozy breakfast perfect for slow weekend mornings.

⏱️ 30 minuteBreakfast ★ 4.7
Breakfast
🍜 United States

Flaky, buttery Southern-style biscuits stuffed with savory salty country ham, a portable, satisfying classic perfect for casual on-the-go meals.

⏱️ 25 minuteBreakfast ★ 4.8
Breakfast
🍜 United States

Iconic puffy baked pancake popularized in Seattle, with crisp golden edges and soft custardy center, served warm with classic sweet toppings.

⏱️ 35 minuteBreakfast ★ 4.6
Breakfast
🍜 United States

Fluffy, golden pancakes studded with juicy peak-summer mixed berries, drizzled with maple syrup for a bright, comforting, crowd-pleasing family breakfast.

⏱️ 25 minuteBreakfast ★ 4.7

baked eggs for sandwiches:Frequently Asked Questions

1.Why should I bake eggs instead of frying or scrambling them for breakfast sandwiches? ▾
Baking eggs on a sheet pan creates uniformly thick, evenly set slices that stack perfectly in sandwiches without lopsided edges or runny, shirt-staining drips. Unlike crumbly scrambled eggs or uneven fried eggs, these cut into neat, sturdy squares that hold their shape from first bite to last, with a creamy, not rubbery, texture across every piece.
2.What size sheet pan do I need to get the ideal egg thickness for sandwiches? ▾
For the perfect ½-inch thick egg slices that fit standard sandwich buns and English muffins, use a standard 18x13-inch half-sheet pan. Grease it well with the recipe’s unsalted butter to prevent sticking, and position your oven rack dead center so eggs cook evenly edge to edge without thin, crispy overcooked spots.
3.Can I use a milk substitute instead of whole milk if I don’t have it on hand? ▾
Whole milk gives these baked eggs their signature creamy, tender set without making them watery, but you can swap in half-and-half for an even richer texture if needed. Skip skim milk or thin plant milks like unsweetened almond milk, as these thin the egg base and lead to rubbery, watery slices that fall apart when stacked.
4.How do I keep the edges of my baked eggs from turning brown and rubbery? ▾
Two easy tricks prevent overcooked, rubbery brown edges: first, bake at a moderate 350°F, avoiding the higher temps that cook edges far faster than the center. Second, grease the entire pan, including raised edges, with unsalted butter, and pull eggs out the second the center is set to stop carryover cooking.
5.How many eggs do I need for a full batch that makes enough sandwich portions? ▾
A standard batch using 12 large eggs, mixed with ½ cup whole milk and seasoned with kosher salt and freshly ground black pepper, fills one half-sheet pan perfectly. This cuts into 12 even 3x3-inch squares, sized to fit English muffins, bagels, or sandwich buns for easy weekly meal prep.
6.Can I add mix-ins like cheese, veggies, or cooked bacon to the eggs before baking? ▾
Absolutely, as long as you prep mix-ins correctly to avoid soggy eggs. Pat cooked veggies, crumbled bacon, or sautéed spinach completely dry before scattering them over your buttered pan, then pour the egg mixture over top. Sprinkle shredded cheese on in the last 3 minutes for a melty, non-greasy layer.
7.How do I tell when the baked eggs are perfectly done, not undercooked or rubbery? ▾
You’ll know eggs are perfectly done when the very center of the sheet pan has no visible jiggly, liquid egg when you gently nudge the pan, and a toothpick inserted in the middle comes out clean with a tiny bit of creamy, set egg clinging to it. A totally dry toothpick means you’ve overcooked them.
8.Can I make these baked eggs ahead of time for weekly meal prep? ▾
These baked eggs are ideal for meal prep! Once baked, let the egg sheet cool completely to room temperature, cut into squares, and store in an airtight container layered between parchment paper in the fridge for up to 4 days. Reheat a square for 15-20 seconds in the microwave when you’re ready to build a sandwich.
9.Why do my baked eggs come out puffy and uneven, making them hard to cut into neat squares? ▾
Puffy, uneven egg surfaces happen when you whisk the egg and milk mixture too vigorously, incorporating excess air that expands in the oven then deflates lopsidedly as it cools. Whisk just until yolks, whites, milk, salt, and pepper are fully combined (no froth!) for a smooth, level surface that cuts cleanly.
10.Do I need to line my sheet pan with parchment paper, or is greasing with butter enough? ▾
Greasing your pan thoroughly with softened unsalted butter is more than enough to prevent sticking, and it helps egg edges cook to a tender, not tough, finish. If you want extra-easy cleanup, you can line the pan with parchment, leaving a ½-inch overhang on two sides to lift the whole egg sheet out for fast cutting.
11.Will these egg squares hold up if I freeze fully assembled breakfast sandwiches for later? ▾
These sturdy, fully set egg squares hold up beautifully in the freezer, which is why they’re perfect for make-ahead sandwiches. Assemble sandwiches with cooled egg squares, cheese, and cooked breakfast meat, wrap tightly, and freeze for up to 3 months. Reheat straight from frozen in the oven or microwave for a quick, mess-free meal.
12.I don’t have unsalted butter—can I use salted butter or cooking spray to grease the pan? ▾
You can use salted butter to grease the pan if that’s what you have on hand, just cut back slightly on the added kosher salt in the egg mixture to avoid over-seasoning. Skip nonstick cooking spray if possible, as it leaves a faint, slimy residue on egg edges and doesn’t add the rich butter flavor that pairs so well with sandwich fillings.

Comments (15)

2 days ago

OMG this baked eggs recipe is a total game changer for our busy school mornings! I used to stand over the stove scrambling eggs while the kids yelled for their backpacks, now I pop these in the oven and pack lunches while they cook. Perfect on toasted English muffins with a little cheese. My kids loved it so much they asked for seconds before they even finished their first sandwich!

yesterday

Wait do these reheat well? I do meal prep on Sundays and need stuff I can zap for 30 seconds in the morning!

yesterday

Great question! These reheat perfectly—just wrap them in a paper towel and microwave for 20-30 seconds, or warm them in a toaster oven for a minute if you don’t want soggy edges. Perfect for meal prep!

3 days ago

SO good. I made these for my post-gym breakfast sandwiches all week and they hold up way better than fried eggs that run all over the place. I added a little paprika and garlic powder to the egg mix before baking and chef’s kiss.

2 days ago

Love the paprika and garlic powder add-in! So many folks customize these with their favorite seasonings and it never misses. So glad they work for your post-workout routine!

1 week ago

Made these for my weekend brunch potluck last weekend and people were begging for the recipe! I set out English muffins, bagels, avocado, hot sauce, cheese, and let people build their own sandwiches with the baked egg rounds. Zero mess, zero stress, everyone raved. 10/10 will make again for every brunch from now on.

2 hours ago

Wait, silly question—do I need a special muffin tin to make these? I only have a regular 12-cup tin at home and I don’t want to mess them up for my first time making them.

30 minutes ago

No special tin needed! I just use my regular muffin tin, spray it really well with nonstick spray, and they pop right out. I even put a little slice of Canadian bacon in the bottom of each cup before pouring the egg in sometimes!

5 minutes ago

Totally agree! A standard 12-cup muffin tin works perfectly—just grease the cups well, and if you want perfectly sized rounds for English muffins, fill each cup about ⅔ full with the egg mixture. No fancy equipment required!

5 days ago

Bro this is so easy even I can’t mess it up. 12 minutes cook time? No fancy skills? I’m tired of paying $8 for breakfast sandwiches at the campus café, so I’m making these every week from now on. Saved me so much money already.

3 days ago

Pro tip: freeze them individually in baggies! They last a month in the freezer and you can reheat straight from frozen in 2 minutes. Game changer for road trips too.

2 weeks ago

These are solid! I will say I overcooked mine by 2 minutes the first time because my oven runs hot, so definitely check them at the 10 minute mark if you know your oven is temperamental. They were still tasty though, just a little crisp around the edges which I actually didn’t mind. Great base recipe to tweak to your taste.

1 week ago

Added these to my weekly meal prep rotation last month and I haven’t gotten sick of them yet! I do a batch every Sunday, pair with whole grain English muffins, a slice of low-fat cheese, and some spinach, and I have breakfast ready for every work day. Way healthier than hitting the drive thru on my commute.

5 days ago

That’s exactly what we love to hear! The spinach and low-fat cheese addition sounds delicious—such a balanced, easy breakfast to set your week up right. So glad these are working for your meal prep routine!

yesterday

Made these for my son’s camping trip send-off breakfast, threw them on toasted sourdough with a little hot sauce and crispy bacon, and all the teens were raiding the platter before I could even get a sandwich for myself. Only downside is I didn’t make a double batch!

2 hours ago

Oh the double batch is non-negotiable! I learned that the hard way when I made a single batch for my church potluck and they were gone in 10 minutes flat.

30 minutes ago

We always recommend a double batch for groups! Teens especially can put these away like nobody’s business. Next time throw in some diced bell peppers or cooked sausage crumbles for extra heartiness!

3 days ago

I’ve been making egg sandwiches for 50+ years and I can’t believe I never thought to bake the eggs like this! No more flipping, no more broken yolks, no more grease splatters all over my stovetop. This old dog learned a new trick today, thanks for the easy recipe.

2 days ago

Right?! I’m such a new cook and I was so sick of messing up fried eggs for sandwiches, this method is foolproof even for people like us!

2 weeks ago

Tested these out on my last road trip in the RV oven and they came out perfect! Even wonky tiny RV ovens can cook these right as long as you keep an eye on them. I’ve been making them for camp breakfasts with the neighbors at the campground and everyone is obsessed. Easy to make with limited counter space too, which is a huge win for RV life.

30 minutes ago

Wait has anyone tried adding veggies to these? I want to mix in some diced mushrooms and spinach but I’m worried they’ll make the eggs watery if I don’t cook them first?

5 minutes ago

I add spinach and mushrooms all the time! Just sauté them first for a couple minutes to get the extra moisture out, then drain them really well before mixing into the eggs. No sogginess at all if you do that!

just now

Great tip from Liz! Any high-moisture veggies like mushrooms, spinach, or tomatoes should be cooked and drained first to avoid watery eggs. A little pat with a paper towel after sautéing goes a long way!

1 week ago

Made these for a tailgate last weekend, cut them into smaller squares and put them on slider buns with bacon and cheese, and they were the first platter empty. Everyone kept asking where I got the recipe, I felt like a genius. So easy to transport too, no messy foil pans of scrambled eggs sloshing around in the car.

5 days ago

The slider idea is brilliant! We’ve never thought to serve them that way for tailgates, that’s such a perfect portable bite. So glad they were a hit at your pre-game get together!

2 days ago

As someone who eats gluten free, these are a lifesaver! I pair them with gluten free bagels or even just eat them on their own with a side of avocado for a quick high-protein breakfast. No weird fillers, I can control exactly what goes in them, and they don’t upset my stomach like the fast food breakfast sandwiches do. Will be making these on repeat.

yesterday

I mixed a tablespoon of hot sauce into the egg batter before pouring it into the tins, and topped each egg round with a little pepper jack cheese for a kick. Absolutely unreal. These have just the right amount of heat without being overwhelming, and they’re so fluffy.

2 hours ago

Oh the pepper jack addition sounds chef’s kiss! I’m definitely trying that next batch, I usually use cheddar but pepper jack would level these up so much.

30 minutes ago

Okay I’m notorious for burning every breakfast food I touch, and even I pulled these off! The 12 minute cook time was exactly right for my oven, they came out fluffy, didn’t stick to the pan, and my boyfriend thought I picked them up from our local deli. Win for the girl who can barely boil water!

5 minutes ago

Same here! I burn toast half the time and these came out perfect first try. The best part is you don’t even have to stand over them while they cook, so you can scroll your phone or make coffee while they’re in the oven.

just now

That makes us so happy to hear! This recipe is designed to be totally foolproof for cooks of all skill levels—no fancy techniques, no constant monitoring, just perfect eggs every time. So glad you and your boyfriend loved them!



