
baked grilled fried chicken
intro
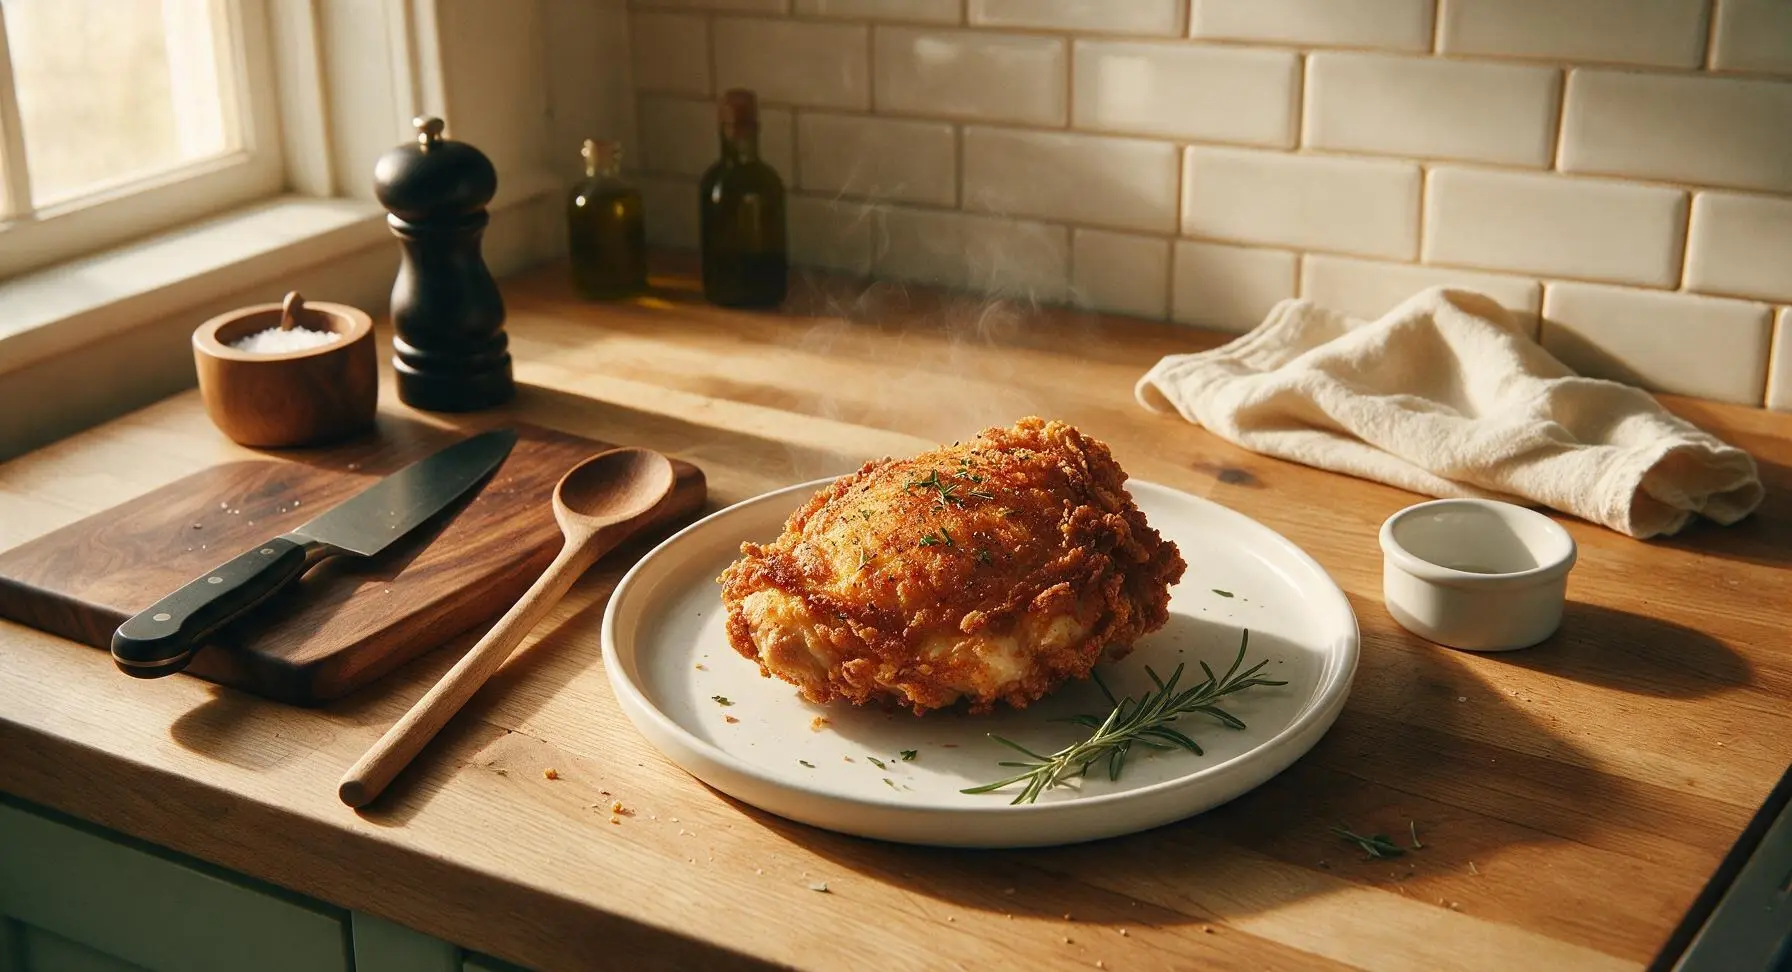
Shatteringly crisp, smoky baked grilled fried chicken with juicy tender meat—no deep frying, no outdoor grill needed, packed with classic crispy, smoky fried chicken flavor.
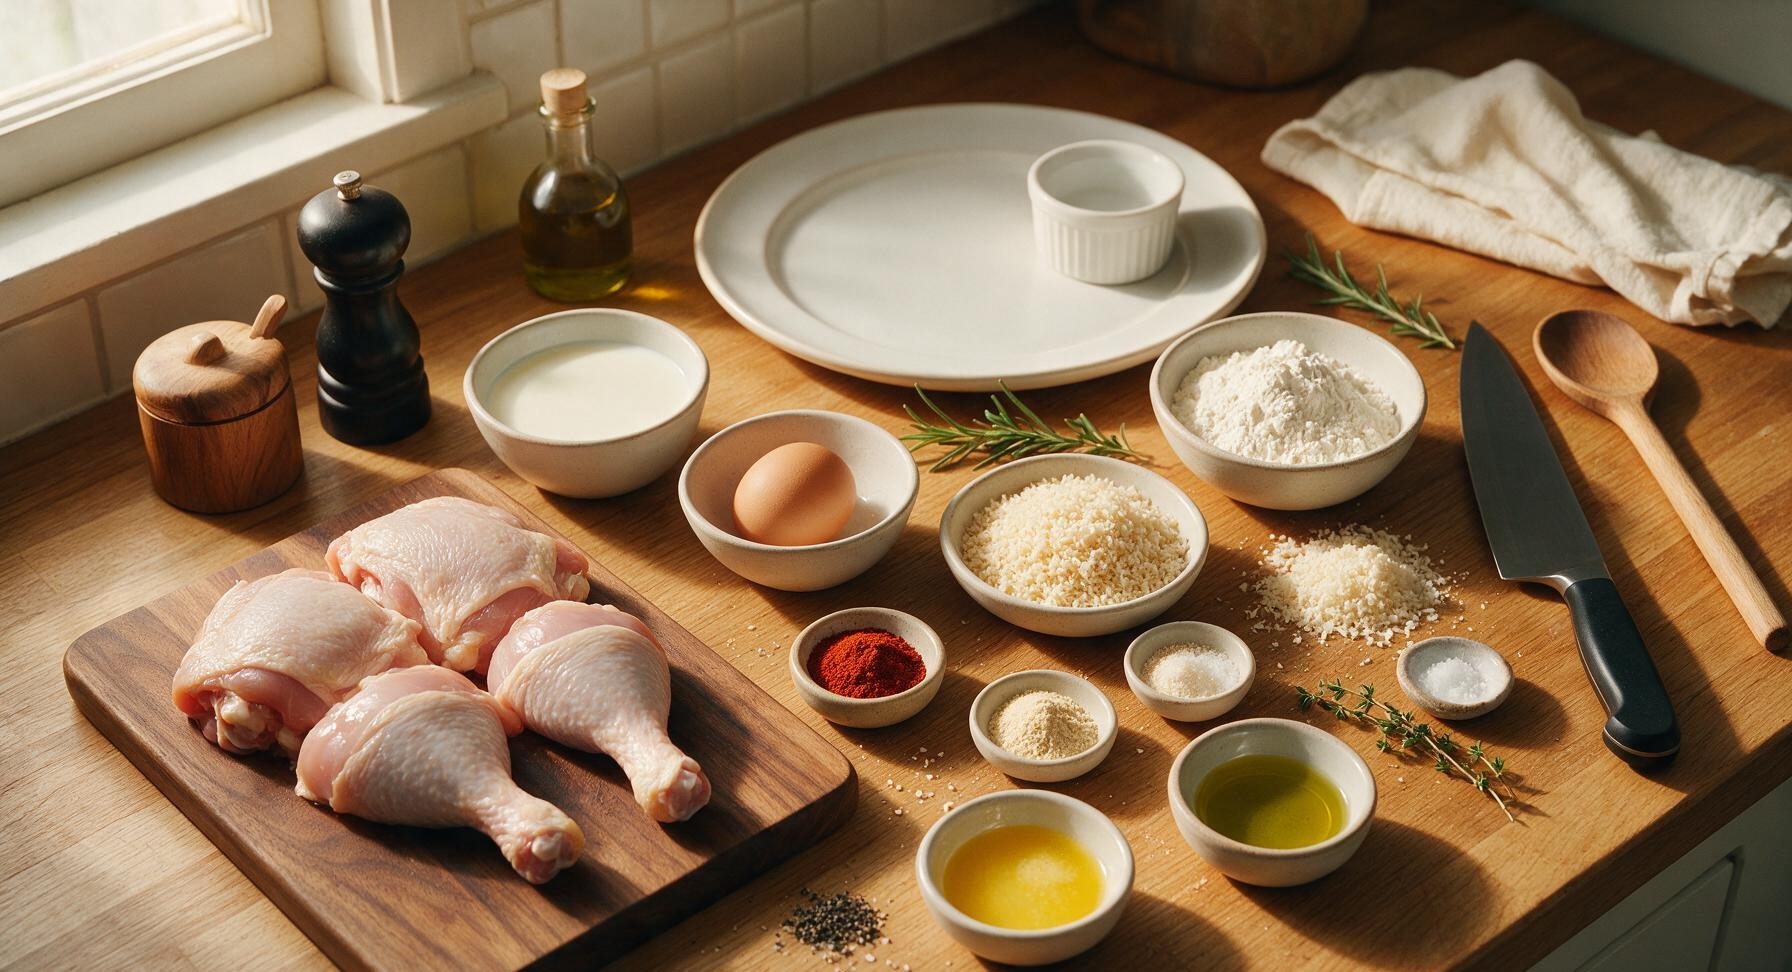
Ingredients
Steps
Brine chicken in buttermilk
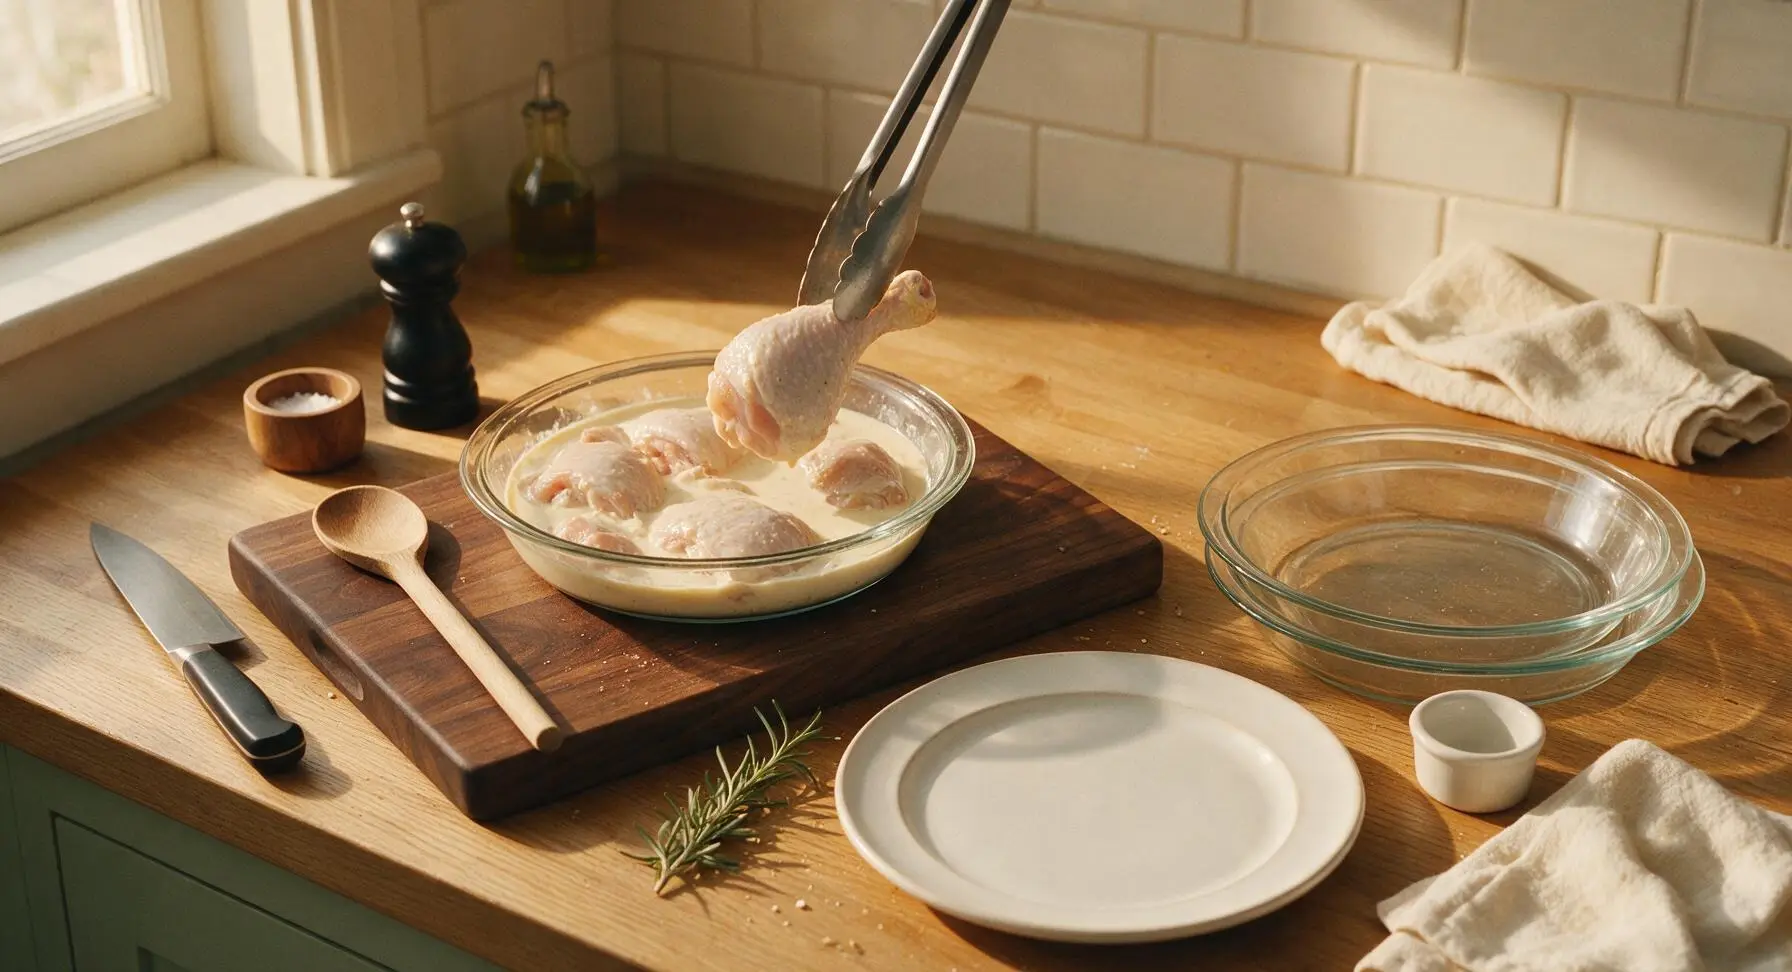
Place the raw chicken pieces into one of the clear glass pie dishes set on the acacia wood cutting board. Pour 1 cup buttermilk over the chicken, turning each piece with the stainless steel tongs to fully coat every surface. Loosely cover the dish and let it rest in the refrigerator for 1 hour (up to 4 hours for extra tender meat); the lactic acid in buttermilk breaks down tough muscle fibers without making the meat mushy. Pat chicken dry lightly before moving to the breading step, leaving a thin film of buttermilk to help coating adhere.
Arrange breading station
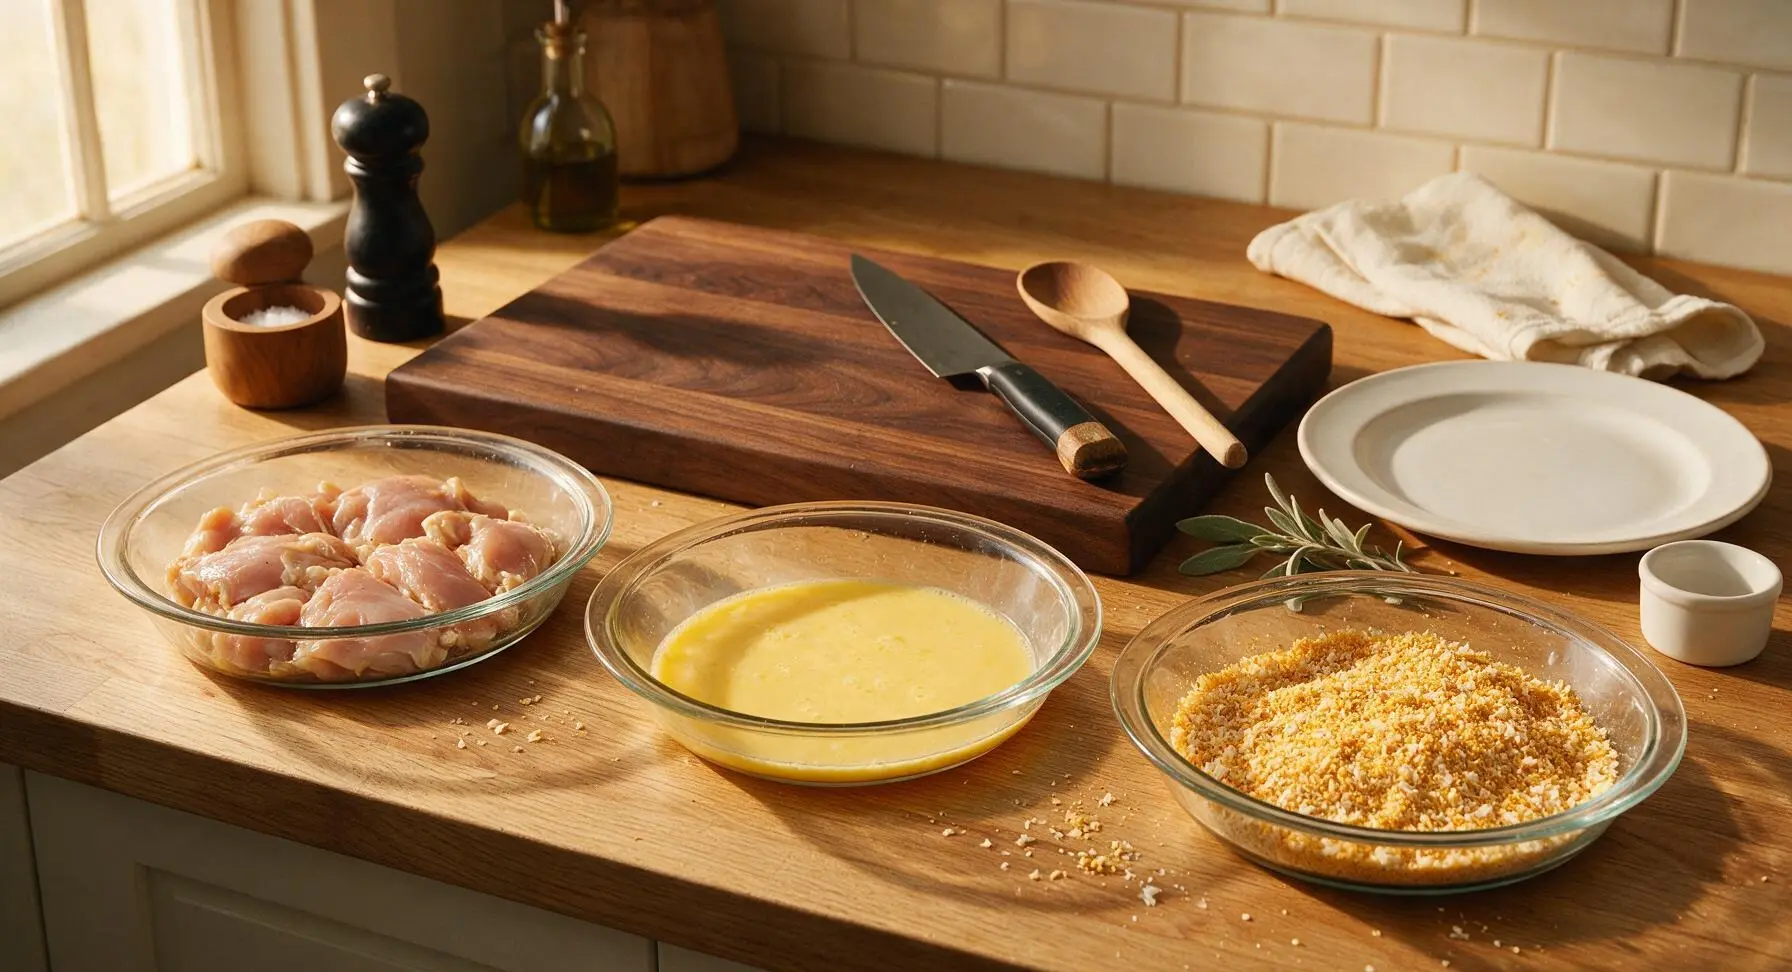
Pull the remaining two glass pie dishes from their stacked position, lining them up in a row beside the brined chicken. In the middle dish, whisk 1 large egg with ½ tbsp avocado oil until completely smooth, with no streaks of separated egg white. In the third dish, mix 1 cup all-purpose flour, 1 cup panko breadcrumbs, 1 tbsp smoked paprika, 1 tsp garlic powder, 1 tsp onion powder, 1 tsp kosher salt, and ½ tsp black pepper, stirring until spices are evenly distributed and no dark spice clumps remain.
Coat chicken in crumbs
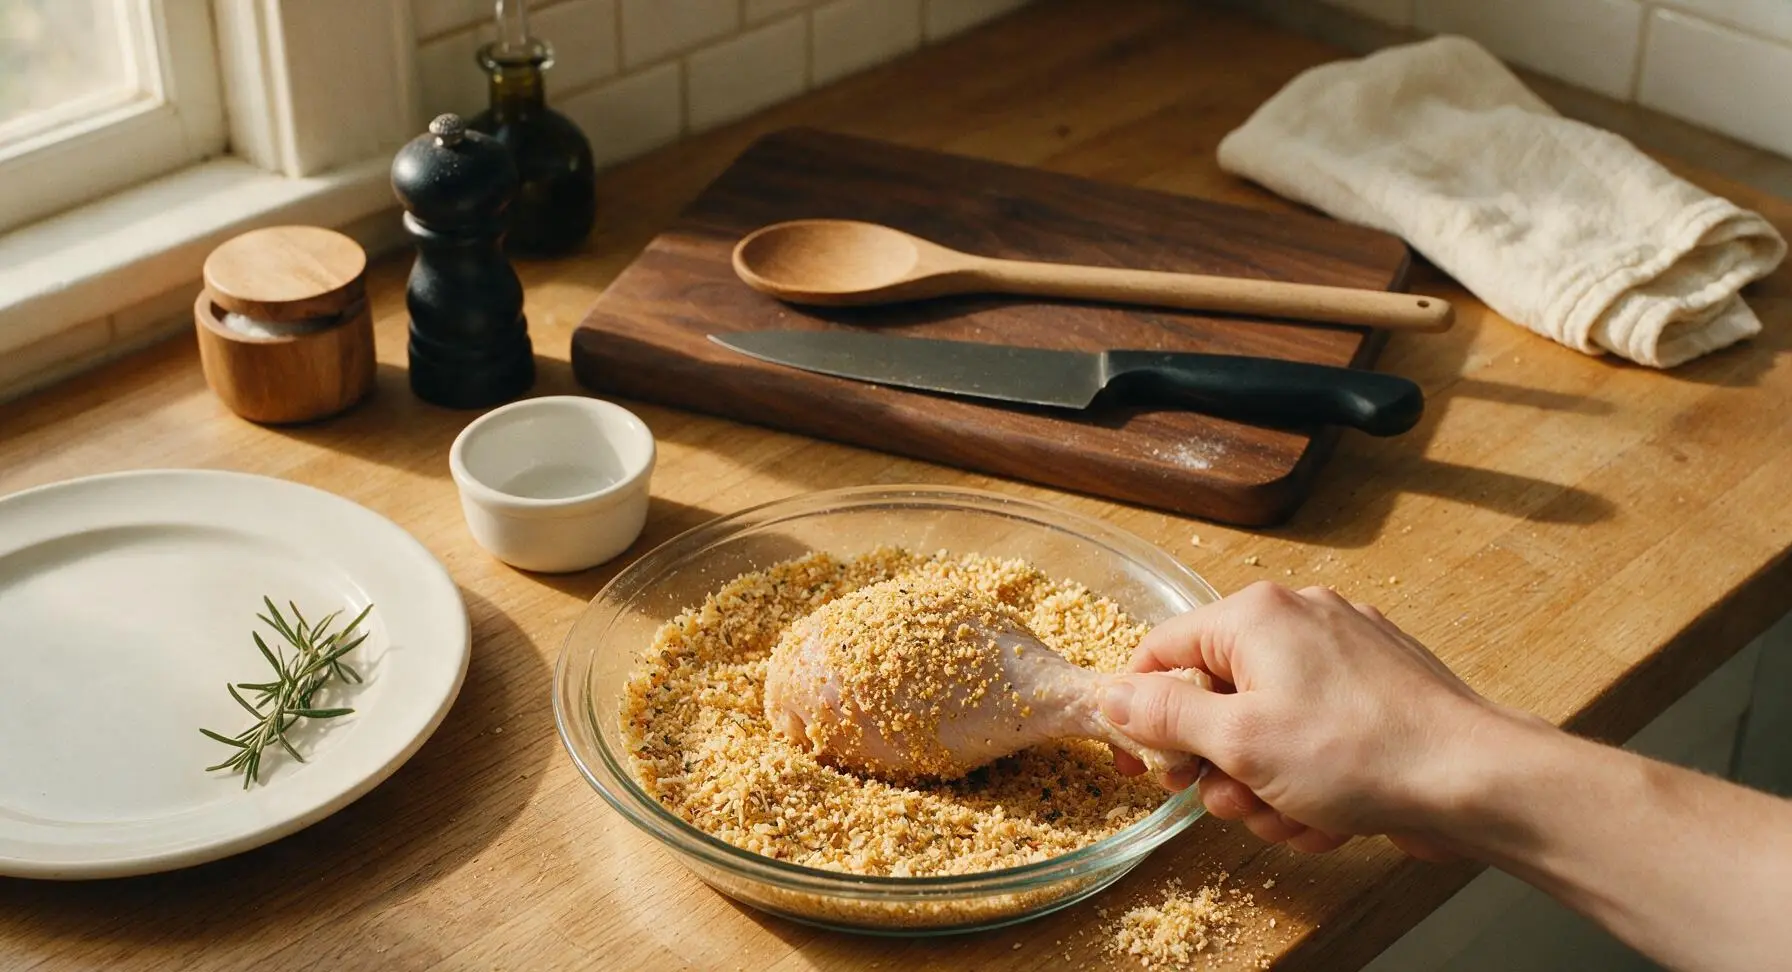
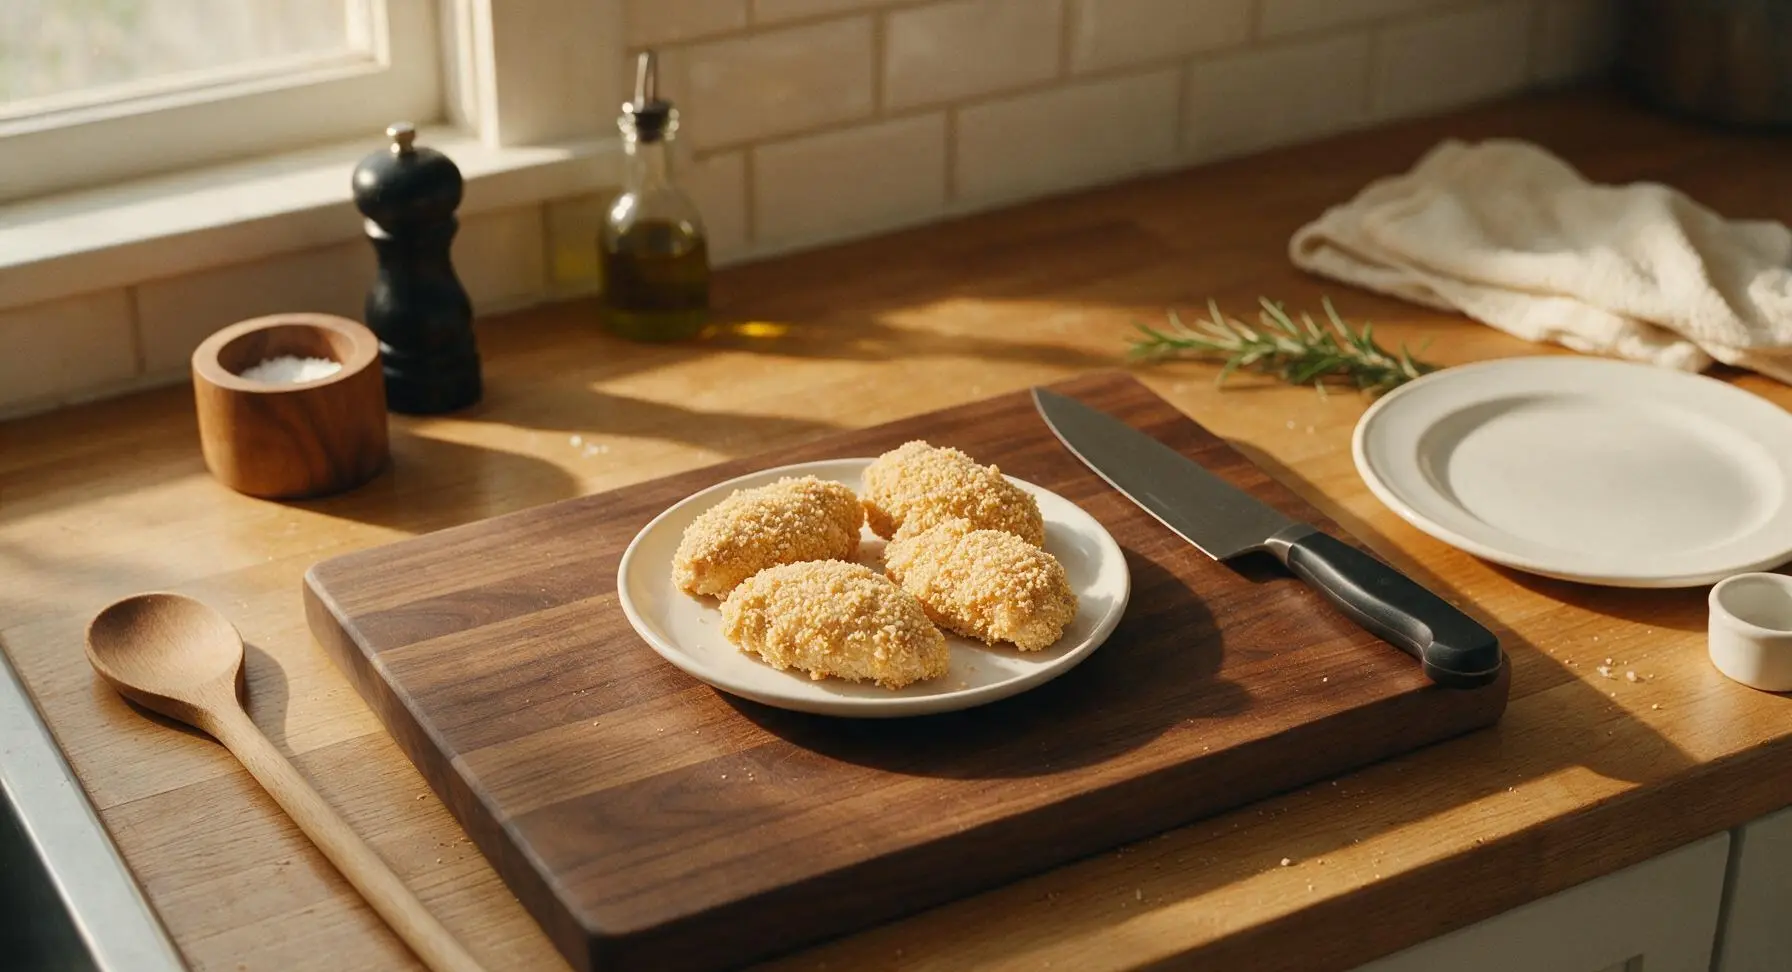
Working one piece at a time, lift chicken from the brine, letting excess buttermilk drip back into the dish. Dip fully into the egg wash, turning to coat every surface including the edges of the skin, then press firmly into the spiced panko-flour mix, pressing crumbs onto all sides (including under loose skin) to create a thick, even coating. Set coated pieces on a small clean plate, and let rest 10 minutes at room temperature to let the coating set; this prevents the breading from sliding off during baking.
Prep rack for baking
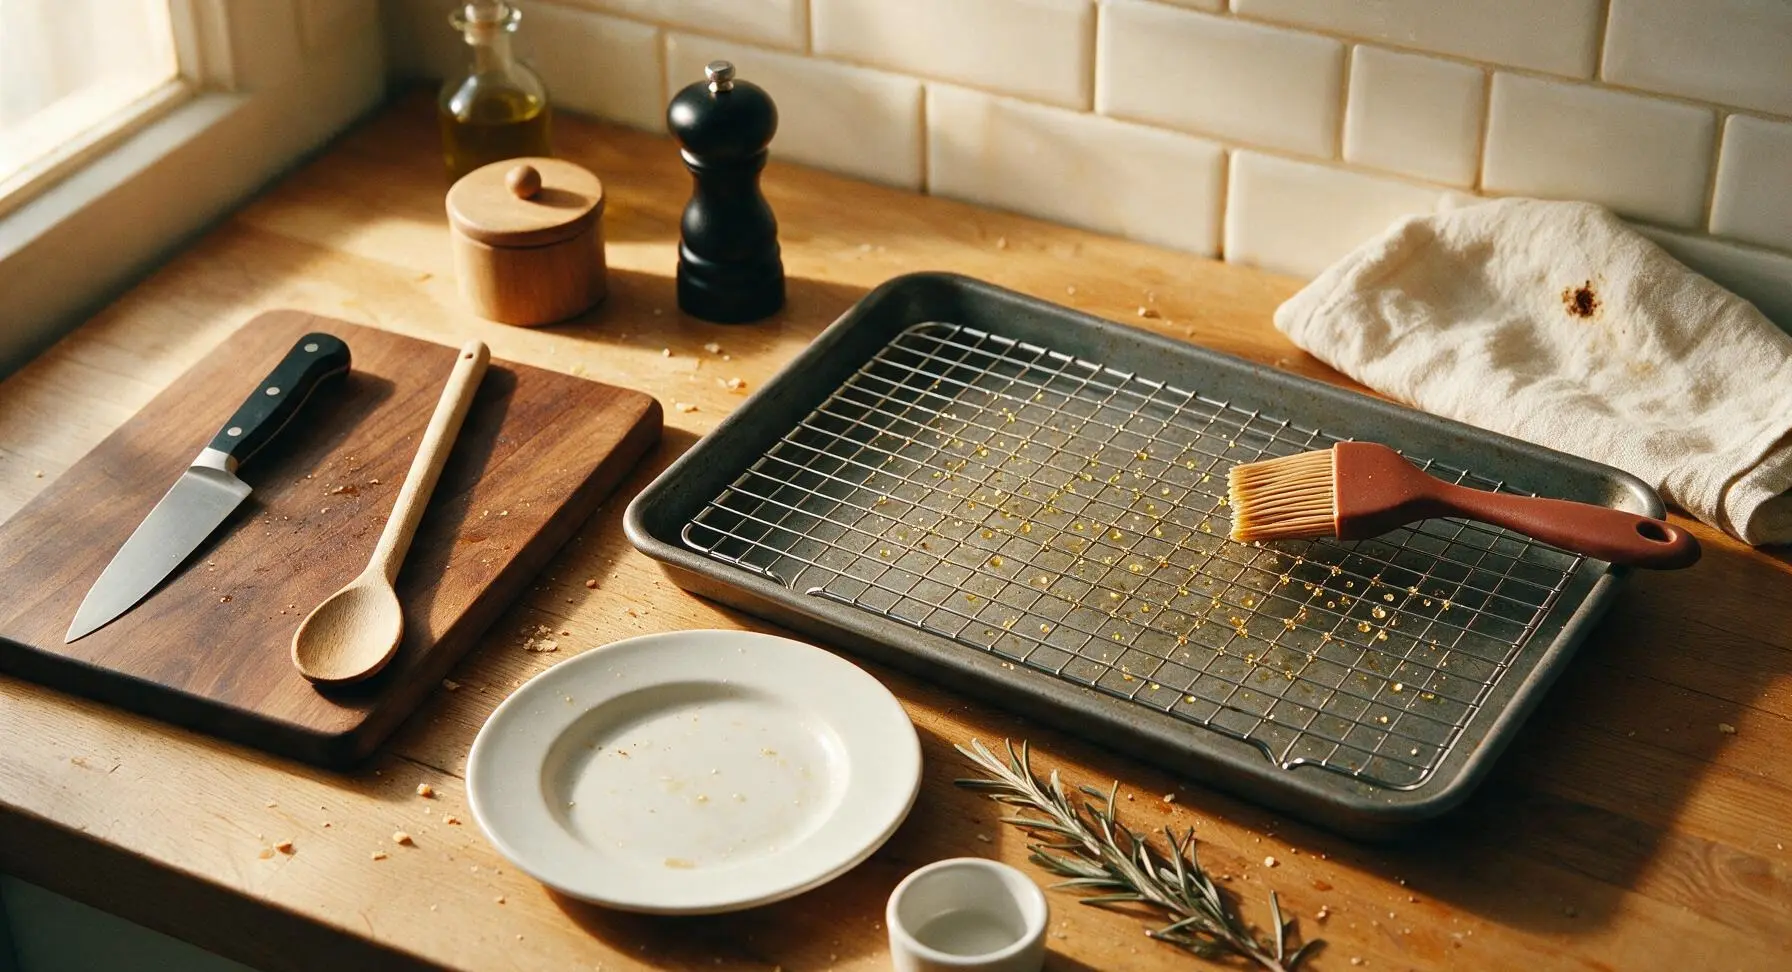
Pull the dark grey rimmed baking sheet and fitted chrome wire rack from below the counter, setting the sheet on the center-right counter space. Set the wire rack inside the baking sheet, then use the silicone basting brush to coat the rack wires lightly with ½ tbsp avocado oil to prevent sticking. Drizzle 2 tbsp melted unsalted butter evenly across the rack surface; the butter will sizzle as the chicken bakes, creating a fried-like crispness on every side of the chicken, while the elevated rack allows hot air to circulate to eliminate soggy bottoms.
Arrange chicken on rack
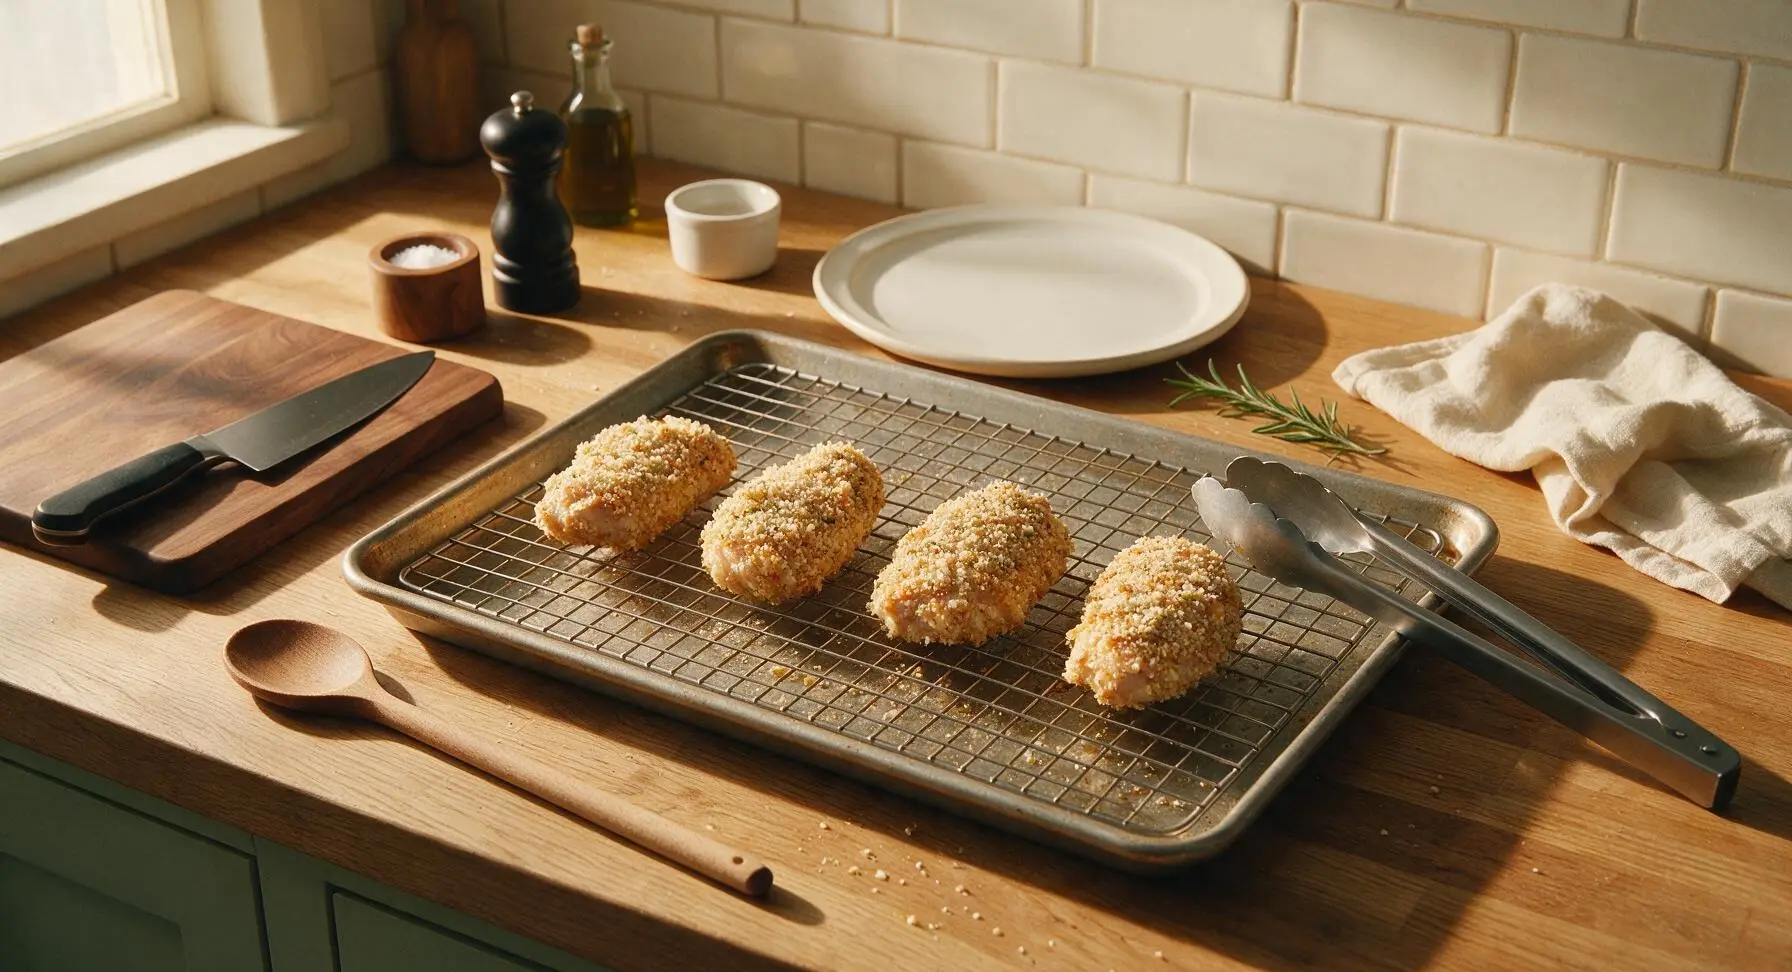
Using the tongs, transfer each coated chicken piece to the oiled wire rack, leaving 2cm of open space between every piece to ensure air can circulate freely. Lightly spritz the top of each chicken piece with a tiny amount of remaining avocado oil from the glass oil spritzer to help the crust brown evenly and crisp up in the oven. Do not let pieces touch, as contact points will steam instead of crisping during baking.
Bake until golden crisp
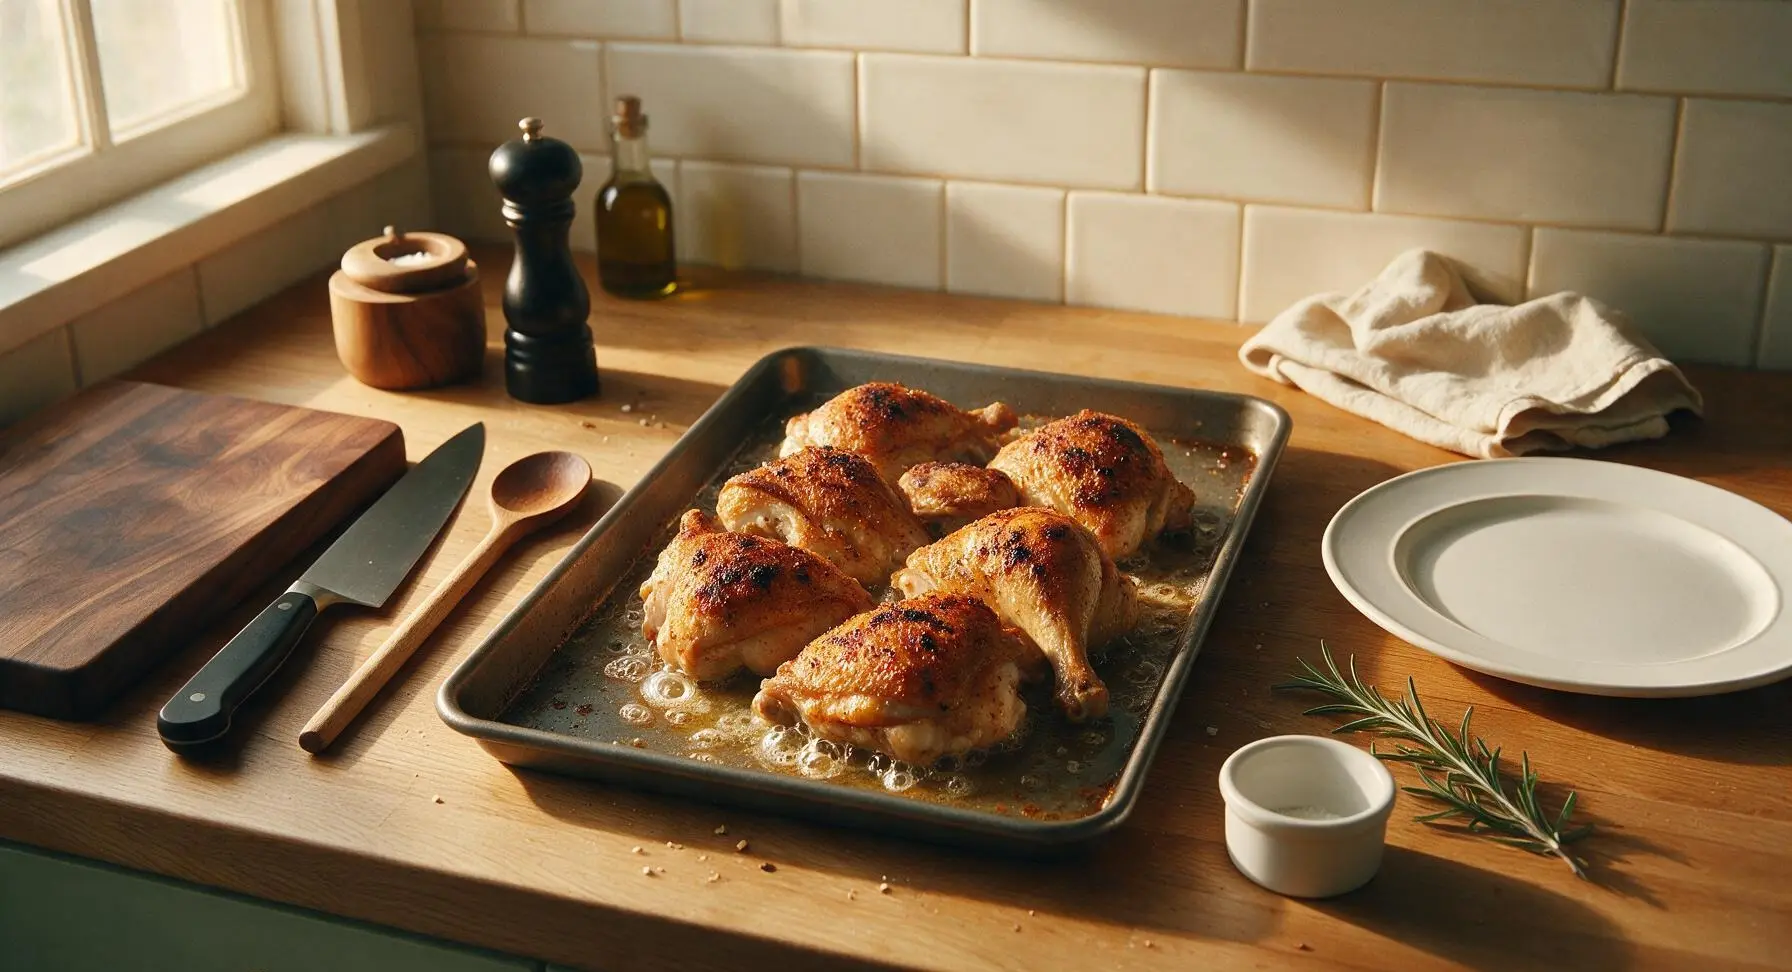
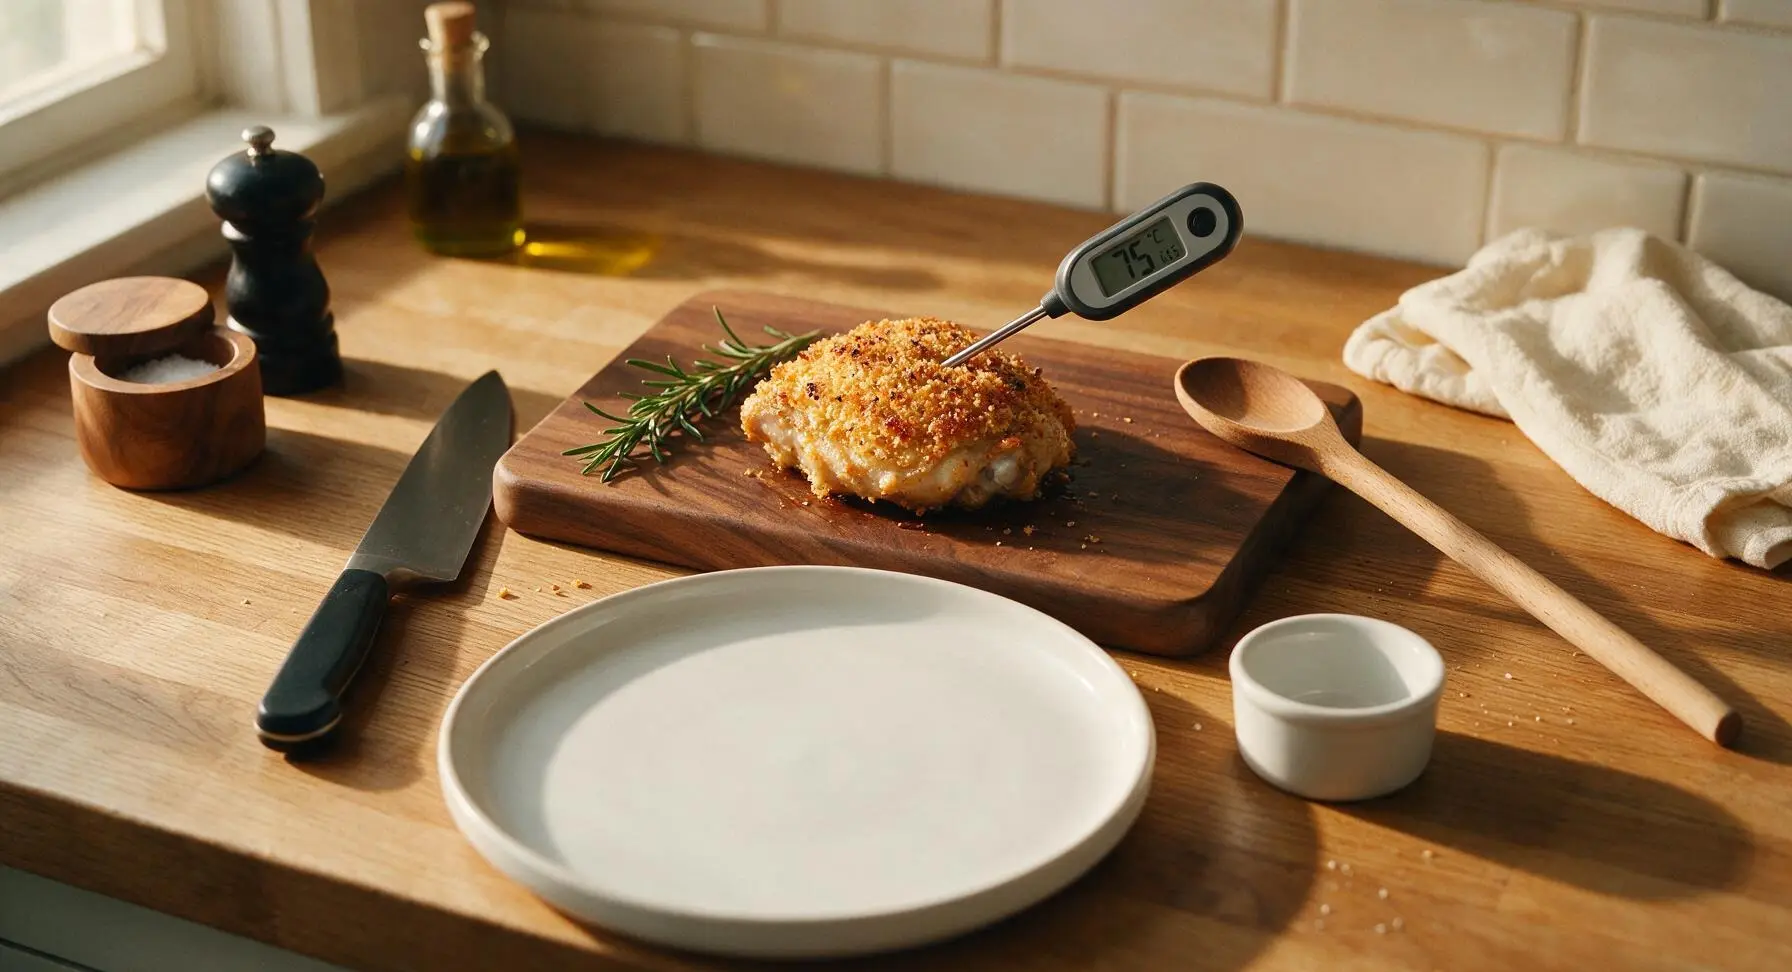
Transfer the baking sheet to the middle rack of a preheated 220C (425F) oven. Bake for 40 minutes, then use tongs to carefully flip each chicken piece, and bake for an additional 5-10 minutes. The chicken is done when the crust is deep, even golden brown with faint dark smoky flecks, and the instant-read thermometer inserted into the thickest part of the meat (not touching bone) reads 75C (165F).
Rest and finish seasoning
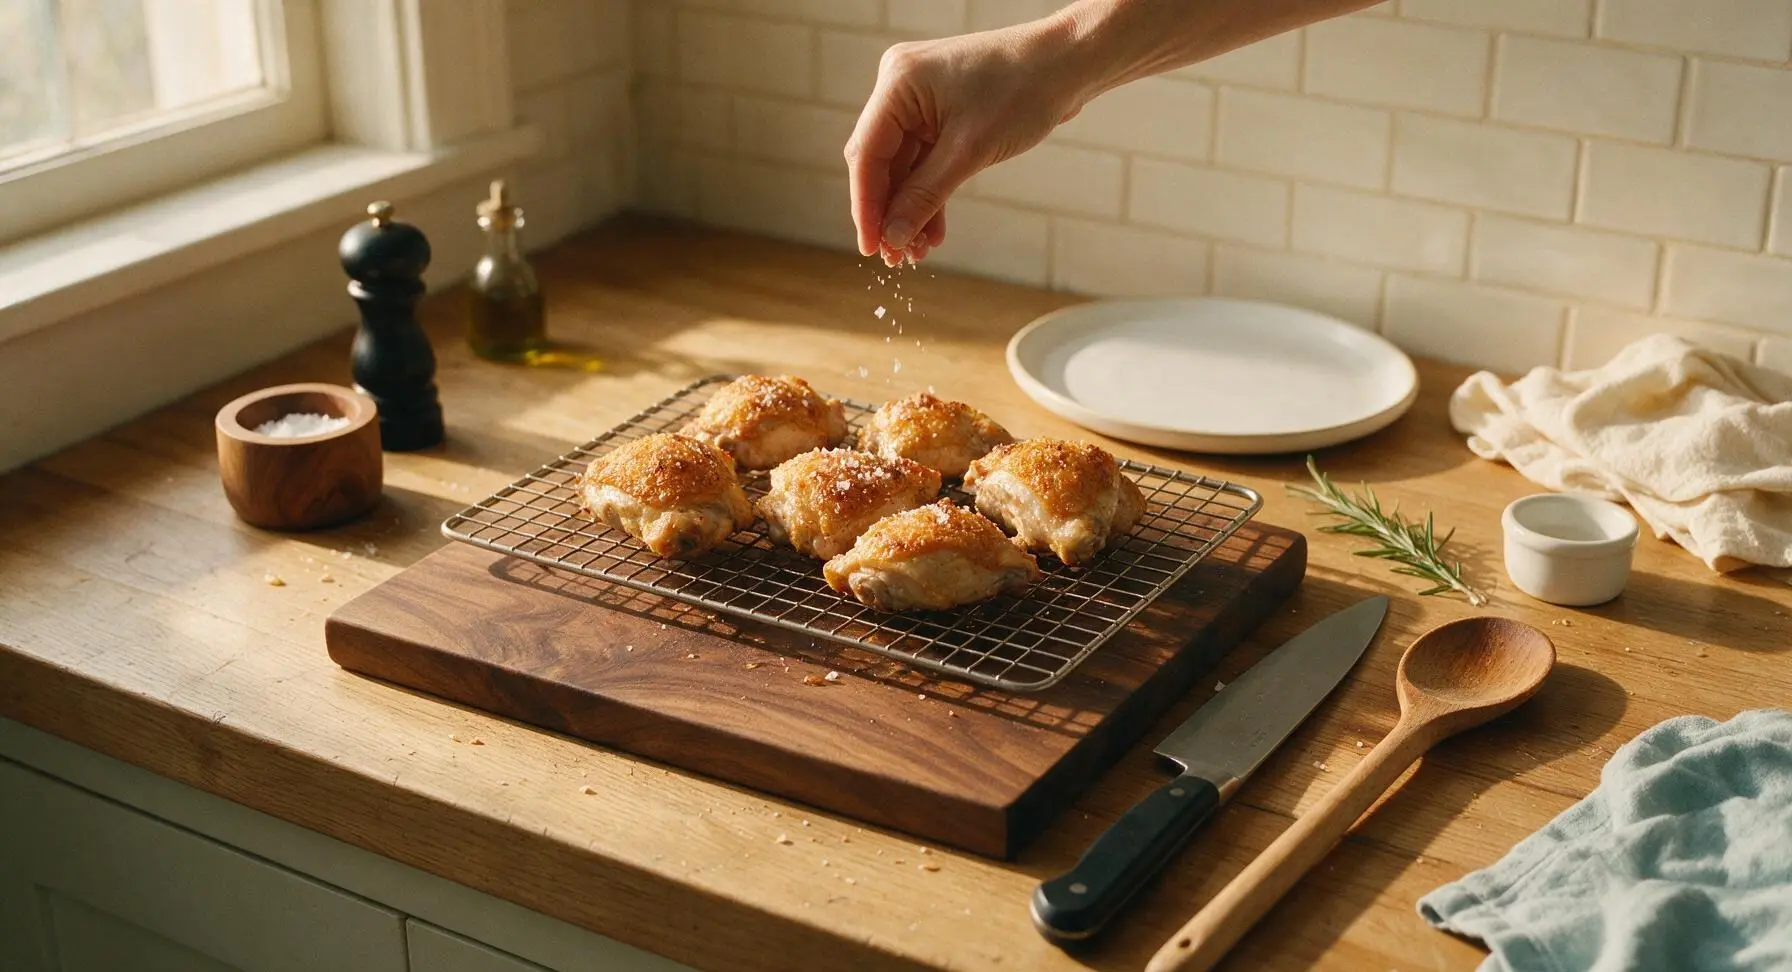
Let the chicken rest on the wire rack for 5 minutes after removing from the oven. This rest time lets the crust set fully (so it stays shatteringly crisp instead of softening when plated) and lets the meat juices redistribute for even juiciness. While the chicken is still hot, sprinkle evenly with ½ tsp flaky smoked sea salt to amplify the grilled, smoky flavor profile before transferring to the serving plate.
Tips
2.Let coated chicken rest 10 minutes before baking: This short rest lets the egg, flour, and panko form a tight, sticky bond, so breading won’t slide off, crack, or peel away from the chicken as it bakes.
3.Use panko instead of fine breadcrumbs: The coarse, flaky texture of panko toasts to a lighter, shatteringly crisp crust (no dense, bready texture) and develops dark, toasty flecks that mimic the charred edges of outdoor grilled chicken.






OMG this baked grilled fried chicken is a total game changer for our weekly Sunday family dinner! I was so tired of making the same old fried chicken that left my kitchen a greasy mess, and this had all the crunch without the oil splatters everywhere. My husband and two kids devoured every last piece, even the picky 7 year old asked for seconds. SO good.
Tried this for my neighborhood potluck last weekend and people were begging me for the recipe! Only thing is I found the cook time was a touch longer for my oven, took closer to 55 minutes to get that perfect crispy skin instead of the listed 45. Did I do something wrong?
Obsessed with how well this holds up for meal prep! I made a big batch on Sunday and ate it for lunches all week, the crust didn’t get soggy at all even after reheating in the air fryer for a couple minutes. 10/10 will be adding this to my regular rotation.
Brought this to my office cookout last week and every single piece was gone in 10 minutes flat. People thought I picked it up from that fancy southern spot downtown! The seasoning blend is chef’s kiss, just the right amount of smokiness without being too spicy for the folks who can’t handle heat.
Wait, hold up – “baked grilled fried chicken”? I was skeptical at first because how do you get that grilled smoky flavor and fried crunch in the oven? I almost skipped this but gave it a shot last night and wow, it delivered. Only question: can I use boneless thighs instead of bone-in for this?
Made this for my kids’ dinner last night and they didn’t even complain that it wasn’t fast food! That’s a massive win in my book. Only mishap was my breading kept sliding off the chicken when I was putting it on the baking sheet – what did I do wrong there?
Holding out hope this works with gluten free swaps! I have celiac and have been chasing that perfect crispy fried chicken dupe forever, and this looks too good to pass up. Has anyone tried this with gluten free all purpose flour and gluten free panko?
As someone who only has a tiny dorm oven and zero frying equipment, this recipe was a lifesaver! It was medium difficulty like the listing said, not too hard even for a beginner like me, and my roommates thought I was a total pro. Saved so much money vs ordering takeout fried chicken too.
I’ve been making fried chicken for my grandkids for 40 years, and I have to say this baked version is almost as good as my traditional deep fried recipe! It’s so much easier on my knees too, no standing over a hot pot of oil for an hour. I added a little extra garlic powder to the breading per my taste and it was perfect.
Wait, I thought “grilled” in the name meant I needed a grill? I almost didn’t make this because I don’t have an outdoor grill, I just have a regular oven. Turns out it works perfectly in the oven like the recipe says, that smoky flavor comes through so well!
Made this for my son’s soccer team potluck after practice last week and the boys were raving! Even the coach asked for the recipe. I did find that spraying the chicken with a little cooking spray before baking helped the crust get extra crispy, pro tip for anyone making it.
I’m usually super picky about baked fried chicken because it always comes out soggy or lacking flavor, but this was perfect! The crust was shatteringly crisp, the chicken was juicy all the way through, and the seasoning had just the right kick. I will 100% be making this for my next game night with friends.
This was so good, but I wish it was a little spicier for my taste! I added a dash of cayenne but I think I could have gone heavier. Any tips for amping up the heat without messing up the crust texture?