
Baked Mac and Cheese

title 1
Baked Mac and Cheese
⏱️ cook time 35 minutes
🍽️ servings 6
⚡ Difficulty easy

intro

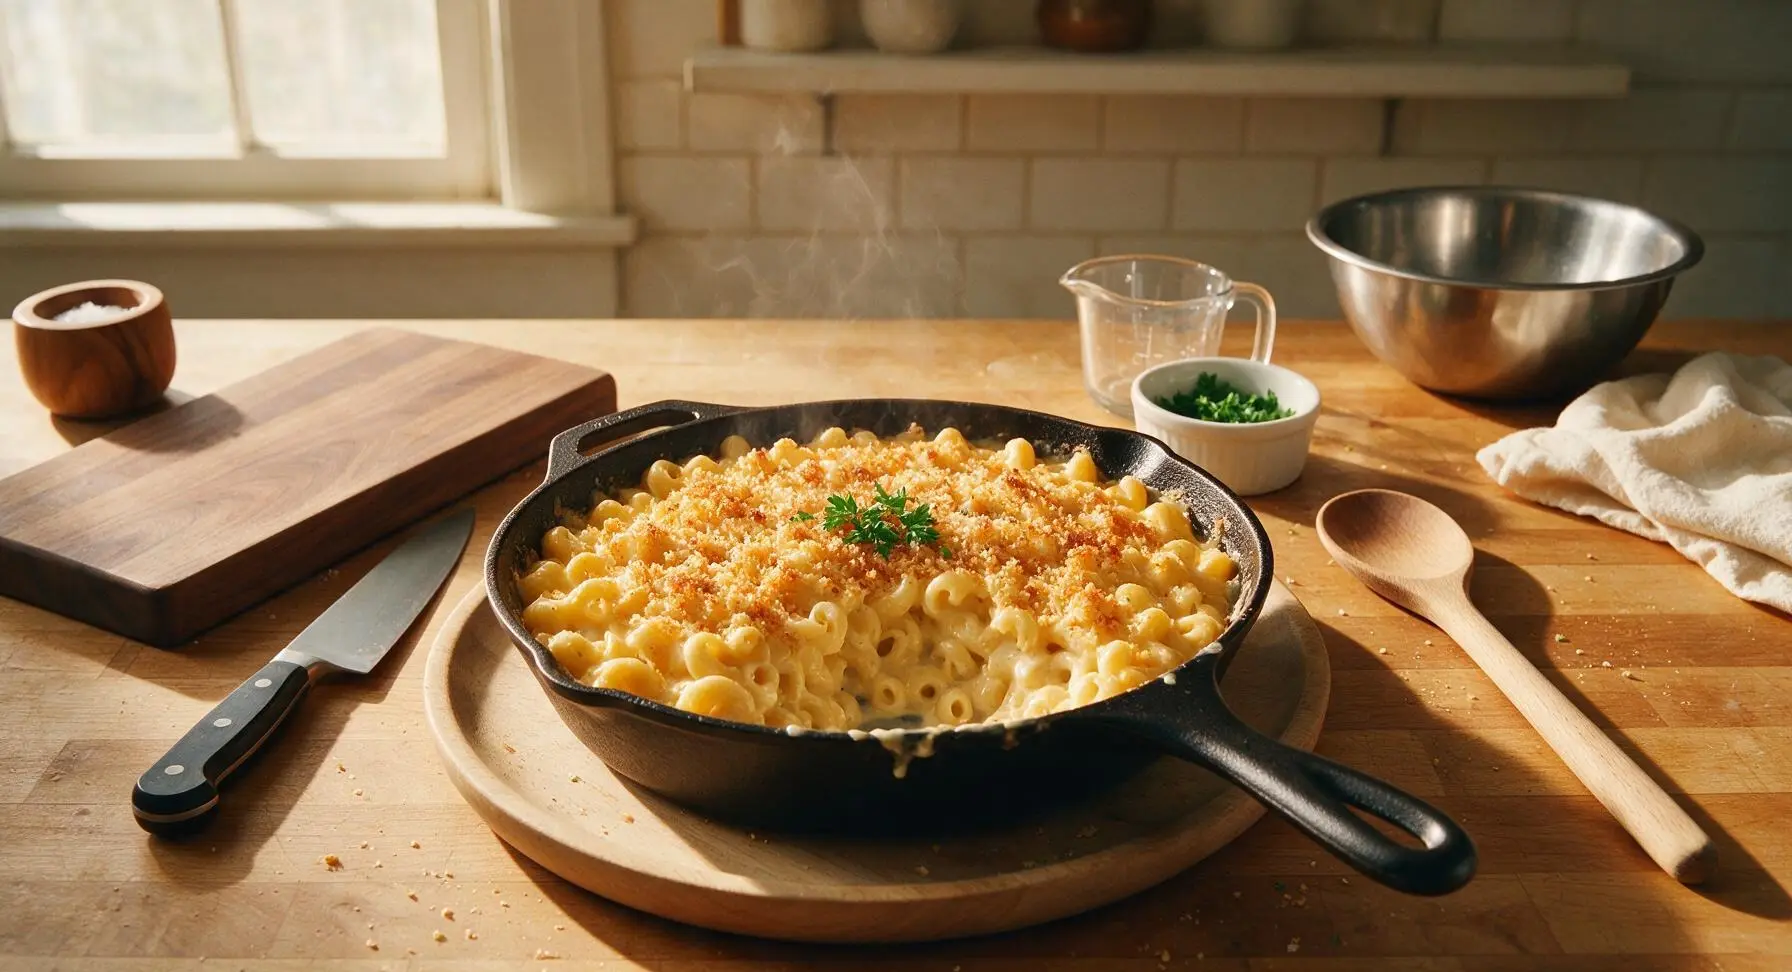
Creamy, velvety cheese sauce coats tender elbow pasta, topped with crisp golden panko, baked to bubbly perfection. The ultimate cozy American comfort food for family gatherings.

Ingredients
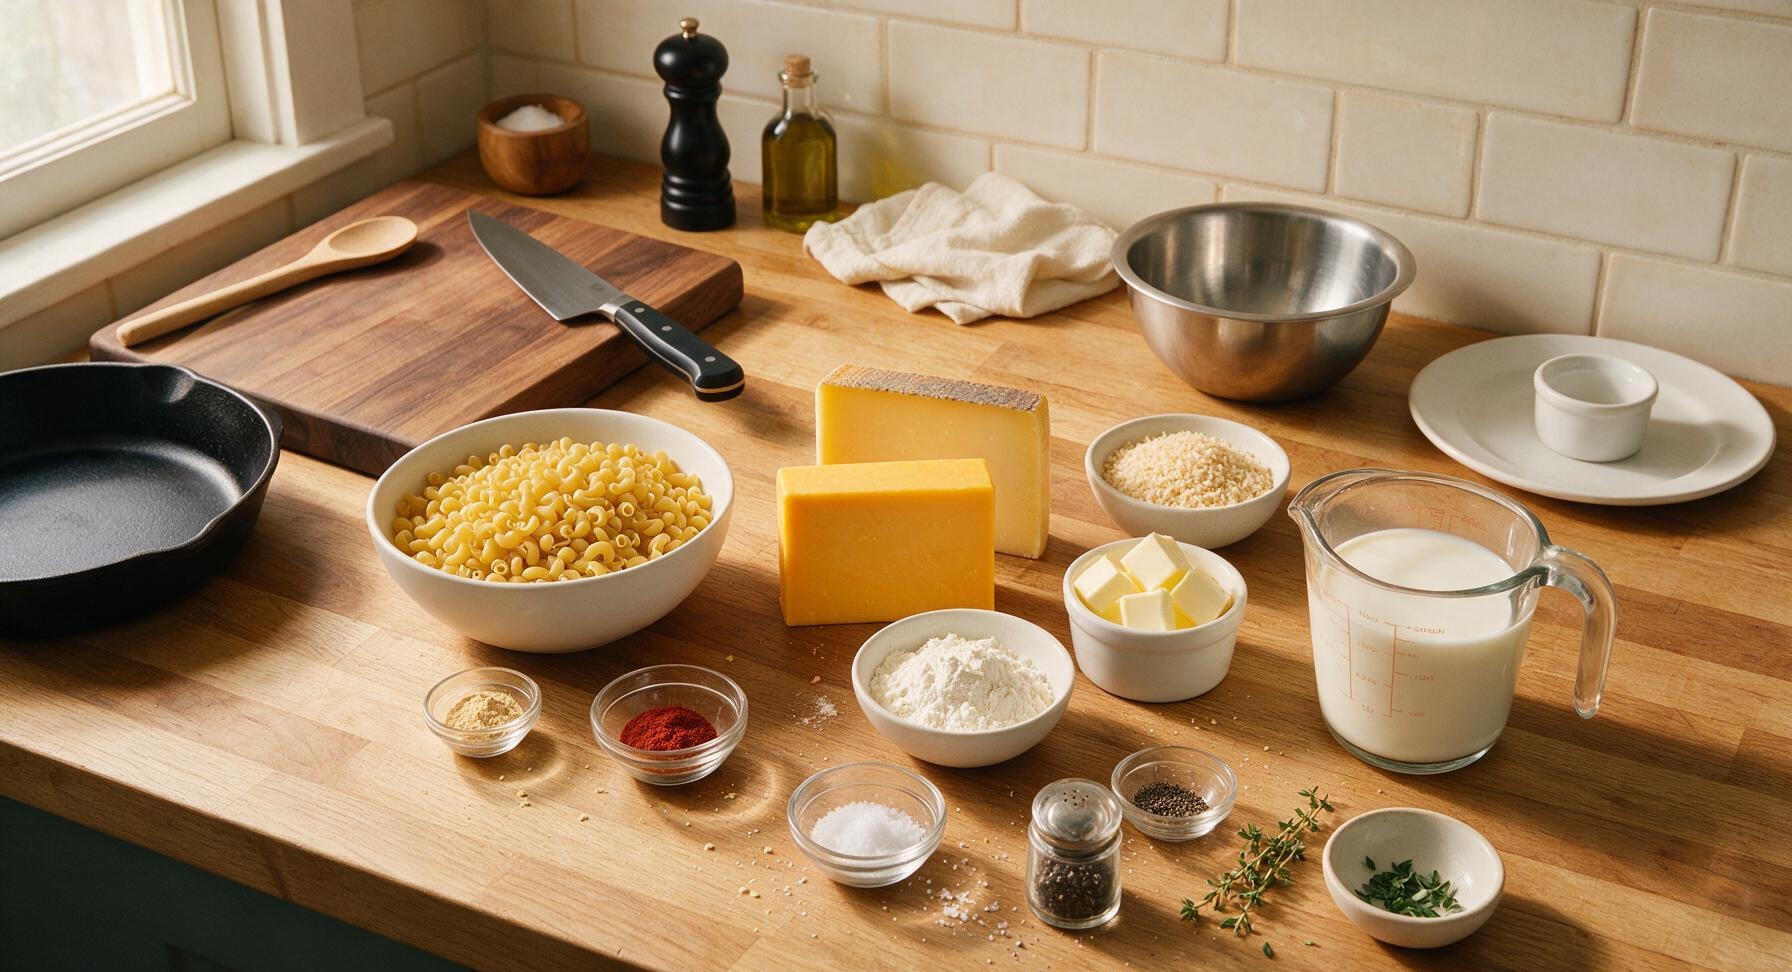
Elbow macaroni 340g (12oz)
Sharp yellow cheddar cheese 340g (12oz), block for fresh grating
Gruyere cheese 113g (4oz), block for fresh grating
Unsalted butter 57g (4 tbsp, divided)
All-purpose flour 33g (1/4 cup)
Whole milk 720ml (3 cups)
Panko breadcrumbs 30g (1/2 cup)
Dry mustard powder 1 tsp
Smoked paprika 1/2 tsp
Kosher salt 1.5 tsp (divided)
Freshly ground black pepper 1/2 tsp
Fresh thyme 2 sprigs, leaves picked

Steps

1

Prep Cheese and Oven

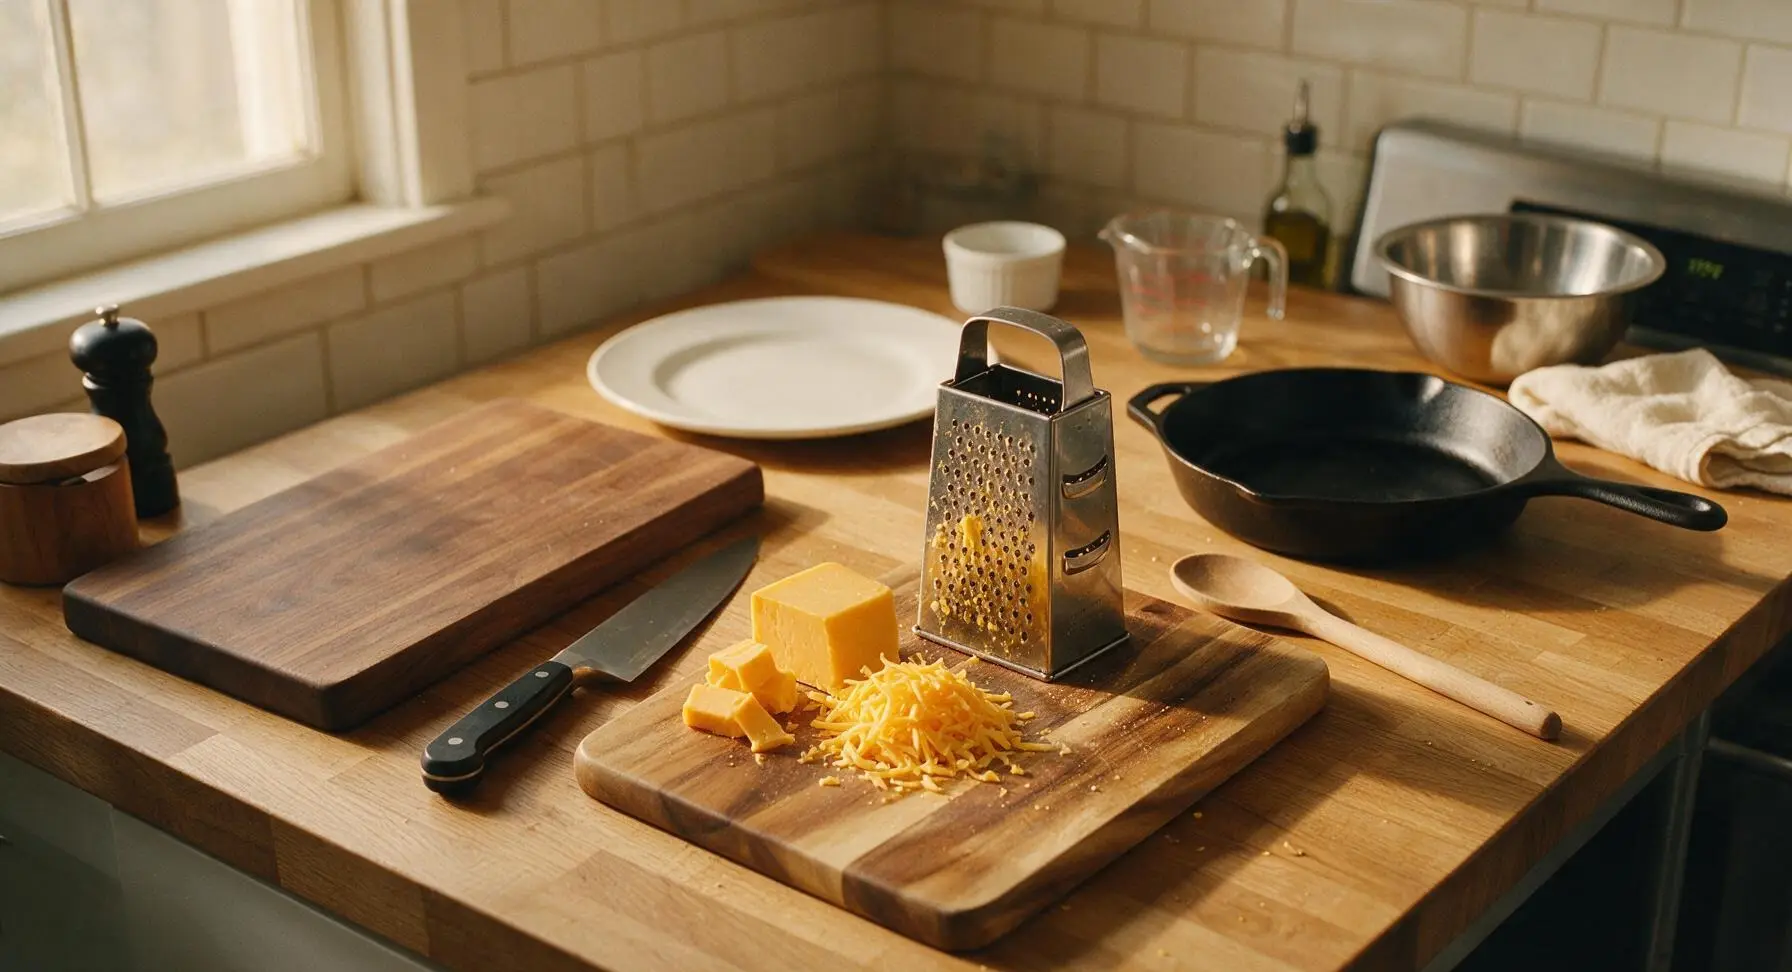
Adjust your oven rack to the middle position and preheat to 375°F (190°C). Set the stainless steel box grater on top of the acacia wood cutting board. Use the chef knife to cut blocks of sharp cheddar and Gruyere into 5cm (2-inch) wide chunks, then grate all cheese on the grater’s medium holes. Toss the shredded cheeses to combine, then set aside 1/2 cup of the mix for the baked topping.
Step 1
step1:Prep Cheese and Oven
2

Cook Pasta Al Dente

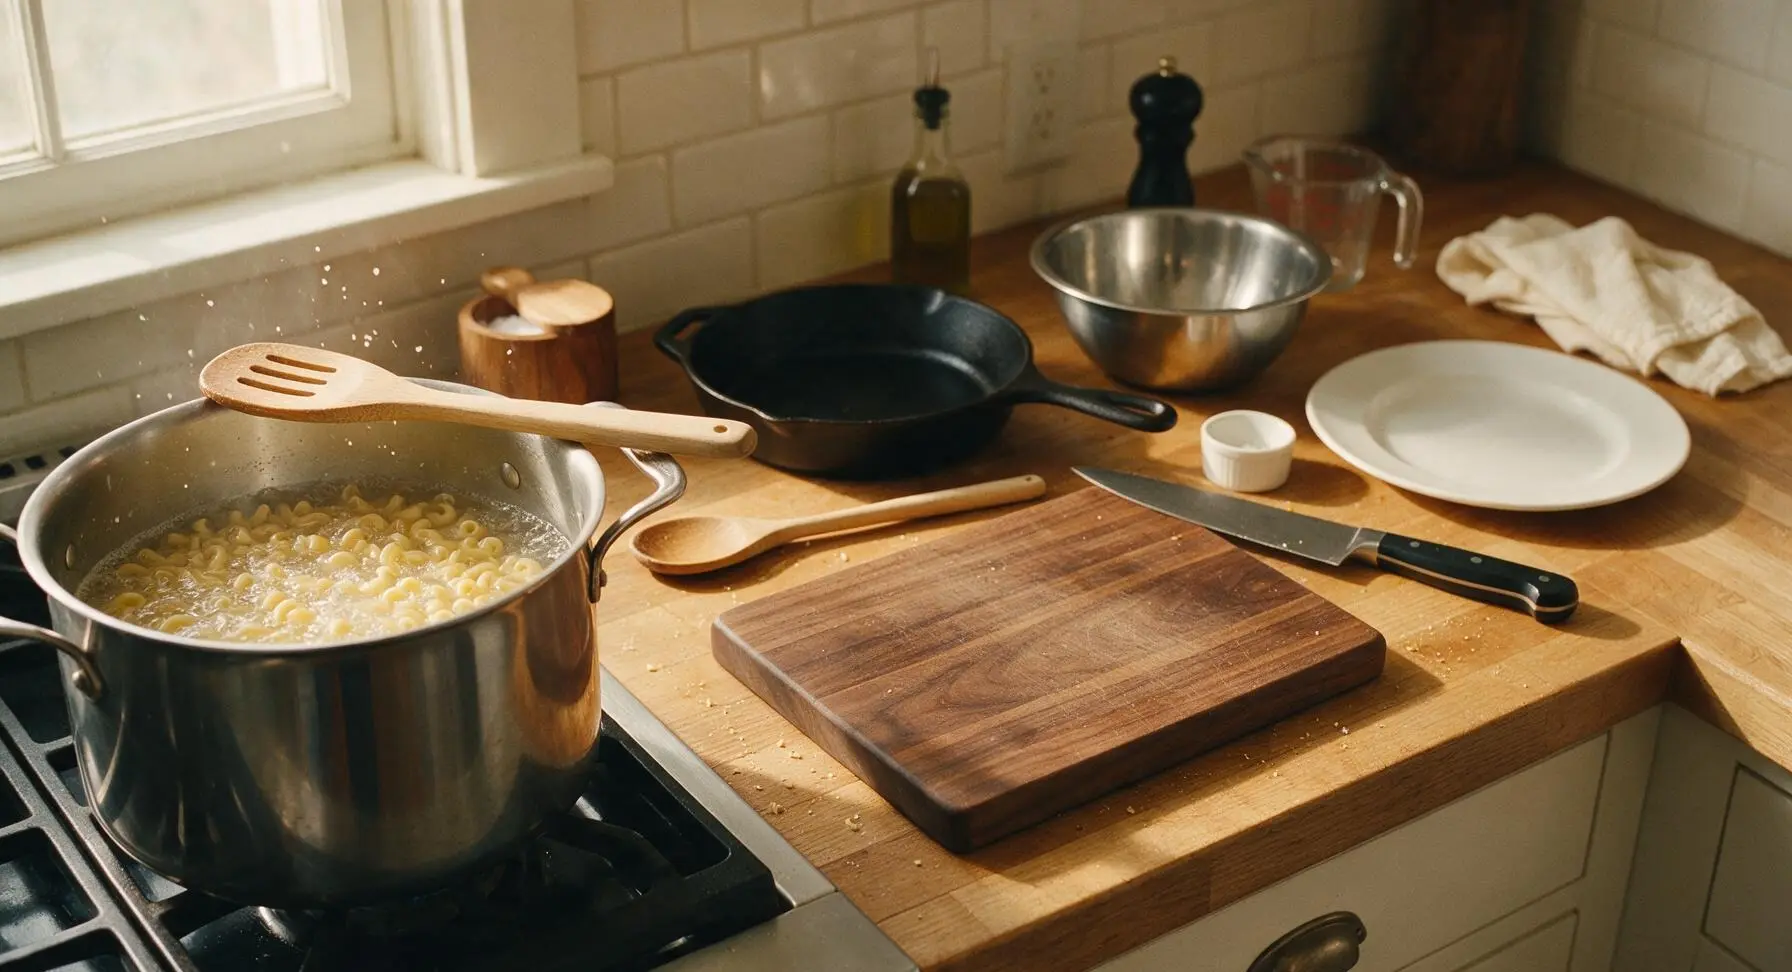
Fill the 8-quart stainless steel stock pot with 4 liters of cold water, add 1 teaspoon of kosher salt, and bring to a rolling boil over high heat. Add elbow macaroni and cook for 6 minutes, stirring occasionally with the beech wood slotted spoon, until pasta is just firm to the bite (al dente) — it will finish cooking during baking, so avoid overcooking to a mushy texture.
Step 2
step2:Cook Pasta Al Dente
3

Drain Cooked Pasta

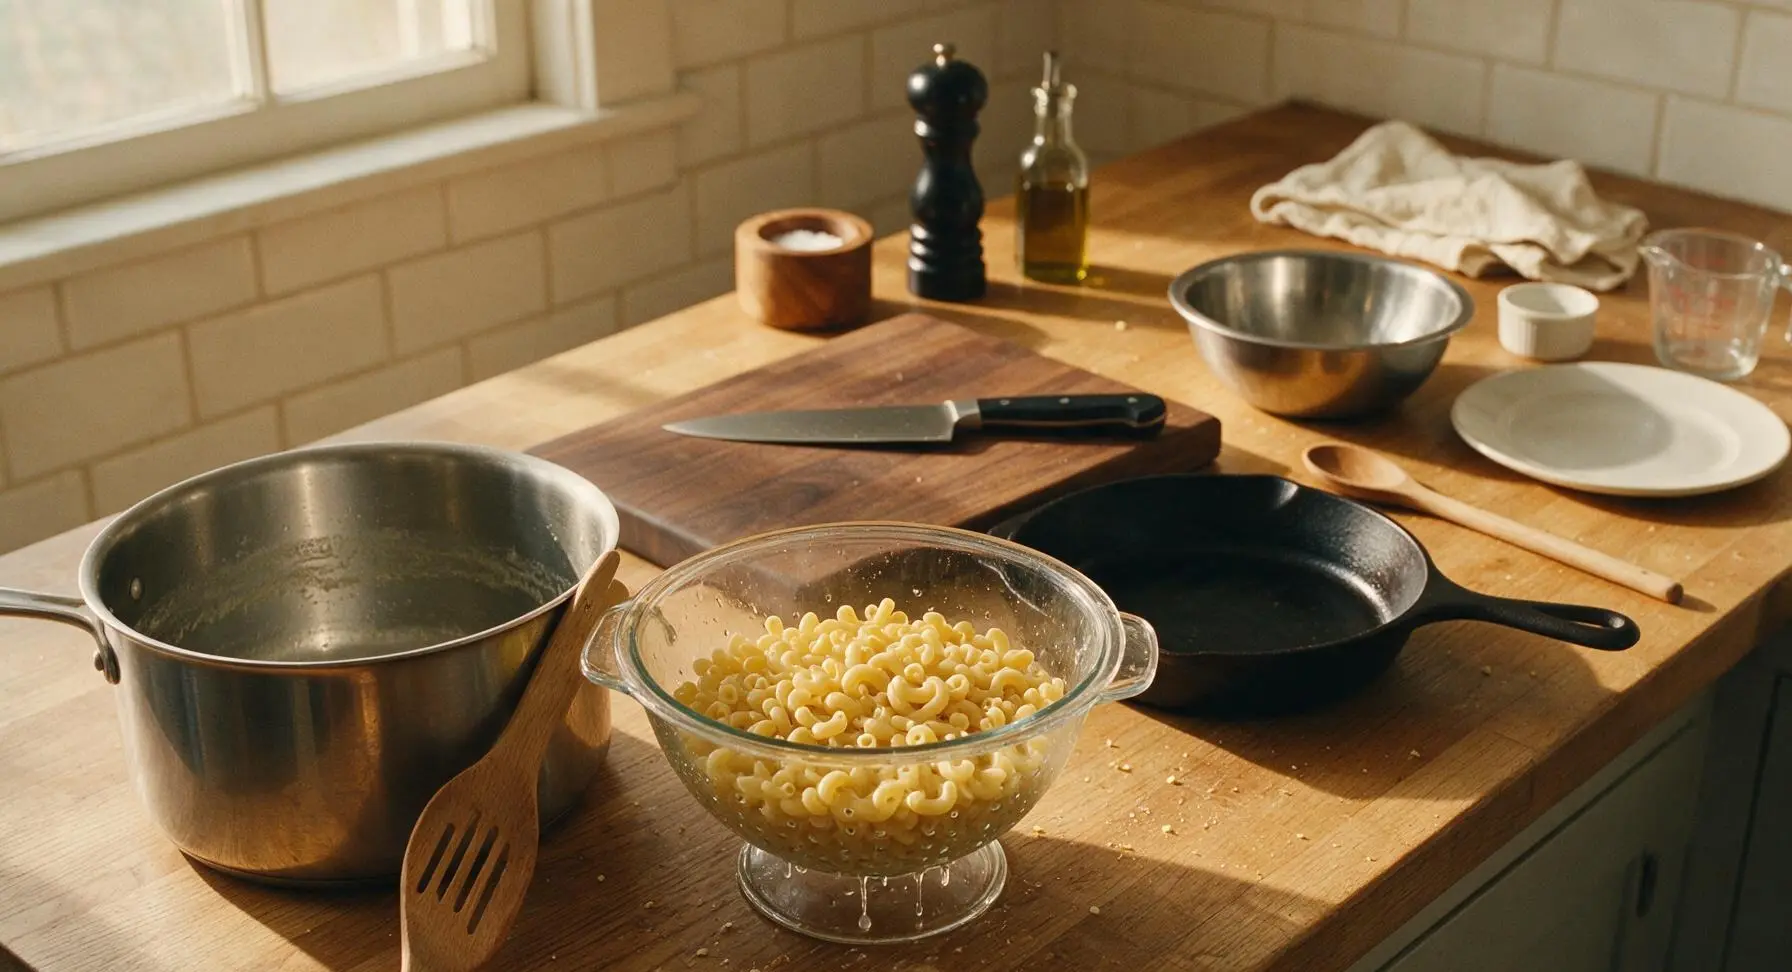
Once pasta reaches al dente texture, pour the contents of the stock pot into the clear glass colander set in the adjacent sink. Shake the colander gently to drain all excess starchy water, but do not rinse the pasta — residual starch helps cheese sauce cling tightly to noodles. Set drained pasta aside temporarily.
Step 3
step3:Drain Cooked Pasta
4

Build Butter Roux Base

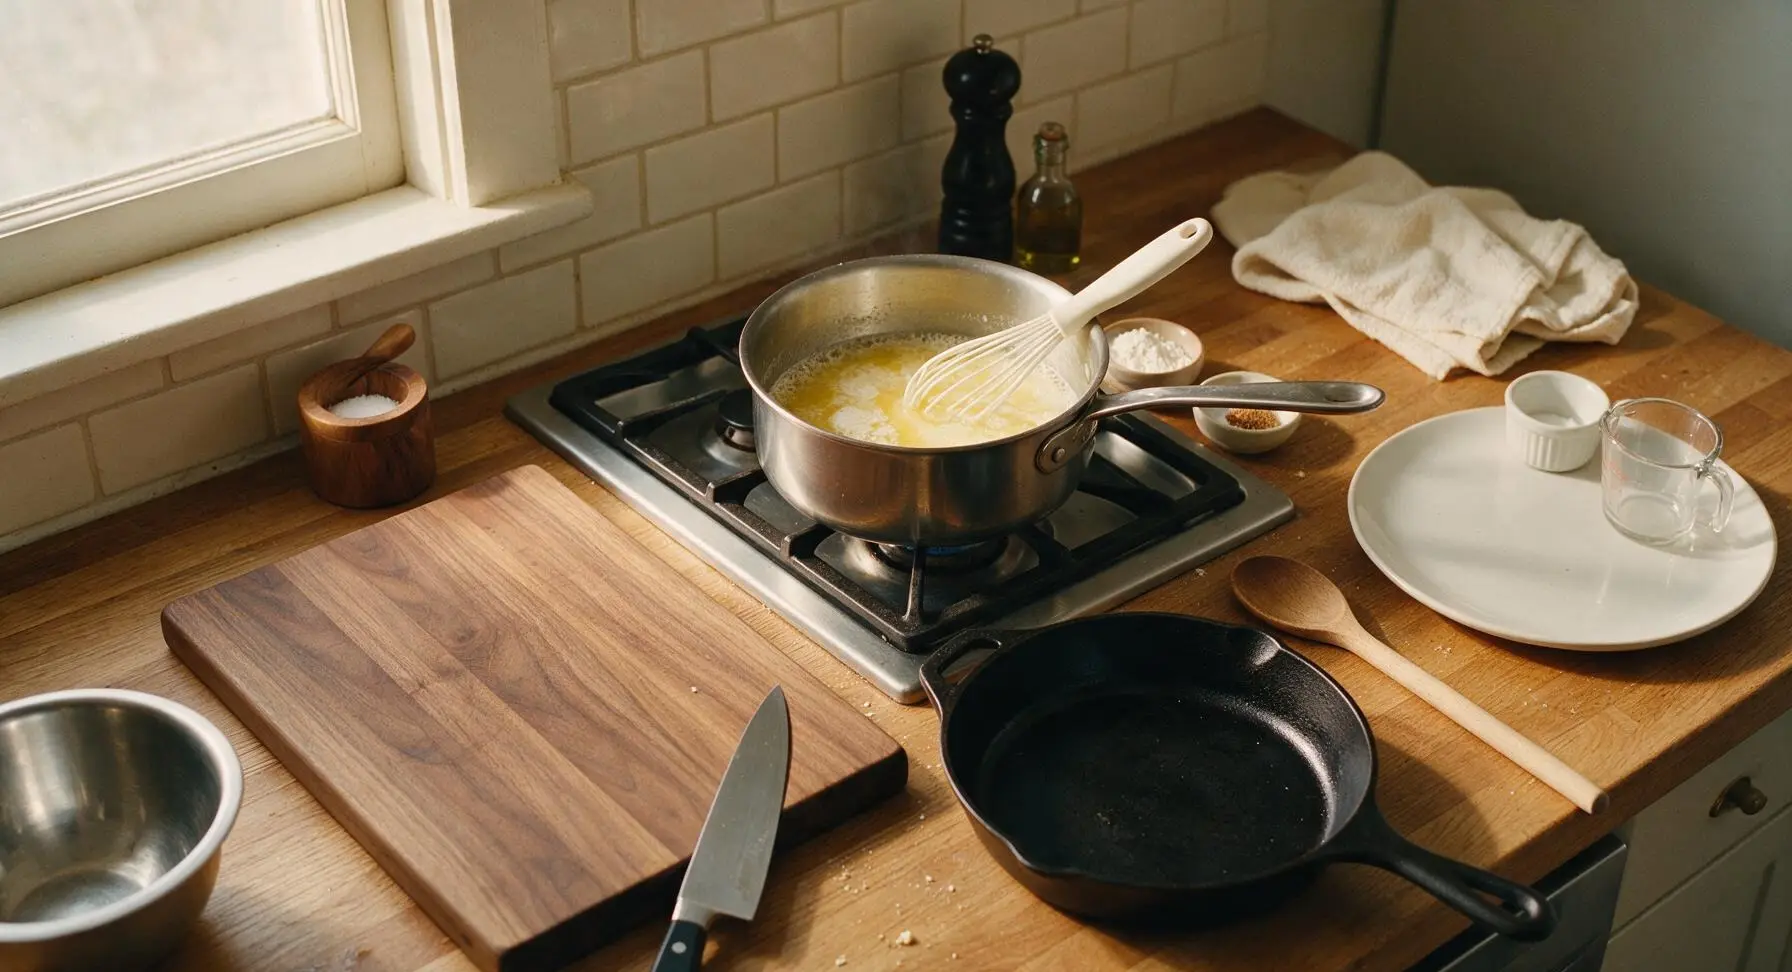
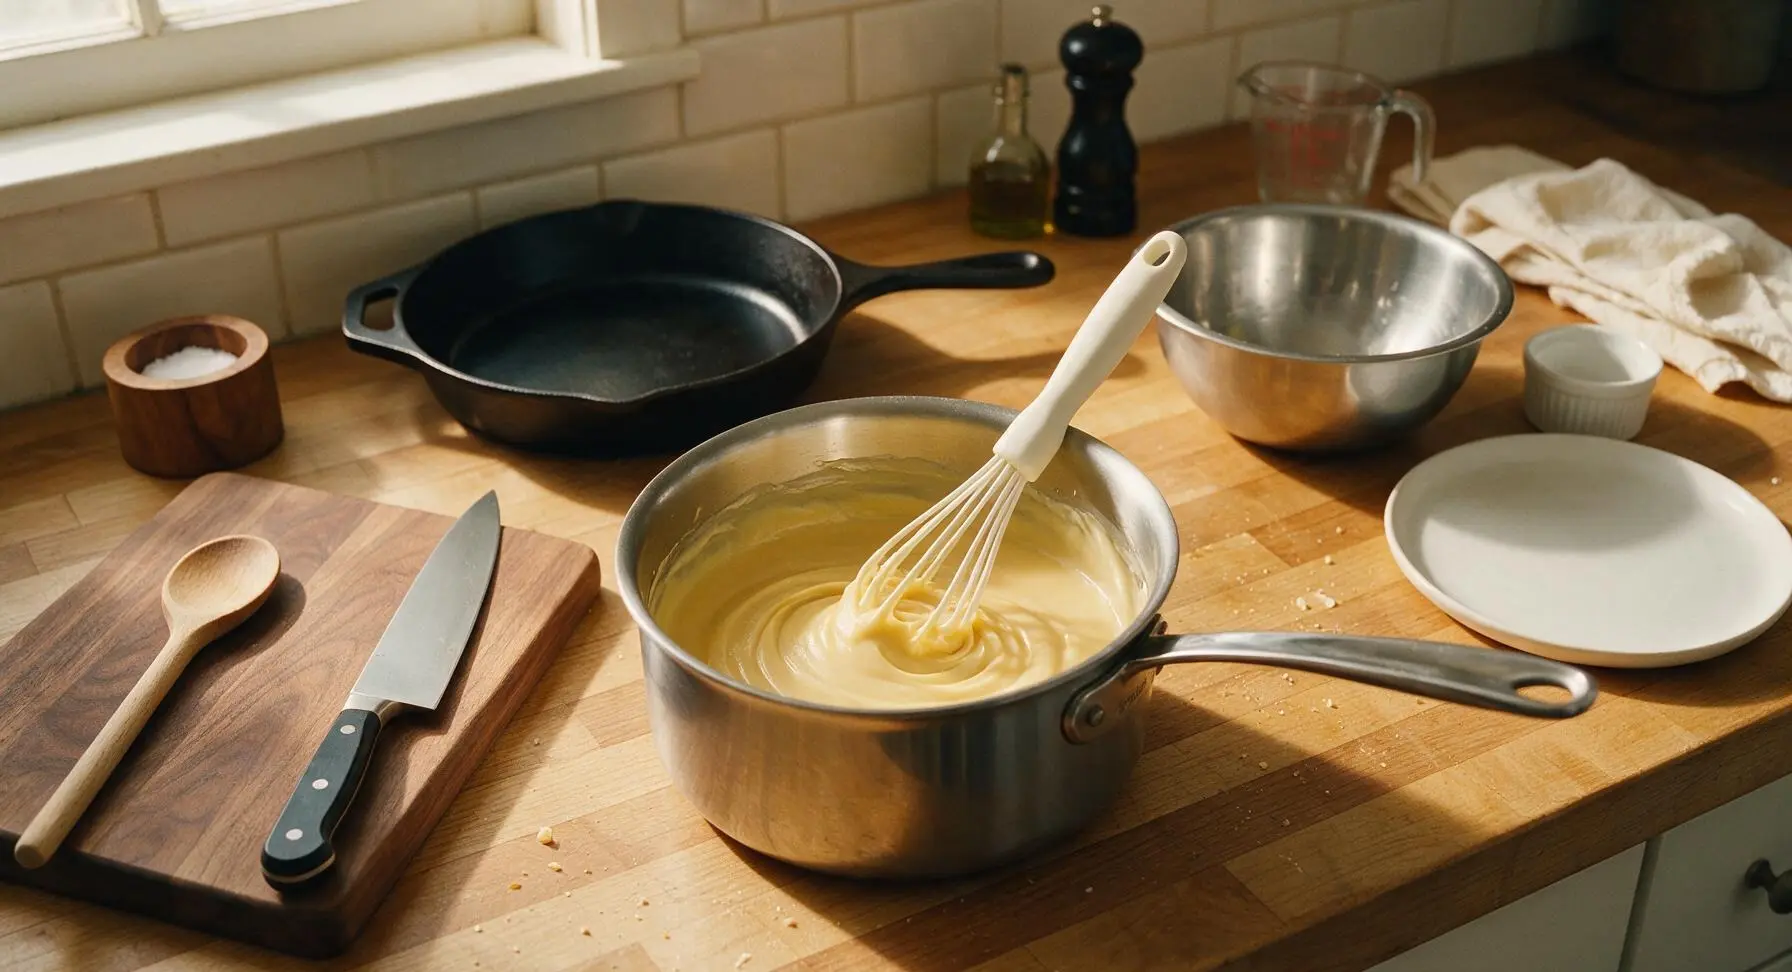
Place the 3-quart stainless steel saucepan on the stovetop over medium heat. Add 3 tablespoons of unsalted butter to the pan, melting until foaming subsides (about 2 minutes). Add all-purpose flour, dry mustard powder, and smoked paprika to the melted butter. Whisk constantly with the white silicone whisk for 2 minutes, until the roux is a pale golden color and smells faintly nutty, with no raw flour aftertaste remaining.
Step 4
step4:Build Butter Roux Base
Step 4
step4:Build Butter Roux Base
5

Whisk Creamy Cheese Sauce

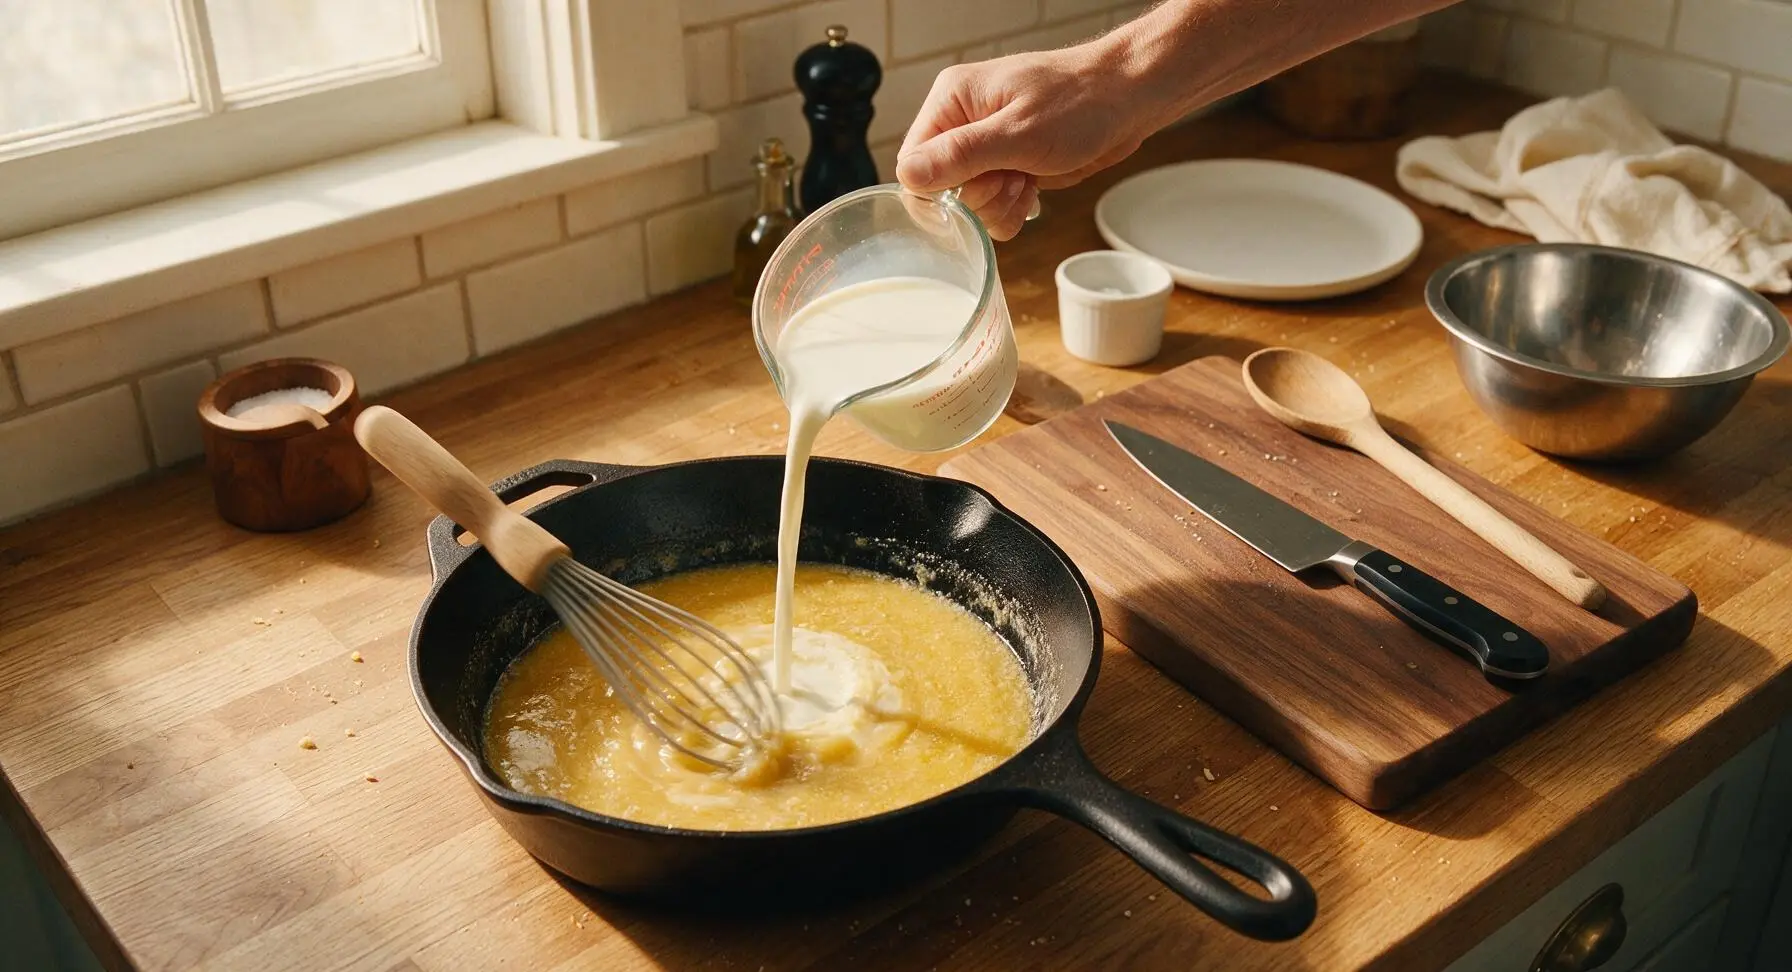
Slowly pour whole milk into the roux, whisking constantly with the silicone whisk to prevent lumps from forming. Continue cooking for 4-5 minutes, whisking occasionally, until the sauce thickens enough to coat the back of a spoon (a line drawn with your finger across the coated spoon will hold a clean edge). Turn heat to low, add remaining 1/2 teaspoon kosher salt, black pepper, and the bulk of the shredded cheese (reserving the 1/2 cup set aside for topping), a handful at a time, stirring with the beech wood slotted spoon until fully melted and smooth. Do not boil the sauce after adding cheese, as high heat can cause the sauce to split and turn grainy.
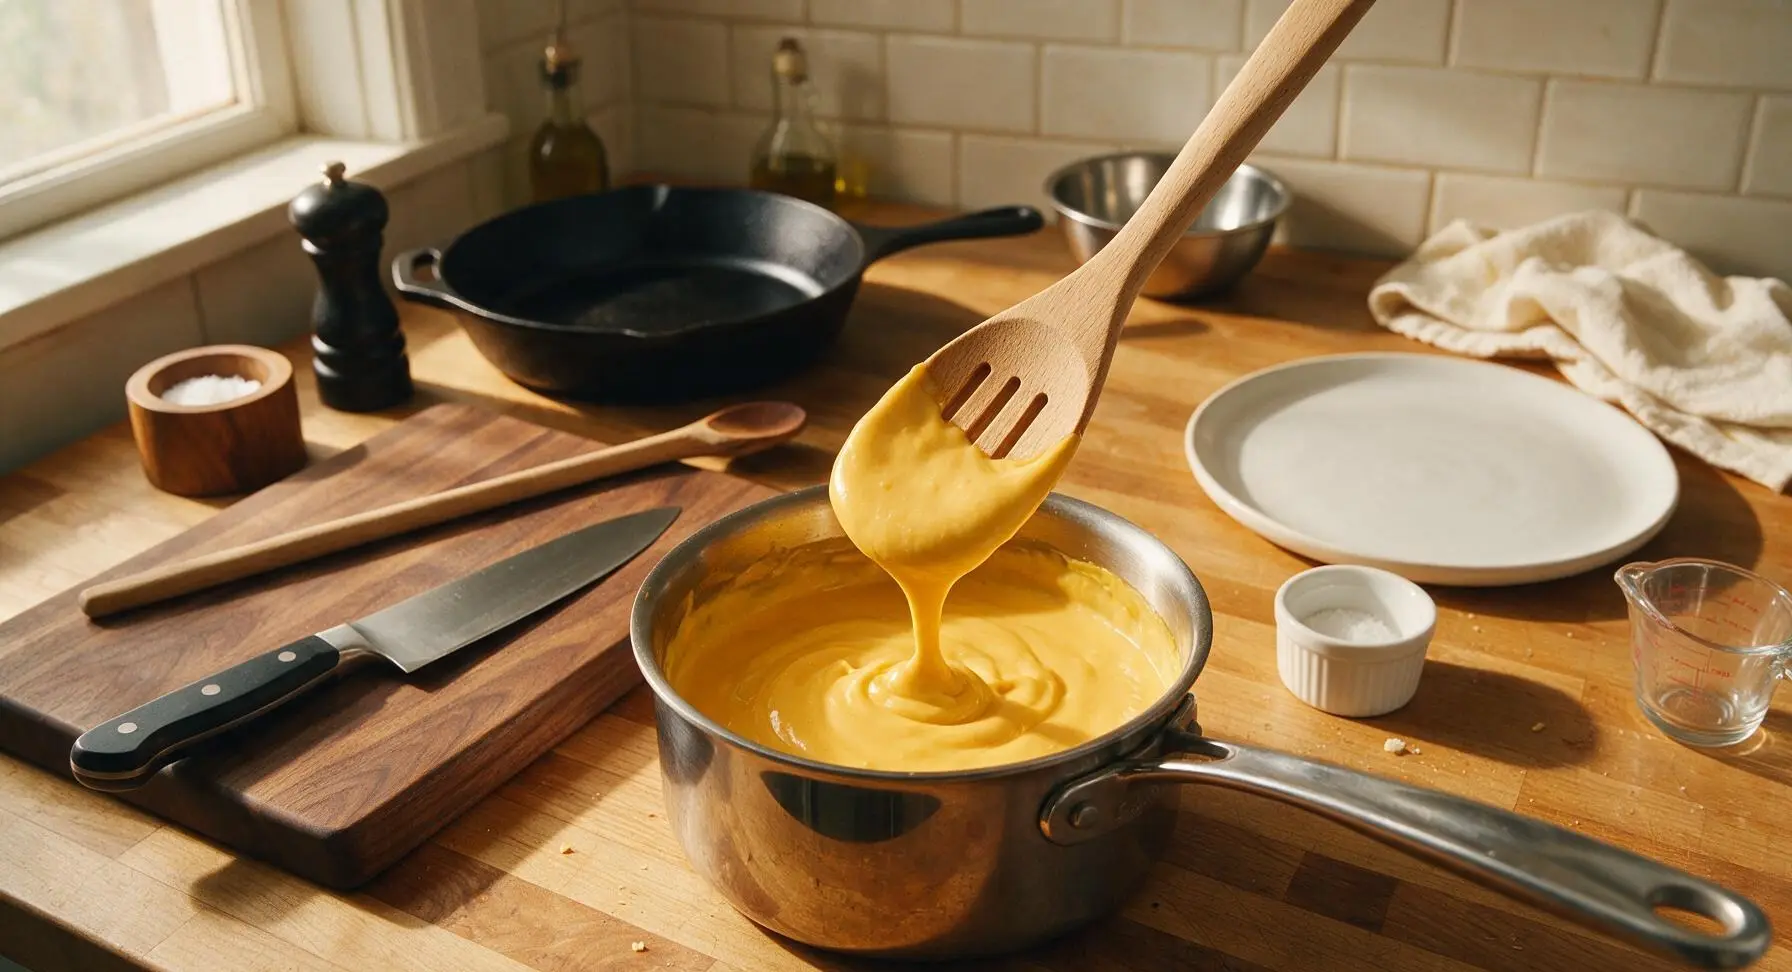
Step 5
step5:Whisk Creamy Cheese Sauce
Step 5
step5:Whisk Creamy Cheese Sauce
6

Mix Pasta and Sauce

Add the drained elbow macaroni to the saucepan with the finished cheese sauce. Stir gently with the beech wood slotted spoon until every noodle is evenly coated in thick, creamy sauce, with no dry pasta patches visible. Taste and add a pinch more salt if needed.
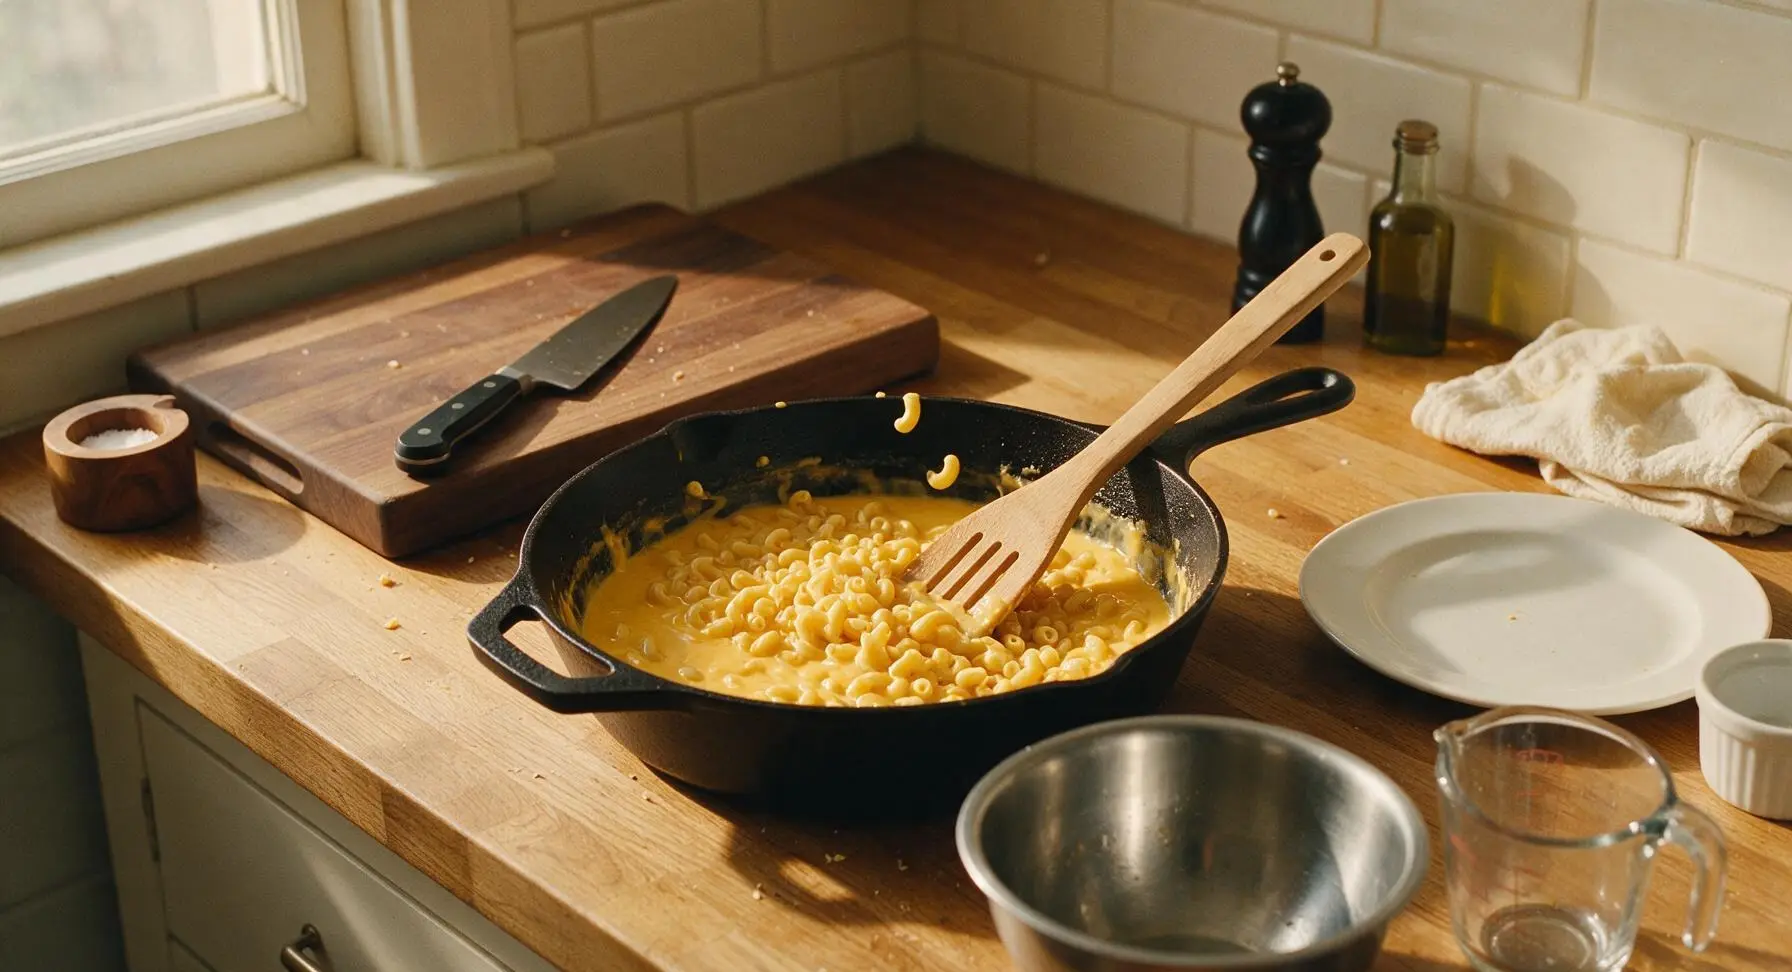
Step 6
step6:Mix Pasta and Sauce
7

Assemble Baking Dish

Grease the inside of the 9x13 inch matte cream ceramic baking dish with the remaining 1 tablespoon of softened butter. Pour the cheese-coated macaroni into the baking dish, spreading it into an even layer with the slotted spoon. In the medium stainless steel mixing bowl, toss the reserved 1/2 cup shredded cheese with panko breadcrumbs and picked fresh thyme leaves. Sprinkle this topping evenly over the macaroni surface, covering the entire dish.
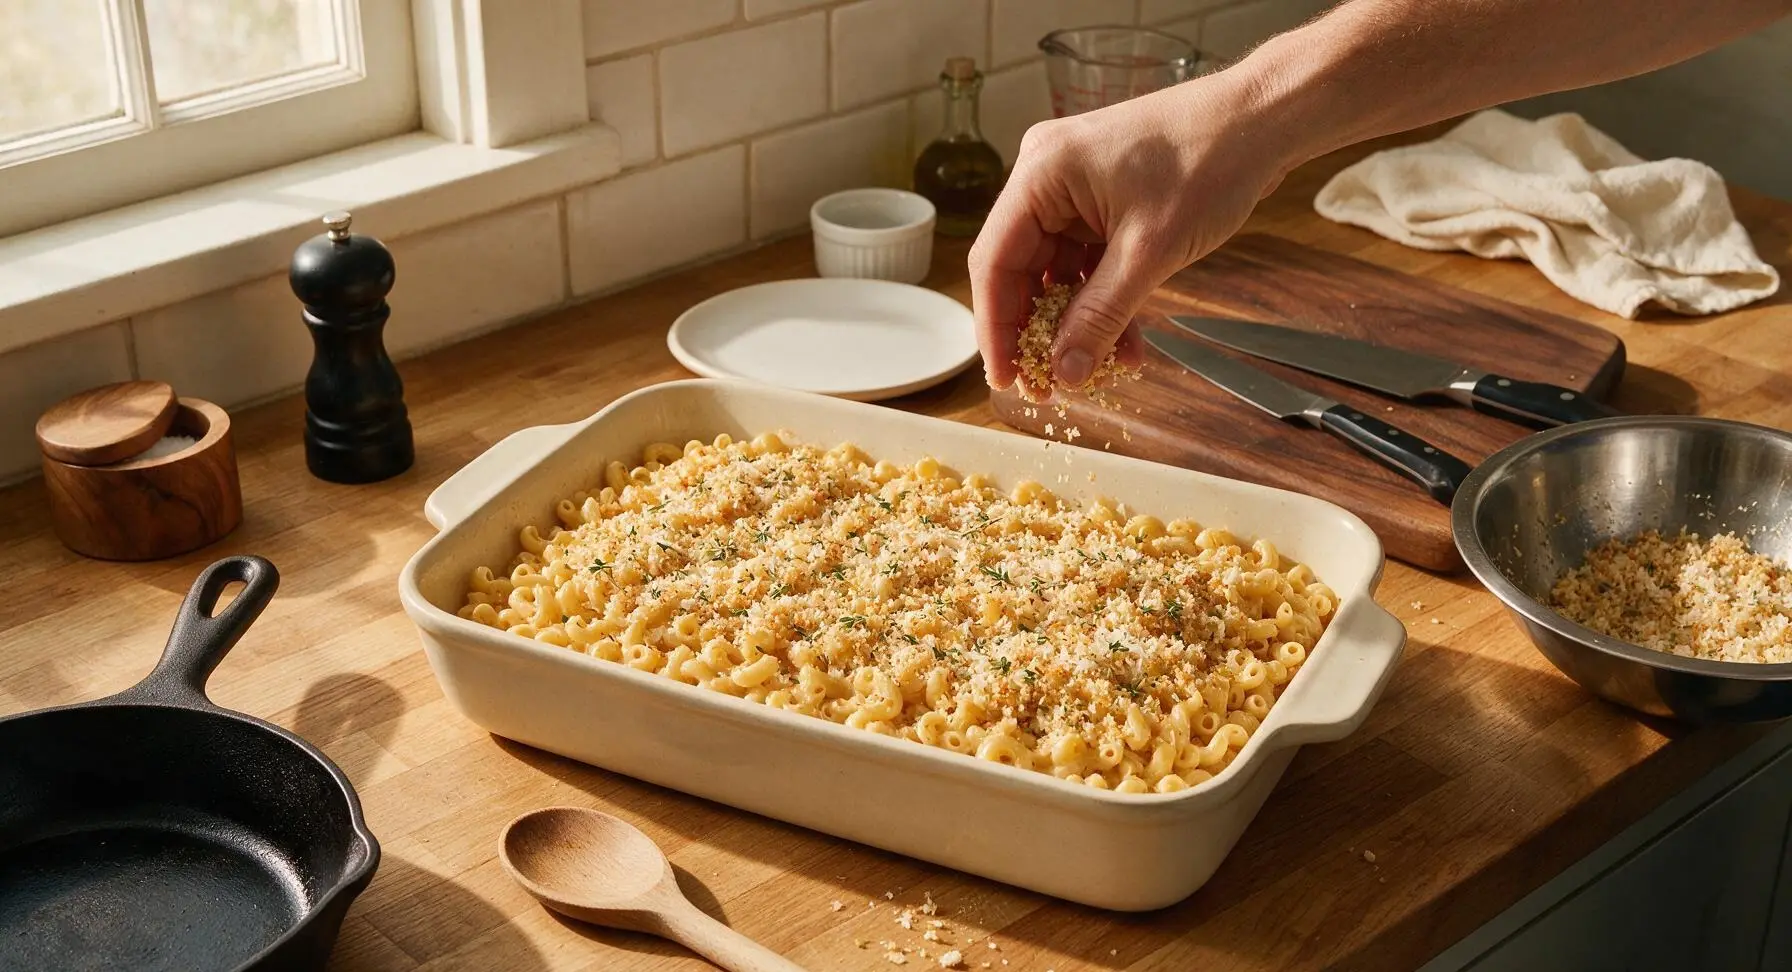
Step 7
step7:Assemble Baking Dish
8

Bake Until Golden Bubbly

Place the assembled baking dish on the middle oven rack, and bake for 25 minutes at 375°F (190°C), until the sauce bubbles vigorously around the dish edges, and the panko-cheese topping is deep golden brown and crisp. Remove from the oven and let rest for 5 minutes before serving to allow the sauce to set.
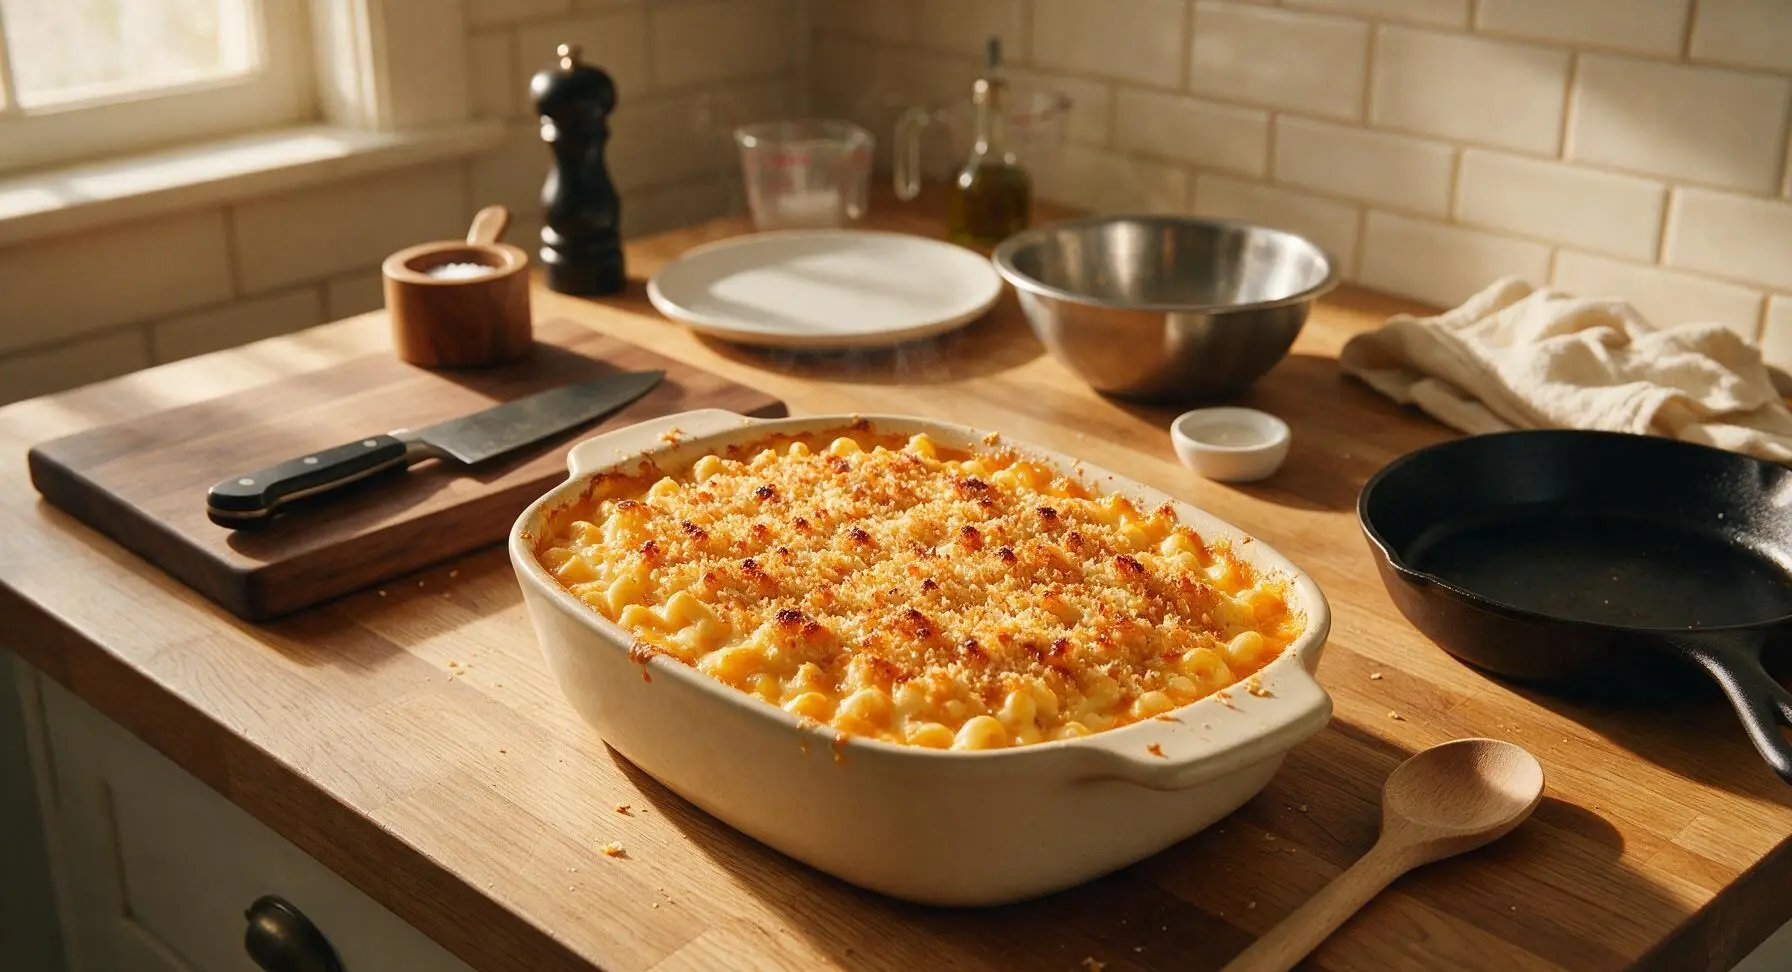
Step 8
step8:Bake Until Golden Bubbly

Tips

1.Grate your own cheese from blocks instead of using pre-shredded store-bought cheese. Pre-shredded cheese is coated in anti-caking agents (potato starch and natamycin) that prevent smooth melting, leading to a grainy, less cohesive cheese sauce.
2.Never rinse cooked pasta for mac and cheese. The thin starchy coating on drained pasta acts as a natural emulsifier that helps the cheese sauce cling evenly to every noodle, preventing sauce from sliding off and pooling at the bottom of the baking dish.
3.Resist the urge to serve mac and cheese immediately after pulling it from the oven. Letting it rest for 5 minutes allows the hot, thin cheese sauce to thicken and set, so each scoop holds its shape instead of running across the plate.


✨ You May Also Like

Main Course
🍜 United Kingdom

A showstopping classic of tender seared beef, savory mushroom duxelles, and crisp prosciutto wrapped in flaky golden puff pastry, baked to juicy perfection.

⏱️ 2 hours 1Main Course ★ 4.7
Main Course
🍜 India

Tender charred marinated chicken simmered in a rich, spiced creamy tomato sauce, this iconic Anglo-Indian curry pairs perfectly with basmati rice or warm naan.

⏱️ 50 minuteMain Course ★ 4.6
Main Course
🍜 Thailand

Classic tangy, sweet, and savory Thai stir-fried rice noodles with shrimp, tofu, and crunchy garnishes, balancing all five core Thai flavor profiles.

⏱️ 30 minuteMain Course ★ 4.5
Main Course
🍜 United Kingdom

Crispy golden beer-battered cod and fluffy double-fried chips, served with tangy tartar sauce and malt vinegar: the timeless, beloved British pub comfort classic.

⏱️ 45 minuteMain Course ★ 4.7
Main Course
🍜 Mexico

Smoky, chile-marinated pork tacos with caramelized pineapple, fresh cilantro, and lime: a beloved classic Mexican street food perfect for casual summer gatherings.

⏱️ 1 hour 45Main Course ★ 4.8
Main Course
🍜 United States

Crunchy Fritos corn chips layered with savory beef chili and melted cheddar, topped with cool, zesty fixings for a beloved, cozy Tex-Mex comfort food.

⏱️ 35 minuteMain Course ★ 4.8

Baked Mac and Cheese:Frequently Asked Questions

1.Why do you use a mix of sharp yellow cheddar and Gruyère instead of just one cheese for this recipe? ▾
Sharp yellow cheddar delivers that bold, tangy classic mac and cheese flavor, while Gruyère melts ultra-smoothly for that signature velvety texture without graininess. Using only cheddar often leads to a greasy, separated sauce when baked, and its sharpness can overwhelm the dish if unbalanced. The two cheeses complement each other perfectly for a rich, well-rounded bite.
2.My baked mac and cheese always turns out dry—how do I keep it creamy all the way through baking? ▾
Start by undercooking your elbow macaroni by 2 minutes (it will finish cooking in the oven) so it doesn’t soak up excess sauce. Make your cheese sauce slightly looser than you think it should be before baking, and cover the dish with foil for the first 20 minutes to trap steam. Pull it out as soon as the edges bubble and the top is golden to avoid overcooking.
3.Can I use regular breadcrumbs instead of panko for the crispy topping? ▾
You absolutely can, but panko creates that lighter, shatteringly crisp golden top that won’t get soggy as it bakes, thanks to its coarser, airier crumb structure. If using regular fine breadcrumbs, toss them with a little extra melted butter first, and keep a close eye on them—they brown much faster than panko, so add them for the last 10 minutes of bake time to avoid burning.
4.Why do I need to make a roux with butter and all-purpose flour for the cheese sauce? ▾
That simple roux (cooked equal parts unsalted butter and all-purpose flour) is the secret to a stable, non-greasy, velvety cheese sauce that won’t separate when baked. It acts as a thickener that binds milk and melted cheese together, so you don’t end up with oil pooling at the bottom of your dish. Cook the roux for 2 full minutes to eliminate any raw flour taste before adding milk.
5.Do I have to use elbow macaroni, or can I swap in a different pasta shape? ▾
Elbow macaroni is classic for a reason—its curved, ridged shape catches and holds thick cheese sauce in every nook, so you get sauce in every single bite. That said, you can swap in other short, sturdy, ridged shapes like cavatappi, small shells, or rotini if that’s what you have on hand. Skip long, thin pasta like spaghetti, which won’t hold the heavy creamy sauce well.
6.How do I keep my cheese sauce from turning grainy instead of smooth? ▾
Grainy sauce almost always comes from adding cheese to too-hot liquid, or using pre-shredded cheese coated in anti-caking starch. Shred your own sharp cheddar and Gruyère fresh, take your roux and milk base off the heat before stirring in cheese a handful at a time, and never let the sauce boil once cheese is added—low, gentle heat melts it perfectly smooth.
7.Can I make this mac and cheese ahead of time for a family gathering or potluck? ▾
Absolutely! Assemble the pasta and cheese sauce completely (hold off on adding the panko topping until right before baking) and cover it tightly in the fridge for up to 2 days. When you’re ready to bake, add the buttered panko, tack 10 extra minutes onto the covered bake time to account for the cold dish, and bake until the edges are bubbly.
8.Why do recipes always say to undercook pasta for baked mac and cheese? ▾
If you cook your elbow macaroni to fully al dente before baking, it will turn mushy and overcooked by the time the dish is done bubbling in the oven. Undercooking it by 2 minutes (it should still have a slight firm bite in the center) lets it finish cooking as it absorbs just the right amount of cheese sauce, leaving you with tender, not soggy, pasta.
9.How do I get that perfect golden panko top without burning it before the sauce is bubbly? ▾
Toss your panko with melted unsalted butter first so every crumb is evenly coated—this helps it brown uniformly instead of toasting in dark, uneven splotches. Sprinkle it over the top right before baking, and if you notice it getting too dark before the sauce bubbles, tent a small piece of loose foil over the top for the remaining bake time.

Comments (4)

2 days ago

OMG this baked mac and cheese is a total game changer!! I’ve tried so many recipes that turn out grainy or dry after baking, but this one stayed perfectly creamy even after the full bake time. My kids devoured half the pan in one sitting and asked for seconds before they even finished their first helping. I brought the rest to our neighborhood potluck last night and three people stopped me to ask for the recipe! SO good, this will be our go-to for Sunday family dinners from now on.

yesterday

Quick question! Did you use regular block cheese that you shredded yourself, or the pre-shredded stuff from the bag? I made a different mac recipe last week that came out super greasy because I used pre-shredded, don’t wanna mess this one up!

2 hours ago

We’re so happy your family and potluck neighbors loved the recipe! To answer CheeseLover92’s question too: shredding your own block cheese gives the smoothest, creamiest sauce, since pre-shredded cheese has anti-caking agents that can make the sauce grainy or greasy. If you’re short on time though, just toss pre-shredded cheese with a tiny pinch of cornstarch before adding it to the sauce and it’ll work perfectly!

5 days ago

Super easy recipe, came together way faster than I expected on a busy weeknight! I swapped half the cheddar for pepper jack to add a little kick, and it was delicious. Only reason I’m not giving 5 stars is that my sauce got a little thicker than I wanted once it cooled down a bit, but that’s probably on me for eyeballing the milk instead of measuring properly. Great base recipe to tweak for meal prep though, held up really well in the fridge for lunches all week!

3 days ago

Love the pepper jack swap, that sounds like such a tasty twist! If the sauce thickens too much as it cools or when you reheat leftovers, just stir in a splash of warm milk a tablespoon at a time until it hits your preferred consistency — works like a charm every time!

1 week ago

Made this as a side for our weekend BBQ with ribs and coleslaw, and it stole the whole show! I was worried a creamy mac would be too heavy next to all the smoky meat, but the flavor was perfectly balanced, not overly rich. The crispy panko top is chef’s kiss, I added a little extra smoked paprika to the breadcrumb mix like the recipe note suggested and it added such a nice smoky depth. 10/10, will be a staple at all our summer cookouts.

30 minutes ago

As someone who’s burned boiled water before (embarrassing, I know) I was shocked how easy this recipe was! No weird fancy ingredients, just stuff I already had in my dorm kitchen, and it turned out so creamy and cheesy, no clumps at all. My roommate walked in and thought I ordered takeout from that fancy mac place downtown lmao. 10/10, even total beginner cooks can nail this no problem.

5 minutes ago

So glad another total newbie is raving about this! I’ve been nervous to try baked mac because I thought it required all kinds of fancy skills and equipment, this makes me wanna run to the grocery store for ingredients tonight after my evening class.



