
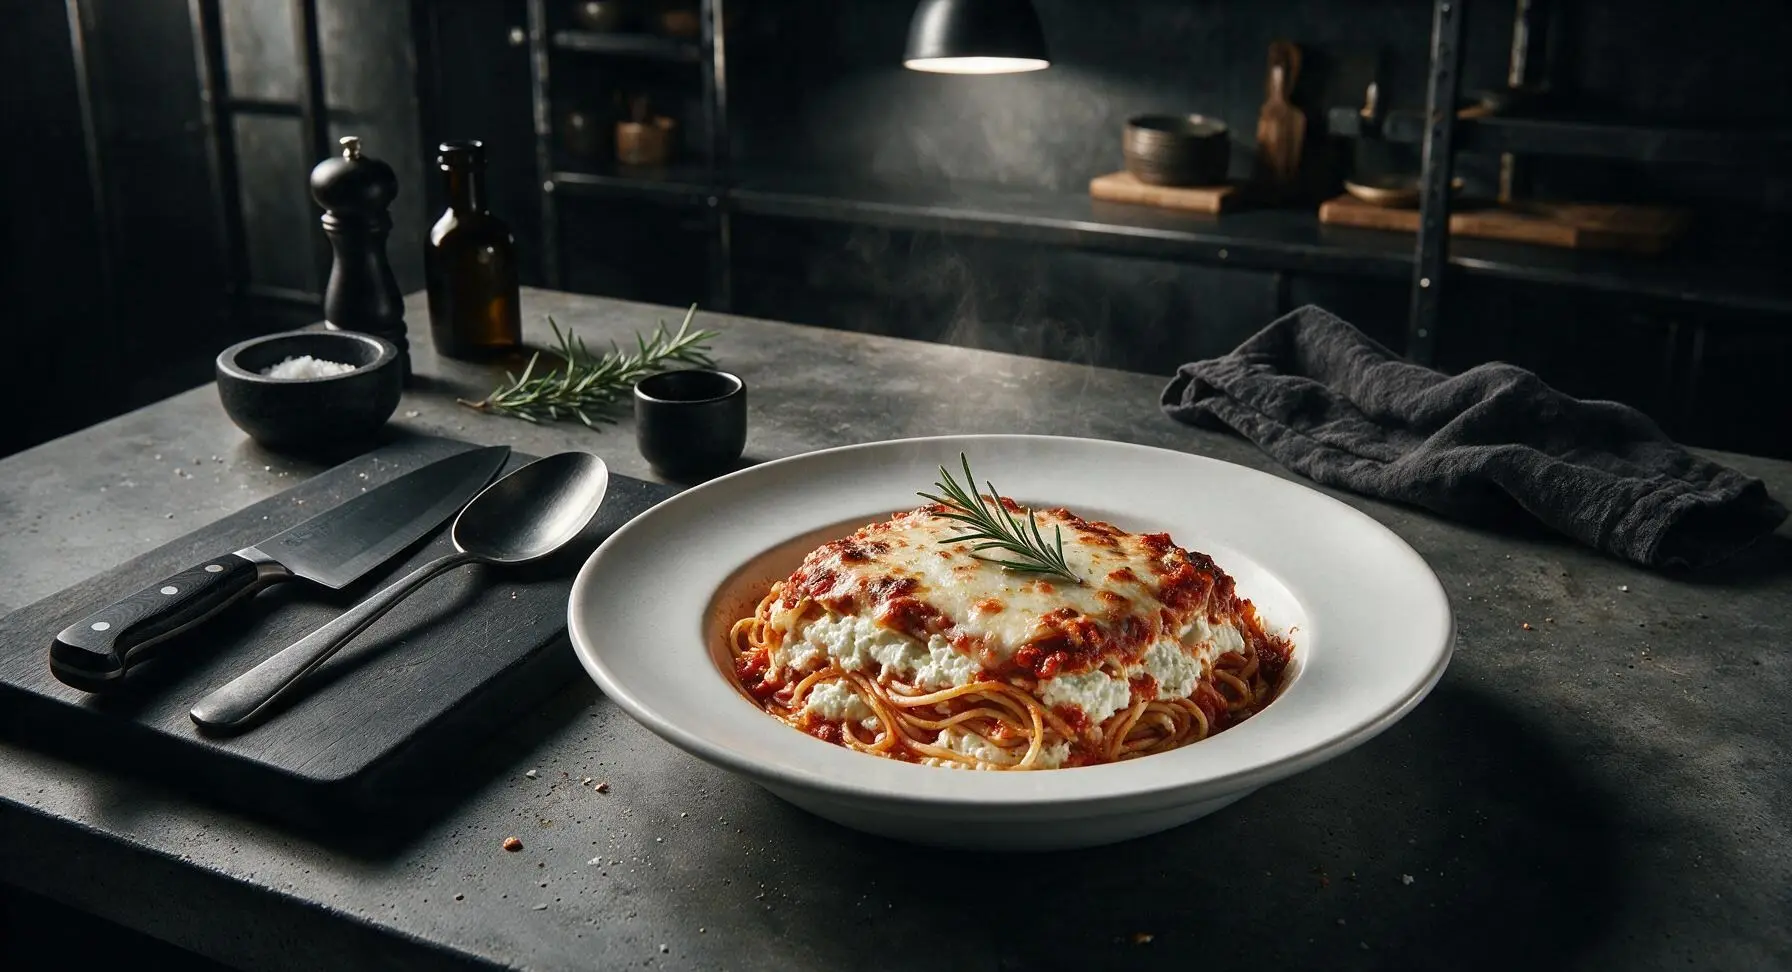
baked spaghetti with ricotta

title 1
baked spaghetti with ricotta
⏱️ cook time 50 minutes
🍽️ servings 4
⚡ Difficulty easy

intro

Creamy tangy ricotta layered with tender spaghetti, rich marinara, and melted mozzarella, baked to bubbly golden perfection for a comforting, crowd-pleasing family meal.

Ingredients
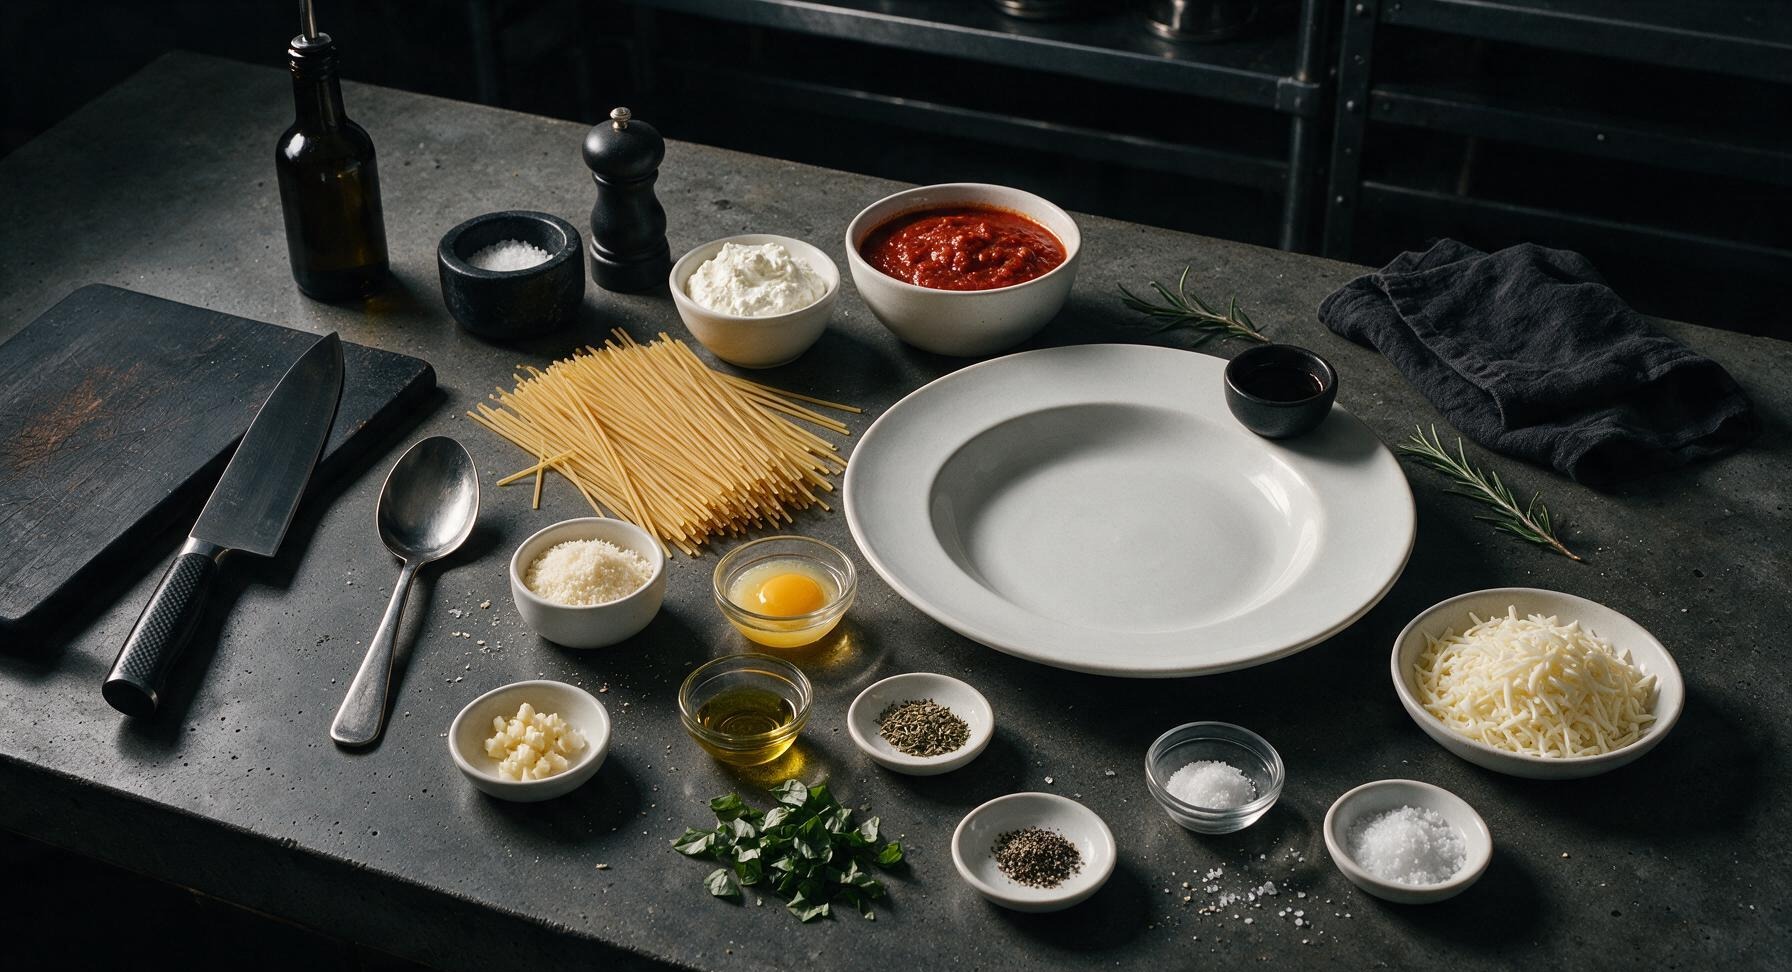
Dry spaghetti 340g (12 oz)
Whole milk ricotta cheese 425g (15 oz)
Marinara sauce 700g (24 oz)
Low-moisture mozzarella cheese 170g (6 oz), shredded
Parmesan cheese 50g (1/2 cup), finely grated
Large egg 1 unit, lightly beaten
Garlic cloves 3, minced
Extra-virgin olive oil 1 tbsp
Dried oregano 1 tsp
Dried basil 1 tsp
Kosher salt 1 tsp, plus 2 tbsp for pasta water
Freshly ground black pepper 1/2 tsp
Fresh basil leaves 1/4 cup, torn

Steps

1

Prep Oven and Pasta Water

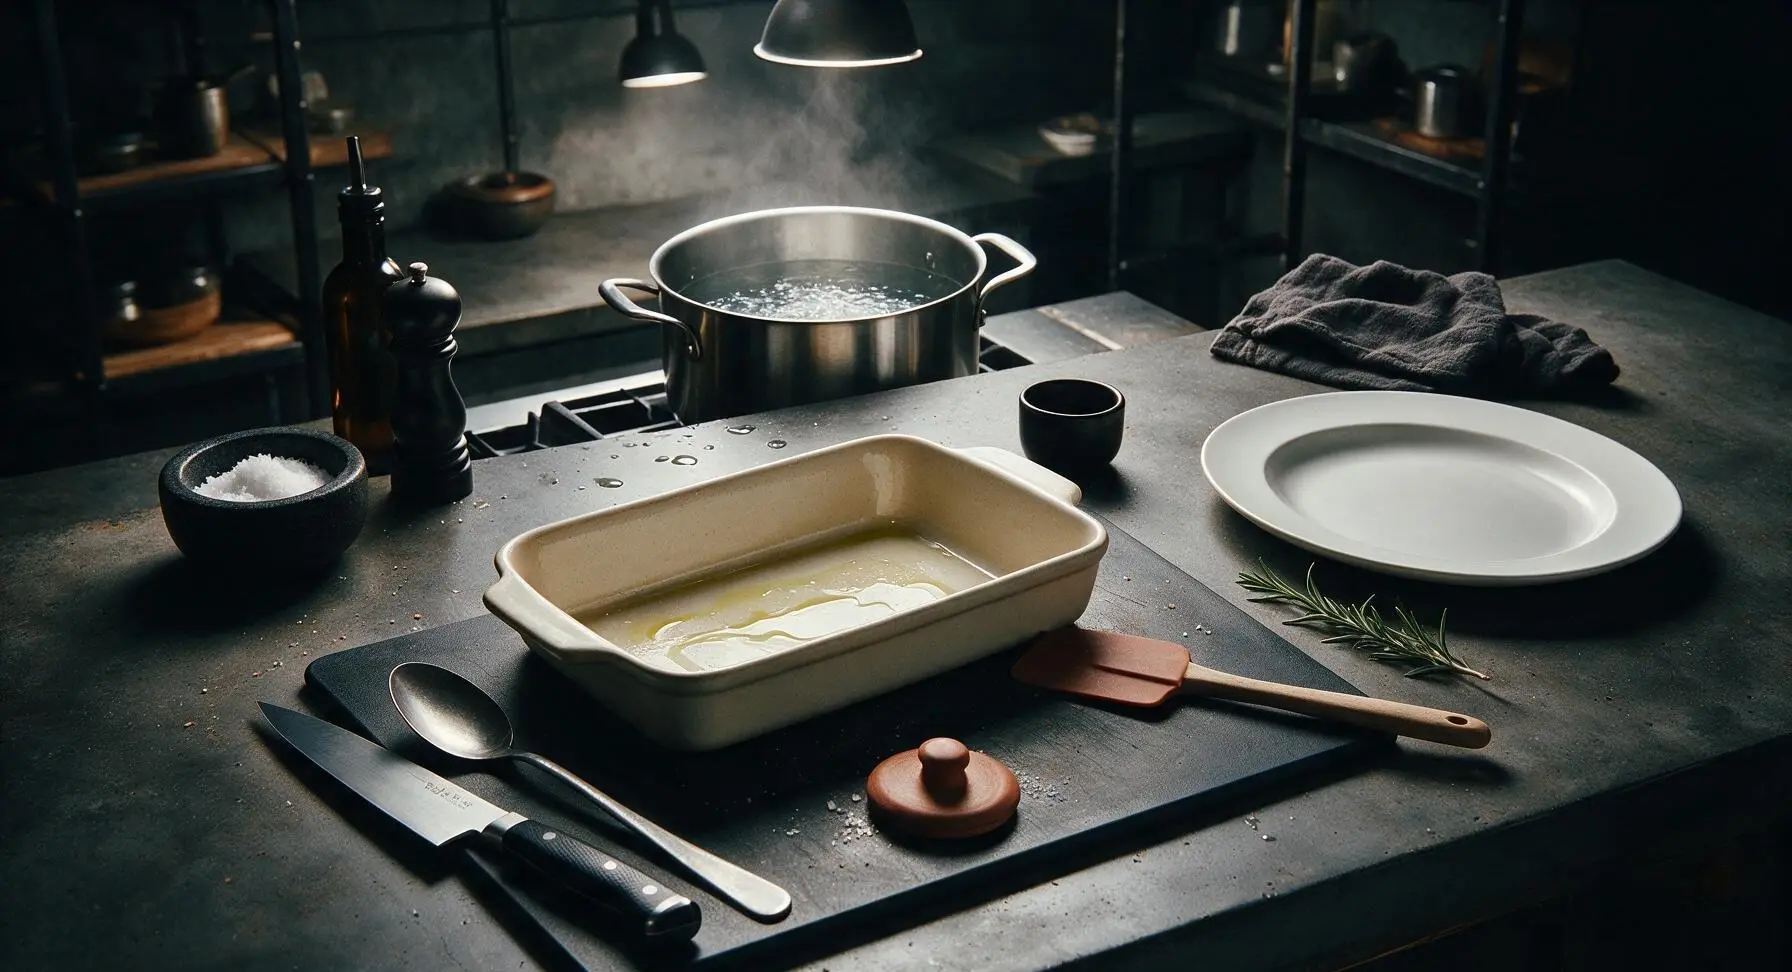
Preheat oven to 190C (375F). Place the 6-quart stainless steel stock pot on the stovetop, fill with 4 liters (1 gallon) of cold water, add 2 tablespoons of kosher salt (water should taste as salty as seawater), and bring to a rolling boil over high heat. Lightly grease the inside of the 9x13 inch matte cream ceramic baking dish with 1 teaspoon of olive oil and set it in the center counter zone.
Step 1
step1:Prep Oven and Pasta Water
2

Cook Spaghetti Al Dente

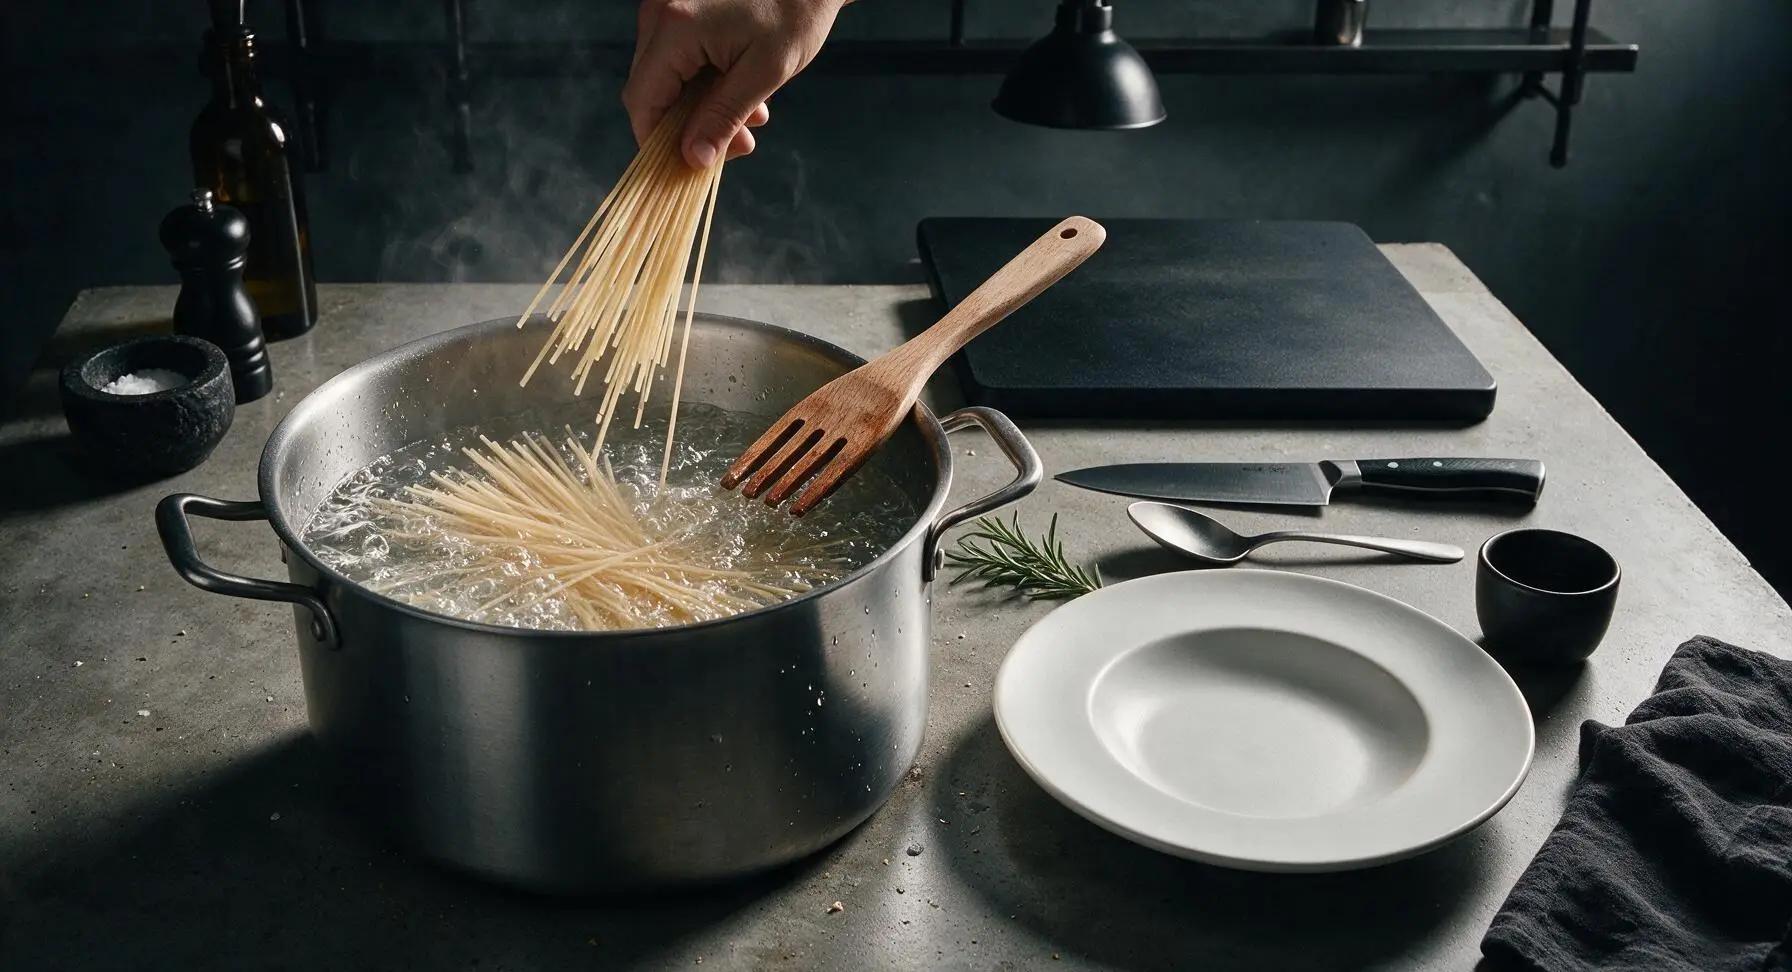
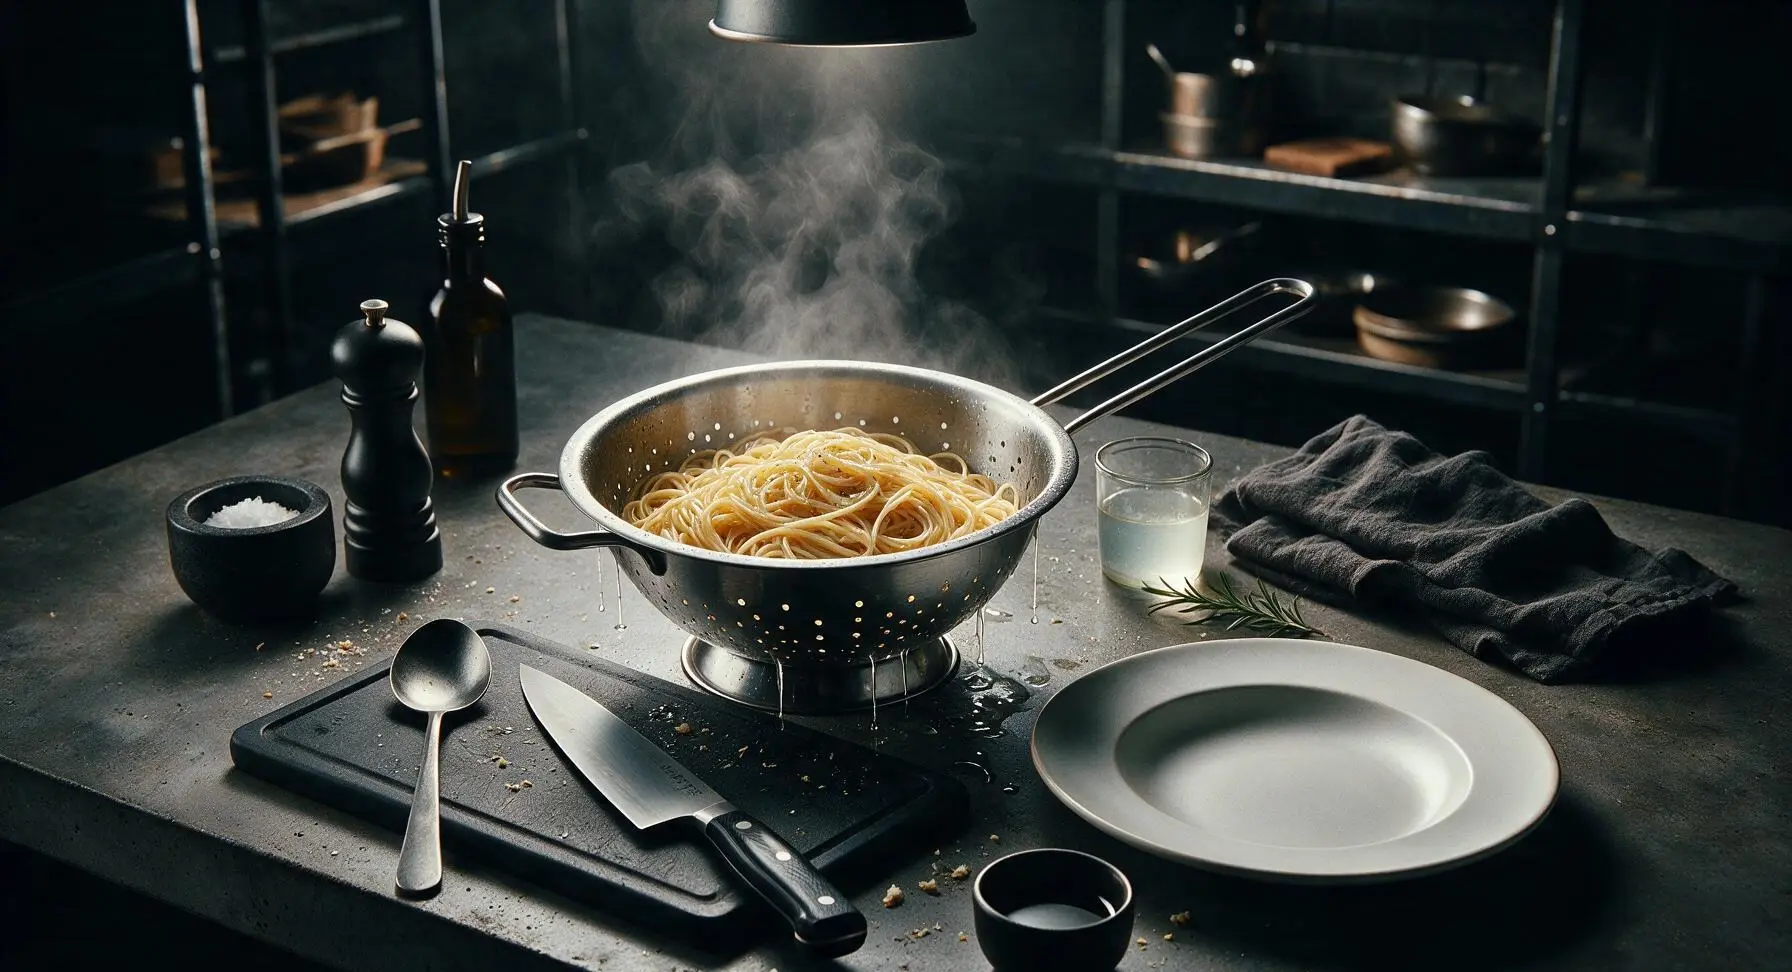
Once water reaches a full rolling boil, add the dry spaghetti, stirring immediately with the beech wood pasta fork to prevent strands from sticking together. Cook for 2 minutes less than the package’s listed al dente cook time (approximately 8 minutes total), as the pasta will finish cooking through while baking. Reserve 1/2 cup of starchy pasta water, then drain the spaghetti in the stainless steel colander, and toss with the remaining 2 teaspoons of olive oil to prevent clumping as it cools.
Step 2
step2:Cook Spaghetti Al Dente
Step 2
step2:Cook Spaghetti Al Dente
3

Mix Ricotta Filling

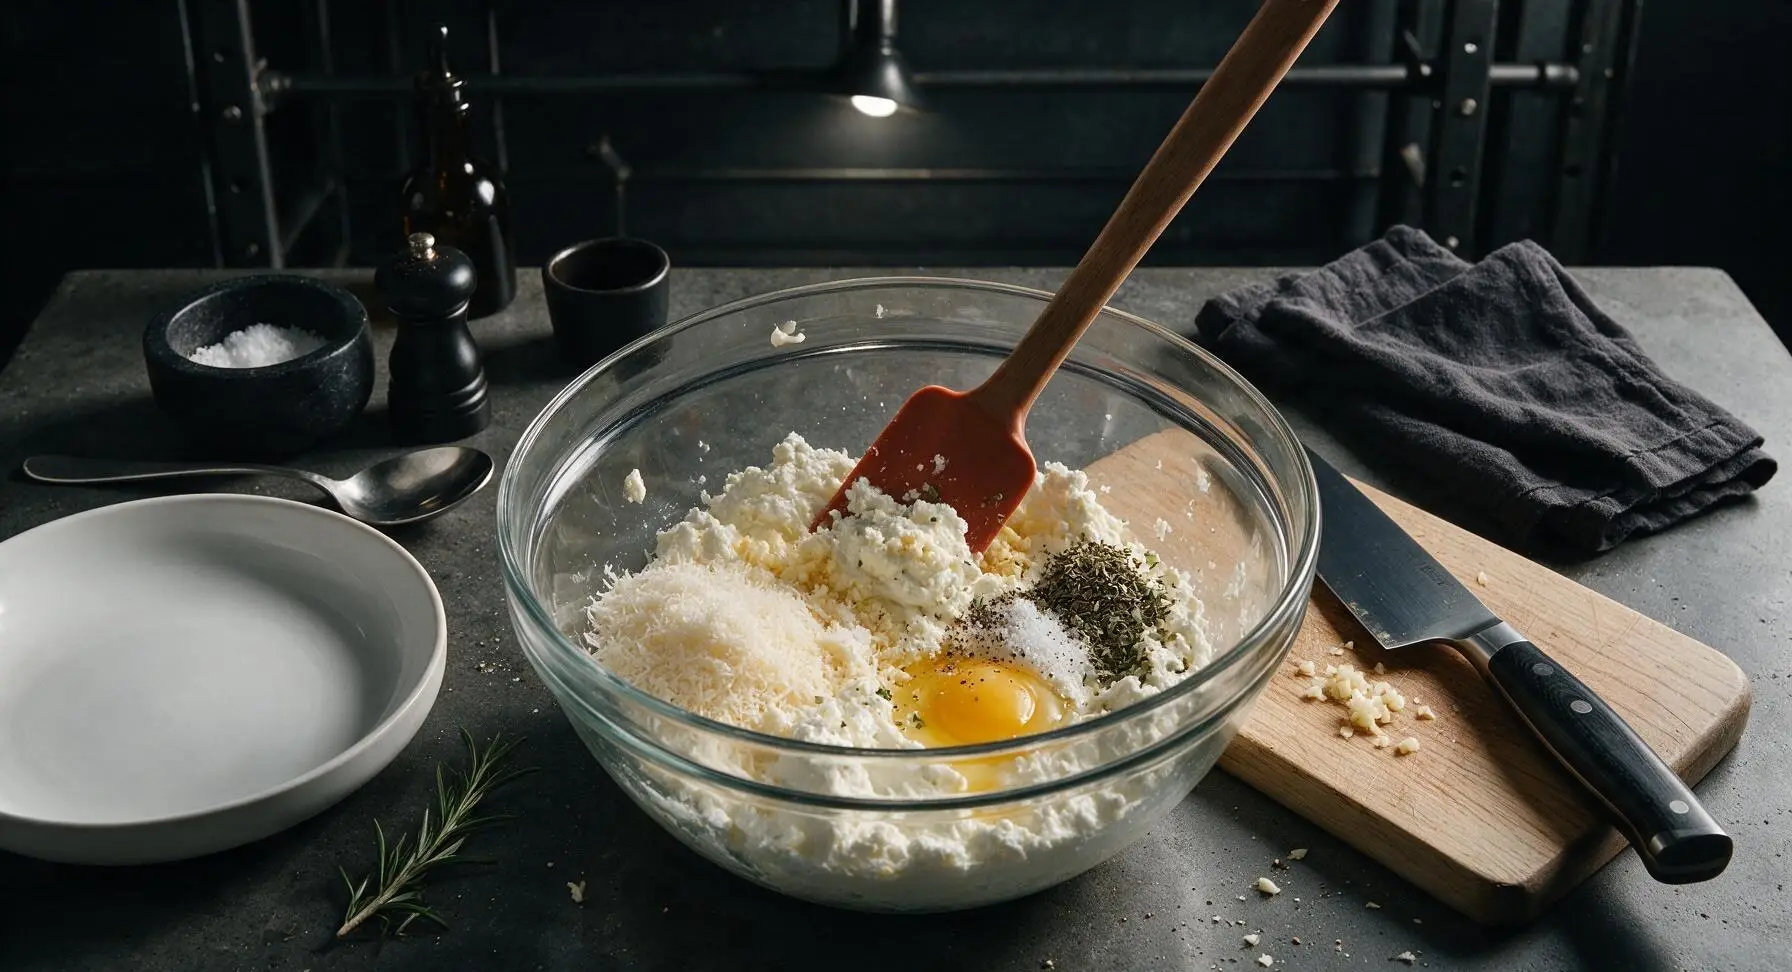
In the large clear glass mixing bowl, combine the whole milk ricotta, 1/4 cup of the finely grated parmesan, the lightly beaten large egg, minced garlic, dried oregano, dried basil, 1 teaspoon of kosher salt, and freshly ground black pepper. Stir thoroughly with the terracotta silicone spatula until the mixture is completely smooth, with no visible streaks of egg, about 60 seconds of steady stirring. The filling should be thick but easily spreadable.
Step 3
step3:Mix Ricotta Filling
4

Toss Pasta with Marinara

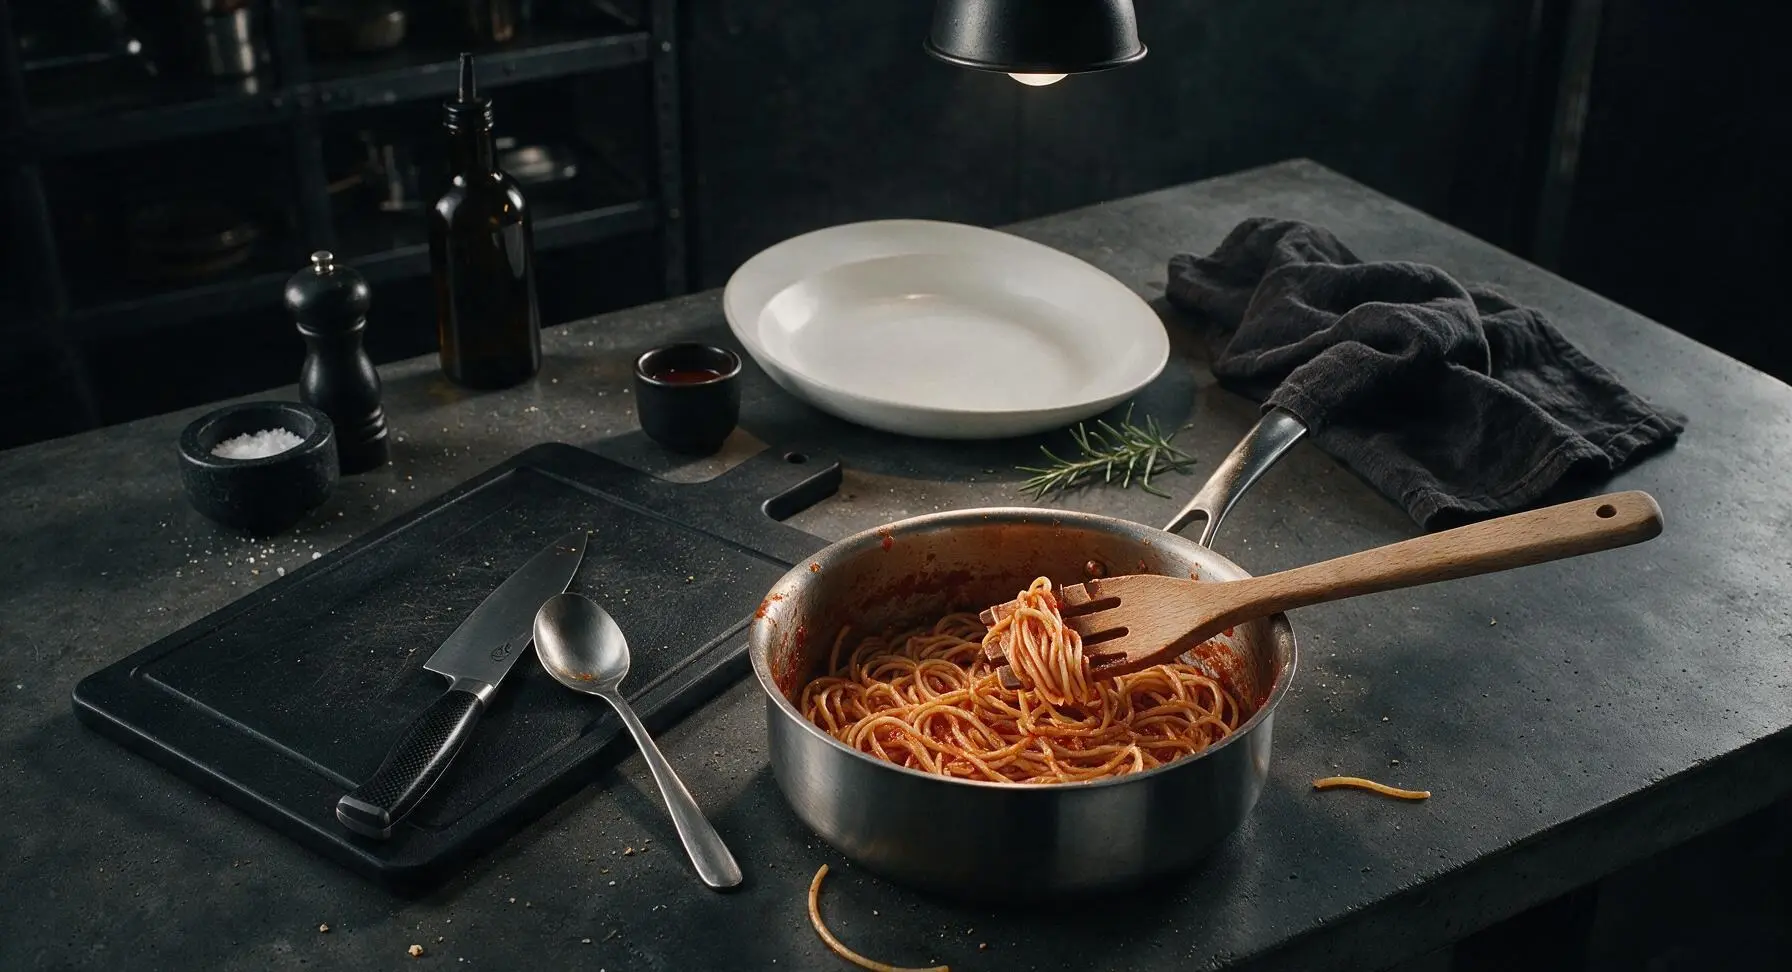
Return the drained, oil-tossed spaghetti to the empty stock pot (removed from heat), pour in 3/4 of the marinara sauce, and add 1/4 cup of the reserved starchy pasta water. Toss gently with the beech wood pasta fork until every spaghetti strand is evenly coated in red sauce, adding an extra splash of reserved pasta water if the sauce feels too thick to coat smoothly.
Step 4
step4:Toss Pasta with Marinara
5

Layer Pasta and Cheese

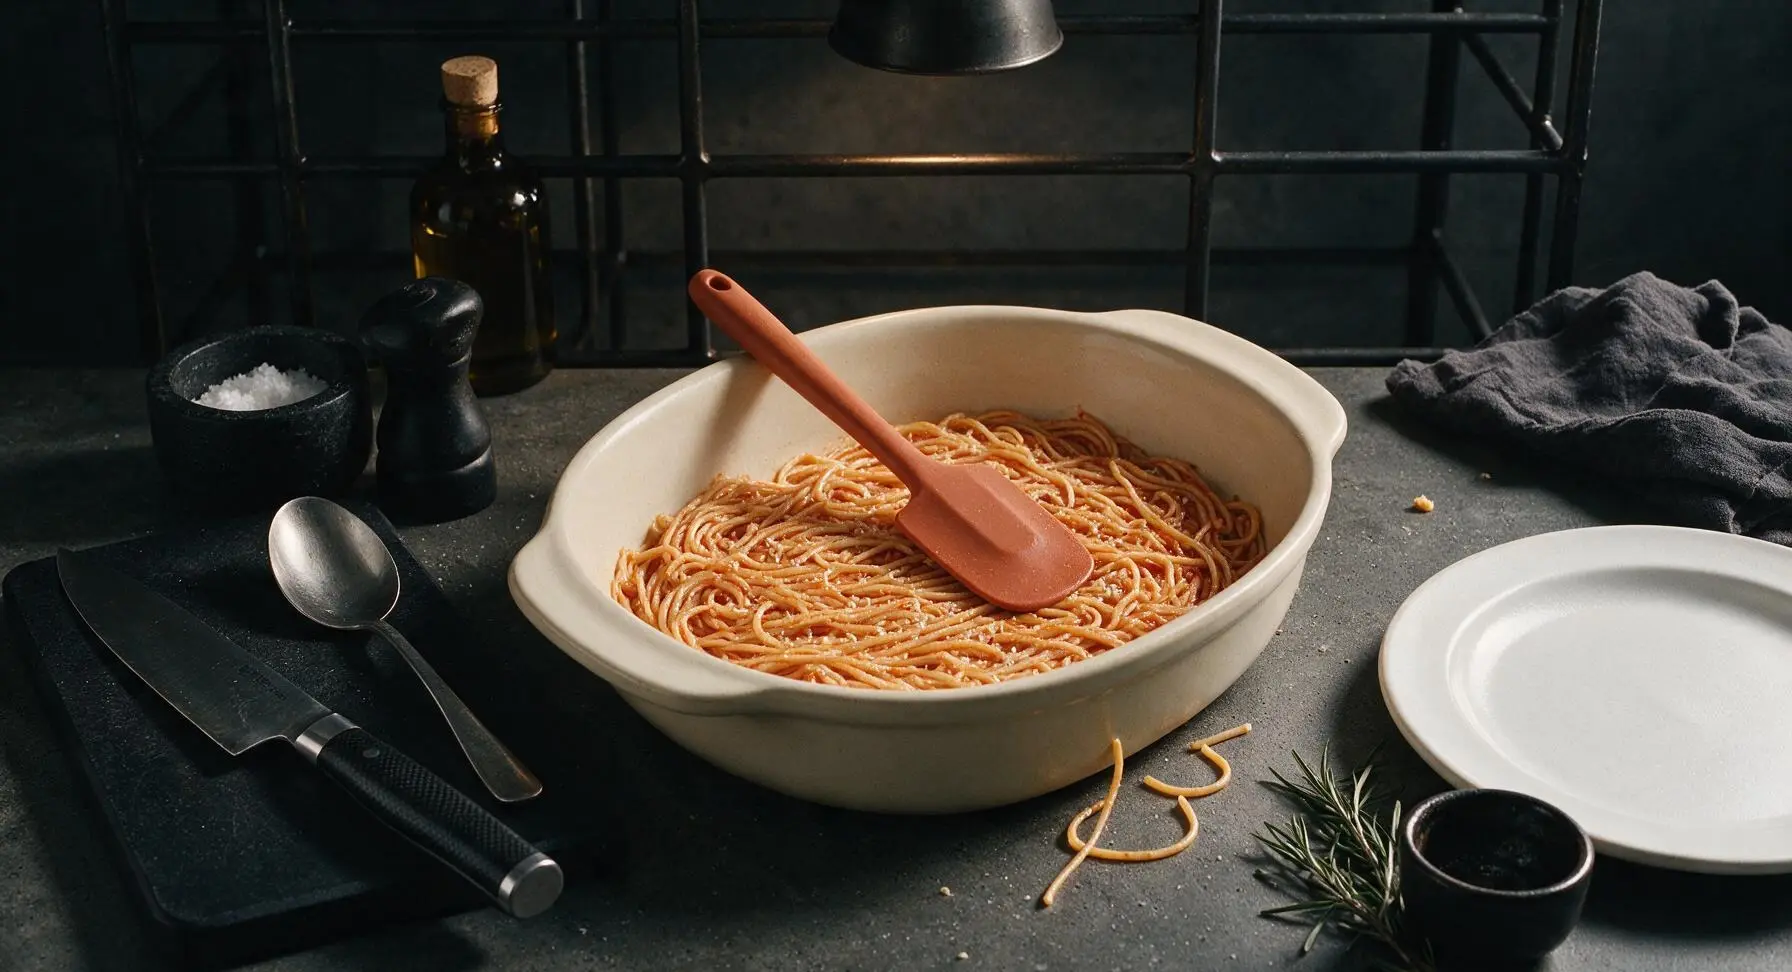
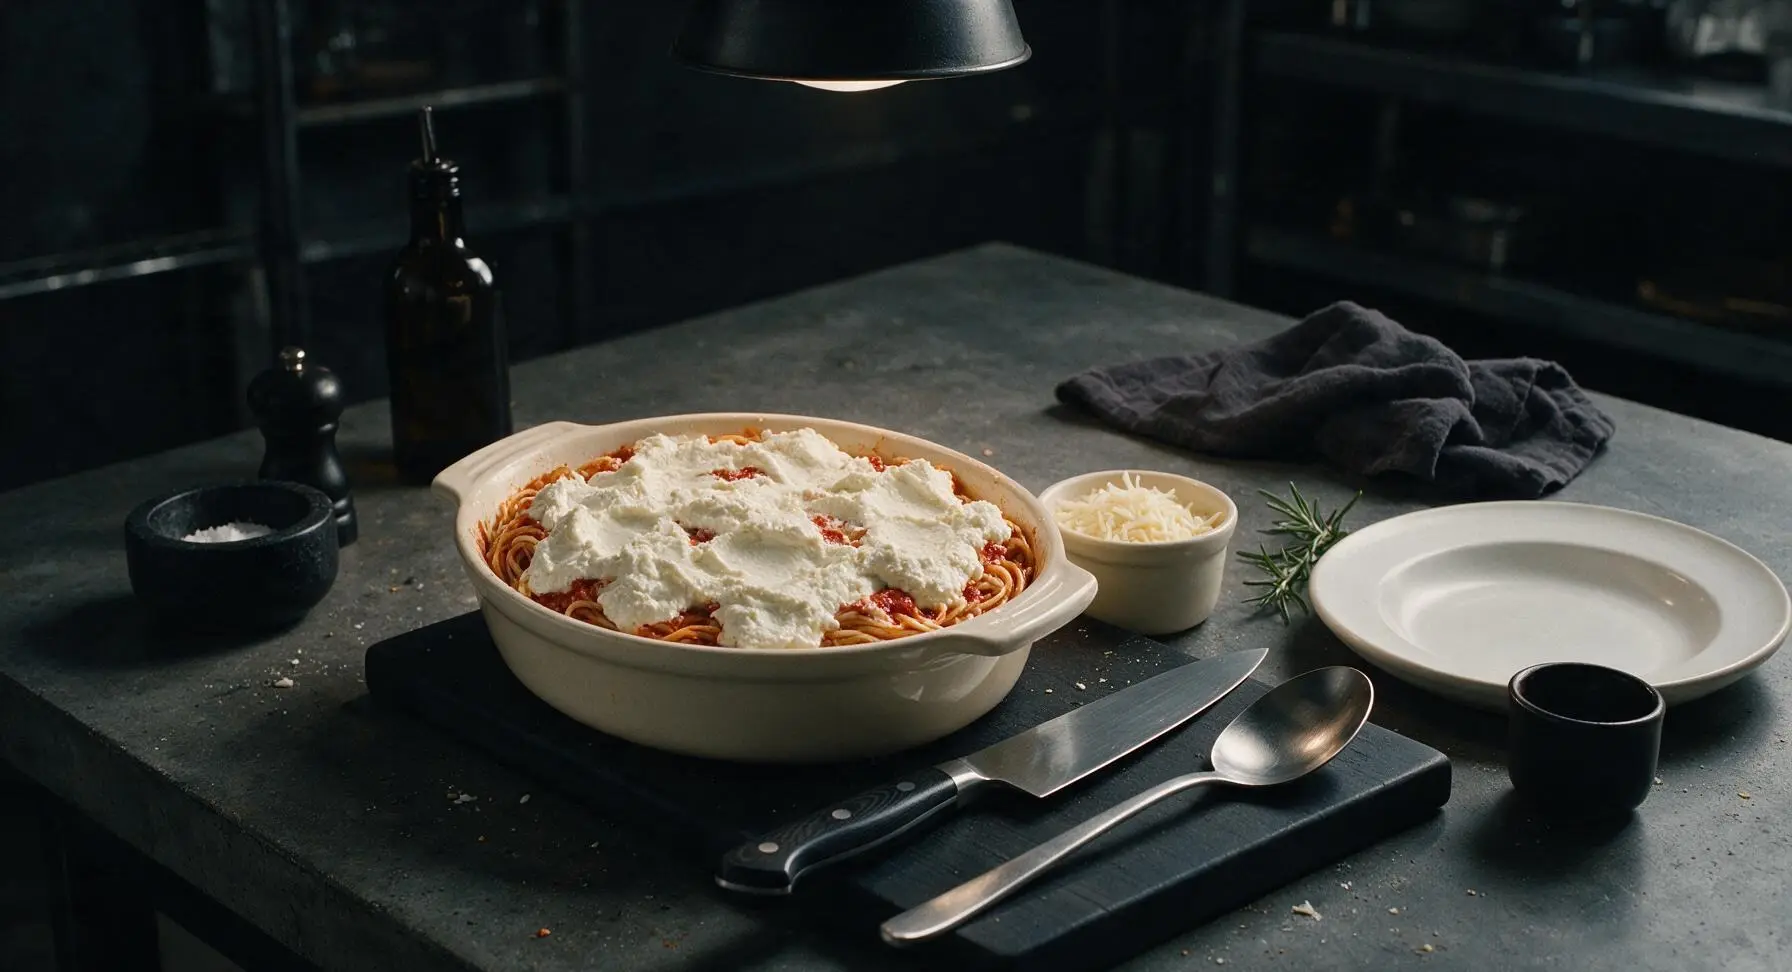
Spread half of the sauced spaghetti in an even, flat layer across the bottom of the prepared cream ceramic baking dish. Dollop half of the ricotta mixture in 1-tablespoon scoops evenly over the first pasta layer, then sprinkle with 1/3 of the shredded mozzarella. Top with the remaining sauced spaghetti, spreading it into a gentle even layer, then dollop the rest of the ricotta across the top—do not spread the ricotta completely smooth, as rustic, thick dollops create creamy texture pockets in the finished bake.
Step 5
step5:Layer Pasta and Cheese
Step 5
step5:Layer Pasta and Cheese
6

Top Cheese and Bake

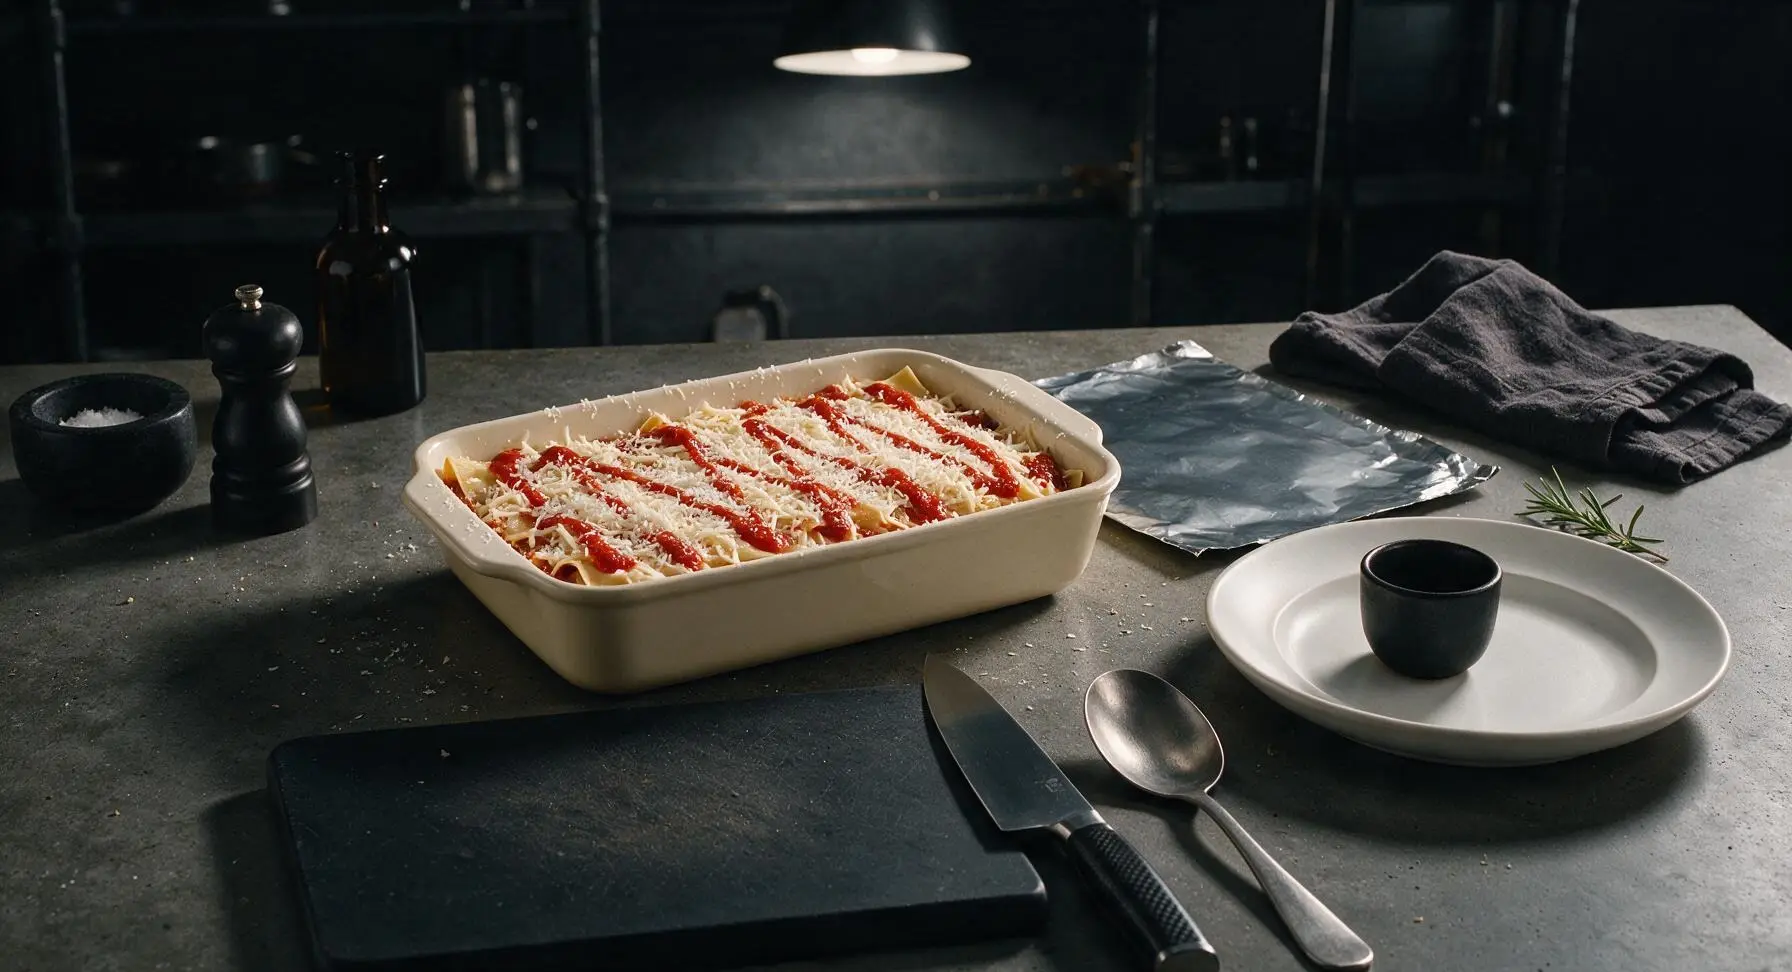
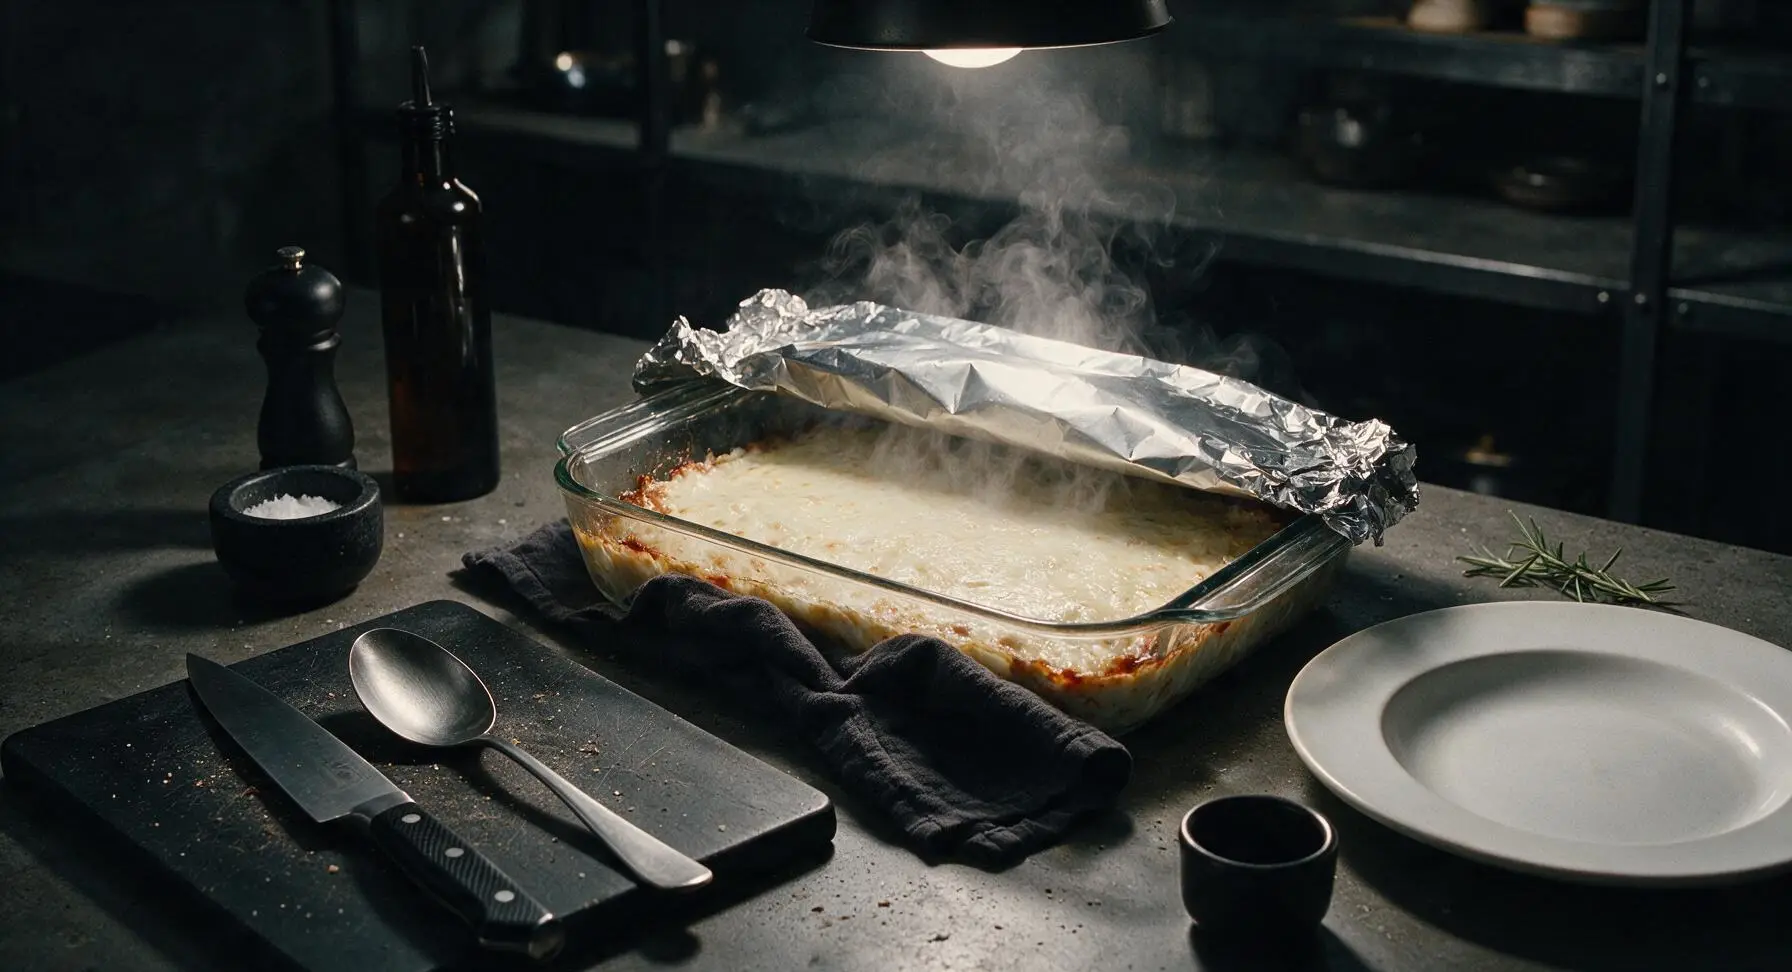
Drizzle the remaining marinara sauce in thin zig-zags across the top ricotta layer, then sprinkle evenly with the remaining shredded mozzarella and the last 1/4 cup of grated parmesan. Cover the dish tightly with aluminum foil, place on the middle oven rack, and bake for 25 minutes covered. Remove the foil, then continue baking for an additional 15 minutes uncovered, until the cheese is fully bubbly around the dish edges and the top is dotted with light golden brown spots.
Step 6
step6:Top Cheese and Bake
Step 6
step6:Top Cheese and Bake
7

Rest and Garnish Dish

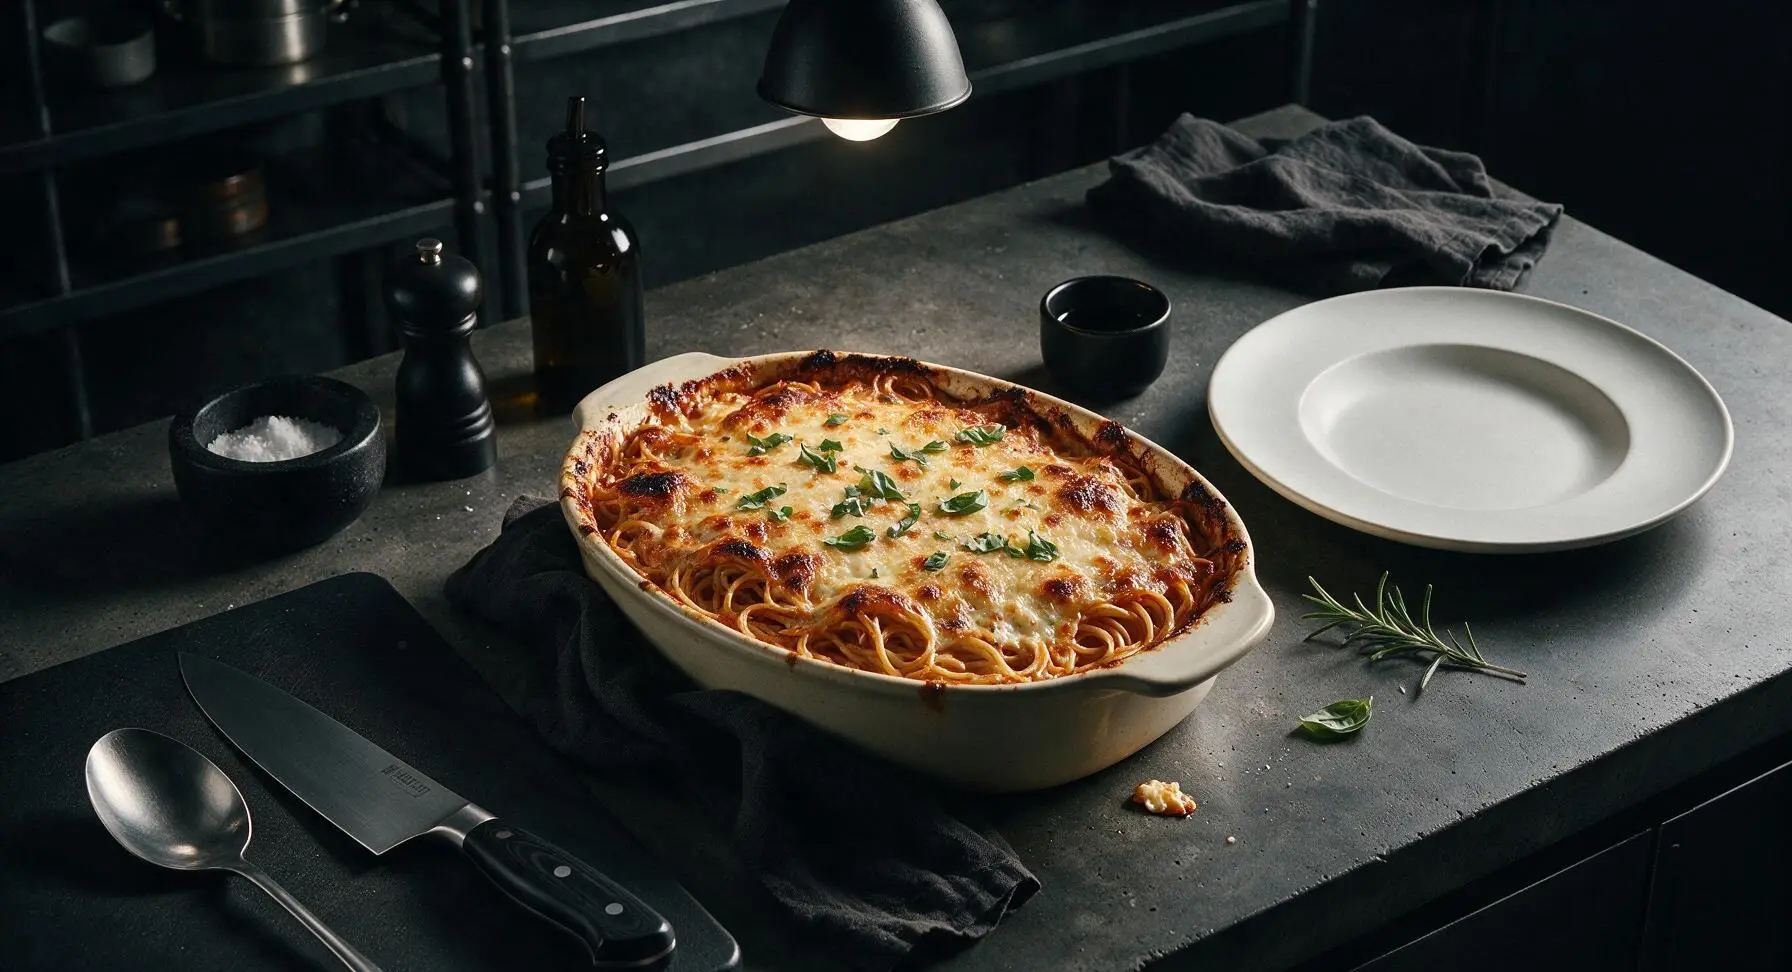
Once fully baked, carefully remove the dish from the oven and let it rest for 10 minutes at room temperature; this resting period allows the cheese and ricotta layers to set so slices hold their clean shape instead of sliding apart when served. Top with torn fresh basil leaves and a light extra sprinkle of parmesan before slicing and plating.
Step 7
step7:Rest and Garnish Dish

Tips

1.Undercook your pasta by 2 full minutes before baking: pasta continues to absorb sauce and cook as it bakes for 40 minutes in the oven, and skipping this step will result in mushy, oversoft noodles.
2.Opt for whole-milk ricotta instead of part-skim: part-skim ricotta has a lower fat content that can become grainy and dry during high-heat baking, while whole-milk ricotta stays rich, creamy, and smooth.
3.Let the baked dish rest for the full 10 minutes before slicing: cutting into the bubbling hot bake immediately will cause the melted cheese and soft ricotta to slide out of the layers, resulting in sloppy servings, while resting lets the filling set for clean, holdable slices.


✨ You May Also Like

Main Course
🍜 United Kingdom

A showstopping classic of tender seared beef, savory mushroom duxelles, and crisp prosciutto wrapped in flaky golden puff pastry, baked to juicy perfection.

⏱️ 2 hours 1Main Course ★ 4.7
Main Course
🍜 India

Tender charred marinated chicken simmered in a rich, spiced creamy tomato sauce, this iconic Anglo-Indian curry pairs perfectly with basmati rice or warm naan.

⏱️ 50 minuteMain Course ★ 4.6
Main Course
🍜 Thailand

Classic tangy, sweet, and savory Thai stir-fried rice noodles with shrimp, tofu, and crunchy garnishes, balancing all five core Thai flavor profiles.

⏱️ 30 minuteMain Course ★ 4.5
Main Course
🍜 United Kingdom

Crispy golden beer-battered cod and fluffy double-fried chips, served with tangy tartar sauce and malt vinegar: the timeless, beloved British pub comfort classic.

⏱️ 45 minuteMain Course ★ 4.7
Main Course
🍜 Mexico

Smoky, chile-marinated pork tacos with caramelized pineapple, fresh cilantro, and lime: a beloved classic Mexican street food perfect for casual summer gatherings.

⏱️ 1 hour 45Main Course ★ 4.8
Main Course
🍜 United States

Crunchy Fritos corn chips layered with savory beef chili and melted cheddar, topped with cool, zesty fixings for a beloved, cozy Tex-Mex comfort food.

⏱️ 35 minuteMain Course ★ 4.8

baked spaghetti with ricotta:Frequently Asked Questions

1.Can I assemble this baked spaghetti with ricotta ahead of time for meal prep or a party? ▾
Absolutely! You can fully assemble the dish up to 24 hours in advance, cover it tightly with plastic wrap, and store it in the refrigerator. When you’re ready to bake, remove the plastic, add 10 to 15 minutes to the covered bake time to account for the cold start, until the center is bubbly and cheese is fully melted.
2.Do I need to fully cook the dry spaghetti before baking it? ▾
No, cook your spaghetti to very al dente, about 2 minutes less than the package’s recommended cook time. It will finish softening as it bakes nestled in the marinara and cheese layers, so you won’t end up with mushy, overcooked pasta once the dish comes out of the oven.
3.Why does the recipe specify whole milk ricotta instead of lower-fat options? ▾
Whole milk ricotta has a richer, creamier texture and milder, less grainy bite than part-skim or low-fat ricotta. It balances the bright tang of marinara and stretchy mozzarella perfectly, and it won’t curdle or release excess watery whey as it bakes for that perfect lush cheese layer.
4.Why does my baked spaghetti turn out watery every time I make it? ▾
Watery baked spaghetti usually comes down to two common culprits: overcooked pasta that leaches excess water, or high-moisture cheese. Stick to low-moisture mozzarella as called for, drain your ricotta for 10 minutes in a fine sieve if it looks extra wet, and don’t overboil your spaghetti to avoid a soggy dish.
5.Can I freeze leftover baked spaghetti with ricotta for later? ▾
Yes! Let leftover baked spaghetti cool completely, then portion it into airtight, freezer-safe containers for up to 3 months. Thaw individual portions in the fridge overnight before reheating, covered, in a 350°F oven for 20 to 25 minutes until heated through for the best texture and flavor.
6.Do I need to cover the baking dish with foil while it cooks? ▾
Cover the dish with foil for the first 25 minutes of baking to trap steam and heat all the layers evenly without burning the top cheese. Remove the foil for the last 10 to 15 minutes to let the mozzarella and parmesan turn golden, bubbly, and slightly crisp around the edges.
7.Can I add ground meat or vegetables to this recipe? ▾
Definitely! This base recipe is extremely customizable. Browned ground beef, Italian sausage, sautéed bell peppers, mushrooms, zucchini, or wilted spinach all work beautifully. Just make sure any raw veggies or meat are fully cooked before layering, and drain excess grease to keep the dish from getting watery.
8.What type of marinara sauce works best for this dish? ▾
A thick, slow-simmered marinara works best here—watery, thin jarred marinara will make your dish soggy. You can use homemade sauce or your favorite high-quality jarred option, and feel free to stir in a pinch of red pepper flakes or dried oregano to bump up the flavor if you prefer.
9.Why do you call for low-moisture mozzarella instead of fresh mozzarella? ▾
Fresh mozzarella has a very high water content that releases as it melts, leaving pools of watery liquid in your baked spaghetti and diluting the creamy ricotta and rich marinara flavors. Low-moisture mozzarella melts smoothly into that perfect stretchy, cheesy layer without excess moisture.
10.How do I get that perfect golden, crispy cheese top on my bake? ▾
After removing the foil for the final bake time, sprinkle an extra 2 tablespoons of grated parmesan over the mozzarella layer. If you want an extra-crisp finish, you can broil the top for 1 to 2 minutes at the very end—watch it closely, though, because cheese can burn in seconds under the broiler.
11.Can I use a different pasta shape if I don’t have dry spaghetti on hand? ▾
Sure! While traditional spaghetti works great, other long pasta shapes like linguine or fettuccine, or short shapes like ziti, rigatoni, or penne all hold up beautifully to the ricotta and marinara layers. Just make sure to cook any pasta swap to al dente just like you would the spaghetti.
12.How long should I let the baked spaghetti rest before serving? ▾
Let the dish rest for 10 full minutes after you pull it out of the oven. This gives the cheese layers and marinara time to set up, so slices hold their neat shape instead of sliding apart when you serve them, and you won’t burn your mouth on piping-hot filling, either.
13.Can I use part-skim ricotta if that’s what I already have in my fridge? ▾
You can, but note that it will have a slightly grainier, less creamy texture than whole milk ricotta. To make up for that, stir 2 tablespoons of heavy cream or melted butter into the part-skim ricotta before layering, and be sure to drain any excess whey off first to avoid a watery final dish.
14.What oven temperature should I use to bake this spaghetti? ▾
Bake the dish at 375°F (190°C) for a total of 35 to 40 minutes. This temperature is hot enough to heat all the layers through evenly and melt the cheese without burning the top or drying out the ricotta layer, resulting in that perfect bubbly, golden finish everyone loves.
15.What side dishes pair well with this baked spaghetti with ricotta? ▾
This rich, comforting pasta pairs perfectly with light, fresh sides to cut through the cheese. Try a simple crisp green salad tossed with Italian vinaigrette, buttery garlic bread, roasted broccoli, or steamed green beans for a balanced, crowd-pleasing meal that works for weeknights or casual gatherings.

Comments (3)

2 days ago

OMG this baked spaghetti was an absolute game changer for our weekly family dinner! I was worried the ricotta layer would make it feel soggy or heavy, but it came out so perfectly creamy, and that crispy cheese edge around the pan? *Chef’s kiss* My kids loved it so much they asked if we can have it every Friday night from now on. 10/10, so easy to throw together even on a busy school night!

yesterday

This is such a good review! I’m making a pan for my neighborhood block party potluck this weekend, did you stick exactly to the recipe or add any extra mix-ins? I don’t wanna show up with a flop!

yesterday

So glad this was a hit with your family, Jessie! Patti, if you’re making it for a crowd, you can even assemble the whole pan the night before and bake it day-of to save time. It’s super forgiving if you want to add in cooked sausage, peppers, or extra cheese too!

2 hours ago

Has anyone tried making this for weekly meal prep? I’m always on the hunt for easy work lunches that don’t turn into mushy garbage after a day in the fridge. I tried a different baked spaghetti recipe a couple months back and it was so sad by day two, I don’t wanna waste a whole pan of food if this won’t hold up!

30 minutes ago

Great question, Mike! This recipe holds up beautifully for meal prep. Just let it cool fully before portioning into airtight containers, and it’ll keep in the fridge for 3-4 days. If it feels a touch dry when you reheat it in the microwave, add a tiny splash of pasta water or marinara to bring it back to life!

1 week ago

SO good! I used whole wheat spaghetti because that’s what I had stashed in the pantry, and swapped half the mozzarella for provolone since I had leftover from another recipe, and it turned out insane. The 50 minute cook time is totally accurate too, I didn’t have to tweak a single thing, and it’s so easy even someone like me who burns toast at least once a week can pull it off no problem. Will be making this on repeat for sure!



