
bariatric ricotta bake

title 1
bariatric ricotta bake
⏱️ cook time 35 minutes
🍽️ servings 4
⚡ Difficulty easy

intro

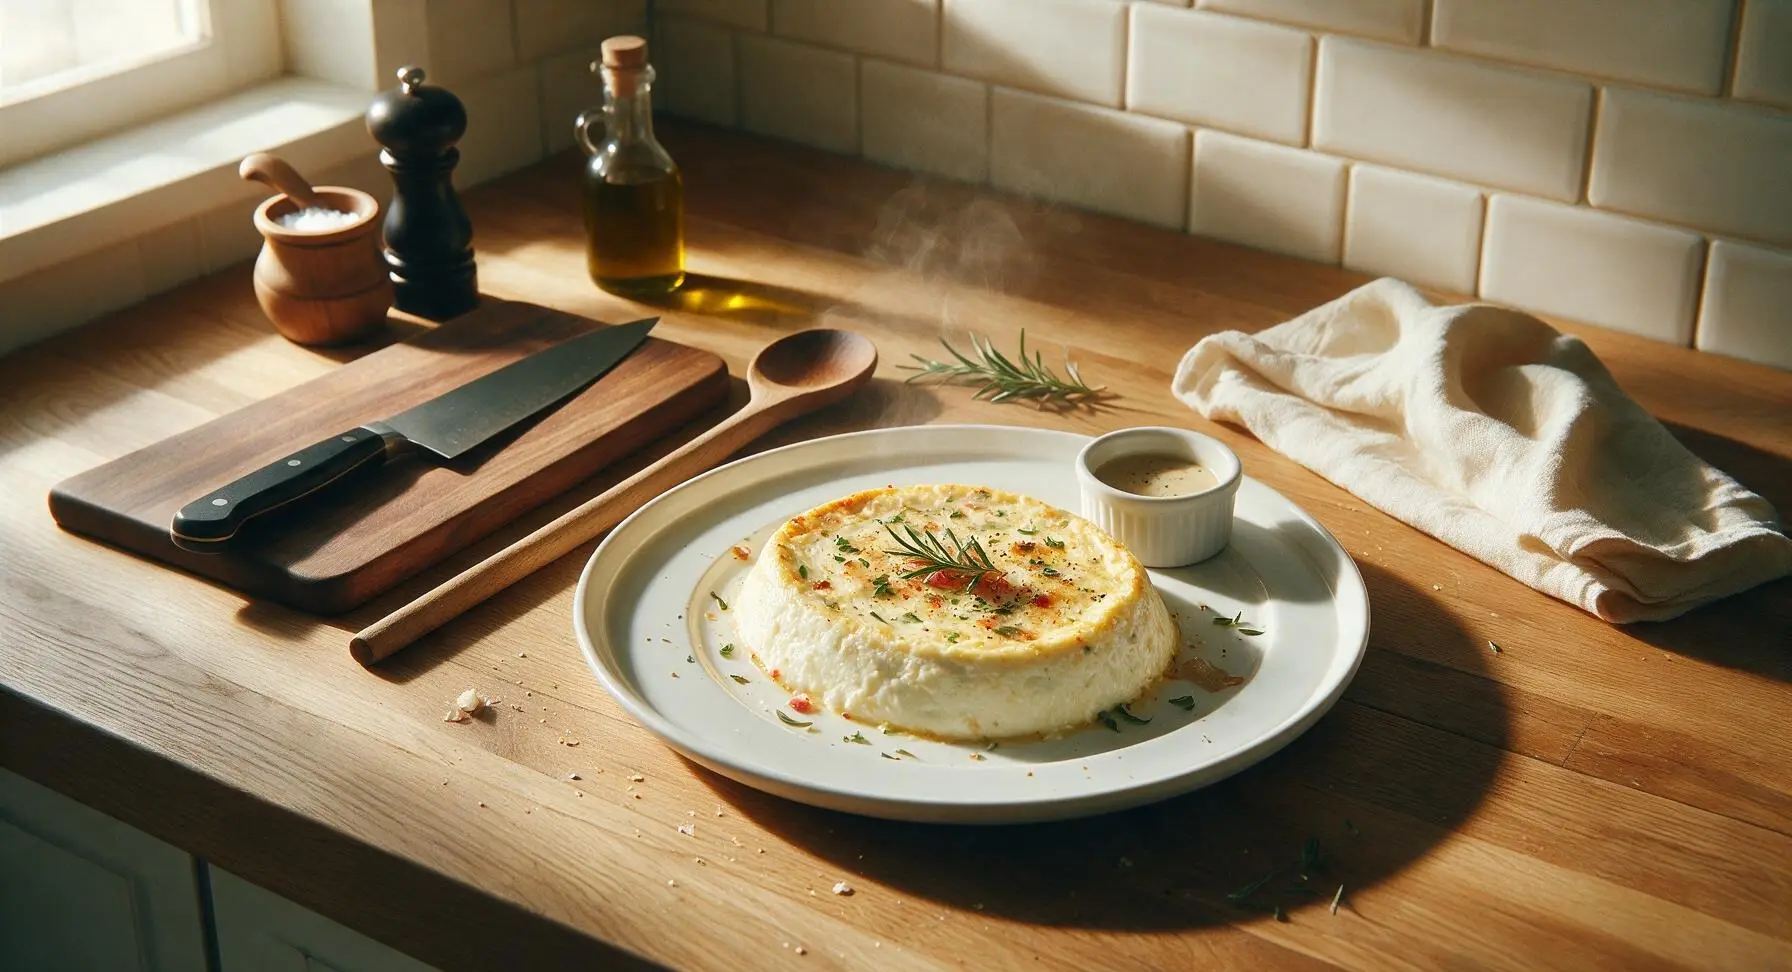
Silky, high-protein, low-carb baked ricotta, gentle on post-bariatric stomachs, packed with bright savory flavor, no heavy fillers, and satisfying for easy weeknight meals.

Ingredients
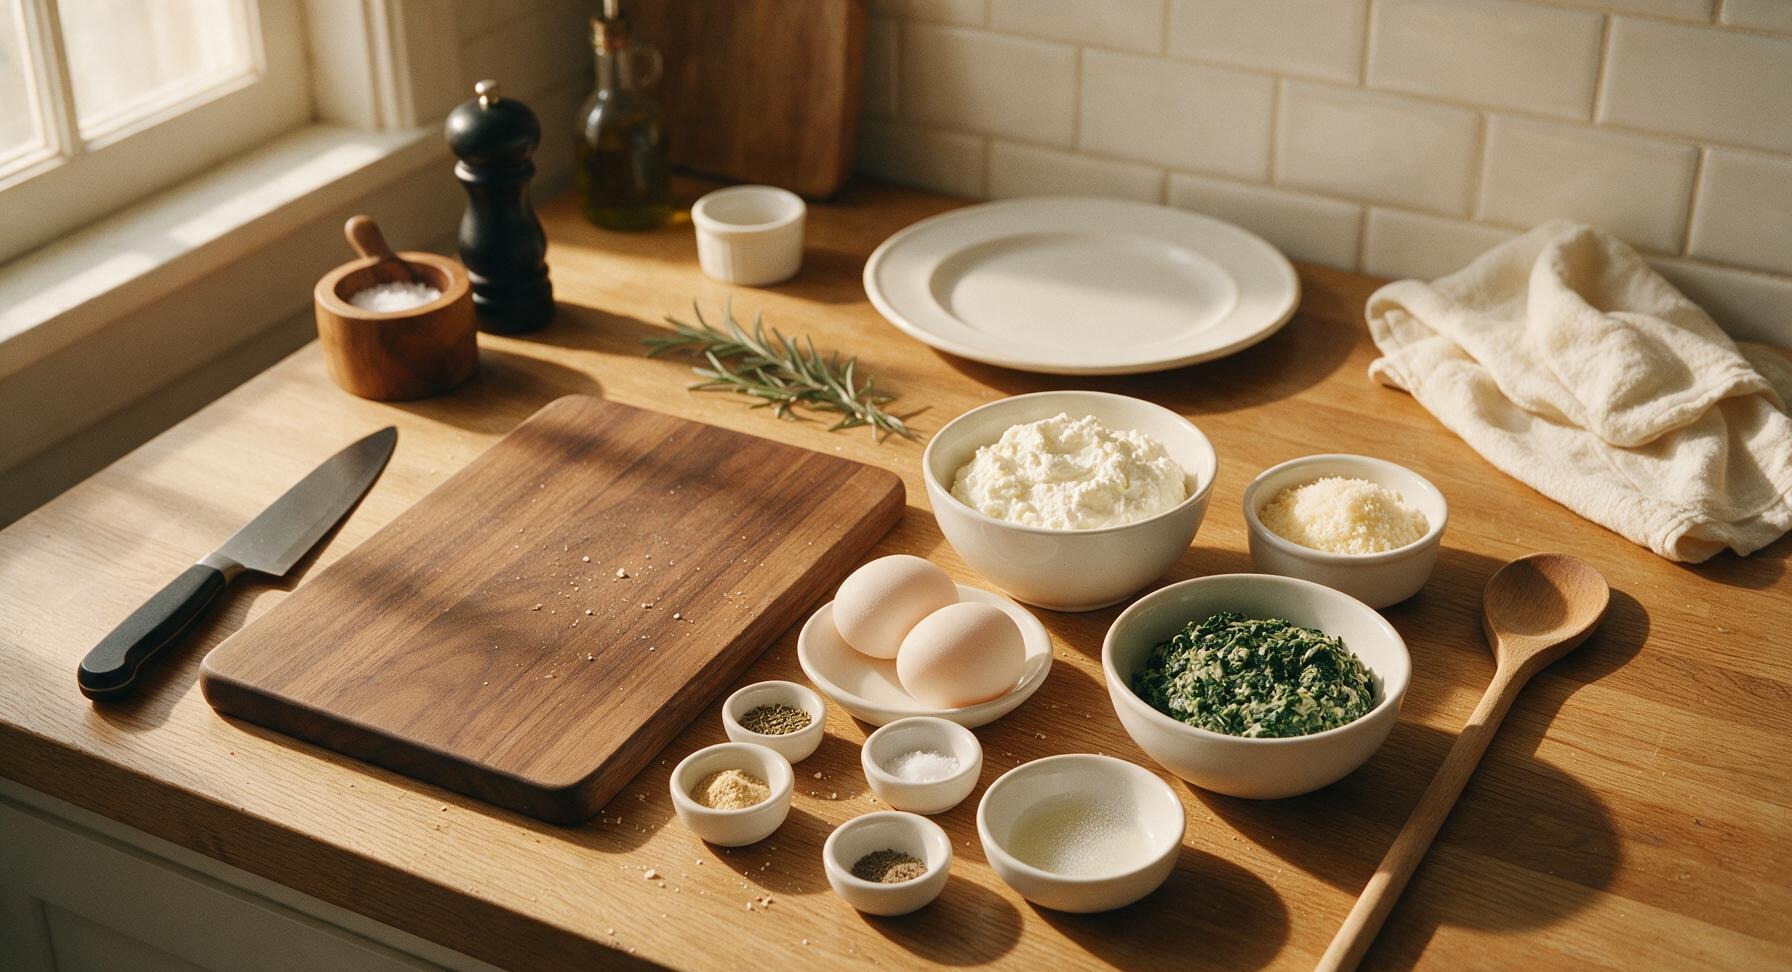
Part-skim ricotta cheese 2 cups (450g)
Large eggs 2
Grated parmesan cheese 1/4 cup (25g)
Frozen chopped spinach, thawed and fully squeezed dry 1/2 cup (85g)
Garlic powder 1/2 teaspoon
Dried oregano 1/4 teaspoon
Kosher salt 1/4 teaspoon
Ground black pepper 1/8 teaspoon
Ground nutmeg 1 pinch (1/16 teaspoon)
Non-stick olive oil cooking spray 1 second spray

Steps

1

Prep Baking Dish and Oven

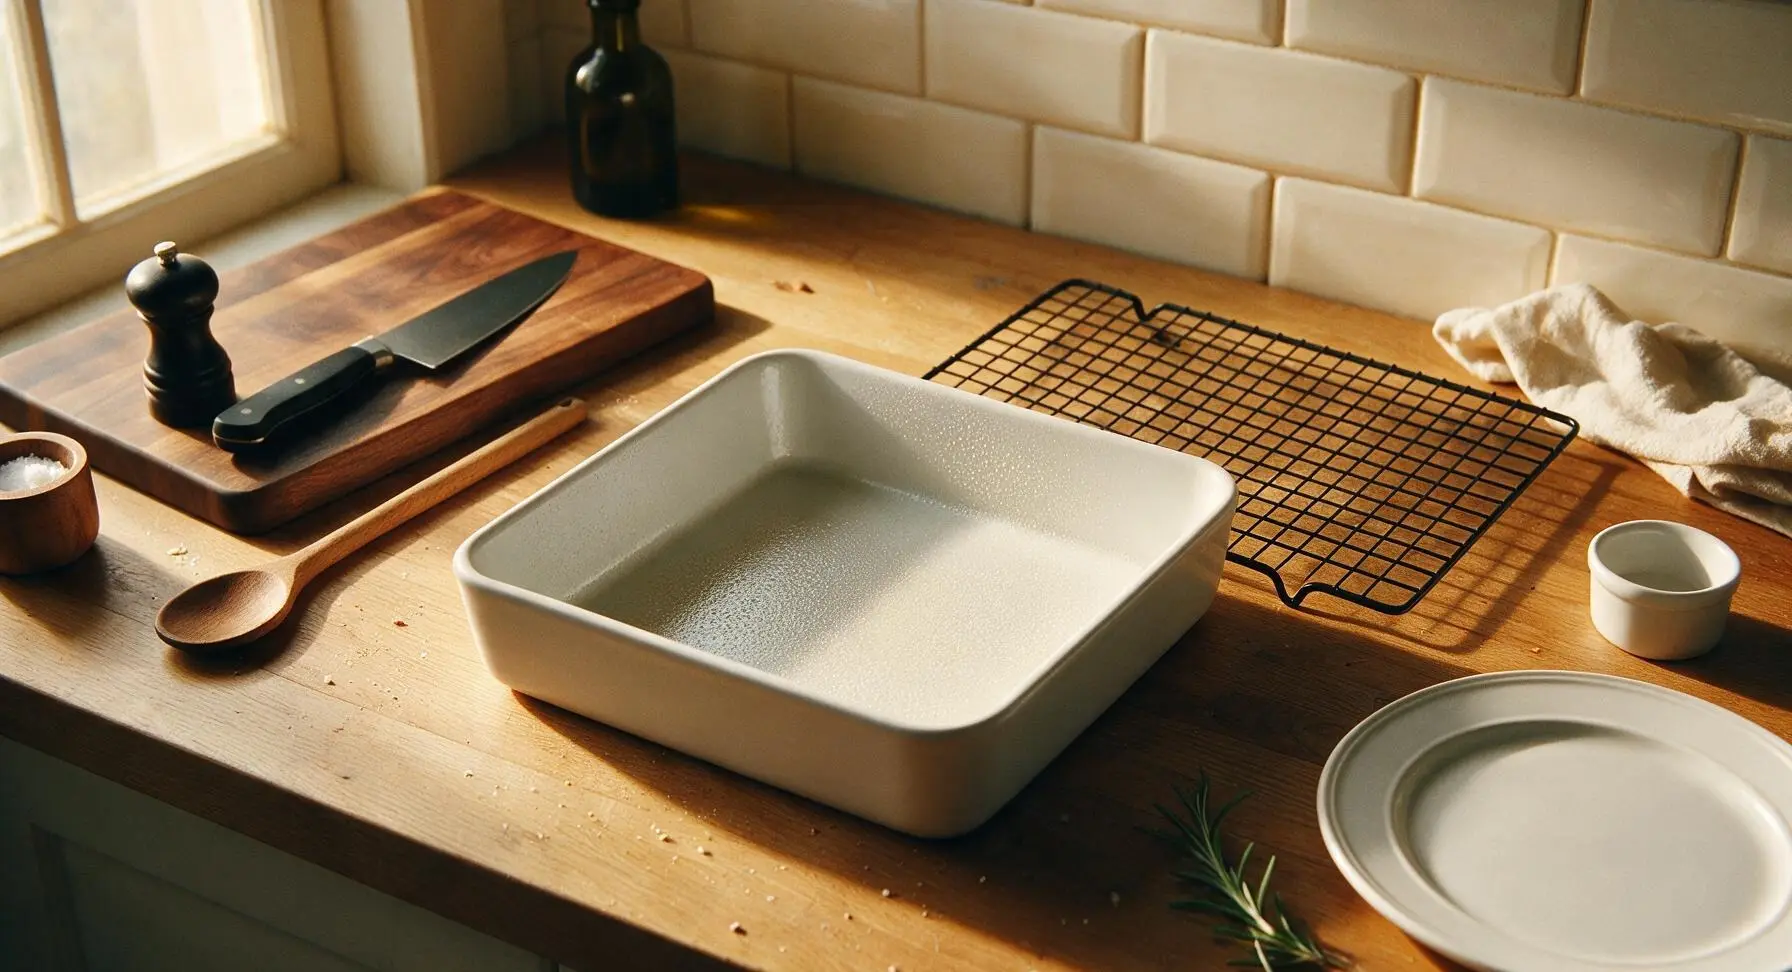
Preheat your oven to 375°F (190°C). Place the 8x8 inch matte white ceramic baking dish in the central work zone, and lightly coat the interior with a 1-second spray of non-stick olive oil cooking spray, making sure to cover the bottom and 1 inch up the sides to prevent sticking. Set the matte white kitchen timer to preheat reminder mode if needed, and position the matte black wire cooling rack on the counter to the right of the work zone for later use.
Step 1
step1:Prep Baking Dish and Oven
2

Mix Ricotta Base

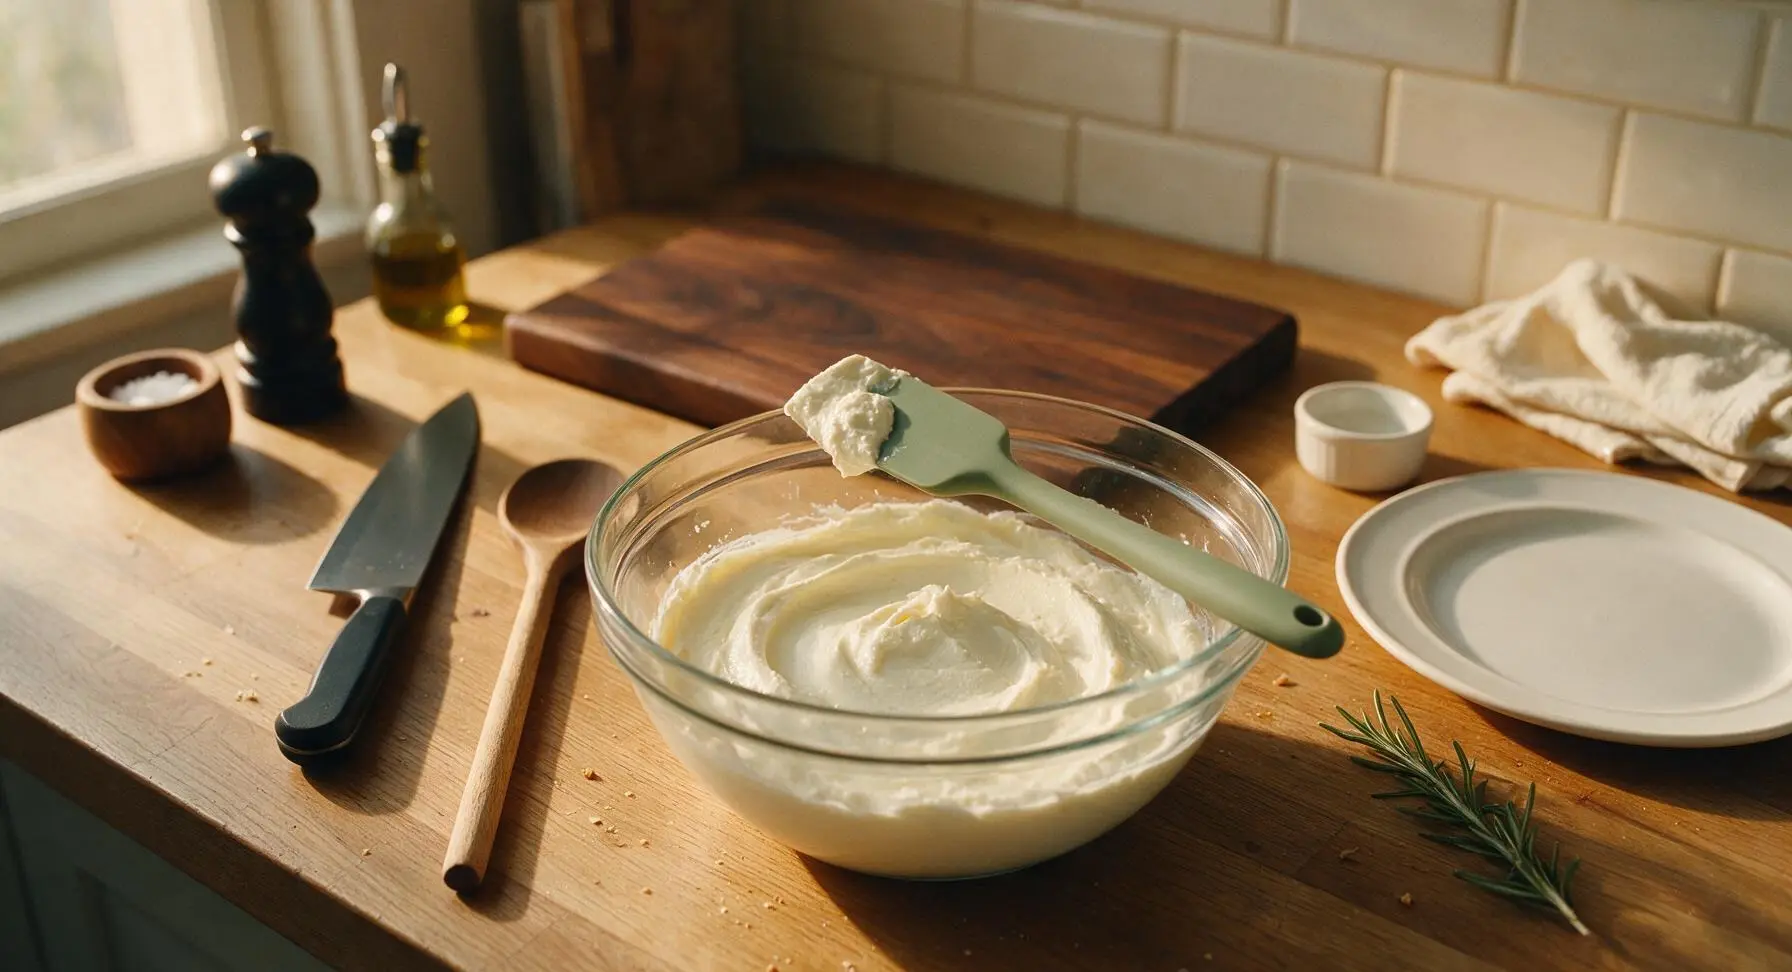
Crack the 2 large eggs into the 2 quart clear tempered glass mixing bowl, and whisk lightly with a fork until yolks and whites are fully combined with no streaks of clear egg white. Add the 2 cups part-skim ricotta cheese, 1/4 cup grated parmesan, 1/2 teaspoon garlic powder, 1/4 teaspoon dried oregano, 1/4 teaspoon kosher salt, 1/8 teaspoon ground black pepper, and pinch of ground nutmeg to the bowl. Use the matte sage green silicone spatula to stir the mixture until completely smooth, with no visible lumps of egg or clumps of cheese, about 1 minute of gentle stirring—avoid over-whipping, as this will incorporate too much air and cause the bake to crack excessively.

Step 2
step2:Mix Ricotta Base
Step 2
step2:Mix Ricotta Base
3

Fold in Dry Spinach

Take the thawed chopped spinach, and squeeze it a second time over the sink to remove every last bit of excess moisture (wet spinach will create a watery, un-set bake). Add the fully dried, crumbled spinach to the smooth ricotta mixture, and use the silicone spatula to gently fold it in until spinach is evenly distributed, creating faint green flecks throughout the base. Do not overmix, as this will break down the ricotta curds and create a rubbery final texture.
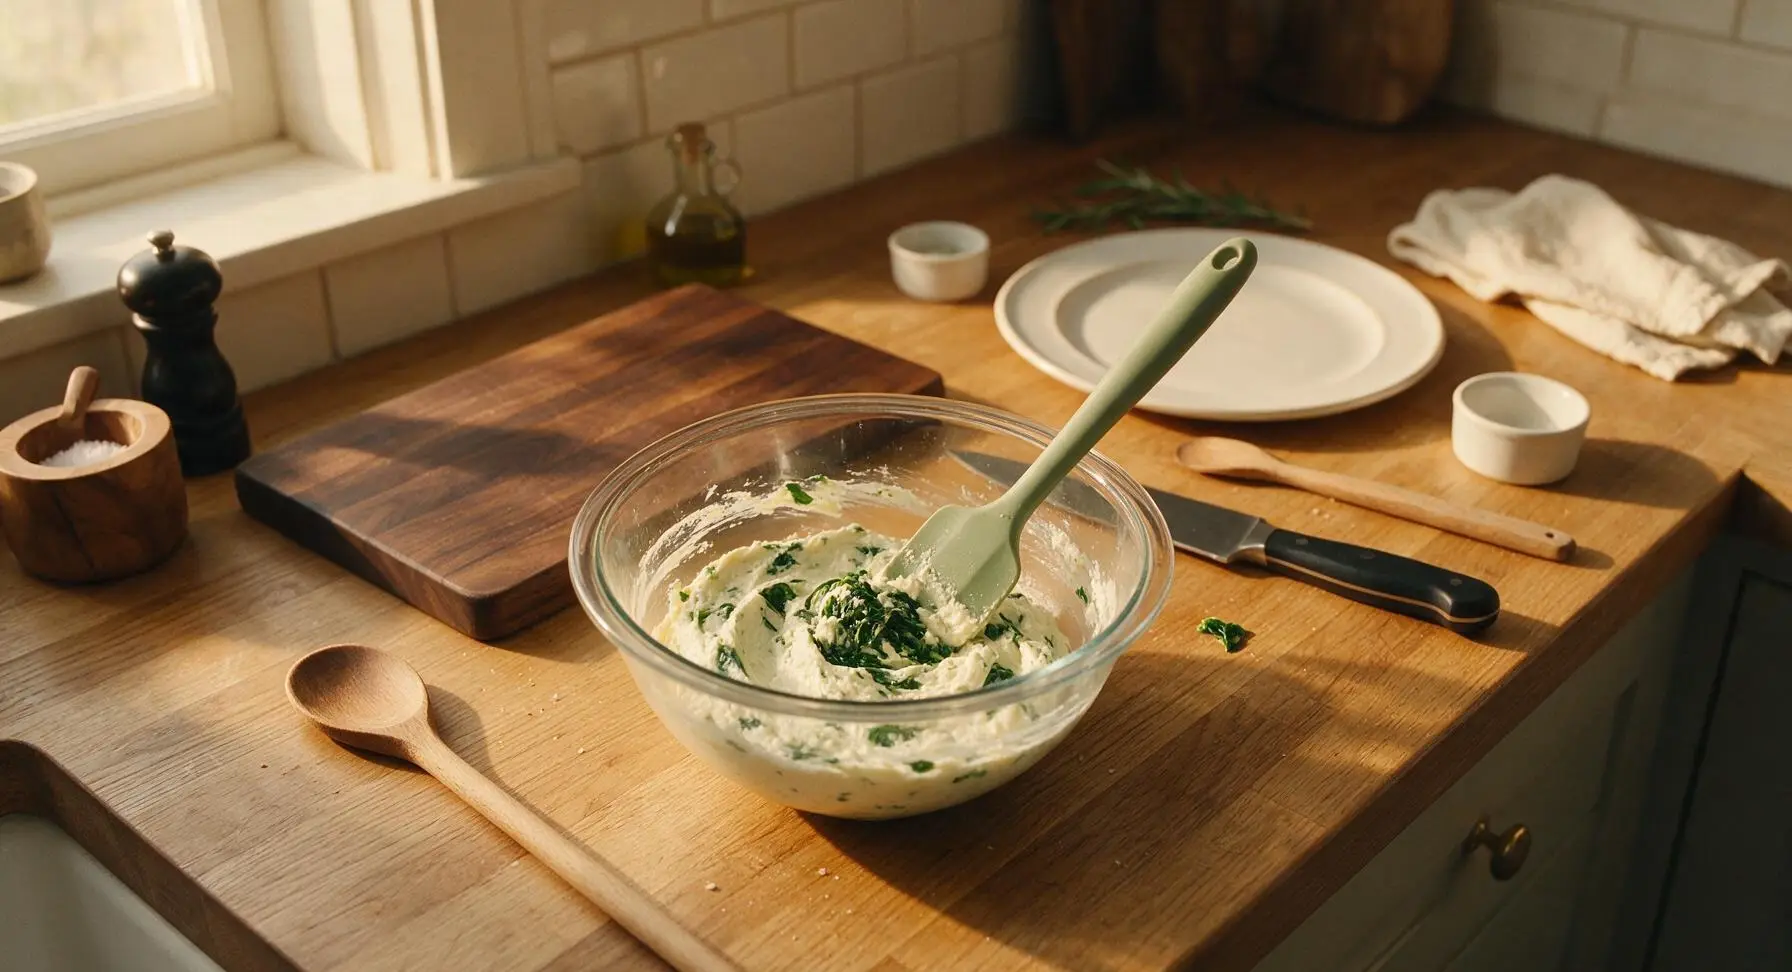
Step 3
step3:Fold in Dry Spinach
4

Pour Mixture into Dish

Pull the greased 8x8 inch baking dish back to the center of the work zone. Use the silicone spatula to scrape every bit of the ricotta-spinach mixture from the mixing bowl into the baking dish, ensuring no mixture is left clinging to the bowl sides. Smooth the top of the mixture into an even, flat 1-inch thick layer with the spatula, so it bakes uniformly with no thin, overcooked edges or thick, undercooked center spots.
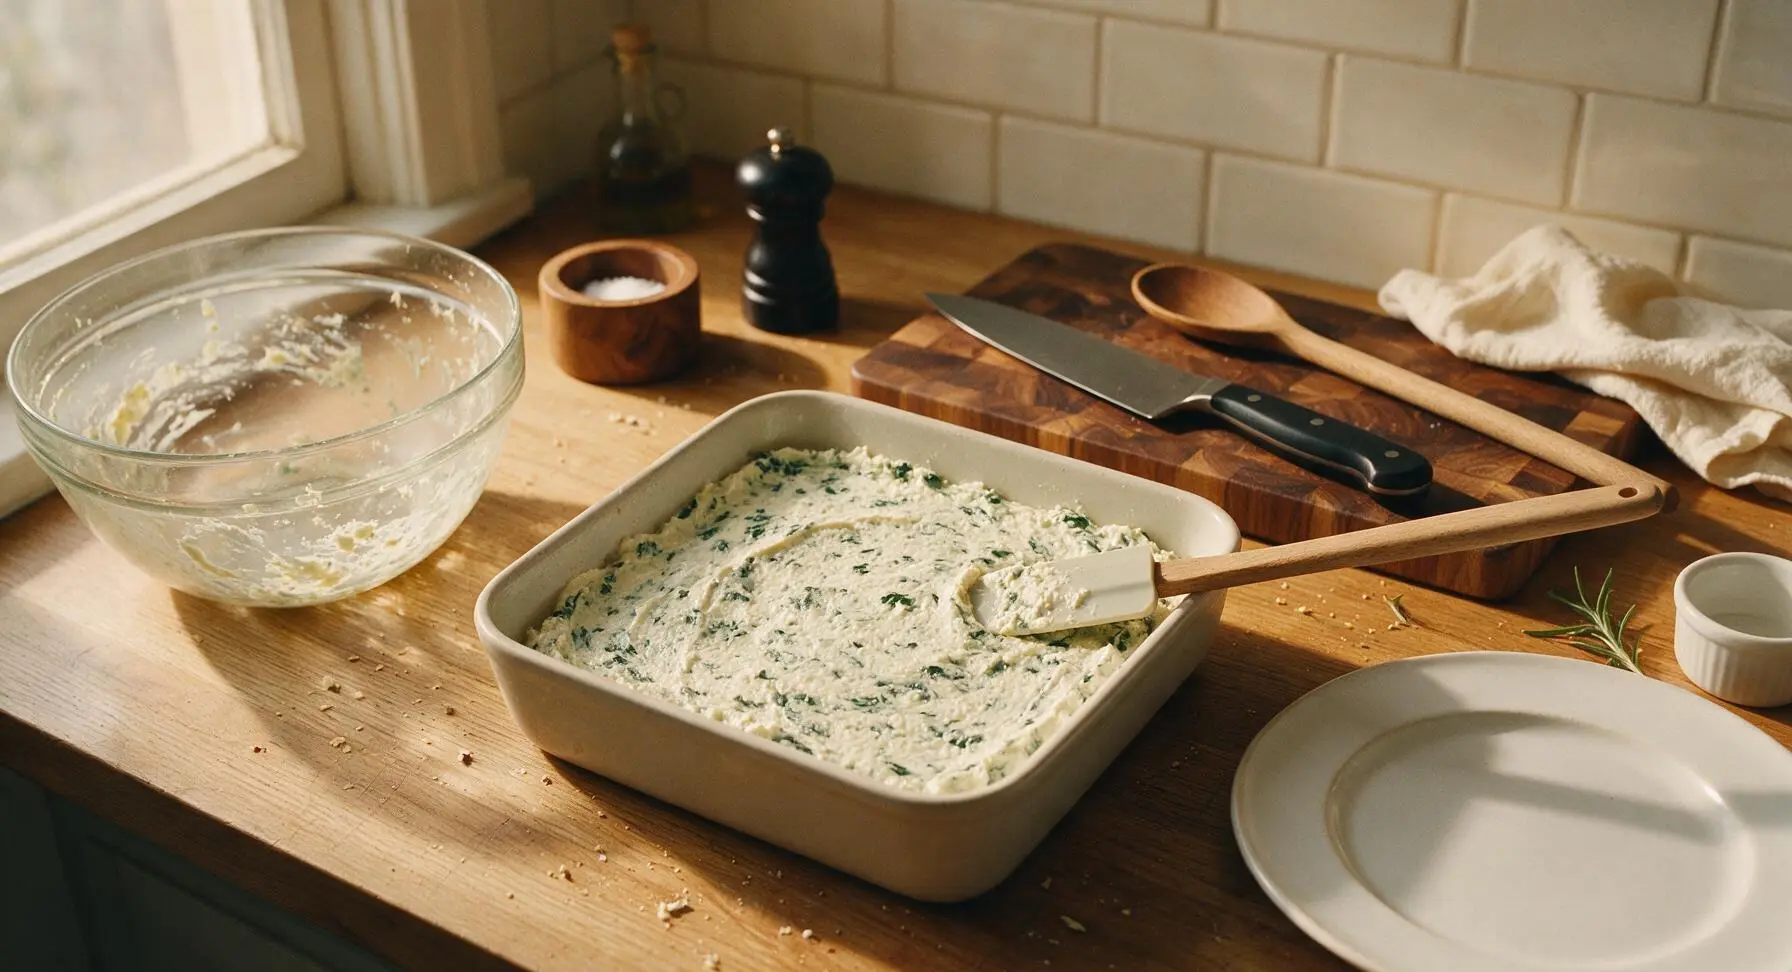
Step 4
step4:Pour Mixture into Dish
5

Bake Until Firm Set

Carefully place the baking dish on the middle rack of the preheated 375°F (190°C) oven. Set the kitchen timer for 35 minutes. Bake until the top is lightly golden around the edges and the center is completely firm to the touch, with no visible jiggling when you gently nudge the dish edge. There should be no watery liquid pooling on the bake surface when fully cooked; if liquid remains, bake for 3 additional minutes before checking again. Once done, transfer the dish to the black wire cooling rack.
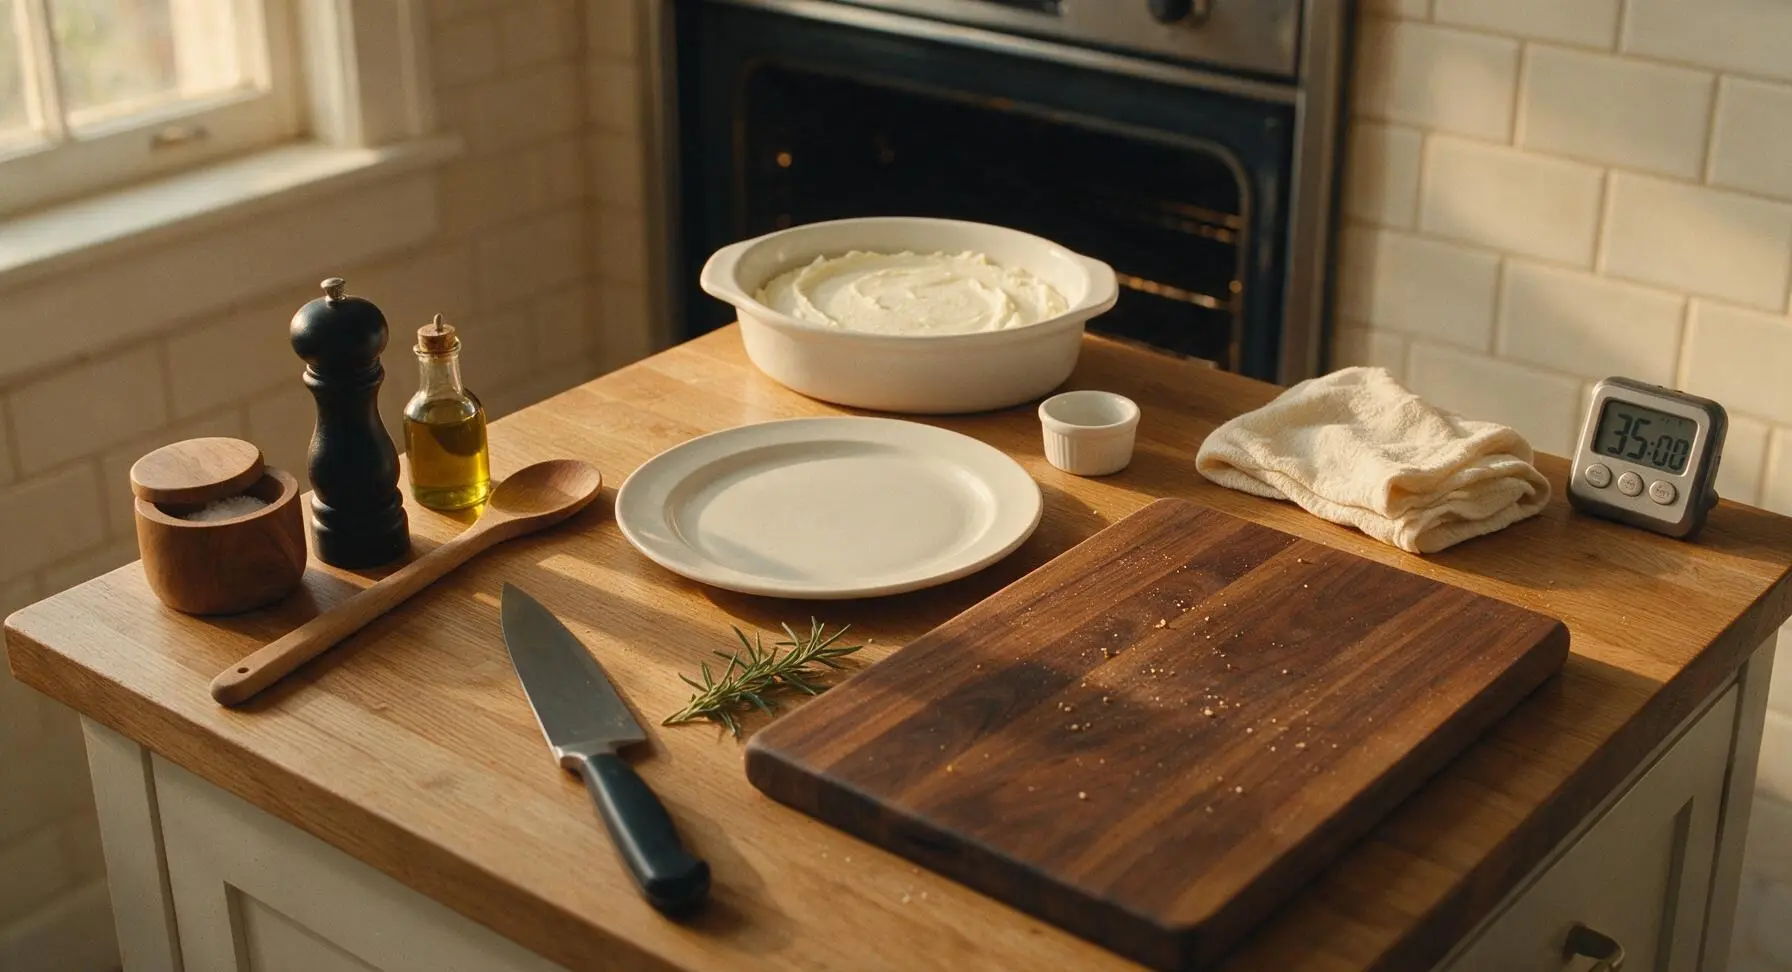
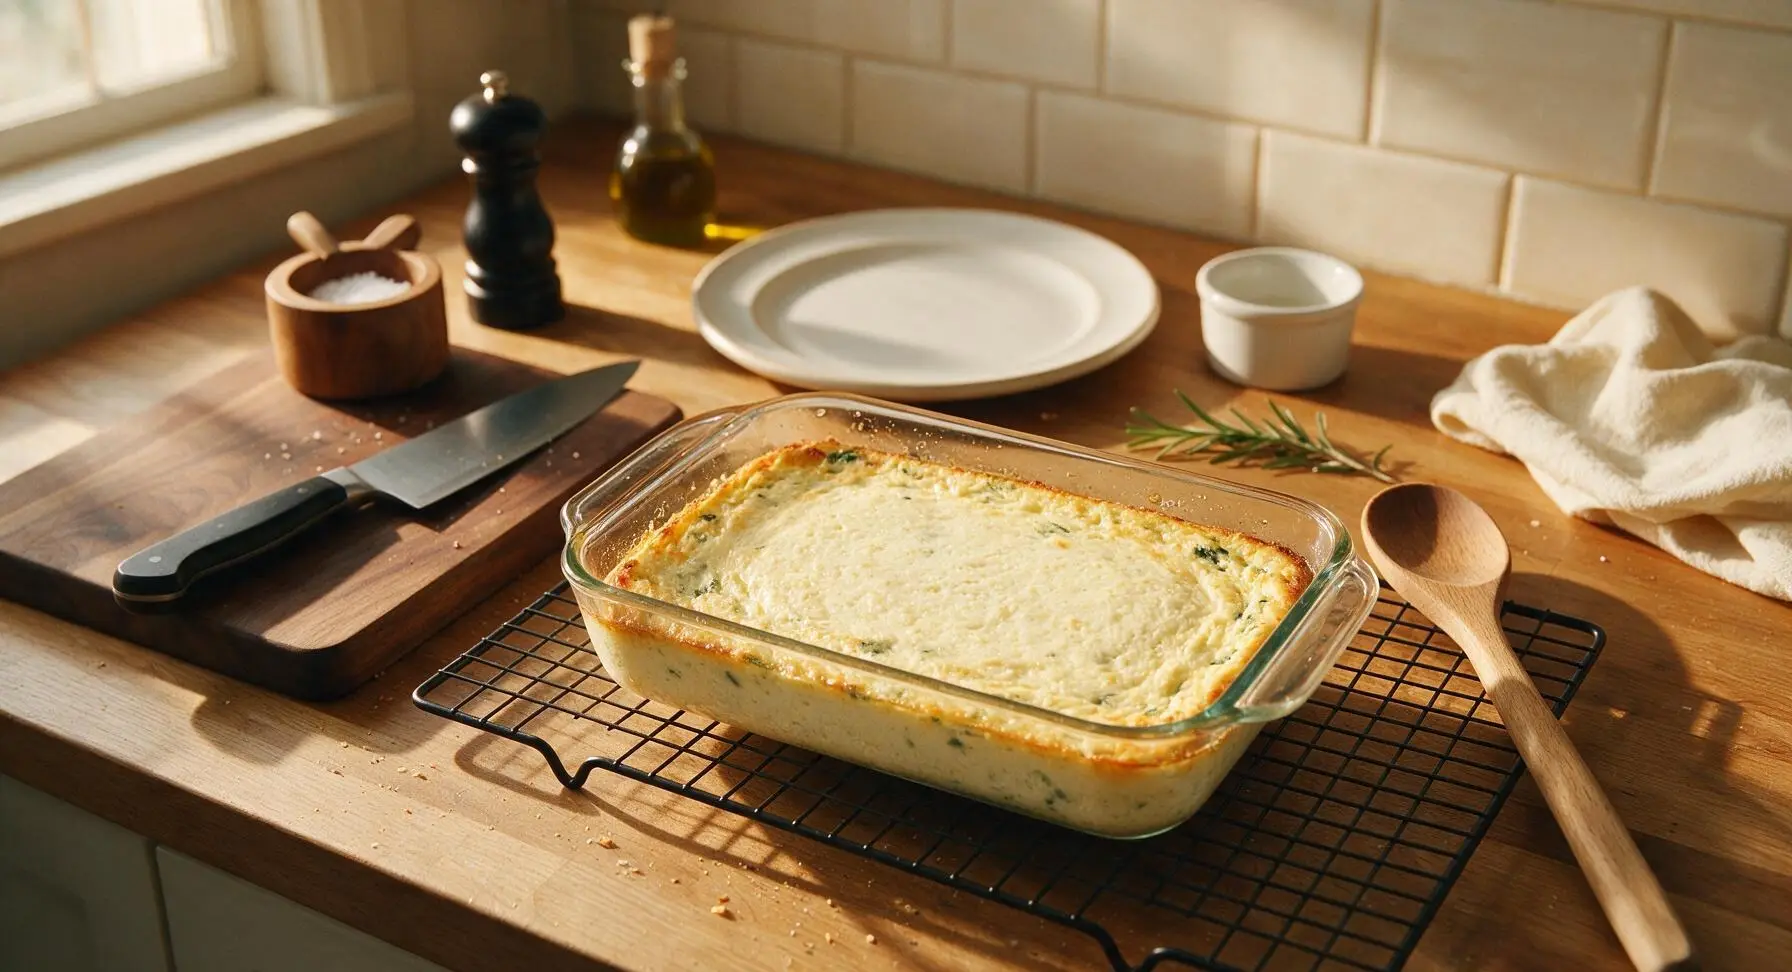
Step 5
step5:Bake Until Firm Set
Step 5
step5:Bake Until Firm Set
6

Rest Bake 10 Minutes

Let the baked ricotta rest undisturbed on the wire cooling rack for 10 full minutes at room temperature. This resting period allows the egg and cheese proteins to set fully, making clean portioning easy, and cools the bake to a temperature that is gentle on sensitive post-bariatric stomachs. Do not cut into the bake while it is piping hot, as it will be too soft to hold its shape and may cause oral or stomach discomfort.
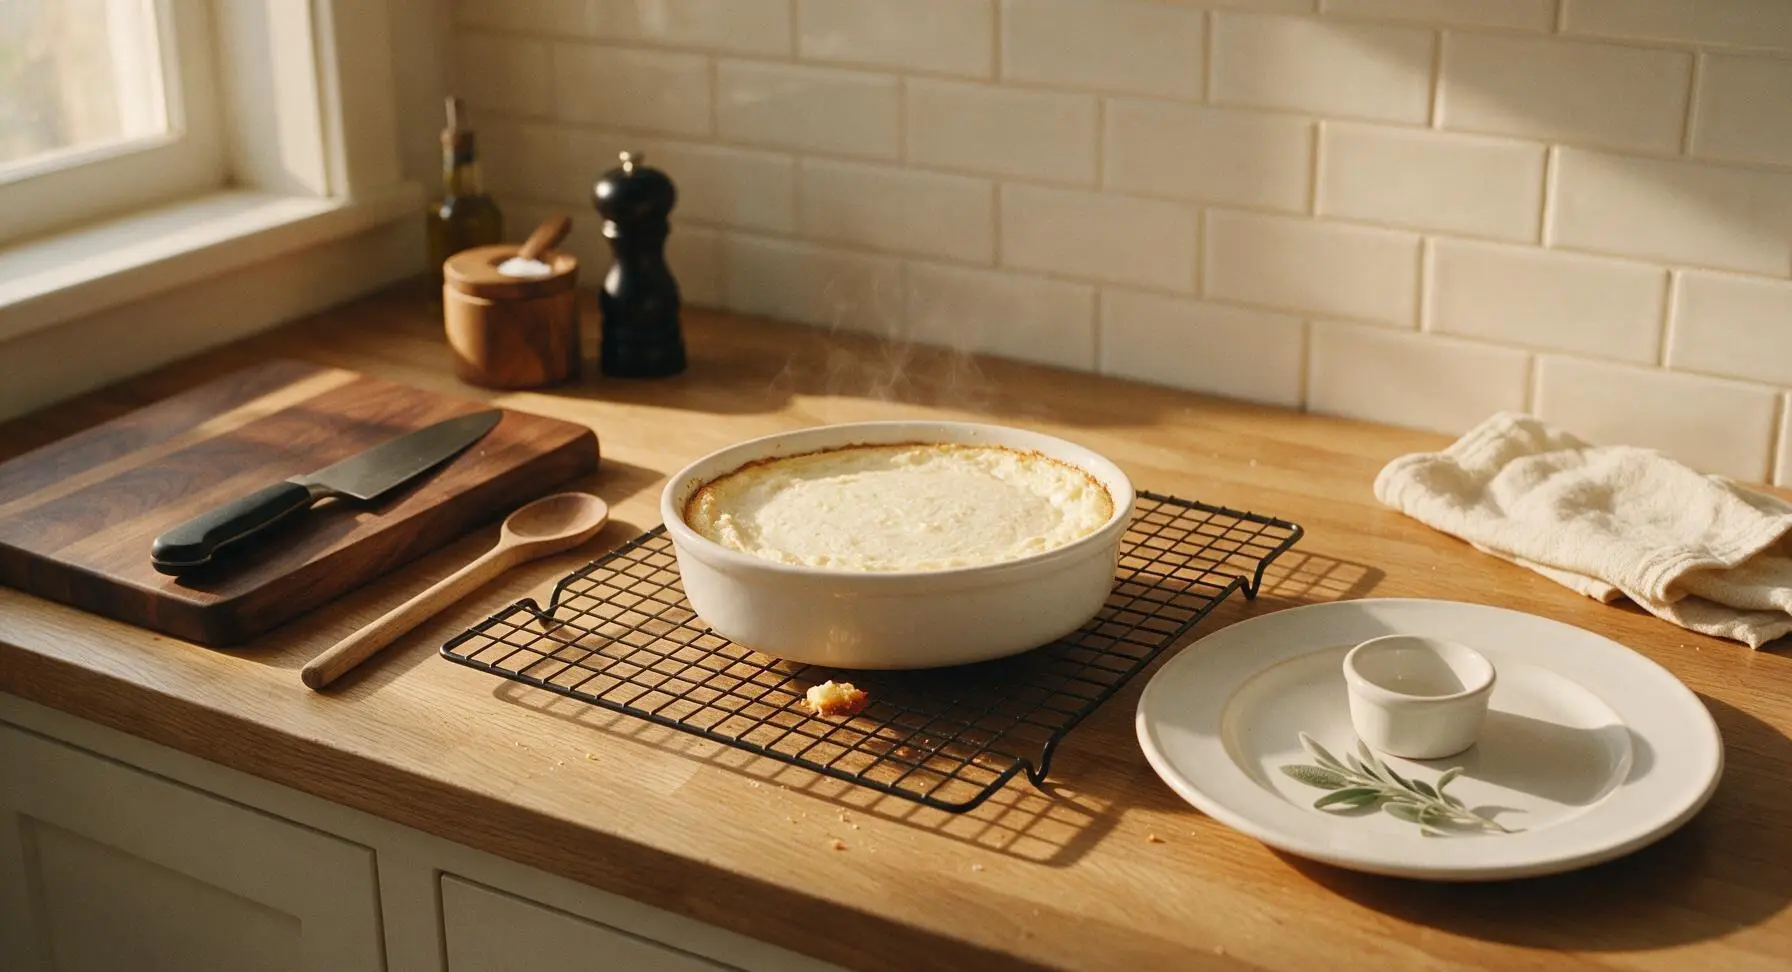
Step 6
step6:Rest Bake 10 Minutes
7

Portion and Plate

After the 10 minute rest, use the silicone spatula to cut the bake into 4 equal 4x4 inch square portions (each approximately 1/2 cup, a standard bariatric meal-sized serving). Lift one portion gently and place it centered in the 6 inch matte off-white ceramic shallow bowl. Pluck a single small flat-leaf parsley leaf from the bunch near the olive oil bottle and place it on the center of the portion as a light garnish.
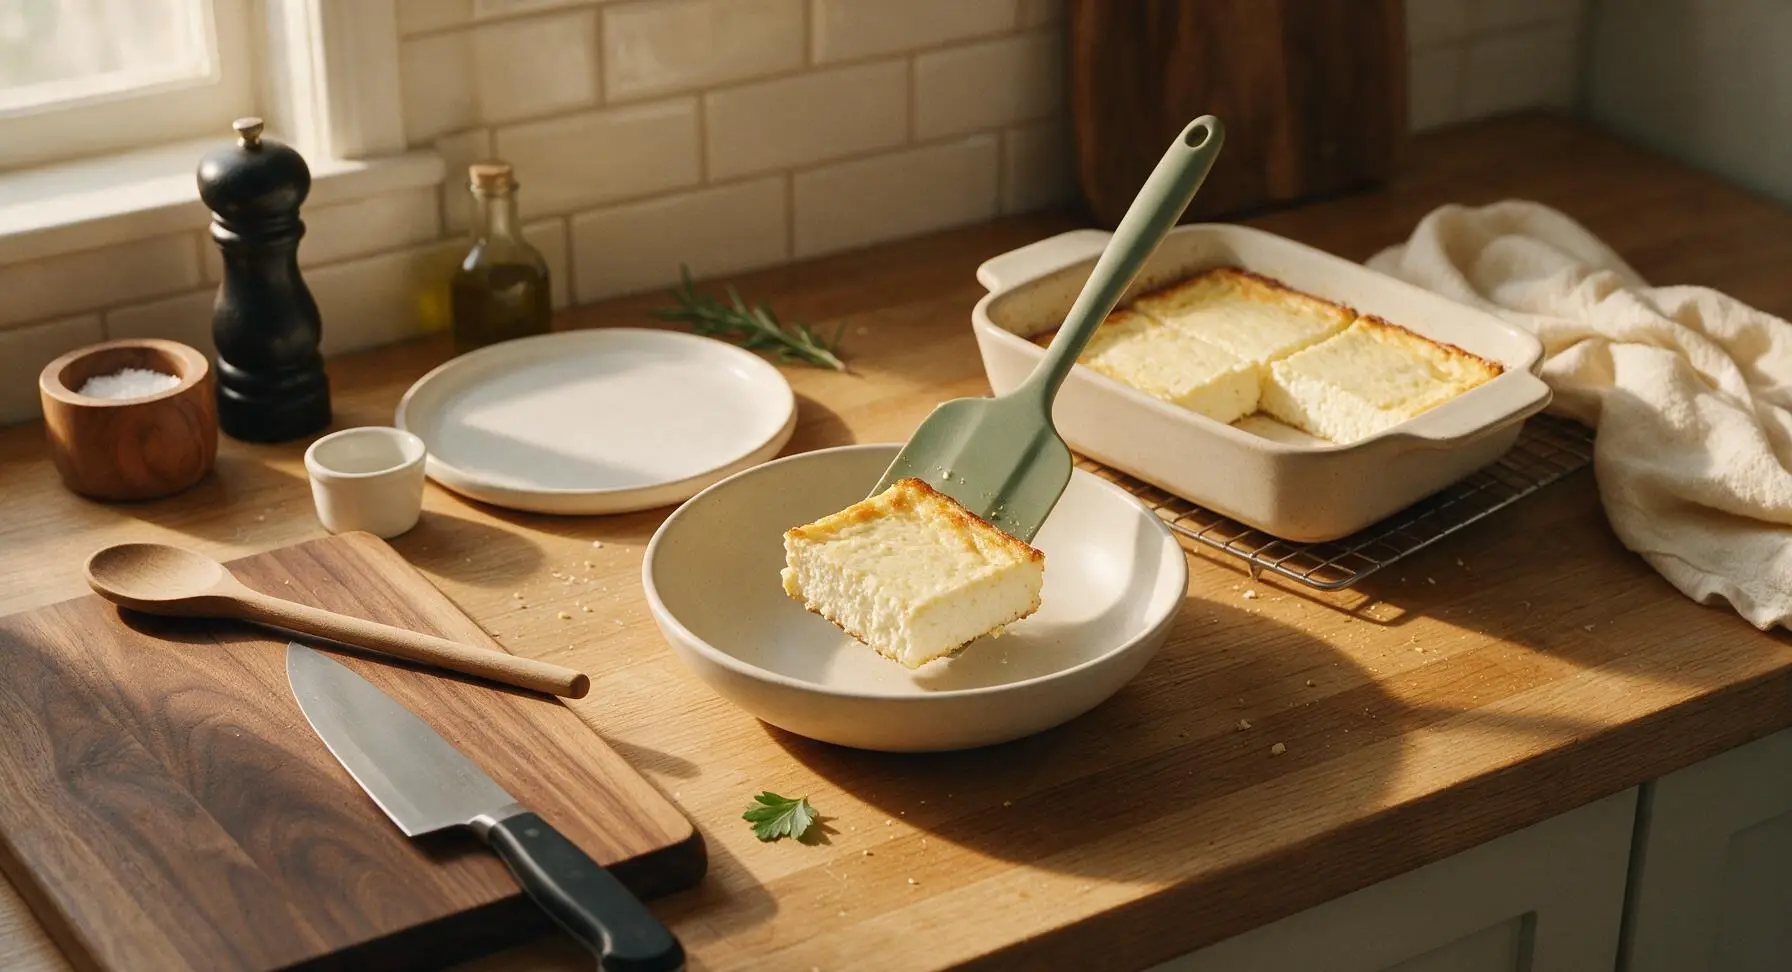
Step 7
step7:Portion and Plate

Tips

1.Squeeze spinach completely dry using a clean kitchen towel, not just your hands: Excess trapped moisture from spinach will create a watery, mushy texture and can cause dumping syndrome for some post-op patients, as well as prevent the bake from setting properly. You should not be able to squeeze a single drop of liquid from the spinach before adding it to the ricotta mixture.
2.Skip high-fat add-ins like heavy cream, extra full-fat mozzarella, or bacon bits: While these additions are common in regular ricotta bakes, their high fat content slows gastric emptying and can trigger nausea, reflux, or dumping syndrome for bariatric patients. The recipe as written provides 21g of protein per serving, which meets post-op meal protein goals, with a fat level well-tolerated by most people 6+ weeks post-surgery.
3.Portion servings to exactly 1/2 cup for the first 6 months post-op: Larger portions can stretch the small stomach pouch and cause discomfort, or prevent you from meeting daily protein goals without overeating. Leftover portions can be stored in an airtight container in the fridge for up to 4 days for quick, grab-and-go meals.


✨ You May Also Like

Main Course
🍜 United Kingdom

A showstopping classic of tender seared beef, savory mushroom duxelles, and crisp prosciutto wrapped in flaky golden puff pastry, baked to juicy perfection.

⏱️ 2 hours 1Main Course ★ 4.7
Main Course
🍜 India

Tender charred marinated chicken simmered in a rich, spiced creamy tomato sauce, this iconic Anglo-Indian curry pairs perfectly with basmati rice or warm naan.

⏱️ 50 minuteMain Course ★ 4.6
Main Course
🍜 Thailand

Classic tangy, sweet, and savory Thai stir-fried rice noodles with shrimp, tofu, and crunchy garnishes, balancing all five core Thai flavor profiles.

⏱️ 30 minuteMain Course ★ 4.5
Main Course
🍜 United Kingdom

Crispy golden beer-battered cod and fluffy double-fried chips, served with tangy tartar sauce and malt vinegar: the timeless, beloved British pub comfort classic.

⏱️ 45 minuteMain Course ★ 4.7
Main Course
🍜 Mexico

Smoky, chile-marinated pork tacos with caramelized pineapple, fresh cilantro, and lime: a beloved classic Mexican street food perfect for casual summer gatherings.

⏱️ 1 hour 45Main Course ★ 4.8
Main Course
🍜 United States

Crunchy Fritos corn chips layered with savory beef chili and melted cheddar, topped with cool, zesty fixings for a beloved, cozy Tex-Mex comfort food.

⏱️ 35 minuteMain Course ★ 4.8

bariatric ricotta bake:Frequently Asked Questions

1.How soon after bariatric surgery can I eat this ricotta bake? ▾
Most patients can introduce this soft, high-protein bake once they reach the soft food stage, typically 3–4 weeks post-op, per their surgeon’s guidance. It has no tough, chewy bits, is low in added sugar and excess fat, and is gentle on healing stomach pouches—just start with 2–3 tablespoon portions to test your tolerance first.
2.Why do I need to squeeze the thawed spinach completely dry? ▾
Any leftover water from thawed spinach will make your bake watery, grainy, and dilute savory flavor, which is extra disappointing when you have limited portion capacity post-bariatric. Squeeze it in a clean kitchen towel or fine-mesh sieve until not a single drop drips out when you press a handful—this only takes 2–3 minutes total.
3.Can I use whole-milk ricotta instead of part-skim for this recipe? ▾
You can, but part-skim ricotta is recommended for most post-bariatric patients because it is lower in saturated fat that can trigger nausea or dumping syndrome in sensitive people. If you tolerate full-fat dairy well, whole-milk ricotta works, but cut parmesan portions slightly to keep overall fat levels manageable for your stomach.
4.What if I can’t tolerate eggs? Can I substitute them? ▾
For egg-free versions that still hold together, use ½ cup of plain, unsweetened whole-milk Greek yogurt mixed with 1 teaspoon of psyllium husk powder per 2 eggs in the recipe. This swap keeps protein high, maintains the soft, set texture, and avoids the rubbery consistency some commercial egg substitutes create—just skip sugary flavored yogurts.
5.How much protein is in a standard serving of this bake? ▾
A standard ½-cup serving (the typical portion for patients 3+ months post-op) has roughly 22–24 grams of protein, mostly from ricotta, eggs, and parmesan, with only 3–4 grams of net carbs. That makes it ideal for hitting daily protein goals without filling up on empty carbs that don’t support post-surgery weight maintenance.
6.Why does this recipe use garlic powder instead of fresh garlic? ▾
Garlic powder is used because it distributes evenly through the soft ricotta base without leaving sharp, harsh raw garlic bits that can irritate sensitive post-bariatric stomachs. It delivers warm, savory garlic flavor without the sharp bite, so you won’t end up with random chunks that are hard to digest early in your post-op diet progression.
7.Can I add ground meat or turkey to this bake for extra protein? ▾
You absolutely can, once you are fully tolerating denser soft proteins—just make sure any added ground meat is very finely crumbled, fully cooked, and drained of all excess grease before mixing in. Stick to 4 ounces of lean ground turkey or chicken per full batch to keep the texture soft, and skip chewy sausage or cured meats that are hard to digest.
8.How do I keep this ricotta bake from turning rubbery after baking? ▾
Avoid rubbery texture by not overbaking, and use a water bath if you have extra sensitive texture preferences. Bake at 375°F for 25–30 minutes, until edges are just set and the center has a slight jiggle—it will finish setting as it cools. Overmixing the eggs can also create a tough final texture, so stir just until ingredients are combined.
9.How long does this bake last stored in the refrigerator? ▾
Stored in an airtight, sealed container in the coldest part of your fridge, this ricotta bake will stay fresh for 4–5 days. It’s perfect for weekly meal prep, since you can portion it into small, single-serve containers right after baking to grab for quick, high-protein meals or snacks without extra prep work on busy weekdays.
10.Can I freeze individual portions of this ricotta bake? ▾
Yes, this bake freezes really well for up to 3 months. Let it cool completely after baking, slice into single-serve portions, wrap each tightly in plastic wrap, and tuck into a labeled freezer bag. Thaw portions in the fridge overnight before reheating, and avoid freezing batches with extra watery veggies that might break down and make texture mushy.
11.What’s the best way to reheat portions without drying them out? ▾
Reheat single portions in the microwave at 50% power for 45–60 seconds, covered with a damp paper towel to lock in moisture. If you prefer oven reheating, place portions in a small baking dish, cover with foil, and warm at 325°F for 8–10 minutes. Skip high-heat reheating that can make edges tough and rubbery, which is hard to tolerate post-op.
12.Is this recipe appropriate for the pureed food stage after bariatric surgery? ▾
It can be adapted for the pureed food stage! After baking, blend individual portions with 1–2 tablespoons of low-sodium chicken or vegetable broth until completely smooth, with no lumps. Make sure to skip any added mix-ins like meat or extra veggies for the pureed stage, and confirm with your care team before introducing it to your meal plan.
13.Can I swap the parmesan for a different cheese if I don’t have it on hand? ▾
You can swap parmesan for an equal amount of finely grated low-moisture mozzarella, pecorino romano, or even mild nutritional yeast for a dairy-free version, as long as you avoid high-moisture cheeses like fresh mozzarella that will make the bake watery. Strong, pungent cheeses like blue cheese are not recommended early post-op, as they can trigger nausea.
14.Why are there no heavy fillers like pasta or breadcrumbs in this recipe? ▾
Heavy fillers like pasta, breadcrumbs, or rice add empty refined carbs that take up valuable space in your small post-bariatric stomach without delivering much protein, and can also slow weight loss progress. Skipping them keeps the bake protein-dense, easy to digest, and low in net carbs, so you get maximum nutrition in every small bite.
15.How do I know if I’m eating the right portion size for my post-op stage? ▾
Start with 2–3 tablespoon portions in the early soft food stage, pausing for 2–3 minutes between bites to check for fullness. Once you are 3+ months out from surgery, you can work up to a ½-cup portion, but stop eating as soon as you feel first signs of fullness to avoid discomfort, nausea, or stretching your pouch. Never force yourself to finish a serving.
16.Can I add other vegetables besides spinach to this bake? ▾
You can add other soft, low-carb veggies as long as they are fully cooked, squeezed completely dry of excess moisture, and finely chopped so there are no tough chunks. Good options include roasted, mashed zucchini, finely diced patted-dry roasted red peppers, or sautéed finely chopped mushrooms—skip fibrous, tough veggies like raw broccoli that are hard to digest early post-op.
17.Is this recipe low enough in sodium for post-bariatric meal plans? ▾
As written, using regular part-skim ricotta and parmesan, a serving has roughly 320mg of sodium, which fits most post-op sodium guidelines of under 2300mg per day. If you need a lower-sodium version, opt for low-sodium ricotta and skip added salt, since parmesan and garlic powder already deliver plenty of savory flavor without extra seasoning.
18.What are simple, gentle serving ideas for this ricotta bake? ▾
Early in the soft food stage, serve it plain, with a tiny sprinkle of extra parmesan and no tough toppings. Once you tolerate more textures, you can serve it with a side of lightly steamed, mashed zucchini, a small dollop of no-sugar-added marinara, or a sprinkle of dried Italian herbs. Skip heavy, high-fat toppings like cream sauce that can trigger dumping syndrome.

Comments (6)

2 days ago

OMG this is such a game changer! I’m 3 months post-op sleeve and have been so bored of plain protein shakes and rubbery chicken. This is so creamy, savory, and I didn’t have any dumping syndrome at all after eating it. Threw it together on Sunday for meal prep and it held up perfectly all week for lunches. 10/10 will make again!

yesterday

So glad this worked for your post-op journey, Sarah! Great call prepping it ahead—this bake reheats beautifully in the microwave for 30 seconds if you want to keep portions controlled. Happy eating!

1 week ago

Made this for my wife who’s 6 weeks out from gastric bypass, and even I (no surgery, total carb lover) thought it was SO good! We added a tiny sprinkle of low-moisture mozzarella on top for the last 5 minutes of bake time and it was chef’s kiss. My picky 8 year old even asked for a second bite! Total win for our family dinner last night.

5 days ago

Wait the mozzarella trick sounds amazing! Did you use part-skim to keep the fat content lower? I’m still in the soft food phase and nervous about adding too much heavy stuff too fast.

3 days ago

Love that mozzarella hack, Jake! Great call for family meals so everyone can enjoy the same dish. For folks in earlier post-op phases like Liz, sticking to part-skim mozzarella in very small portions works great to avoid discomfort!

30 minutes ago

Super easy recipe, took literally 5 minutes to throw together before popping in the oven. I was worried ricotta would be too grainy but it baked up so smooth. Only note is I’d cut the salt a tiny bit next time since the Italian seasoning I used already had salt in it, but that’s just personal preference!

2 weeks ago

Brought this to my post-op support group potluck last week and everyone was asking for the recipe! So many people said they’d been missing savory, cheesy meals since surgery and this hit the spot perfectly. It’s so nice to have a dish that doesn’t feel like “diet food” at all.

1 week ago

Wait no way, I was at that same support group potluck! I was the person who snuck a second tiny slice, ha! This was hands down the best dish there, I can’t wait to make it for my partner this weekend.

2 hours ago

Wait, can you freeze individual portions of this? I’m the only person in my house eating bariatric-friendly meals right now and I hate wasting food. This looks so good but I don’t want to make a whole pan and have it go bad before I can finish it!

30 minutes ago

Great question! You absolutely can freeze individual portions—just let the bake cool completely, slice into single-serve pieces, wrap tightly in plastic wrap and foil, and they’ll keep for up to 3 months. Thaw in the fridge overnight before reheating!

5 minutes ago

I freeze these all the time! I pop them straight from the freezer to the microwave at 50% power for 2 minutes and they taste just as fresh as the day I baked them. Total lifesaver for busy work days.

yesterday

I’m not even post-bariatric surgery, I just found this when looking for high-protein, low-carb weeknight meals and it’s become a total staple in our house! So quick to throw together after work, super filling, and I don’t feel sluggish after eating like I do with regular pasta bakes. My kids loved it too, they didn’t even notice there was no pasta in it. SO good, even for folks who don’t need bariatric-specific portions!



