
baking powder fried chicken

title 1
baking powder fried chicken
⏱️ cook time 25 minutes
🍽️ servings 4
⚡ Difficulty medium

intro

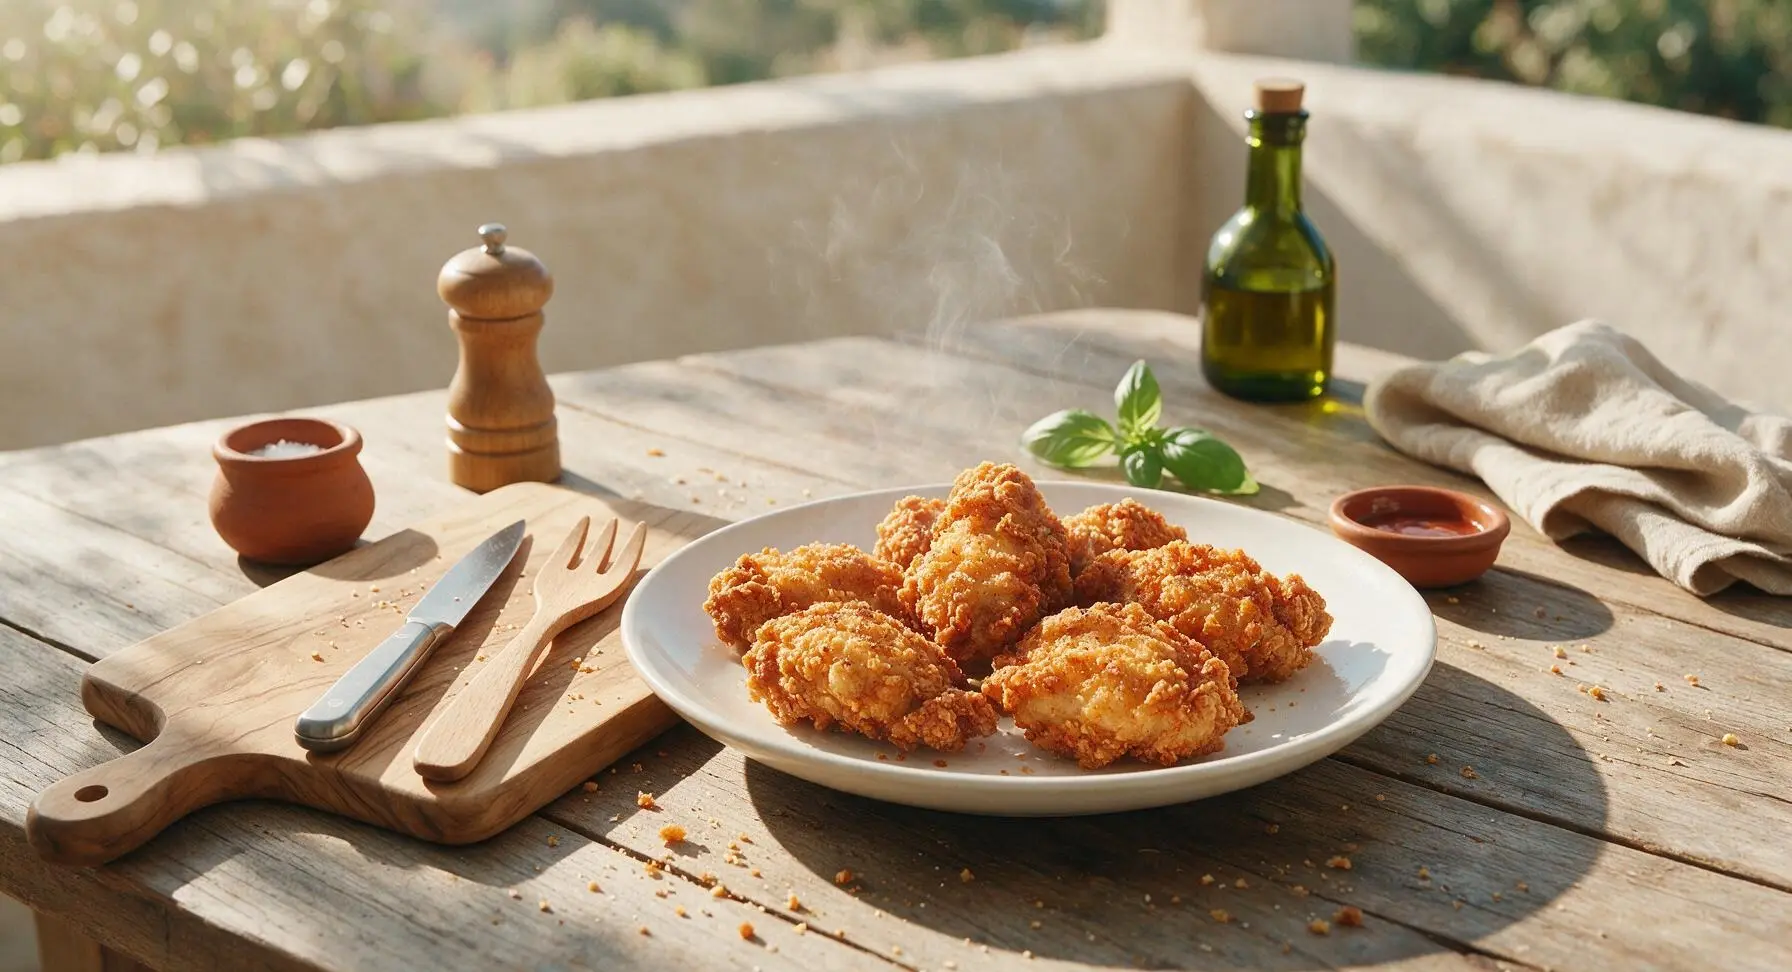
Shatteringly crisp, golden fried chicken with juicy, well-seasoned meat, made extra crunchy with a baking powder-spice rub—no heavy breading, no soggy skin, just perfect comfort food in every bite.

Ingredients
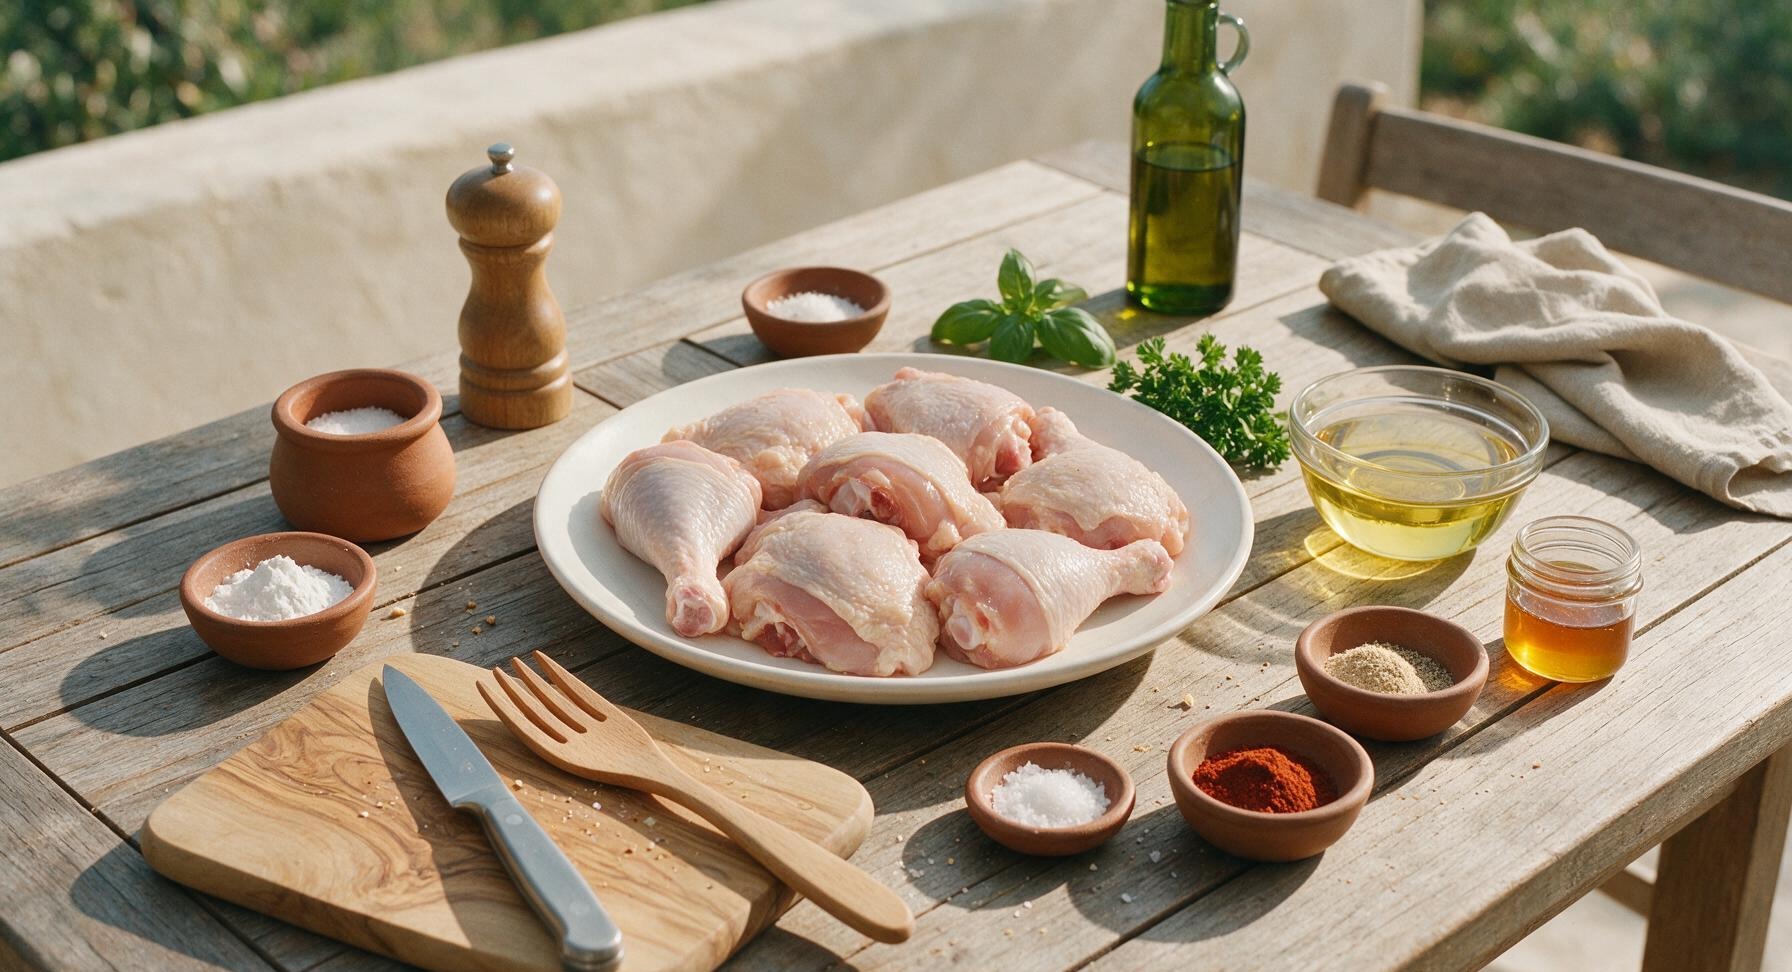
Bone-in, skin-on chicken pieces (mixed drumsticks, thighs, tenders) 1.2 kg (approx 6 pieces)
Aluminum-free baking powder 1 tablespoon
Kosher salt 1.5 teaspoons
Freshly ground black pepper 1 teaspoon
Garlic powder 1 teaspoon
Smoked paprika 1 teaspoon
Onion powder 0.5 teaspoon
Canola oil (for frying) 1 liter
Flaky sea salt (for finishing) 0.5 teaspoon
Fresh curly parsley (for garnish) 1 small bunch
Hot honey (for serving, optional) 60 ml

Steps

1

Pat Chicken Dry

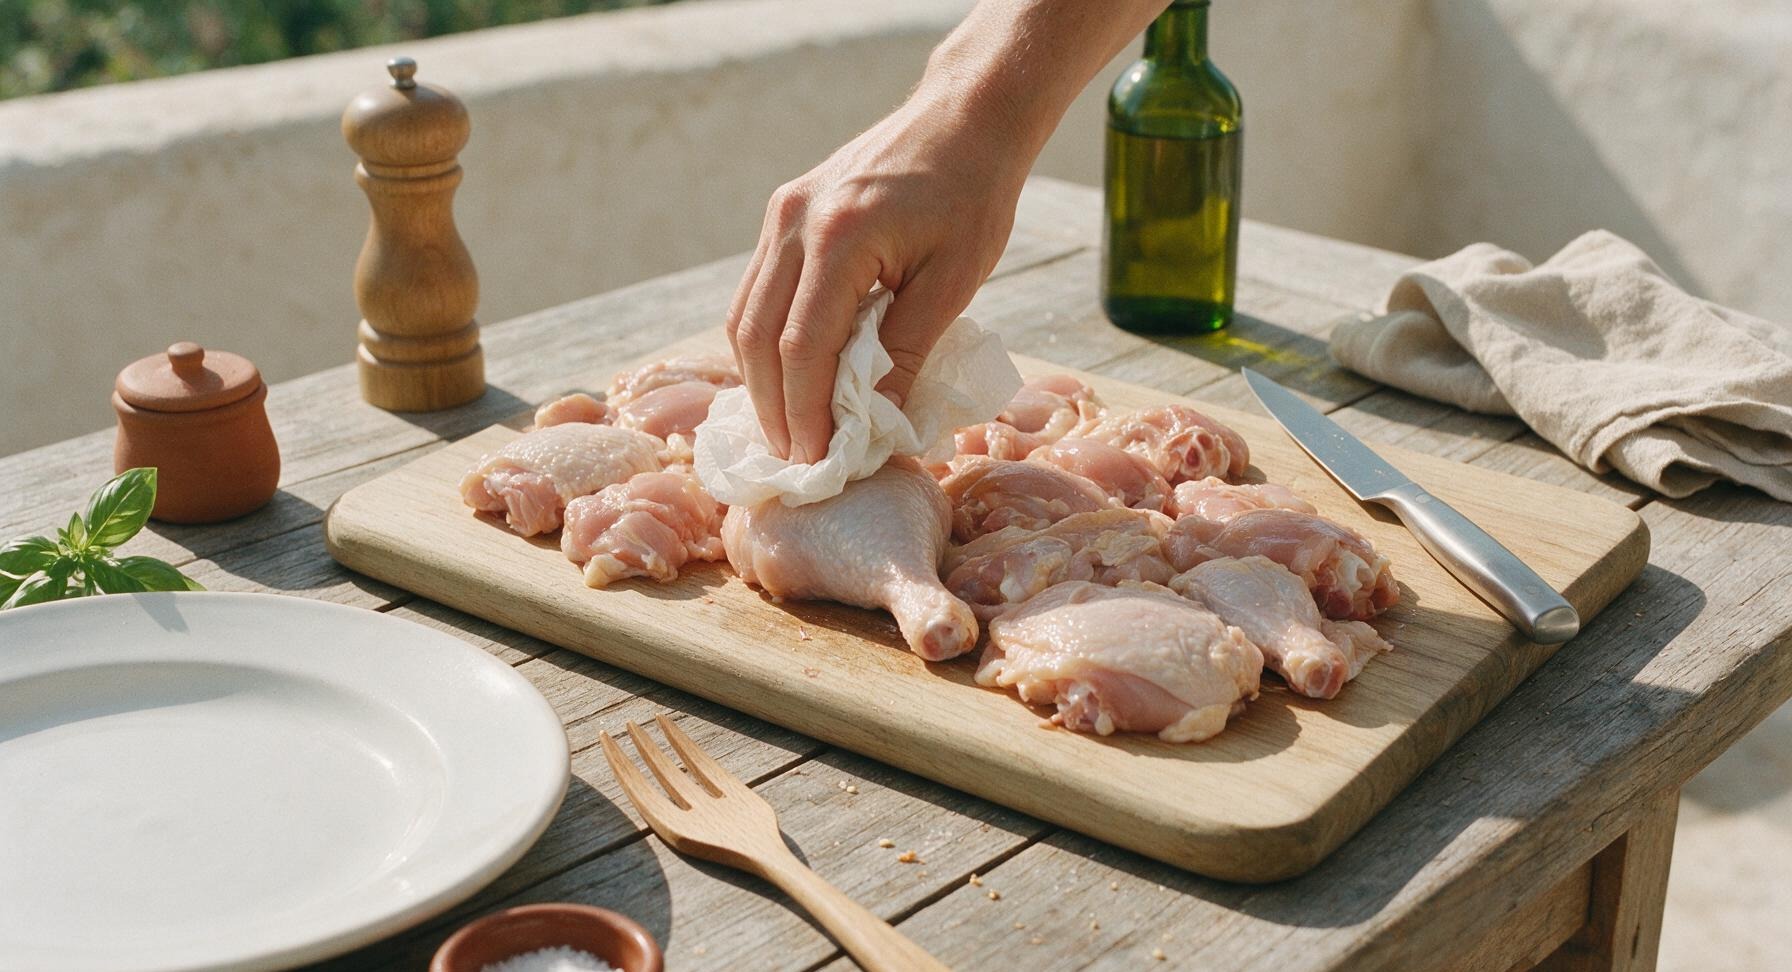
Arrange all mixed chicken pieces on the light maple cutting board. Use crumpled paper towels to firmly pat every surface of the chicken, including under loose skin where accessible, until absolutely no surface moisture remains. Dry skin is the foundation of a crisp, non-soggy crust; excess moisture will cause oil splatter and prevent the coating from adhering properly. This step takes approximately 3 minutes.
Step 1
step1:Pat Chicken Dry
2

Mix Seasoned Coating

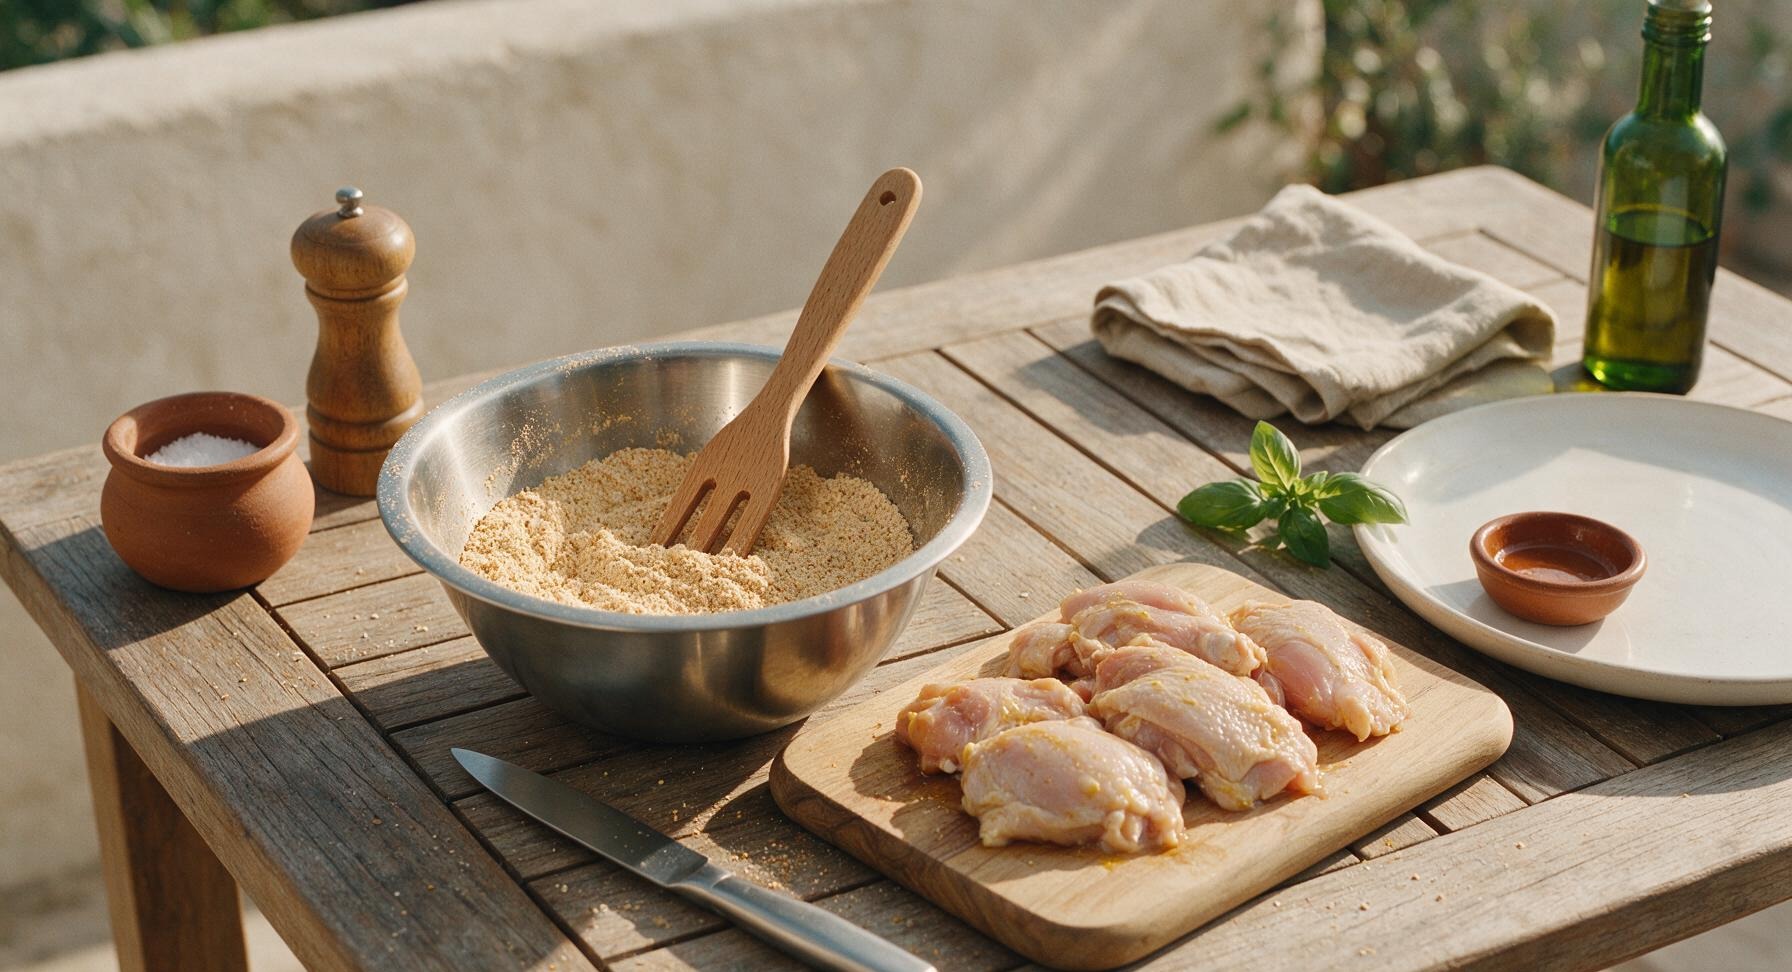
Retrieve the smallest 1L stainless steel mixing bowl from the stacked set. Add 1 tablespoon aluminum-free baking powder, 1.5 teaspoons kosher salt, 1 teaspoon freshly ground black pepper, 1 teaspoon garlic powder, 1 teaspoon smoked paprika, and 0.5 teaspoon onion powder to the bowl. Whisk with a fork for 30 seconds until all ingredients are fully combined, with no visible clumps of baking powder. Aluminum-free baking powder is used here to avoid metallic aftertaste.
Step 2
step2:Mix Seasoned Coating
3

Coat Chicken Evenly

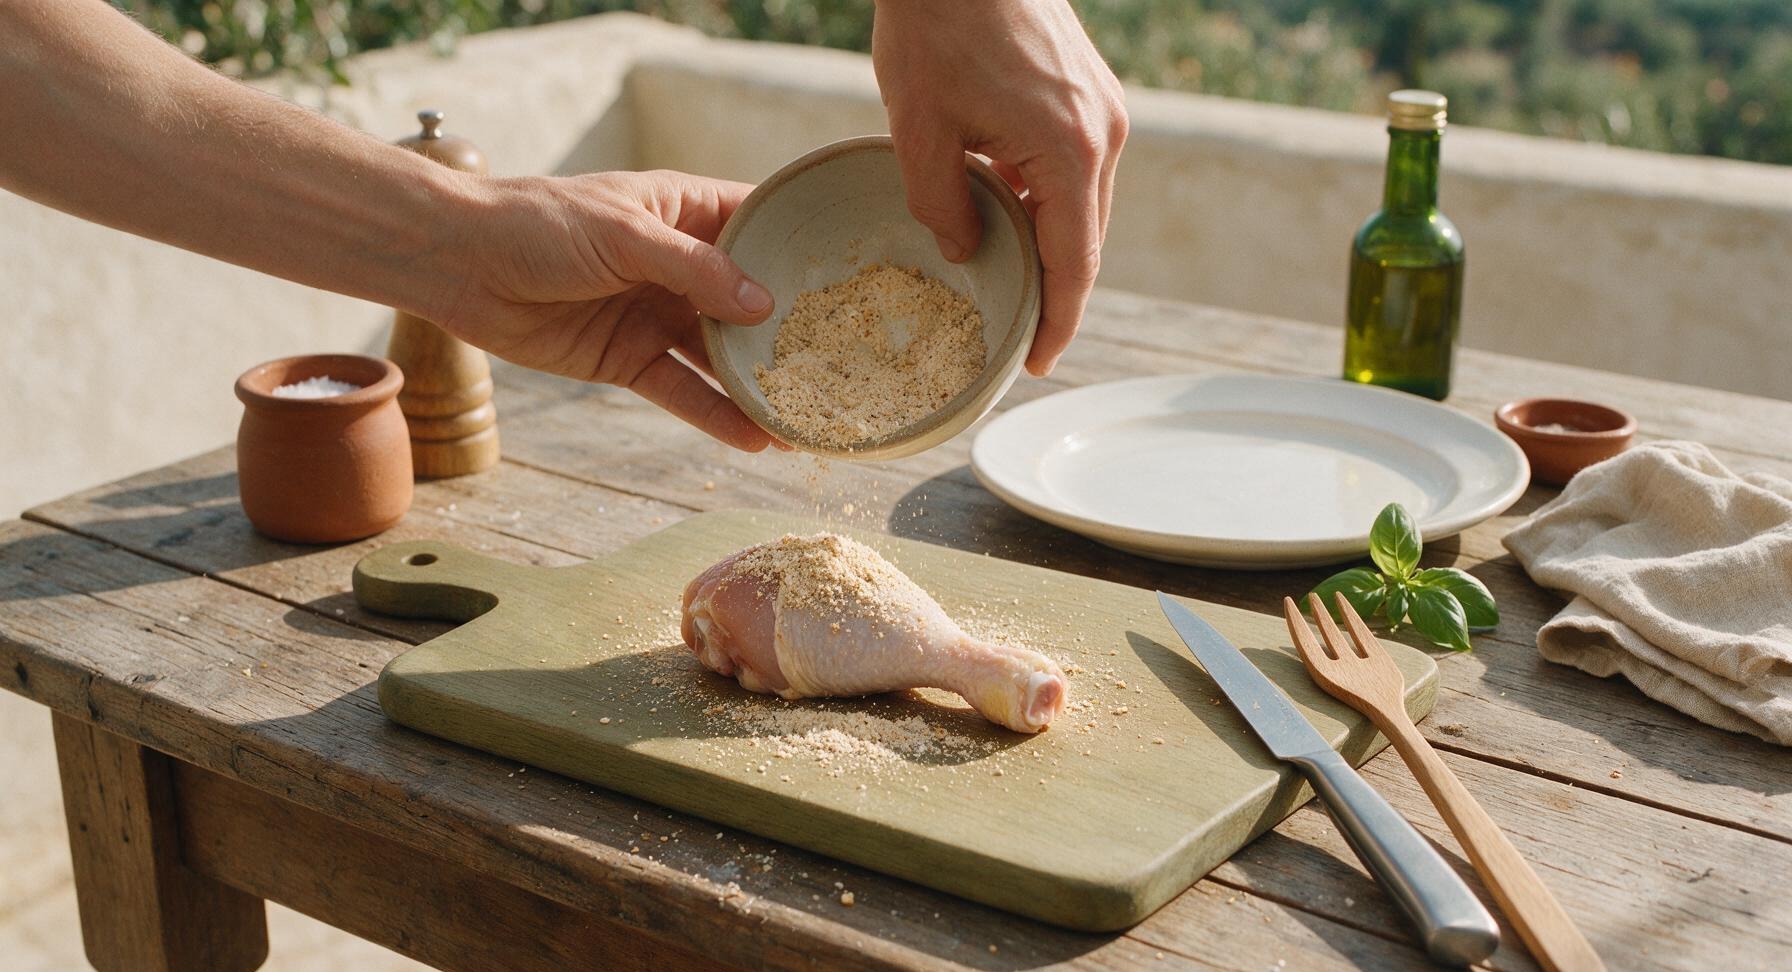
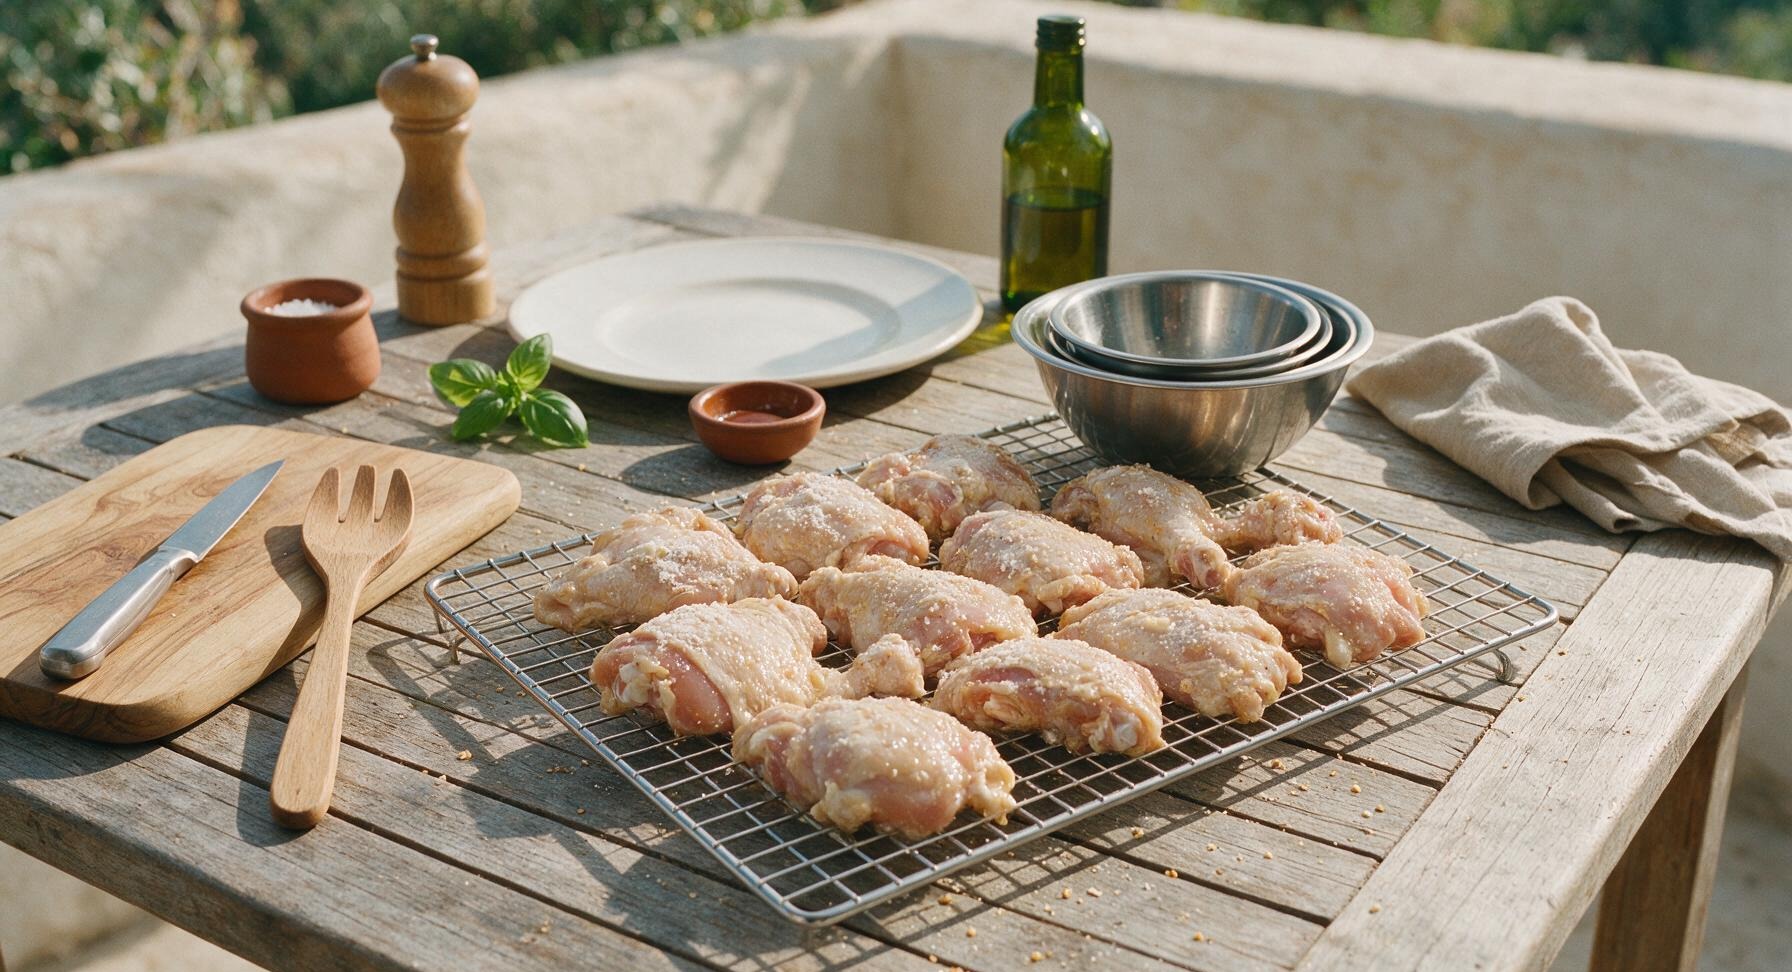
Sprinkle the seasoned baking powder mixture evenly over every surface of the dried chicken pieces, using clean hands to rub the thin coating into the skin, covering all sides, crevices, and edges. Avoid applying a thick layer of coating, as this will result in a soapy, unpleasant flavor. Once fully coated, arrange chicken in a single layer on the chrome wire cooling rack, and let rest at room temperature for 15 minutes. During this rest, the baking powder draws out small amounts of chicken juice, creating a tacky surface that fries into a shattery, bubbly crust directly on the skin.
Step 3
step3:Coat Chicken Evenly
Step 3
step3:Coat Chicken Evenly
4

Heat Frying Oil

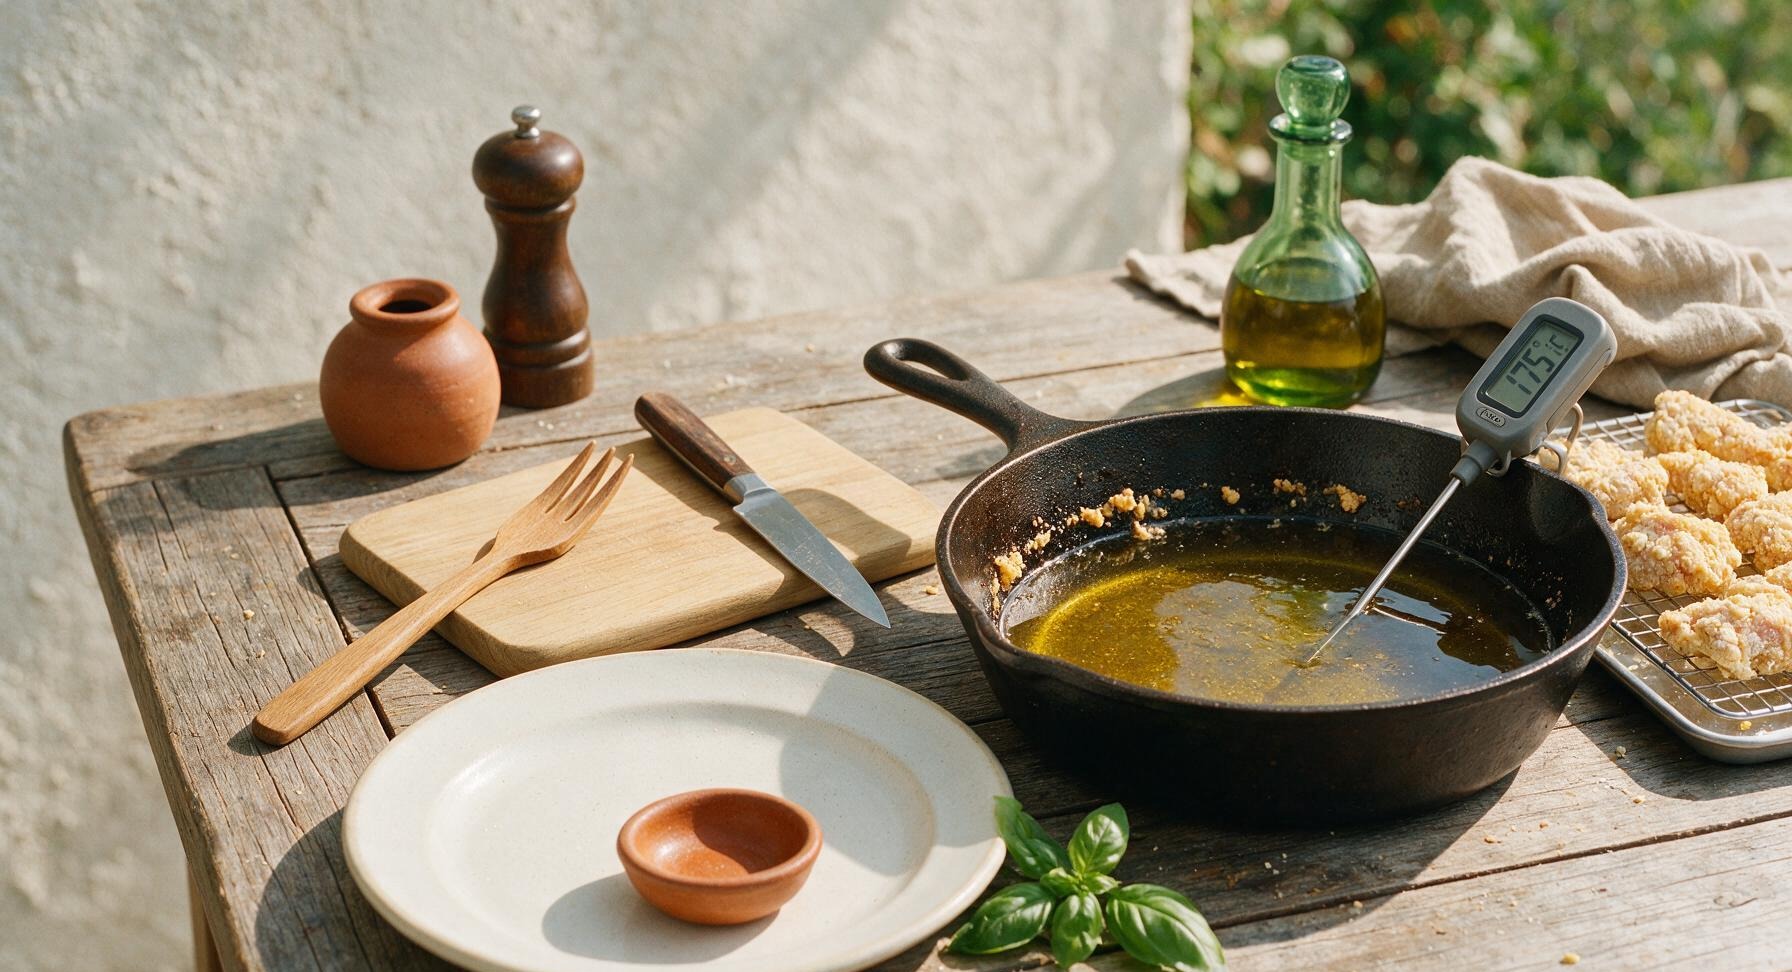
Pour 1 liter of canola oil into the 12-inch cast iron skillet, until oil reaches 1.5 inches up the pan sides. Heat oil over medium heat until it reaches a steady 175°C (350°F), measured with the digital instant-read thermometer clipped to the pan edge. If oil begins to smoke (above 185°C/365°F), turn heat down slightly and let cool 2 minutes before adding chicken, as overheated oil will burn the skin before chicken cooks through.
Step 4
step4:Heat Frying Oil
5

Fry Chicken in Batches

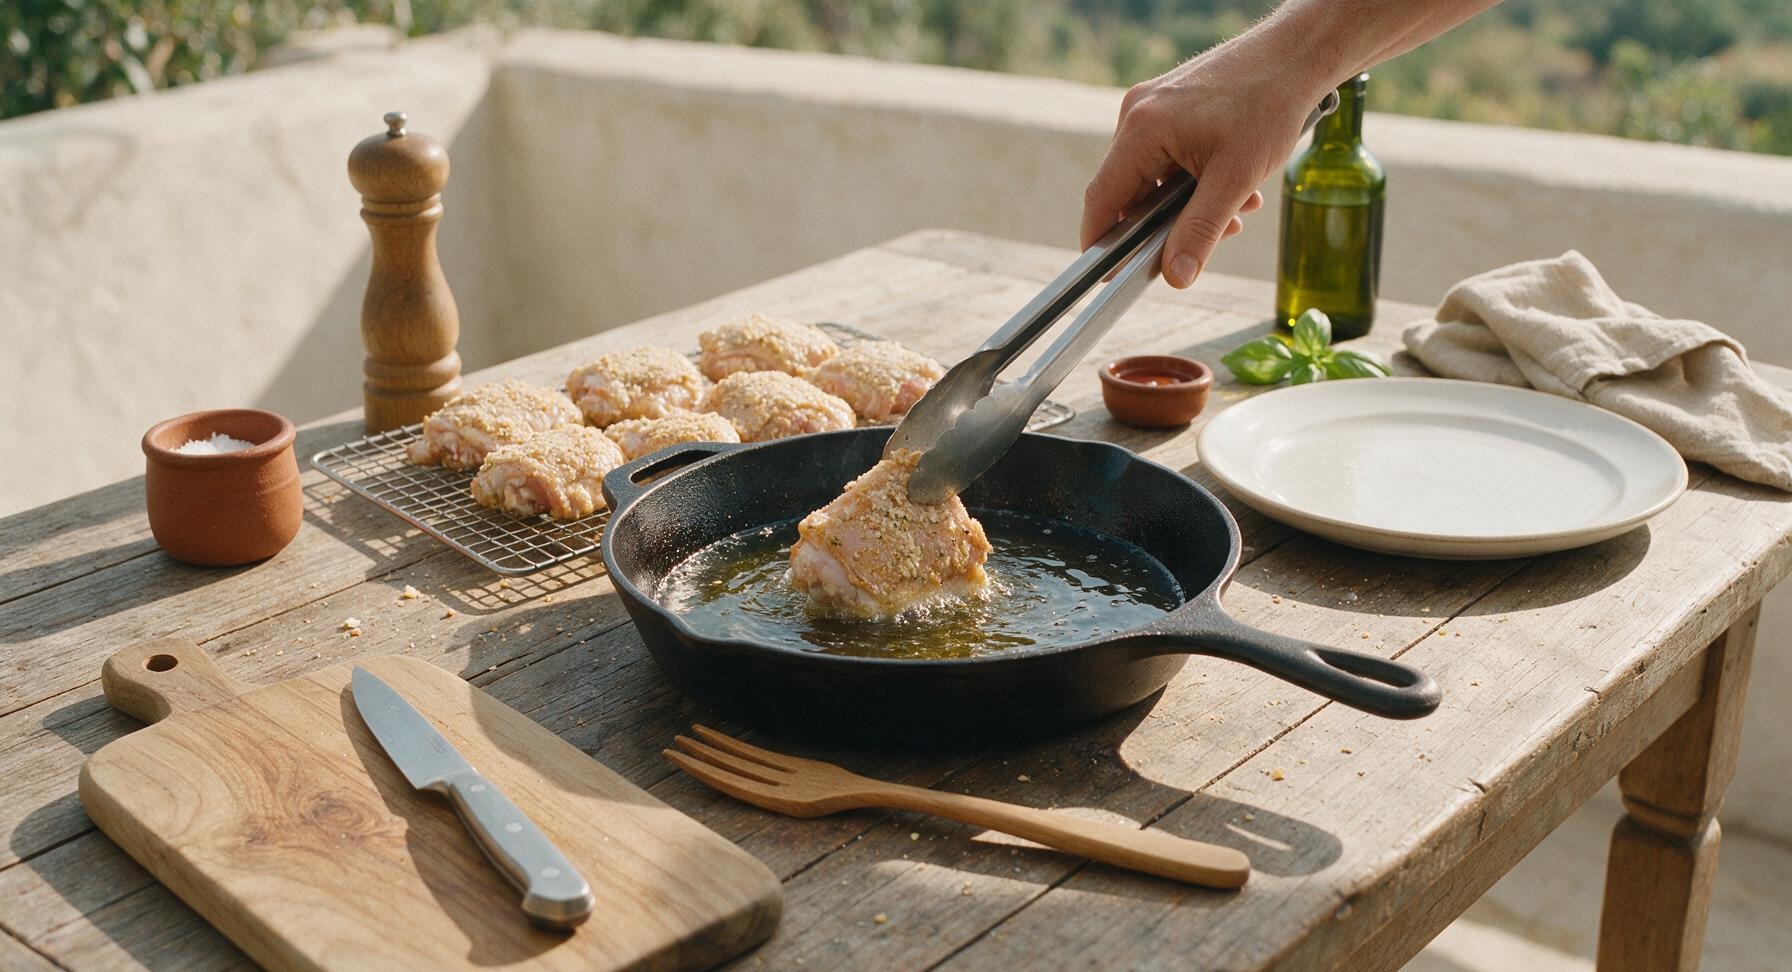
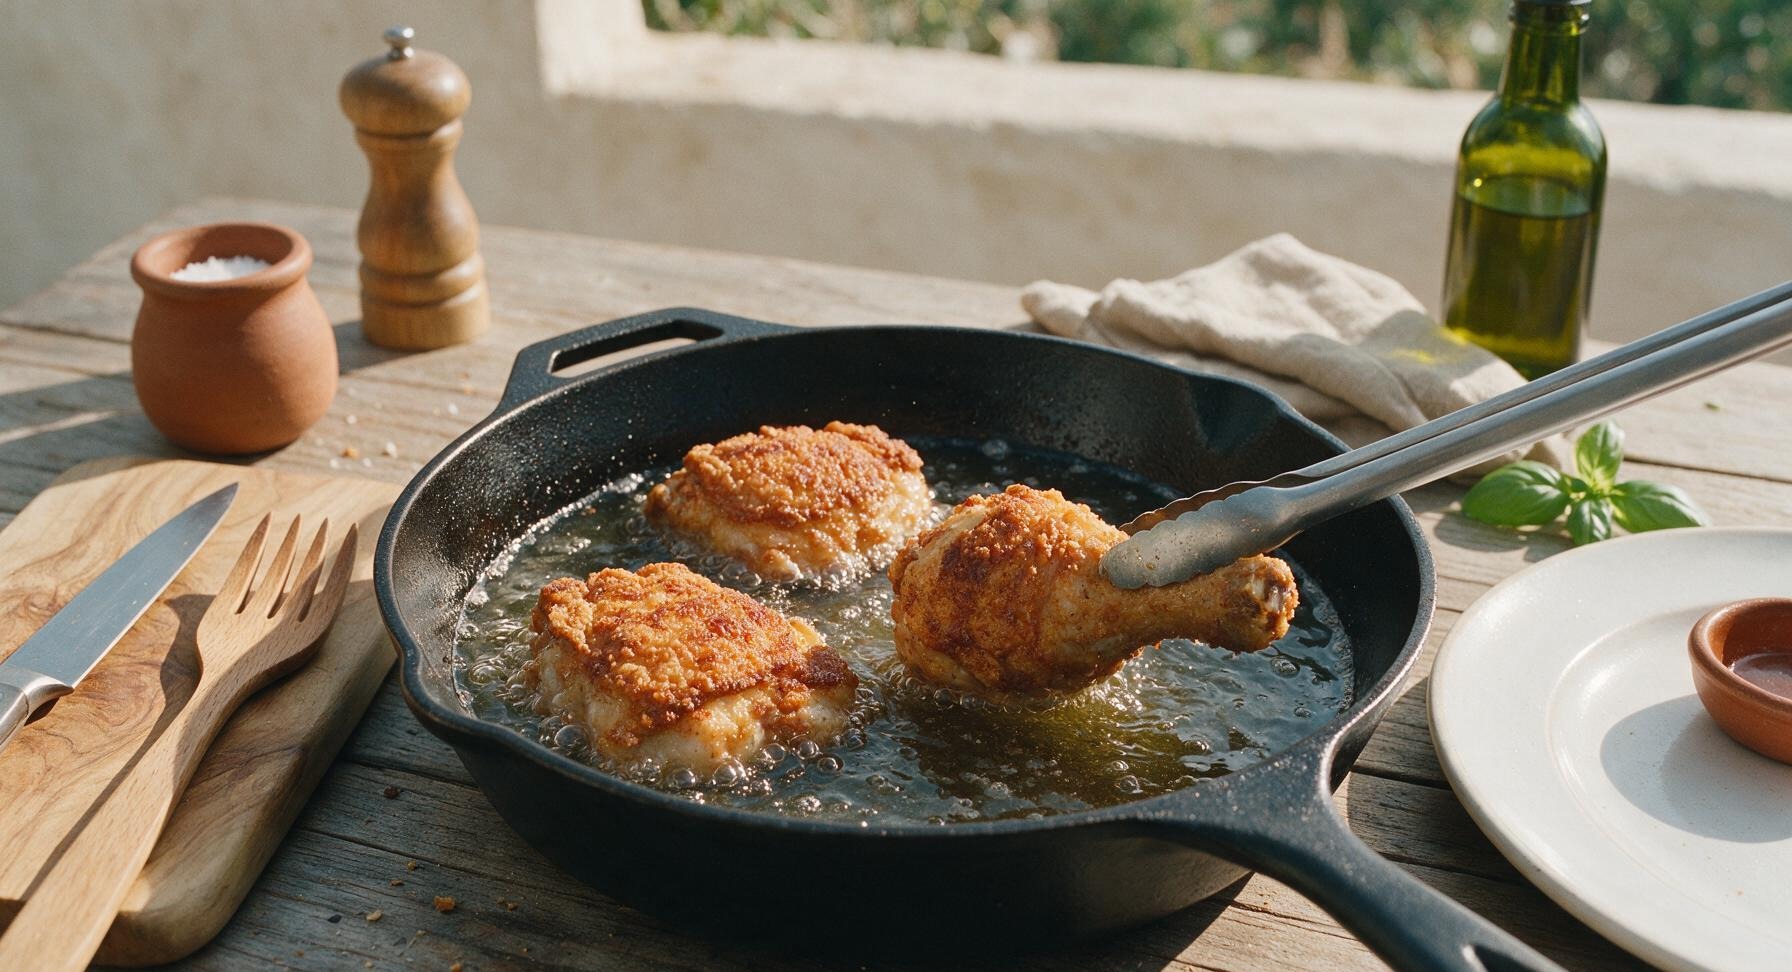
Use the stainless steel kitchen tongs to carefully lower 3 chicken pieces into the hot oil, skin-side down, taking care not to overcrowd the pan (overcrowding drops oil temperature and causes soggy skin). Fry 7 minutes on the first side until deep golden brown, then flip each piece and fry 6-8 minutes on the second side, until the instant-read thermometer reads 75°C (165°F) when inserted into the thickest part of the meat, away from bone. Repeat with the remaining 3 chicken pieces, bringing oil back to 175°C (350°F) between batches.
Step 5
step5:Fry Chicken in Batches
Step 5
step5:Fry Chicken in Batches
6

Drain and Season

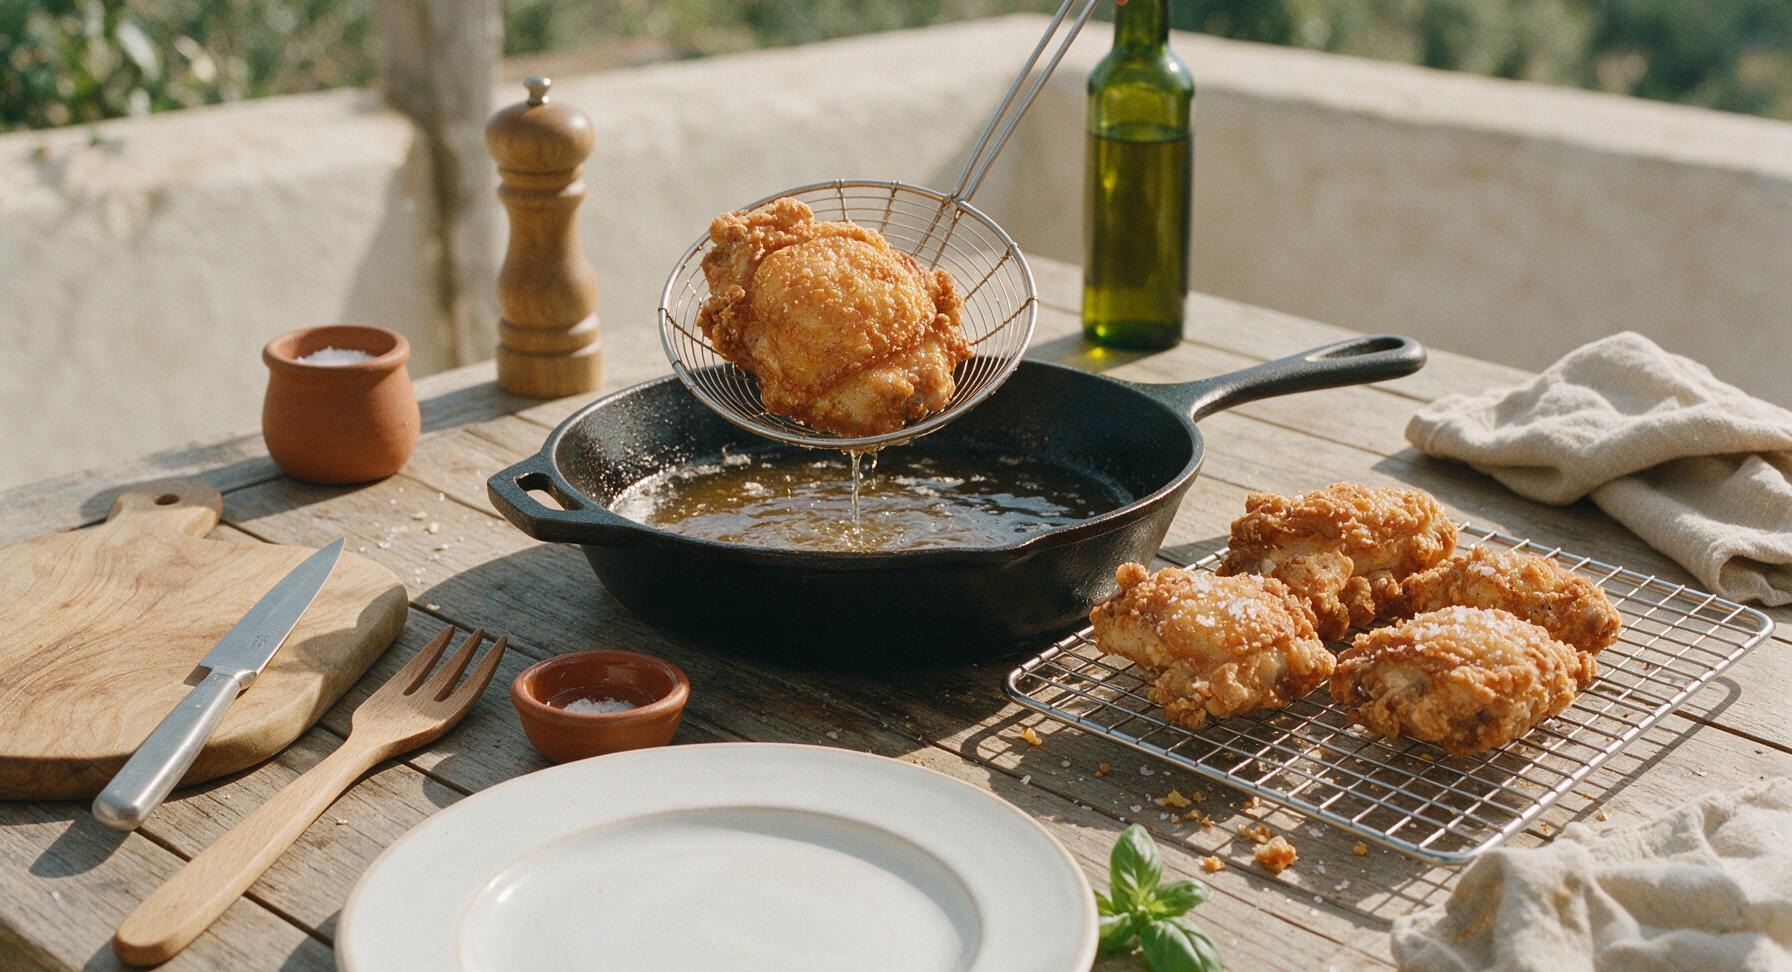
Once chicken reaches the correct internal temperature, use the metal spider strainer to lift each piece from the oil, holding it above the skillet for 5 seconds to let excess oil drip back into the pan. Transfer fried chicken back to the chrome wire cooling rack, and immediately sprinkle the hot skin with flaky sea salt so the salt adheres to the glistening surface. Do not drain chicken directly on paper towels, as trapped steam will turn the bottom skin soggy; the elevated rack allows air circulation to keep skin crisp.
Step 6
step6:Drain and Season
7

Plate and Serve

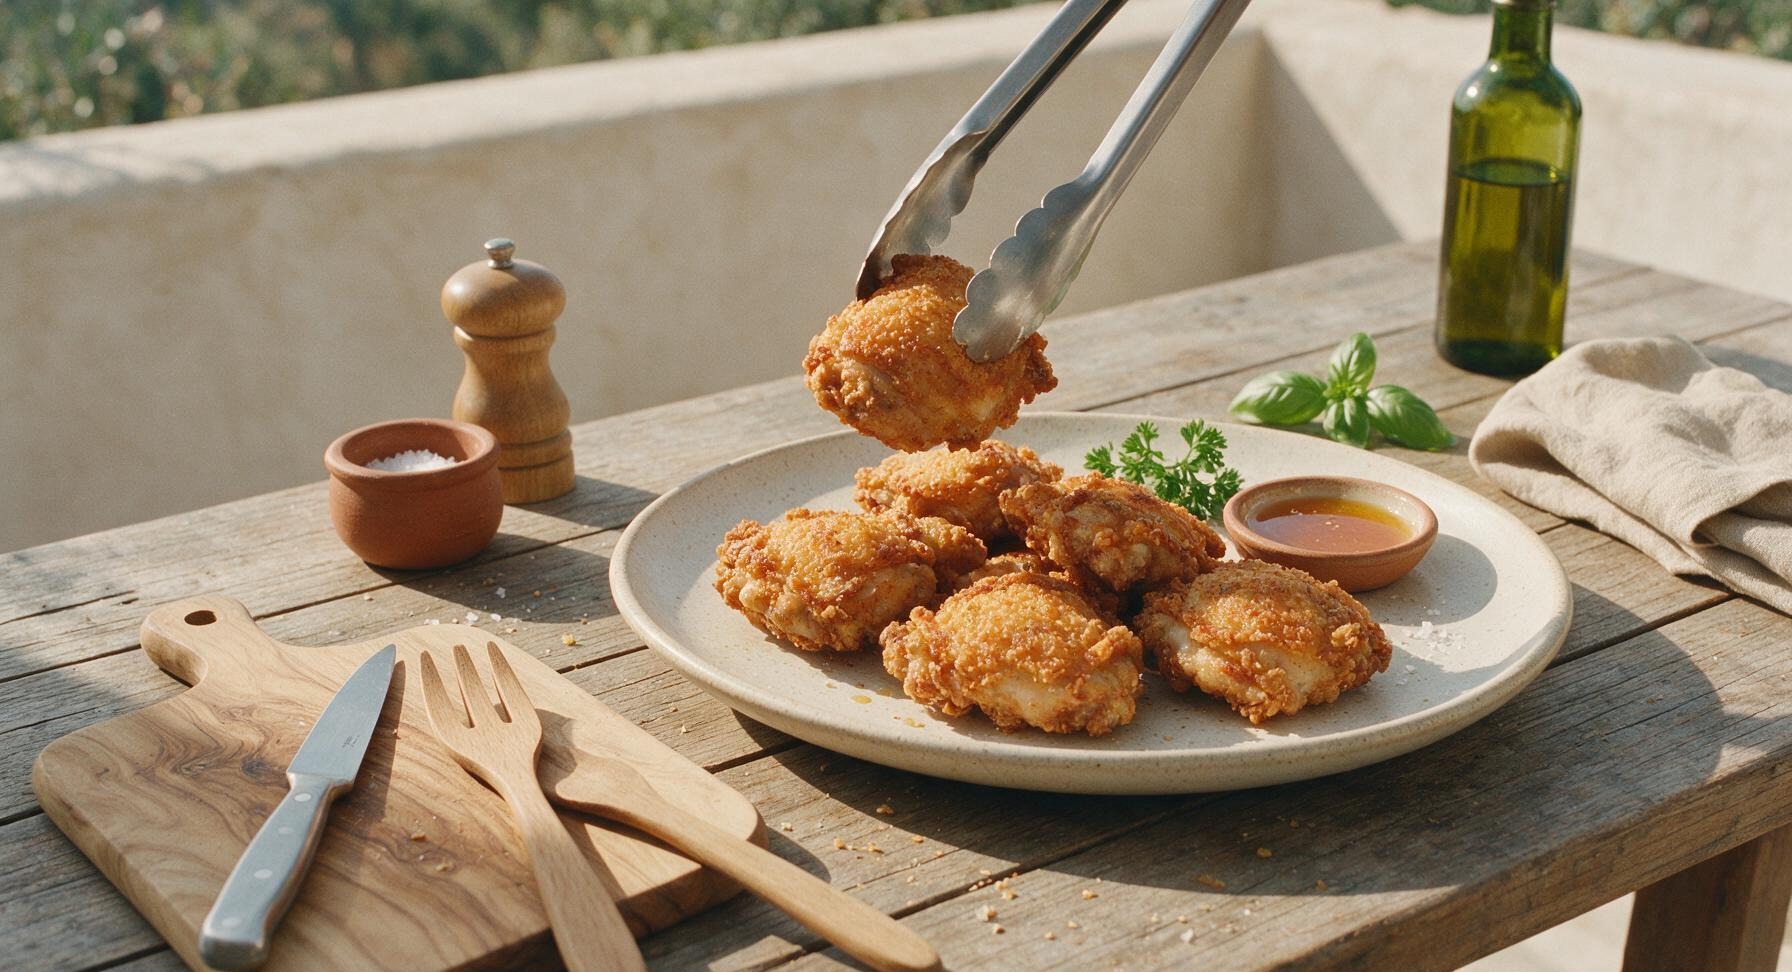
Arrange the hot, drained fried chicken pieces loosely on the off-white speckled stoneware dinner plate. Tuck a small sprig of fresh curly parsley at the plate edge for garnish, and set the matte terracotta ramekin of hot honey (if using) at the top right of the plate for dipping. Let chicken rest 3 minutes before serving to allow juices to redistribute, so they do not run out when the crisp skin is bitten into.
Step 7
step7:Plate and Serve

Tips

1.Always use aluminum-free baking powder for this recipe. Standard baking powder contains sodium aluminum sulfate, which leaves a distinct bitter, metallic aftertaste when exposed to high frying temperatures, ruining the flavor of the crisp skin.
2.Do not skip the 15-minute rest after coating the chicken. This rest allows the baking powder to draw out small amounts of moisture from the skin, dissolving the spices and forming a tacky, adhesive layer that creates the signature shattery, bubbly crust, rather than a loose spice rub that slides off during frying.
3.Monitor oil temperature consistently between batches. Oil that is too cold (below 160°C/320°F) will be absorbed by the skin, leaving chicken greasy and soggy, while oil that is too hot (above 190°C/375°F) will burn the outer skin before the interior chicken reaches a safe 75°C (165°F).


✨ You May Also Like

Main Course
🍜 United Kingdom

A showstopping classic of tender seared beef, savory mushroom duxelles, and crisp prosciutto wrapped in flaky golden puff pastry, baked to juicy perfection.

⏱️ 2 hours 1Main Course ★ 4.7
Main Course
🍜 India

Tender charred marinated chicken simmered in a rich, spiced creamy tomato sauce, this iconic Anglo-Indian curry pairs perfectly with basmati rice or warm naan.

⏱️ 50 minuteMain Course ★ 4.6
Main Course
🍜 Thailand

Classic tangy, sweet, and savory Thai stir-fried rice noodles with shrimp, tofu, and crunchy garnishes, balancing all five core Thai flavor profiles.

⏱️ 30 minuteMain Course ★ 4.5
Main Course
🍜 United Kingdom

Crispy golden beer-battered cod and fluffy double-fried chips, served with tangy tartar sauce and malt vinegar: the timeless, beloved British pub comfort classic.

⏱️ 45 minuteMain Course ★ 4.7
Main Course
🍜 Mexico

Smoky, chile-marinated pork tacos with caramelized pineapple, fresh cilantro, and lime: a beloved classic Mexican street food perfect for casual summer gatherings.

⏱️ 1 hour 45Main Course ★ 4.8
Main Course
🍜 United States

Crunchy Fritos corn chips layered with savory beef chili and melted cheddar, topped with cool, zesty fixings for a beloved, cozy Tex-Mex comfort food.

⏱️ 35 minuteMain Course ★ 4.8

baking powder fried chicken:Frequently Asked Questions

1.Why do you specify aluminum-free baking powder instead of regular baking powder for this recipe? ▾
Great question! Regular baking powder contains sodium aluminum sulfate, which can leave a bitter, metallic aftertaste on chicken skin when cooked at high heat. Aluminum-free baking powder uses gentler acidifiers that build crispness without that off-flavor, so you get clean, golden crunch with every bite.
2.Won’t the baking powder make the fried chicken taste soapy? ▾
Not if you measure correctly! We use a precise ratio of 1 part baking powder to 8–10 parts seasoning and salt, so soapy flavor never develops. The baking powder raises the skin’s pH to break down proteins faster and release tiny carbon dioxide bubbles as it cooks, creating that signature shattery crunch.
3.Can I use boneless, skinless chicken pieces for this recipe? ▾
You can, but you won’t get the same signature crisp texture. Bone-in, skin-on cuts hold moisture far better for juicy meat, and the skin is what the baking powder rub adheres to for crunch. If you use boneless skinless cuts, pat them extremely dry, add a light dusting of rice flour to the rub, and cut cook time by 30% to avoid dryness.
4.Why does my fried chicken skin turn out soggy instead of crispy? ▾
Soggy skin almost always traces back to excess moisture or trapped steam. Make sure you pat chicken completely dry with paper towels before applying the rub, don’t overcrowd the fryer when cooking, and avoid covering chicken immediately after frying—let it rest on a wire rack so steam can escape instead of softening the crust.
5.How long should I let the baking powder rub sit on the chicken before frying? ▾
For the juiciest, most evenly crisp results, let the seasoned chicken rest uncovered on a wire rack in the fridge for 8 to 12 hours (overnight works great!). This rest lets salt and baking powder draw out surface moisture that reabsorbs into the meat, while drying the skin so it fries up ultra-crunchy instead of steaming.
6.Can I bake this chicken instead of deep-frying it if I want less oil? ▾
Absolutely! For a lighter baked version, arrange the rubbed, rested chicken on a wire rack set over a rimmed baking sheet, and bake at 425°F for 40–45 minutes, flipping halfway through, until the internal temp hits 165°F. It won’t be quite as rich as deep-fried, but you’ll still get that shatteringly crisp skin with far less oil.
7.What type of oil is best for frying this chicken? ▾
Stick to neutral, high-smoke-point oils for the cleanest flavor and safest frying: refined peanut oil, canola oil, or refined avocado oil all work perfectly. Heat your oil to a steady 350°F before adding chicken—too hot and the crust burns before meat cooks, too cool and you end up with greasy, soggy skin.
8.Do I need to dip the chicken in egg or coat it in flour for a breading? ▾
Nope! That’s the best part of this recipe—no messy egg dips, no heavy flour breading required. The baking powder-spice rub is all you need, because it reacts with the chicken skin and heat to create a light, bubbly, ultra-crisp crust that stays crunchy far longer than traditional flour breading.
9.How do I make sure the chicken cooks through without burning the crispy crust? ▾
Use an instant-read meat thermometer to take all the guesswork out! Fry in small batches at a consistent 350°F, and pull chicken when the thickest part (away from the bone) hits 160°F—carryover cooking will bring it up to the food-safe 165°F as it rests on a wire rack for 5 to 10 minutes before serving.
10.Can I add other spices to the rub besides garlic powder and black pepper? ▾
Of course! The base rub of baking powder, salt, pepper, and garlic powder is a perfect blank canvas. Feel free to add smoked paprika, cayenne, onion powder, dried thyme, oregano, or a pinch of brown sugar for sweet-savory kick—just keep the baking powder ratio consistent so the crisping reaction works correctly.
11.Why do you recommend resting fried chicken on a wire rack instead of paper towels? ▾
Paper towels trap steam and grease right against the crispy crust, turning that perfect shatter skin soggy in minutes. A wire rack set over a baking sheet lets excess oil drip off while allowing air to circulate all around the chicken, keeping the crust crisp for the full 10-minute rest before you serve.
12.Can I make this chicken ahead of time for a party or potluck? ▾
You can prep the rubbed chicken up to 24 hours ahead, stored uncovered on a wire rack in the fridge, then fry it right before serving. If you need to hold fried chicken for up to 30 minutes before serving, keep it on a wire rack in a 200°F oven—don’t cover it, or the crust will go soft from trapped steam.
13.What happens if I use too much baking powder in the rub? ▾
Overdoing the baking powder will leave a distinct bitter, soapy aftertaste on your chicken, and can even make the crust brown too fast before the meat cooks through. Stick to 1 teaspoon of aluminum-free baking powder per pound of chicken, mixed evenly with kosher salt and your other spices, for perfect crunch without off-flavors.
14.Can I substitute baking soda for baking powder in this recipe? ▾
Skip that swap! Baking soda is far more alkaline than baking powder, so even a small amount will leave a harsh, soapy, metallic taste on your chicken, and it won’t create the same light, even crisp. Baking powder is balanced with mild acid to create a gentle, even crunch without overpowering the savory seasoning.

Comments (3)

3 days ago

OMG this fried chicken is a total game changer! I was so skeptical baking powder would get the skin that crispy without a full deep fryer, but wow—there’s actual crunch that stays even after I packed leftovers for my work lunch the next day. My 8 and 10 year old devoured 3 pieces each at our Sunday family dinner, they’re already begging me to make it again for our neighborhood potluck next weekend. Only heads up: I added a little extra smoked paprika to the seasoning mix because we love that warm, smoky kick. 10/10 will be on my regular meal prep rotation from now on!

2 days ago

Wait how long did you let the chicken rest after coating it? I tried a similar baking powder fried chicken recipe a couple weeks ago and the crust slid right off half the pieces when I fried it, wondering if I skipped that resting step!

yesterday

Great question, Jake! We recommend letting the coated chicken rest on a wire rack for 15-20 minutes before frying so the coating has time to adhere properly—no more sliding crusts, promise! So glad your family loved the recipe, Molly, that extra smoked paprika addition sounds absolutely delicious!

2 hours ago

Took a chance on this for a quick weeknight meal and it did NOT disappoint. The 25 minute cook time was spot on, which was a total lifesaver because I got home late from my kid’s soccer practice and didn’t have hours to spend hovering over the stove. The crust was SO good, shatteringly crisp, and the chicken stayed juicy all the way through even when I was rushing to get sides on the table. My only tiny gripe is I wish I’d made more—my husband ate half the batch before I even scooped the mac and cheese onto plates! Will definitely double the recipe next time I make it.

30 minutes ago

So happy this worked out for your busy weeknight, Sarah! Doubling the batch is always a smart call with this recipe—leftovers make incredible crispy chicken sandwiches for lunch the next day, too!

1 week ago

This was my first time making fried chicken at home and I was so nervous it would turn out soggy or undercooked, but the instructions were totally straightforward even for a medium-difficulty recipe! I swapped in bone-in chicken thighs instead of breasts because that’s what I had thawed in the fridge, and they came out perfectly crispy on the outside, tender and juicy all the way through. I still can’t believe that crunch comes from baking powder, no fancy deep fryer needed! Brought a big platter of it to my friend’s weekend game night and everyone kept hounding me for the recipe, total win. Will be making this on repeat for sure!



