
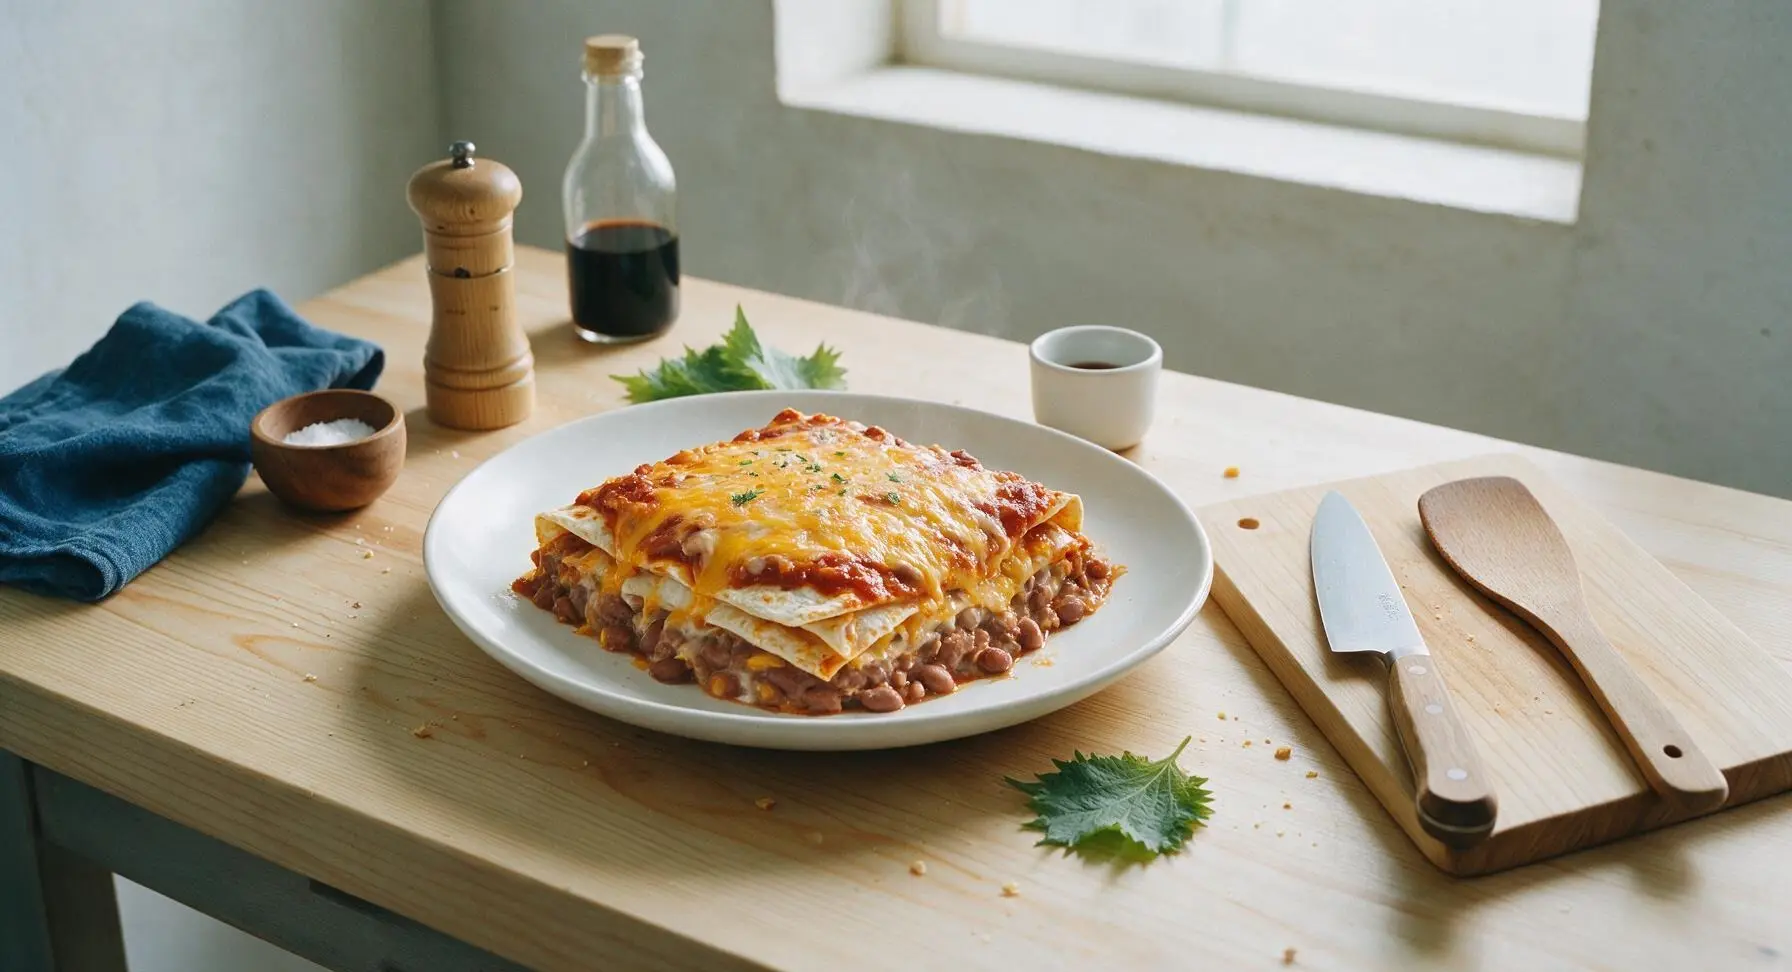
bean and cheese burrito casserole

title 1
bean and cheese burrito casserole
⏱️ cook time 30 minutes
🍽️ servings 6
⚡ Difficulty easy

intro

Creamy refried beans, melted sharp cheddar, and soft flour tortillas layered with zesty red enchilada sauce, baked to bubbly golden perfection for a cozy, satisfying meal.

Ingredients
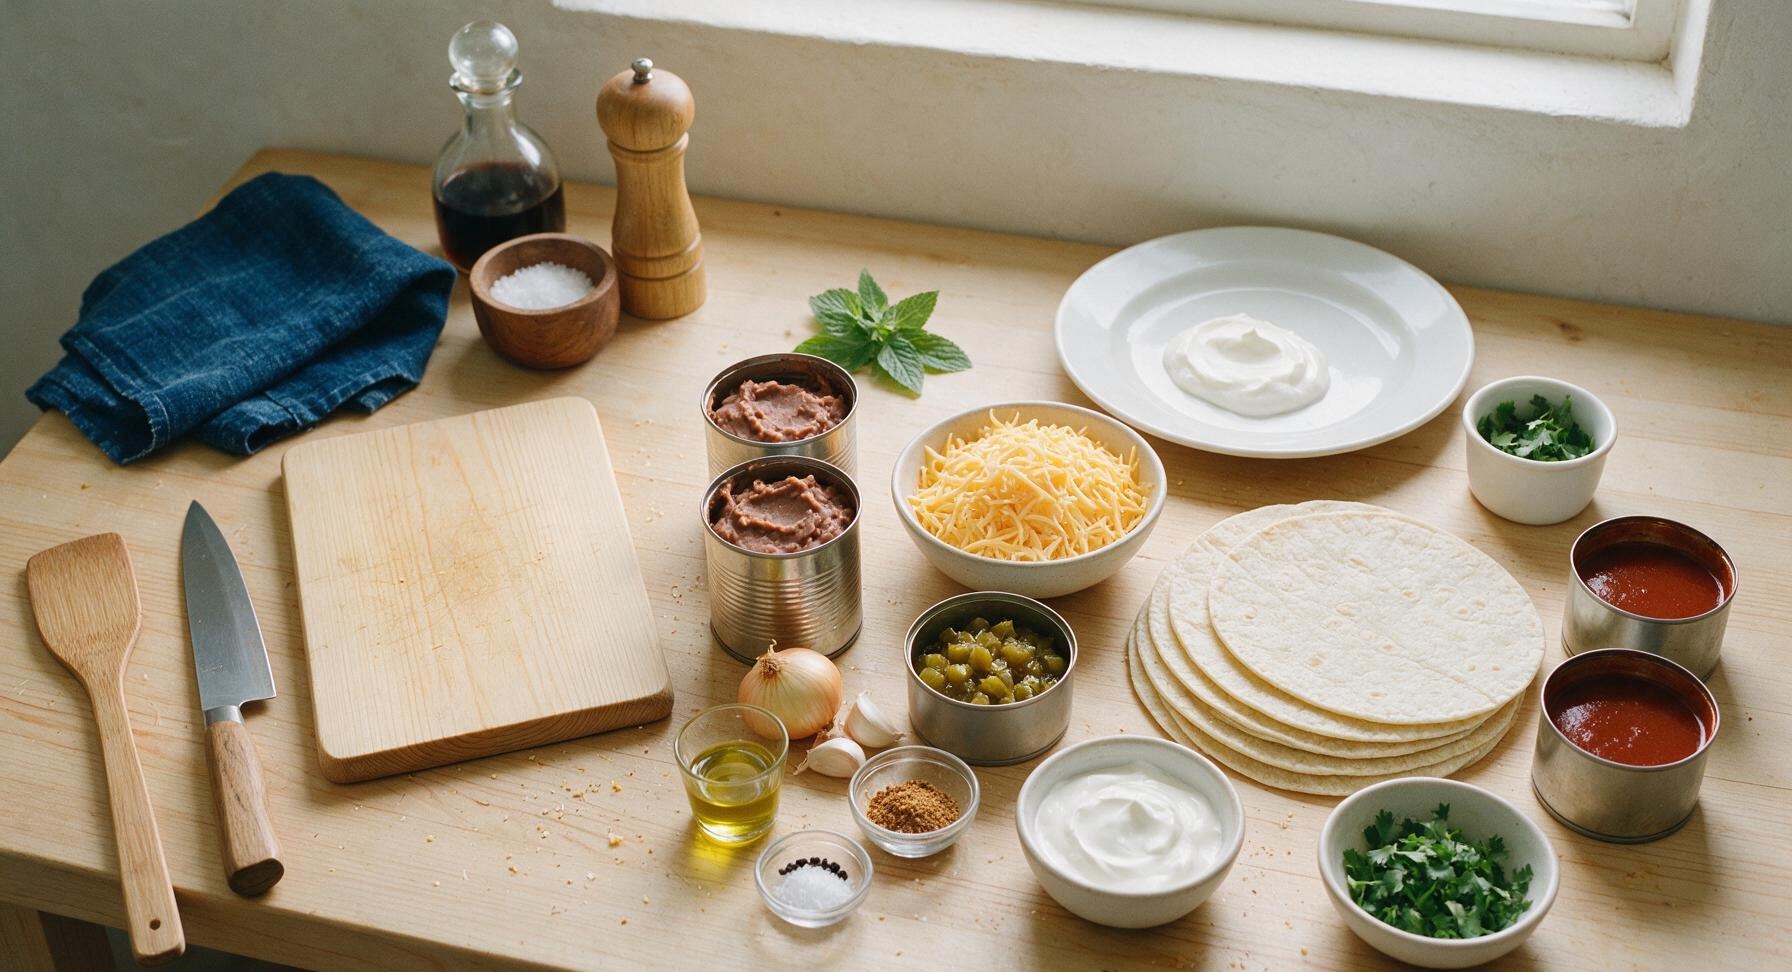
Low-sodium canned refried beans 2 (15oz) cans
Sharp cheddar cheese 2.5 cups, shredded
10-inch flour tortillas 6 pieces
Mild red enchilada sauce 2 (10oz) cans
Canned mild diced green chiles, drained 1 (4oz) can
Small yellow onion 1 piece (~1 cup diced)
Garlic cloves 2 pieces
Taco seasoning 2 tbsp
Extra-virgin olive oil 1 tbsp
Kosher salt 1 tsp
Freshly ground black pepper ½ tsp
Sour cream (for serving) ½ cup
Fresh cilantro, chopped (for garnish) ¼ cup

Steps

1

Preheat Oven, Prep Dish

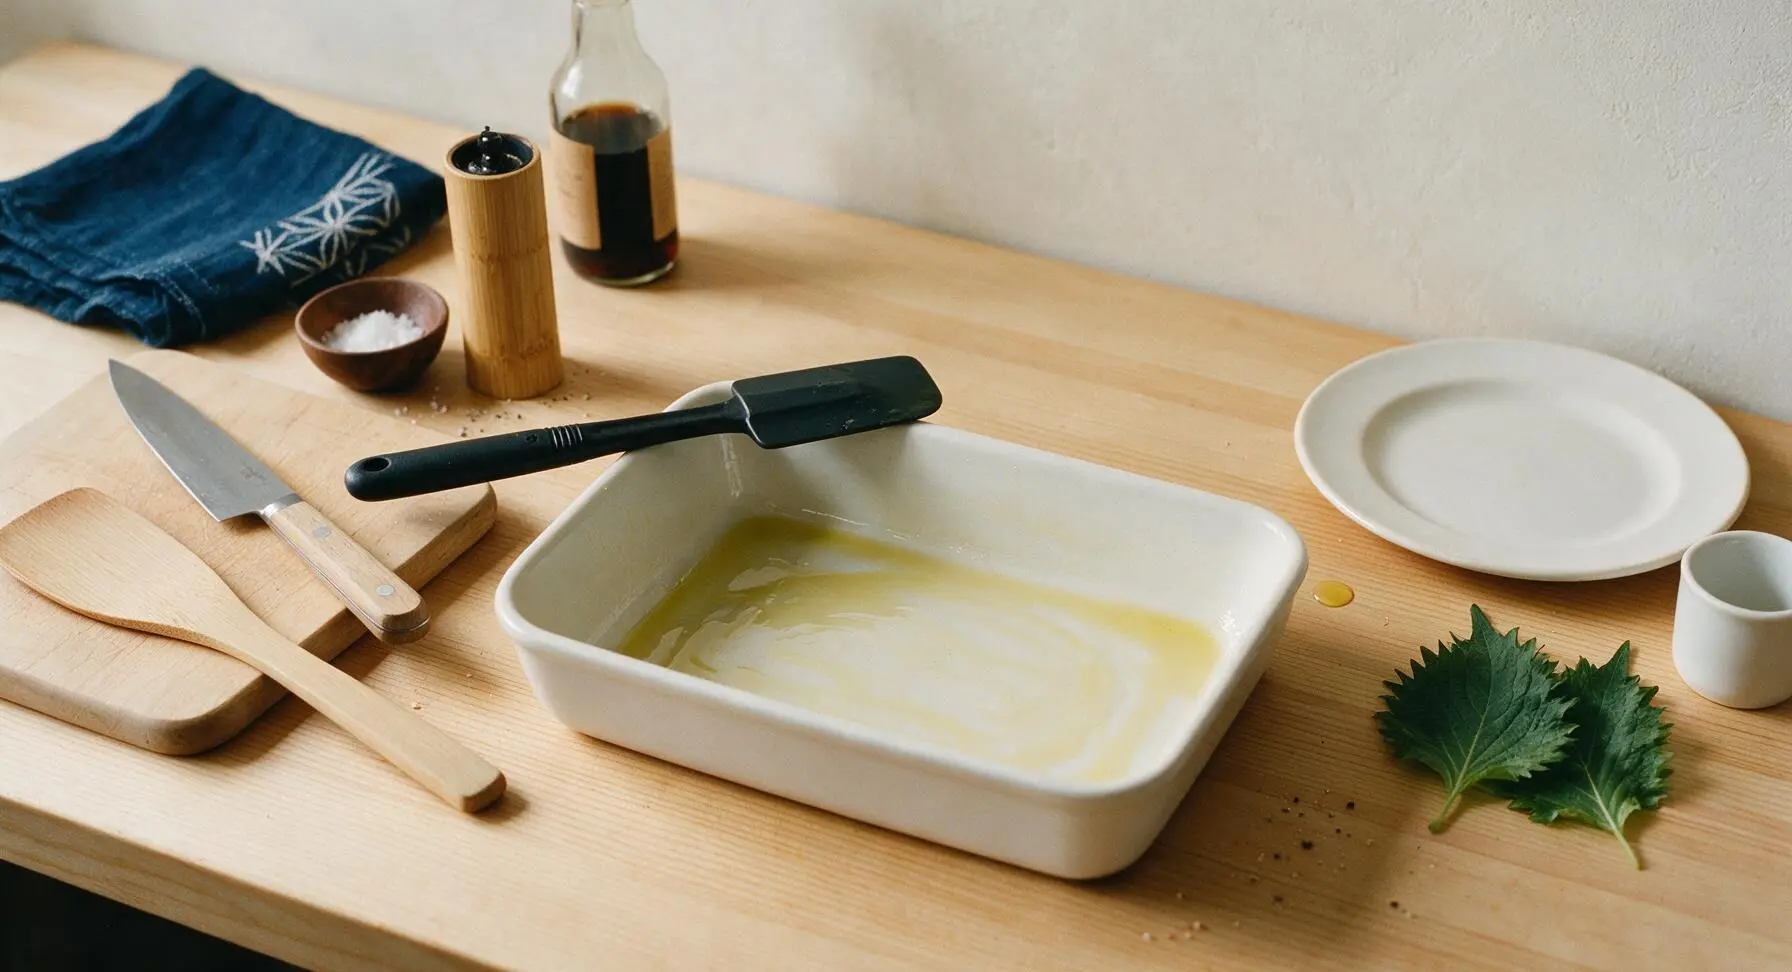
Preheat your oven to 375°F (190°C). Pull the 9x13 inch matte white ceramic baking dish from the right back oak shelf to the center of the counter. Pour 1 teaspoon of olive oil into the dish, and use the silicone spatula to spread it evenly across the bottom and inner sides to prevent sticking during baking. Set the prepped dish aside while you prepare remaining components.
Step 1
step1:Preheat Oven, Prep Dish
2

Grate the Cheddar Cheese

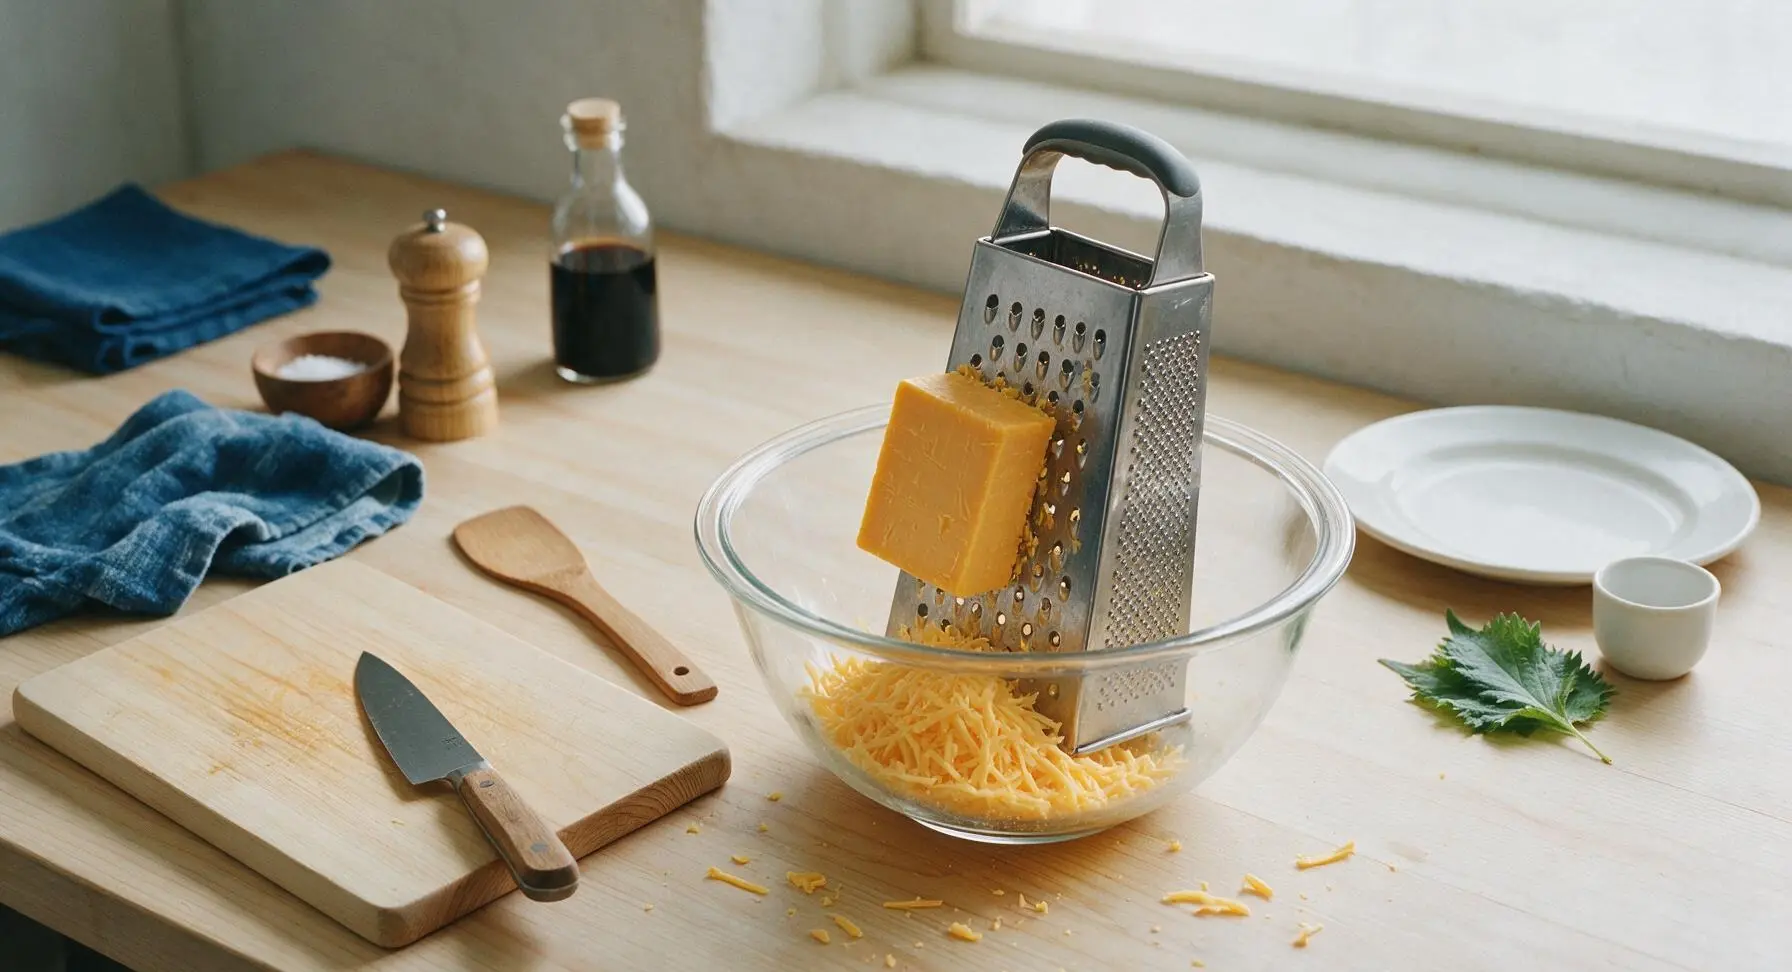
Place the stainless steel box grater inside the medium clear glass mixing bowl to catch shreds. Hold the block of sharp cheddar against the large holes of the grater, applying firm, even pressure to shred until you have 2.5 total cups of shredded cheese. Set the bowl of shredded cheese aside, taking care to keep your fingers clear of the sharp grater holes as you near the end of the cheese block.
Step 2
step2:Grate the Cheddar Cheese
3

Sauté Onion and Garlic

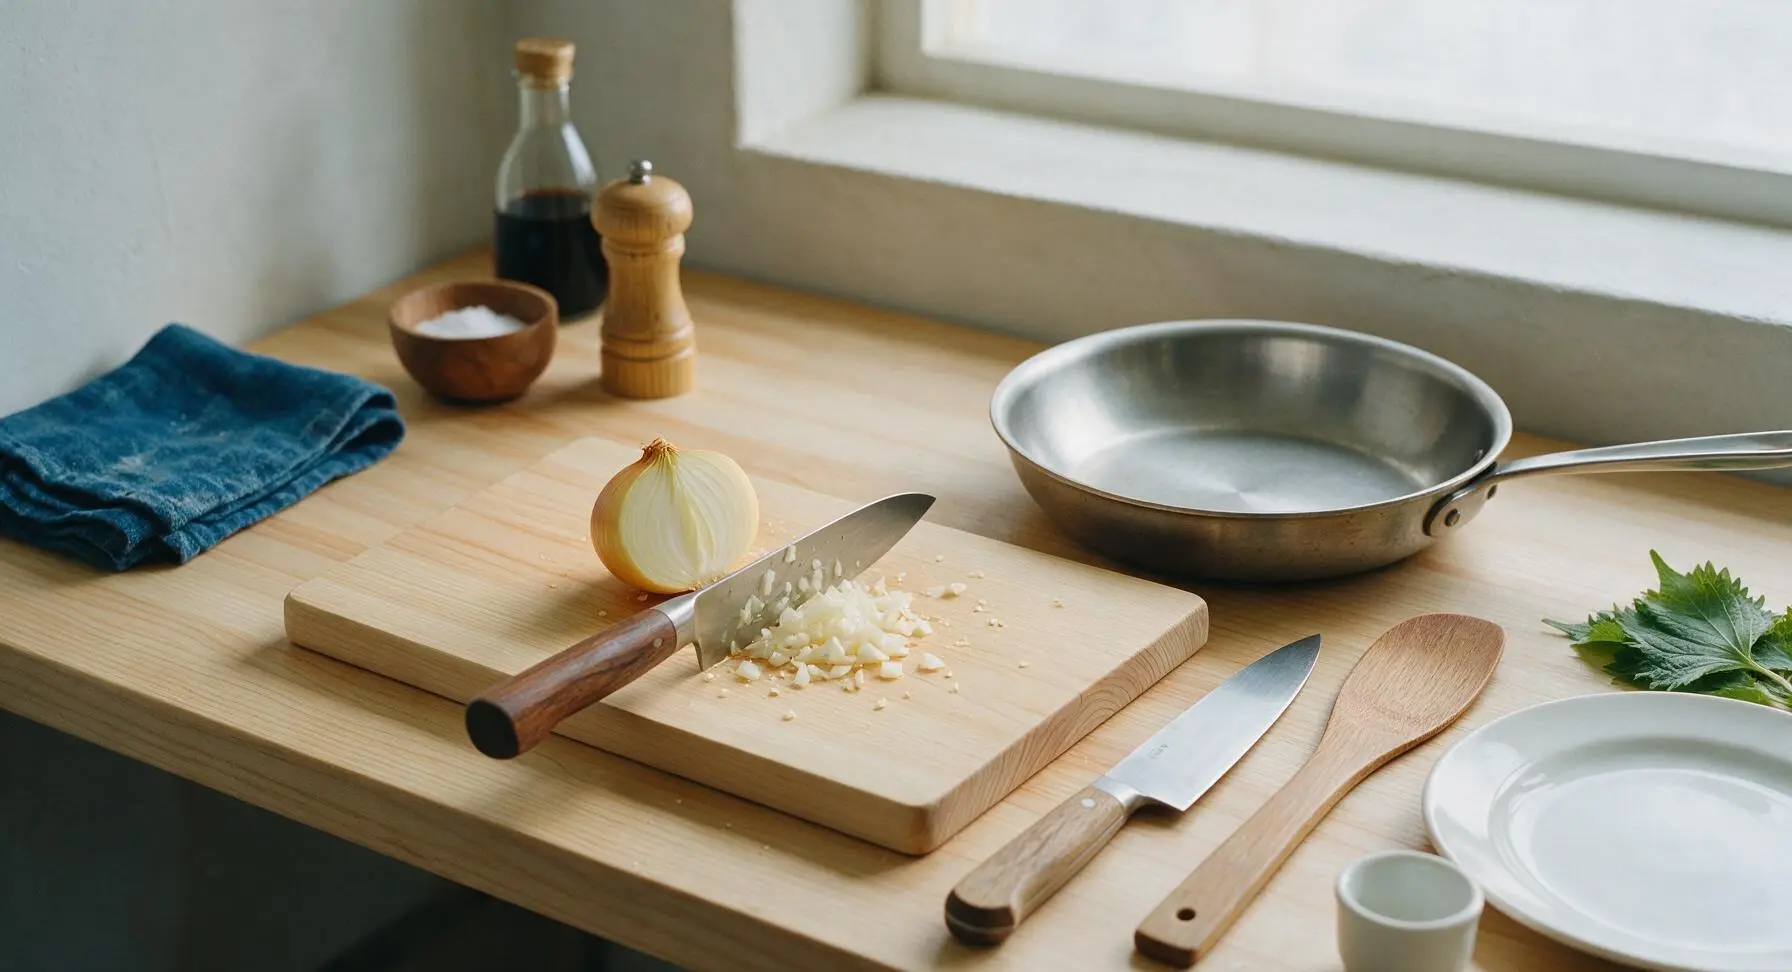
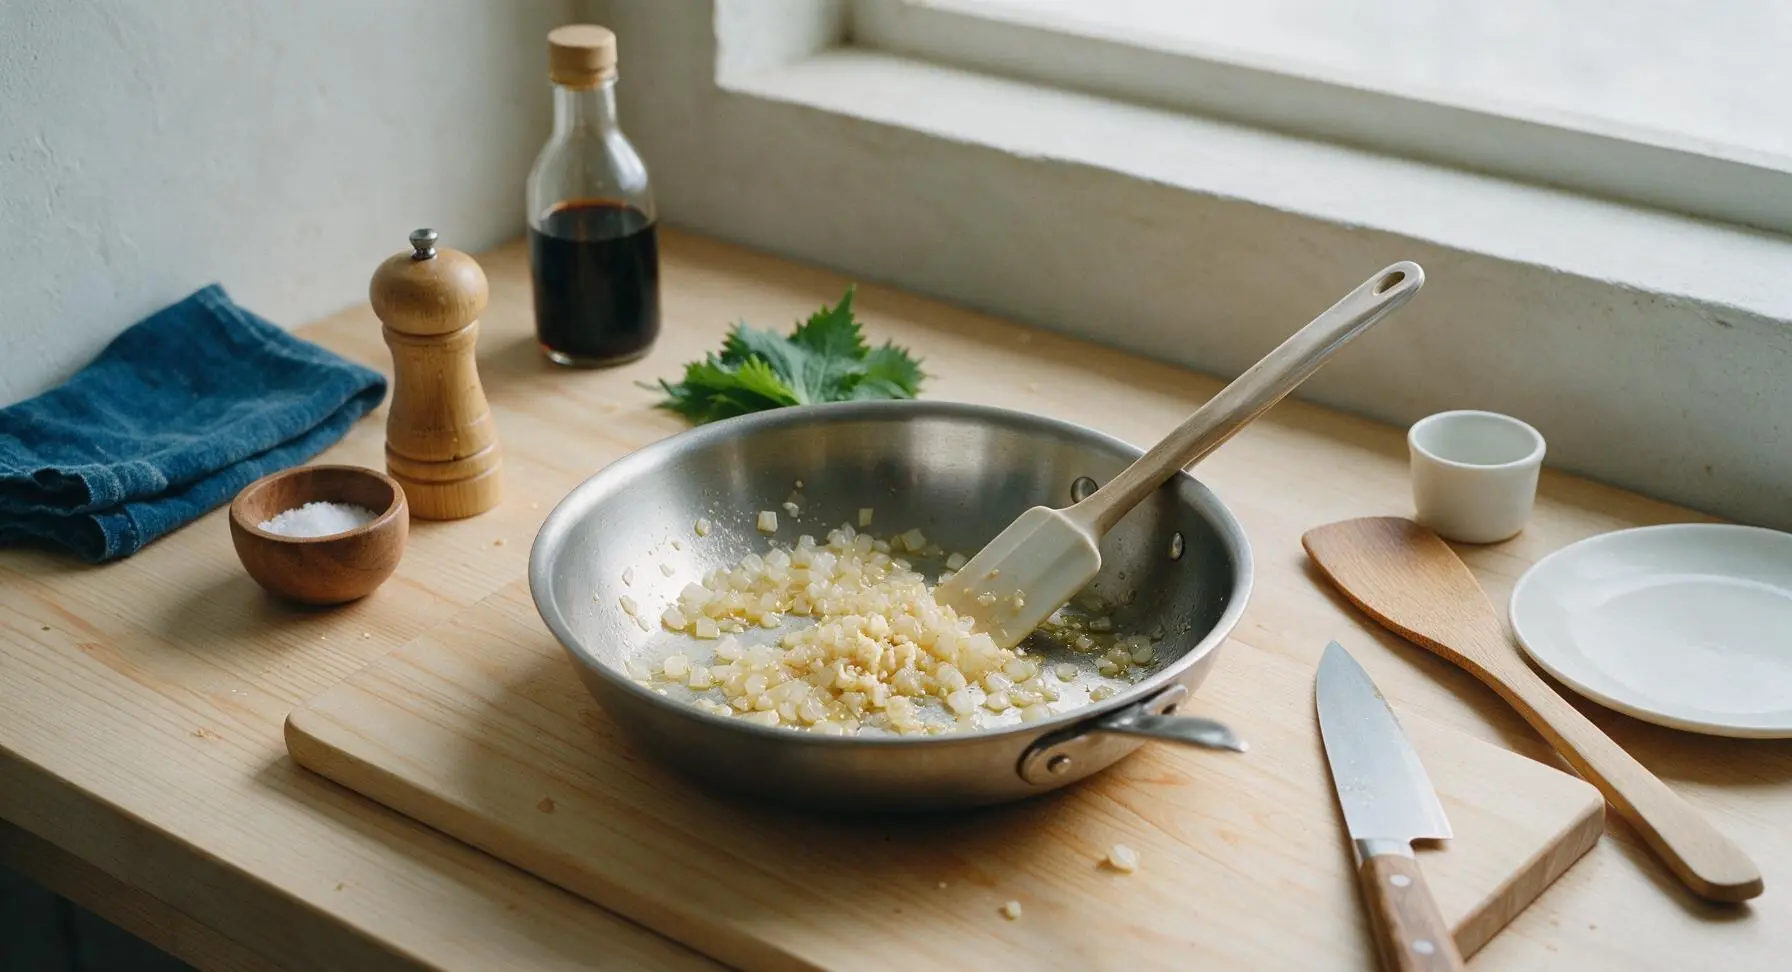
Pull the 10-inch stainless steel skillet from the right back shelf to the center counter. Heat the remaining 2 teaspoons of olive oil in the skillet over medium heat. Dice the small yellow onion on the oak cutting board using the chef's knife, add to the heated skillet, and cook for 3 minutes until soft and translucent. Mince the two garlic cloves, add to the skillet, and cook for 30 seconds until fragrant, stirring constantly with the silicone spatula to avoid burning the garlic.
Step 3
step3:Sauté Onion and Garlic
Step 3
step3:Sauté Onion and Garlic
4

Mix Bean Filling Base

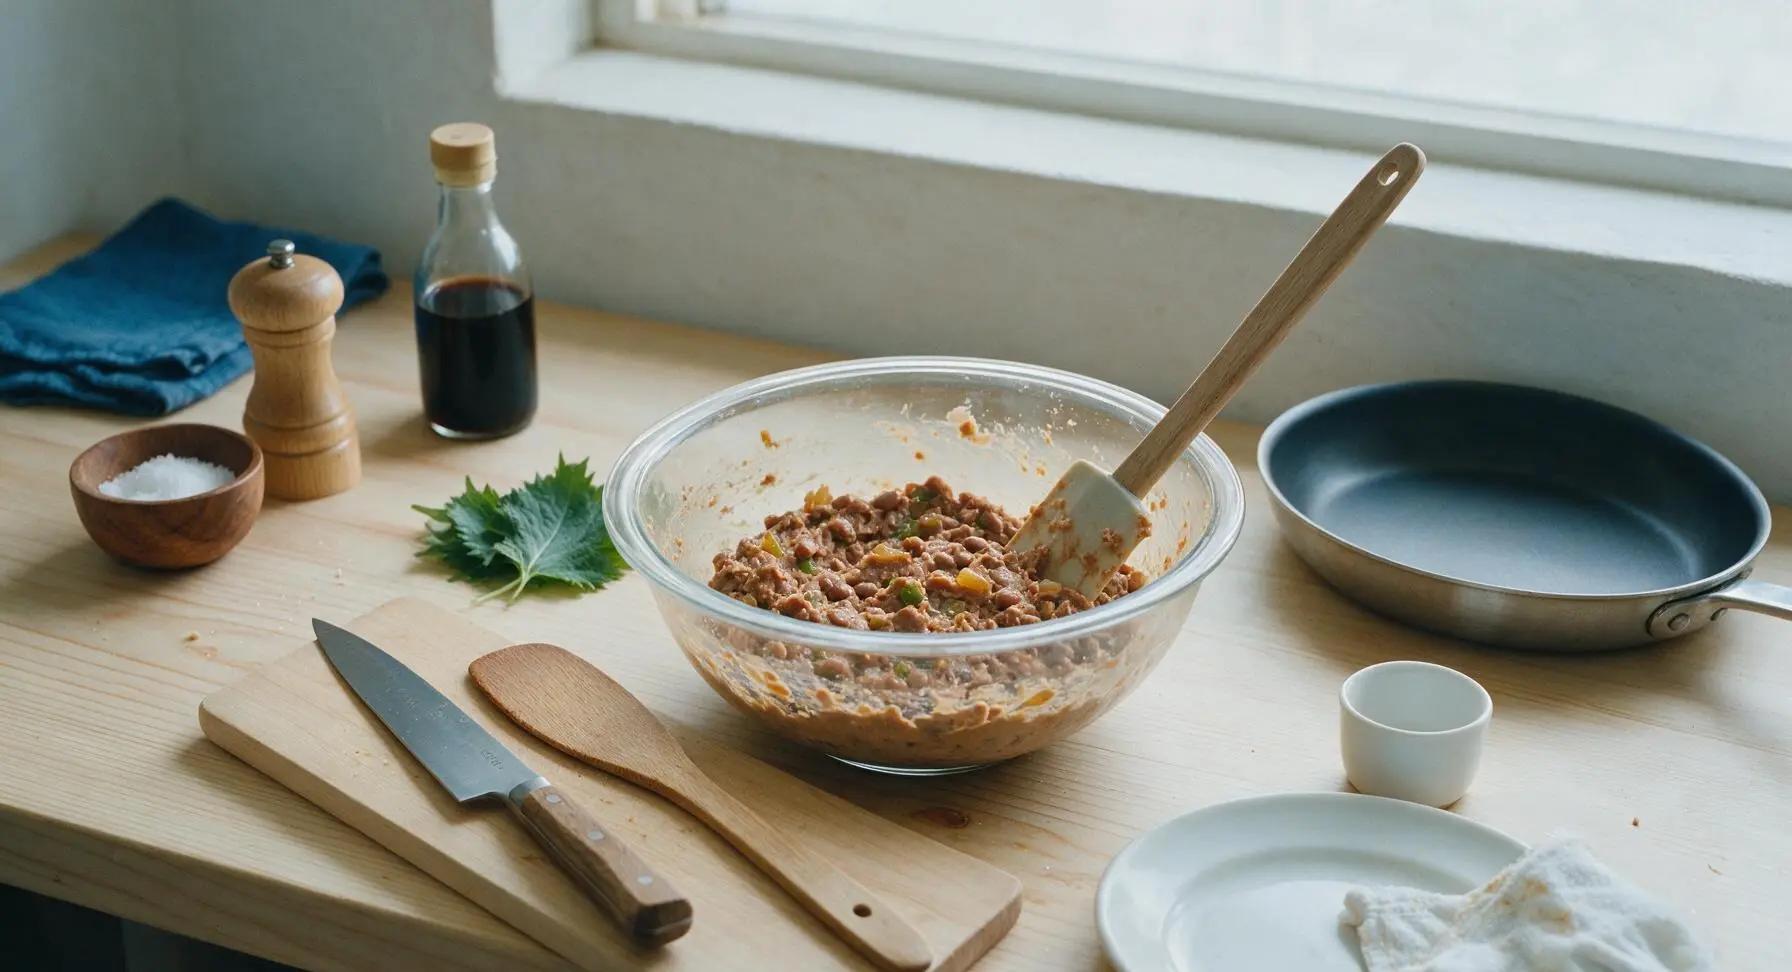
Transfer the sautéed onion and garlic from the skillet to the large clear glass mixing bowl. Add both 15oz cans of refried beans, the drained 4oz can of diced green chiles, 2 tablespoons taco seasoning, 1 teaspoon kosher salt, and ½ teaspoon black pepper. Stir thoroughly with the silicone spatula until completely combined into a smooth, thick, easily spreadable filling.
Step 4
step4:Mix Bean Filling Base
5

Layer Casserole Components

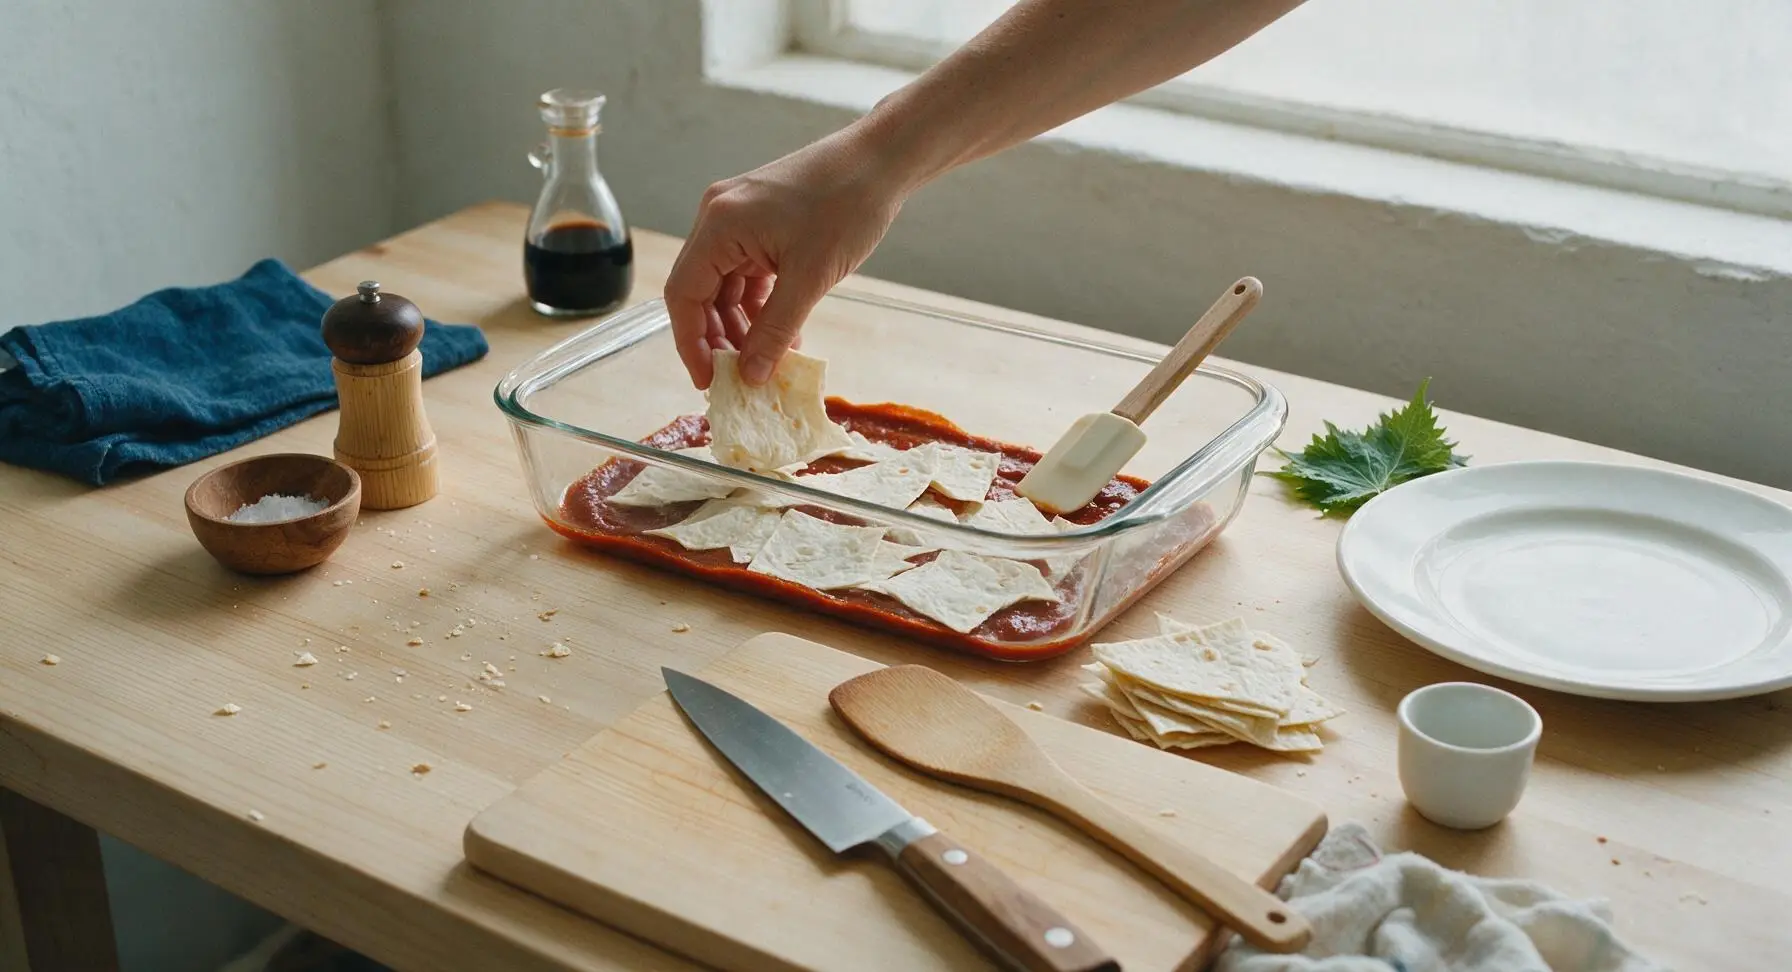
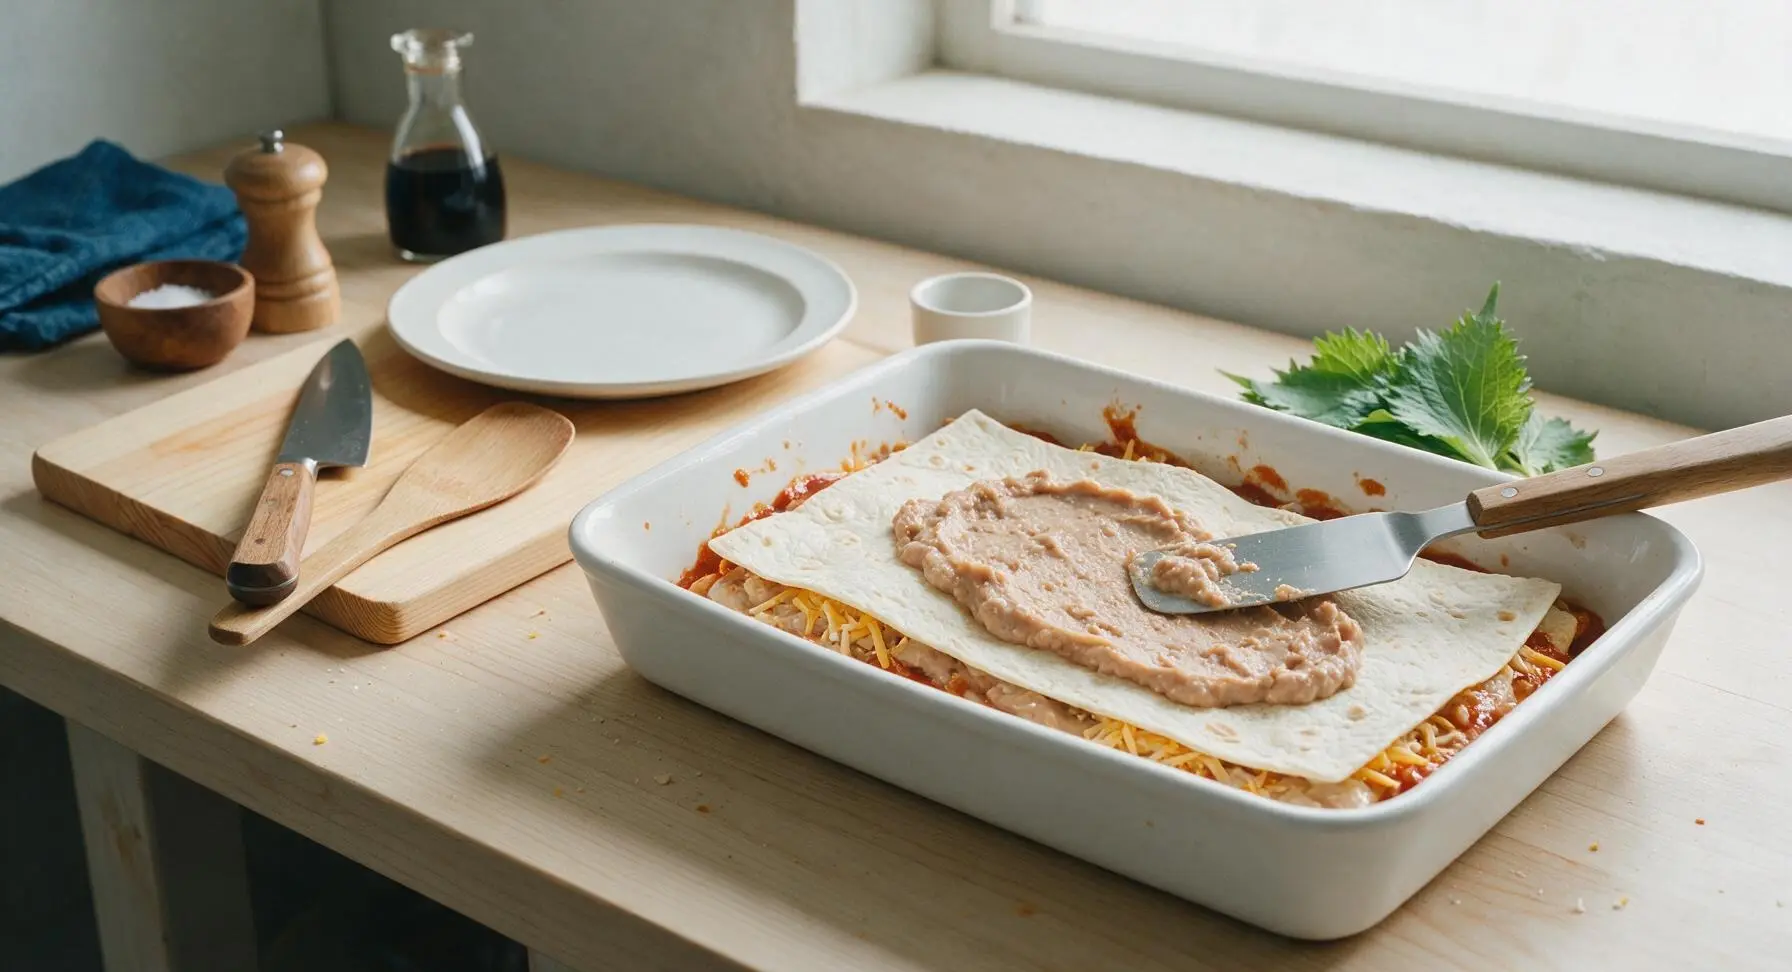
Spread ¼ cup of red enchilada sauce across the bottom of the oiled 9x13 baking dish. Arrange a single layer of flour tortillas over the sauce, tearing tortillas as needed to fully cover the dish base (approximately 1.5 tortillas per layer). Spread ⅓ of the bean filling evenly over the tortillas with the silicone spatula, top with ½ cup of shredded cheddar cheese, and drizzle with ¼ cup enchilada sauce. Repeat this layering sequence (tortillas, beans, cheese, sauce) two more times for three full bean layers, finishing with a final top layer of tortillas.
Step 5
step5:Layer Casserole Components
Step 5
step5:Layer Casserole Components
6

Top and Bake Casserole

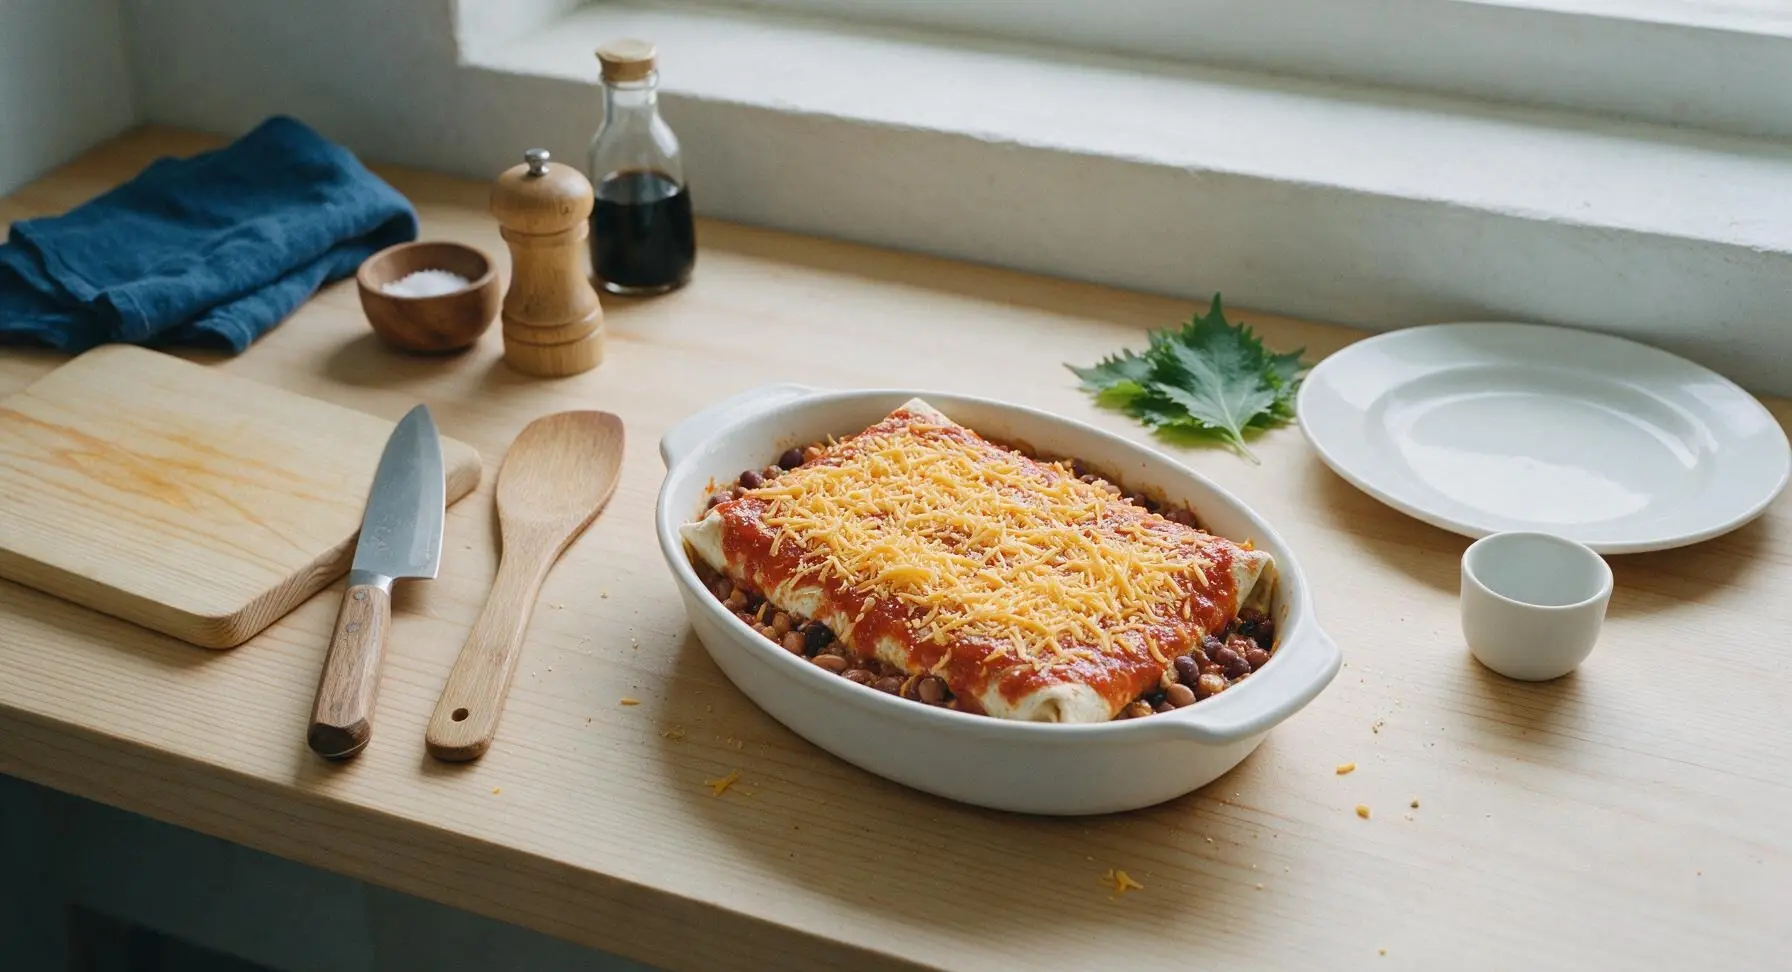
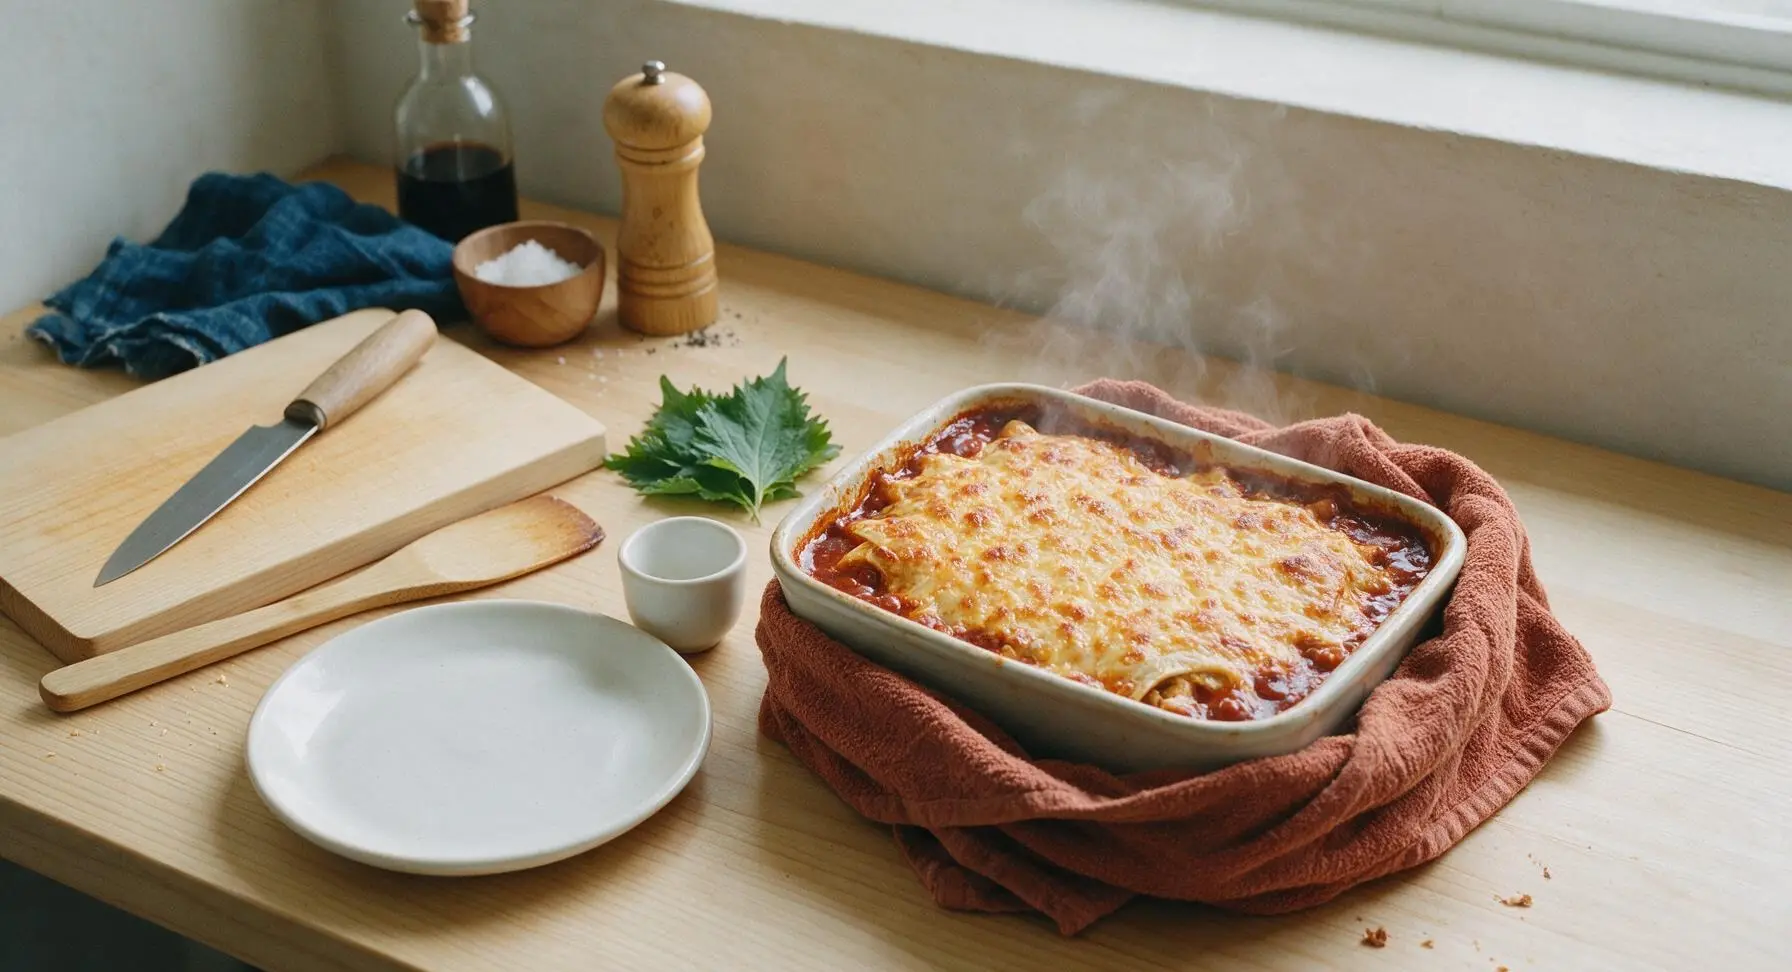
Pour the remaining enchilada sauce over the final top tortilla layer, spreading it evenly to coat every tortilla edge to prevent burning during baking. Sprinkle the remaining 1 cup of shredded cheddar cheese evenly over the sauced top. Carefully place the baking dish in the preheated 375°F (190°C) oven, and bake for 25-30 minutes, until the cheese is fully melted, bubbling around the edges, and light golden brown across the top.
Step 6
step6:Top and Bake Casserole
Step 6
step6:Top and Bake Casserole
7

Rest, Garnish, Serve

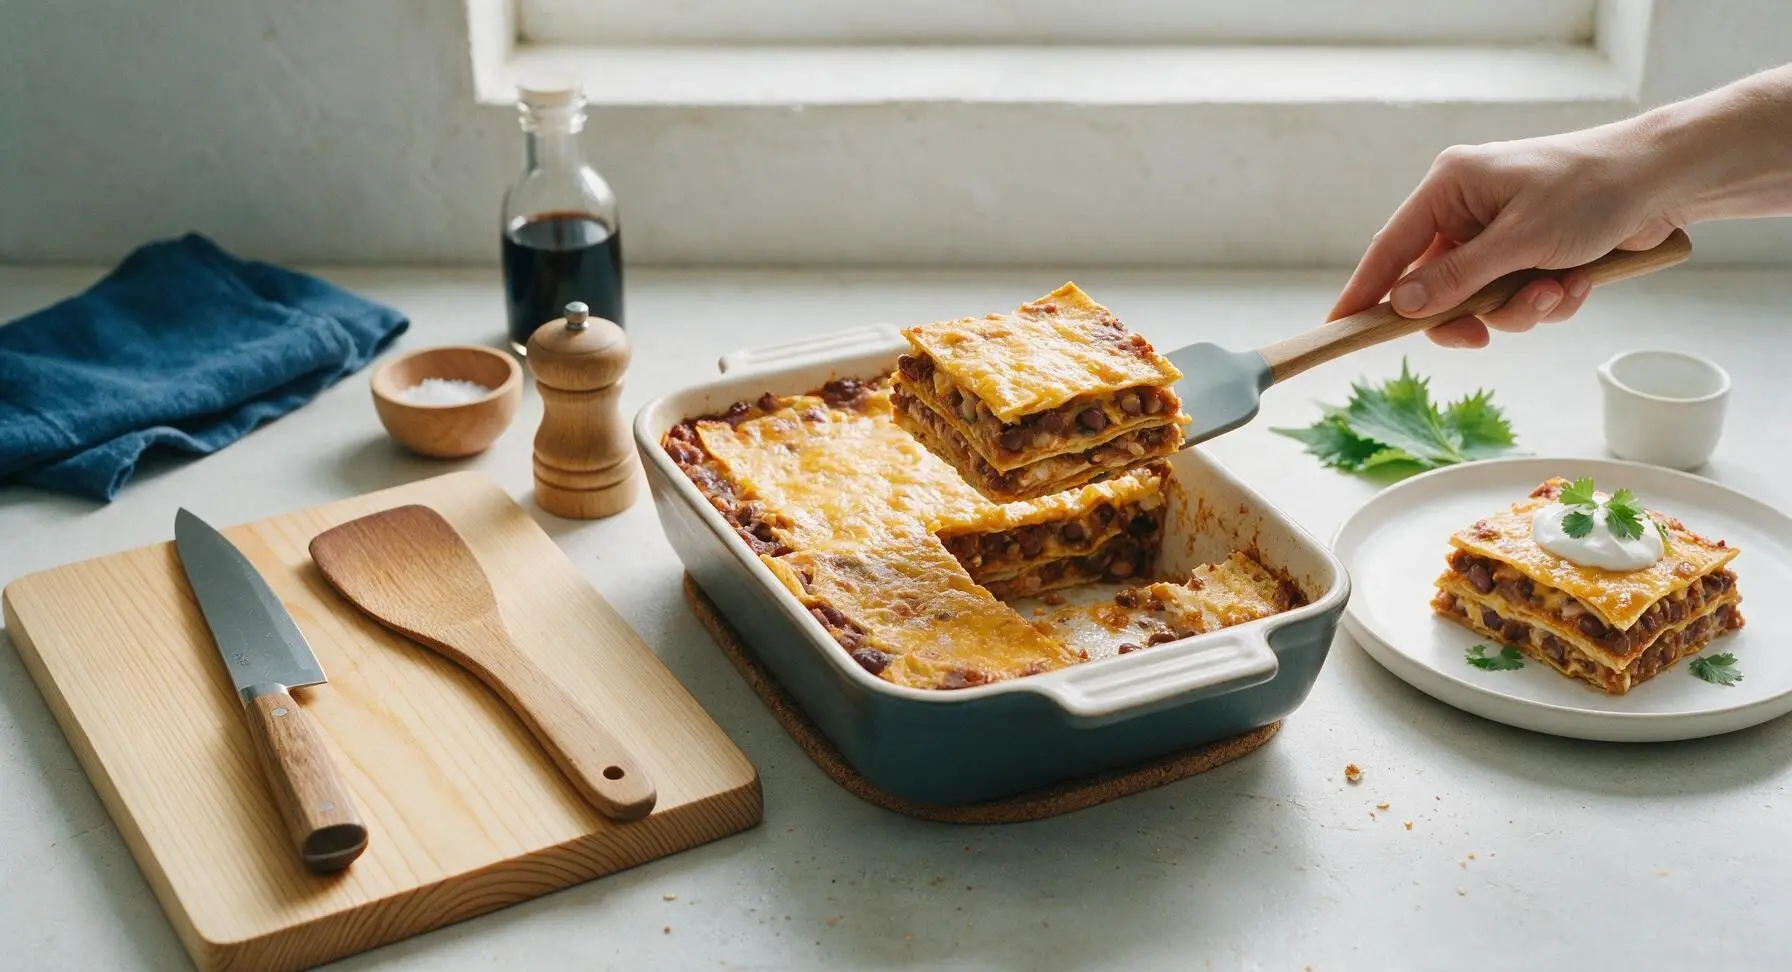
Allow the hot casserole to rest for 10 minutes at room temperature after removing from the oven—this helps the layers set so slices hold their clean shape when cut. Cut into 6 equal square portions, lift each portion with the spatula onto a matte off-white dinner plate, top with a dollop of sour cream and a sprinkle of fresh chopped cilantro before serving.
Step 7
step7:Rest, Garnish, Serve

Tips

1.Warm tortillas for 10 seconds in the microwave before layering to make them more pliable, preventing cracking or tearing as you arrange them to cover the dish base for even, intact layers.
2.Don't skip the 10-minute rest period after baking: cutting into the casserole immediately will cause hot, melted cheese and runny bean filling to spill out, resulting in messy slices that won't hold their shape.
3.Customize the filling to your taste: add 1 cup of cooked ground beef or shredded chicken for extra protein, or toss in sliced black olives, diced bell peppers, or pickled jalapeños for added flavor and texture without extra prep time.


✨ You May Also Like

Main Course
🍜 United Kingdom

A showstopping classic of tender seared beef, savory mushroom duxelles, and crisp prosciutto wrapped in flaky golden puff pastry, baked to juicy perfection.

⏱️ 2 hours 1Main Course ★ 4.7
Main Course
🍜 India

Tender charred marinated chicken simmered in a rich, spiced creamy tomato sauce, this iconic Anglo-Indian curry pairs perfectly with basmati rice or warm naan.

⏱️ 50 minuteMain Course ★ 4.6
Main Course
🍜 Thailand

Classic tangy, sweet, and savory Thai stir-fried rice noodles with shrimp, tofu, and crunchy garnishes, balancing all five core Thai flavor profiles.

⏱️ 30 minuteMain Course ★ 4.5
Main Course
🍜 United Kingdom

Crispy golden beer-battered cod and fluffy double-fried chips, served with tangy tartar sauce and malt vinegar: the timeless, beloved British pub comfort classic.

⏱️ 45 minuteMain Course ★ 4.7
Main Course
🍜 Mexico

Smoky, chile-marinated pork tacos with caramelized pineapple, fresh cilantro, and lime: a beloved classic Mexican street food perfect for casual summer gatherings.

⏱️ 1 hour 45Main Course ★ 4.8
Main Course
🍜 United States

Crunchy Fritos corn chips layered with savory beef chili and melted cheddar, topped with cool, zesty fixings for a beloved, cozy Tex-Mex comfort food.

⏱️ 35 minuteMain Course ★ 4.8

bean and cheese burrito casserole:Frequently Asked Questions

1.Can I prep this Bean and Cheese Burrito Casserole ahead of time for busy weeknights? ▾
Absolutely! Assemble the full layered casserole, cover tightly with plastic wrap, and store it in the fridge for up to 2 days before baking. When you’re ready to cook, remove the plastic, cover with foil, and add 8–10 minutes to the standard bake time to account for chilled ingredients, until the center is hot and bubbly.
2.What if I don’t have low-sodium canned refried beans for the recipe? ▾
No problem at all. If you only have regular canned refried beans, skip adding any extra salt to the dish entirely, and stir in the drained mild diced green chiles before giving the beans a quick taste. If they taste extra salty, mix in 1 tablespoon of plain sour cream to mellow the salt level without ruining the classic creamy texture.
3.Can I add extra protein to this casserole to make it more filling? ▾
Definitely! Great mix-in options include 1 cup of seasoned cooked ground beef or turkey, shredded rotisserie chicken, or crumbled cooked chorizo, spread in thin layers between the tortillas, beans, and sharp cheddar. Just be sure any added protein is fully cooked first, as the bake time only melts cheese and heats pre-cooked ingredients through.
4.How do I keep the flour tortillas from getting soggy as the casserole bakes? ▾
Two simple tricks prevent soggy 10-inch flour tortillas: First, spread a thin layer of mild red enchilada sauce on the baking dish bottom before adding the first tortilla, and avoid dousing layers in excess sauce. You can also lightly toast tortillas in a dry skillet for 30 seconds per side first to build a subtle crisp barrier against moisture.
5.Can I freeze leftover Bean and Cheese Burrito Casserole for later meals? ▾
Yes, this casserole freezes beautifully! Let fully baked leftovers cool completely, then portion into airtight freezer-safe containers, or wrap the whole uncut baking dish tightly in two layers of plastic and one layer of foil. It keeps for up to 3 months; thaw overnight in the fridge before reheating in a 350°F oven until warm.
6.What easy, tasty toppings pair well with this finished casserole? ▾
The mild, cozy flavor of this bake—boosted by subtle warmth from the included mild green chiles—pairs perfectly with bright, fresh toppings added right after it comes out of the oven. Top individual servings with a dollop of sour cream, diced fresh tomato, sliced avocado, chopped cilantro, a squeeze of lime, or pickled jalapeños for extra zesty heat if you want it.

Comments (11)

2 days ago

OMG this was such a game changer for our weekly taco night! I was so tired of rolling individual burritos for my three kids, and this casserole took all the hassle out. 30 minutes total, no fancy ingredients, and every single kid asked for seconds. SO good, I’m already adding this to our regular dinner rotation!

yesterday

Made this last night after work when I realized I forgot to plan dinner. Threw it together with stuff I already had in the pantry – canned refried beans, shredded cheese, leftover flour tortillas, a little taco seasoning. Whole family devoured it, even my super picky 7 year old. Only note: I added a handful of crushed tortilla chips on top for crunch, chef’s kiss.

2 hours ago

So glad this worked out for your last-minute dinner! Love the crushed tortilla chip topping idea – that adds such a great textural contrast, I’ll have to try that next time I make it. Thanks for the tip!

1 week ago

Brought this to our neighborhood block party potluck this past weekend and it was GONE in 10 minutes flat! People kept coming up to ask for the recipe, I lost count of how many times I had to send them the link. I added a layer of seasoned ground beef because I had some to use up, and it worked perfectly. So easy to transport too, no messy spills!

5 days ago

Wait did you bake it first then transport? I’m making this for my office potluck next week and I’m nervous about it getting soggy on the drive!

3 days ago

Great question! If you’re transporting it, I recommend baking it 90% of the way at home, then popping it in the oven at your destination for the last 5 minutes to melt the top cheese – that keeps it from getting soggy on the drive. So stoked it was a hit at your block party!

3 days ago

This is my new go-to Sunday meal prep! I cut it into 6 even slices, pop them in individual meal prep containers, and they reheat perfectly in the microwave for work lunches all week. Saves me so much money instead of grabbing takeout burritos every day. I mix in a little diced green chile for a tiny kick, so good.

2 days ago

Oh the diced green chile addition sounds amazing! How long do these stay good in the fridge for? I want to try prepping these too instead of buying my usual sad work salads.

30 minutes ago

As a college student with barely any cooking skills and a tiny dorm oven, this was perfect! Super easy, only a few cheap ingredients, didn’t require any fancy equipment. My roommates all thought I was a culinary genius when I pulled this out of the oven. 10/10, will make every week when my meal plan runs low.

2 weeks ago

I’ve been making a version of this for my grandkids for 40 years, but I tried your recipe last Sunday when they came over and it was even better than mine! The tip to layer the tortillas with a little bit of cheese between each layer made all the difference, no dry spots anywhere. Even my oldest grandson, who’s in college now, asked for the recipe to take back to his apartment.

1 week ago

Aww that’s so sweet! I’ve been making an old family version too, I’m definitely going to try that cheese between layers trick – mine always has random dry spots in the middle, that makes total sense!

1 week ago

That means the world coming from someone who’s been making this for decades! The cheese layer trick is one I picked up from my own abuela growing up, it really locks in the moisture. So glad your grandkids loved it!

5 minutes ago

Solid base recipe! I gave it 4 stars because I wish it had a little more built-in flavor, but it’s super easy to customize. I added pickled jalapeños, a drizzle of hot sauce, a sprinkle of cotija cheese, and a dollop of sour cream on top when serving, and it hit the spot. Perfect weeknight dinner when you don’t want to spend hours in the kitchen.

just now

Thanks for the honest feedback! You’re totally right that this is designed to be a customizable base – those pickled jalapeños and cotija add-ins sound incredible. I’m actually testing a spicier version of the recipe for next month that includes diced jalapeños baked right in, so keep an eye out for that!

2 hours ago

Ran across this recipe on a random scroll last night and decided to make it for dinner tonight – total home run! My husband and two kids devoured it, and I loved that I didn’t have a million dishes to clean up afterwards. We topped ours with guac and pico de gallo, it tasted just like the burritos from our favorite local taqueria but way cheaper.

1 hour ago

Wait how many dishes did you end up using? I hate recipes that require 5 different bowls and pans, I’m always looking for low-cleanup meals for school nights!

30 minutes ago

So happy you loved it! This recipe only uses one baking dish and a small bowl to mix the beans, so cleanup is super minimal – perfect for those chaotic school nights. The guac and pico topping combo sounds chef’s kiss!

5 days ago

Swapped the regular refried beans for black beans and added sautéed bell peppers, onions, and corn to make this veggie forward, and it turned out amazing! Even my meat-obsessed brother didn’t notice there was no ground beef in it. So versatile, you can really toss in whatever veggies you have sitting in the fridge and it works.

2 weeks ago

Made this for my son’s soccer team dinner after practice last week, and all the boys were raving about it! I doubled the recipe because teenage boys eat like crazy, and there were barely any leftovers. It’s so quick to throw together even on nights when we have practice straight from school and only 45 minutes to get dinner on the table.

1 week ago

Oh this is perfect! I’ve been stressing about what to make for our team’s pre-game dinner next week, I was worried something like this would take too long. Doubling the recipe is a great call, those boys can put away so much food!

yesterday

Total budget win! I added up the cost of all the ingredients and it came out to under $10 total for 6 servings – that’s less than $2 a serving! Way cheaper than getting takeout, and it’s filling enough that you don’t need a bunch of sides. I added a little taco sauce on top when serving, and it was perfect for a lazy Sunday dinner.

5 hours ago

Wait $10 total? That’s insane! I’ve been trying to cut down on my grocery bill lately, this is going straight to the top of my meal list for next week. Do you use store brand cheese and beans to keep the cost down?

2 hours ago

Love that this works for budget meals! I almost always use store brand beans and cheese when I make this at home – you really can’t tell the difference, and it cuts the cost down so much. It’s one of my favorite cheap, filling meals for busy weeks!



