
bean and cheese wrap

title 1
bean and cheese wrap
⏱️ cook time 8 minutes
🍽️ servings 4
⚡ Difficulty easy

intro

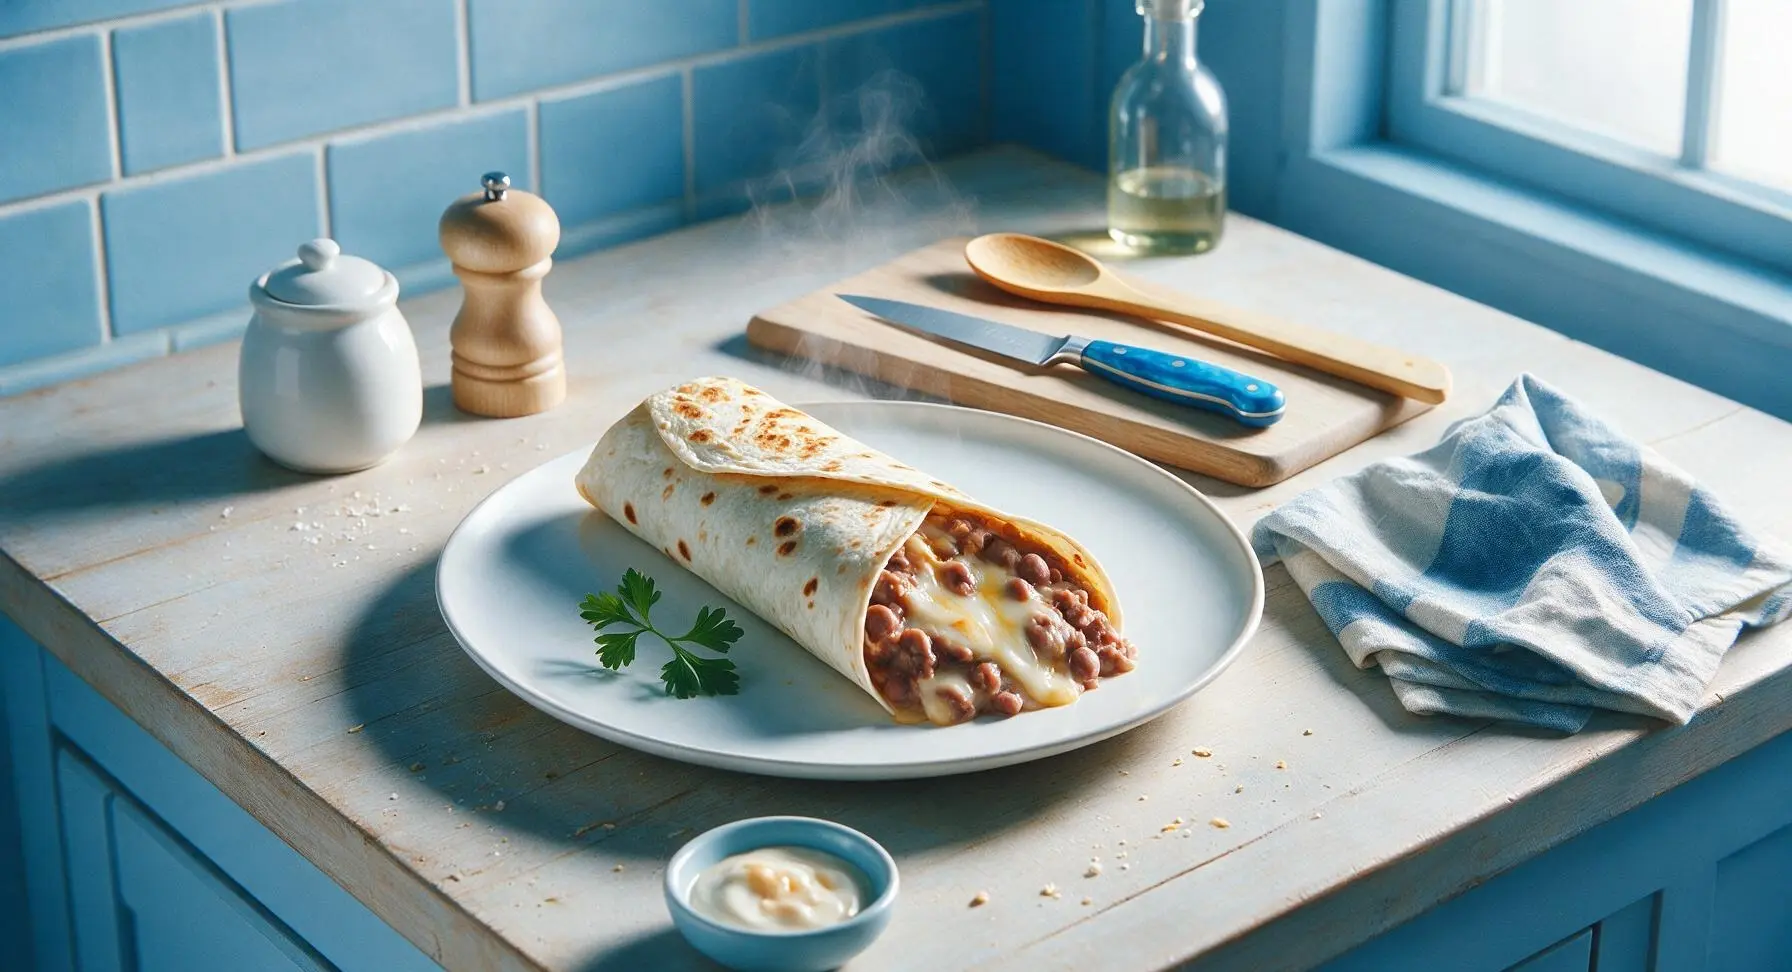
Warm, creamy refried beans and oozing melted cheese tucked into crisp, toasted flour tortillas—this no-fuss wrap comes together in minutes for cozy, satisfying comfort.

Ingredients
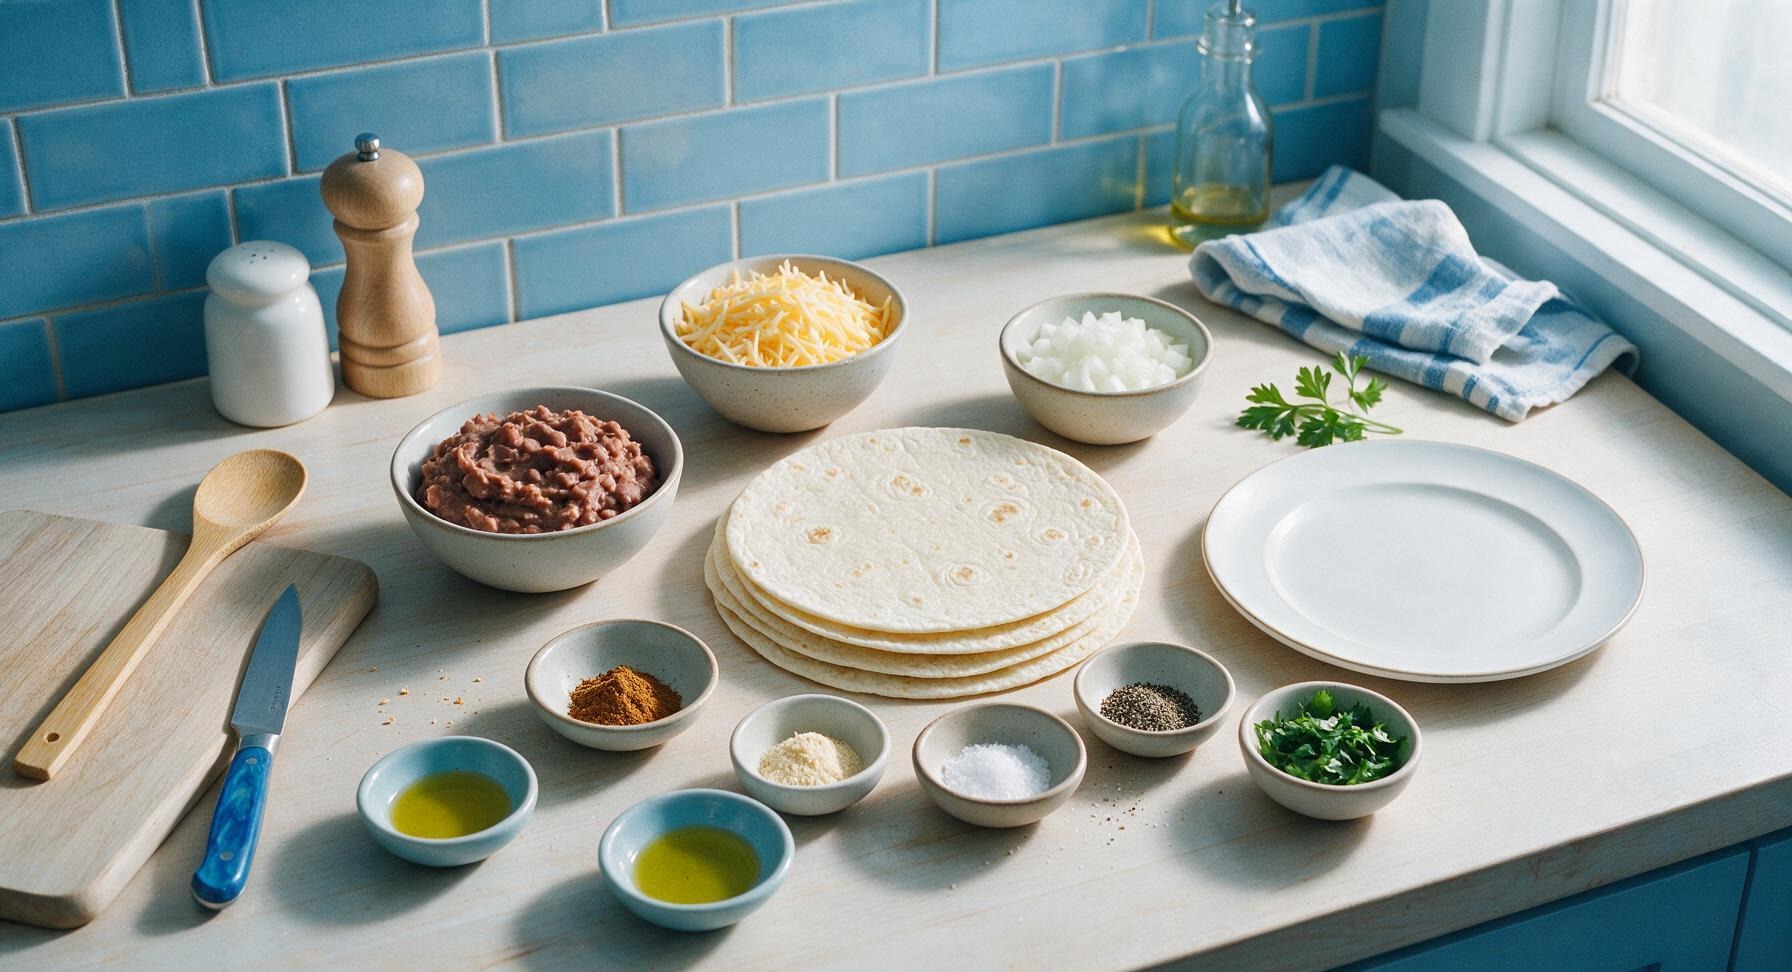
10-inch flour tortillas 4 each
Low-sodium refried pinto beans 16oz (450g)
Shredded Monterey Jack cheese 1 cup (110g)
Diced white onion 1/4 cup (40g)
Ground cumin 1 tsp
Garlic powder 1/2 tsp
Kosher salt 1/4 tsp
Freshly ground black pepper 1/4 tsp
Extra-virgin olive oil 1 tbsp
Fresh cilantro 2 tbsp, chopped

Steps

1

Prep Base Ingredients

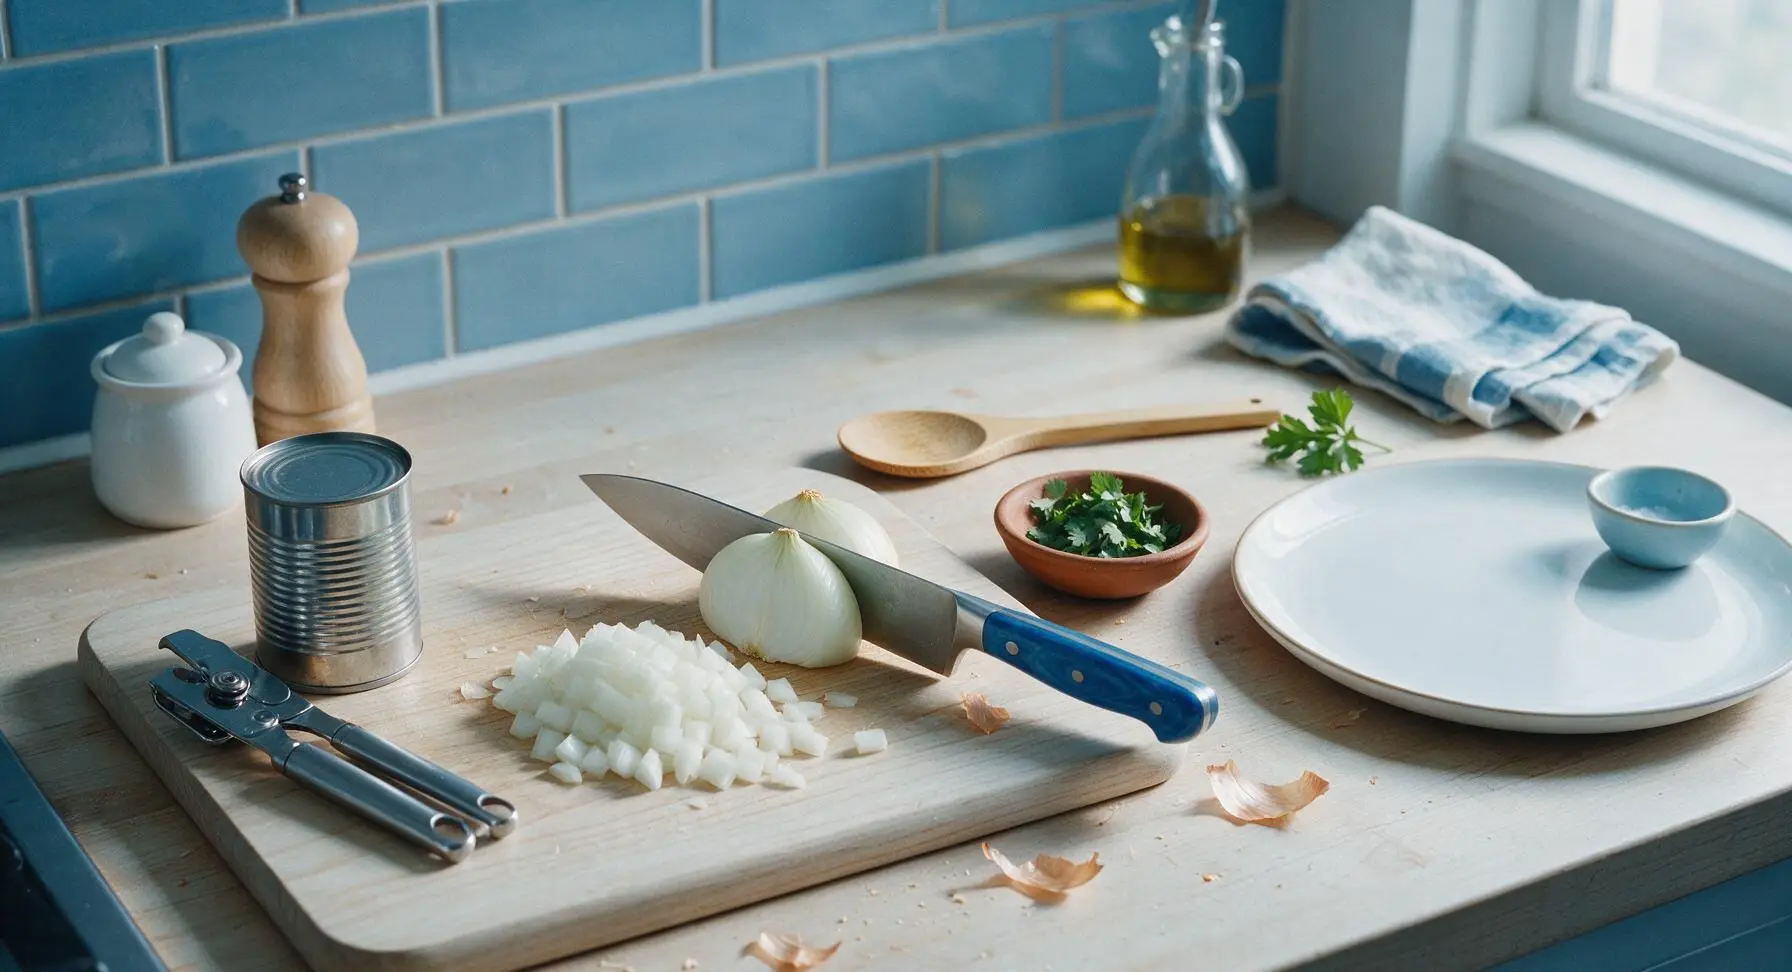
Confirm the light bamboo cutting board is in its fixed center-left position. Use the 7-inch stainless steel chef knife to dice the white onion into uniform 1/4-inch pieces, and roughly chop the fresh cilantro, setting both aside in the small terracotta pinch bowl. Use the stainless steel can opener to remove the lid from the can of refried pinto beans, setting the lid aside for disposal. This prep step takes approximately 3 minutes.
Step 1
step1:Prep Base Ingredients
2

Warm Spiced Bean Filling

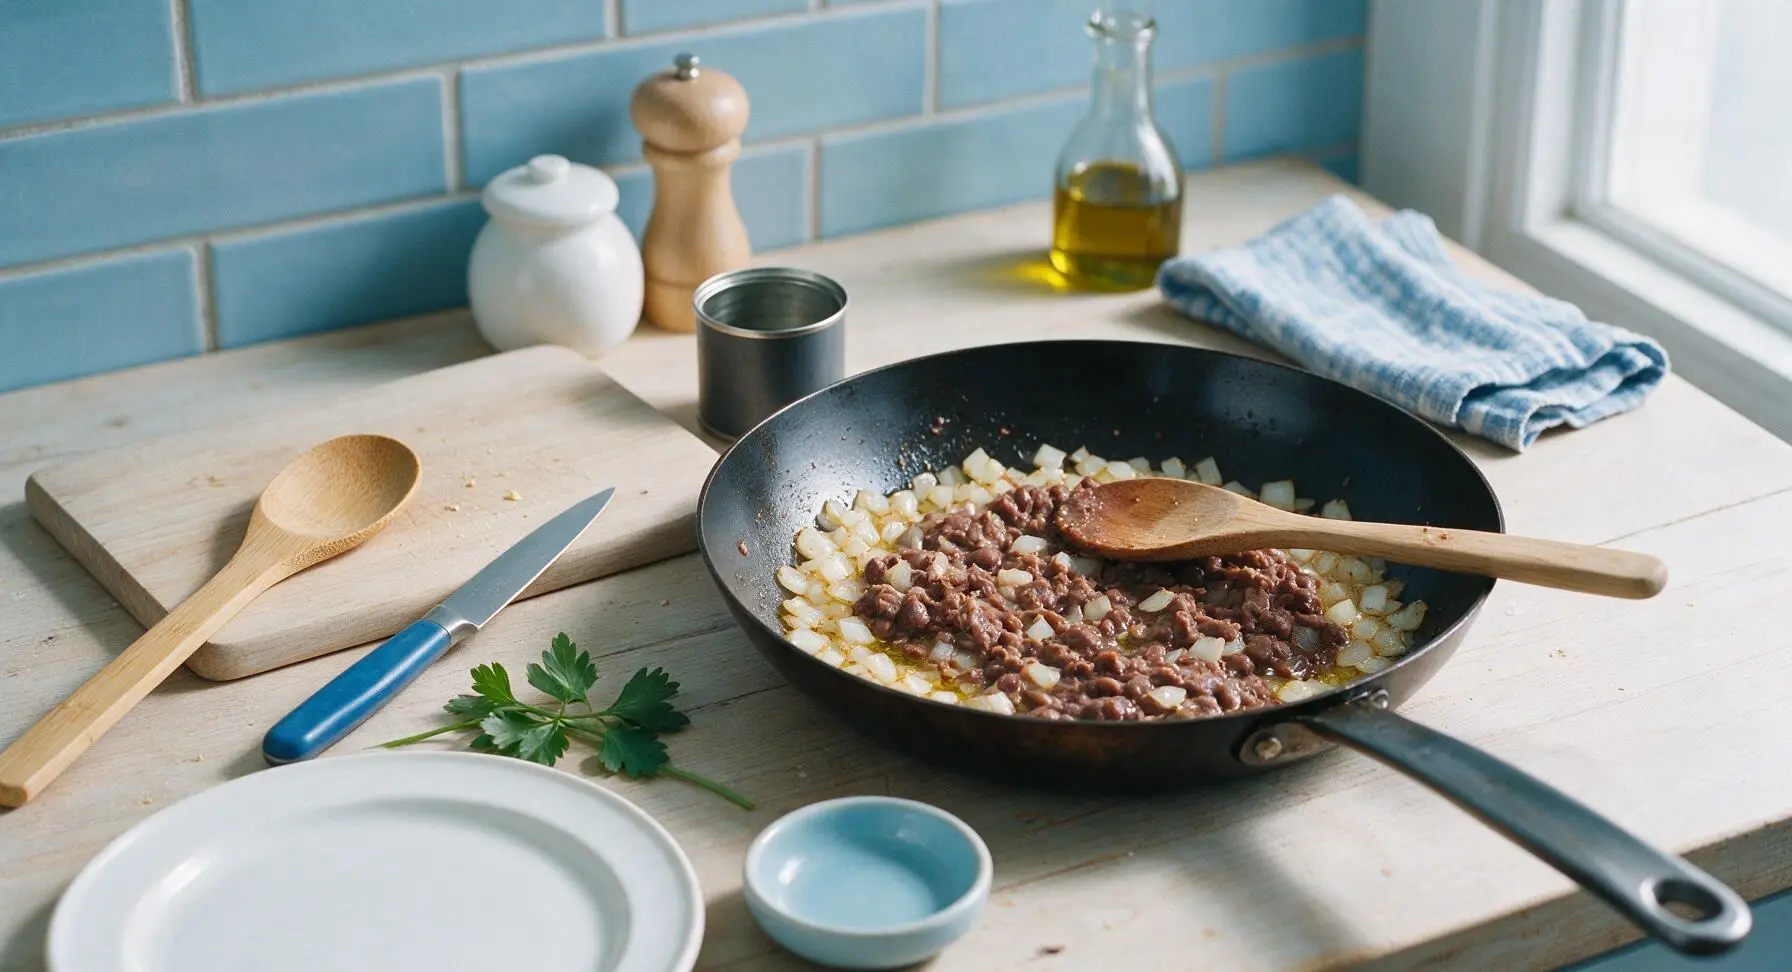
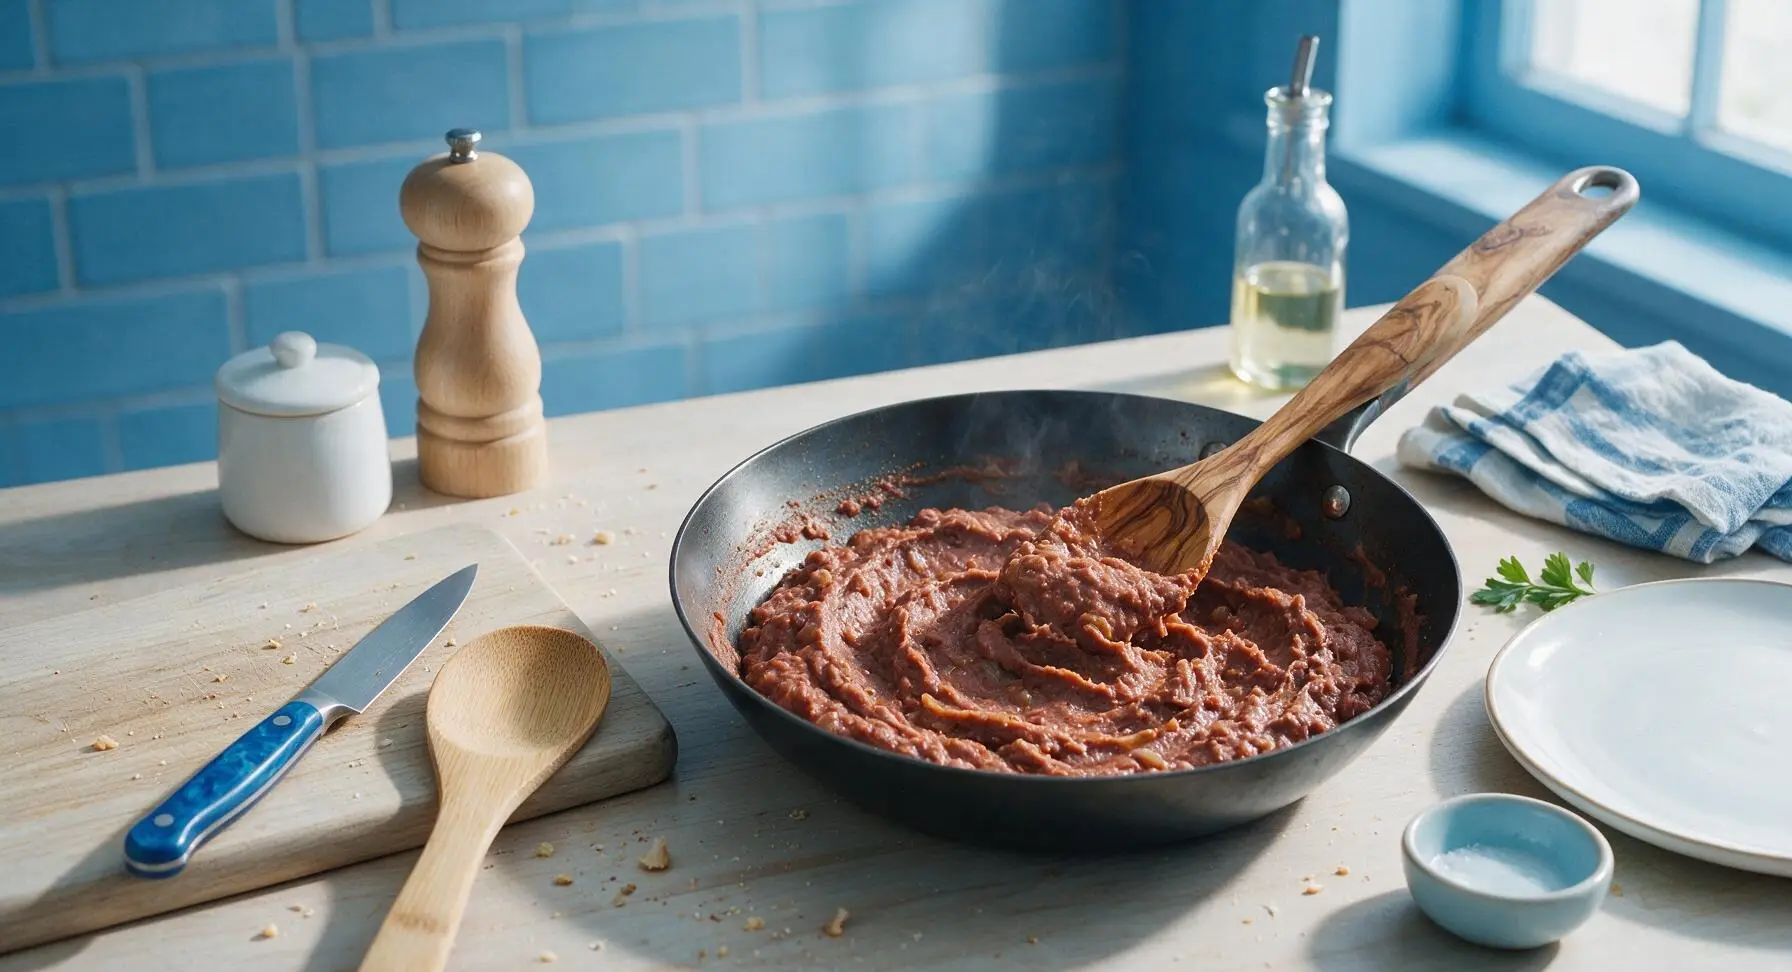
Move the 10-inch non-stick carbon steel skillet from its stored top-right position to the center-right cooking area, heating over medium heat (350°F / 175°C). Add 1 teaspoon of olive oil from the glass bottle, then add the diced white onion. Sauté for 2 minutes until soft and translucent, then pour in the full can of refried pinto beans, 1 teaspoon ground cumin, 1/2 teaspoon garlic powder, 1/4 teaspoon kosher salt, and 1/4 teaspoon freshly ground black pepper. Stir the mixture with the olive wood spoon for 3 minutes until fully heated through, smooth, and fragrant, then turn the heat to the lowest setting to keep warm.
Step 2
step2:Warm Spiced Bean Filling
Step 2
step2:Warm Spiced Bean Filling
3

Warm Tortillas Until Pliable

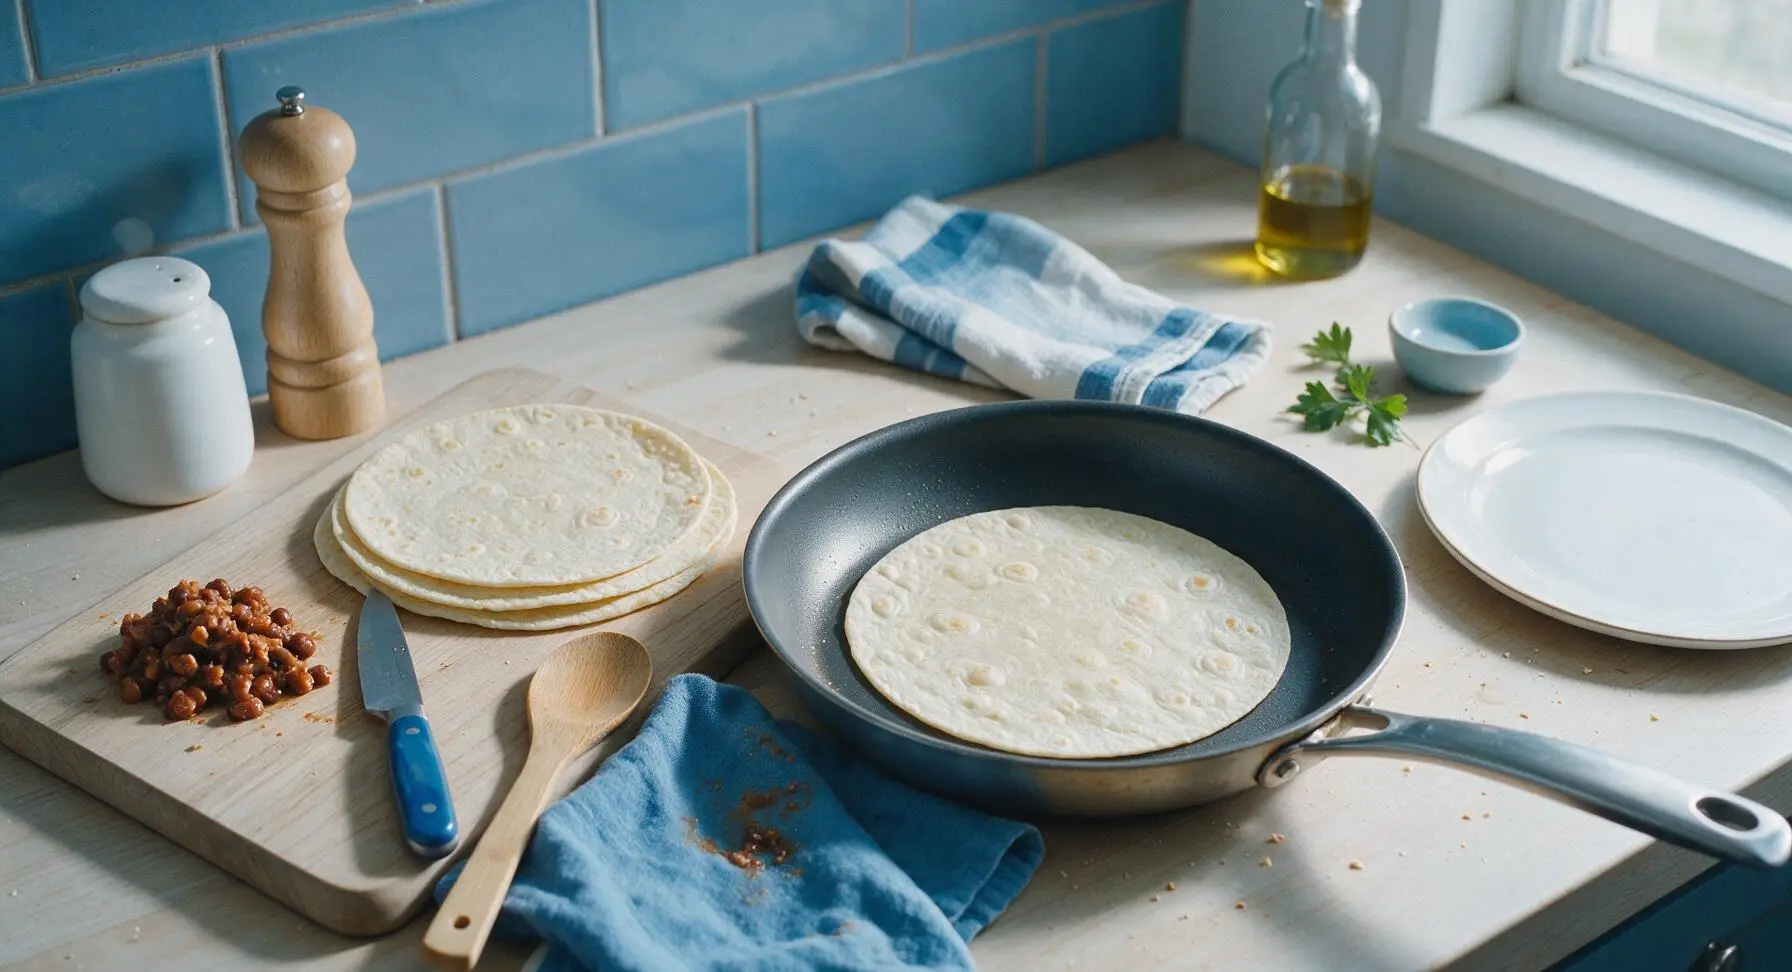
Temporarily transfer the warm bean mixture to a clean corner of the bamboo cutting board. Wipe the skillet lightly with the edge of the sky-blue cotton kitchen towel to remove any bean residue, then return to medium heat. Warm each flour tortilla for 15 seconds per side, until soft and flexible, with tiny faint golden air bubbles forming on the surface. Stack warmed tortillas on a clear spot on the cutting board to keep them soft and prevent drying as you work.
Step 3
step3:Warm Tortillas Until Pliable
4

Layer Filling Evenly

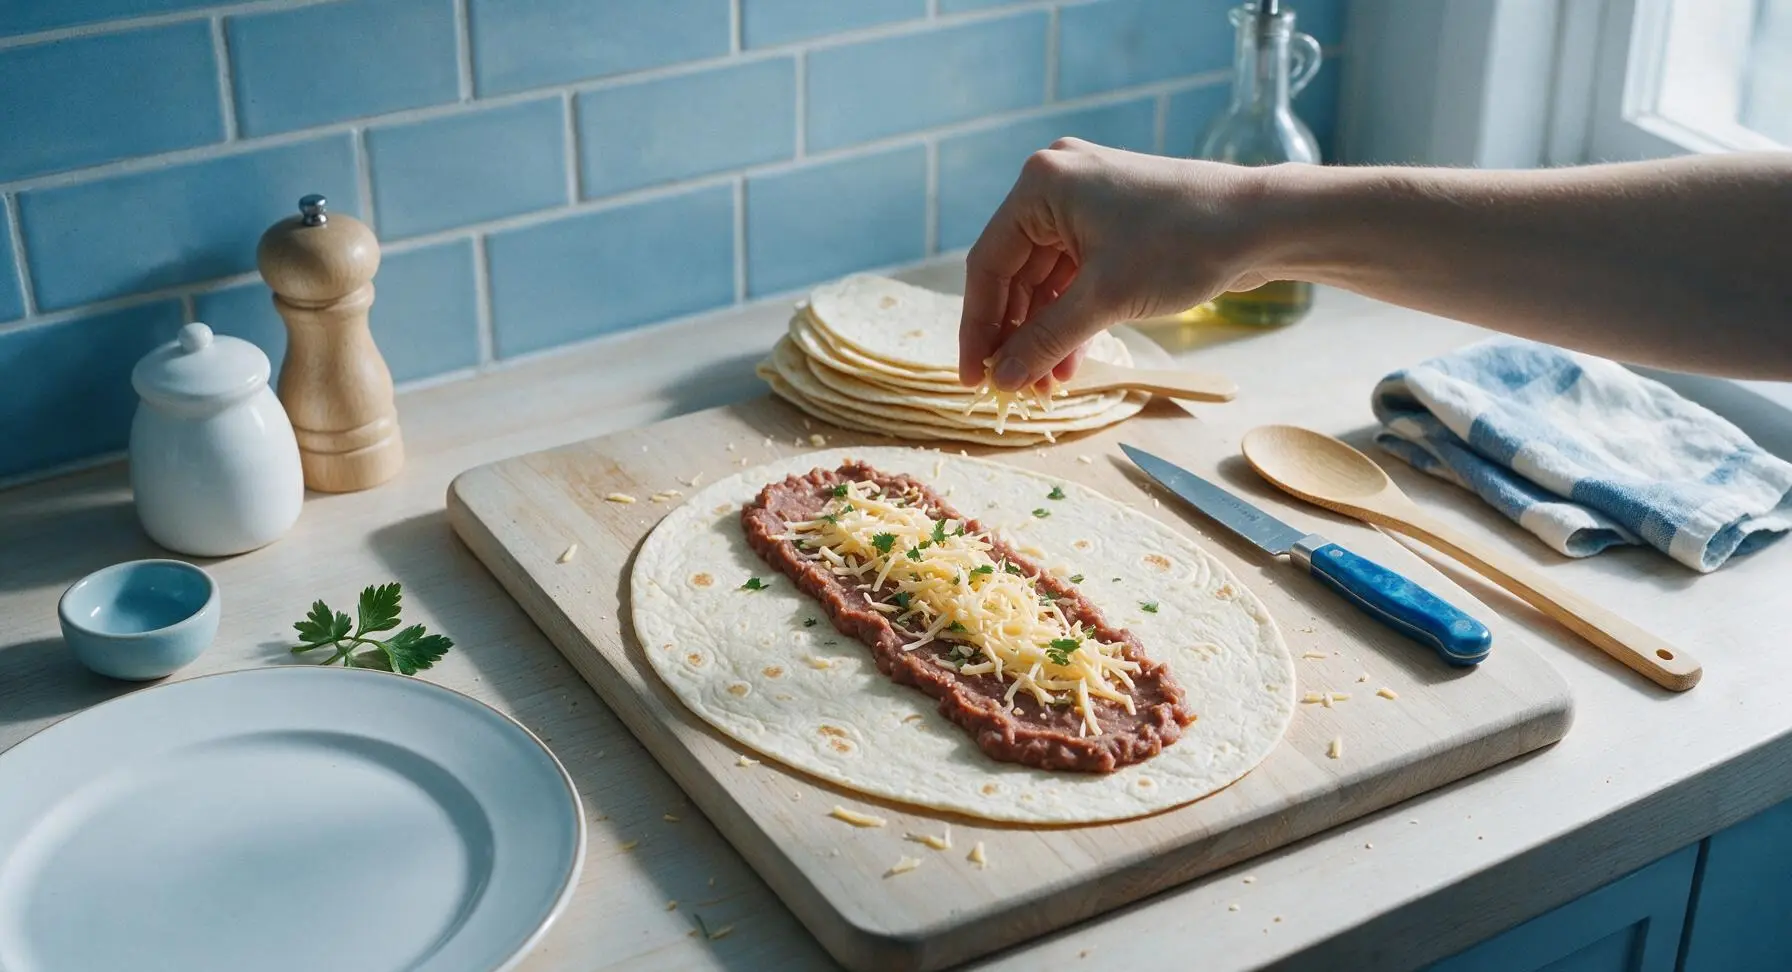
Lay one warm tortilla flat on the center of the bamboo cutting board. Use the olive wood spoon to spread 1/4 of the warm bean mixture in a 2-inch wide strip down the center of the tortilla, leaving a 1-inch empty border at the top and bottom edges. Top the bean strip with 1/4 cup of shredded Monterey Jack cheese, and a light pinch of chopped cilantro. Do not spread filling all the way to the edges, as this will cause leaks during toasting.
Step 4
step4:Layer Filling Evenly
5

Fold and Roll Tightly

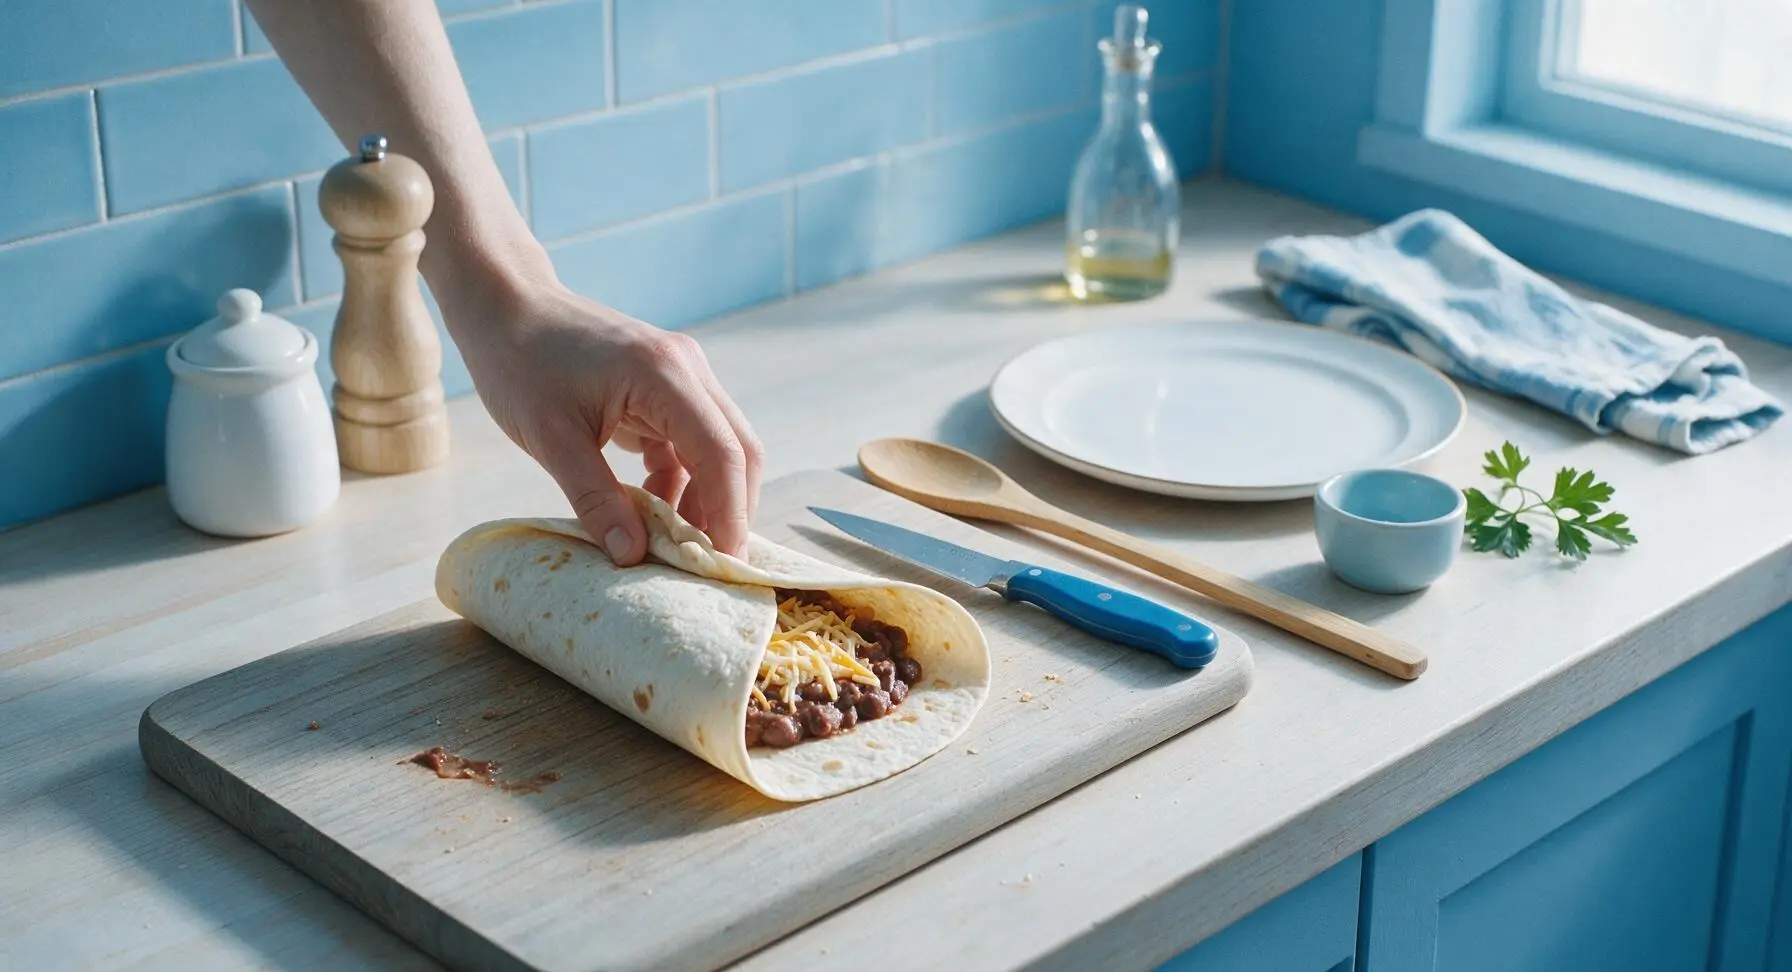
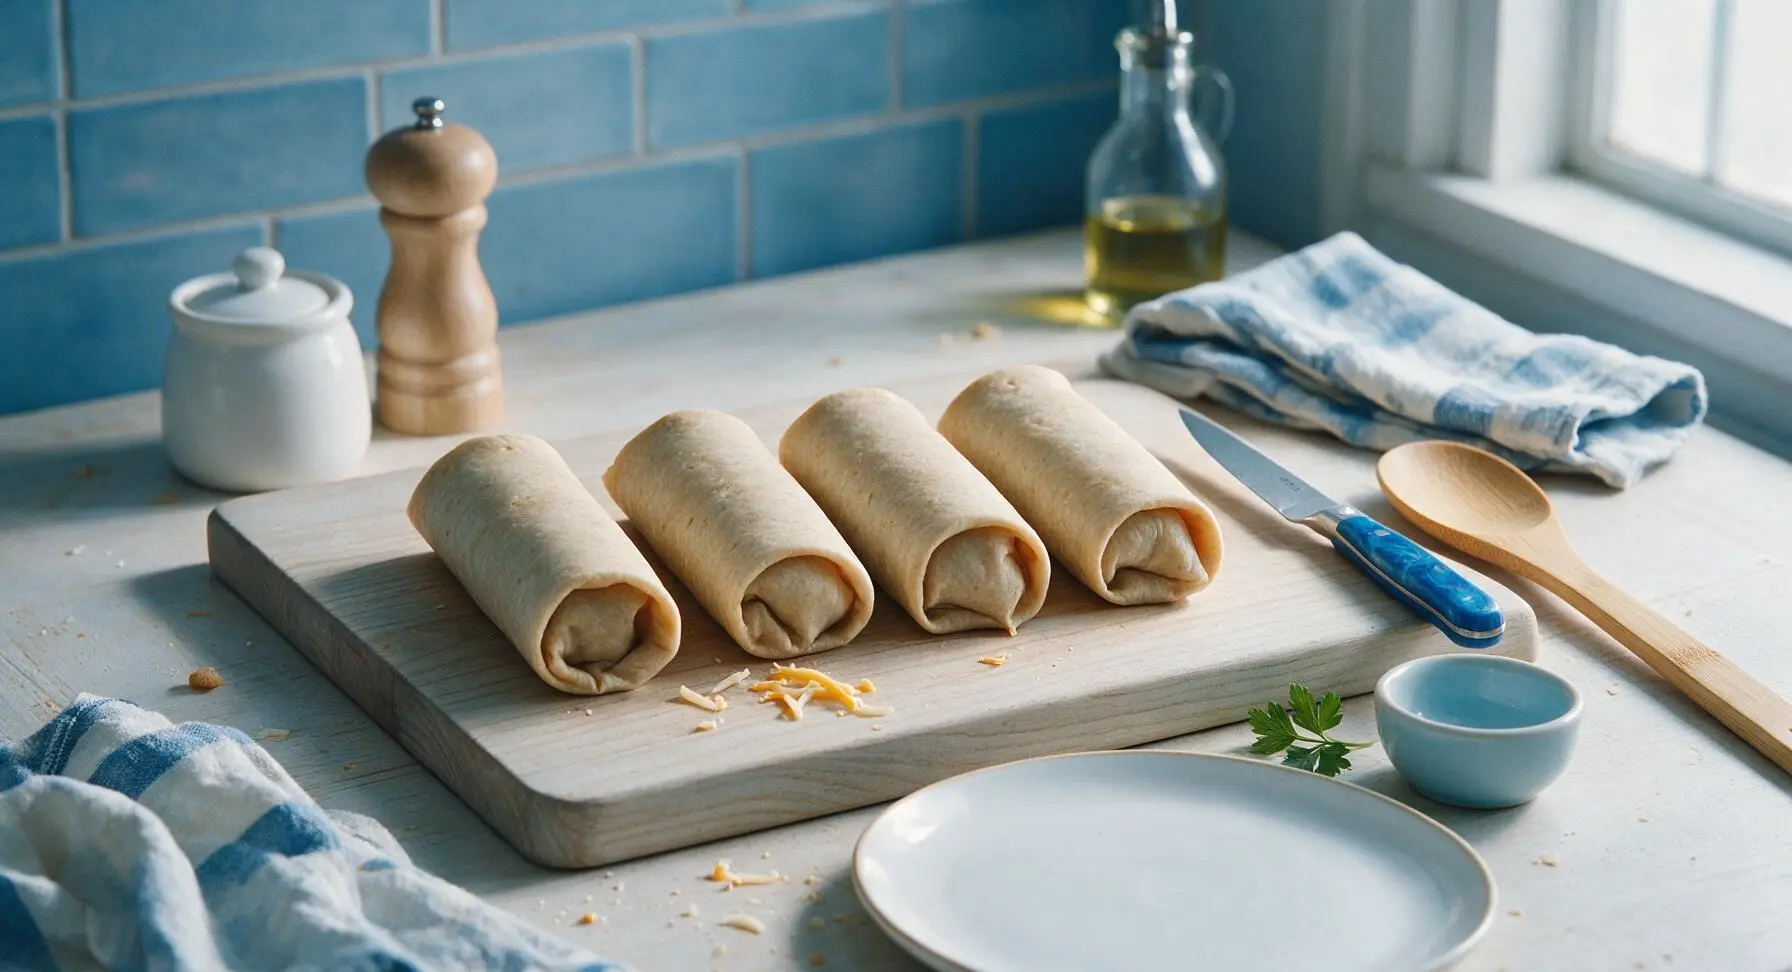
Fold the 1-inch top and bottom borders of the tortilla inward over the filling, then roll the tortilla tightly from one long side to the other, creating a firm, cylinder-shaped wrap. Tuck the edges in firmly as you roll to trap filling inside and prevent leaks. Set the completed wrap seam-side down on the cutting board, then repeat the filling and rolling process for the remaining 3 tortillas.
Step 5
step5:Fold and Roll Tightly
Step 5
step5:Fold and Roll Tightly
6

Toast Wraps Until Crisp

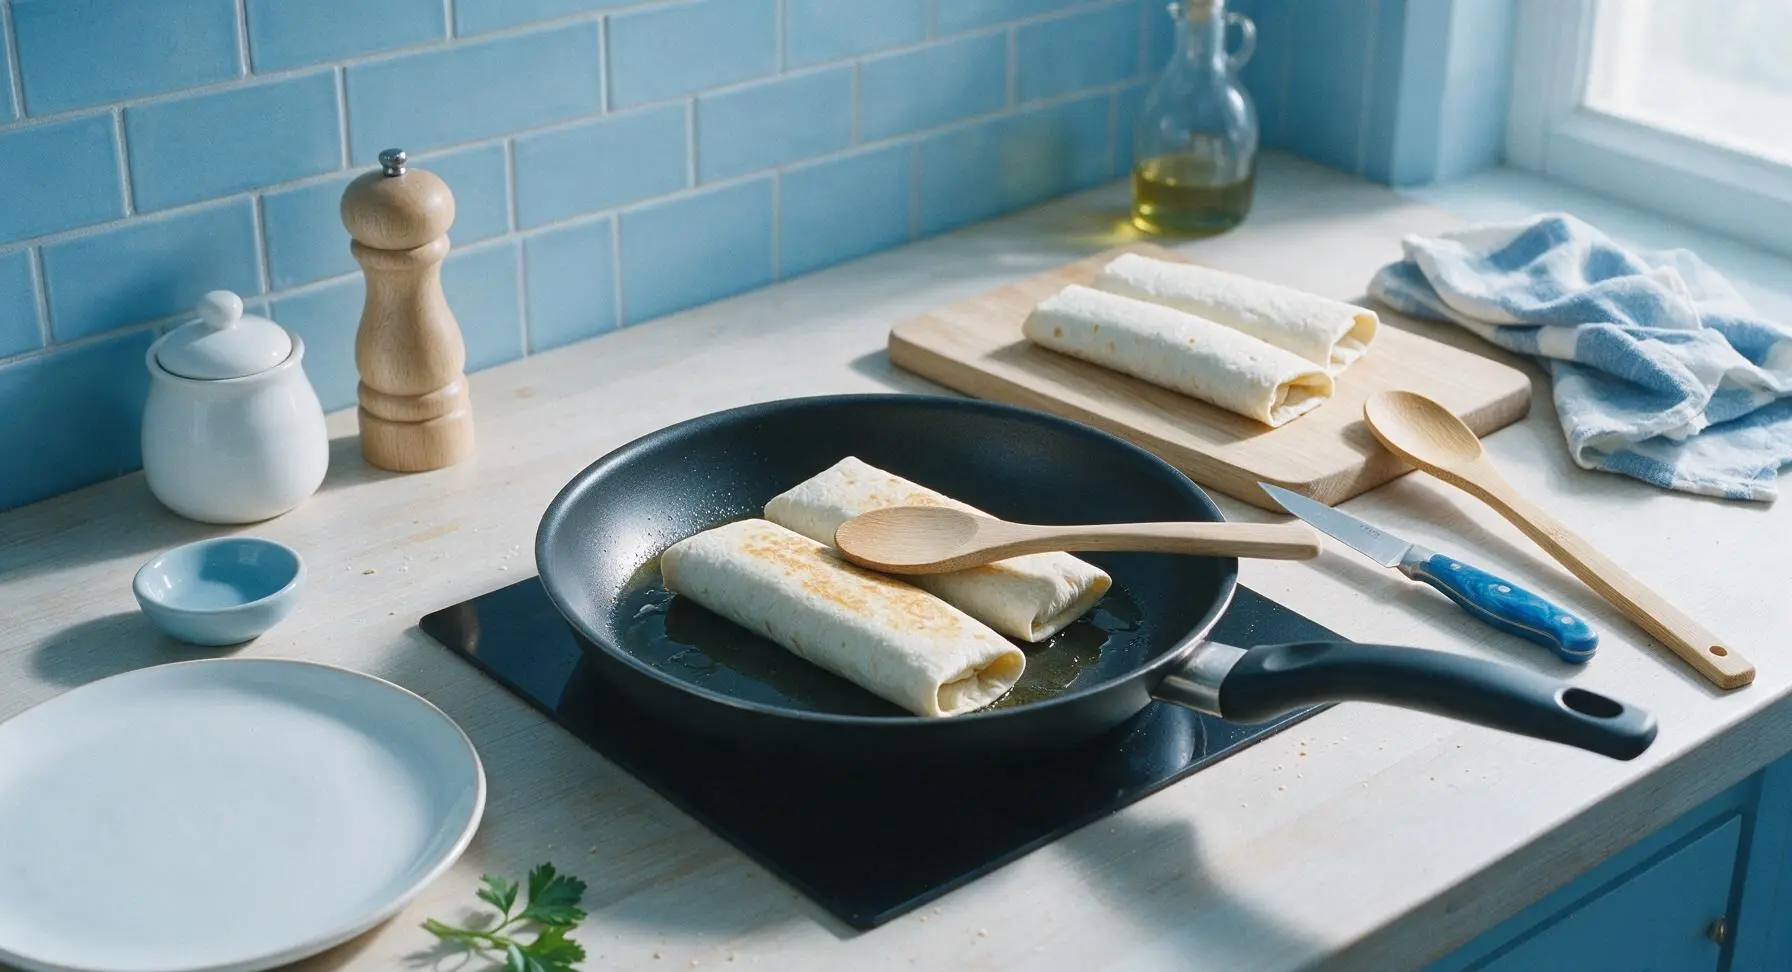
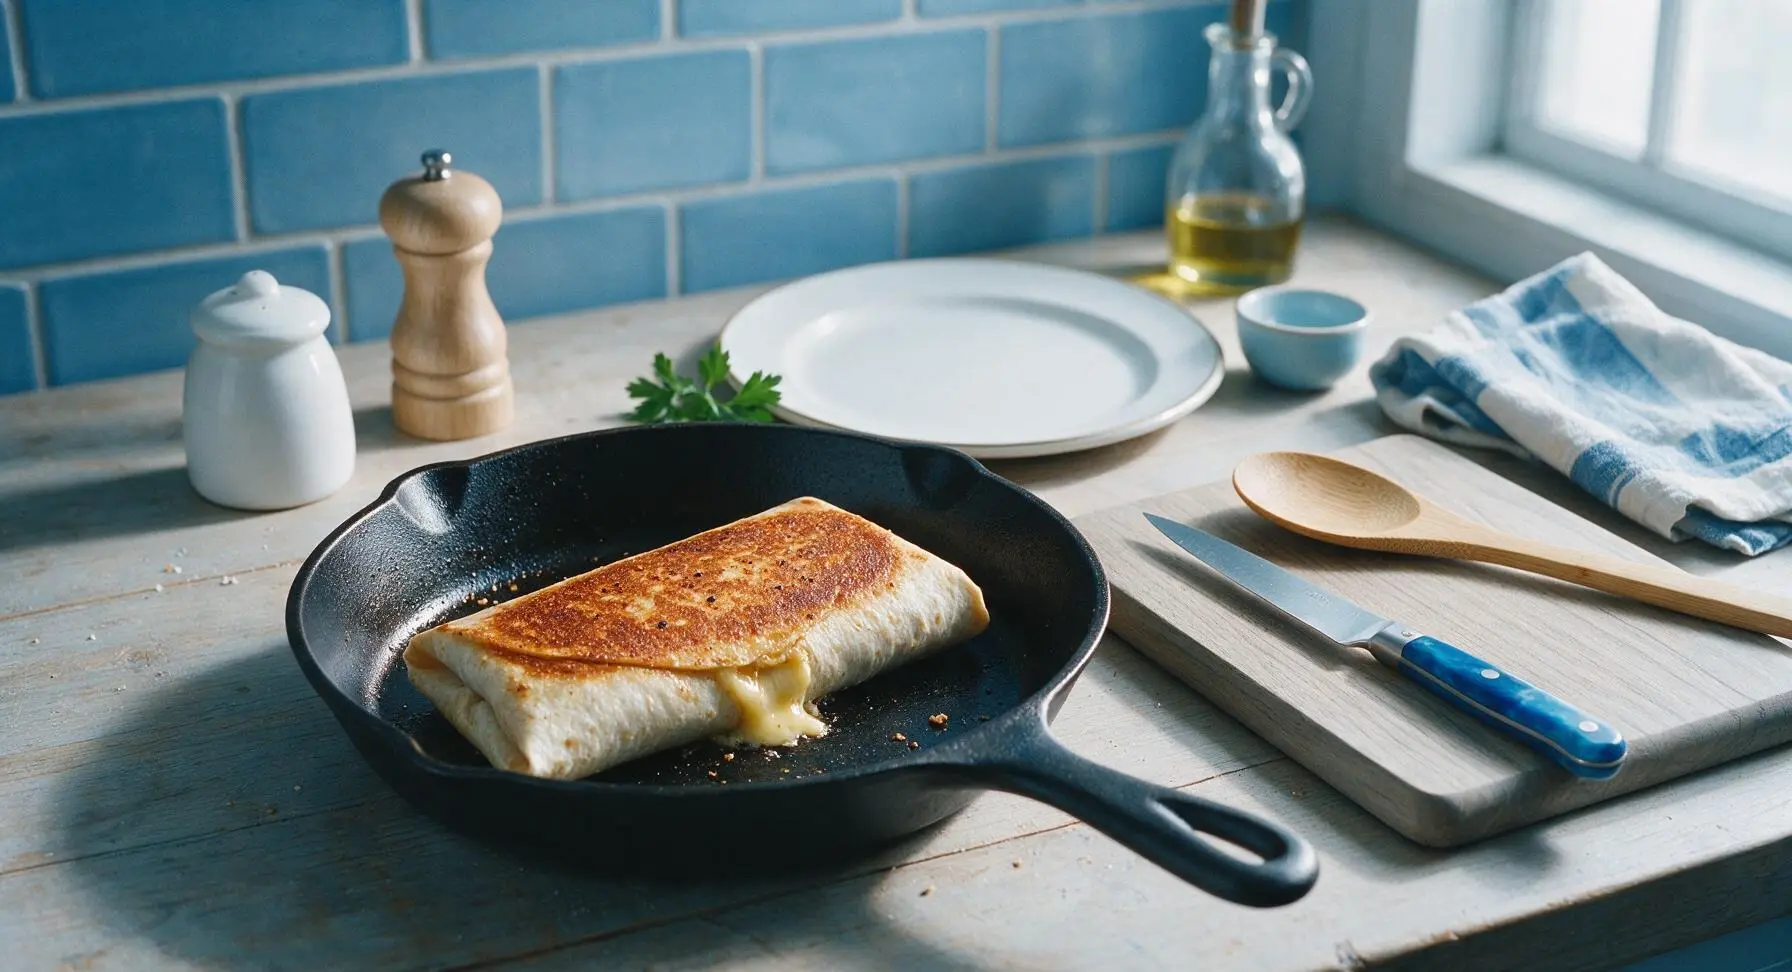
Return the skillet to medium heat, add the remaining 2 teaspoons of olive oil. Place the wraps seam-side down in the skillet, working in batches of 2 to avoid crowding the pan (crowding causes steaming instead of crisping). Toast for 2 minutes per side, pressing gently on the tops of the wraps with the olive wood spoon as they cook, until the tortilla is deep golden and crisp on the outside, and the cheese is fully melted inside. You will see small amounts of melted cheese bubbling out of the wrap seams when they are ready.
Step 6
step6:Toast Wraps Until Crisp
Step 6
step6:Toast Wraps Until Crisp
7

Slice and Serve Warm

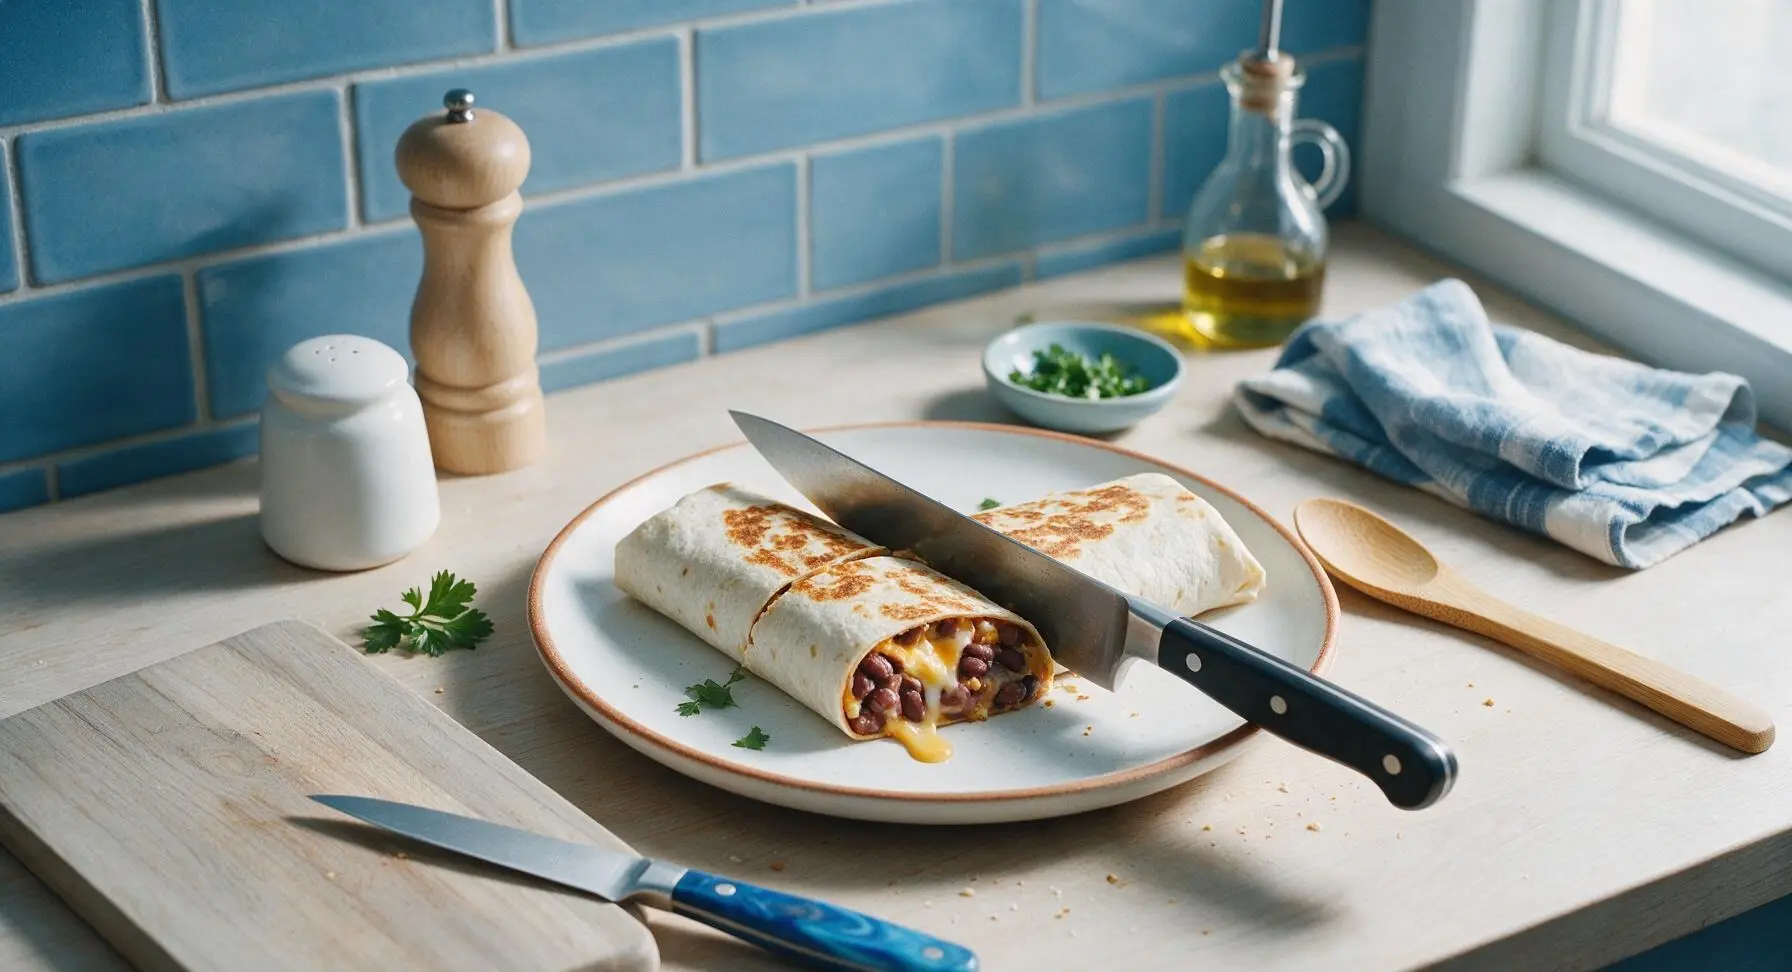
Transfer the toasted wraps from the skillet to the top warm white ceramic dinner plate from the stacked set. Let the wraps rest for 1 minute to allow the cheese to set slightly (this prevents oozing all over the plate when cut), then cut each wrap diagonally in half with the chef knife. Arrange the cut halves in a loose fan on the plate, garnish with the remaining chopped cilantro, and serve immediately.
Step 7
step7:Slice and Serve Warm

Tips

1.Warm tortillas before filling: Cold tortillas crack and split when rolled, but just 15 seconds of heat on the skillet makes them soft and pliable enough to wrap tightly without tearing, eliminating messy filling leaks.
2.Avoid overfilling wraps: Stick to the 2-inch wide filling strip down the tortilla center—overstuffing causes beans and cheese to squeeze out the sides during toasting, creating a burnt mess and leaving you with unevenly filled wraps.
3.Toast seam-side down first: Cooking the sealed edge first melts the cheese at the wrap seam to act as a natural glue, holding the wrap closed so it doesn’t unroll while toasting the second side, and creating a crisp, leak-free edge.


✨ You May Also Like

Main Course
🍜 United Kingdom

A showstopping classic of tender seared beef, savory mushroom duxelles, and crisp prosciutto wrapped in flaky golden puff pastry, baked to juicy perfection.

⏱️ 2 hours 1Main Course ★ 4.7
Main Course
🍜 India

Tender charred marinated chicken simmered in a rich, spiced creamy tomato sauce, this iconic Anglo-Indian curry pairs perfectly with basmati rice or warm naan.

⏱️ 50 minuteMain Course ★ 4.6
Main Course
🍜 Thailand

Classic tangy, sweet, and savory Thai stir-fried rice noodles with shrimp, tofu, and crunchy garnishes, balancing all five core Thai flavor profiles.

⏱️ 30 minuteMain Course ★ 4.5
Main Course
🍜 United Kingdom

Crispy golden beer-battered cod and fluffy double-fried chips, served with tangy tartar sauce and malt vinegar: the timeless, beloved British pub comfort classic.

⏱️ 45 minuteMain Course ★ 4.7
Main Course
🍜 Mexico

Smoky, chile-marinated pork tacos with caramelized pineapple, fresh cilantro, and lime: a beloved classic Mexican street food perfect for casual summer gatherings.

⏱️ 1 hour 45Main Course ★ 4.8
Main Course
🍜 United States

Crunchy Fritos corn chips layered with savory beef chili and melted cheddar, topped with cool, zesty fixings for a beloved, cozy Tex-Mex comfort food.

⏱️ 35 minuteMain Course ★ 4.8

bean and cheese wrap:Frequently Asked Questions

1.Can I use a different size of flour tortilla if I don’t have 10-inch ones on hand? ▾
Absolutely, though 10-inch tortillas hit the ideal sweet spot for easy folding and a balanced filling-to-tortilla ratio. If using 8-inch taco-size tortillas, cut filling portions by 2 tablespoons per wrap to avoid tearing or oozing as you toast. Larger 12-inch burrito tortillas work too, just expect a slightly thinner, more handheld bite.
2.Do I have to use low-sodium refried pinto beans, or can I use regular canned refried beans? ▾
You can absolutely use regular canned refried pinto beans if that’s what you have! The low-sodium version just gives you more control over seasoning, especially since we add warm, earthy ground cumin for depth. If you use regular, hold off on adding extra salt until you taste the filling first to avoid over-seasoning your wrap.
3.What’s the best way to get the cheese perfectly melted without burning the tortilla? ▾
My go-to trick is to warm the refried beans first before assembling, so they help melt the cheese from the inside out. Toast the assembled wrap over medium-low heat in a dry skillet for 1 to 2 minutes per side, pressing gently with a spatula, until the tortilla is crisp and golden. Avoid high heat, which will char the tortilla before the cheese fully melts.
4.Can I substitute Monterey Jack cheese with a different type of cheese? ▾
Definitely! Monterey Jack is ideal because it melts ultra-smooth and has a mild, creamy flavor that doesn’t overpower the beans, but you can swap it for shredded mild cheddar, Oaxaca, or a Mexican cheese blend. Skip crumbly cheeses like queso fresco or feta for the base, since they won’t give you that signature gooey, oozing texture.
5.Do I need to cook the diced white onion before adding it to the wrap? ▾
That’s totally up to your texture preference! If you love a sharp, crisp, bright bite, add the raw diced white onion straight to the filling as the recipe is written. If you prefer a milder, softer onion flavor, sauté the dice in a tiny bit of oil for 2 to 3 minutes before mixing it into cooled beans for assembly.
6.How much ground cumin should I add, and can I skip it if I don’t have any? ▾
Use ½ teaspoon of ground cumin per 1 cup of refried beans to add warm, earthy depth that makes the filling taste cohesive, not bland. If you don’t have cumin, you can swap it for an equal amount of chili powder, a pinch of smoked paprika, or skip it entirely—your wrap will still be tasty, just missing that subtle savory southwestern backbone.
7.How do I fold the wrap so filling doesn’t fall out while I’m eating it? ▾
Start by layering your filling in a straight line down the center of the tortilla, leaving a 1.5-inch border at the top and bottom. Fold those short top and bottom edges over the filling first, then tuck one long side tightly over the filling and roll firmly toward the other edge to seal. Keep the seam side down when toasting to help it hold its shape.
8.Can I make these wraps ahead of time for meal prep? ▾
These are best eaten fresh right after toasting for that perfect crisp tortilla and gooey cheese, but you can prep the seasoned bean and onion filling up to 3 days ahead and store it airtight in the fridge. When you’re ready to eat, warm the filling, assemble wraps with cheese, and toast—skip full pre-assembly, which makes tortillas soggy.
9.My refried beans are really thick and hard to spread—what should I do? ▾
Super thick canned refried beans are easy to fix! Stir in 1 to 2 tablespoons of warm water, vegetable broth, or even a splash of milk a little at a time until the beans reach a smooth, spreadable consistency similar to thick hummus. Don’t add too much liquid at once, or the filling will be runny and leak out of your wrap as you toast.
10.Can I add extra mix-ins to these wraps without ruining the classic flavor? ▾
Of course! This recipe is a perfect customizable base, so feel free to add small amounts of extras like pickled jalapeños for a tangy kick, a dollop of sour cream, or a sprinkle of chopped cilantro. Just don’t overstuff the wrap, and keep very wet ingredients to a minimum to avoid soggy tortillas or spilled filling.
11.Can I make these wraps in the microwave if I don’t have access to a stovetop? ▾
You can, though you won’t get that crisp, golden tortilla texture from stovetop toasting. Assemble your wrap, place it on a microwave-safe plate, and heat it in 30-second bursts until the cheese is melted, about 60 to 90 seconds total. For a little extra crunch, crisp it in a toaster oven for 1 minute after microwaving if you have one.

Comments (13)

2 days ago

OMG these are SO good! Threw these together last minute for a weeknight dinner when I forgot to thaw chicken, and my kids devoured them. Added a little taco seasoning to the beans and it was chef’s kiss. Perfect quick meal for busy school nights.

1 week ago

Total game changer for my Sunday meal prep! These hold up so well in the fridge for 4 days, I just pop them in the toaster oven for 2 minutes at lunch and the cheese gets all melty again. Way cheaper than buying wraps from the cafeteria at work.

5 days ago

So stoked these are working for your meal prep rotation! Pro tip: wrap them tightly in parchment paper before storing to keep the tortillas from getting soggy, works like a charm.

3 days ago

Brought a platter of these cut into pinwheels to my neighborhood potluck last weekend and they were GONE in 10 minutes. People kept asking for the recipe! I added a dollop of sour cream and a sprinkle of cilantro to each one for a little extra zing.

2 days ago

Wait the pinwheel cut is such a good idea! I’ve been making these as full wraps for lunch but pinwheels would be perfect for my kid’s soccer snack next week.

yesterday

Love the pinwheel hack! We do that for game day gatherings too, they’re super easy to grab and no messy drips if you tuck the ends in tight before rolling.

yesterday

Made these vegan by swapping the dairy cheese for a pepper jack plant-based alternative and using refried black beans instead of pinto, and they came out amazing! So quick to throw together when I don’t feel like cooking after a long hike.

5 minutes ago

Wait is it weird that I used a flour tortilla I had in the back of my fridge that was a little stiff? I microwaved it for 10 seconds first and it rolled fine, tasted great honestly. Saved me from ordering Uber Eats again lol

just now

Not weird at all! I do that every single time, microwaving stiff tortillas is the secret hack to keep them from cracking when you roll. No waste, no extra money spent!

2 weeks ago

My husband is the pickiest eater on the planet and he requests these at least twice a week for his work lunch. I add a little pickled jalapeño to his for a kick and he swears they’re better than the taco shop down the street. Wild.

1 week ago

The pickled jalapeño add is elite! I did that last time I made these and the tang cuts through the richness of the cheese and beans so well, I’ll never make them without it now.

3 days ago

Wait this gives me hope! My 7 year old turns his nose up at literally everything, I’m gonna test these out tonight with a side of salsa for dipping. Fingers crossed!

30 minutes ago

8 minute cook time is NOT a lie! I timed myself last night making these between zoom meetings and I was done and sitting down eating before my next call started. Absolute lifesaver for WFH days.

5 minutes ago

That’s exactly what we love to hear! Fast, minimal cleanup, and tasty enough to feel like a real treat even when you’re crunched for time. So glad it worked for your WFH lunch!

2 hours ago

Full transparency: I overcooked the first one a little because I got distracted by my dog barking at the mailman, and it was still good! The cheese got a little crispy on the edges which was actually a happy accident. 10/10, will be making again even when I get distracted.

5 days ago

Calculated the cost per wrap and it’s like $1.10 each? Are you kidding? I was spending $12 a day on takeout lunch and this is cutting my grocery bill so much. I make a big batch on Sundays and grab one on my way out the door every morning.

3 days ago

Love the budget win! We designed this recipe specifically to use low-cost, pantry staple ingredients so it’s accessible for everyone, no fancy grocery runs needed.

2 days ago

Wait $1.10 each? That’s cheaper than the sad vending machine chips at my job! I’m adding all the ingredients to my grocery list right now, no more overpriced lunch runs for me either.

yesterday

Made these for the football watch party yesterday, served with a side of guac and queso for dipping. Everybody was raving, even my buddy who swears he ‘doesn’t eat vegetarian food’. Didn’t even tell him there was no meat in them lmao.

2 hours ago

That’s genius! My friends are the same way, they act like anything without ground beef is rabbit food. I’m gonna pull the same move at our next tailgate, no way they notice.

1 week ago

Super easy to make, pretty straightforward. I thought it was a little plain on its own, so I added some hot sauce and a handful of corn and it was way better. Good base recipe to customize however you like it.

2 days ago

I’m a total beginner in the kitchen and I was so nervous I’d mess this up, but it came out perfectly on the first try! My roommate thought I ordered takeout, I felt so proud of myself. Thank you for such easy to follow instructions!

yesterday

That makes our whole day! This recipe is perfect for new cooks because it’s nearly impossible to mess up, and super easy to tweak once you get the hang of the basic version. Can’t wait to hear what custom add-ins you try next!

3 days ago

These are the perfect after school snack for my teens! They get home ravenous at 3pm and can make these themselves without any help, no need for me to stop working to cook them a snack. Win win for everyone.

2 days ago

Yes! My 10 and 12 year old have been making these on their own for months now. It’s such a great recipe to teach kids basic kitchen skills without any complicated steps or dangerous equipment.

yesterday

We love that kids can make these independently! It’s such a great way to get them comfortable in the kitchen, and they’re way more likely to eat food they helped make themselves.



