
Beaver Tails
intro
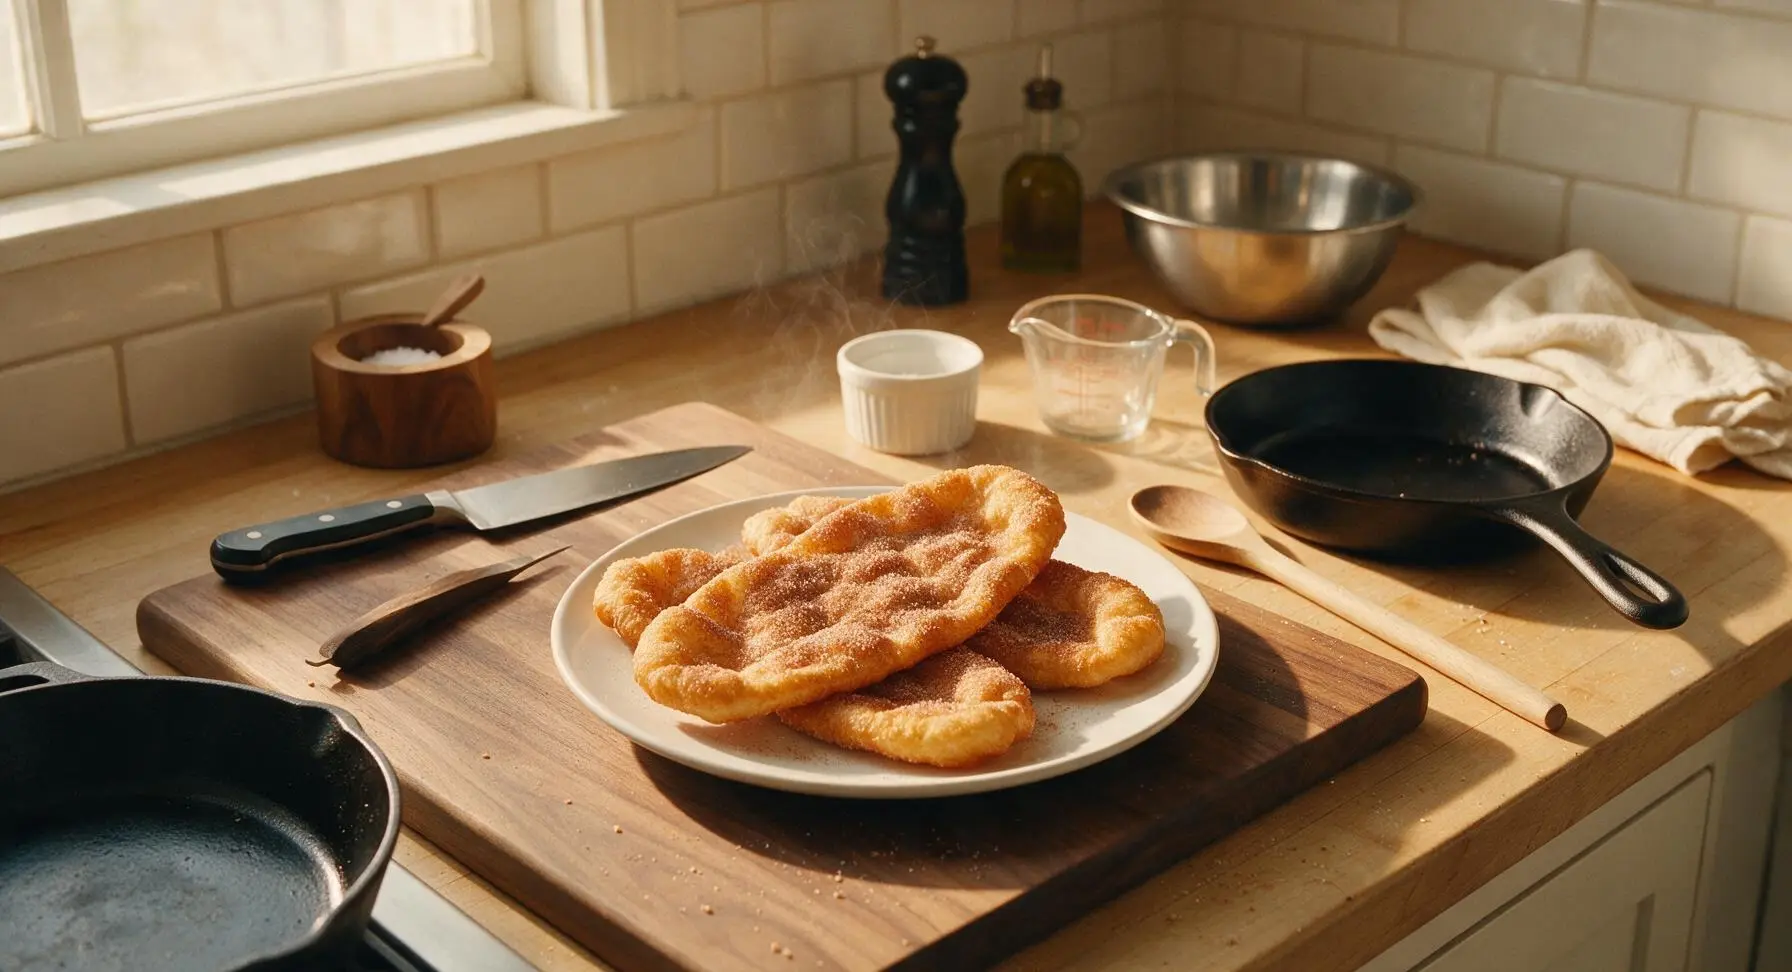
Crisp-edged, pillowy whole-wheat fried dough stretched to resemble a beaver’s tail, dusted with cinnamon sugar. This iconic Canadian winter treat is golden, warm, and made for cozy sharing.
Ingredients
Steps
Activate the Yeast
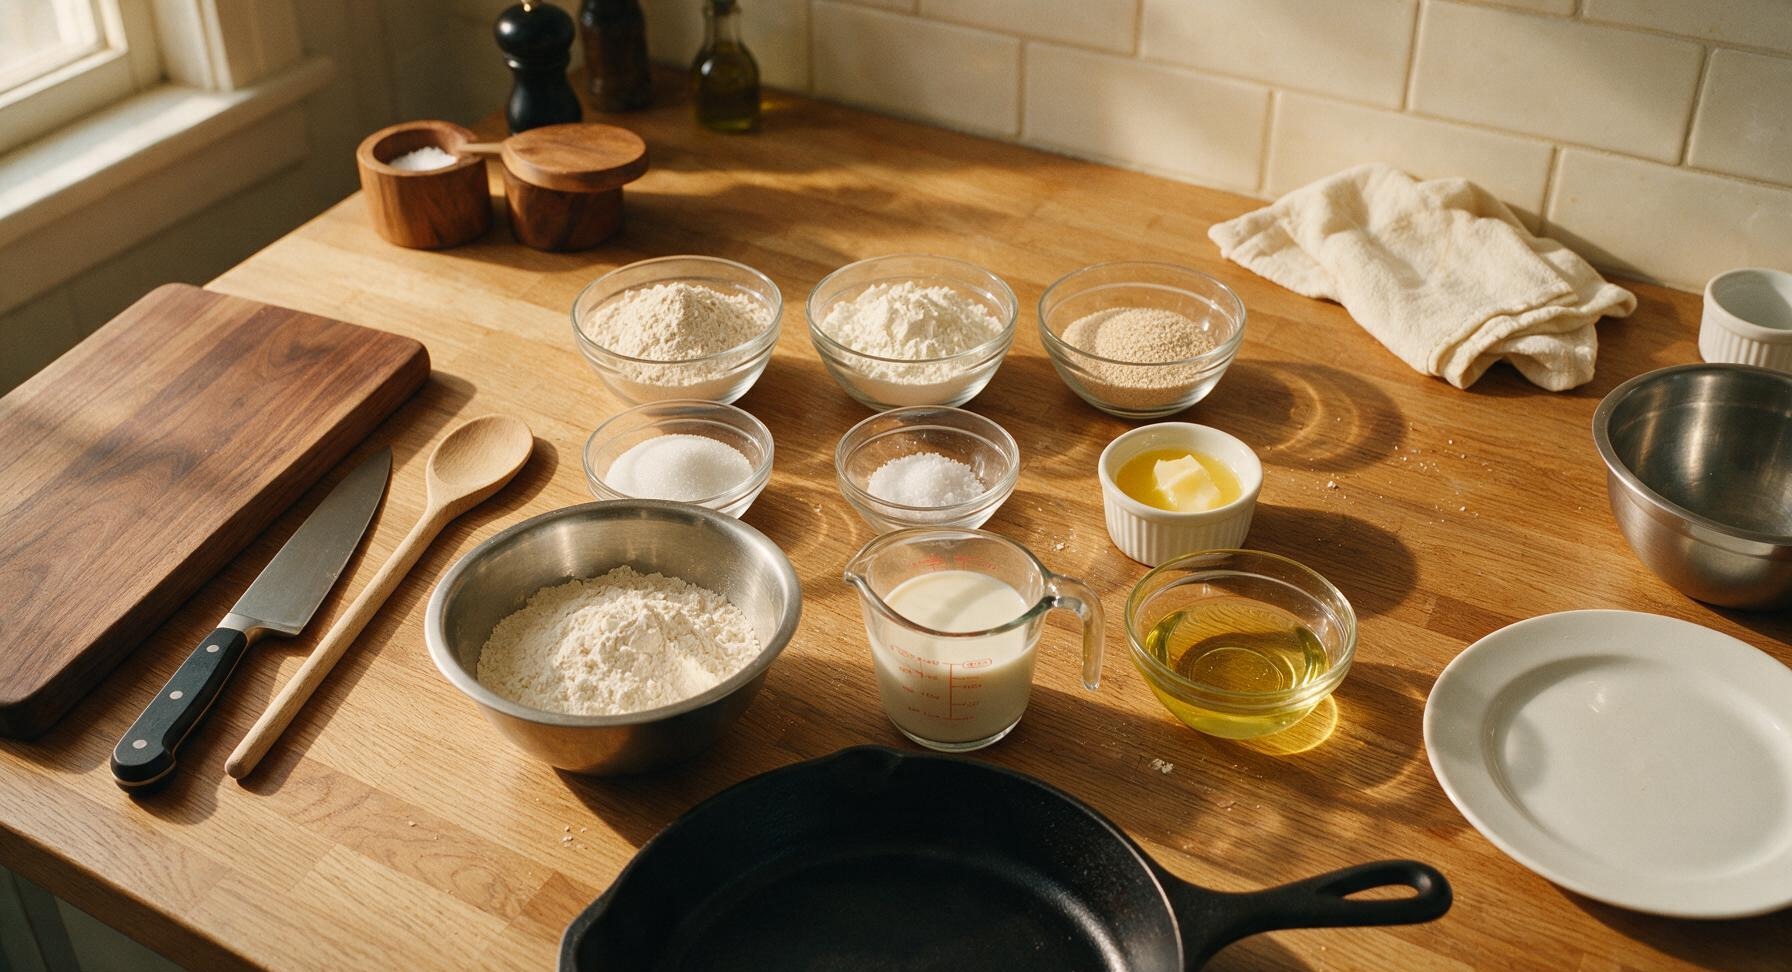
Pour the warm (105°F/40°C) whole milk into the clear glass measuring cup, stir in 1 tablespoon of granulated sugar and the full packet of instant yeast. Let rest for 5 minutes at room temperature until a 1/4-inch layer of foamy bubbles forms on the surface, confirming the yeast is active. If no foam appears after 7 minutes, discard the mixture and start with fresh yeast, as inactive yeast will not make the dough rise.

Mix Dough Base
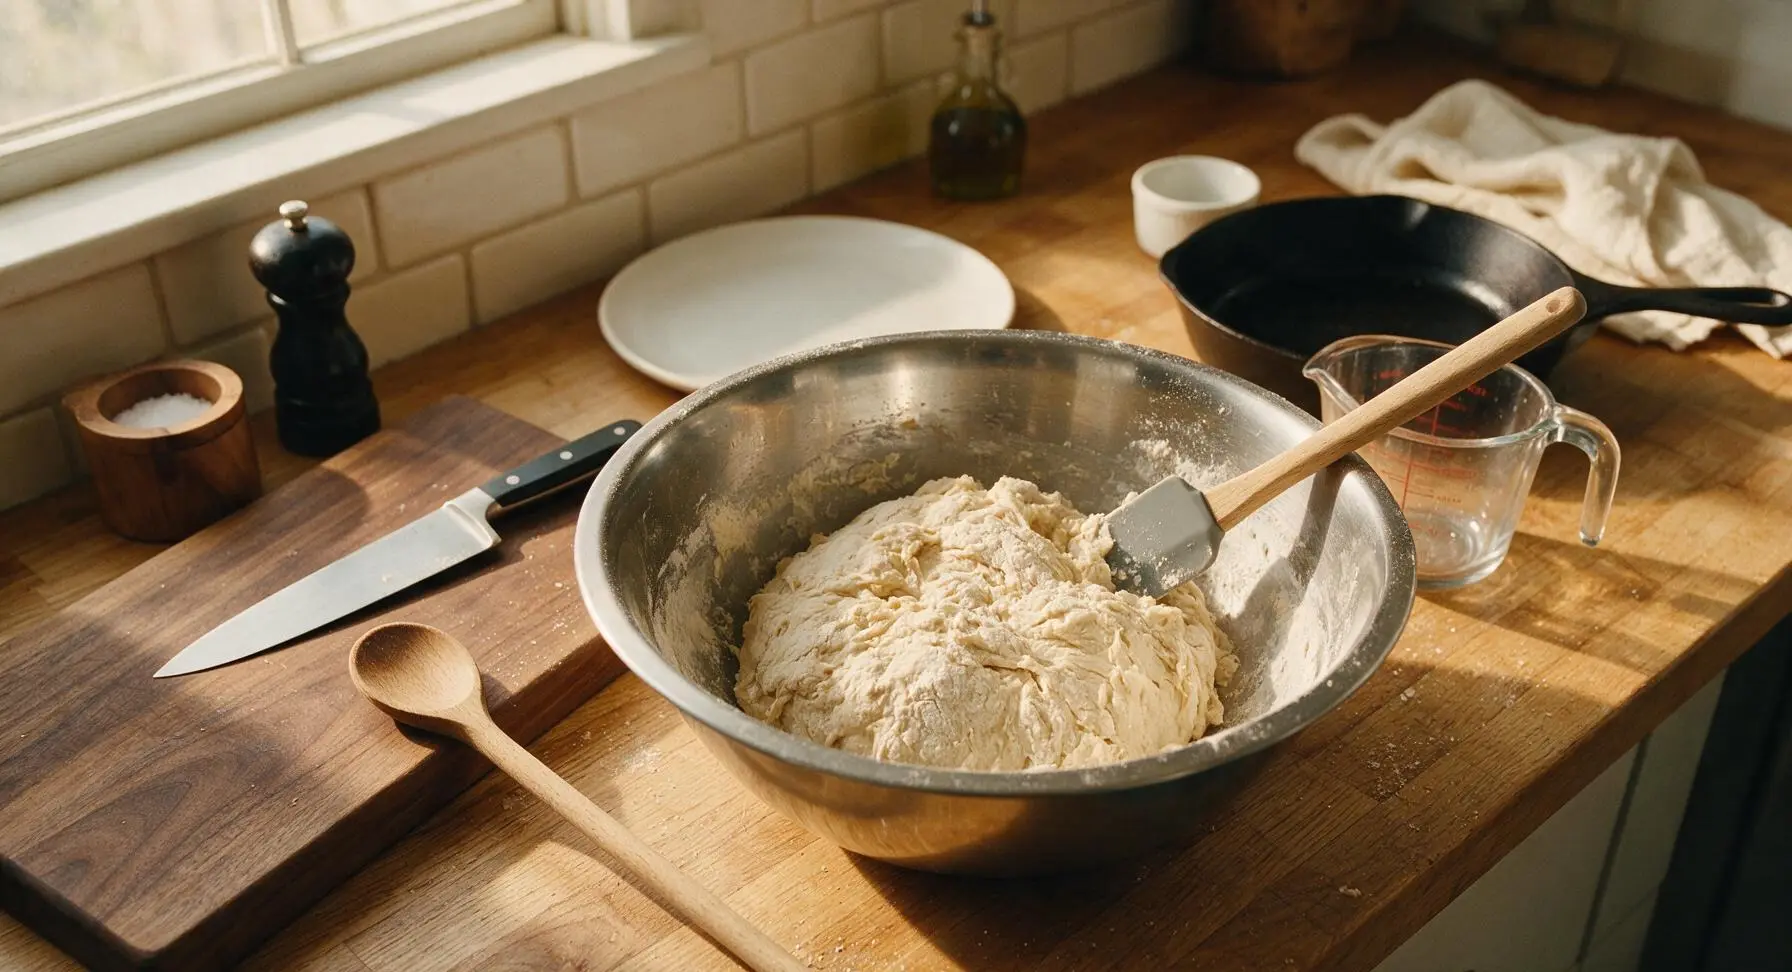
In the large stainless steel mixing bowl, combine the whole wheat flour, all-purpose flour, 1 teaspoon fine sea salt, and 3 tablespoons of the melted, cooled unsalted butter. Pour in the foamy yeast mixture, stirring with the matte gray silicone scraper until a shaggy, sticky dough forms, with no dry flour pockets left at the bottom of the bowl.
Knead and Proof Dough
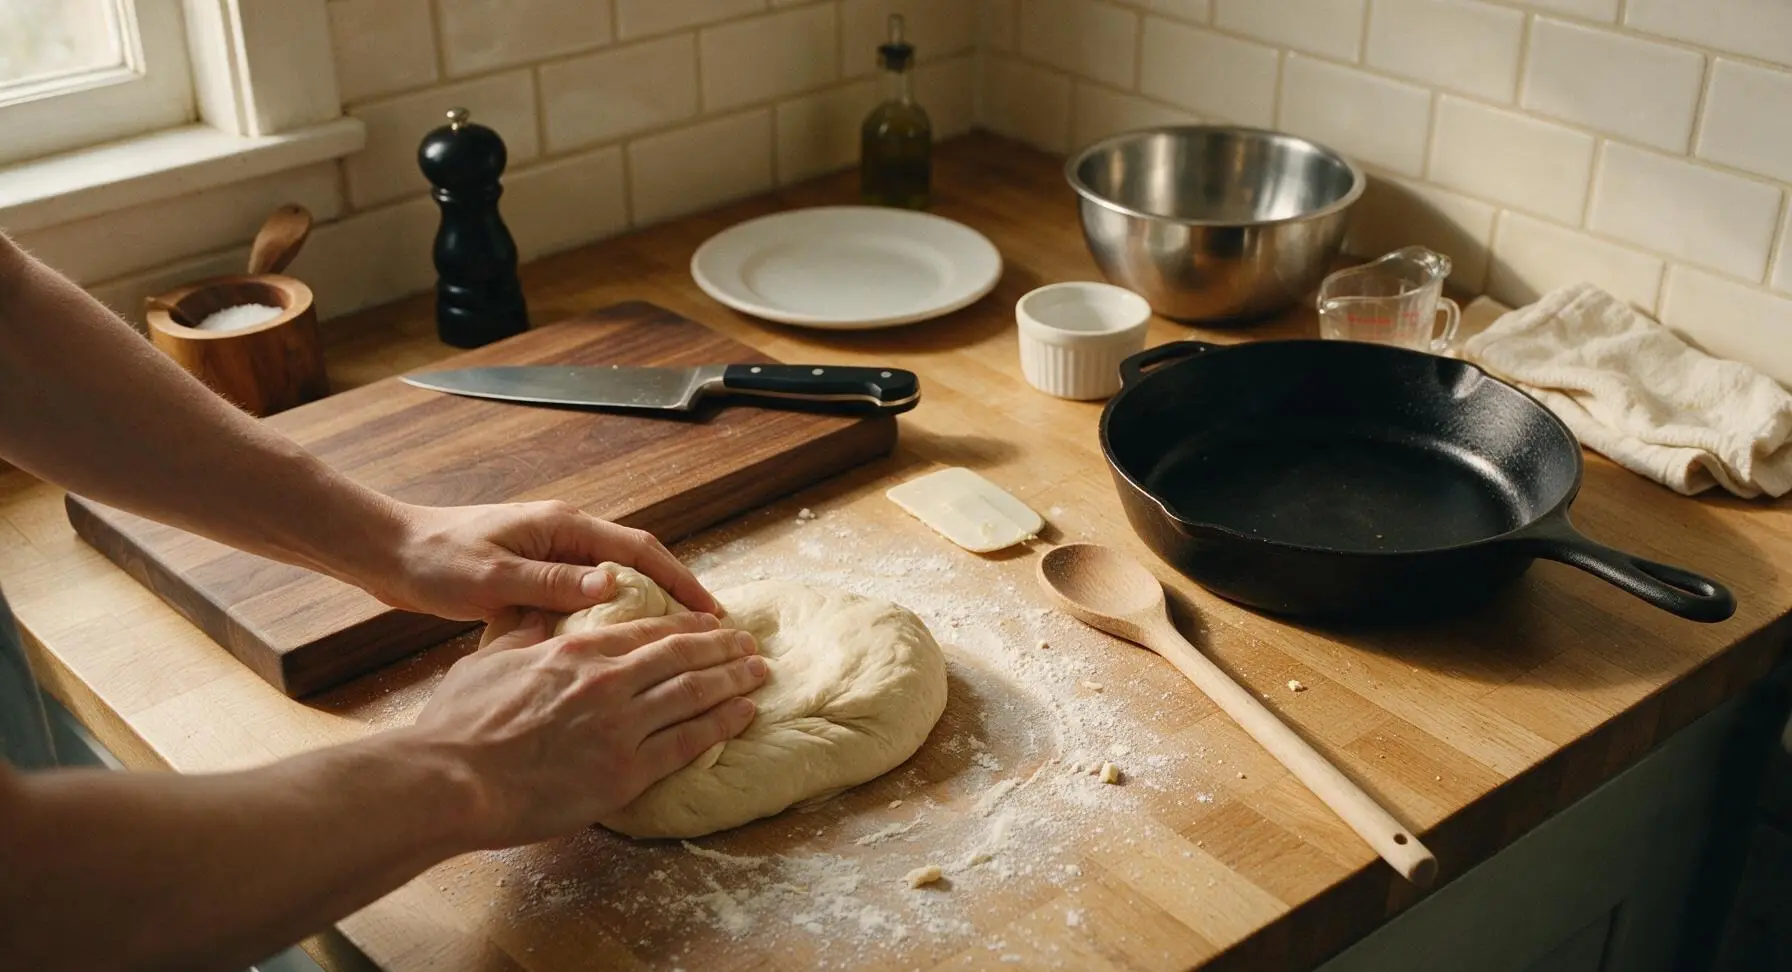
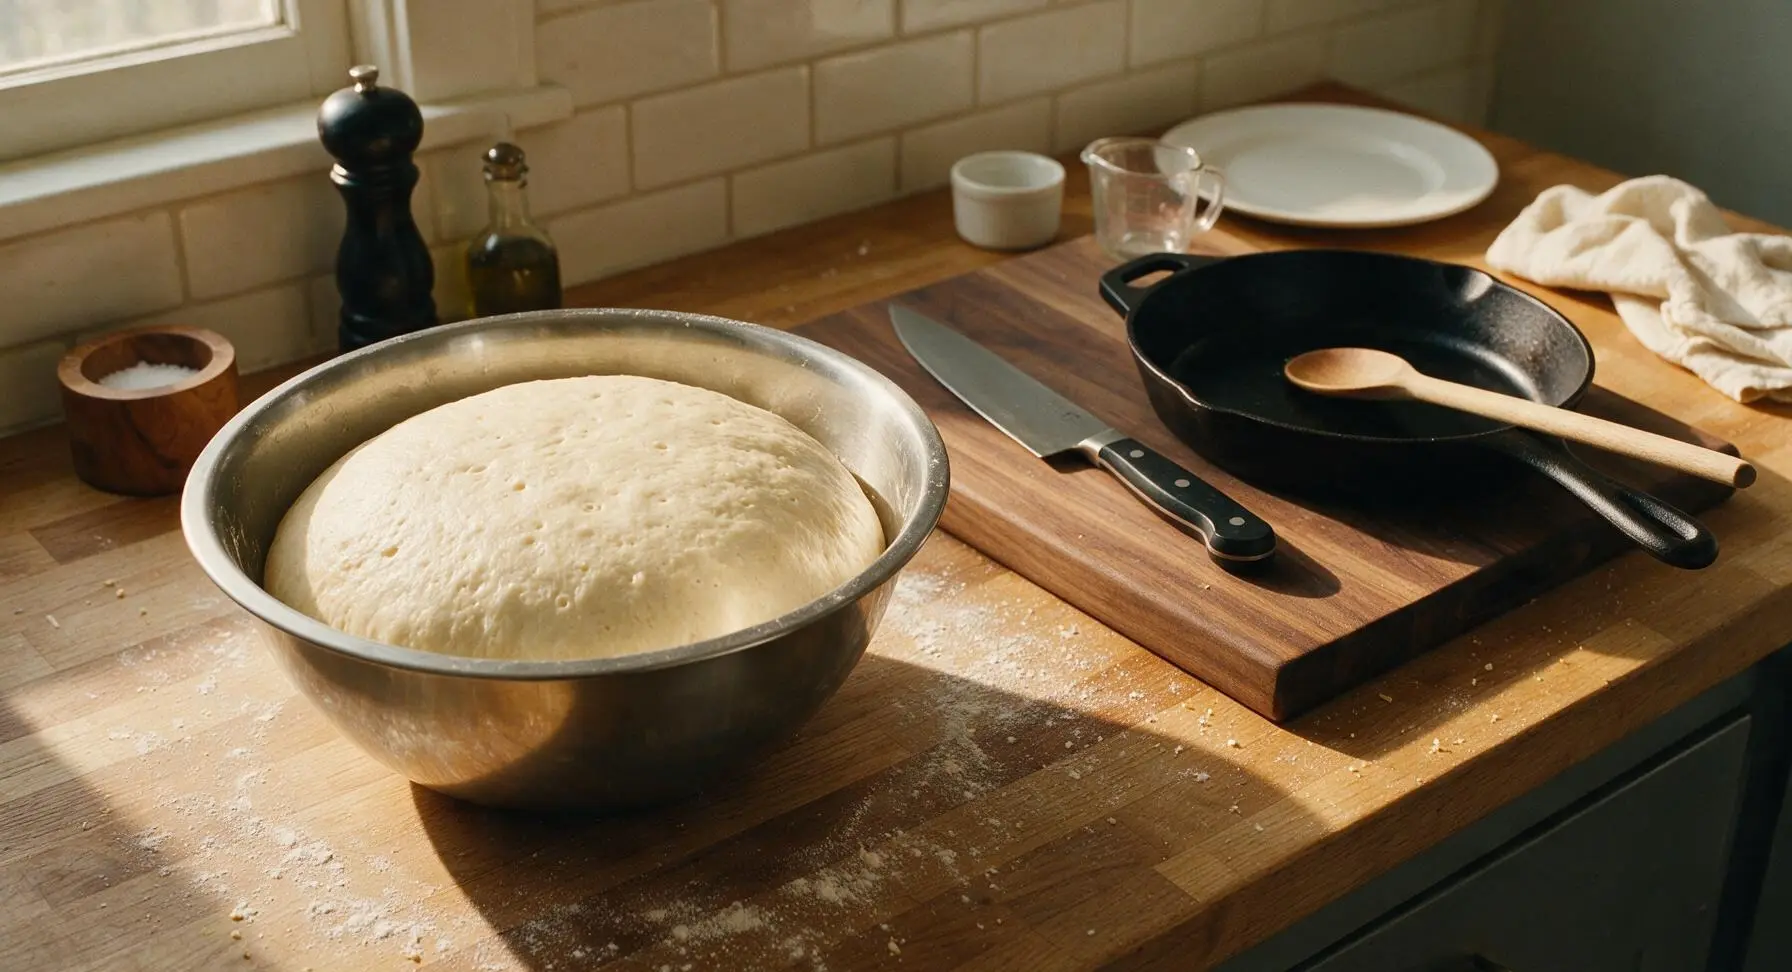
Turn the shaggy dough out onto a lightly floured section of the maple countertop. Knead by hand for 6-8 minutes, folding the dough over itself and pushing forward with the heel of your hand, until the dough is smooth, elastic, and springs back halfway when poked with a finger. Form the dough into a tight ball, place it back in the lightly oiled mixing bowl, drape a small piece of parchment over the bowl rim, and let rise in a draft-free spot for 1 hour, or until doubled in volume.
Portion and Shape Tails
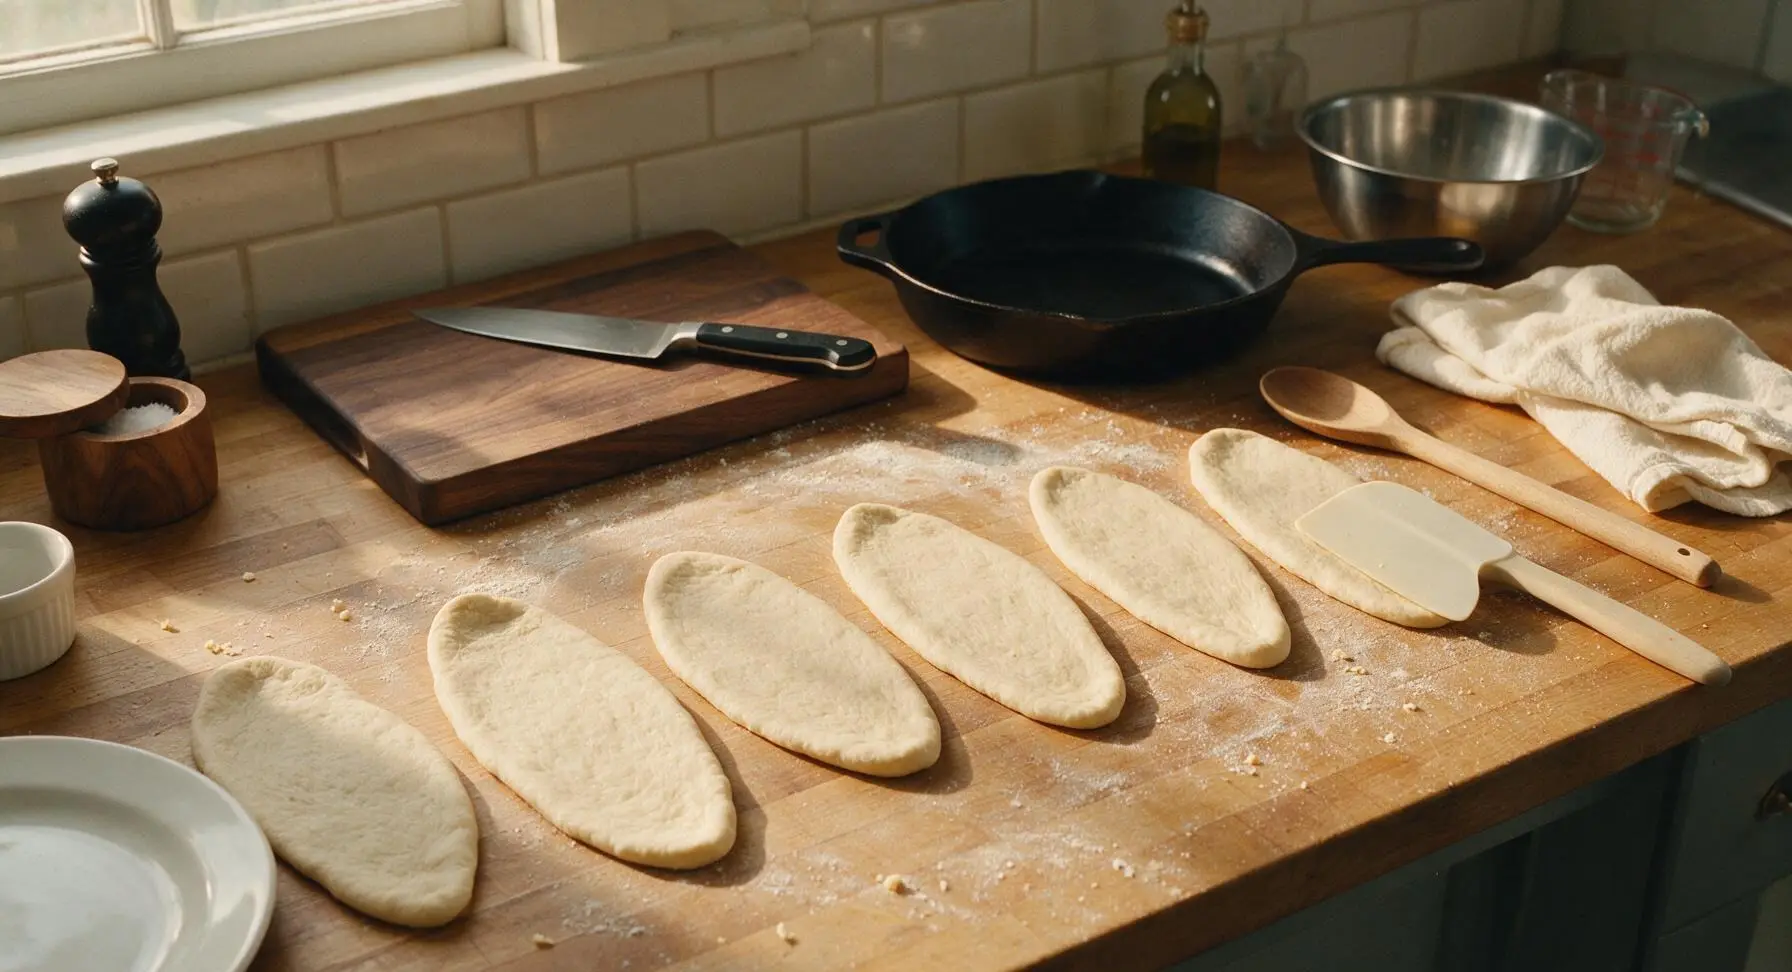
Once fully risen, punch the dough firmly in the center to release all trapped air. Turn out onto the lightly floured counter, divide into 6 equal 80g pieces using the silicone dough scraper. Roll each piece into a tight small ball, then gently stretch and pull each ball into a long, flat oval shape roughly 15cm long and 8cm wide, tapering slightly at both ends to match the shape of a beaver’s tail. Let shaped pieces rest for 10 minutes before frying to prevent shrinkage.
Heat Frying Oil
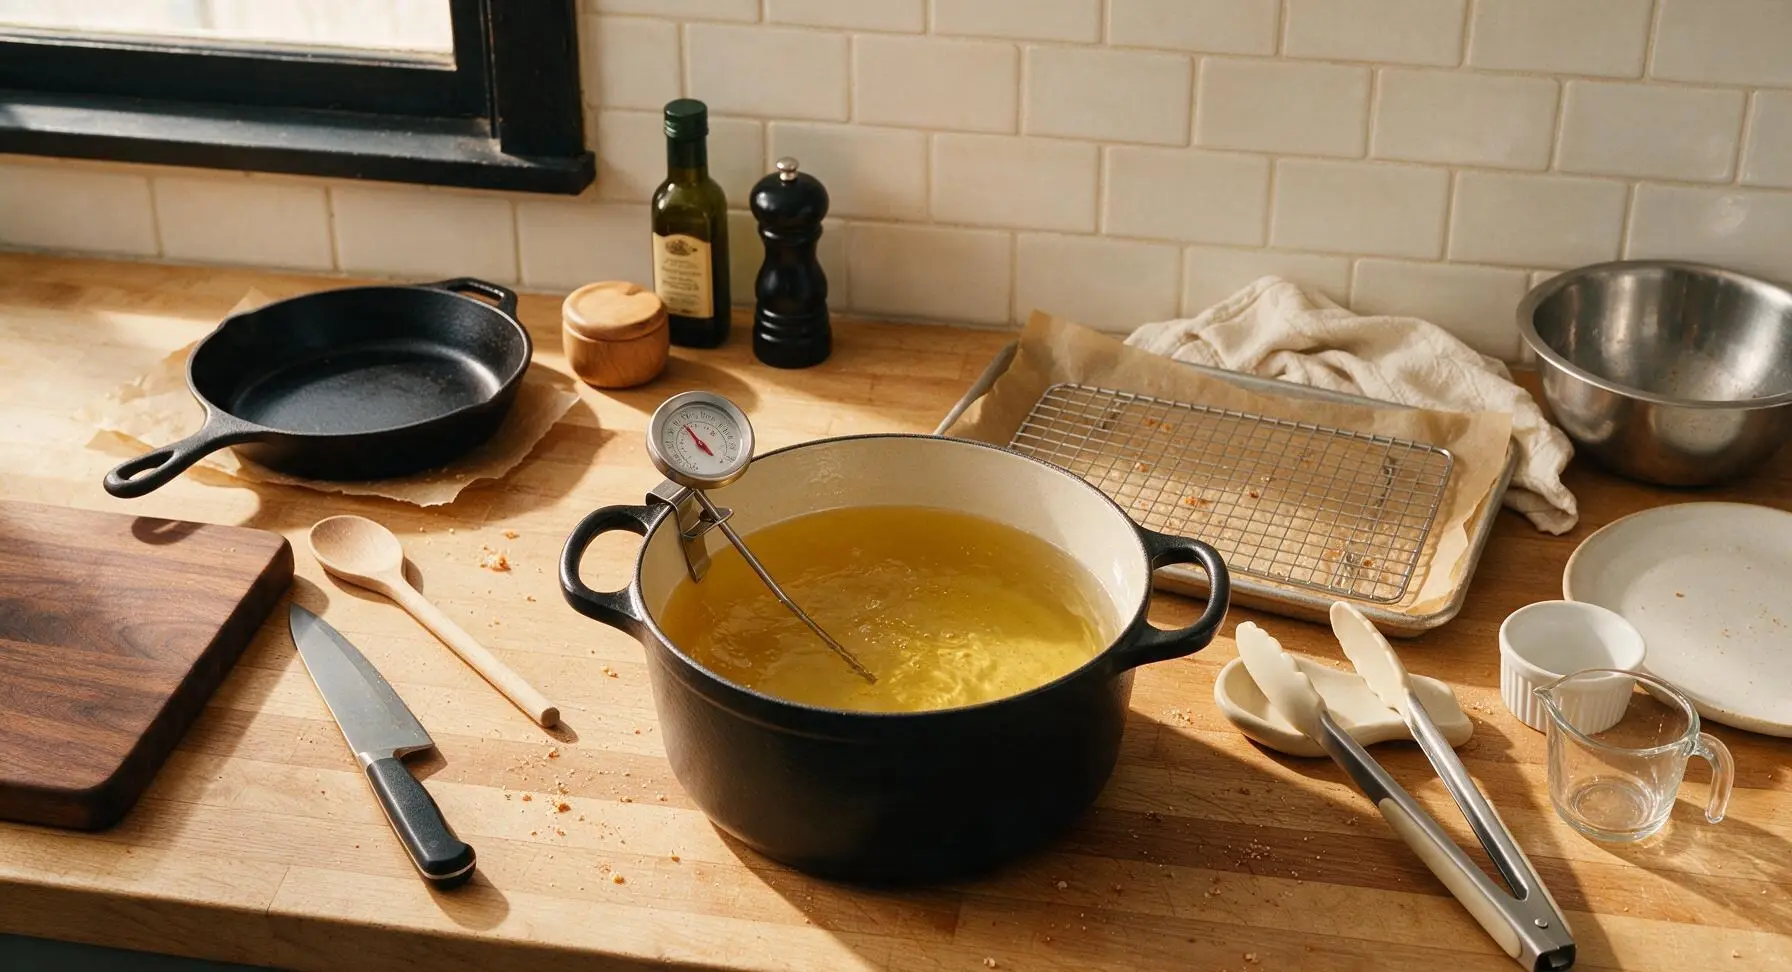
Pour 4 cups of canola oil into the matte black enameled Dutch oven, clip the stainless steel deep-fry thermometer to the pot rim, and heat over medium heat until the oil reaches a steady 375°F (190°C). Adjust the stovetop heat as needed to maintain this temperature throughout frying, as fluctuating oil temperature leads to greasy or burnt pastries.
Fry Until Golden
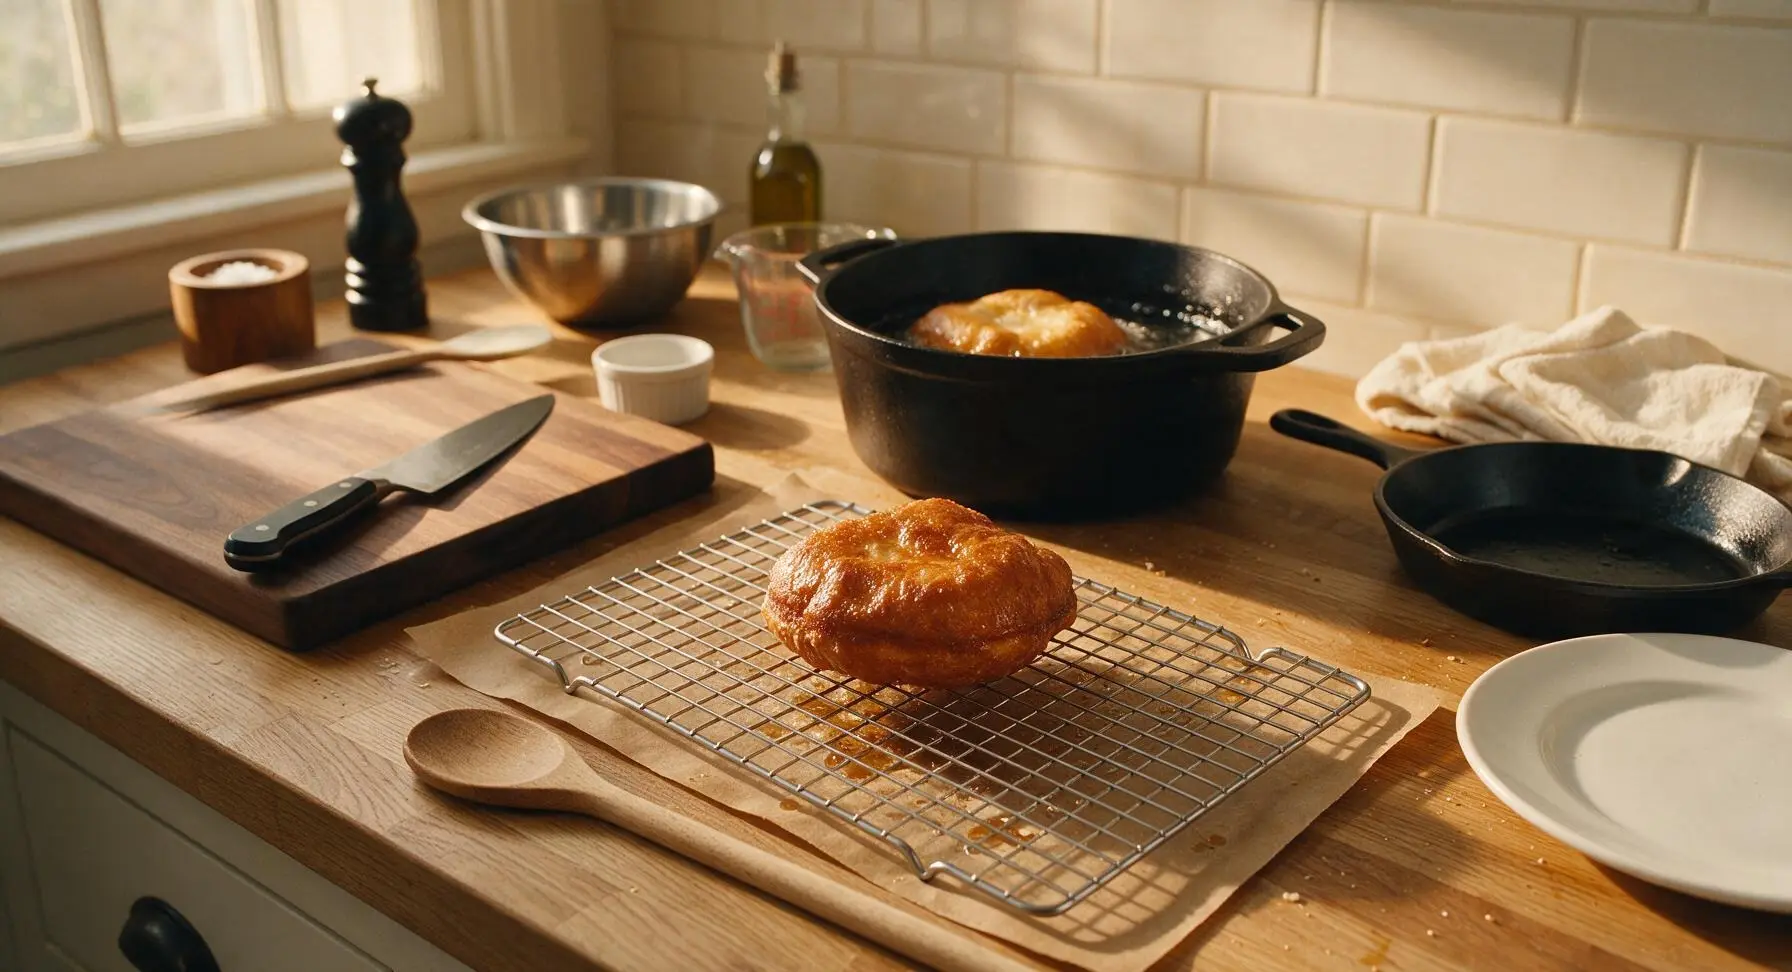
Carefully lower 1-2 shaped dough pieces into the hot oil using the silicone-tipped tongs, taking care not to splash hot oil. Fry for 45-60 seconds on the first side until deep golden brown with small, crisp bubbly pockets across the surface, then flip with the tongs and fry for another 30-45 seconds on the second side. Once evenly golden, lift each pastry from the oil, hold it over the pot for 5 seconds to let excess oil drip off, then transfer to the chrome wire cooling rack set over brown paper to drain.

Make Cinnamon Topping
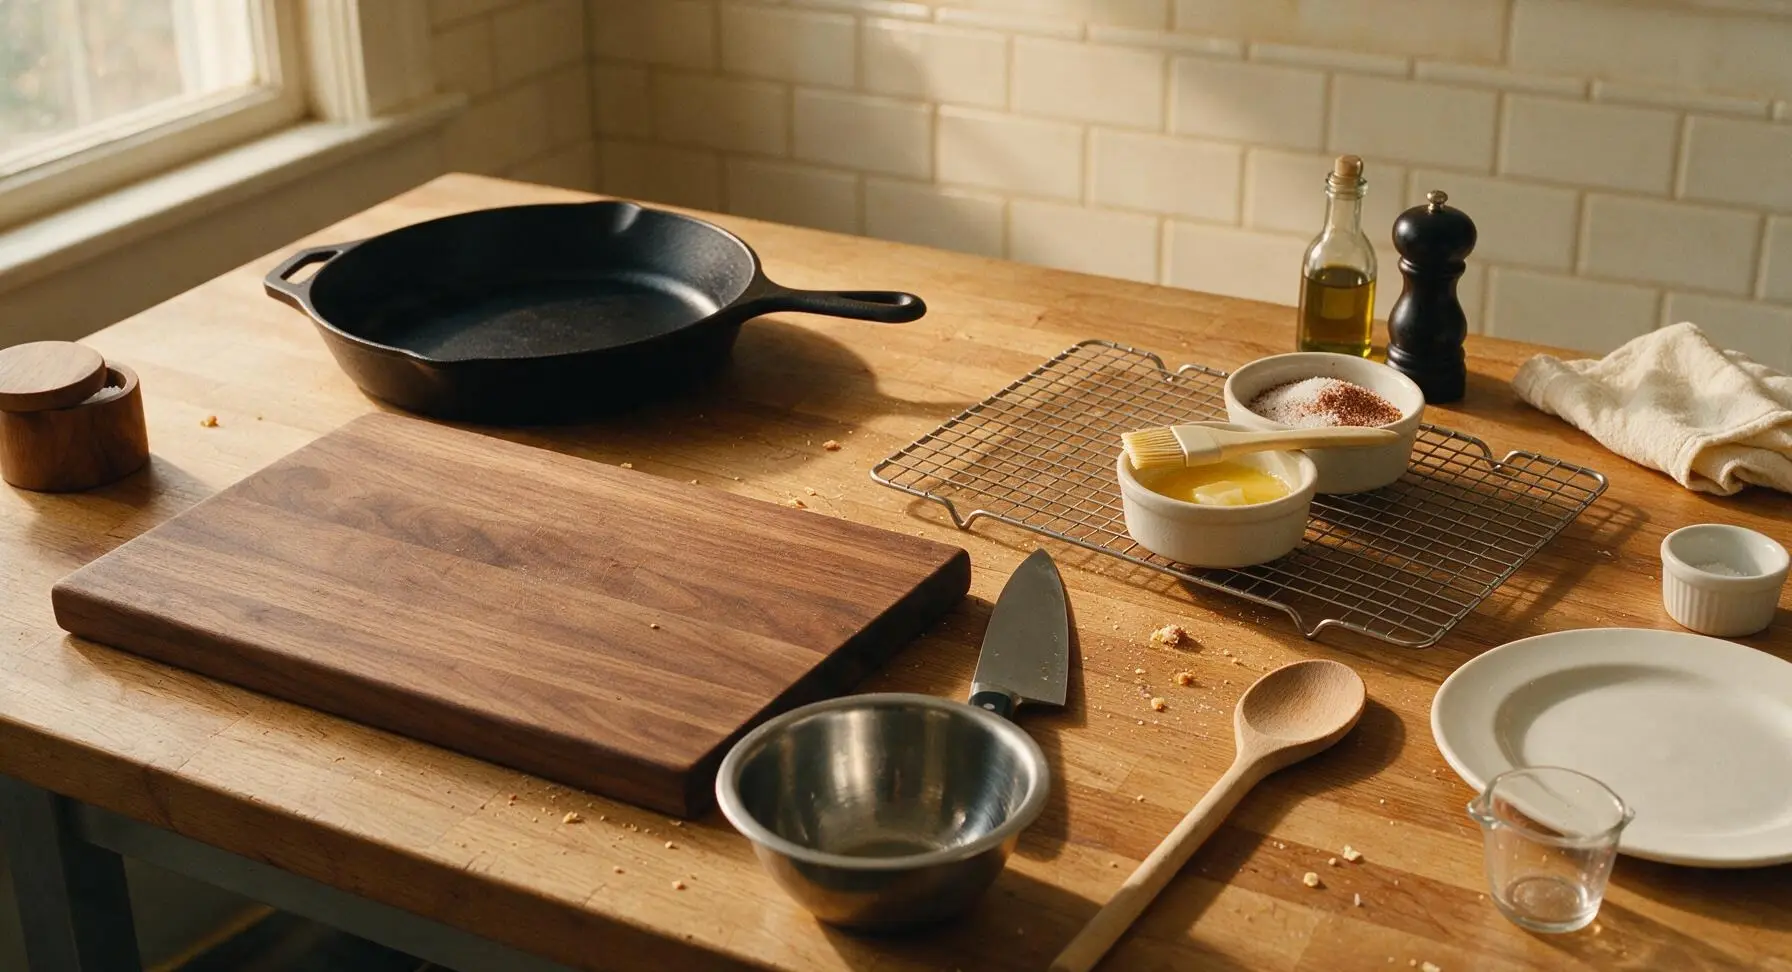
While the pastries drain for 1 minute, stir together the remaining 1/2 cup granulated sugar and 2 teaspoons ground cinnamon in one small white ramekin until evenly mixed. Melt the remaining 2 tablespoons of unsalted butter in a second small white ramekin, set next to the cooling rack for easy access.
Coat and Plate Pastries
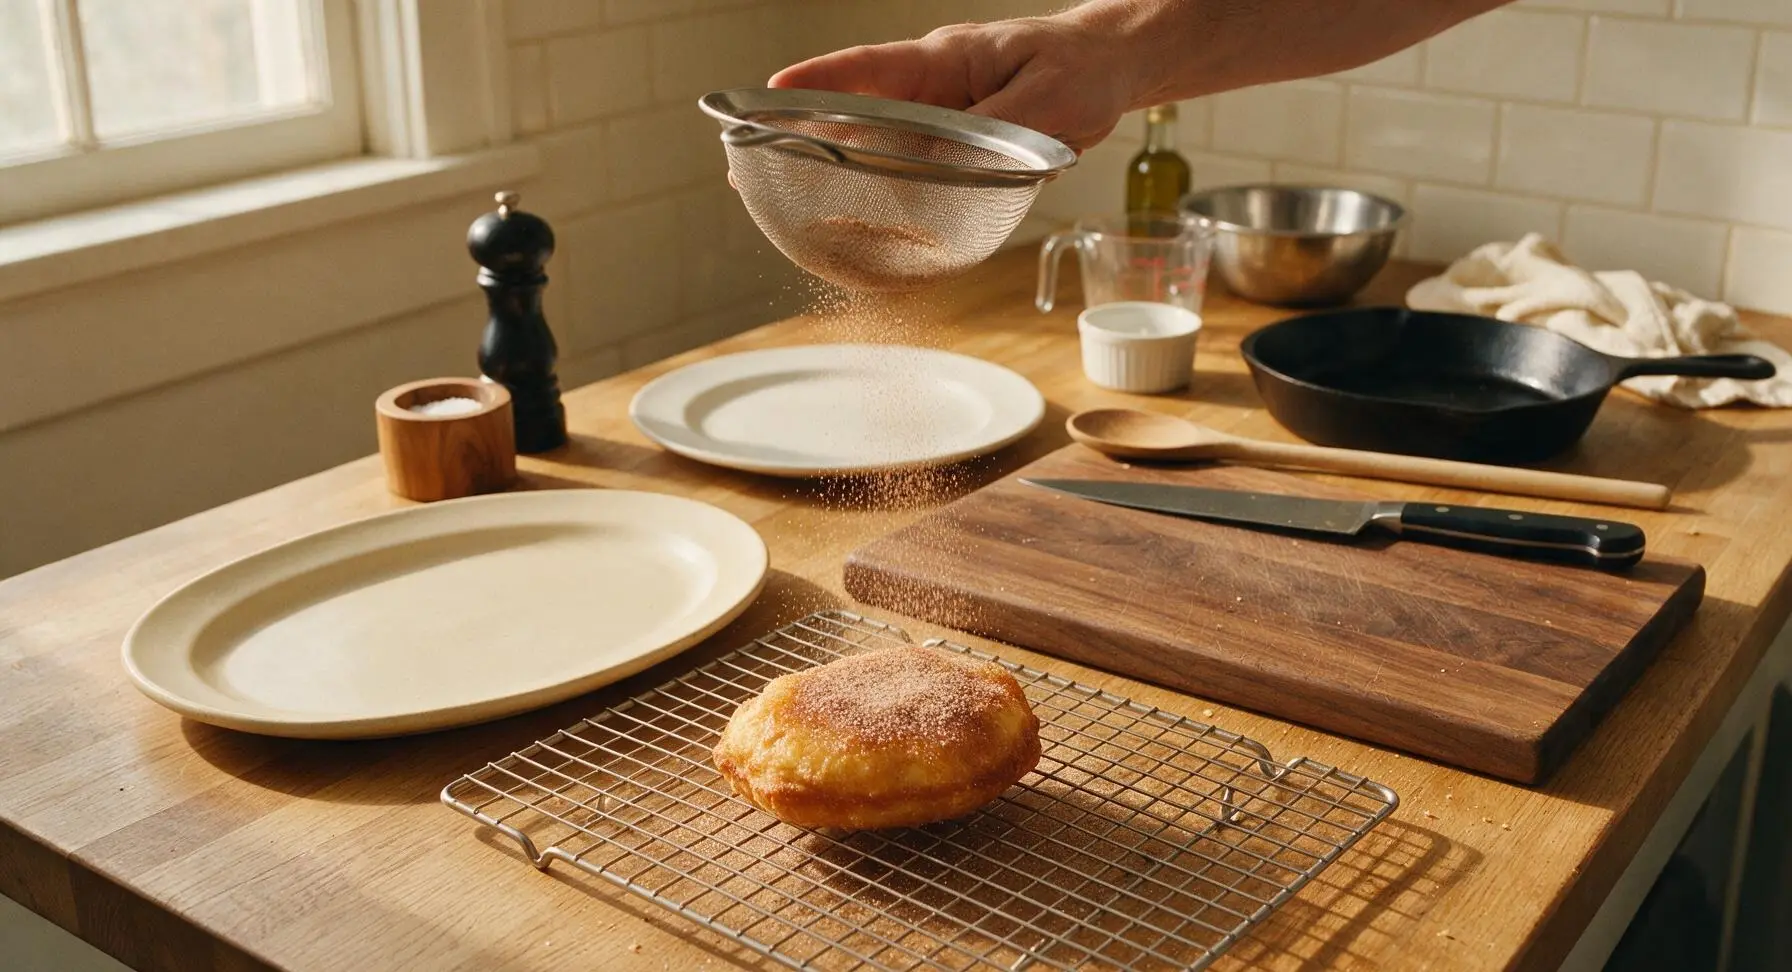
Lightly brush the entire top surface of each warm fried pastry with melted butter, then hold the fine-mesh stainless steel sieve over the pastry and dust generously with the cinnamon sugar mixture, coating the surface evenly. Arrange the finished Beaver Tails in an overlapping stack on the matte cream oval serving platter, and serve immediately while warm.
Tips
2.Let oil recover between batches: Wait 60 seconds after removing cooked pastries to let the oil temperature climb back to 375°F before adding new dough. Cold dough drops oil temperature rapidly, leading to greasy, oil-soaked pastries if you fry too soon.
3.Coat pastries while they are still warm: The residual heat from the freshly fried dough melts the brushed butter just enough to help the cinnamon sugar adhere in an even layer, rather than sliding off or clumping on cooled pastry surfaces.






OMG, these were such a hit at our neighborhood fall potluck last weekend! I was worried they’d be too fussy since it’s medium difficulty, but the 15 minute cook time was totally doable even while juggling 3 other dishes. The cinnamon sugar crust was perfectly crispy, not soggy at all. My kids begged me to make a second batch before the potluck even ended. SO good!
Game changer for our post-ski snack spread! My family has been hitting the sledding hills every weekend this winter, and these taste exactly like the ones we get at the mountain resort, no overpriced concession stand markup. I even added a little extra nutmeg to the cinnamon sugar mix, chef’s kiss.
Took a couple tries to get the dough rolled thin enough the first time, but once I got the hang of it these were incredible. Way better than the fair version I waited 45 minutes in line for last summer.
Made these for my teen’s birthday party sleepover and every single kid asked for the recipe! I set out little topping stations with Nutella, crushed Oreos, and caramel drizzle so people could customize, but the classic cinnamon sugar was still the fan favorite. 10/10 will be making these for every gathering from now on.
First attempt didn’t go great, I burned the first three because my oil was way too hot. Once I turned the temp down they turned out amazing, though! Definitely use a candy thermometer if you’re a beginner like me, don’t just guess on oil temp.
I made these last weekend and they were incredible, but I was wondering – has anyone tried making them in the air fryer for a quicker weeknight version? I try to avoid heating up a big pot of oil on busy nights, but these are too good to only make on weekends.
Made these for our Sunday family dinner dessert and even my super picky mother-in-law asked for seconds! The cinnamon to sugar ratio was spot on, not too sweet, just perfect. Will be adding this to our regular rotation.
Wait, I thought beaver tails were supposed to be the stretched oblong shape? My first batch puffed up so much they were basically round donuts, did I overwork the dough? They still tasted great, just didn’t look anything like the recipe photo so they were kind of a miss for the party I brought them to.
Meal prepped the dough on Sunday and made fresh beaver tails for my kids’ after school snacks all week! It was such a fun treat, way better than the processed granola bars they usually beg for. I portioned the dough out into individual balls so it was super quick to roll and fry each afternoon.
Tried these for our game night watch party last night and they were gone in 10 minutes flat. I made a double batch and still didn’t have enough! Next time I’m making a triple batch, no question.
I used whole wheat flour by accident once when I was making these and it was actually really good! Added a nice nutty depth that paired so well with the cinnamon sugar. Don’t sleep on that swap if you’re trying to add a little whole grain to your treats.
These taste exactly like the beaver tails I got on our trip to Canada last year! I was so worried I wouldn’t be able to replicate that nostalgic flavor at home, but this recipe nailed it. Even the texture is perfect, chewy in the middle and crispy on the edges.
First time making any kind of fried dough and I was shocked how easy this was for a medium difficulty recipe! I thought for sure I’d mess it up, but the steps were super clear, and the cook time really was only 15 minutes once I had my dough prepped. My roommate is already begging me to make them again this weekend.