
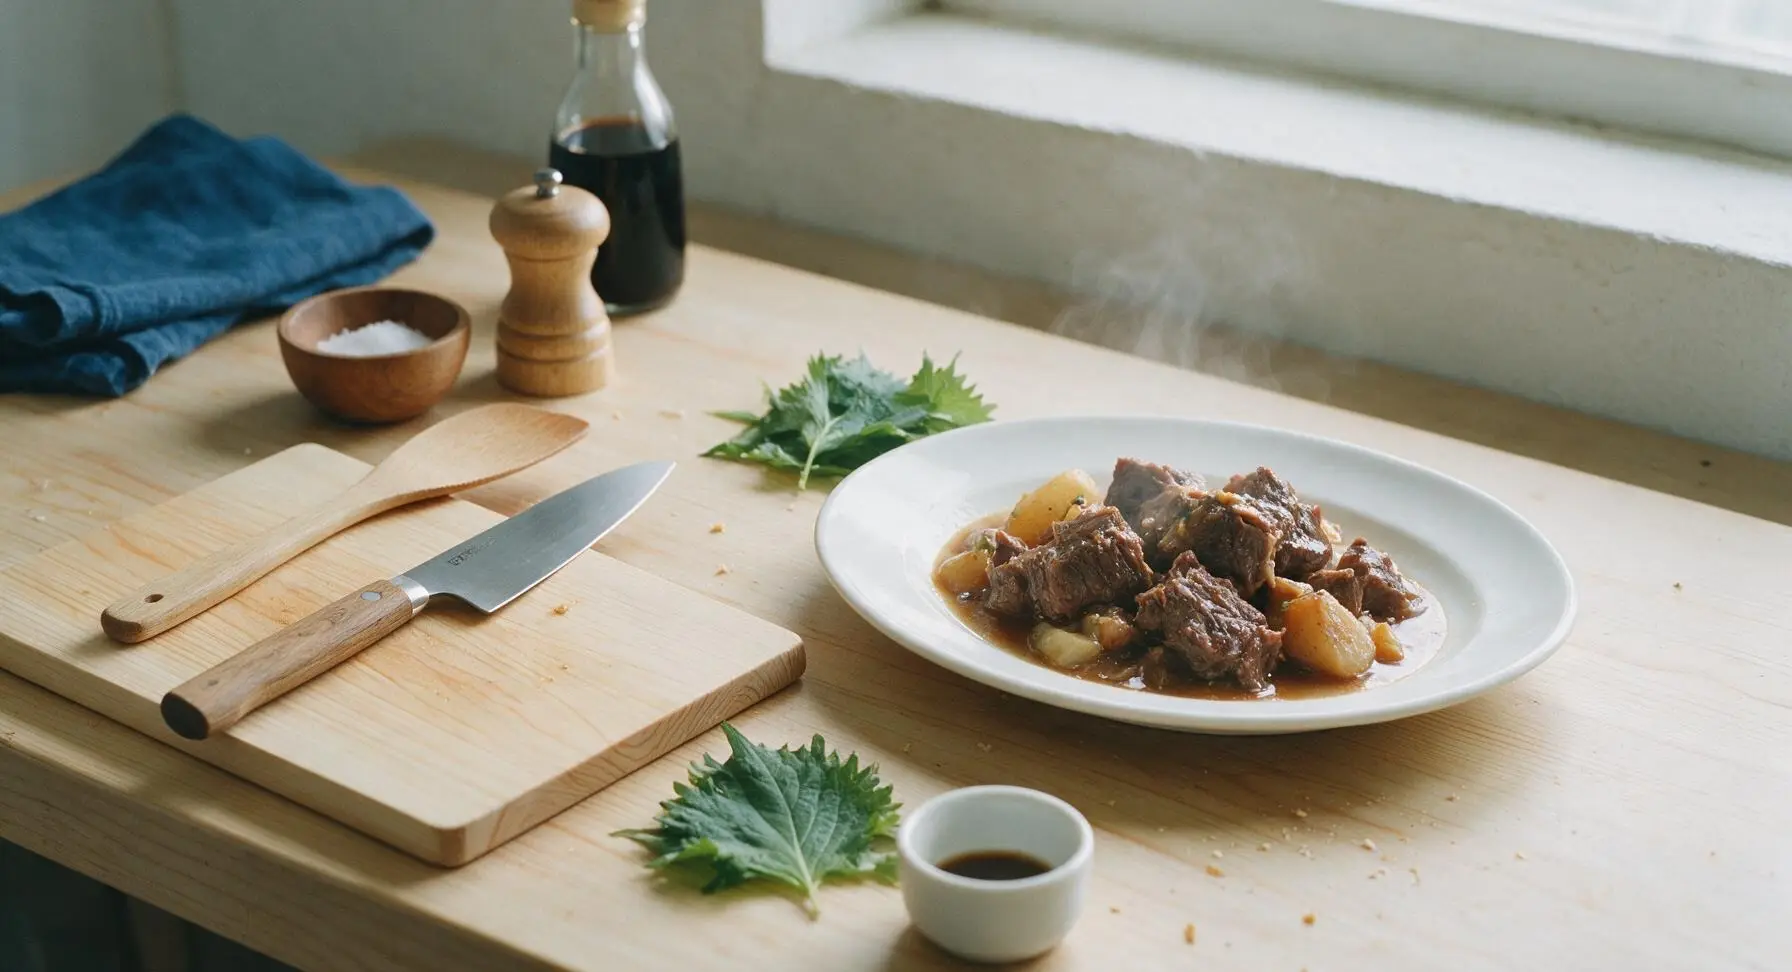
beef chunks

title 1
beef chunks
⏱️ cook time 1 hour 45 minutes
🍽️ servings 4
⚡ Difficulty medium

intro

Fall-apart tender slow-braised beef chunks in rich savory gravy, paired with soft root vegetables for a cozy one-pot autumn meal perfect for Sunday family dinners.

Ingredients
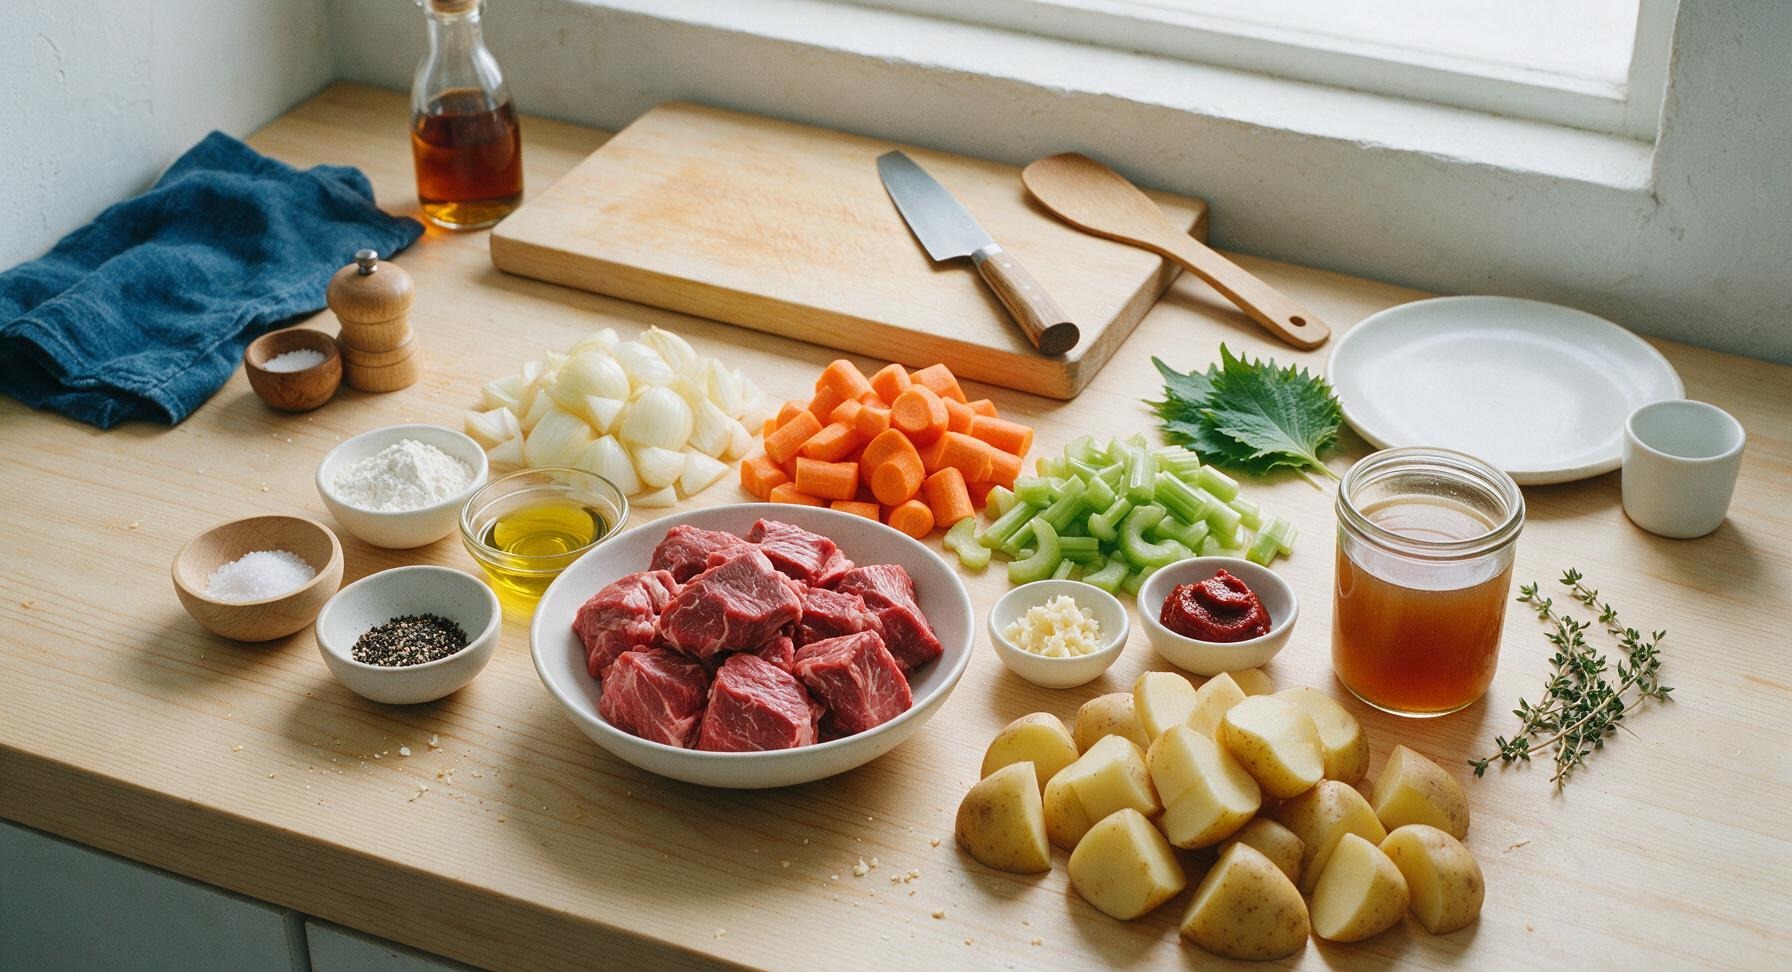
Beef chuck, cut into 4cm chunks 1kg (2.2 lbs)
Kosher salt 1.5 tsp
Freshly cracked black pepper 1 tsp
All-purpose flour 2 tbsp
Olive oil 2 tbsp
Yellow onion, large diced 1 medium (150g)
Carrots, cut into 3cm chunks 2 medium (180g)
Celery stalks, cut into 2cm slices 2 stalks (120g)
Garlic cloves, minced 3 (10g)
Tomato paste 1 tbsp
Low-sodium beef broth 2 cups (480ml)
Fresh thyme sprigs 3
Yukon gold potatoes, cut into 4cm chunks 2 medium (300g)

Steps

1

Pat Beef Chunks Dry

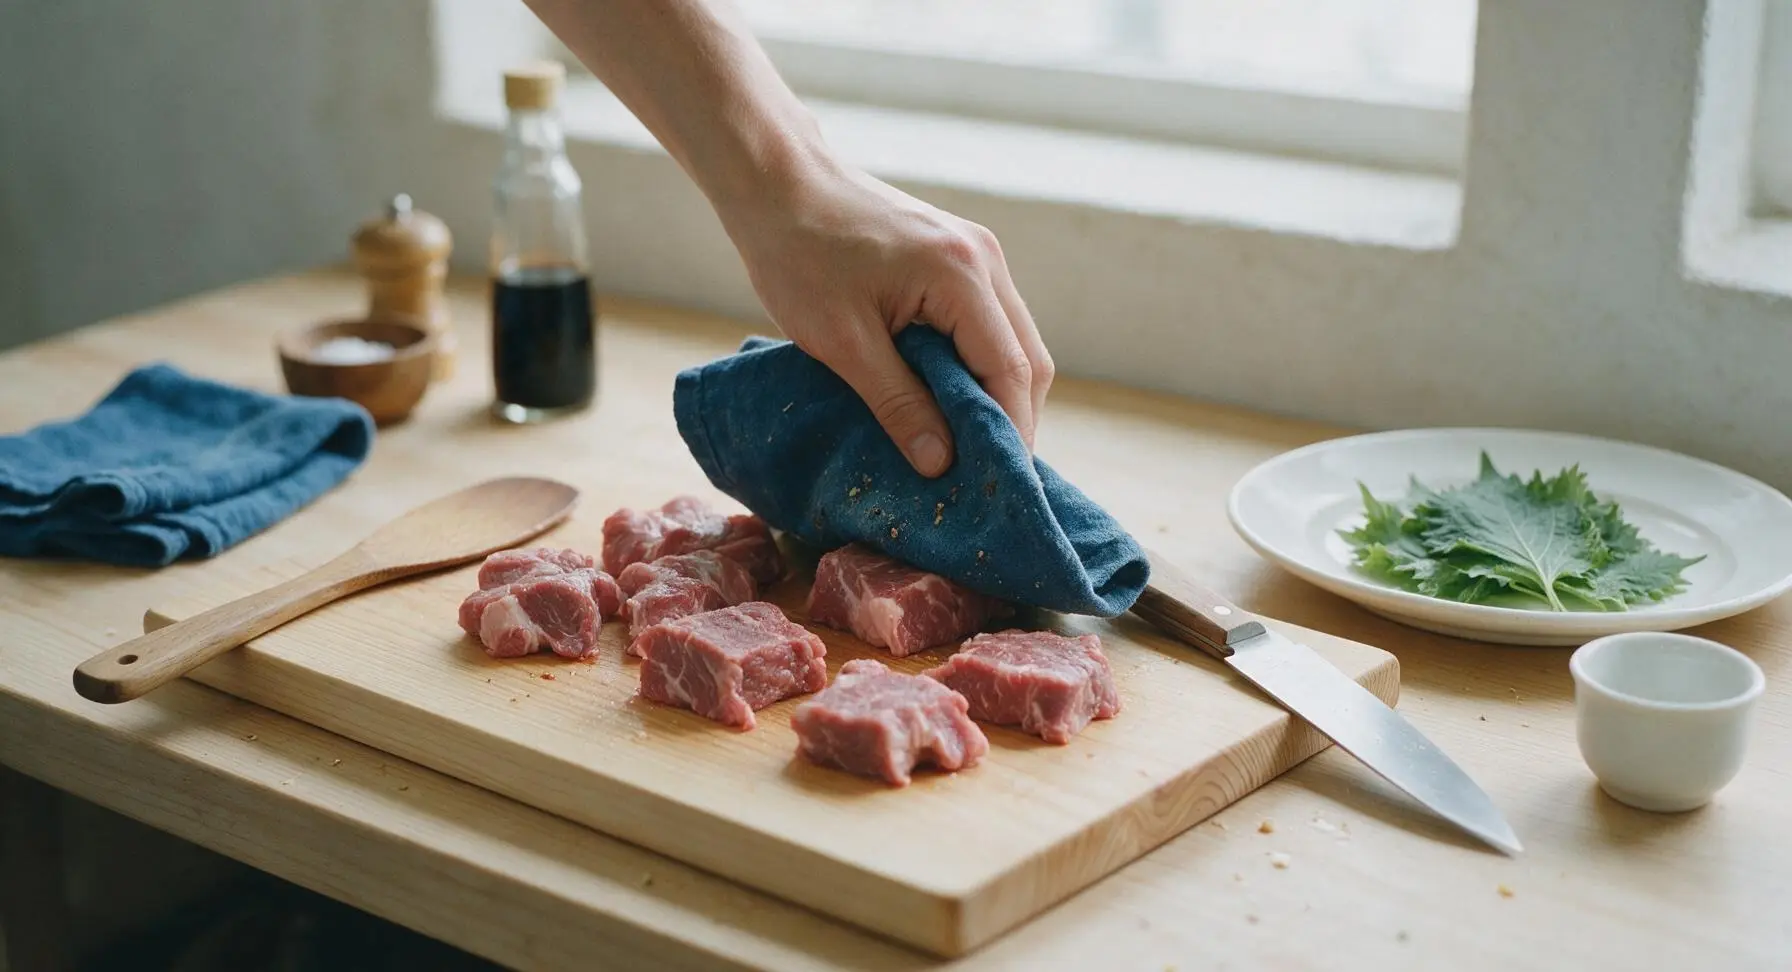
Place the raw 4cm beef chuck chunks on the bamboo cutting board. Use a corner of the indigo cotton kitchen towel to pat every surface of the beef completely dry, removing all excess surface moisture. Season all sides evenly with 1 tsp kosher salt and ½ tsp cracked black pepper. Discard any small bits of sinew or hard fat you spot as you work.
Step 1
step1:Pat Beef Chunks Dry
2

Sear Beef Until Golden

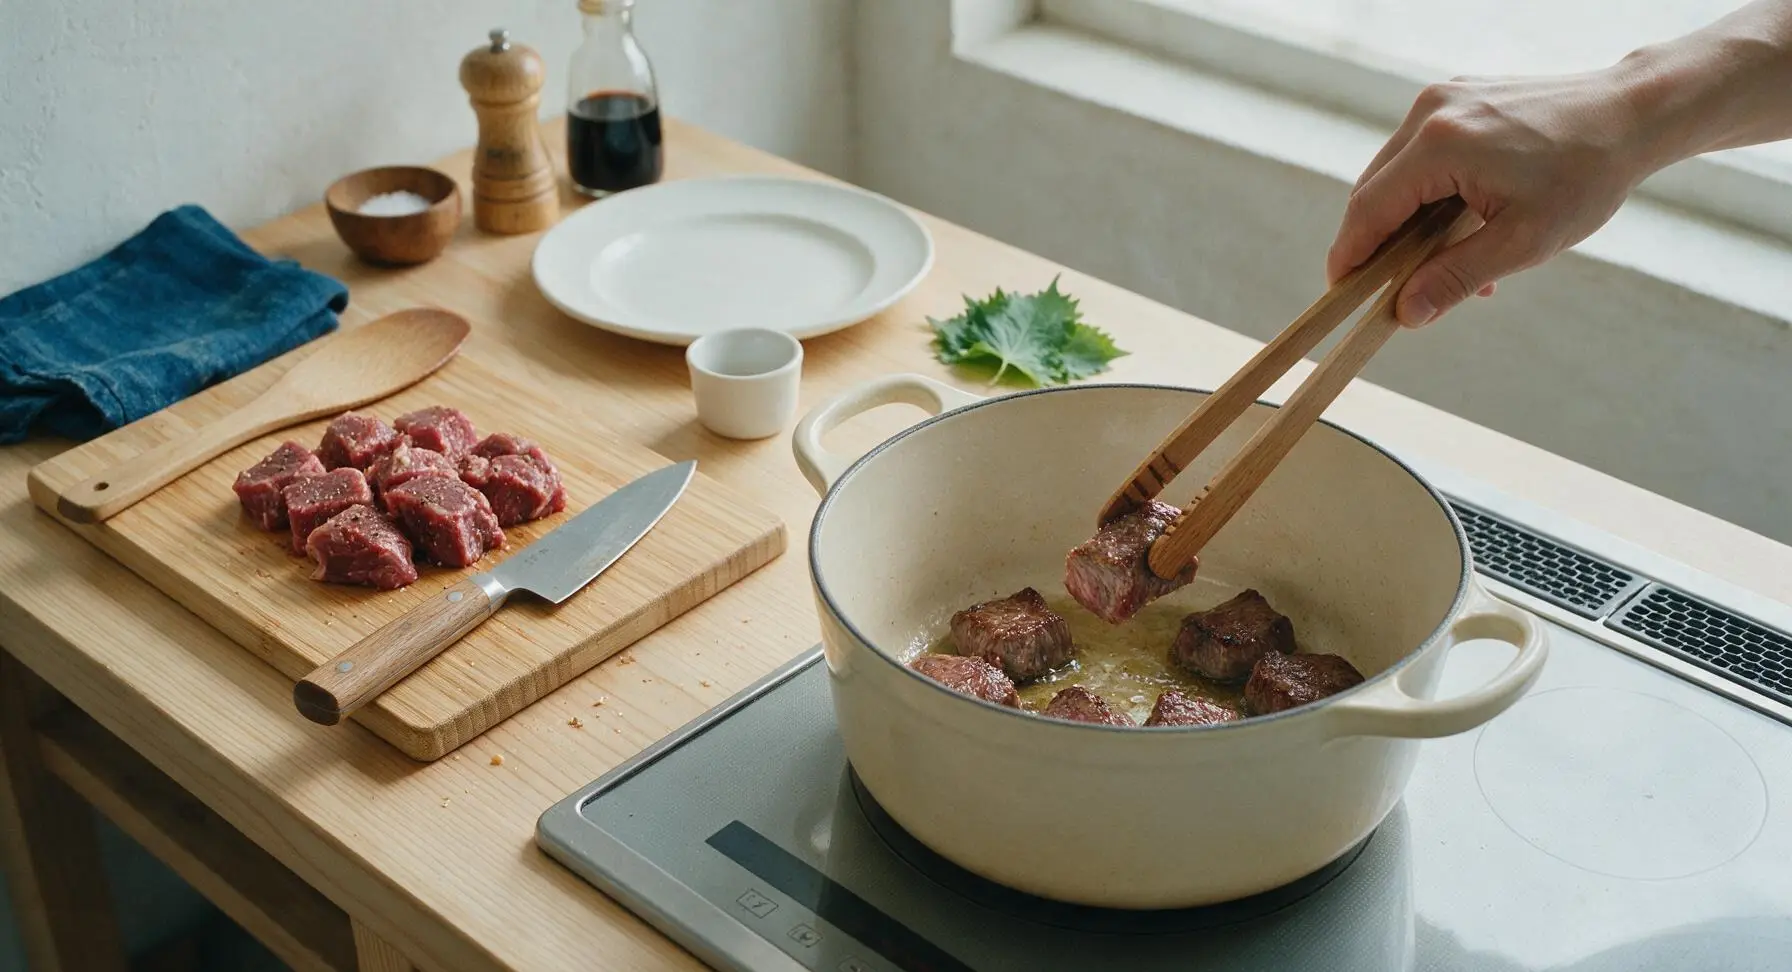
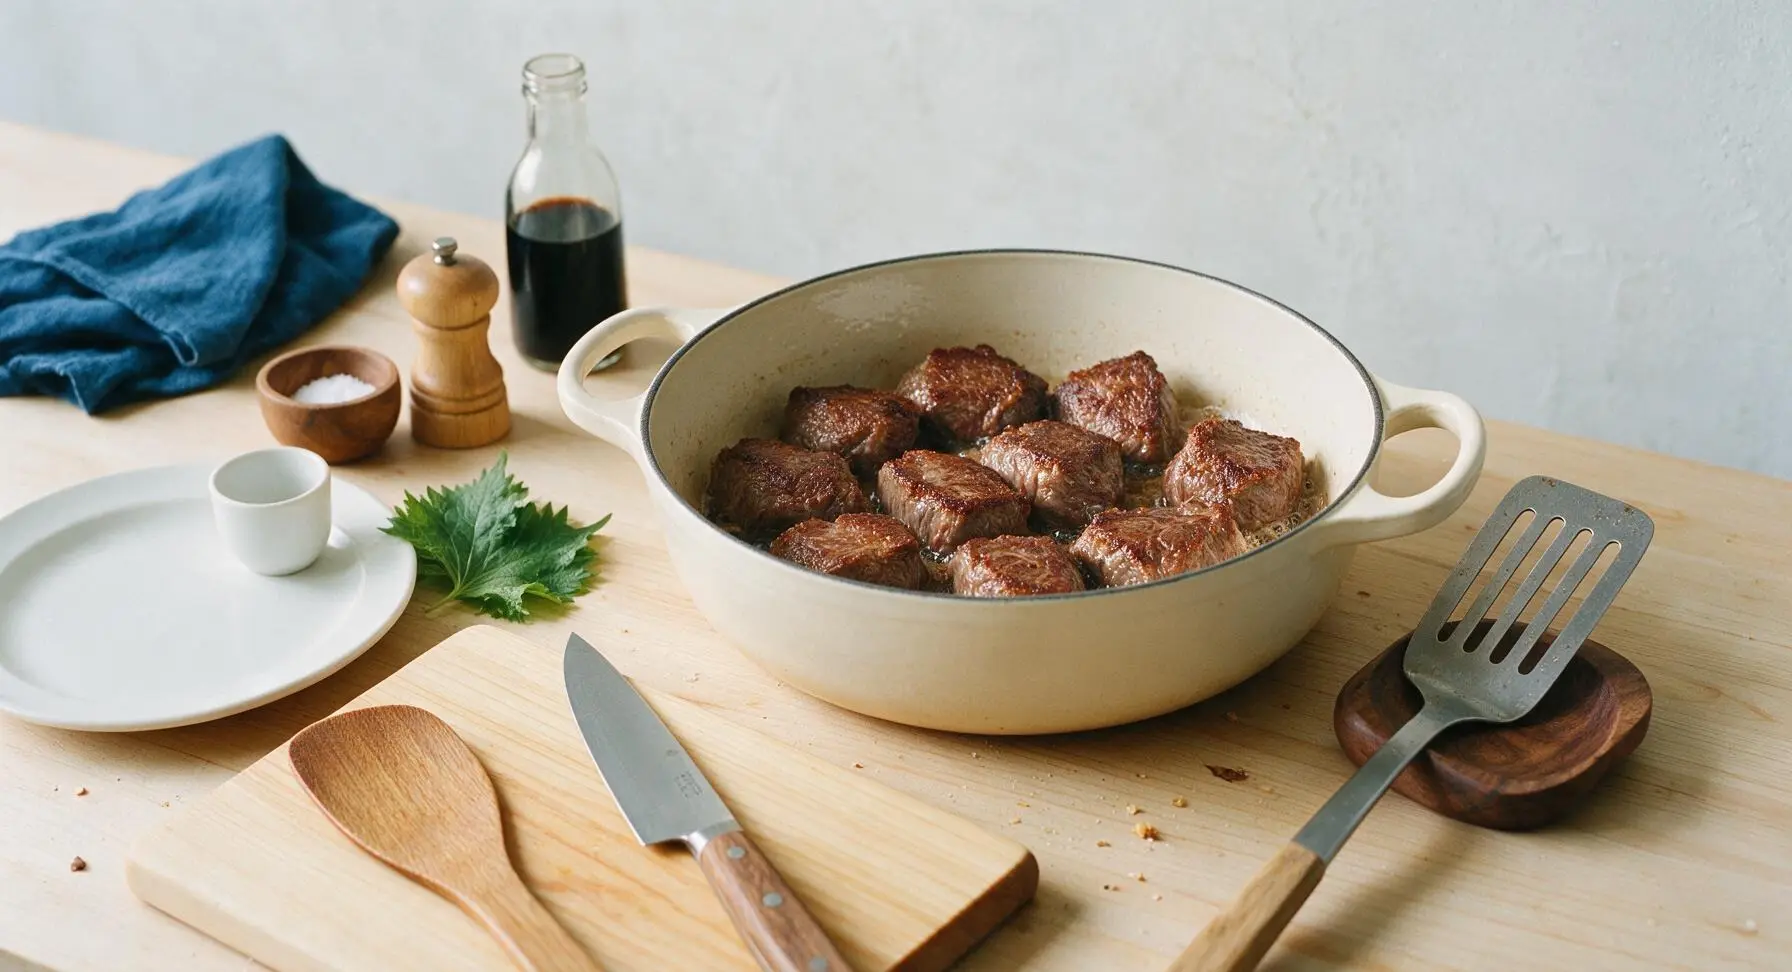
Heat 2 tbsp olive oil in the cream enameled Dutch oven over medium-high heat (190C/375F). Once the oil shimmers, add half the beef chunks in a single layer, leaving 1cm of space between each chunk to avoid crowding. Sear for 3-4 minutes per side, until a deep golden-brown crust forms on every surface. Transfer seared chunks to a clean prep plate, then repeat with the remaining beef. Do not scrape the browned bits (fond) from the bottom of the pot.
Step 2
step2:Sear Beef Until Golden
Step 2
step2:Sear Beef Until Golden
3

Sauté Aromatic Vegetables

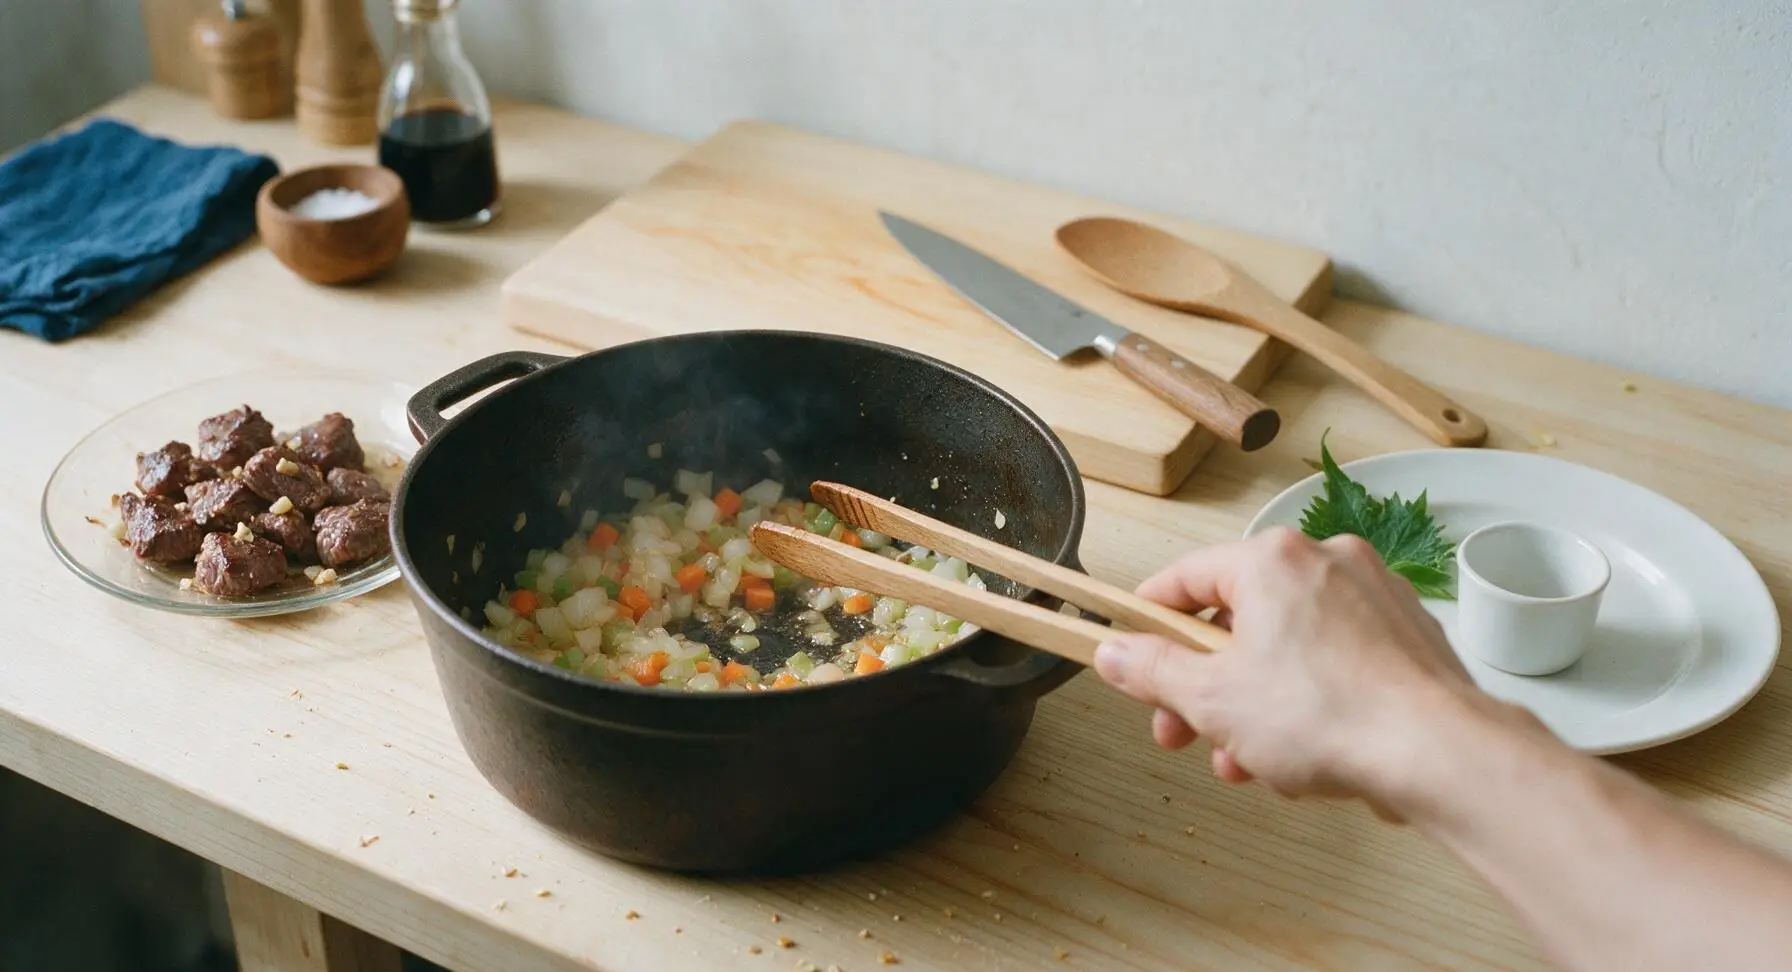
Reduce heat under the Dutch oven to medium (175C/350F). Add the diced onion, carrot, and celery to the remaining oil and beef fat in the pot. Sauté for 5 minutes, stirring occasionally with the wood tongs, until the onion turns translucent and the edges of the carrots start to soften. Add the minced garlic and cook for 30 seconds more, until fragrant, being careful not to burn the garlic.
Step 3
step3:Sauté Aromatic Vegetables
4

Deglaze Pot with Broth

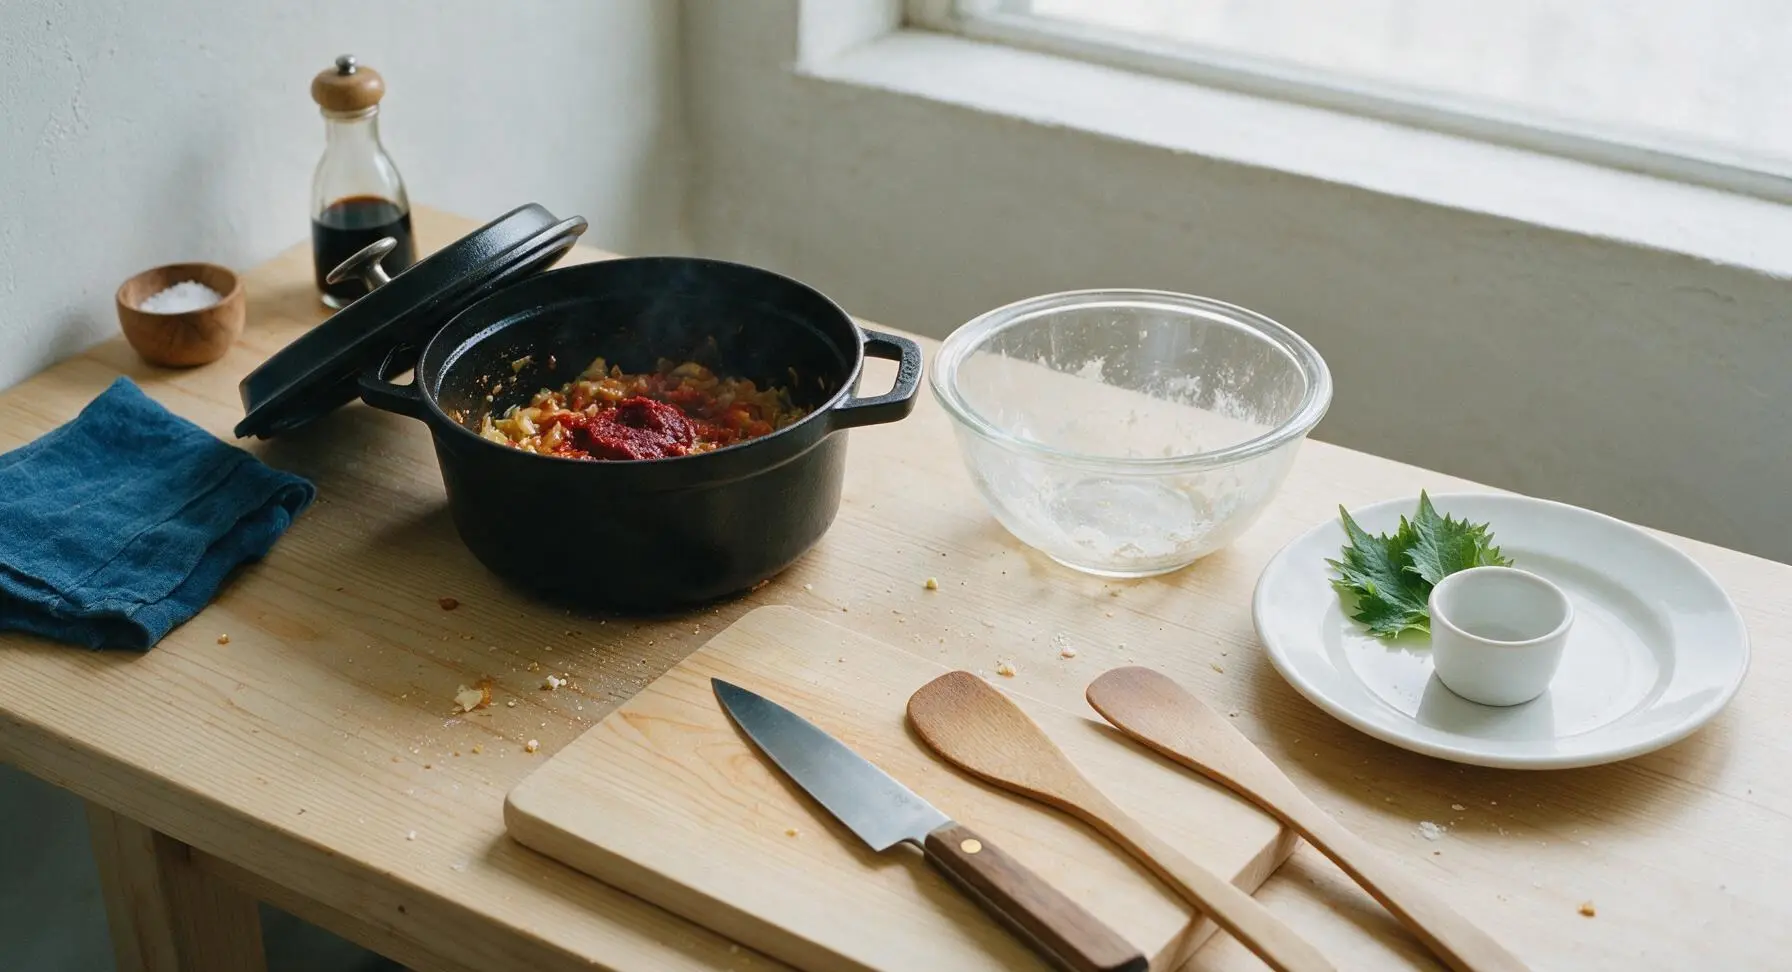
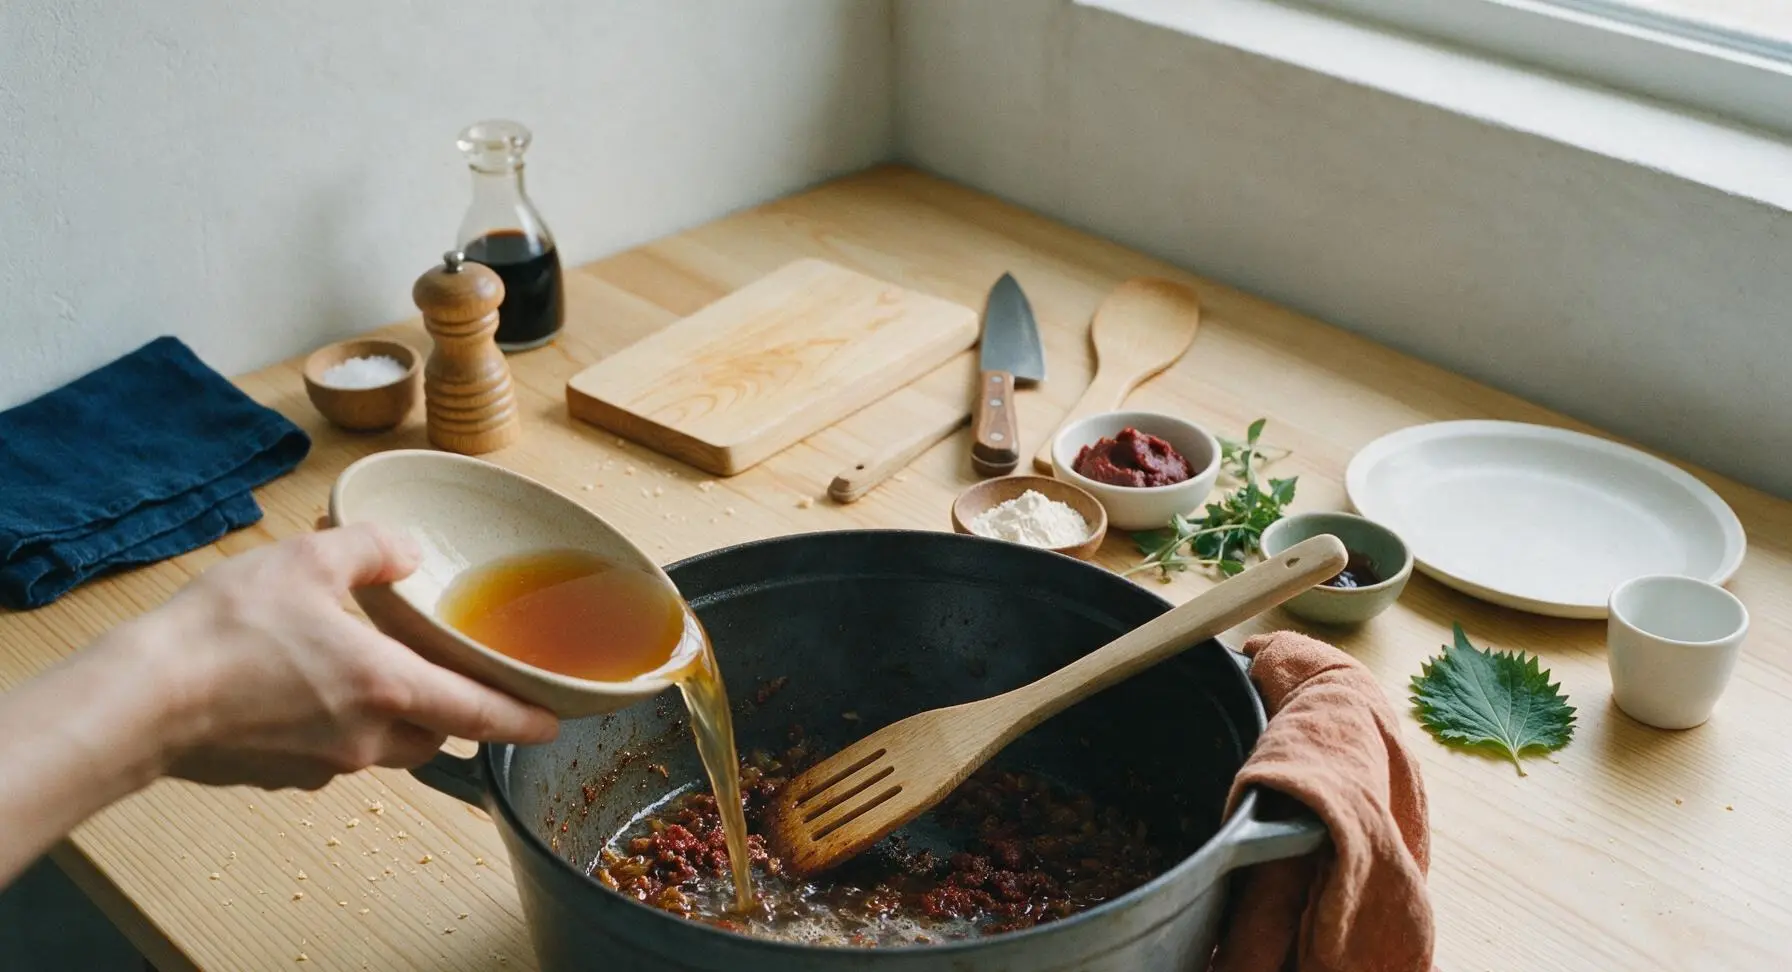
Add 1 tbsp tomato paste to the sautéed vegetables, stirring constantly for 1 minute until the paste darkens to a deep rust color and smells sweet. Sprinkle 2 tbsp all-purpose flour over the vegetables, stirring to coat evenly, and cook for 1 minute to remove raw flour taste. Slowly pour in ½ cup of beef broth, using the slotted turner to scrape all the browned fond bits from the bottom of the pot, then stir in the remaining 1.5 cups of broth.
Step 4
step4:Deglaze Pot with Broth
Step 4
step4:Deglaze Pot with Broth
5

Slow Braise Beef Chunks

Return all the seared beef chunks and any accumulated juices from the prep plate back to the Dutch oven. Add the 3 fresh thyme sprigs and the remaining ½ tsp salt and ½ tsp pepper. Bring the liquid to a gentle simmer, then reduce heat to low (120C/250F), cover the pot with its lid, and cook for 1 hour, stirring once halfway through. The beef should be starting to turn tender when pierced with a fork, but not yet falling apart.
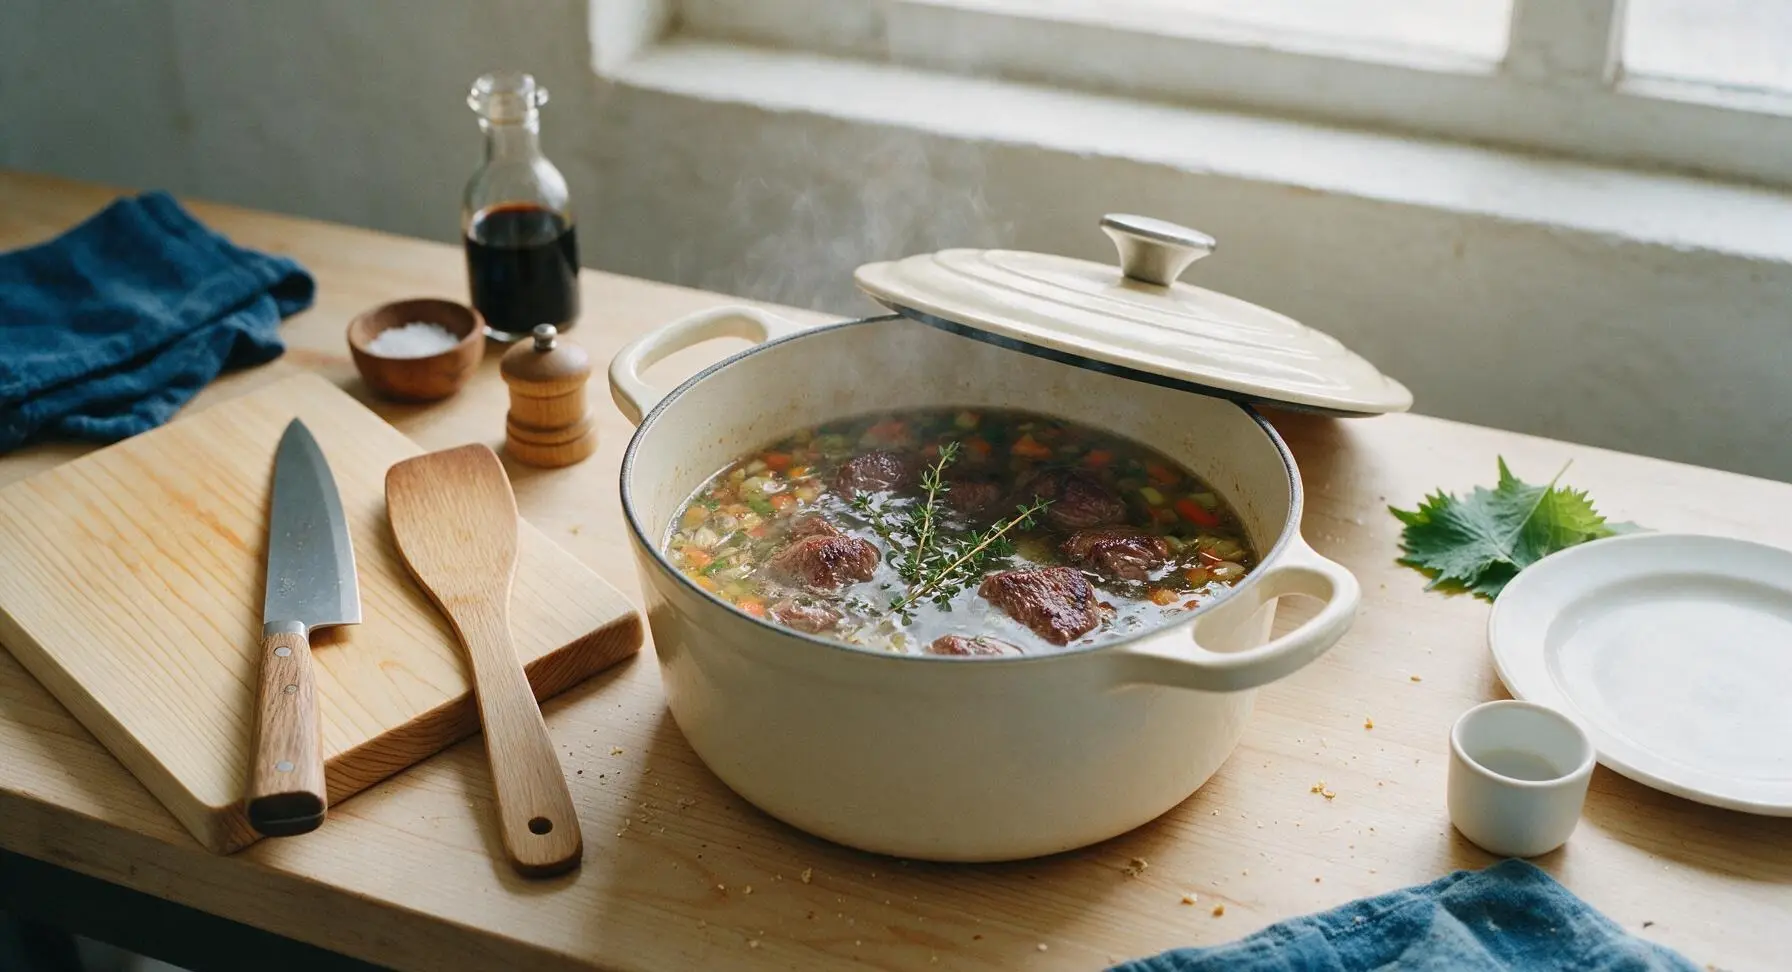
Step 5
step5:Slow Braise Beef Chunks
6

Add Potatoes, Finish Cooking

Remove the pot lid, add the cubed Yukon gold potatoes to the Dutch oven, stirring gently to submerge them in the gravy. Replace the lid and cook for an additional 30 minutes over low heat, until the potatoes are fork-tender and the beef chunks pull apart easily with gentle pressure, and the gravy has thickened to a rich, coating consistency. Remove and discard the woody thyme stems before serving.
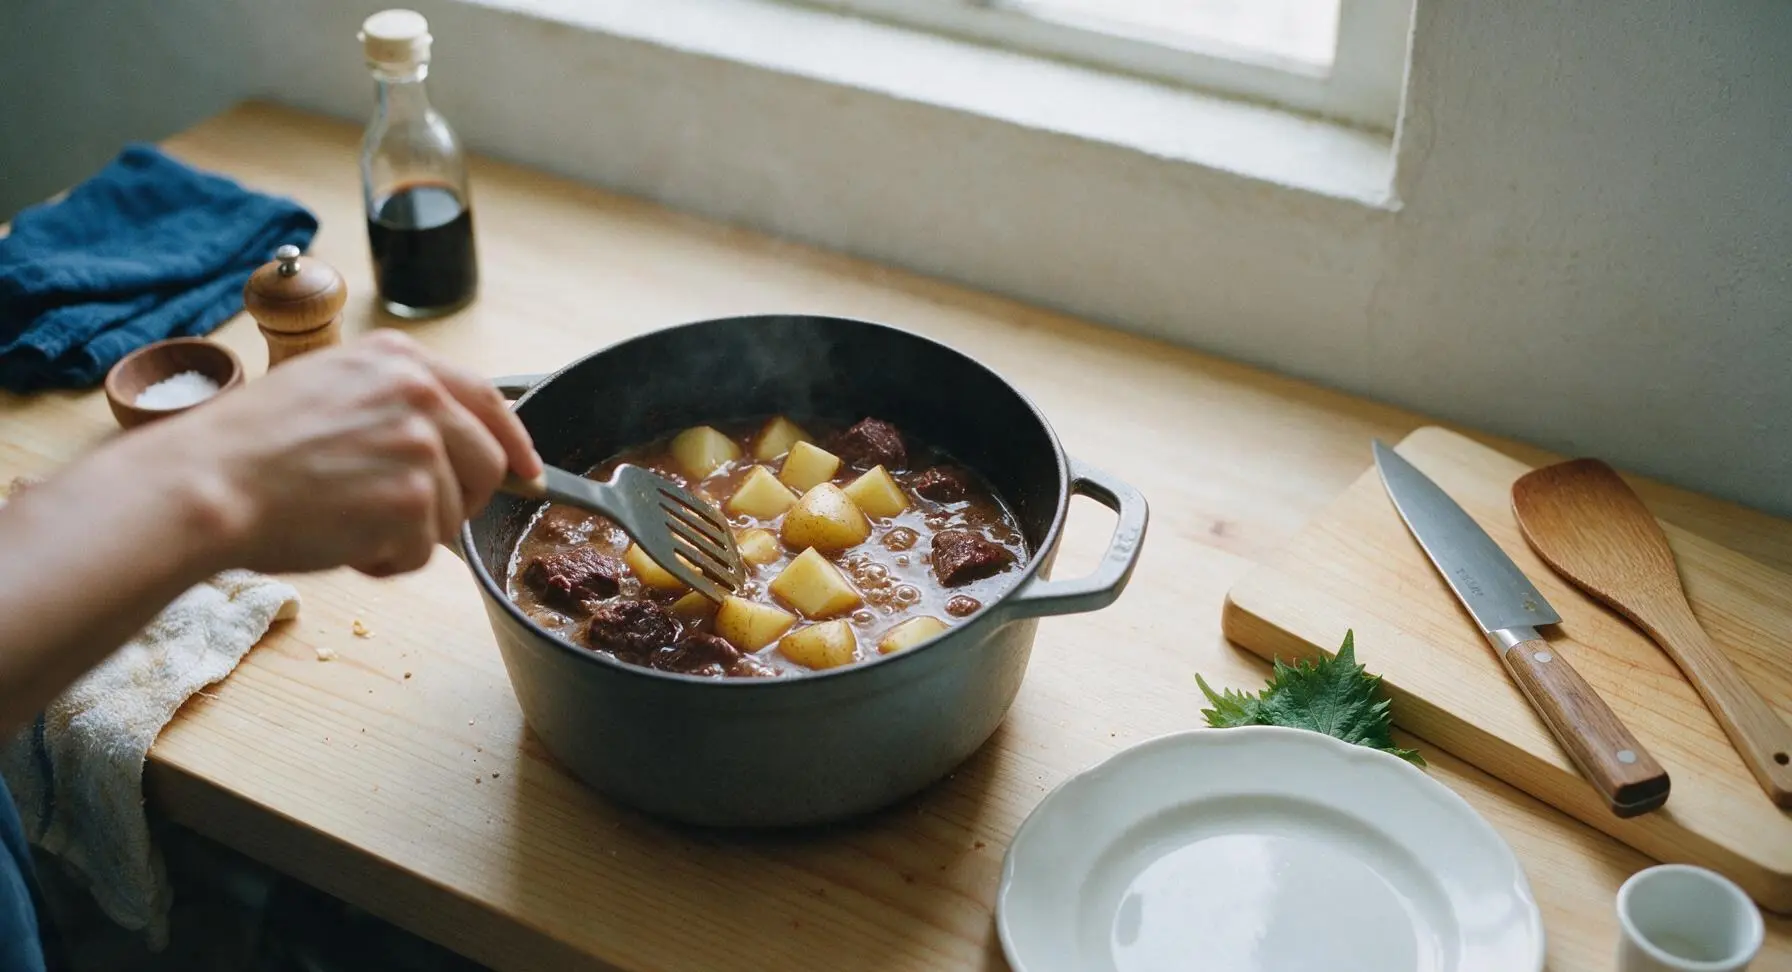
Step 6
step6:Add Potatoes, Finish Cooking
7

Adjust Seasoning, Rest

Turn off the heat under the Dutch oven. Use the tasting spoon to sample the gravy, adding a pinch more salt or pepper if needed. Let the beef chunks rest, uncovered, for 5 minutes to allow the flavors to meld and the gravy to thicken slightly before serving.
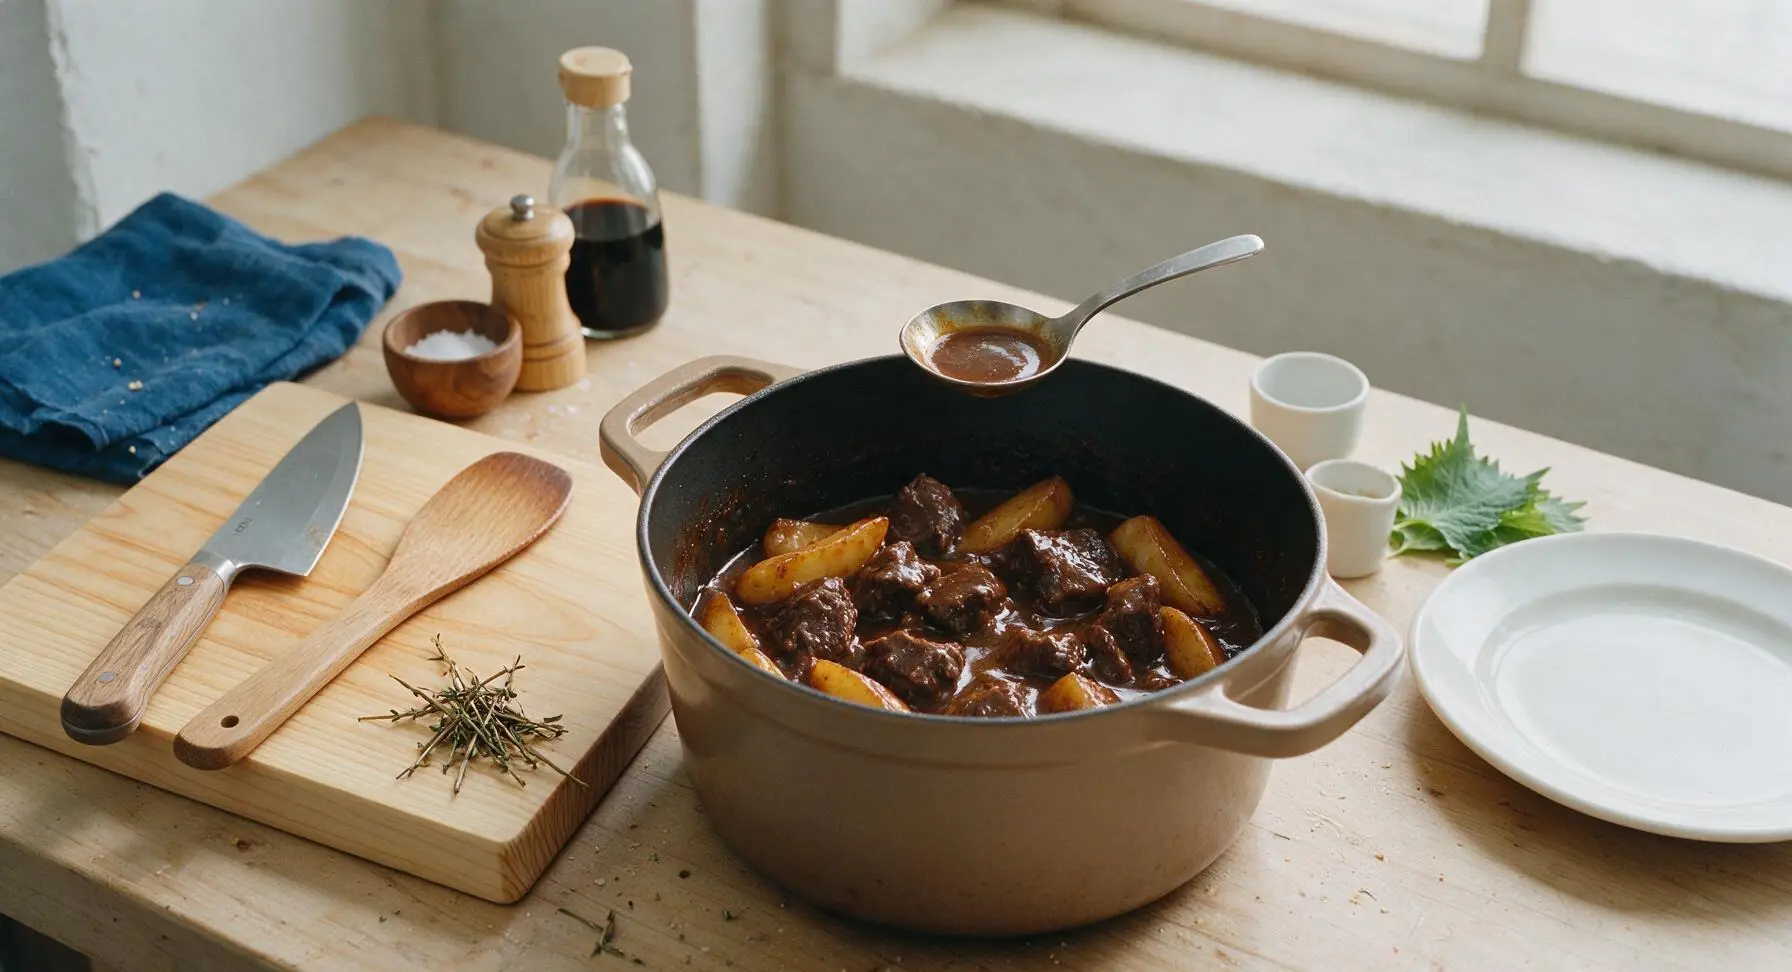
Step 7
step7:Adjust Seasoning, Rest

Tips

1.Never crowd the pan when searing beef: if chunks are packed too tightly, they will release moisture and steam instead of forming a deep, nutty brown crust, which is the foundation of rich, complex gravy flavor. Sear in 2 batches if needed to leave 1cm of space between each chunk.
2.Choose beef chuck over leaner cuts like sirloin or round: chuck has even marbling and connective tissue that breaks down during slow braising to create melt-in-your-mouth tender chunks, while lean cuts will turn tough, stringy, and dry after long cooking.
3.Let the finished dish rest for 5 minutes off heat before serving: this allows the starch-thickened gravy to set and cling to the beef chunks instead of running thin across the plate, and gives the savory flavors time to meld into a more balanced taste.


✨ You May Also Like

Main Course
🍜 United Kingdom

A showstopping classic of tender seared beef, savory mushroom duxelles, and crisp prosciutto wrapped in flaky golden puff pastry, baked to juicy perfection.

⏱️ 2 hours 1Main Course ★ 4.7
Main Course
🍜 India

Tender charred marinated chicken simmered in a rich, spiced creamy tomato sauce, this iconic Anglo-Indian curry pairs perfectly with basmati rice or warm naan.

⏱️ 50 minuteMain Course ★ 4.6
Main Course
🍜 Thailand

Classic tangy, sweet, and savory Thai stir-fried rice noodles with shrimp, tofu, and crunchy garnishes, balancing all five core Thai flavor profiles.

⏱️ 30 minuteMain Course ★ 4.5
Main Course
🍜 United Kingdom

Crispy golden beer-battered cod and fluffy double-fried chips, served with tangy tartar sauce and malt vinegar: the timeless, beloved British pub comfort classic.

⏱️ 45 minuteMain Course ★ 4.7
Main Course
🍜 Mexico

Smoky, chile-marinated pork tacos with caramelized pineapple, fresh cilantro, and lime: a beloved classic Mexican street food perfect for casual summer gatherings.

⏱️ 1 hour 45Main Course ★ 4.8
Main Course
🍜 United States

Crunchy Fritos corn chips layered with savory beef chili and melted cheddar, topped with cool, zesty fixings for a beloved, cozy Tex-Mex comfort food.

⏱️ 35 minuteMain Course ★ 4.8

beef chunks:Frequently Asked Questions

1.Why is beef chuck the recommended cut for this slow-braised recipe? ▾
Beef chuck is ideal because it has generous marbling and tough connective tissue that melts completely during low, slow cooking. That breakdown creates rich, beefy flavor and that signature fall-apart tender texture, rather than the dry, chewy result you’d get from leaner cuts like sirloin or eye of round. Cut it into even 4cm chunks for consistent doneness.
2.Do I really need to sear the beef chunks before braising? ▾
Absolutely—searing isn’t just a fancy extra step. It builds deep, caramelized, savory flavor on the surface of the beef that you can’t get from slow cooking alone, and those browned bits left in the pan (called fond) form the base of your rich, complex gravy. Pat the beef dry first to get a crisp, golden sear instead of steaming.
3.What size should I cut my beef chunks for the best results? ▾
Stick to uniform 4cm (roughly 1.5-inch) chunks, as the recipe specifies. This size is large enough that it won’t fall apart into stringy bits during hours of braising, but small enough that connective tissue breaks down fully, and every bite absorbs rich gravy flavor evenly. Oddly sized chunks will cook at different rates, leading to mixed textures.
4.Can I use pre-cut stew beef from the grocery store instead of cutting my own chuck? ▾
You can, but be mindful that most pre-cut stew beef is a random mix of leftover cuts from the butcher case, often including lean, tough bits that won’t braise well. If you go this route, sort through the pieces, discard extra lean, sinew-heavy chunks, and trim pieces to a consistent 4cm size so they cook evenly.
5.Why do you coat the beef in flour before searing? ▾
The thin coating of all-purpose flour does two key jobs: first, it helps create a crisp, evenly browned crust on the beef when you sear it, and second, it thickens the braising gravy gradually as it simmers, so you don’t end up with a thin, watery sauce at the end. Shake off excess flour before searing to avoid a gummy, floury taste.
6.How much salt and pepper should I use to season the beef? ▾
Start with 1 teaspoon of kosher salt and ½ teaspoon of freshly cracked black pepper per pound of beef, seasoned right before you dredge in flour and sear. Remember that braising liquids reduce as they cook, so go slightly lighter than you think at first, then taste and adjust the gravy seasoning at the very end to avoid over-salting.
7.Can I make this recipe in a slow cooker instead of a stovetop Dutch oven? ▾
Definitely! Sear the beef and sauté any aromatics first as directed, then transfer everything to your slow cooker. Cook on low for 6 to 8 hours, or high for 3 to 4 hours, until the beef pulls apart easily with a fork. Leave the lid cracked for the last 30 minutes if you want a thicker, more concentrated gravy.
8.How do I know when the braised beef is done and properly tender? ▾
You’ll know it’s perfect when you can pierce a chunk with a fork or paring knife with zero resistance, and the meat pulls apart easily when you twist the fork. If you meet any tough, springy resistance when you poke it, cover it back up and let it braise another 20 to 30 minutes—rushing this step causes tough beef.
9.Why did my beef turn out tough even after hours of slow braising? ▾
Tough braised beef almost always comes down to one of three issues: you used a too-lean cut of beef, you cooked it at too high a temperature (boiling instead of gentle simmering makes meat seize up), or you didn’t cook it long enough for connective tissue to fully break down into rich, tender gelatin. Keep the heat low and be patient!
10.What root vegetables pair best with this braised beef? ▾
Sturdy, low-moisture root veggies work best here—think carrots, parsnips, turnips, Yukon gold potatoes, and celery root. Add them during the last 45 minutes to 1 hour of braising so they get soft and absorb gravy flavor without turning to mushy, disintegrating bits in the pot. Skip delicate veggies like zucchini, which will break down completely.
11.Can I make this recipe ahead of time for a Sunday family dinner? ▾
Not only can you, braised beef actually tastes better made a day ahead! Let the whole pot cool completely, then store it covered in the fridge for up to 3 days. The fat will solidify on top for easy skimming, and the flavors will meld and deepen as it rests. Reheat gently over low heat on the stovetop before serving.
12.How do I fix a gravy that’s too thin at the end of cooking? ▾
If your gravy is watery, use a slotted spoon to remove the beef and veggies temporarily, then simmer the gravy over medium heat for 5 to 10 minutes to reduce and thicken. For a quicker fix, make a slurry of 1 tablespoon cornstarch mixed with 2 tablespoons cold water, stir it into the simmering gravy, and cook 2 minutes until it thickens.
13.What if my gravy turns out too thick or pasty? ▾
If your gravy comes out overly thick, stir in a splash of low-sodium beef broth, dry red wine, or even plain water a tablespoon at a time until it reaches a rich, pourable consistency that coats the back of a spoon. This usually happens if you used too much flour on the beef, or cooked with a fully sealed lid the whole time.
14.Can I use a different oil instead of olive oil for searing the beef? ▾
Absolutely—you just need a high-smoke-point fat to get a good sear without burning. Avocado oil, canola oil, or even rendered bacon fat or beef tallow work beautifully here. Skip delicate extra-virgin olive oil if you’re searing at very high heat, as it has a lower smoke point and can turn bitter if it gets too hot.
15.How long do leftovers keep in the fridge or freezer? ▾
Stored in a sealed, airtight container, leftover braised beef will keep for 3 to 4 days in the refrigerator, and up to 3 months in the freezer. Thaw frozen leftovers overnight in the fridge, then reheat gently over low stovetop heat, adding a splash of broth if the gravy has thickened up too much during storage.
16.Do I need to use a Dutch oven to make this braised beef? ▾
A heavy-bottomed Dutch oven is ideal because it distributes heat evenly and holds a steady, gentle simmer perfectly, but you can use any heavy, oven-safe pot with a tight-fitting lid. Just make sure the pot is large enough to hold all the beef, veggies, and liquid without crowding, which makes beef steam instead of braise.
17.Can I add wine or extra aromatics to the braising liquid for more flavor? ▾
Of course! A splash of dry red wine (like Cabernet Sauvignon or Merlot) added after searing to deglaze the pan adds incredible depth, as do aromatics like yellow onion, garlic, thyme, rosemary, a bay leaf, or a tablespoon of tomato paste. Just avoid adding too much acidic liquid, which can make the beef taste sour.
18.What are the best sides to serve with these slow-braised beef chunks? ▾
Beyond the soft root veggies cooked right in the pot, this beef pairs beautifully with buttery mashed potatoes, creamy polenta, buttered egg noodles, or crusty sourdough bread to soak up every last drop of rich gravy. A simple side of crisp green salad or steamed green beans adds a bright, fresh contrast to the rich, savory meat.

Comments (12)

2 days ago

OMG this was a total game changer for our Sunday family dinner! I was worried the beef would be tough since I’ve messed up braised beef so many times before, but following this exactly left it fall-apart tender after the 1 hour 45 minute cook time. My kids even asked for seconds, which never happens with beef dishes! Served it over creamy mashed potatoes and it was total chef’s kiss.

yesterday

Did you use chuck roast for the chunks? I only have a round roast in the freezer right now and wondering if that’ll work!

yesterday

So glad your family loved it! Chuck roast is ideal for that melt-in-your-mouth texture, but if you’re using round roast just add 15 extra minutes of braising time on low and it’ll turn out great!

1 week ago

Made a big batch of this for my weekly meal prep and it held up so well all week! The only reason I’m not giving 5 stars is I wish the recipe noted how much salt to add to taste early on — I undersalted at first and it was a little bland, but once I adjusted it was SO good. Will absolutely make again, paired great with roasted carrots and quinoa.

5 days ago

Thanks for the honest feedback, Mitch! I’ve updated the recipe notes to call for seasoning to taste with salt and pepper before searing the beef, that helps build that deep flavor early. So glad it worked out for your meal prep!

3 days ago

Brought this to my neighborhood potluck last weekend and people were begging me for the recipe before I even left! The beef was so tender you didn’t even need a knife to cut it, and the rich gravy was perfect for sopping up with soft dinner rolls. 10/10, will be making this for every fall gathering from now on.

5 minutes ago

Full transparency, I’m a total novice in the kitchen and was super intimidated by a medium-difficulty recipe, but this came out perfectly first try! The instructions were so clear and step-by-step, I didn’t feel lost at any point. My roommate said it tasted like something from a fancy steakhouse, I felt so proud.

just now

Yay so happy for you! I’m also a new cook and was nervous about trying this, your comment makes me way more excited to make it this weekend!

2 hours ago

Quick question before I make this for my anniversary dinner this weekend — is there any wheat flour in the braising liquid? I’m gluten free and need to adapt if so, this looks so tender and delicious I don’t want to skip it!

2 hours ago

I made this last week with a cornstarch slurry instead of the flour roux at the end and it worked perfectly! No texture difference at all.

30 minutes ago

Great question! The base recipe uses a small amount of all-purpose flour to thicken the gravy, but you can absolutely swap it for cornstarch (1 tbsp cornstarch mixed with 2 tbsp cold water) stirred in at the end for a gluten-free version that works just as well. Hope your anniversary dinner is lovely!

yesterday

I added a little extra smoked paprika and a pinch of cayenne to the braising liquid and wow, that little kick took this to the next level! The beef was so juicy and tender, even my picky partner went back for a third helping. Will be a staple in our house for sure.

yesterday

Love that customization! Smoked paprika and cayenne sound like the perfect cozy, warm addition for people who love a little heat — I might have to test that version myself soon!

30 minutes ago

Wait, the cook time says 1 hour 45 minutes — is that mostly inactive time? I have a super packed weeknight schedule and don’t want to be stuck stirring at the stove for two hours straight after work!

5 minutes ago

I made this on a Tuesday night last week! Most of that time is just the beef simmering covered on low, you only have to stir it a couple times. I even threw in some potato chunks the last 20 minutes and it was a full one-pot meal, barely any active work.

just now

Great question! Only about 15 minutes of that total cook time is active: searing the beef, sautéing the aromatics, and getting the liquid up to a simmer. The rest is low, slow braising time where you can walk away and tackle other things while it cooks. Perfect for busy weeknights!

2 weeks ago

Made this in my tiny dorm slow cooker (I know the recipe is stovetop/oven but I didn’t have a Dutch oven!) — cooked it on low for 6 hours and it came out just as tender as the photos look. Used cheap stew meat from the campus grocery store and it still tasted incredible, such a forgiving recipe.

1 week ago

Wait this is genius! I don’t have a Dutch oven either and was gonna skip this recipe, now I’m gonna pull my tiny slow cooker out from under my bed to make it this week.

1 week ago

Love this hack! Slow cookers work perfectly for this recipe — low and slow is low and slow, no matter the appliance! So glad you were able to make it work even without fancy equipment.

5 days ago

I’ve been making braised beef for over 40 years and this recipe is hands down one of the best I’ve ever tried. The balance of savory, slightly sweet flavor from the onion, and rich beef taste is perfect. Made it for my grandkids when they visited last weekend and they cleaned their plates, even the one who swears he ‘hates beef’.

3 days ago

This means so much to hear, Joe! There’s no higher compliment than a recipe getting the stamp of approval from someone who’s been cooking the dish for decades. I’m so glad your grandkids enjoyed it too!

1 week ago

I wanted to love this, but my beef came out a little chewy even after following the cook time exactly. I think my stove runs hotter than average so my simmer was more of a rolling boil, oops. The flavor was great though, I’ll definitely turn the heat down lower next time I try it.

5 days ago

Oh no, sorry to hear the texture was off! You’re exactly right that a too-hot simmer can make beef tough instead of tender — you want it at the gentlest bubble possible when braising. Next time, if your stove runs hot, try moving the pot to the smallest burner on the lowest setting, or even pop it in a 325°F oven instead of stovetop for more even heat. It’ll turn out perfect!

yesterday

Served this over buttery egg noodles with a side of roasted broccoli and it was the coziest fall meal I’ve made all season. The gravy is so rich and flavorful I wanted to drink it straight from the pot, no joke. 10/10, no notes.

1 week ago

The leftovers from this made the BEST beef sliders the next day! I shredded the leftover beef, tossed it in the extra gravy, piled it on mini Hawaiian rolls with a little provolone, and baked them for 10 minutes. My husband said those sliders were better than the original meal, haha. Will absolutely be making a double batch next time just for leftovers.



