
beef in korean
intro
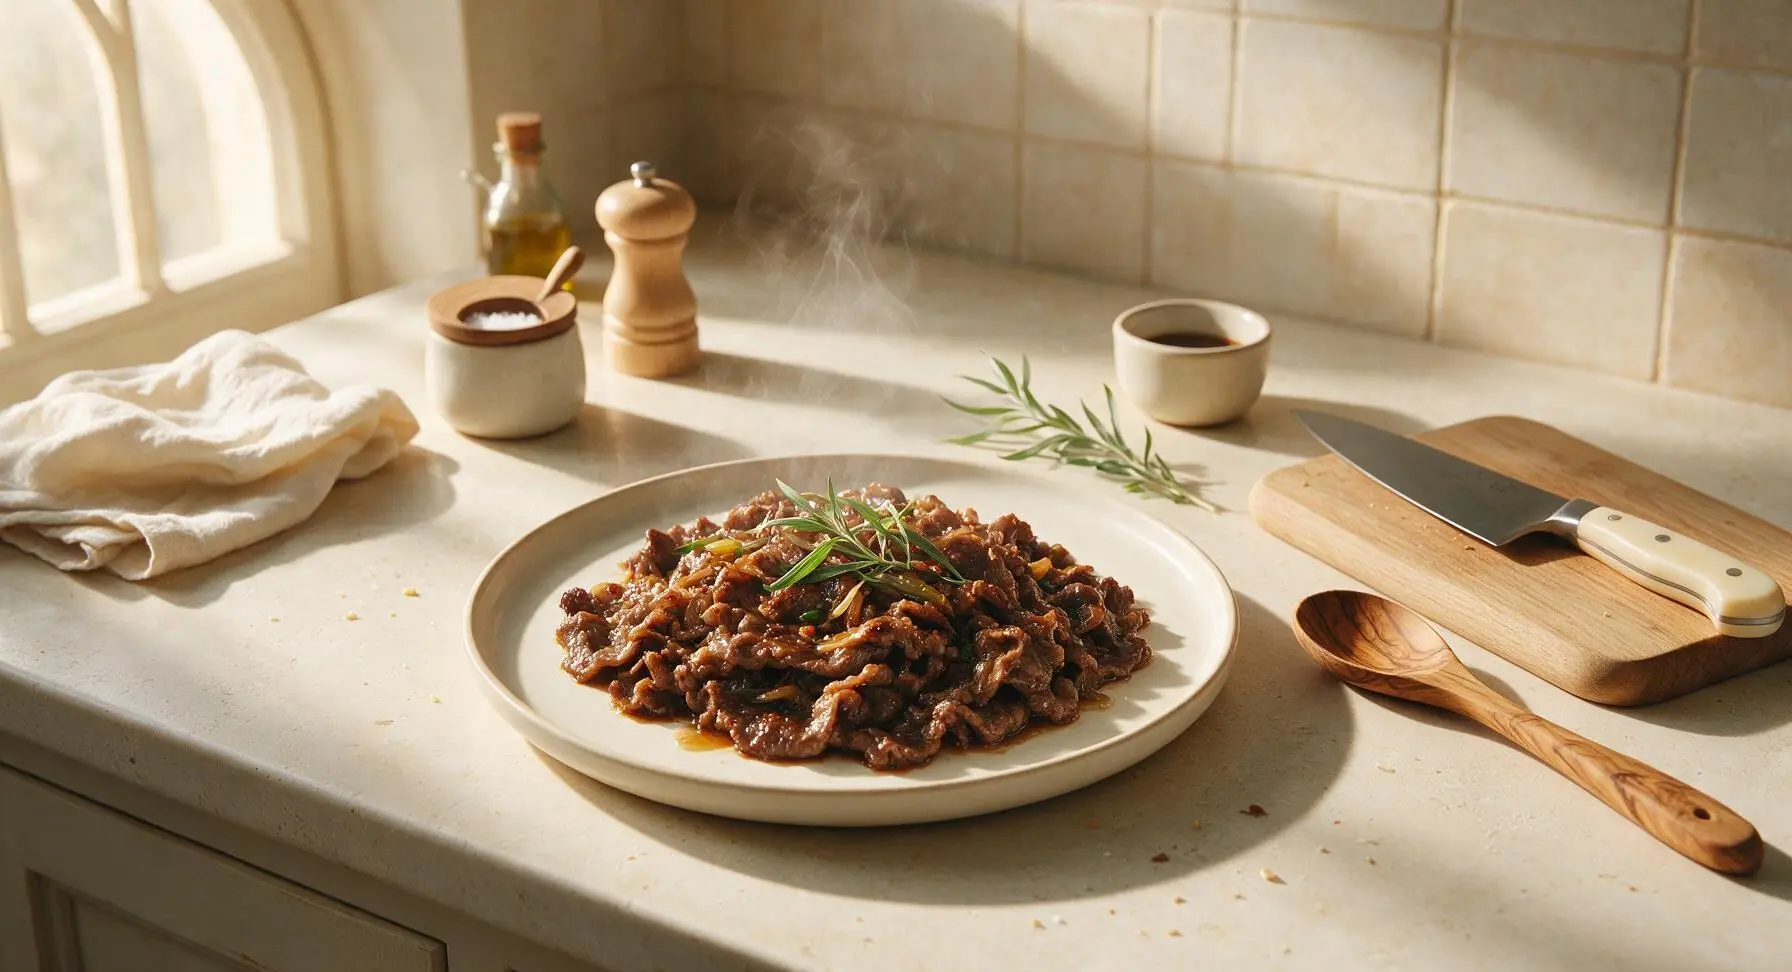
Tender, paper-thin ribeye coated in a glossy sweet-savory soy-garlic-pear marinade, seared to caramelized perfection for a quick, flavor-packed Korean family favorite.
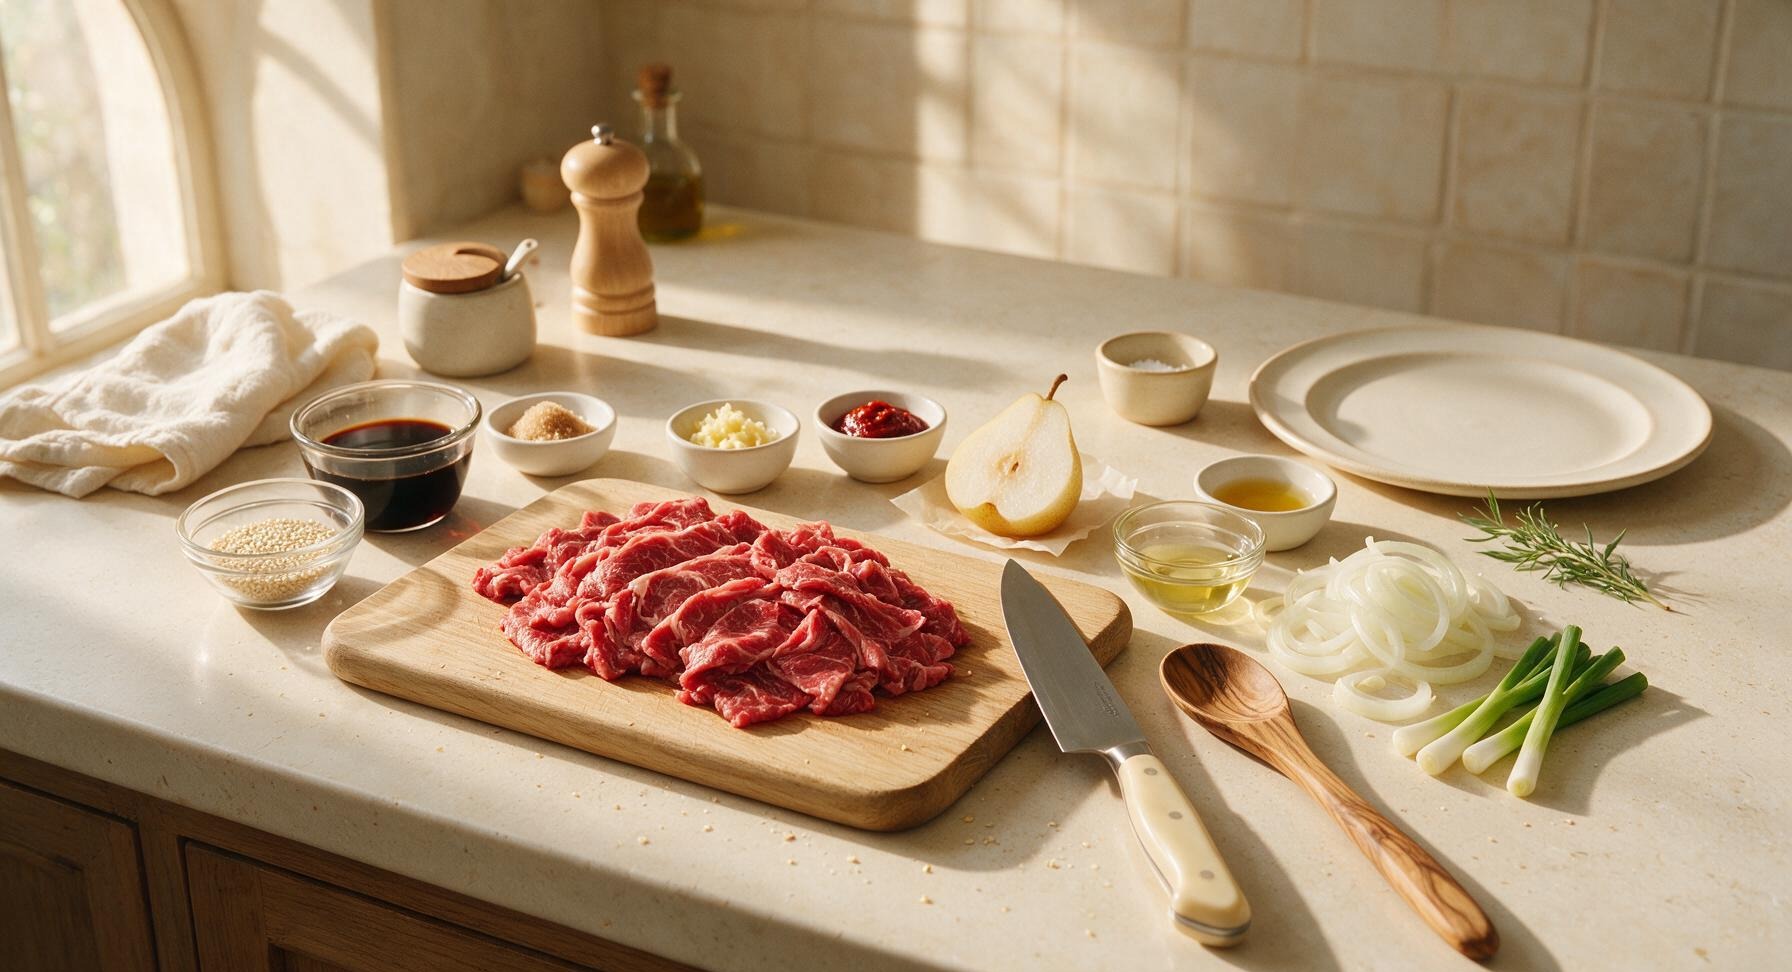
Ingredients
Steps
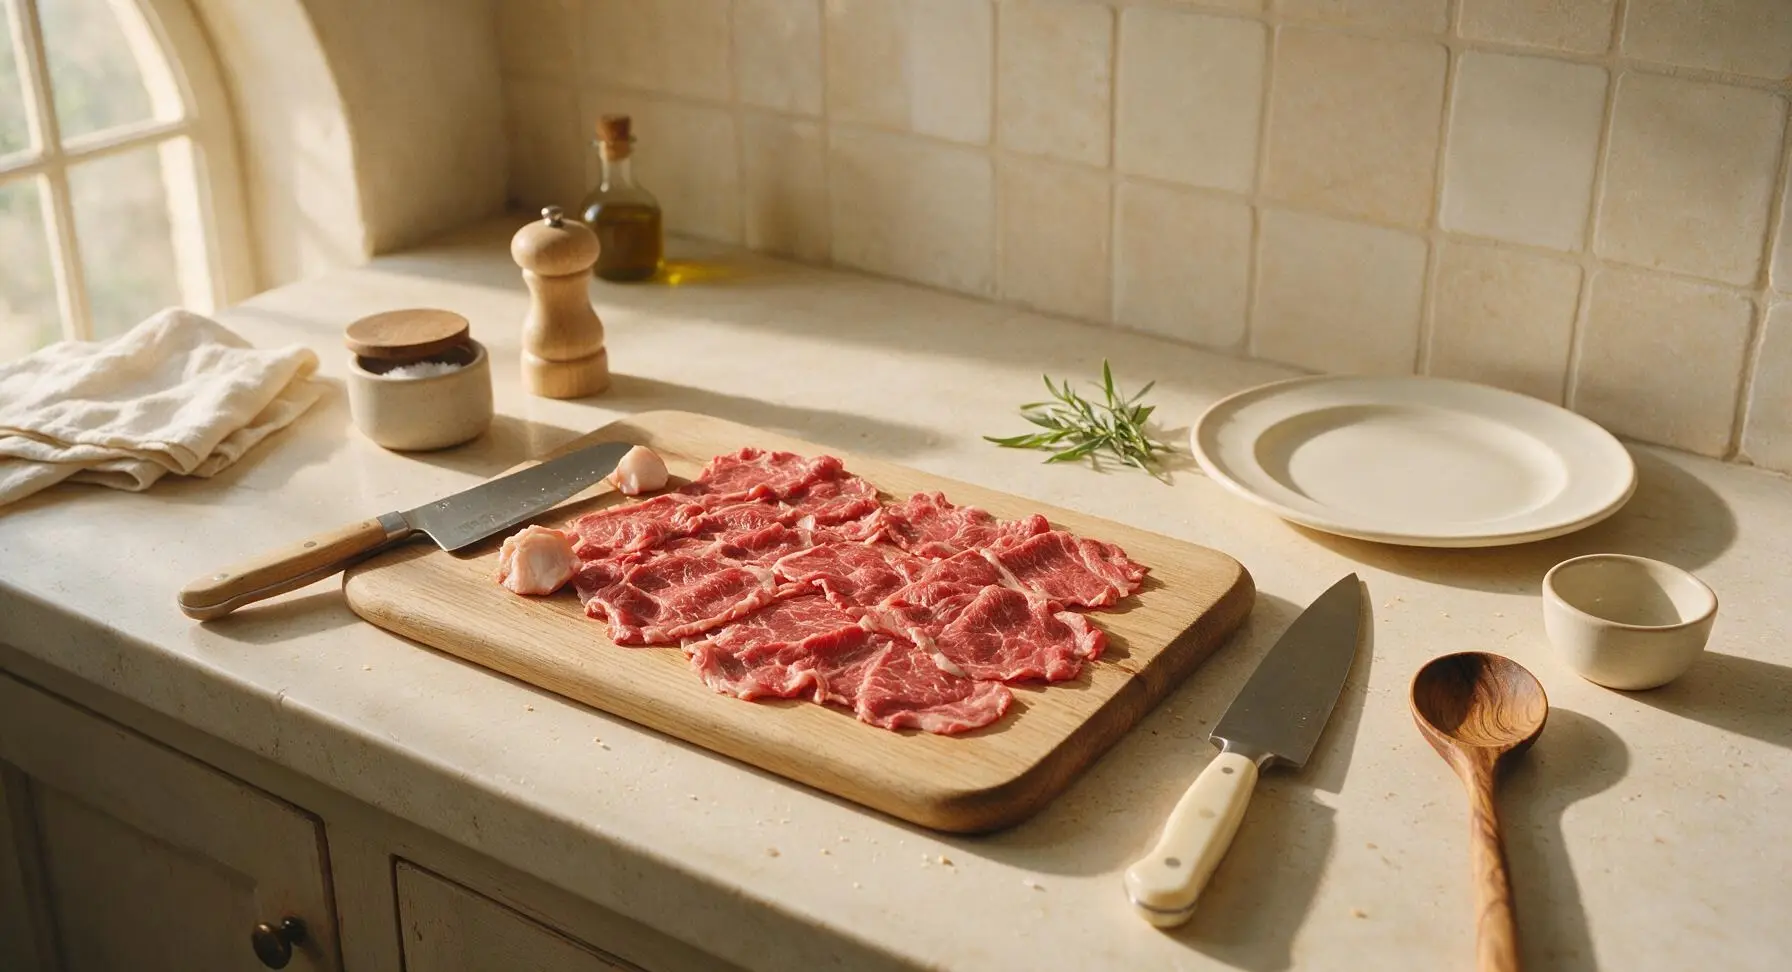
Prep Thin Beef Slices
Take 500g paper-thin sliced ribeye out of packaging, pat completely dry with paper towels, and arrange on the acacia wood cutting board. Use the birch-handle Santoku knife to trim any large, hard pieces of fat from the edges, leaving thin marbled fat intact for rich flavor. If using whole ribeye, freeze for 30 minutes first to slice against the grain into 2mm thick pieces—this uniform thickness is critical for even, quick cooking and tender results.
Mix Bulgogi Marinade
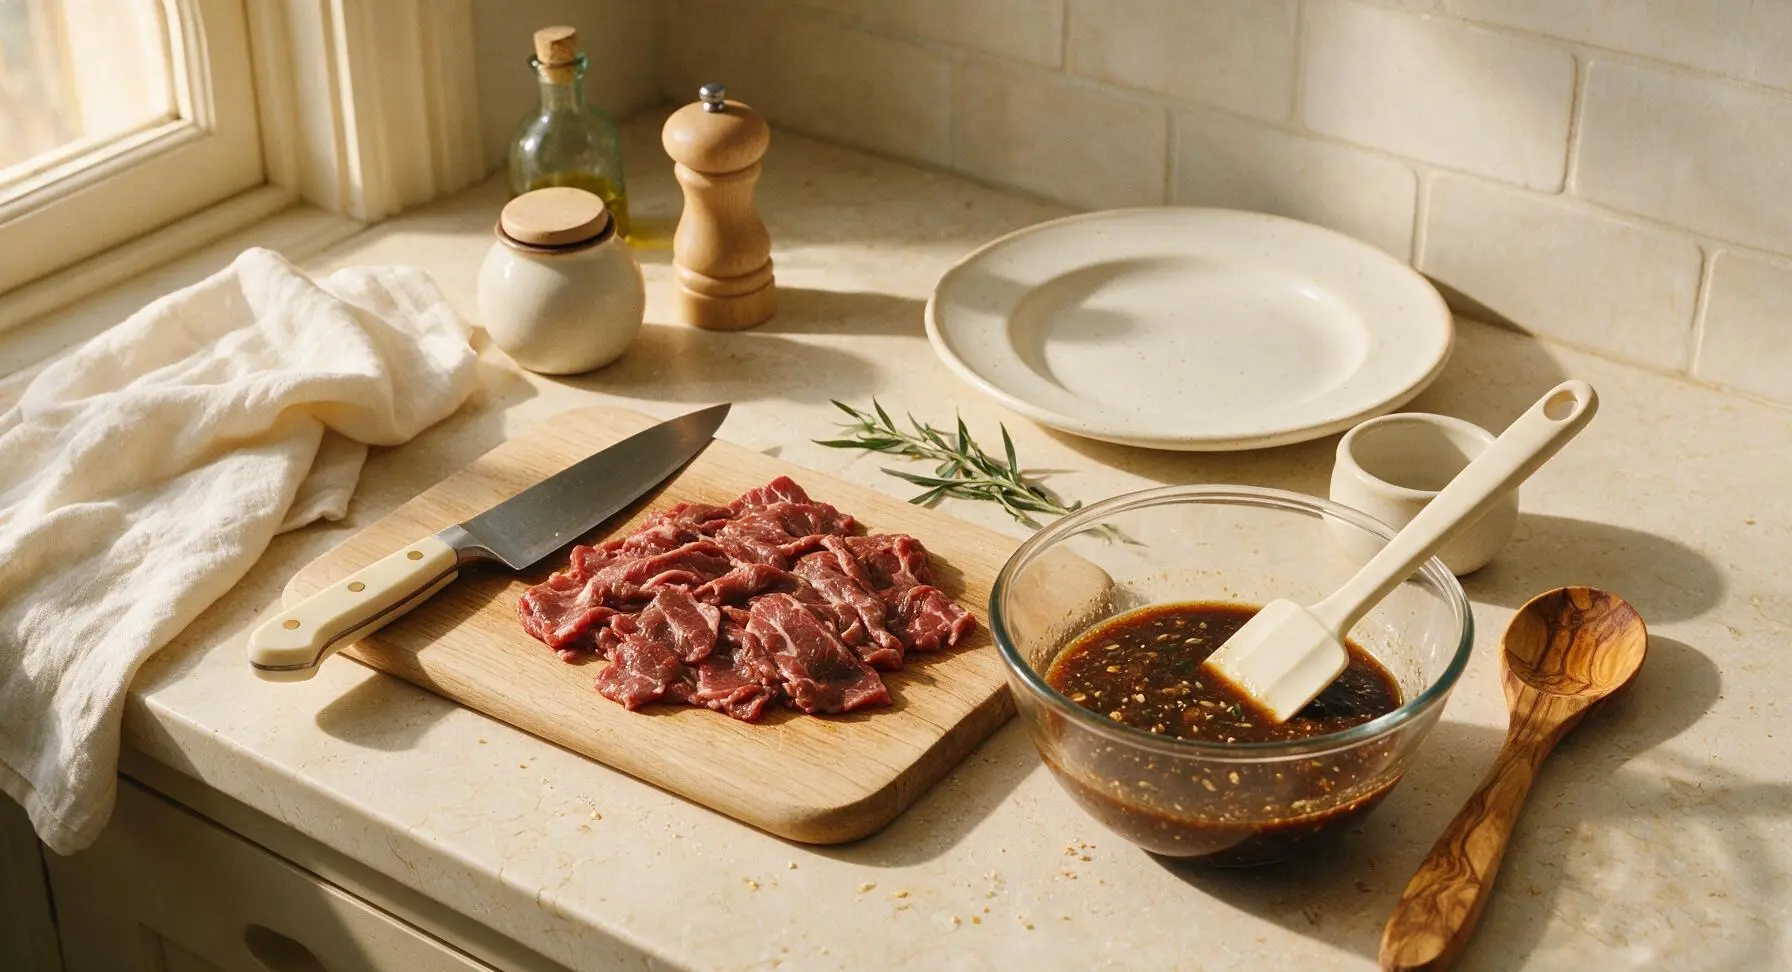
In one of the small clear glass prep bowls, combine 60ml low-sodium soy sauce, 1/2 cup grated Korean pear (squeezed lightly to remove excess juice), 1 tbsp minced garlic, 1 tsp grated ginger, 2 tbsp light brown sugar, 1 tbsp toasted sesame oil, and 1 tsp gochujang (if using for mild heat). Stir with the off-white silicone spatula until the brown sugar is fully dissolved and the mixture is smooth, with no lumps of gochujang remaining.
Marinate Beef Slices
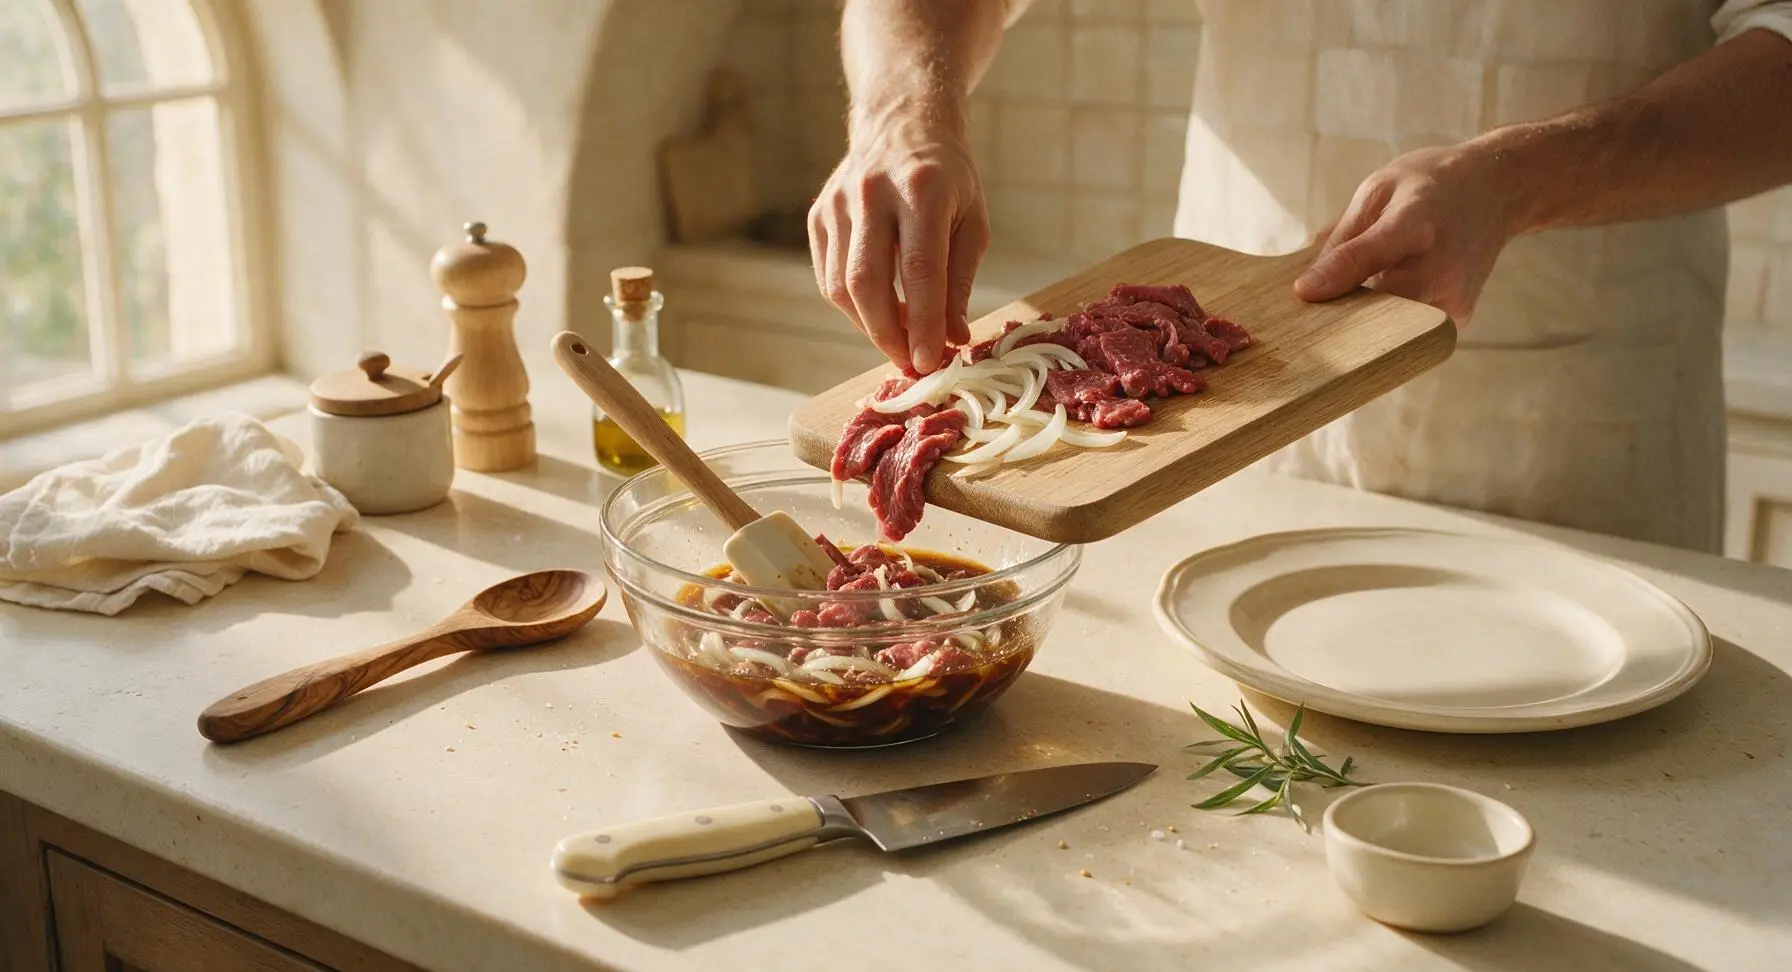
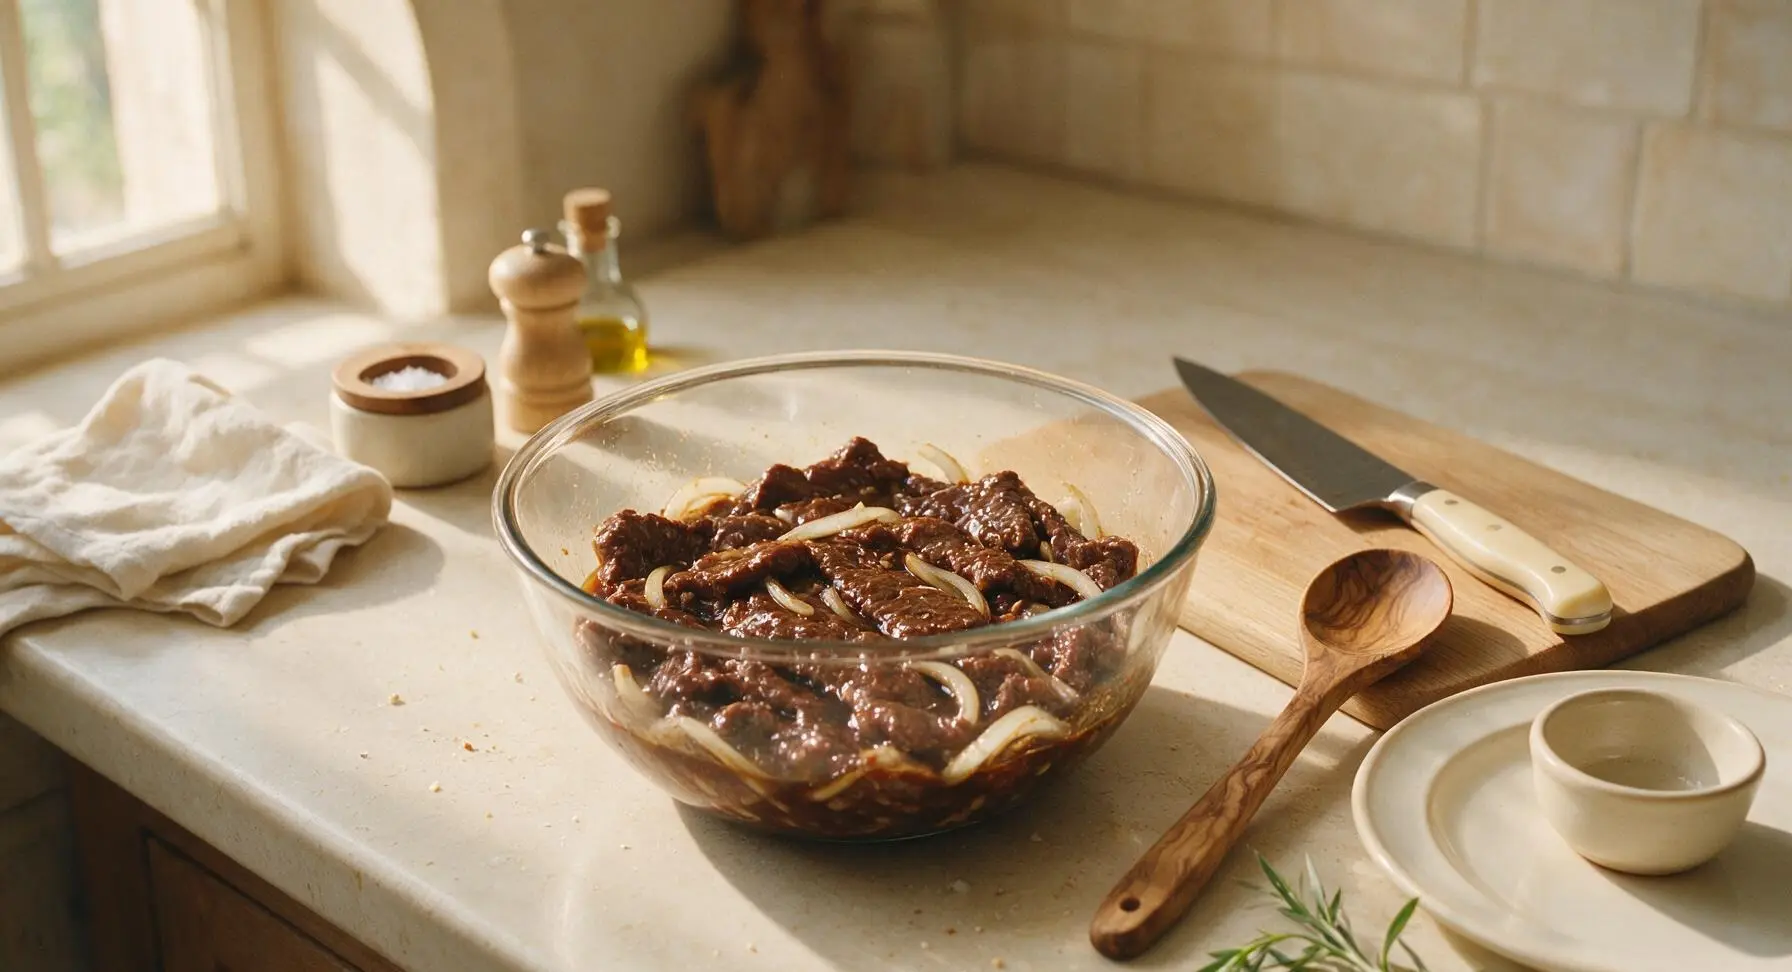
Add the dried, trimmed beef slices and thinly sliced white onion to the marinade bowl, toss gently with the silicone spatula to coat every slice completely. Cover the bowl loosely, and let it rest at room temperature for 30 minutes (or up to 2 hours in the refrigerator) to let the pear enzymes tenderize the meat and flavors absorb. Do not marinate longer than 2 hours, as the pear enzymes will break down the meat too much and result in mushy texture.
Heat Carbon Steel Skillet
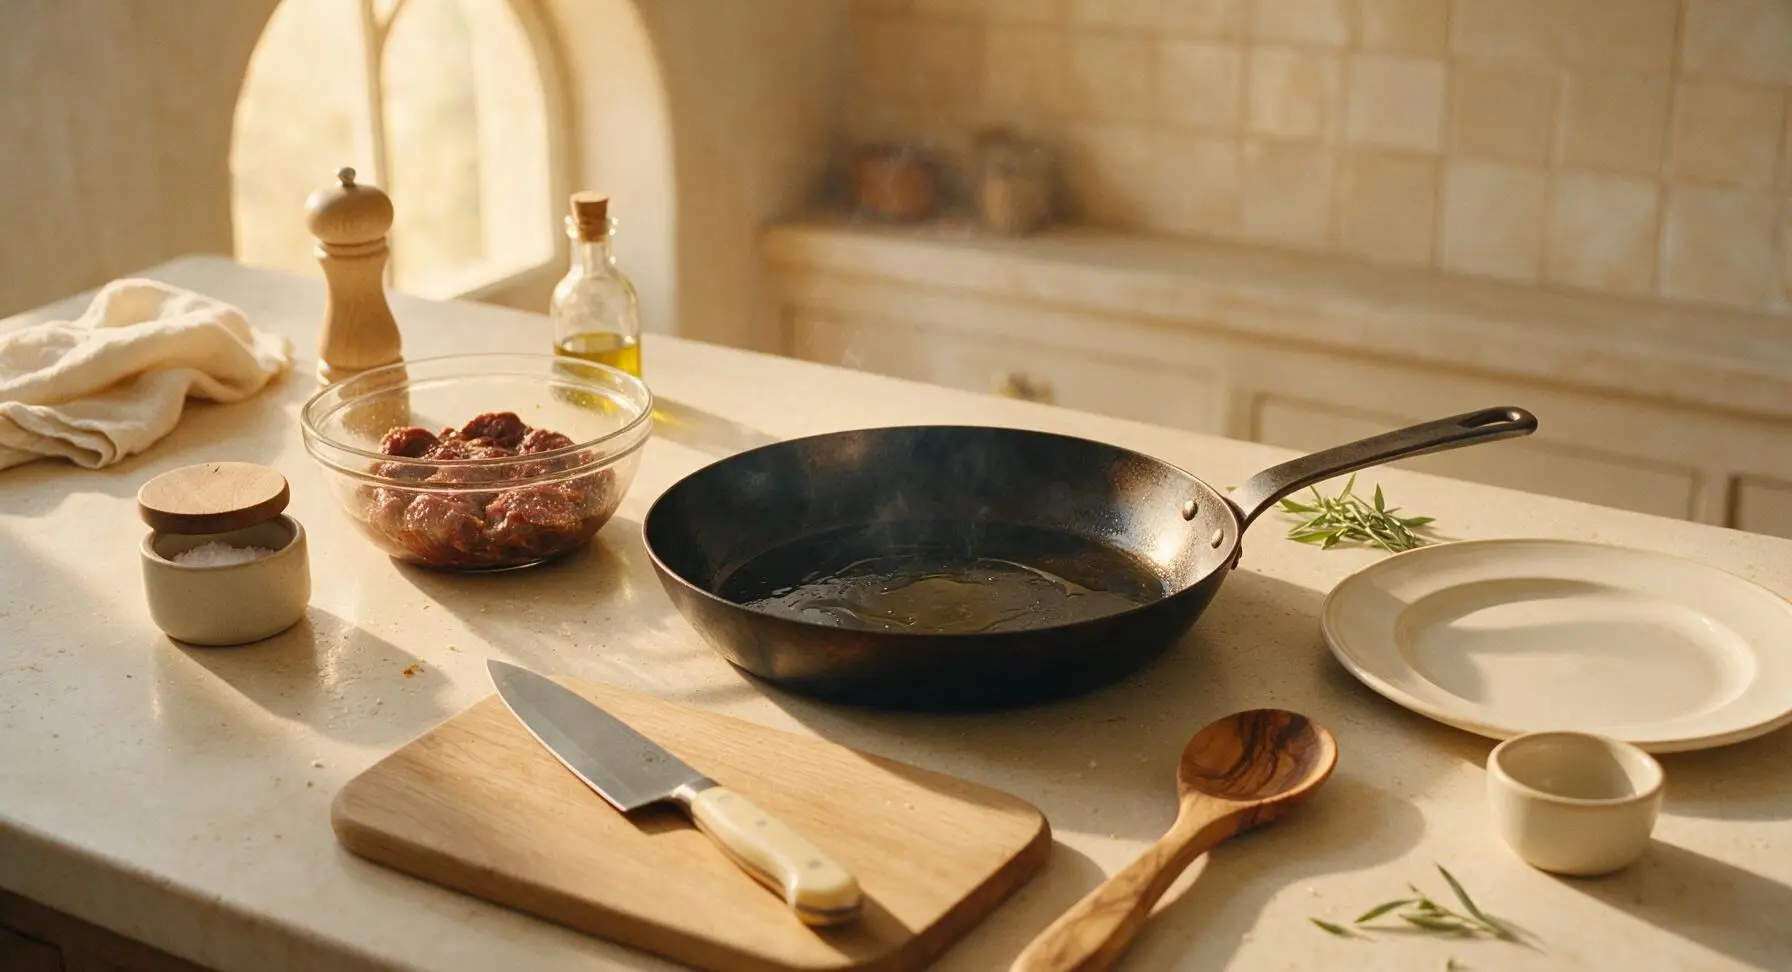
Place the 28cm seasoned carbon steel skillet at the center of the counter cooking zone, add 1 tbsp neutral canola oil, and heat over medium-high heat for 2 minutes until the oil shimmers and just starts to send up thin wisps of heat. Do not let the oil burn—if it turns dark and smells acrid, discard it and start with fresh oil to avoid bitter flavor.
Sear Beef in Batches
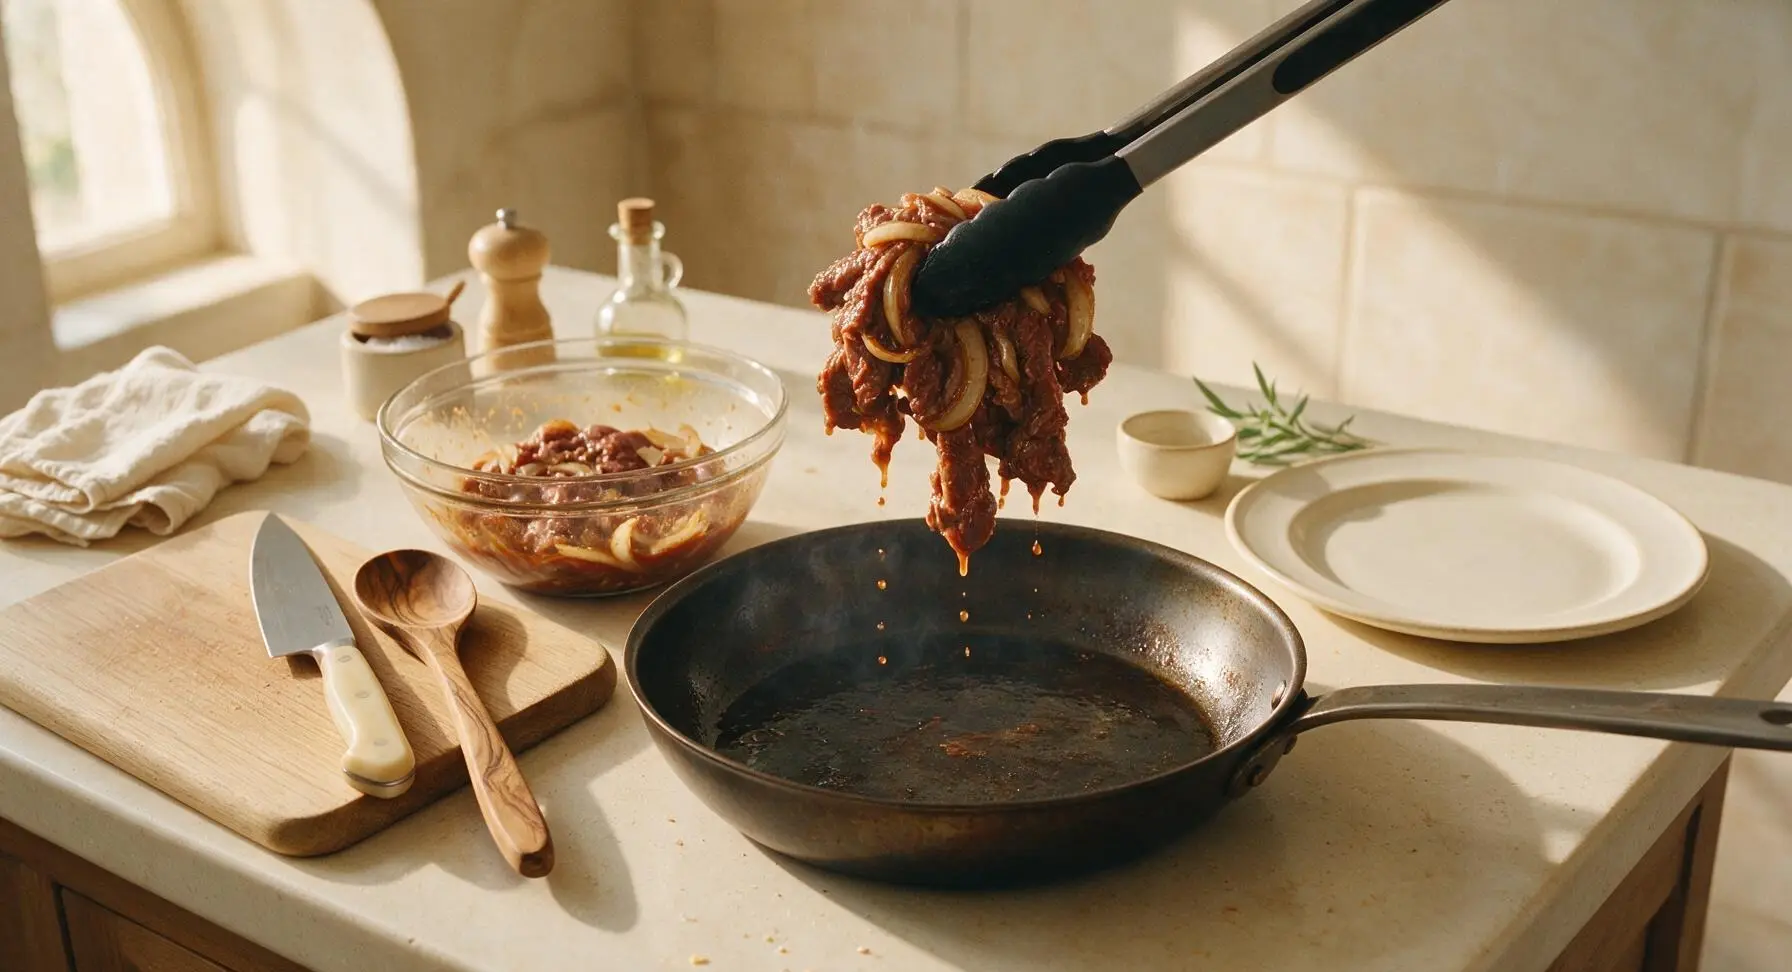
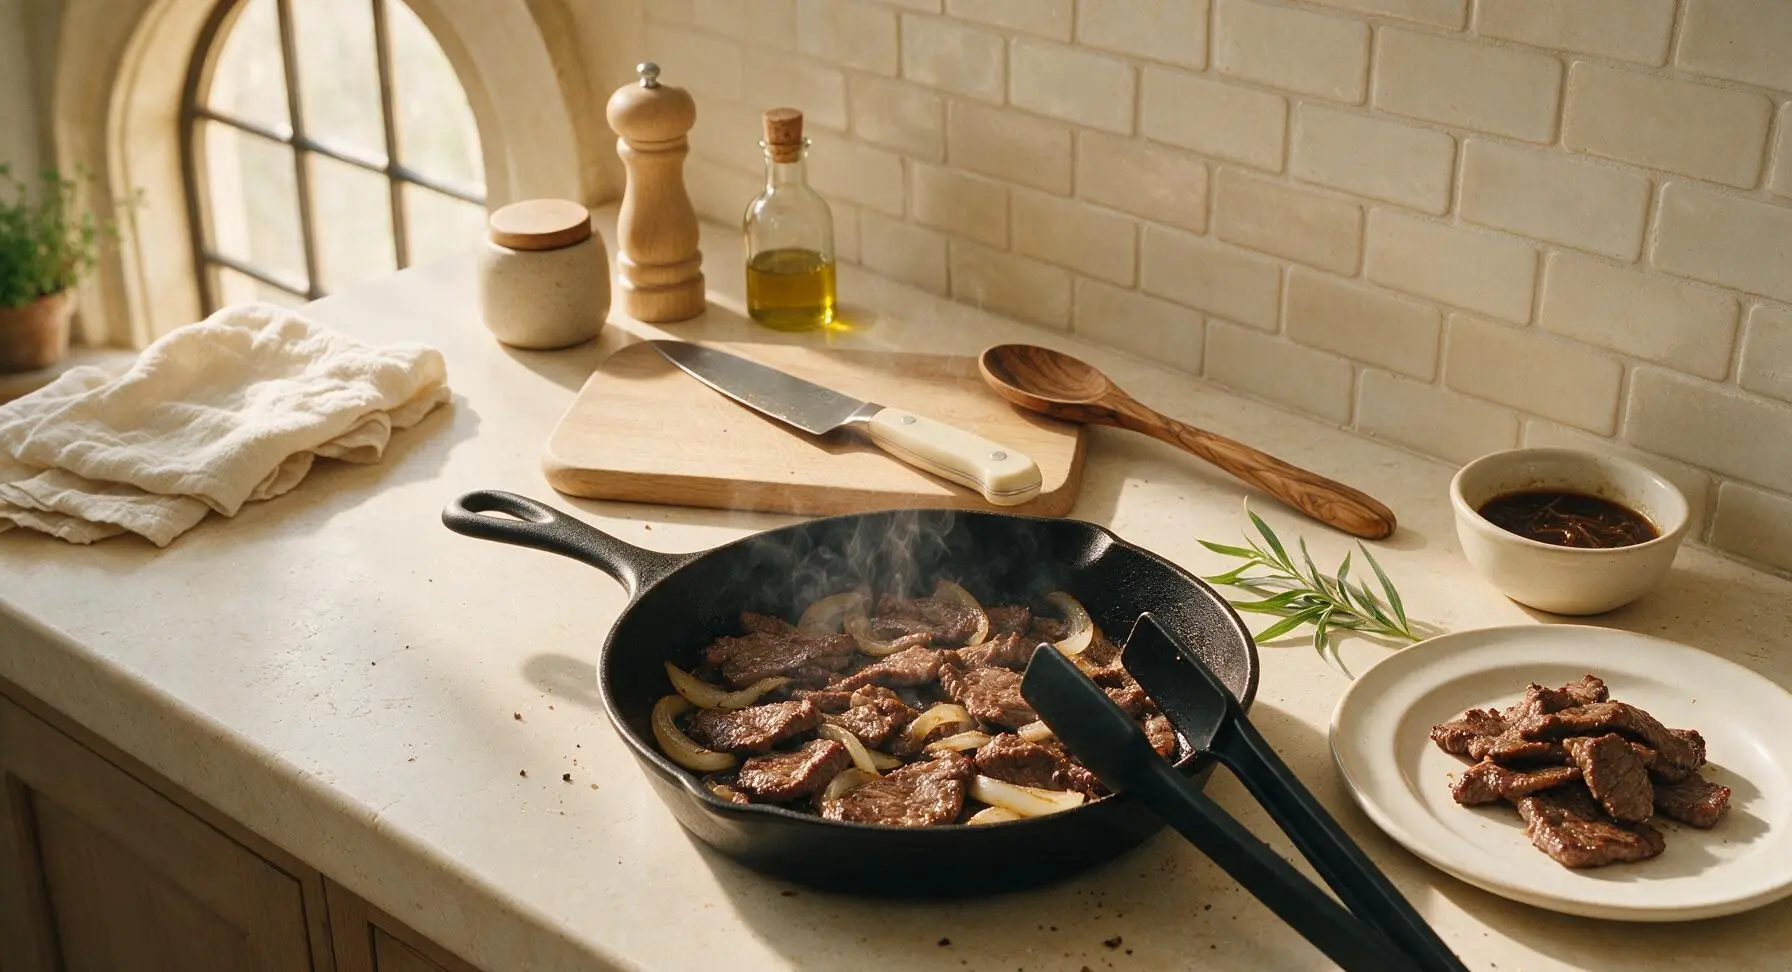
Use the matte black silicone tongs to lift half the marinated beef and onion slices out of the bowl, letting excess marinade drip off, then add them to the hot skillet in a single even layer. Do not overcrowd the pan—this will drop the pan temperature too quickly and steam the beef instead of searing it to a caramelized crust. Cook for 2 minutes without stirring, then flip the slices and cook for 1 more minute until edges are deep brown and slightly crispy. Transfer the first batch to a clean spare plate, then repeat with the remaining beef.
Toss to Combine
Return the first batch of seared beef back to the skillet with the second batch, add 3/4 of the sliced scallions, and toss gently with the tongs for 30 seconds to combine and let the scallions wilt slightly. Taste a small piece of beef, and add a pinch of salt or extra sugar if needed to balance the savory-sweet flavor. Turn off the heat immediately—overcooking will make the thin beef slices tough and chewy.
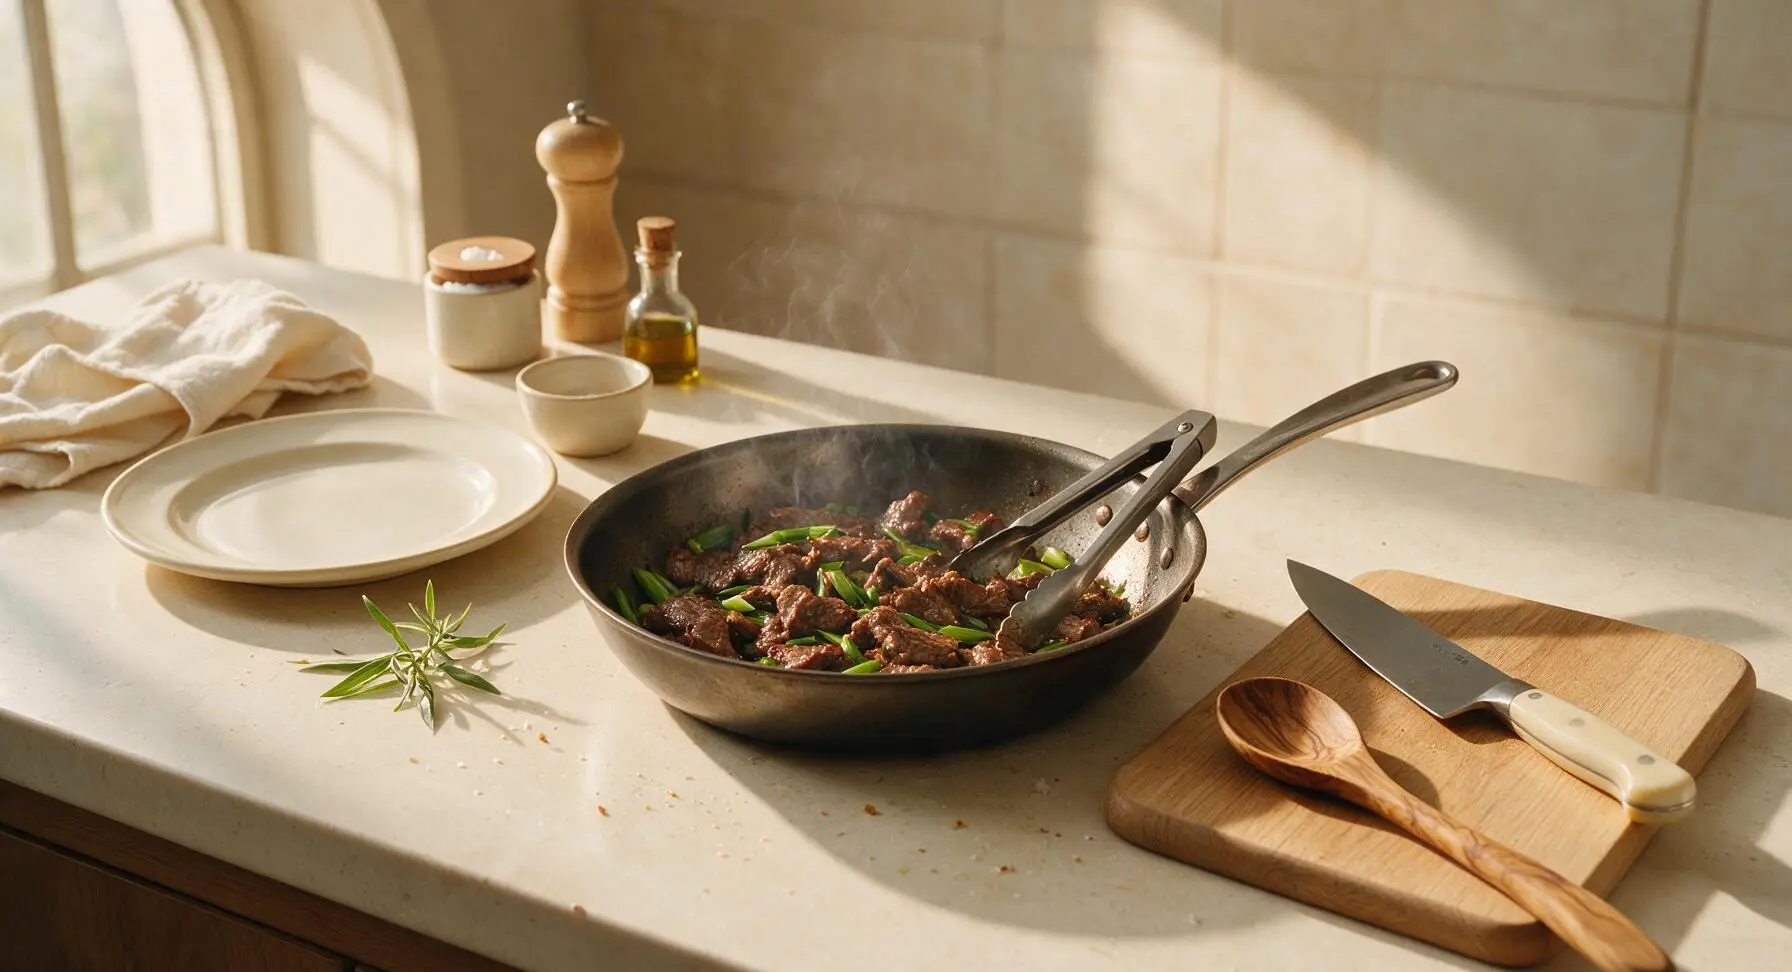
Plate Cooked Bulgogi
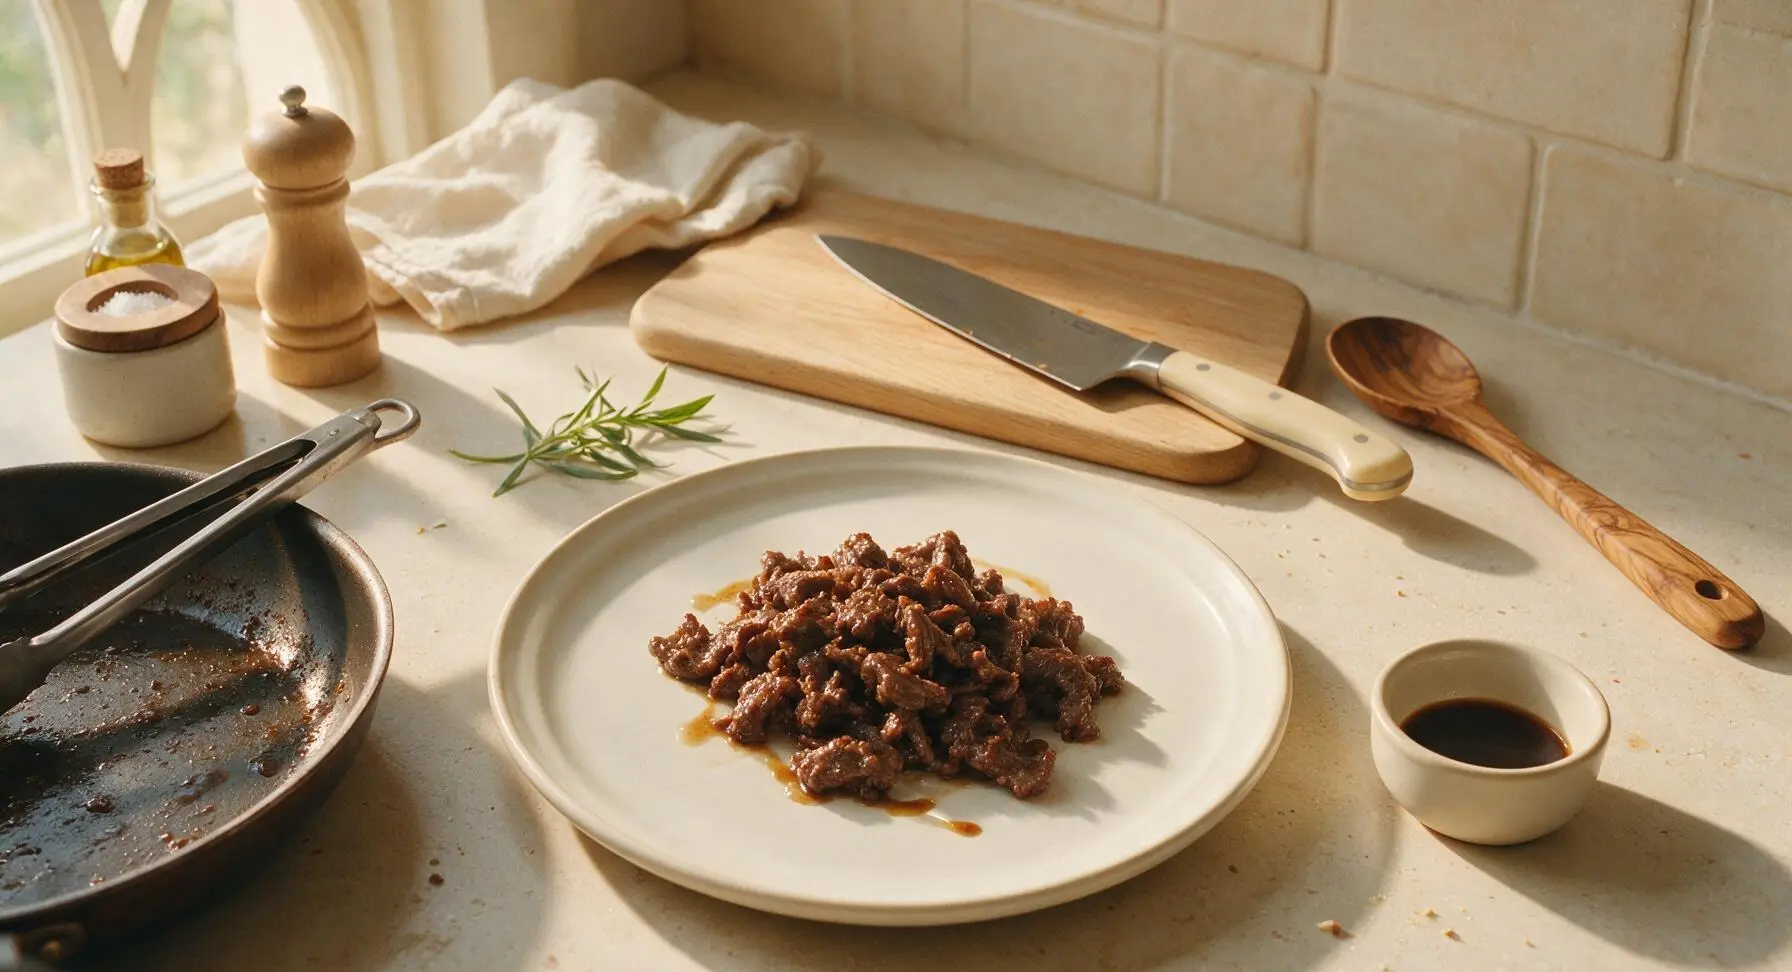
Use the tongs to lift the cooked beef and onion slices out of the skillet, piling them loosely in the center of the off-white matte ceramic dinner plate, leaving a thin even rim of the plate visible around the food. Drizzle 1 tsp of the leftover pan sauce from the skillet over the top of the beef for extra gloss and deep flavor.
Add Final Garnishes
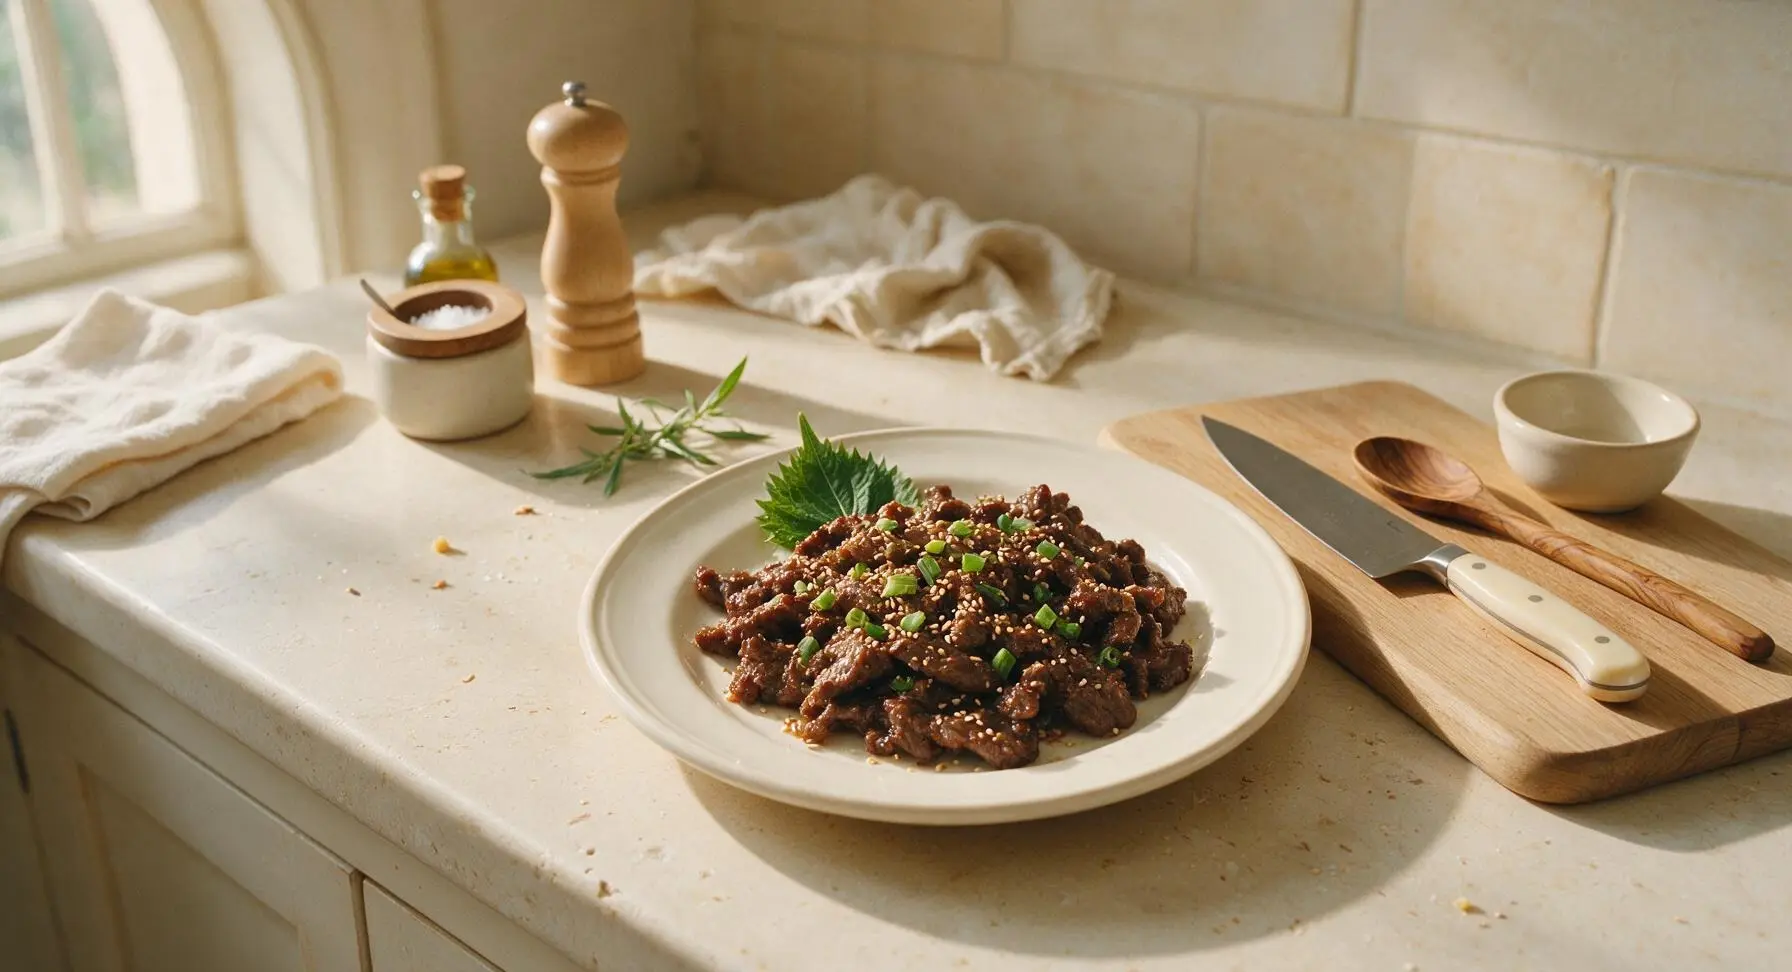
Sprinkle 1 tsp of toasted white sesame seeds evenly across the top of the plated beef, then scatter the remaining fresh scallion pieces over the seeds. Tuck one small perilla leaf at the edge of the beef for a pop of bright green color. Serve immediately while hot, alongside steamed white rice and kimchi if desired.
Tips
2.Squeeze excess juice from the grated pear before adding it to the marinade: too much pear juice will dilute the marinade and make the beef steam instead of sear, preventing the coveted caramelized crispy edges that define great bulgogi.
3.Always sear beef in small batches without stirring for the first 2 minutes: overcrowding the pan drops the temperature rapidly, leading to steamed, gray beef instead of glossy, caramelized bulgogi with deep umami flavor.






OMG this bulgogi is a total game changer for our weeknight dinners! I was worried it’d be too fussy since I’ve never made Korean food at home before, but 10 minute cook time? Are you kidding? Whipped it up right after my youngest’s soccer practice last night, served it over jasmine rice with a side of roasted broccoli, and my kids literally fought over the last slice of beef. SO good, already added it to my regular meal prep rotation for lunches this week!
Wait, I usually make bulgogi with ribeye that I freeze for an hour to slice super thin, but I accidentally grabbed sirloin from the grocery store this time. Will this still turn out okay? I don’t have time to run back to the store before our potluck tonight!
Made a double batch of this on Sunday for my work lunches all week and I’m already sad I only have one portion left. The sweet-savory balance is perfect, not cloyingly sugary like some takeout bulgogi I’ve ordered in the past. I threw in some sliced bell peppers and onions with the beef while it cooked and it bulked it up perfectly for cheap, filling meals. 10/10 will make again and again.
Wait, does anyone know if I can swap the soy sauce for tamari to make this gluten free? I’m hosting a small dinner for my friend who has celiac next weekend and this looks like the perfect main dish, I just don’t want to mess up the flavor balance!
Okay y’all, I’m a total beginner in the kitchen (read: I burn toast at least half the time I make it) and this was SO easy to pull off! I was intimidated to try bulgogi because I thought it required a ton of fancy specialty ingredients, but I found everything I needed at my regular neighborhood grocery store. I did mess up and use a Honeycrisp apple instead of Asian pear because my store didn’t have any, but it still slapped. Ate it wrapped in butter lettuce with a little gochujang, total chef’s kiss.
I brought this to my neighborhood block party last weekend and people were asking me for the recipe before I even set the platter down! I cooked it up on my outdoor griddle in big batches and it came out perfectly charred at the edges, just how I like it. Only note: I wish I’d tripled the recipe, it was gone in 15 minutes flat!
Made this for my partner for our at-home date night last week and they fully thought I ordered takeout from that fancy Korean spot we love downtown. The whole apartment smelled incredible while it was marinating in the fridge, and the 10 minute cook time meant I didn’t have to spend the whole night stuck in the kitchen instead of hanging out. Served it with kimchi fried rice and those tangy yellow pickled radishes, 10/10, this is our new go-to date night meal.