
Beef Teriyaki
intro
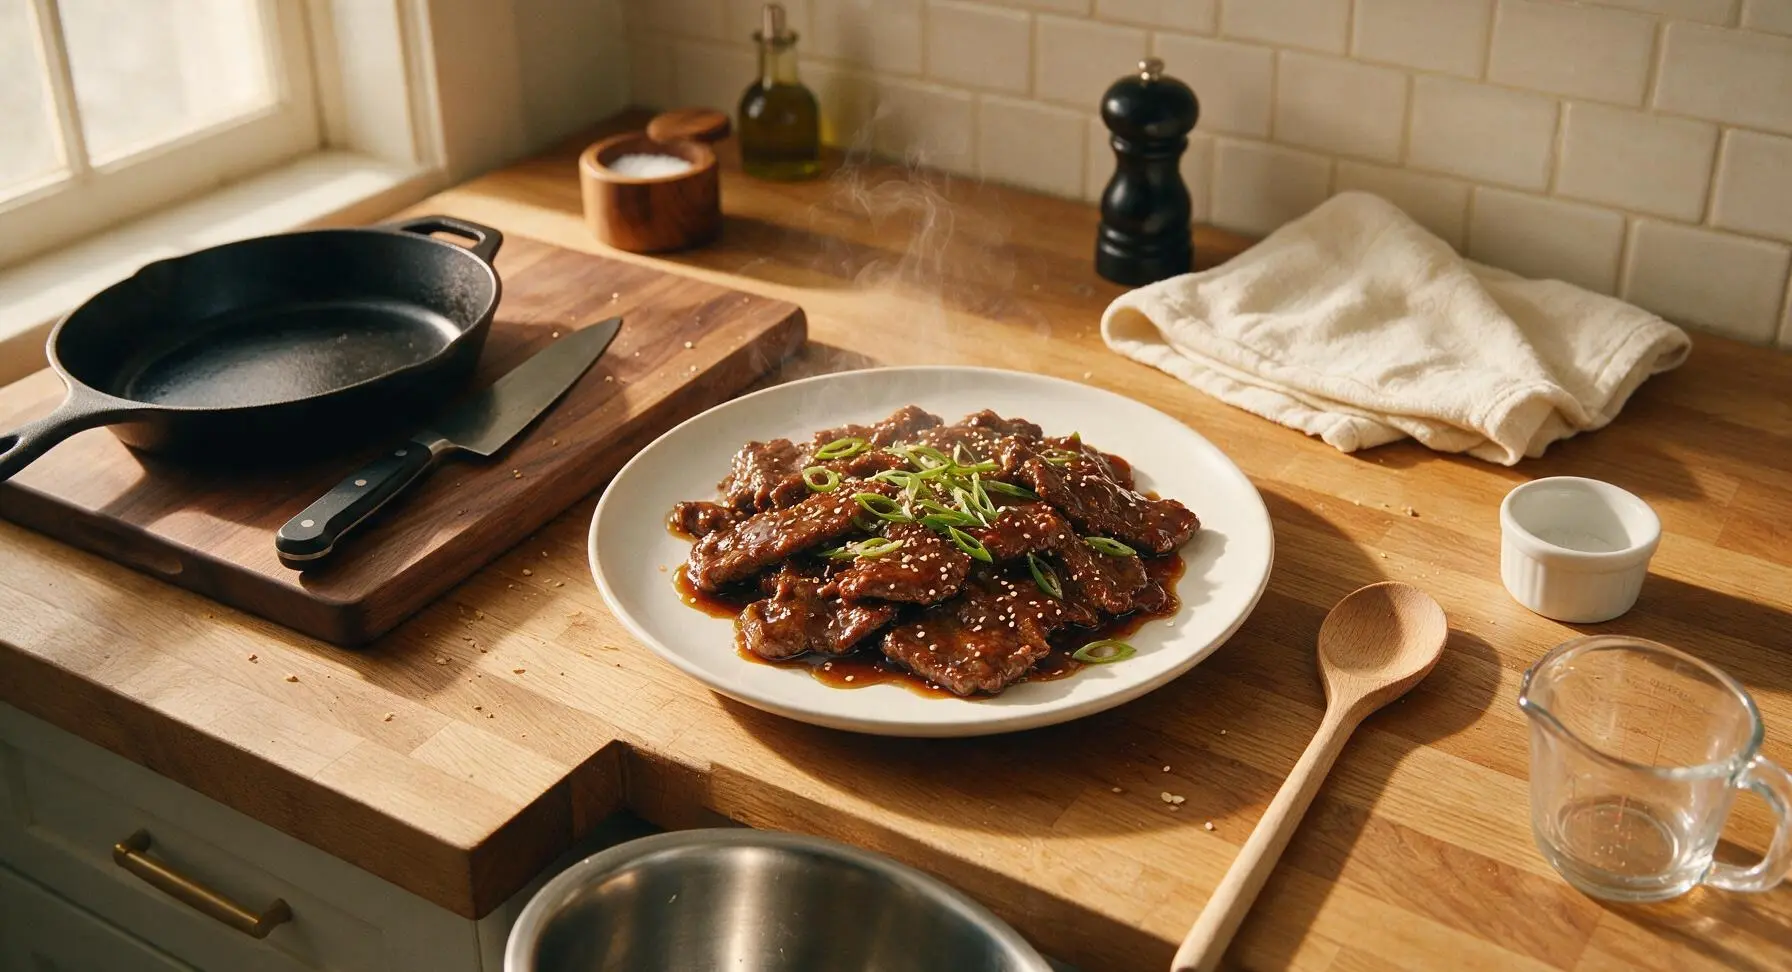
Tender, seared beef slices coated in glossy, sweet-savory homemade teriyaki glaze, packed with umami and ready in 20 minutes for a satisfying, no-fuss weeknight main.
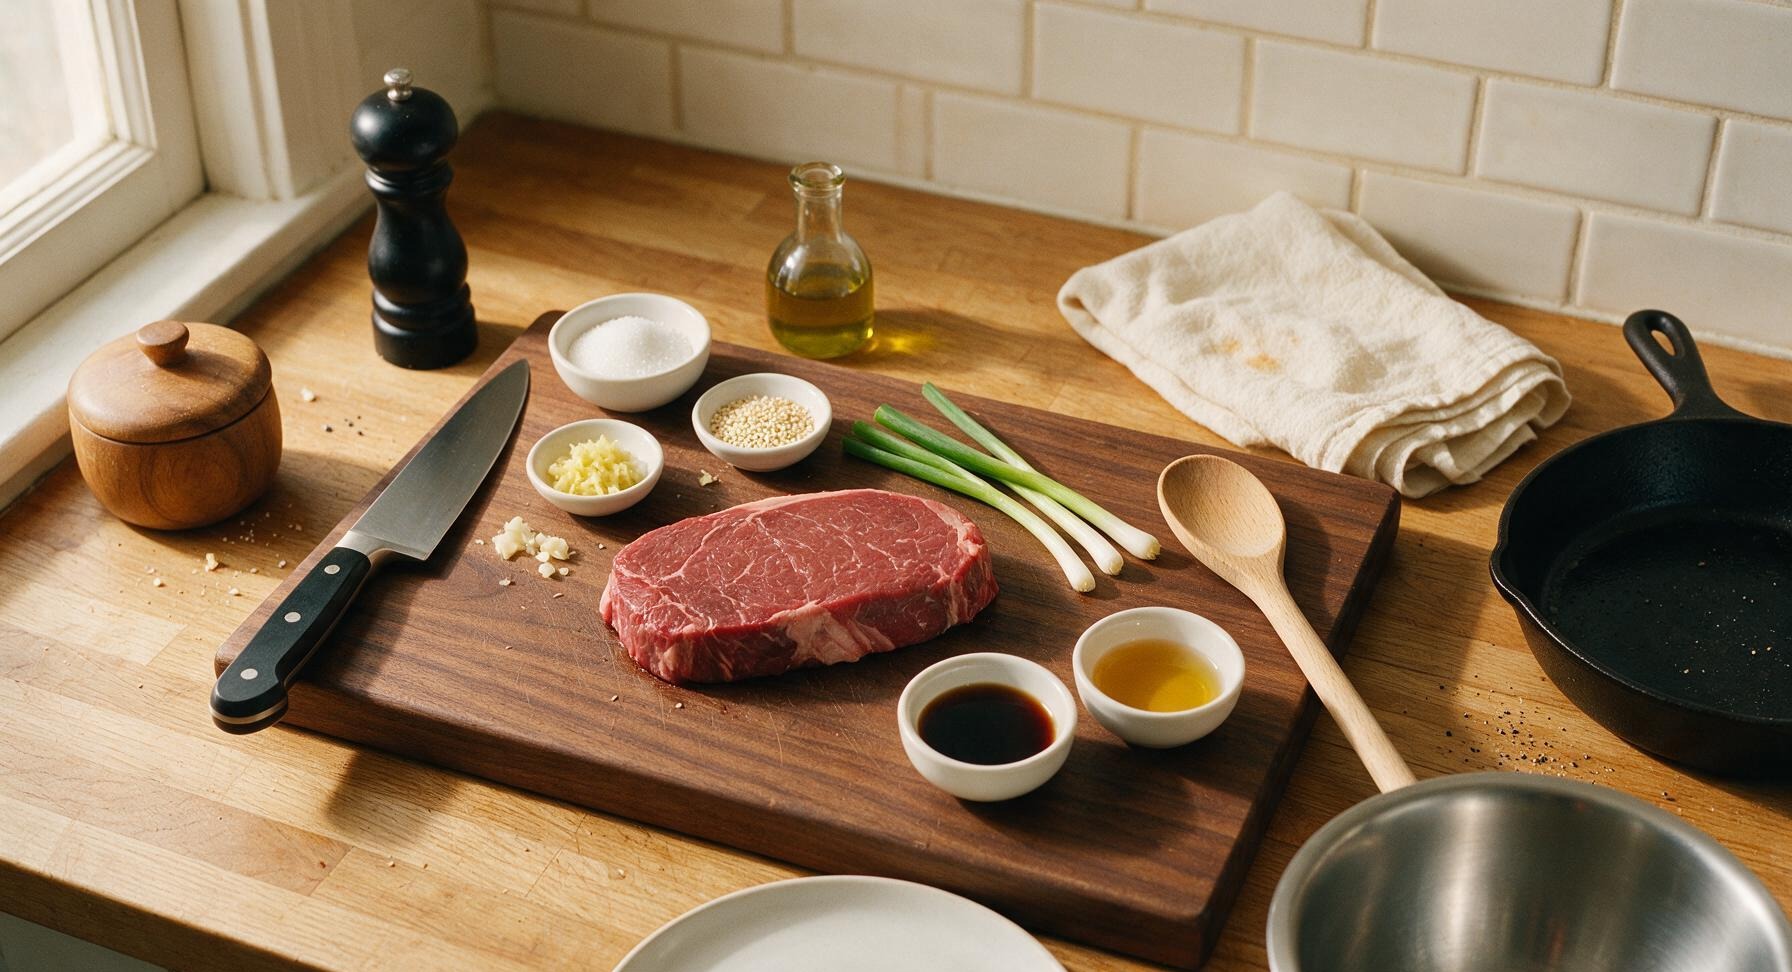
Ingredients
Steps
Slice Beef Thinly
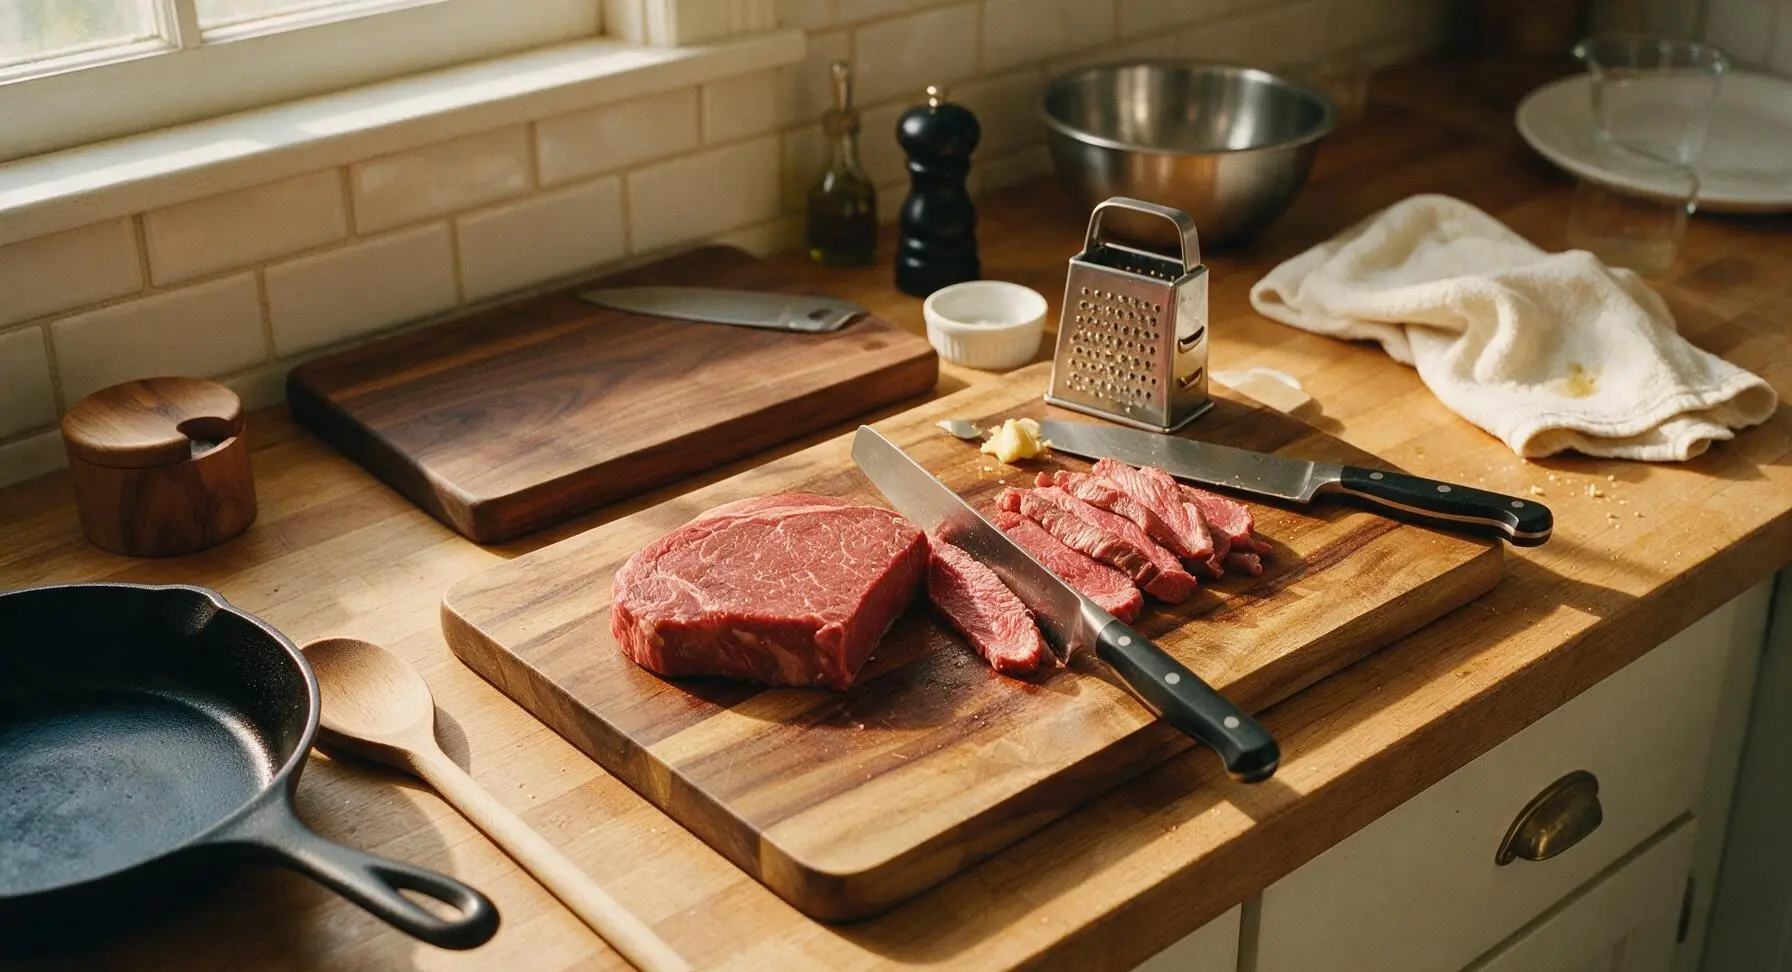
Place the trimmed 500g top sirloin on the acacia wood cutting board. Using the walnut-handled santoku knife, slice the beef against the grain into uniform 1/4-inch thick slices. Slicing against the grain breaks up long muscle fibers to guarantee tender, easy-to-chew bites; for extra clean cuts, chill the beef in the freezer for 15 minutes before slicing to firm it up. Pat all beef slices completely dry with a corner of the cream tea towel, then pile the slices loosely on one side of the cutting board. Set aside.
Mix Teriyaki Glaze
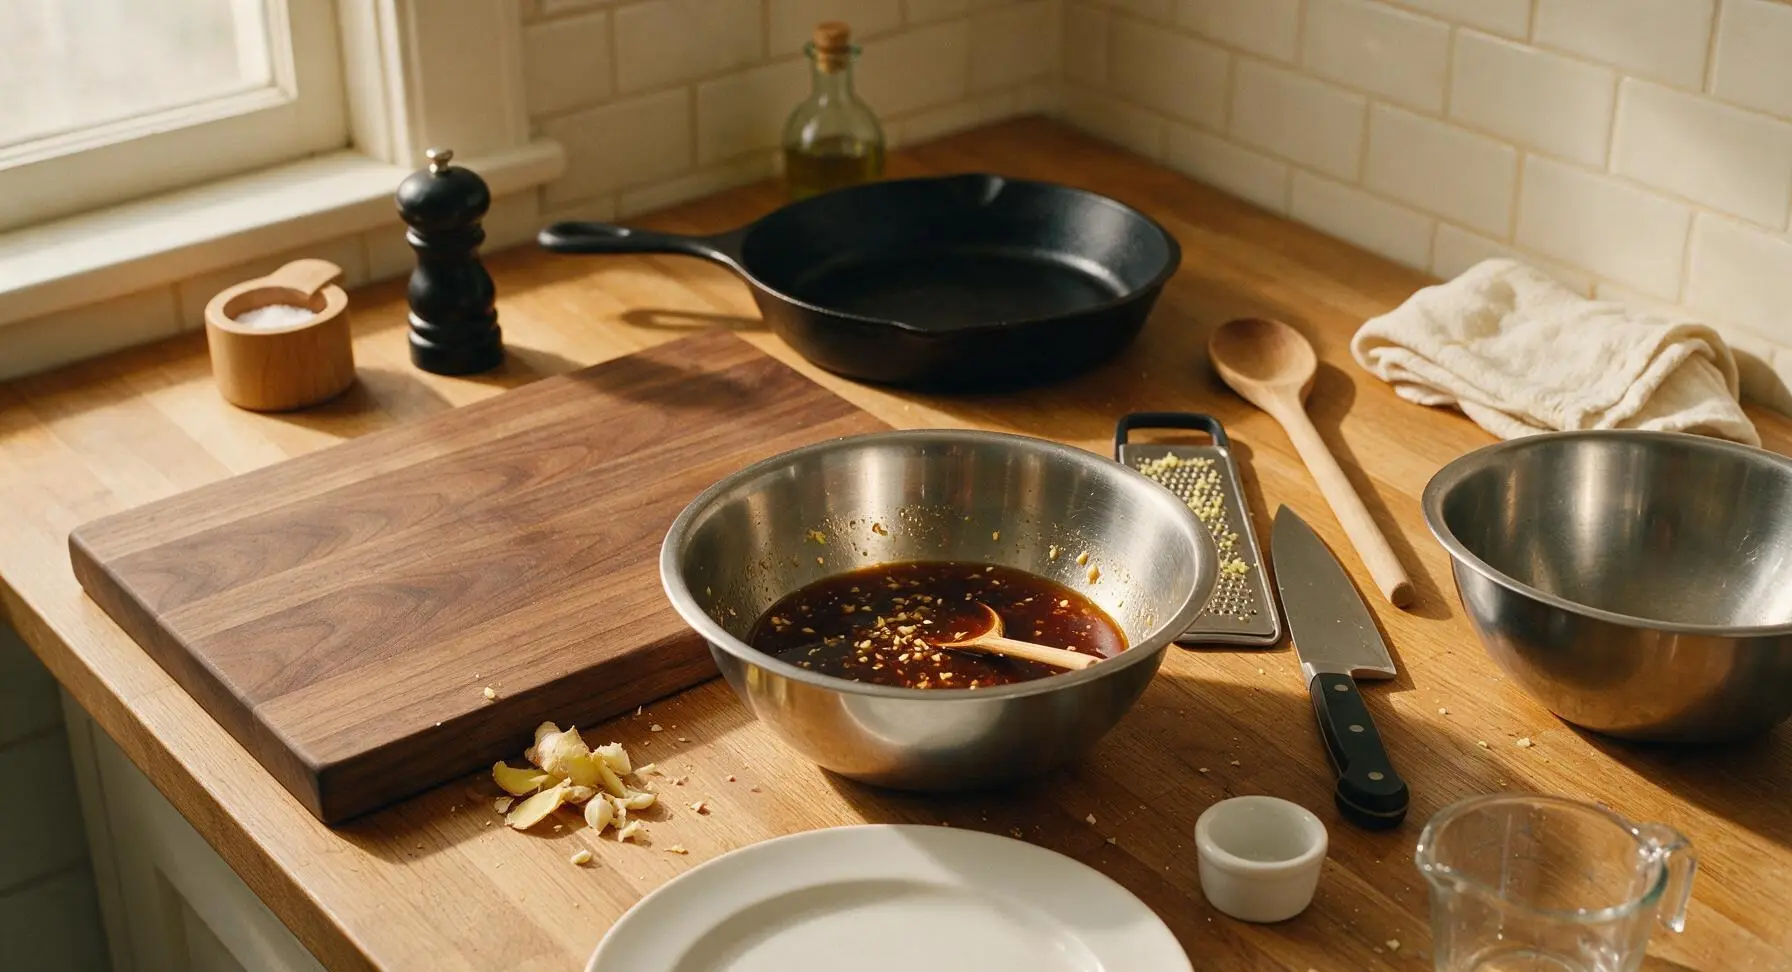
Set the small 500ml stainless steel mixing bowl on the counter next to the cutting board. Use the small box grater to grate the 2cm ginger knob directly into the bowl, then mince the 2 garlic cloves with the santoku knife and add them to the bowl. Pour in 60ml low-sodium soy sauce, 60ml mirin, and 2 tablespoons granulated sugar. Stir with the small bamboo mixing spoon for 30 seconds until the sugar is fully dissolved and no grit remains at the bottom of the bowl. Set the mixed glaze aside; no cornstarch is needed, as the glaze will thicken as it reduces.
Preheat Cooking Pan
Place the 10-inch seasoned carbon steel frying pan on the stovetop burner directly behind the counter work surface. Turn heat to medium-high, add 1 tablespoon of neutral canola oil from the glass measuring cup, and heat for 2 minutes until the oil shimmers across the pan bottom and sends up thin, wispy trails of smoke. Do not heat the oil until it is thick with smoke, as this will burn the beef on contact before a proper sear forms.
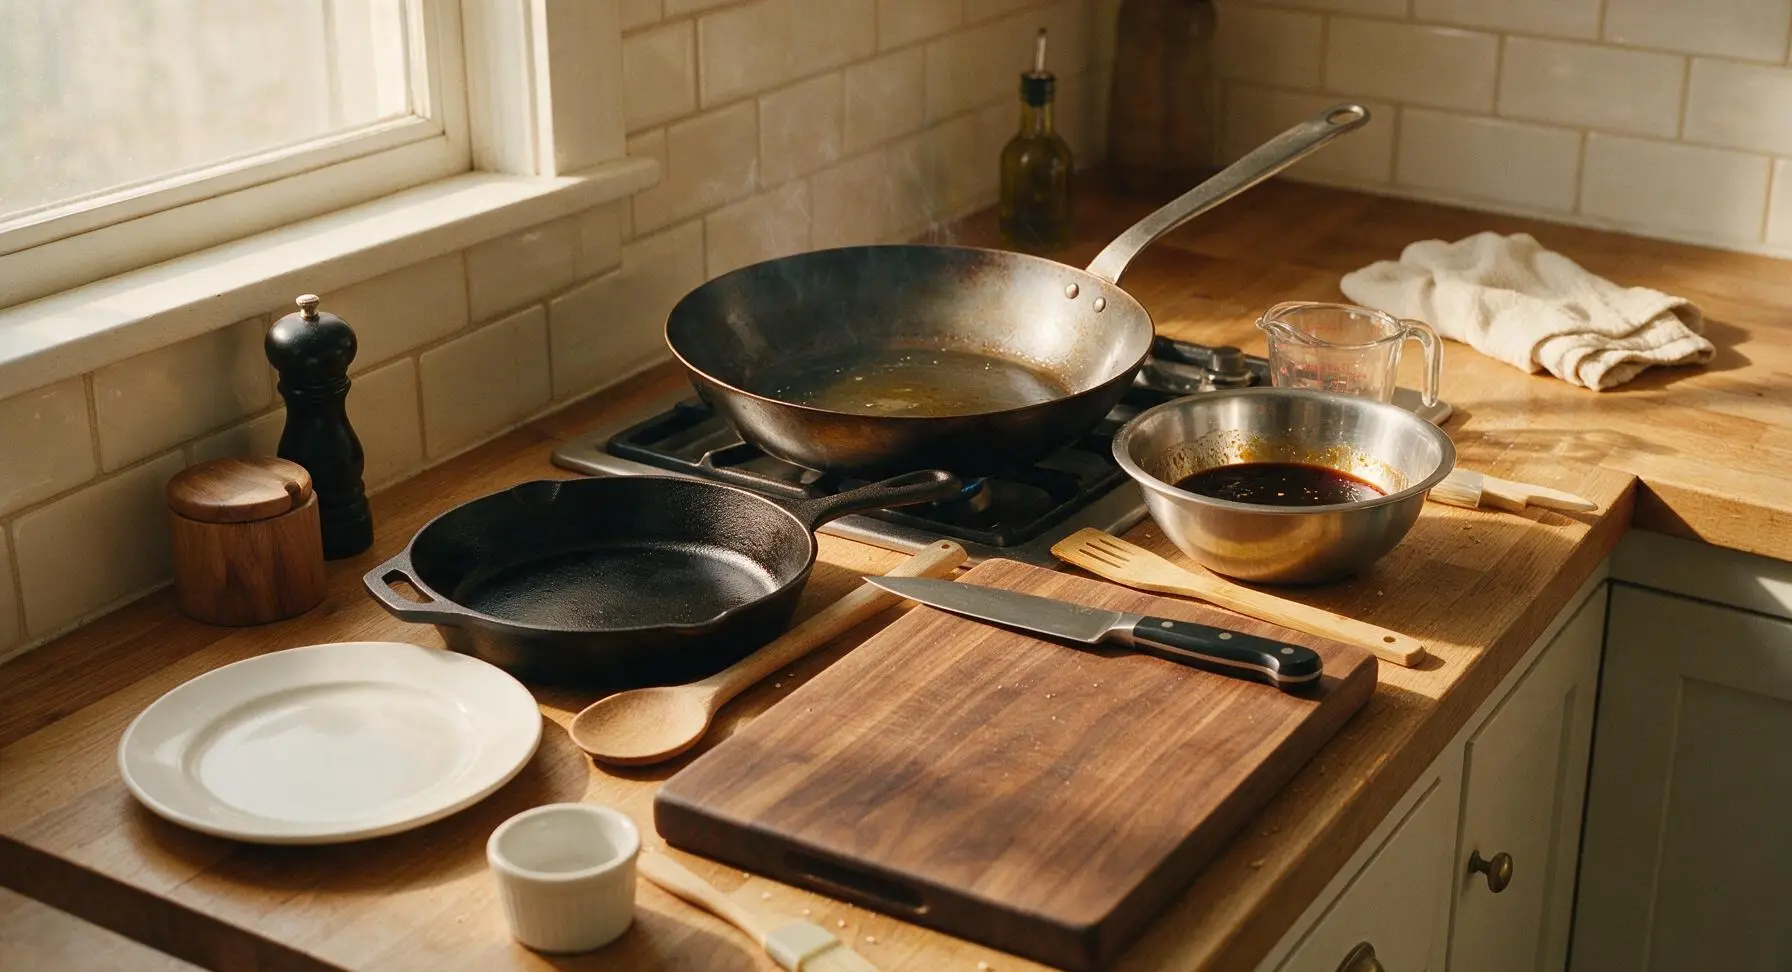
Sear Beef Slices
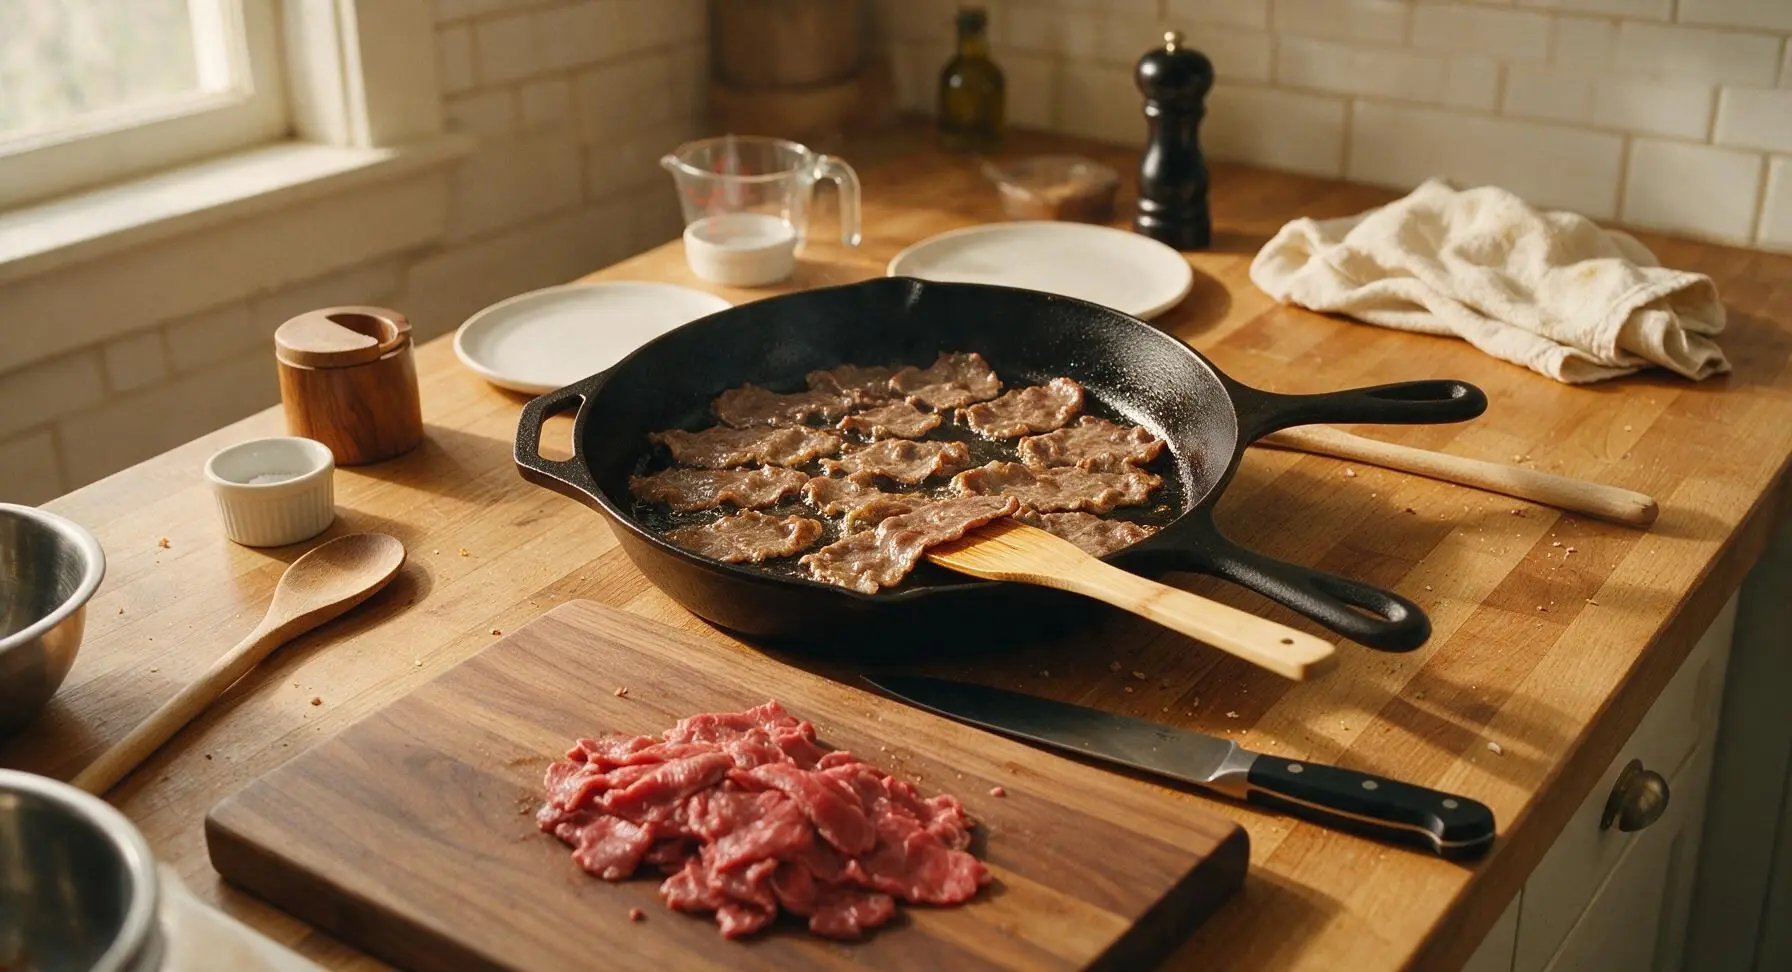
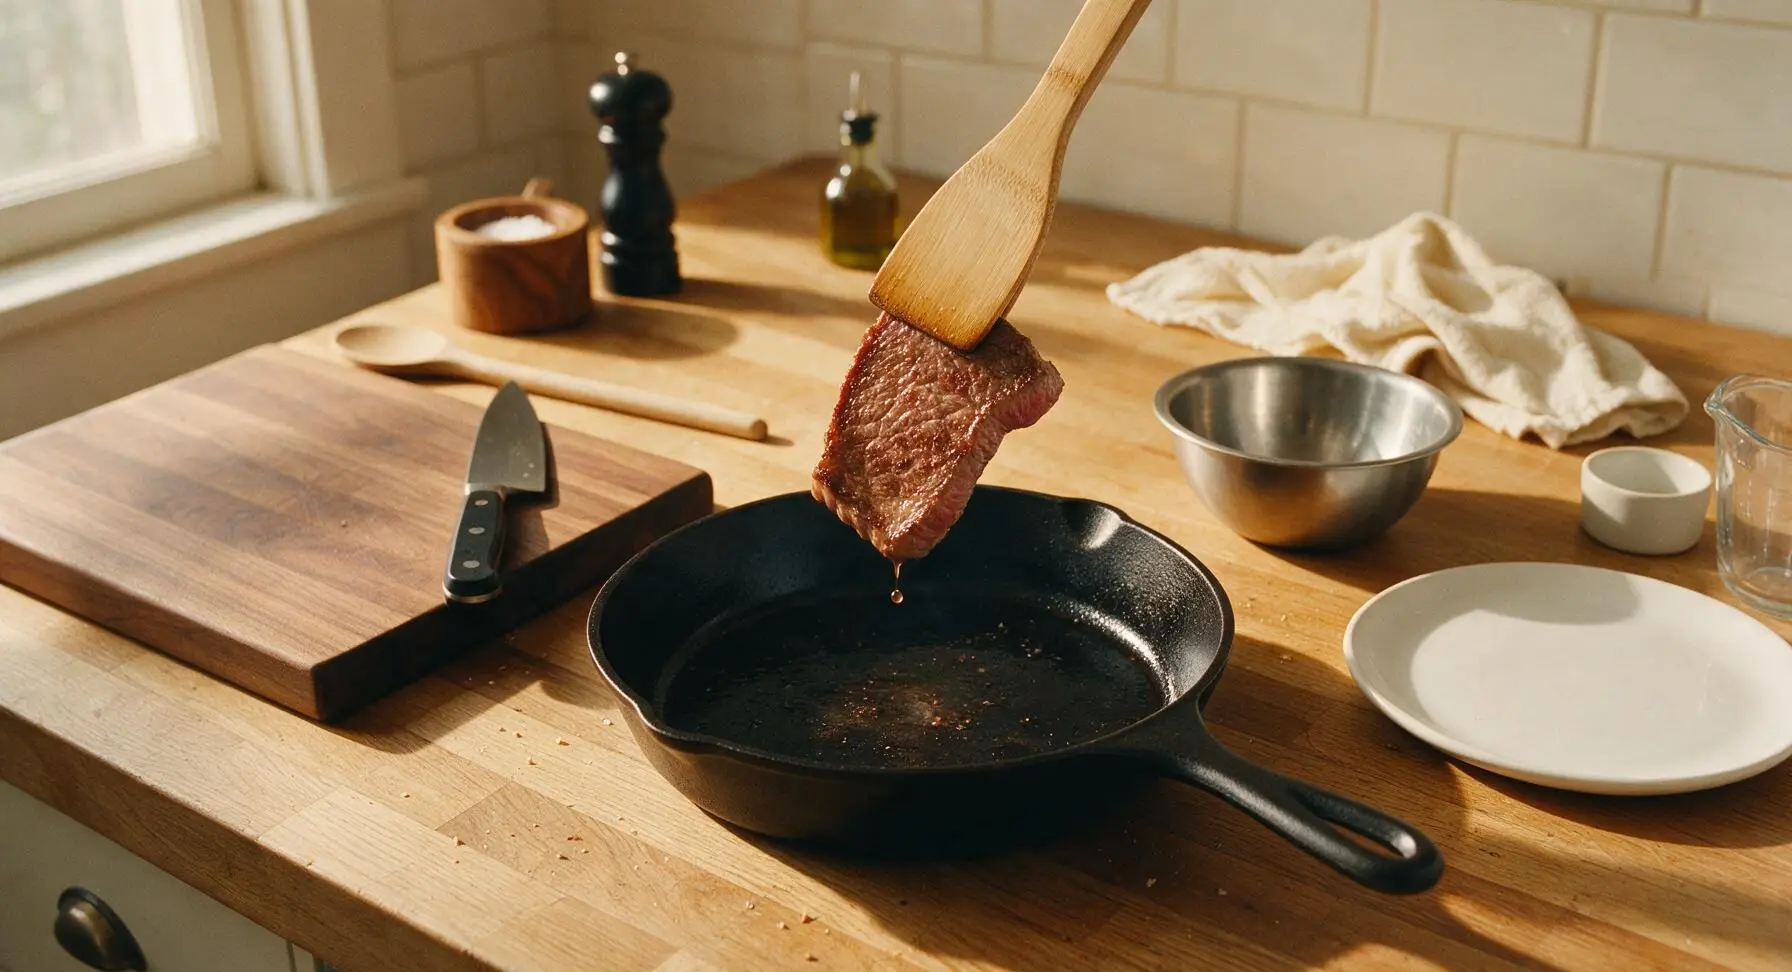
Working in 2 equal batches to avoid overcrowding the pan, add half the dried beef slices to the hot oil in a single, even layer. Sear without moving the slices for 45 seconds, until the edges turn deep golden and slightly crispy, then flip each slice with the bamboo turner and sear the second side for 30 seconds. The beef will be medium-rare with a faint pink center at this stage; do not cook fully through, as it will finish cooking in the glaze. Transfer the first seared batch to the clean medium stainless steel mixing bowl, then repeat the searing process with the remaining beef.
Reduce Teriyaki Glaze
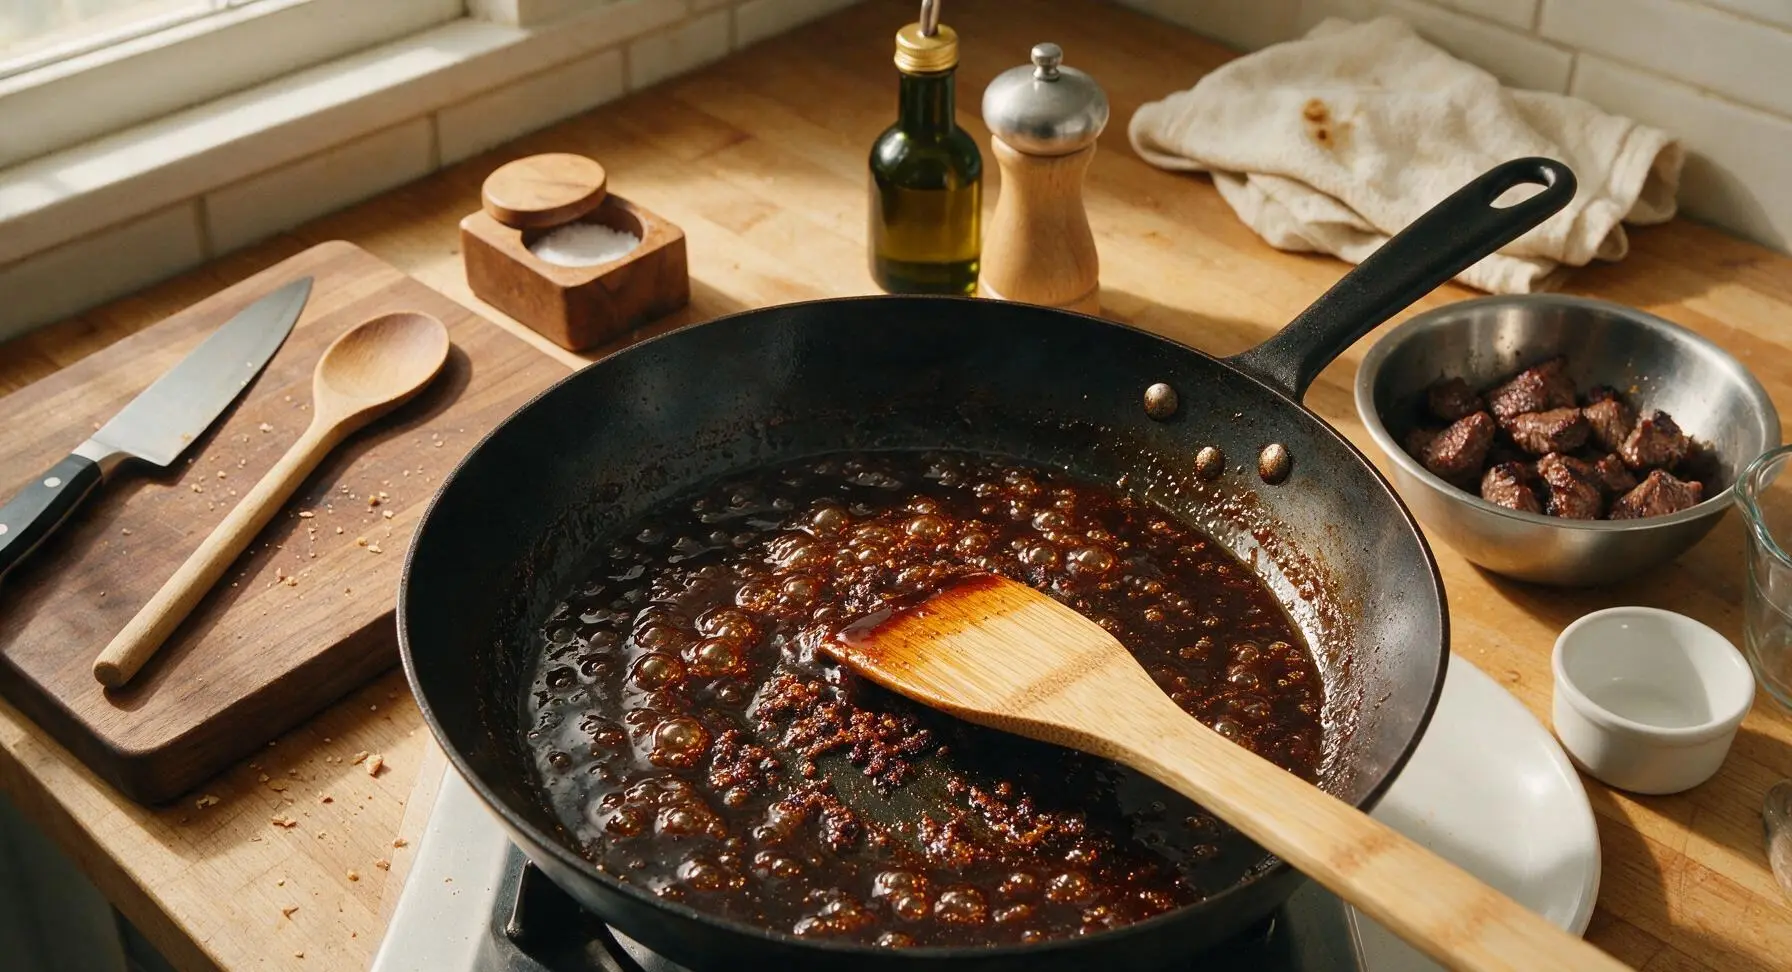
Once all beef is seared and transferred to the mixing bowl, lower the stovetop heat to medium. Pour the prepared teriyaki glaze into the same hot pan, using the bamboo turner to scrape up all browned, crispy fond bits from the pan bottom—these bits add deep, savory umami to the glaze. Simmer the sauce for 2 to 3 minutes, stirring occasionally, until it reduces by roughly one third and coats the back of the bamboo spoon thickly enough that a line drawn with a finger leaves a clear, slow-closing path.
Toss Beef in Glaze
Return all seared beef slices back to the pan with the thickened glaze. Use the silicone basting brush to coat the top of every beef slice with glaze, then toss gently with the bamboo turner for exactly 1 minute, until all slices are heated through and fully coated in the sticky, glossy glaze. Turn off the heat immediately to avoid overcooking the beef into tough, dry bites; residual pan heat will keep the dish warm for plating.
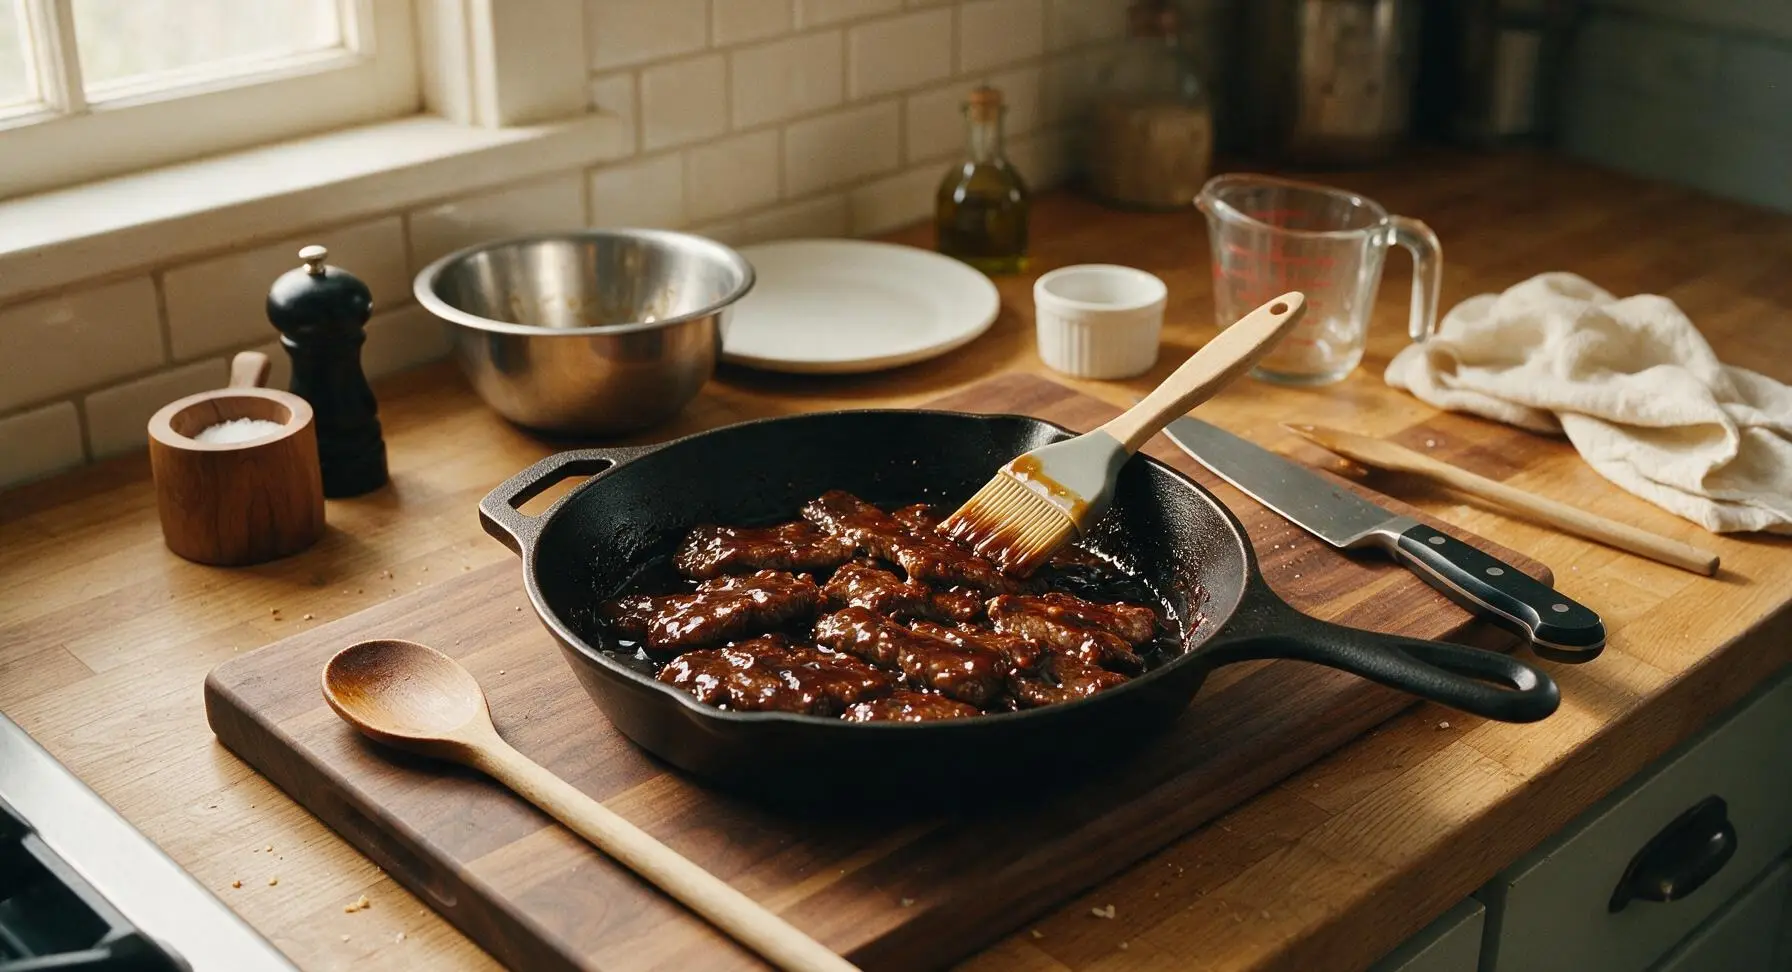
Plate and Garnish
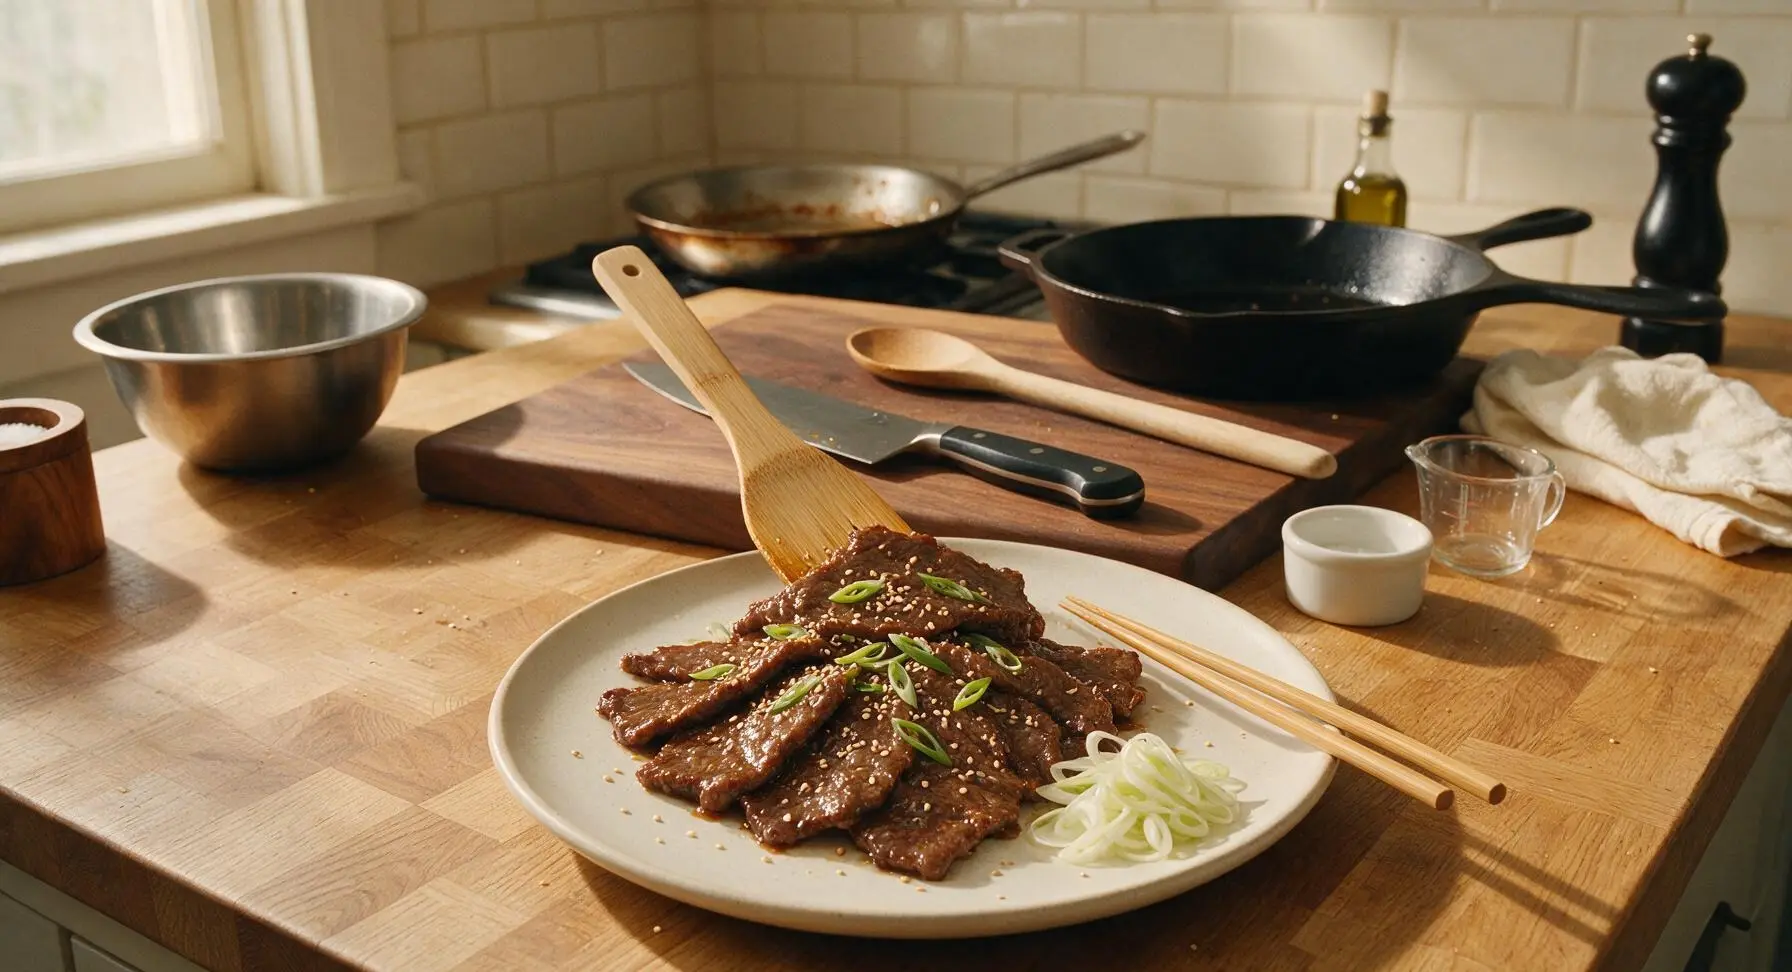
Use the bamboo turner to lift the glazed beef slices from the pan, arranging them in a neat overlapping fan across the center of the matte off-white ceramic dinner plate. Drizzle any remaining glaze from the pan over the top of the beef, then sprinkle evenly with 1 teaspoon of toasted white sesame seeds and the thinly sliced bright green scallion tops. Mound the thinly sliced pale scallion whites in a small pile at the edge of the plate for a bright, sharp flavor contrast. Rest a pair of birch chopsticks across the plate rim for serving.
Tips
2.Sear beef in small, uncrowded batches: Overloading the pan drops the surface temperature rapidly, leading to gray, steamed, tough beef instead of nicely browned, tender slices. Work in two batches even if it adds an extra minute of cook time.
3.Skip the cornstarch slurry for thickening the glaze: Reducing the sauce over medium heat creates a naturally clear, glossy, sticky glaze that clings to the beef without the cloudy, starchy mouthfeel that cornstarch adds, matching traditional Japanese home-style teriyaki.






OMG this was such a game changer for weeknight dinners! I’ve been buying the bottled teriyaki sauce for years and never realized how easy it is to make from scratch, and 10 minute cook time? Are you kidding? My two picky kids devoured two servings each and asked for it in their school lunch tomorrow. SO good, will be adding this to our regular meal prep rotation!
Made this for a potluck at my office yesterday and people were hounding me for the recipe all afternoon. Used flank steak like the recipe said, sliced it super thin against the grain and it came out perfectly tender. Only thing I did different was toss in some steamed broccoli at the end to make it a full meal. 10/10, no notes.
Wow, this was way easier than I thought it would be! I was worried I’d mess up the sauce since I’m totally new to cooking, but the ratios were perfect — sweet, salty, that little umami kick I love. Served it over jasmine rice for my partner and I last night and we both went back for seconds. Will definitely make this again!
Meal prep win! Made a big batch of this on Sunday and it held up perfectly all week for work lunches. Didn’t get soggy at all, the sauce caramelized so nicely on the beef when I seared it hot like the recipe said. I skipped the mirin because I didn’t have any and used a little extra rice vinegar with a pinch of sugar, which worked well, though next time I’ll grab mirin to get that exact authentic flavor. Still a super solid recipe!
Wait, this is better than the takeout beef teriyaki I order every Friday night? For 10 minutes of cook time? I feel like I’ve been wasting so much money! The sauce is perfectly balanced, not too cloyingly sweet like a lot of takeout versions. My only mistake was not making enough rice to soak up all that extra sauce, oops.