
Chirashi
intro
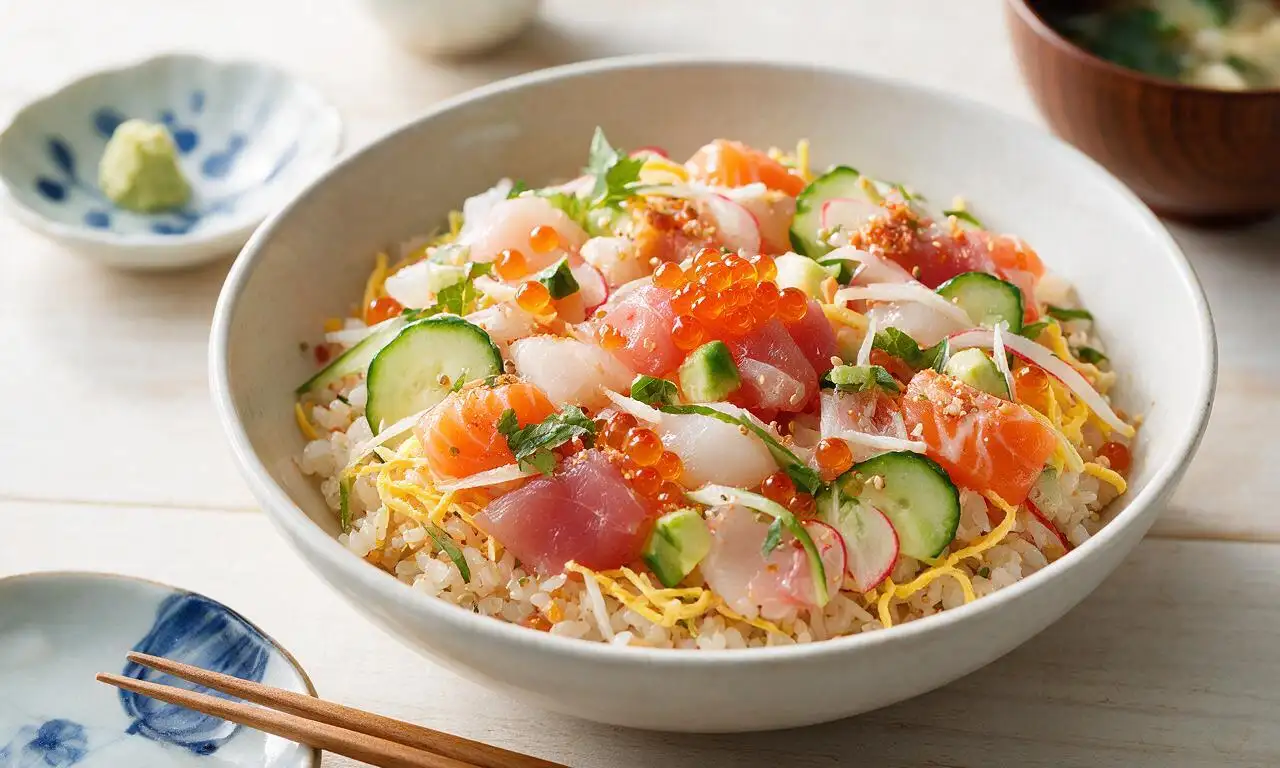
Colorful scattered sushi bowl with tangy seasoned rice, fresh sashimi, crisp vegetables, and savory garnishes: a light, vibrant classic Japanese family meal.
Ingredients
Steps
Cook the sushi rice
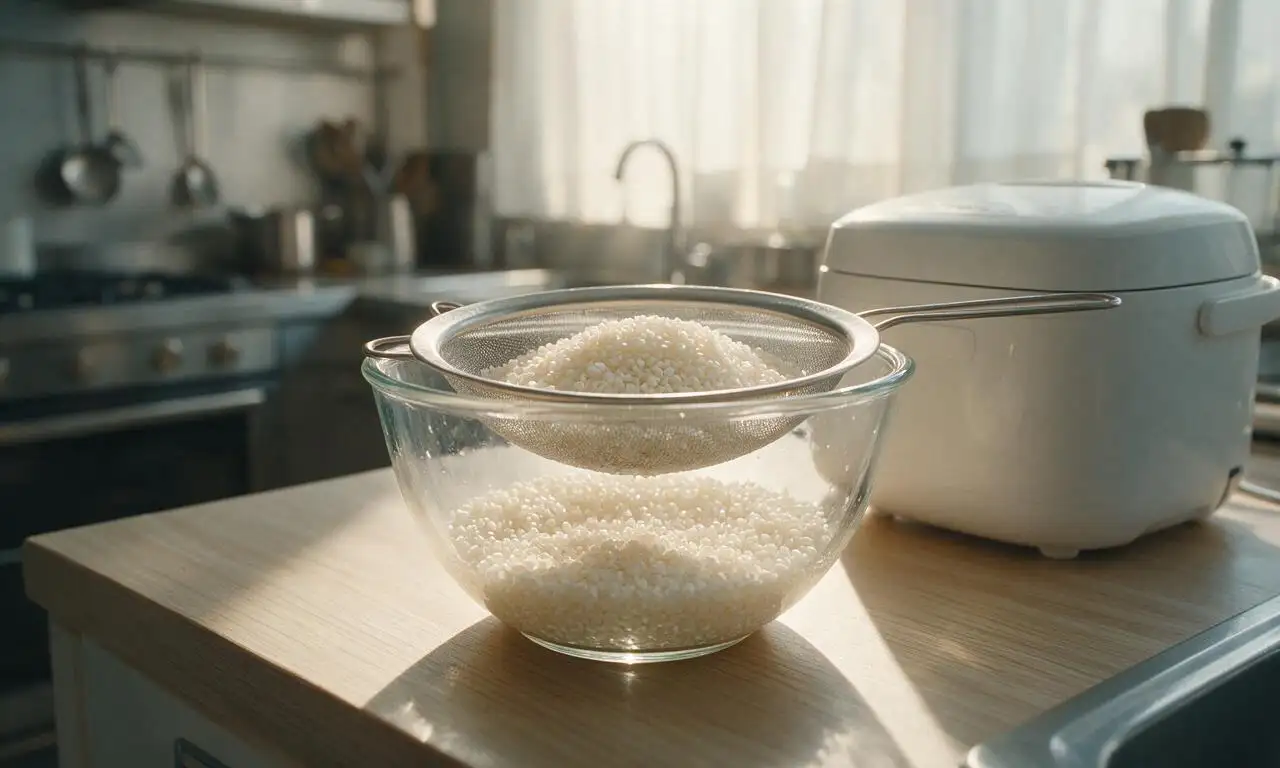
Rinse 540g short-grain sushi rice under cold running water for 2 minutes until the water runs nearly clear. Drain the rice fully for 10 minutes, then add to a rice cooker with 600ml cold water (1:1.1 rice to water ratio). Cook on the standard white rice setting for 25 minutes, then let the rice rest, covered, for 10 minutes after the cooking cycle completes before opening the lid.
Season the sushi rice
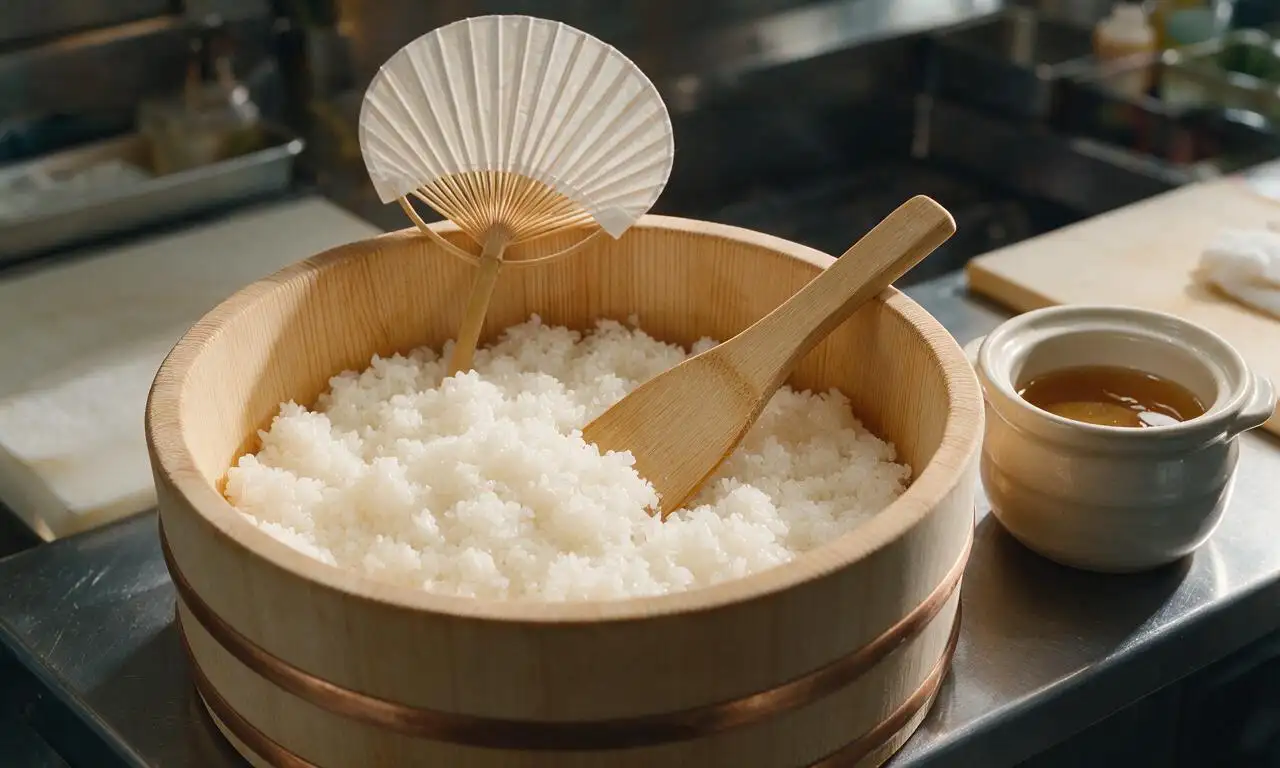
While the rice cooks, combine 60ml rice vinegar, 25g granulated sugar, and 5g fine sea salt in a small saucepan over low heat. Stir constantly for 2 minutes until sugar and salt fully dissolve, taking care not to bring the mixture to a boil. Transfer the hot cooked rice to a large wooden hangiri or wide glass bowl, then gently fold in the vinegar mixture with a rice paddle using slicing motions, while fanning the rice continuously for 5 minutes until it cools to room temperature (21°C/70°F) and develops a glossy, slightly sticky texture.
Prep seafood toppings
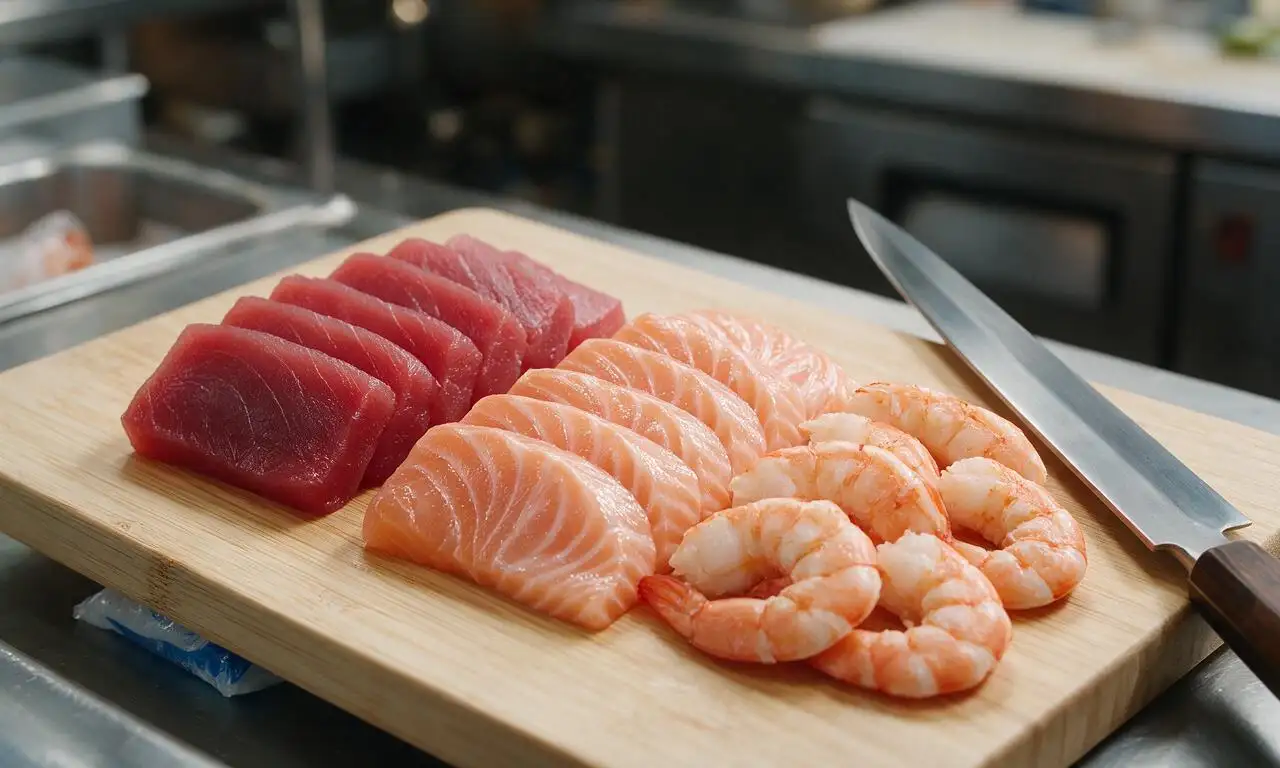
Pat 150g sashimi-grade ahi tuna and 150g sashimi-grade salmon completely dry with paper towels. Slice against the grain into 5mm (1/4 inch) thick bite-sized pieces, holding your knife at a 45-degree angle to the cutting board. Slice 120g cooked peeled shrimp in half lengthwise, removing any remaining dark vein. Store all prepped seafood in a covered container in the refrigerator at 4°C (40°F) until assembly.
Prep vegetable toppings
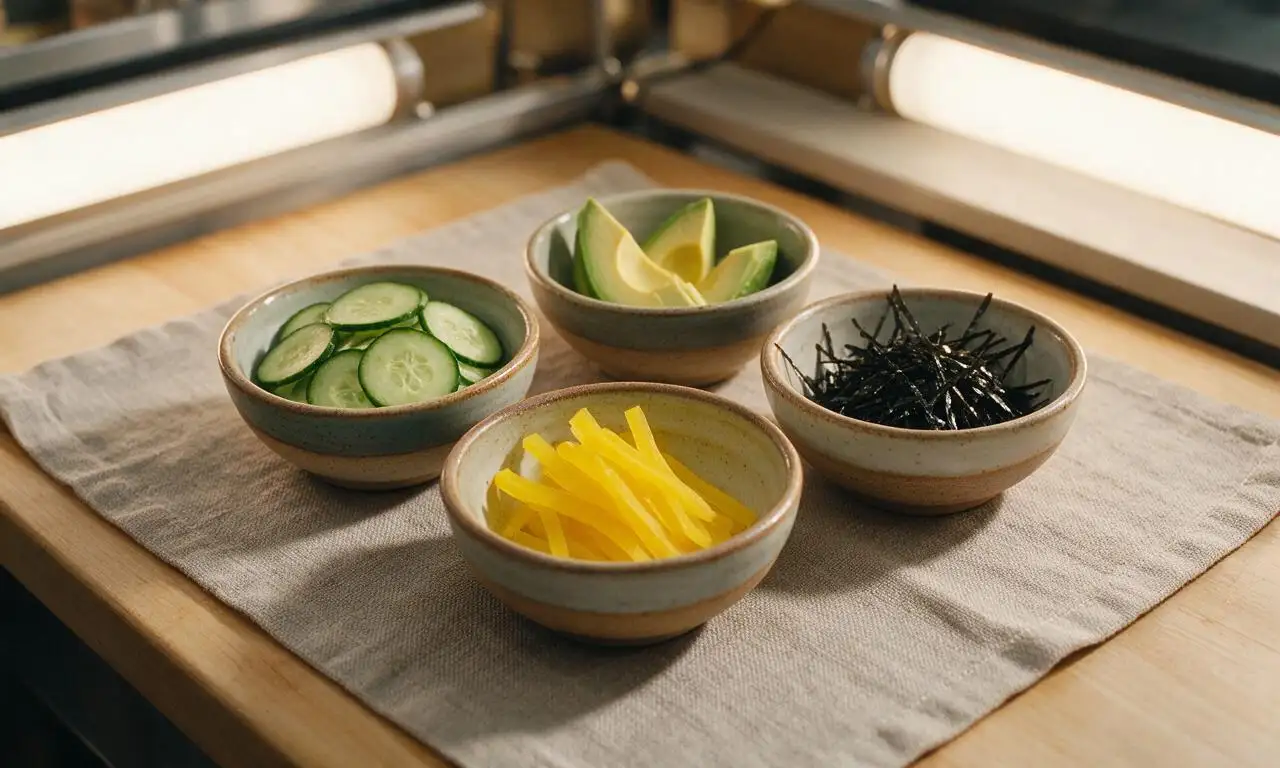
Slice 100g Japanese cucumber into thin 3mm (1/8 inch) rounds, discarding the seedy watery core to prevent soggy rice. Peel and pit 150g ripe avocado, slice into 5mm thick wedges, and toss gently with 1 tsp (5ml) rice vinegar to prevent browning. Cut 50g pickled daikon into thin 3mm matchsticks, and snip 2 nori sheets into 2mm thin strips with kitchen shears.
Assemble the rice base
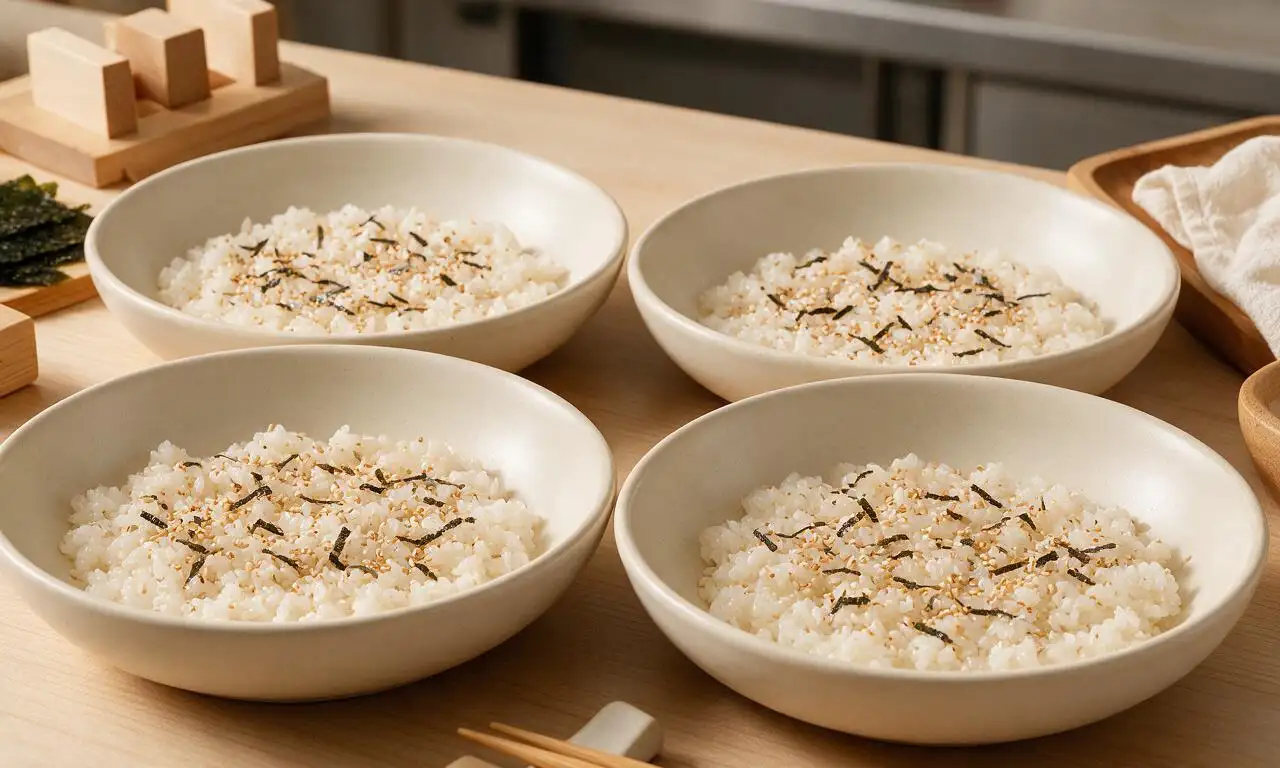
Divide the cooled seasoned sushi rice evenly between 4 wide, shallow serving bowls, gently spreading it into an even 2cm (3/4 inch) thick layer. Do not press or compact the rice, as this will make it dense and mushy. Sprinkle 2/3 of the toasted sesame seeds and half of the nori strips evenly over the surface of the rice in each bowl.
Arrange toppings and serve
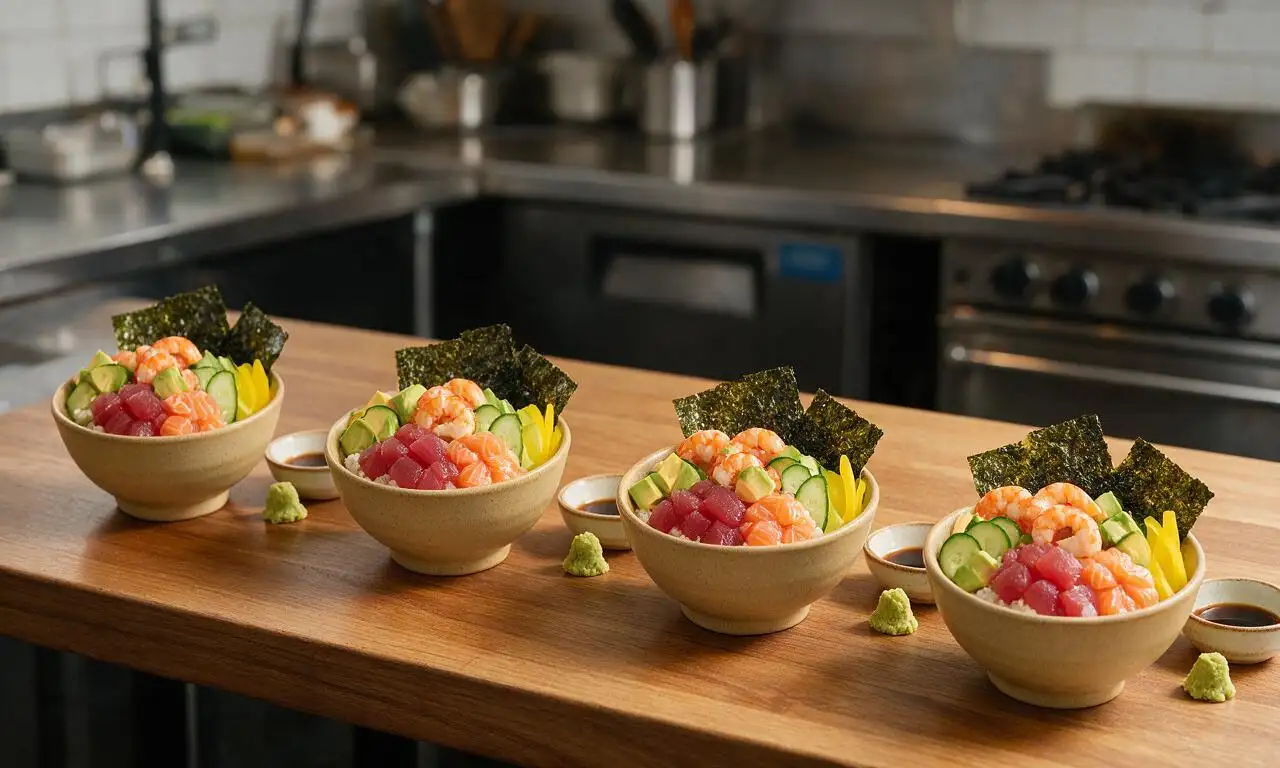
Artfully arrange the sliced tuna, salmon, shrimp, cucumber, avocado, and pickled daikon over the rice in each bowl, grouping similar ingredients in small, colorful clusters for visual appeal. Top with the remaining nori strips and sesame seeds, then place a 1/2 tsp dollop of wasabi on the edge of each bowl. Serve immediately with 15ml (1 tbsp) soy sauce per person for dipping.
Tips
2.Avoid overworking the sushi rice when folding in seasoning: use gentle slicing motions rather than stirring or mashing to keep individual grains intact and prevent a mushy texture.
3.Keep all raw seafood chilled at 4°C (40°F) until the moment you assemble the bowls, and serve chirashi immediately after assembling for the best flavor, texture, and food safety.






My kids loved this so much they asked for seconds before they even finished their first bowl! I swapped the raw salmon for smoked salmon since my youngest is iffy about raw fish, and it still turned out SO good. This recipe is a total game changer for our weekly family dinner night, already added it to our regular meal prep rotation.
Really solid recipe! The only thing I messed up was overcooking the shrimp for the toppings, oops. The rice seasoning was spot on though, way better than the store-bought sushi rice mix I’ve used before. 55 minute cook time was totally accurate for me once I had all my ingredients prepped.
OMG, brought this to my neighbor’s backyard BBQ over the weekend and it was the first dish gone! I topped mine with avocado, pickled ginger, sesame seeds, imitation crab, and diced cucumber, and everyone kept saying it tasted like it came from our local fancy sushi spot. Will absolutely be making this again for the next block party.
First time ever making any kind of sushi at home and I was so nervous it would turn out a mess, but this recipe walked me through every step! I was worried the medium difficulty meant I’d be in over my head, but the instructions for the sushi rice were super clear. My roommate said it’s better than takeout, which is the highest compliment possible tbh.
Made a big batch of this for my weekly meal prep and it held up so well for 3 days in the fridge! I kept the toppings separate from the rice until I was ready to eat, which kept everything nice and fresh. Saved me so much money on takeout sushi this week, no joke.
Great base recipe! I added a little spicy mayo drizzle on top and some tobiko for extra crunch and brininess, which kicked it up a notch. The only reason I’m not giving 5 stars is I wish it had a little more guidance on what classic toppings to include for someone who doesn’t eat sushi super often. Other than that, rice was perfect.
Made this for my anniversary date night in with my partner and they were so impressed! We set out all the toppings in little bowls and built our own bowls, which was such a fun activity instead of just going out to dinner. Paired it with some cold sake and it was the perfect low-key fancy night.
So happy this recipe is naturally gluten free when you use gluten free soy sauce! I’ve been missing good chirashi since my local sushi spot started using a soy sauce with wheat in their rice seasoning. This tasted exactly like what I used to get, no weird aftertaste from GF substitutes at all.
Made this in my tiny dorm kitchen with just a rice cooker and a little stovetop burner, and it turned out insane! I used frozen pre-cooked shrimp and pre-diced avocado from the campus grocery store to cut down on prep, and even with the shortcuts it tasted so fancy. Perfect for when I’m sick of dining hall food.
I’ve been making chirashi for years and this recipe is easily the best one I’ve tried at home. The ratio of vinegar, sugar, and salt for the rice is absolutely perfect, not too tangy, not too sweet. I topped mine with otoro, uni, scallops, and pickled daikon for a more luxe version, and it was restaurant quality.
Made this for a girls’ brunch and it was a total hit! The only thing I adjusted was adding a tiny bit more sugar to the rice because I prefer my sushi rice a little sweeter, but that’s just personal preference. Everyone went back for seconds and asked for the recipe link before they left.
This tasted exactly like the chirashi my obaachan used to make when I was a kid! I was worried it wouldn’t live up to my memory, but the seasoning was spot on, and adding the shredded egg crepe and pickled lotus root made it feel so nostalgic. I almost cried when I took the first bite, no lie.
High protein, packed with veggies, and so flavorful? This is my new go-to post-gym meal. I loaded mine up with extra ahi tuna, edamame, and cucumber, and it kept me full for hours without feeling heavy. Way better than the boring chicken and rice I usually eat after workouts.
Served this at our tailgate before the Bucs game last weekend and people lost their minds! I made it in a big disposable tray so it was easy to pass around, and all the guys who usually just eat burgers and wings were going back for thirds. Who knew sushi would be a tailgate hit? Definitely doing this again next season.
Okay so I definitely messed up the rice the first time because I didn’t let it cool enough before adding the vinegar mix, oops. But the second batch turned out amazing! I think next time I’ll spread the rice out on a baking sheet to cool faster like the recipe said, I skipped that step the first go around.
My teen is obsessed with sushi and has been begging me to make it at home, so we tried this recipe together over the weekend. We had so much fun prepping all the toppings together, and she said it’s better than the takeout we get every Friday. We’re already planning to make it a monthly mother-daughter cooking night.
Just finished making this for lunch and WOW. I added a little pickled red onion and a sprinkle of furikake on top and it’s so flavorful. The cook time was right on 55 minutes for me, even with stopping to take pictures for my food Instagram. 10/10, will be making this on repeat all summer.