
Philadelphia Roll
intro
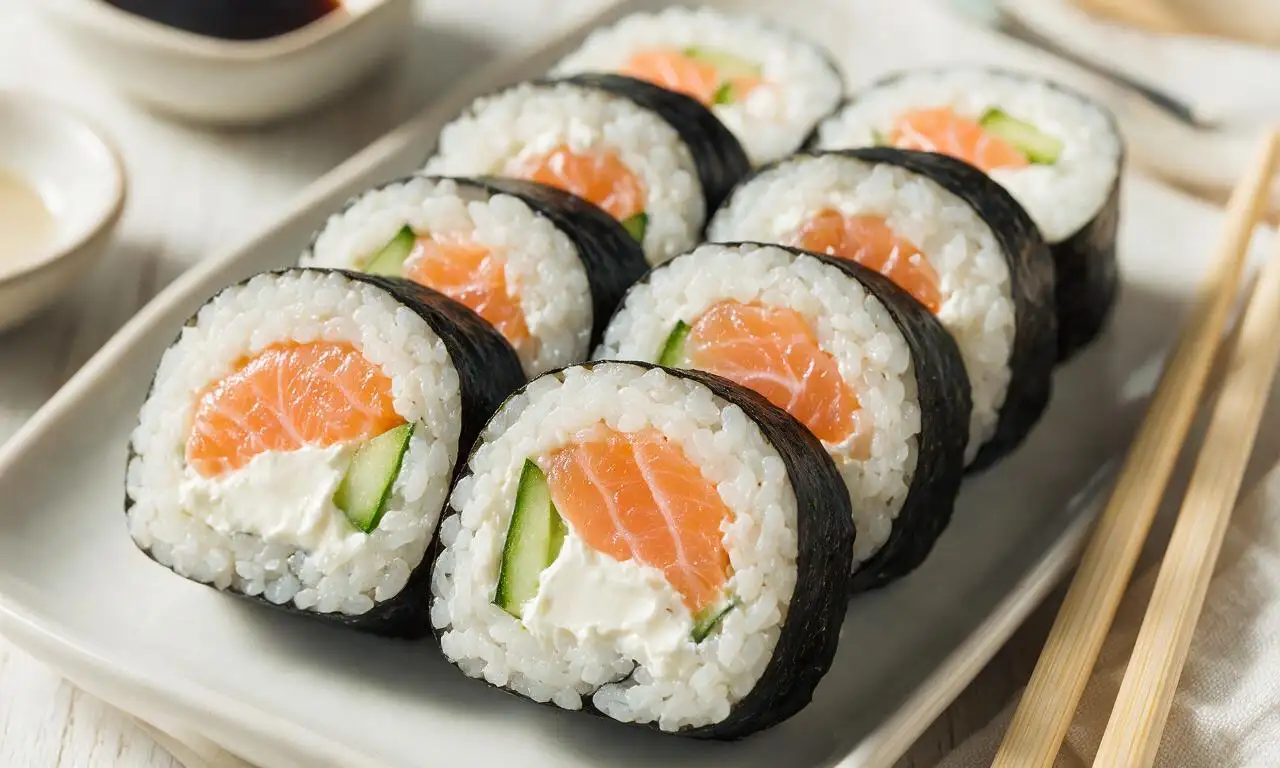
Creamy, briny, and crisp, the classic Philadelphia Roll pairs smoked salmon, smooth cream cheese, and cucumber in seasoned sushi rice for a beloved, approachable sushi favorite.
Ingredients
Steps
Rinse and Cook Sushi Rice
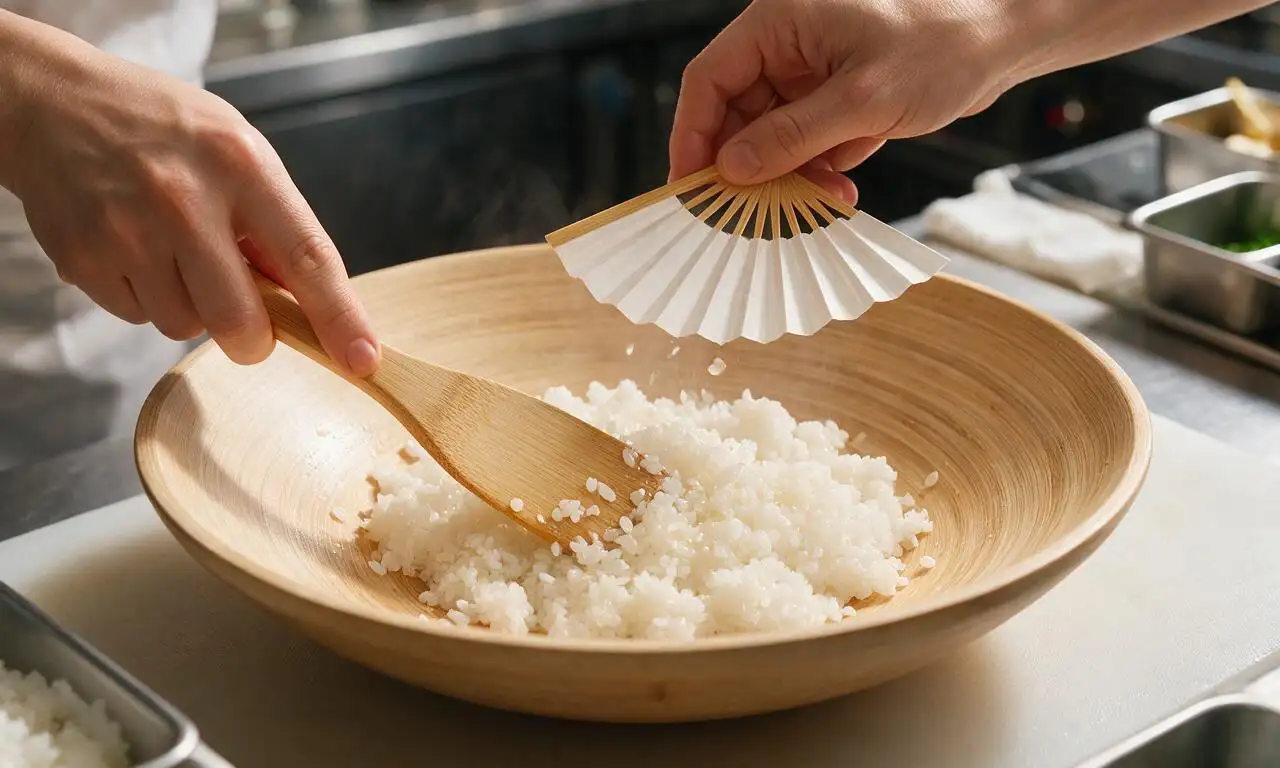
Rinse 270g (1.5 cups) short-grain sushi rice under cold running water for 2-3 minutes until runoff water is nearly clear, not milky. Combine rinsed rice with 360ml (1.5 cups) cold water in a rice cooker, and cook on the standard white rice setting for approximately 15 minutes; do not lift the lid during cooking. Once the cycle completes, let the rice rest covered for 10 minutes off heat, then transfer to a wide, non-metallic shallow bowl. Gently fold in 45ml (3 tablespoons) seasoned rice vinegar with a flat bamboo rice paddle, fanning the rice continuously as you fold to cool it to 22-24°C (72-75°F), taking care not to mash or overwork the rice grains.
Prep Sushi Roll Fillings
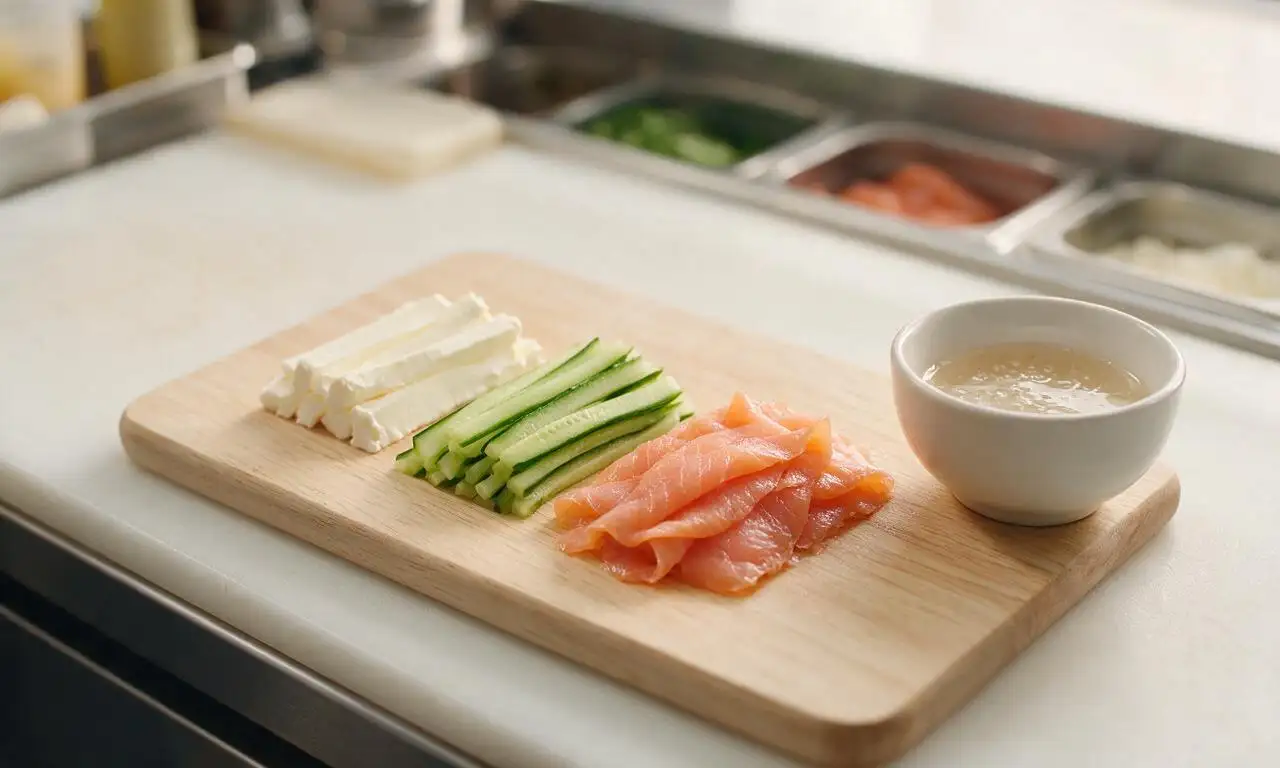
While the rice rests, prep fillings and set up your station. Cut the chilled 113g block of full-fat cream cheese into 6mm (1/4-inch) thick, 10cm (4-inch) long strips. Seed the 150g English cucumber and cut it into matchsticks of the same size. Pat the 225g thinly sliced smoked salmon lightly with paper towels to remove excess surface moisture (which causes soggy rolls). Arrange all fillings on a small plate within arm’s reach, alongside a small bowl holding 120ml (1/2 cup) cold water mixed with 5ml (1 teaspoon) rice vinegar for dipping fingers and sealing rolls.
Prep Rolling Mat and Nori
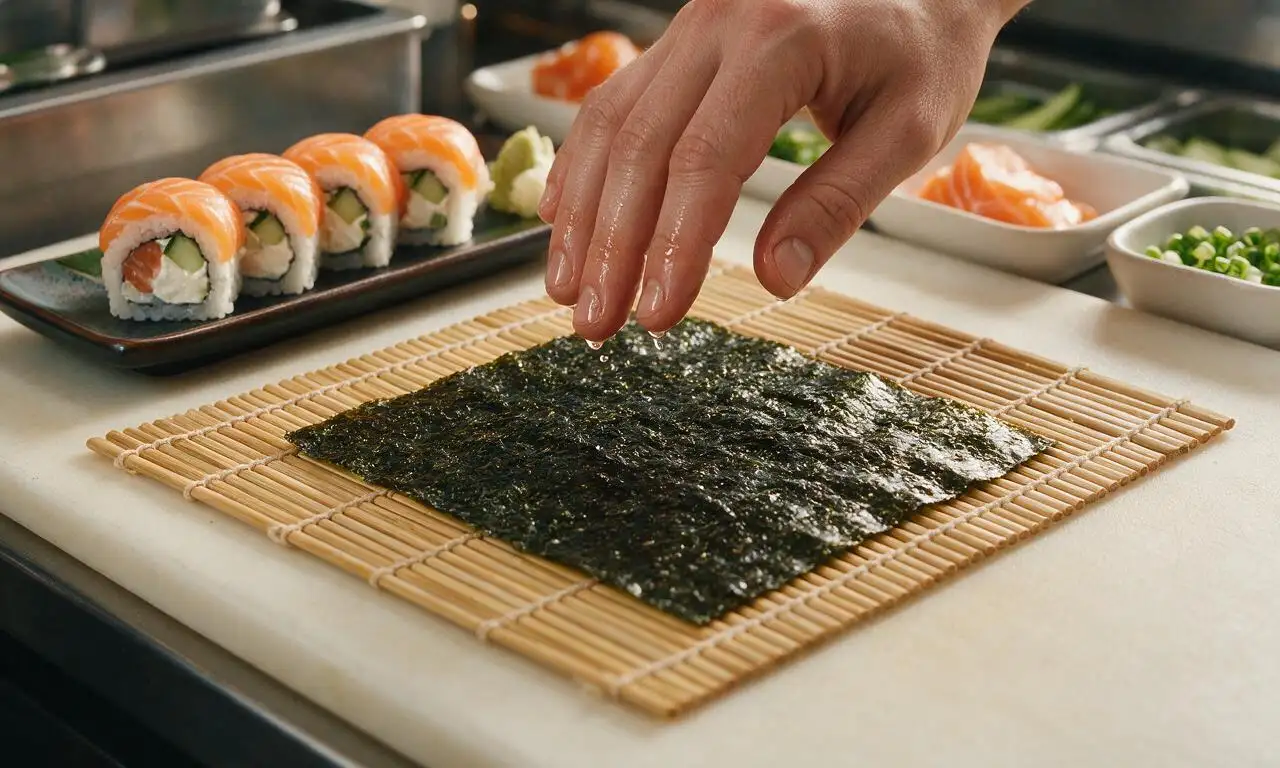
Place a bamboo sushi rolling mat (makisu) on your clean counter, wrapping it tightly in plastic wrap for easy cleanup if desired. Take one full roasted nori sheet, fold it gently along its crosswise center to crease, then tear or cut along the crease to make two equal rectangular halves. Place one nori half shiny-side down on the mat, with its long edge parallel to the edge of the counter closest to you. Dip your fingertips in the prepared vinegared water to prevent rice from sticking to your hands.
Spread Rice Evenly on Nori
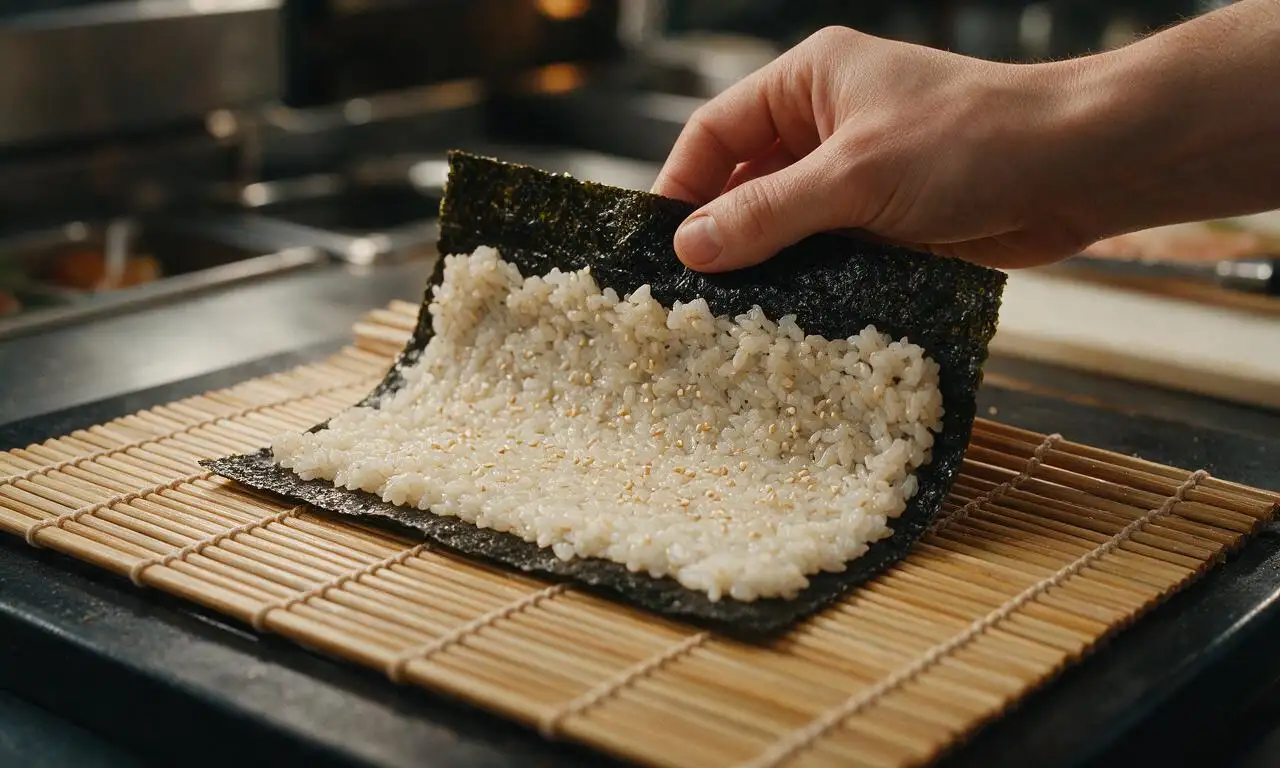
Scoop 75g (roughly 1/3 cup) of cooled seasoned rice, and spread it in a thin, even, tight layer across the entire rough surface of the nori, leaving a 1cm (1/2 inch) wide bare strip of nori along the top long edge for sealing. Sprinkle 1/4 teaspoon of toasted white sesame seeds evenly over the rice surface, then gently flip the nori over so the rice-coated side is pressed flat against the bamboo mat, and the bare nori strip is positioned at the top, farthest from you.
Arrange Fillings on Nori
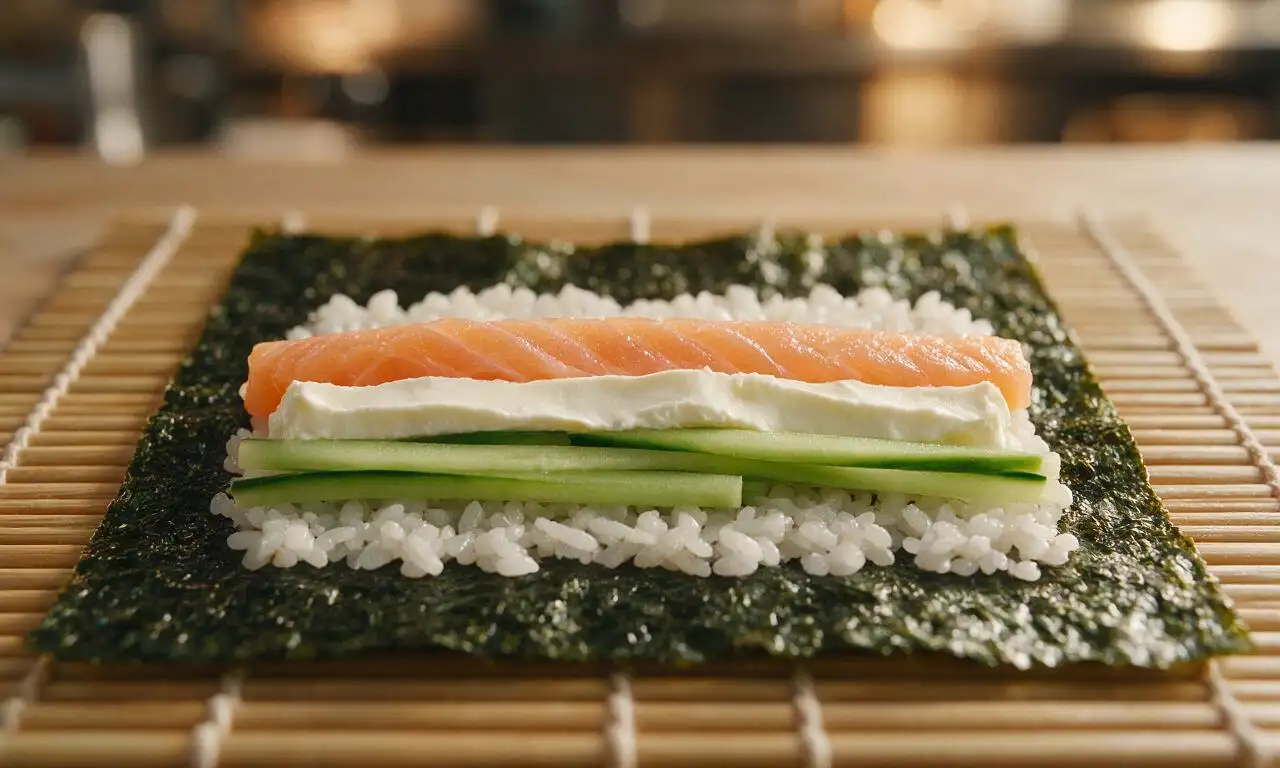
Lay fillings in a single, neat horizontal line across the center of the exposed nori surface (the side now facing up after flipping). Use 2-3 slices of smoked salmon, 2 strips of cream cheese, and 2-3 cucumber matchsticks per roll, taking care not to pile fillings higher than 1cm (1/2 inch) to avoid bursting the roll during shaping.
Roll Sushi Tightly
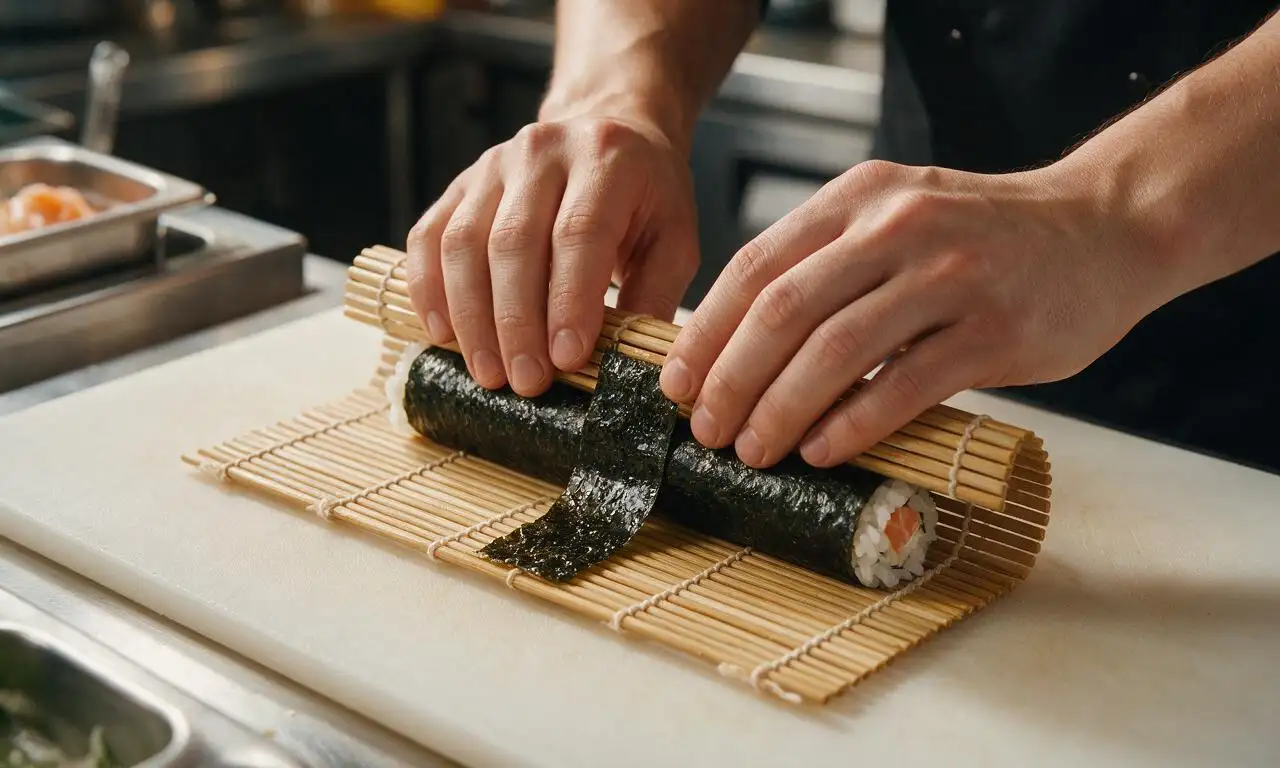
Use your thumbs to lift the bottom edge of the bamboo mat up and over the line of fillings, tucking the mat edge tightly against the fillings to form a firm core. Squeeze gently along the length of the mat to shape the roll into an even 4cm (1.5 inch) diameter cylinder. Dab a small amount of vinegared water along the bare top nori strip to moisten it, then roll the log forward to press the moistened edge against the roll, sealing it closed. Hold the mat-wrapped roll for 10 seconds, applying light even pressure to set the seal. Repeat this process with remaining nori, rice, and fillings to make 8 total small rolls.
Slice Sushi Roll Evenly
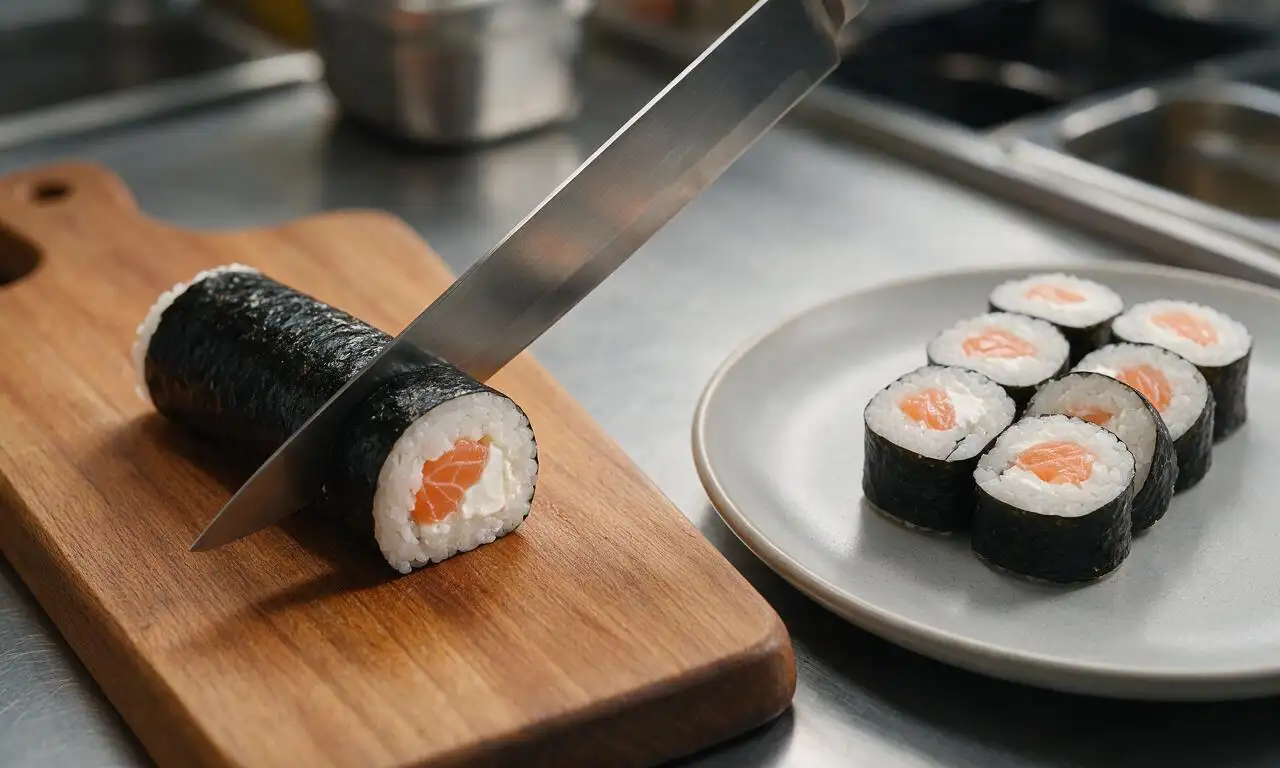
Dampen a sharp, thin-bladed knife with vinegared water between every cut to prevent rice from sticking. Slice each rolled log into 4 even 2.5cm (1 inch) thick pieces, wiping the blade clean after every 2 cuts for smooth edges. Arrange the sliced pieces cut-side up on a serving platter, sprinkle with the remaining toasted sesame seeds, and serve with optional pickled ginger, wasabi, and low-sodium soy sauce on the side.
Tips
2.Avoid overstuffing rolls: if fillings are piled higher than 1cm (1/2 inch), they will burst out the sides during rolling, leading to misshapen, messy pieces that won’t hold their shape.
3.Serve rolls immediately after cutting for best texture; do not refrigerate assembled rolls, as cold temperatures will make sushi rice hard and gummy, and cause cream cheese to stiffen unpleasantly. Seasoned rice can be held covered at room temperature for up to 2 hours before rolling.






OMG this was SO good! I was so intimidated to make sushi at home but this recipe was so straightforward, even for a total beginner. My kids loved it, they kept asking for seconds at family dinner earlier this week. I added a tiny extra drizzle of sriracha mayo on top and it was chef’s kiss. 10/10 will make again for our next neighborhood potluck!
Took me about 40 minutes total instead of 35 but that’s probably because I’m slow at rolling the first couple. Tasted exactly like the philly rolls I get at my local takeout spot for a fraction of the price! Total game changer for my weekly meal prep, I’m gonna make a big batch on Sundays now to grab for work lunches.
Super easy recipe! I used low-fat cream cheese because that’s what I had in the fridge and it still turned out great. Only note is make sure you don’t overstuff the rolls or the rice will tear when you roll them, learned that the hard way on my first one 😂
Made these for my girlfriend’s birthday dinner since she’s obsessed with philly rolls and she said they were better than the restaurant version! Total win for me. I did add a little cucumber inside alongside the salmon and cream cheese for extra crunch, highly recommend that tweak.
My whole family is obsessed! I was worried the raw salmon would be weird to make at home but as long as you grab sushi-grade fish from the grocery store it’s totally safe and so fresh. My 7 year old even helped spread the rice on the nori, it was such a fun lazy weekend activity.
Solid, easy recipe. Tastes great, didn’t have any fancy bamboo mat and still got tight, nice rolls using just a piece of parchment paper. Skipped the sesame seeds on top because I’m not a fan and it didn’t take away from the flavor at all. Will make again.
SO good! I made these for a girls’ night potluck and every single roll was gone before I even got a second one. People were asking me for the recipe all night, I sent them all straight here. 10/10, no notes.
Meal prep win for the week! I made a double batch on Sunday, cut them up, and kept them in the fridge for quick lunches all week. They held up way better than I thought they would, no soggy nori or anything. My teen said they’re “actually not bad” which is the highest praise he gives anything lmao.
Okay I’ll be honest, my first three rolls looked a hot mess but they tasted incredible. Once I got the hang of tucking the fillings in tight with the bamboo mat they started looking halfway presentable. Don’t get discouraged if your first ones are ugly, they still taste amazing!
First time making any kind of sushi and this was so doable! I swapped the regular salmon for smoked salmon because that’s what my grocery store had in stock and it gave it such a nice, rich smoky flavor that I actually might prefer over raw salmon now. 10/10 easy weeknight dinner.