
Gyoza
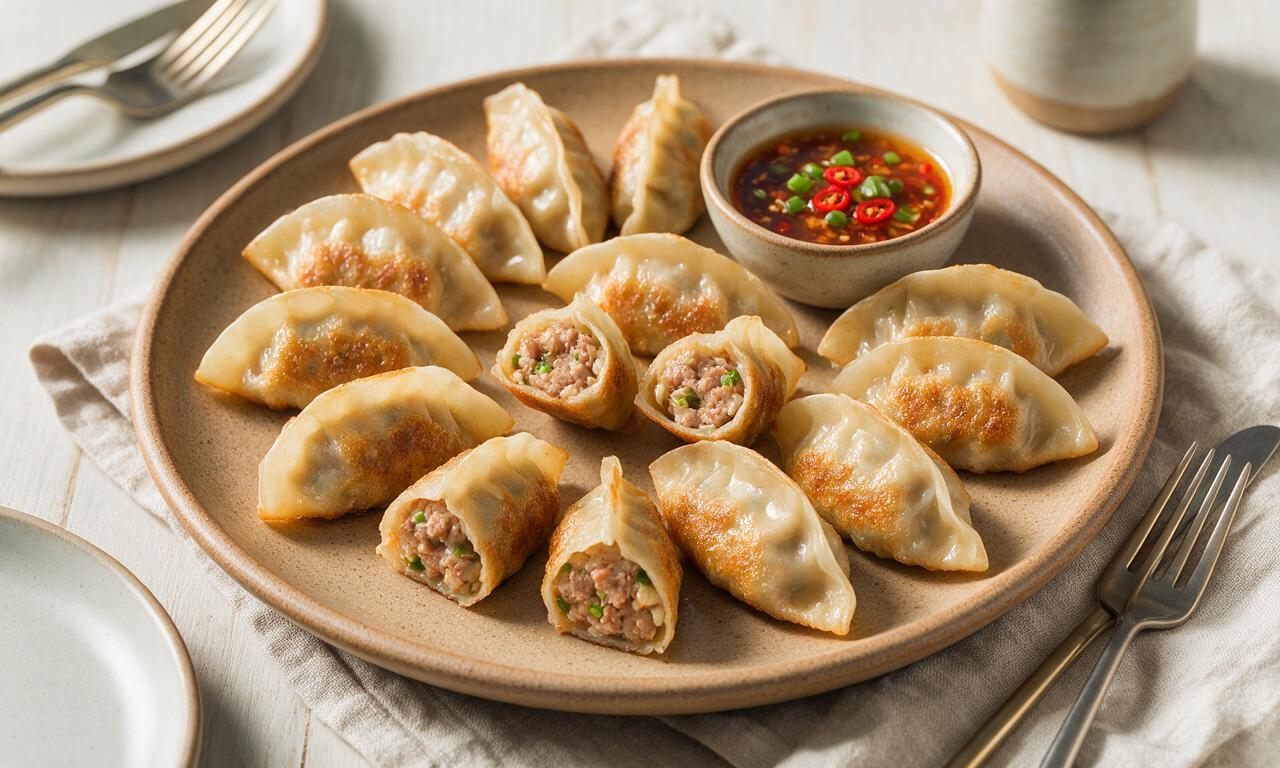
intro
Crisp golden bottoms, juicy savory pork and vegetable filling, and tangy dipping sauce make these pan-fried gyoza a beloved shareable bite.
Ingredients
Steps
Prep Gyoza Filling
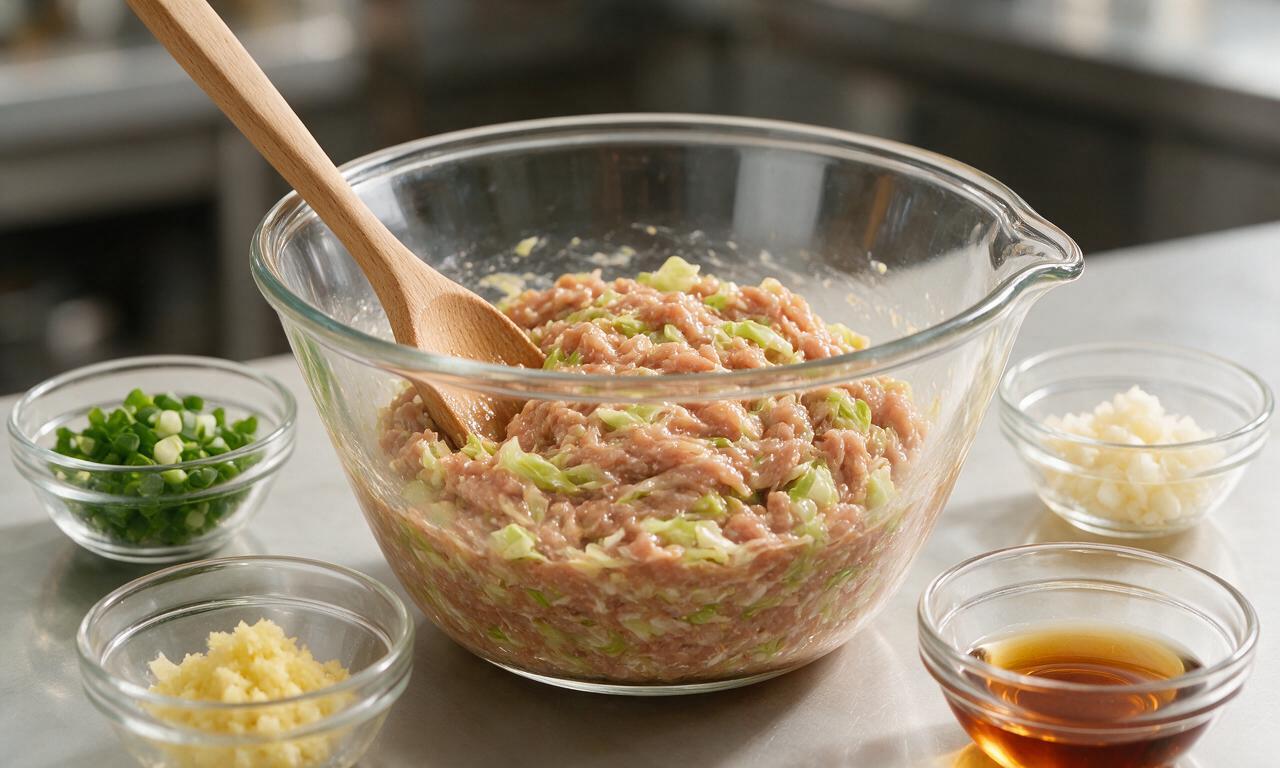
First, prepare the filling: place 100g finely chopped napa cabbage in a bowl, toss with 1g (1/4 tsp) table salt, and let rest for 10 minutes to draw out excess moisture. Firmly squeeze the cabbage to remove all released liquid, then add 225g ground pork, 30g chopped scallions, 6g minced garlic, 5g grated ginger, 15ml (1 tbsp) light soy sauce, 5ml toasted sesame oil, and 3g cornstarch. Mix consistently in one circular direction for 2 minutes until the filling becomes sticky and uniformly combined.
Assemble the Gyoza
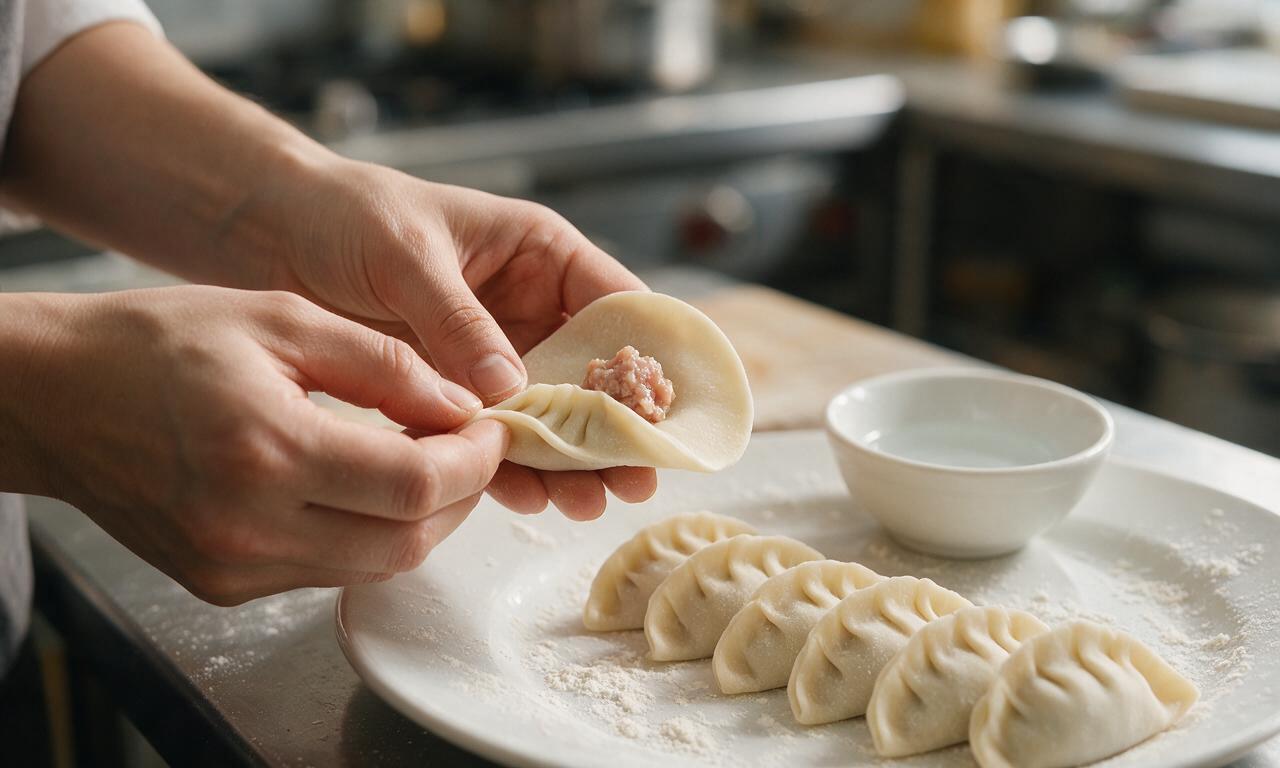
Set up a work station with a small bowl of room-temperature water, the stack of 24 gyoza wrappers, and the prepared filling. Place 1 level teaspoon (approx 8g) of filling directly in the center of each wrapper. Dip a finger in water and moisten the full outer edge of the wrapper, then fold the wrapper in half over the filling to form a half-moon shape. Pinch 3-4 small, tight pleats along one sealed edge, pressing firmly to eliminate air pockets and prevent leaks during cooking. Set folded gyoza on a lightly floured plate, leaving 1cm gaps between pieces to avoid sticking.
Pan-Sear the Gyoza
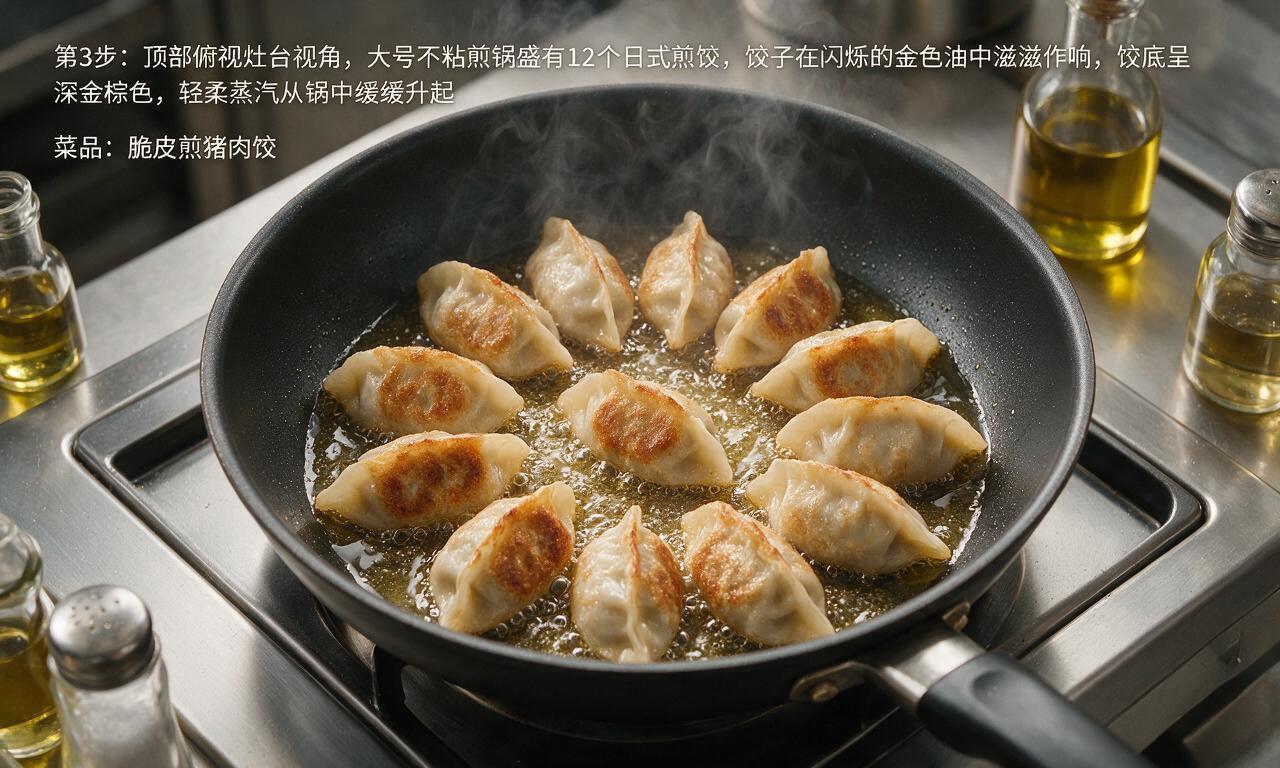
Heat 15ml (1 tbsp) neutral canola oil in a large, lidded non-stick skillet over medium heat (175°C / 350°F). Once the oil is shimmering (not smoking), arrange 12 gyoza in a single layer, pleated side up, leaving 1cm of space between each piece. Cook uncovered for 2-3 minutes, until the flat bottoms develop a deep, even golden brown crisp.
Steam the Seared Gyoza
Carefully pour 40ml (1/6 cup) of room-temperature water into the hot skillet, standing back slightly to avoid hot oil splatters, then immediately seal the pan tightly with a fitted lid. Reduce heat to medium-low, and steam the gyoza for 4 minutes, until nearly all water has evaporated and the wrappers turn translucent, indicating the filling is cooked through.
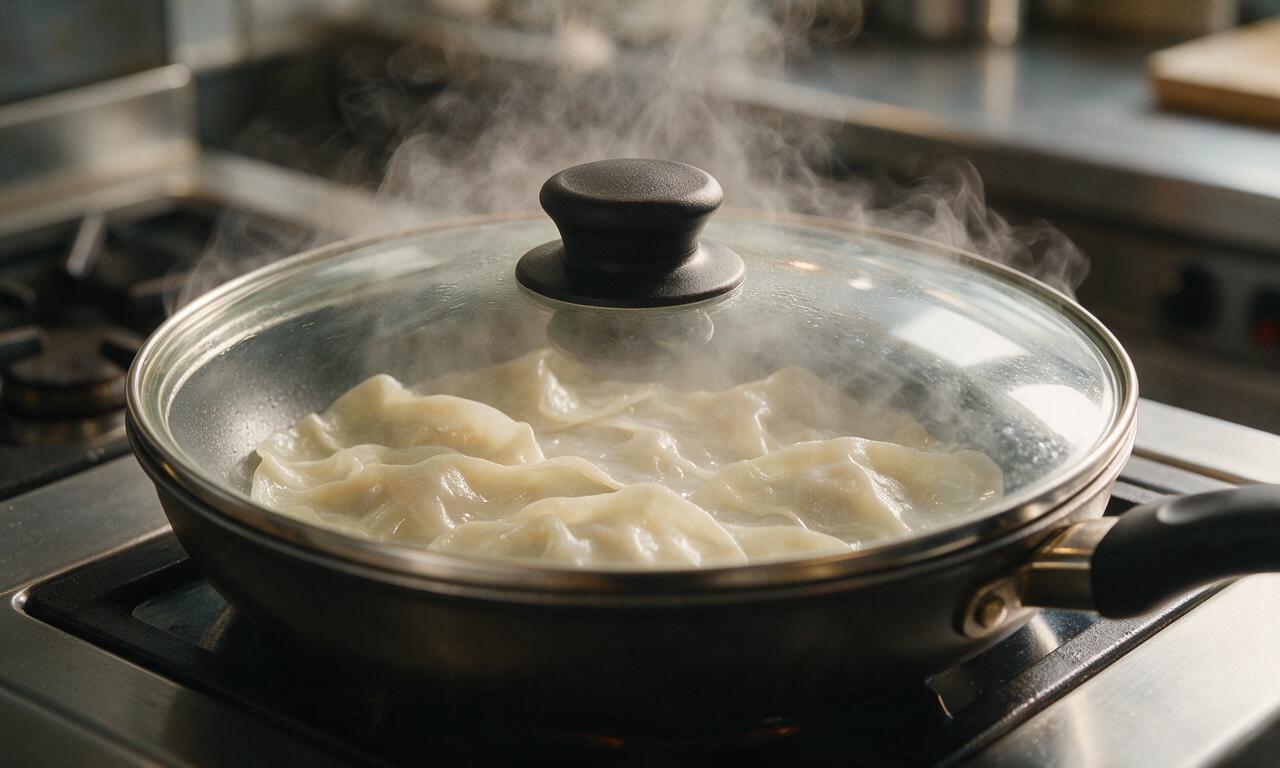
Crisp and Plate Gyoza
Remove the lid, turn heat back to medium, and cook for 1 additional minute to re-crisp the bottoms, until all remaining water evaporates completely. Transfer the first batch of cooked gyoza to a serving plate, then repeat the frying, steaming, and crisping process with the remaining 15ml canola oil, 12 gyoza, and 40ml water.
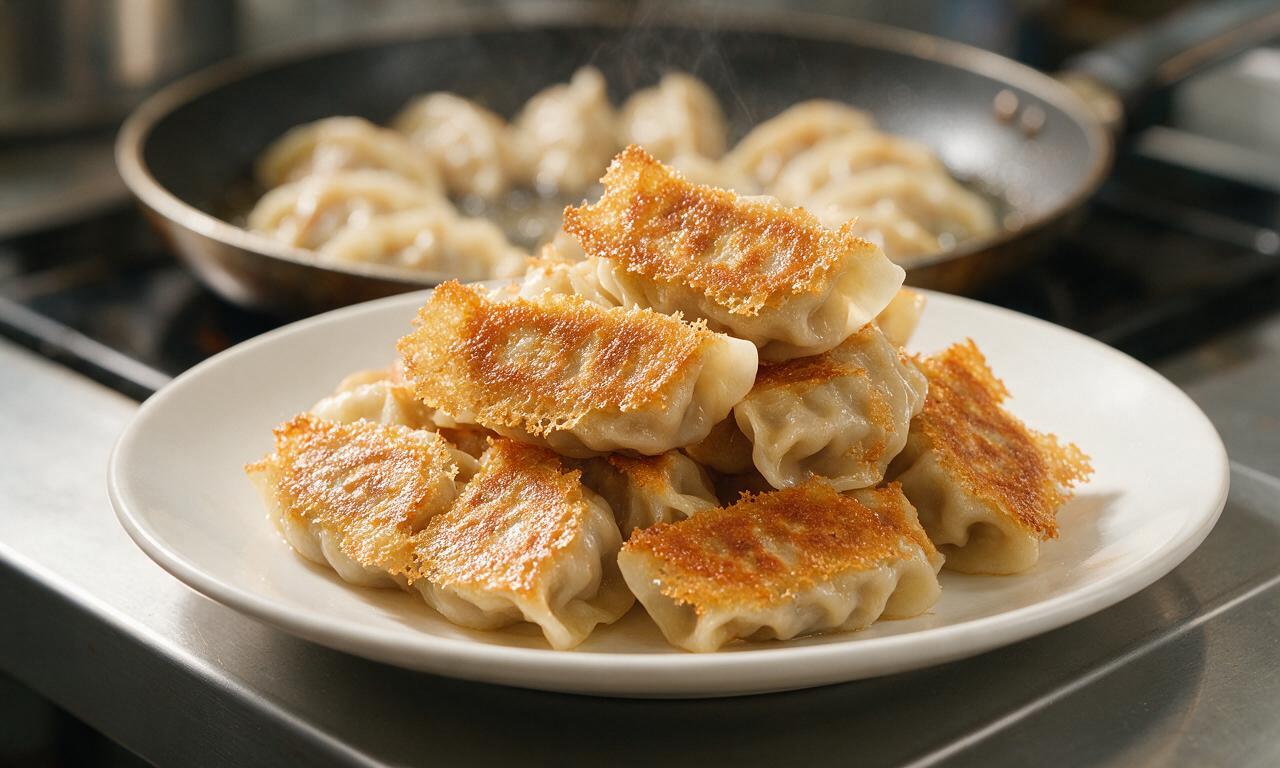
Prepare Dipping Sauce
While the second batch cooks, prepare the dipping sauce by stirring together the remaining 15ml (1 tbsp) light soy sauce and 30ml (2 tbsp) unseasoned rice vinegar in a small ceramic dish; add 1 tsp chili oil for a spicy kick if desired. Serve the hot gyoza immediately, crispy golden side up, alongside the dipping sauce.
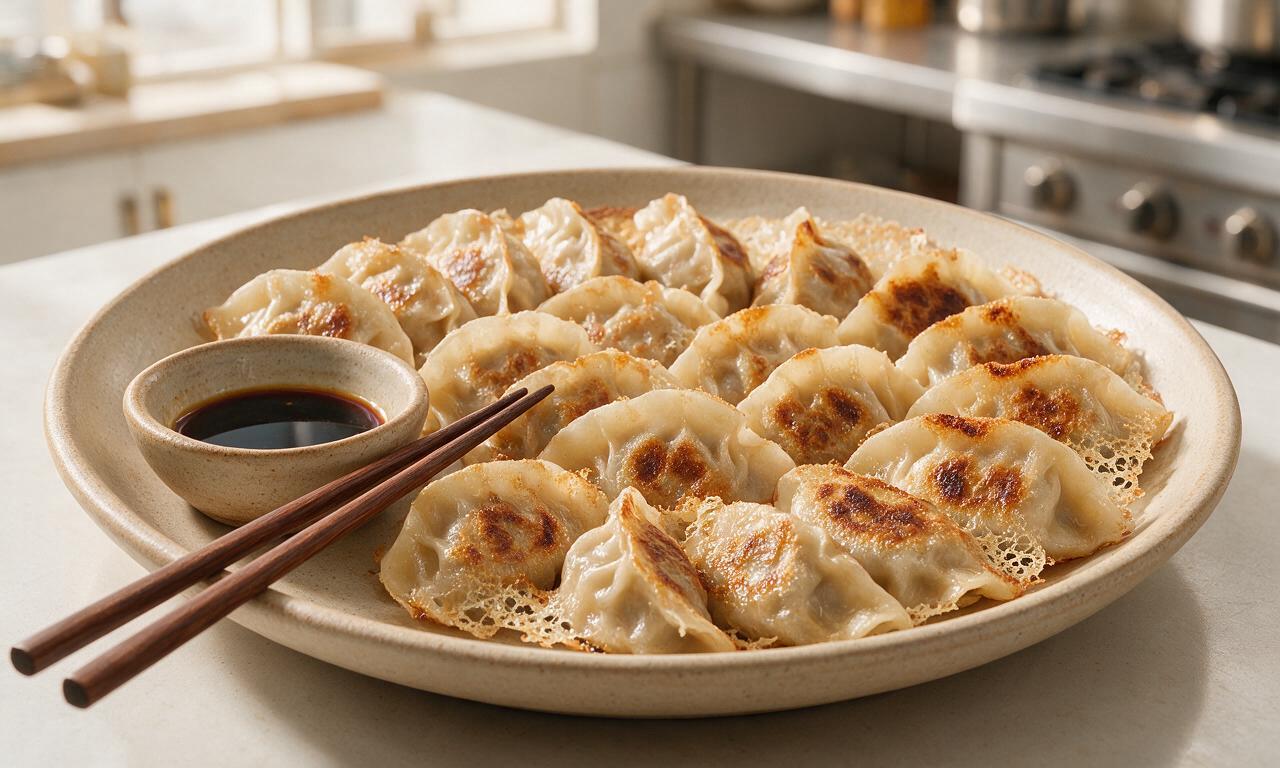
Tips
2.Do not overfill gyoza wrappers: 1 level teaspoon of filling per wrapper is ideal, as too much filling will prevent a tight seal and lead to leaks while pan-frying.
3.Uncooked folded gyoza freeze perfectly: arrange them in a single layer on a baking sheet to freeze solid, then transfer to a sealed freezer bag for up to 3 months. Cook directly from frozen without thawing, adding 1 extra minute of steaming time to ensure the filling cooks through.
OMG these came out SO crispy!! I was intimidated because I’ve never made gyoza from scratch before, but the folding tips actually made it so doable for a weeknight family dinner. My 7 year old ate 6 of them before I even sat down, total game changer. Only thing I added was a tiny extra dash of white pepper to the pork filling, chef’s kiss.
Meal prepped a double batch of these on Sunday and they reheated perfectly in the pan all week! I was worried the wrapper would get soggy, but if you crisp them up real quick after reheating the filling, they taste just as good as fresh. Will be adding this to my regular rotation for work lunches.
Took me a minute to get the hang of the pleats, but once I got going it was super easy! The crispy lace on the bottom from the flour water slurry? *Chef’s kiss* I did find the cook time was a little longer than 45 minutes for me, mostly because I was slow at folding, but the end result was totally worth it.
Made these for my roommates last night during our game night and they were gone in 10 minutes flat. I used ground pork that had a little extra fat content and man, that made the filling so juicy. The only mishap was I burned the first batch because I had the heat up too high, oops. Turned it down to medium for the rest and they were perfect.
Brought these to my neighborhood block party last weekend and I had three people ask me for the recipe before I even finished my first plate! The crispy texture holds up way better than the takeout gyoza I usually get, and the pork and ginger flavor is so balanced. I didn’t change a single thing about the recipe, it was perfect as written.
I’ve tried so many pan-fried gyoza recipes and this one is hands down the best I’ve made at home. The slurry ratio for the crispy skirt is exactly right – no sad soggy bottoms here! I added a little chopped garlic chives from my garden to the filling and it paired so nicely with the ground pork.
First time making any kind of dumpling ever, and I was so nervous I’d mess it up! The step-by-step folding instructions were so clear, I only had one gyoza break open while cooking. My girlfriend said they taste better than the ones we get at our local ramen shop, I feel like a pro now. Only question – can I freeze the uncooked ones for later?