
Philadelphia Roll
intro
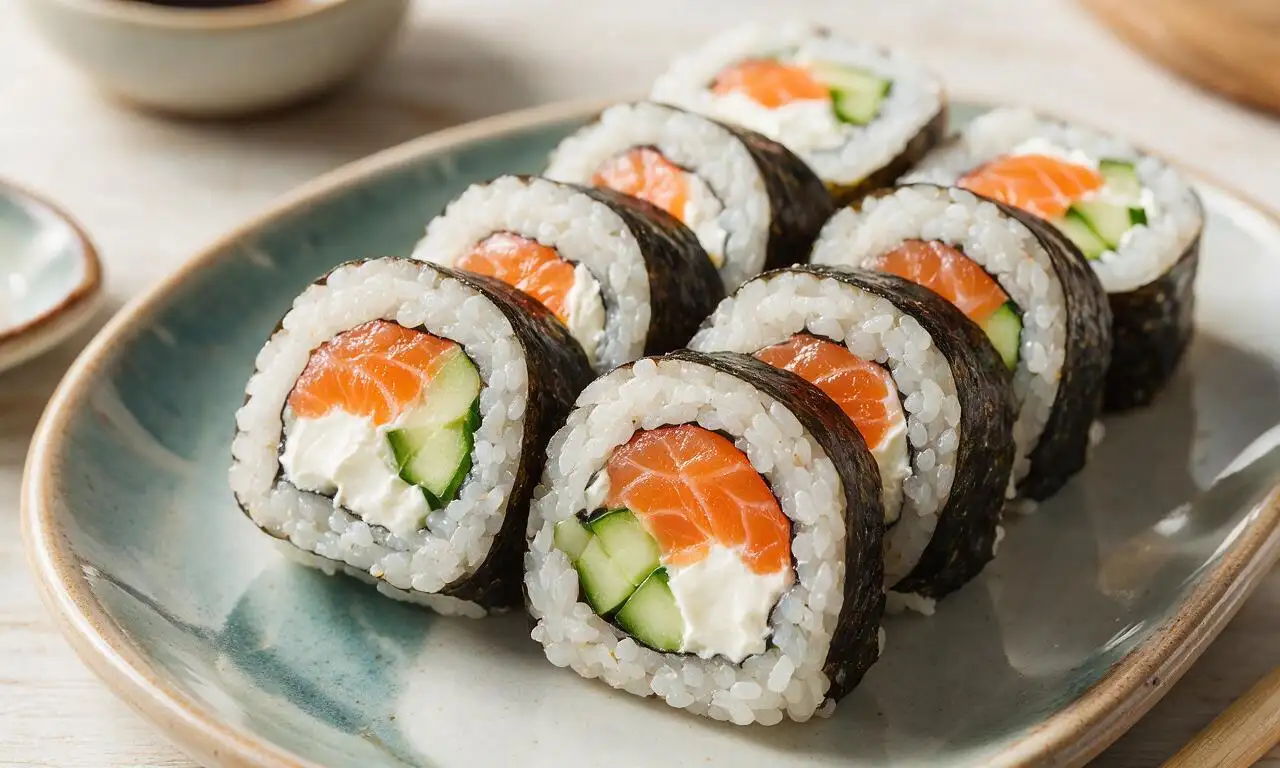
Creamy, refreshing Western-style sushi roll filled with smoked salmon, smooth cream cheese, and crisp cucumber, wrapped in seasoned sticky rice and nori.
Ingredients
Steps
Rinse and Drain Sushi Rice
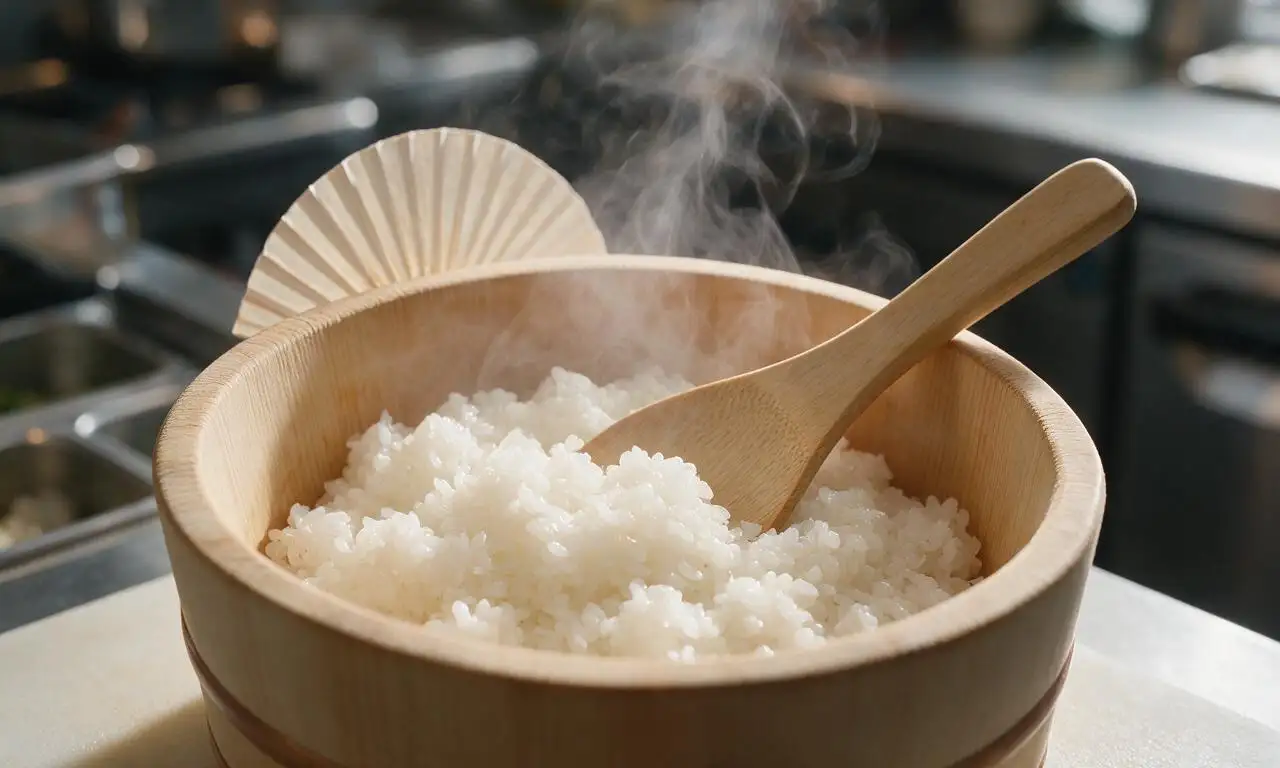
Rinse 360g uncooked short-grain sushi rice under cold running water for 2-3 minutes, swishing gently, until the runoff water is almost completely clear. Drain rice thoroughly, then add to a medium lidded pot with 600ml cold water. Bring to a rolling boil over medium-high heat, then immediately turn the stovetop to the lowest heat setting, cover the pot tightly, and simmer for 15 minutes without lifting the lid. Remove pot from heat, keep covered, and let rice rest for 10 minutes to finish steaming. Transfer cooked rice to a wide, shallow glass or wooden bowl, gently fold in 3 tablespoons (45ml) seasoned rice vinegar with a flat rice paddle, fanning the rice continuously for 5 minutes as you fold to cool it to room temperature, leaving grains glossy, separate, and slightly sticky.
Prep Fillings and Rolling Station
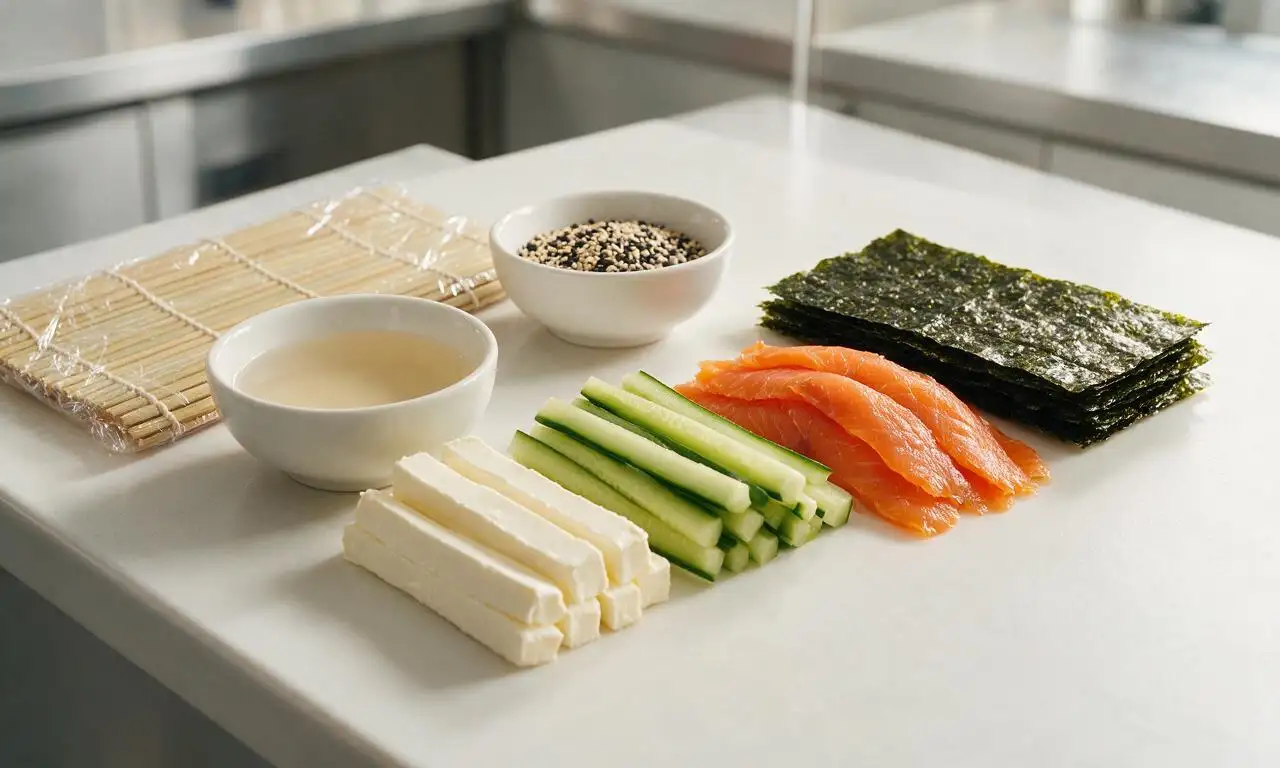
While the rice cooks and rests, prep fillings and your rolling station: Cut the chilled 225g block of cream cheese into uniform 1cm-thick long strips, seed the 150g English cucumber and cut it into matching 1cm-thick long strips, and separate the thinly sliced 170g smoked salmon into easy-to-lay pieces. Set out the 4 nori sheets and 9g toasted sesame seeds. Mix the remaining 1 teaspoon (5ml) seasoned rice vinegar with 120ml (1/2 cup) cold water in a small bowl for dipping your fingers, to prevent rice from sticking. Lay a bamboo sushi rolling mat (makisu) flat on the counter, wrapping it tightly in plastic wrap for easy cleanup if desired.
Spread Sushi Rice on Nori
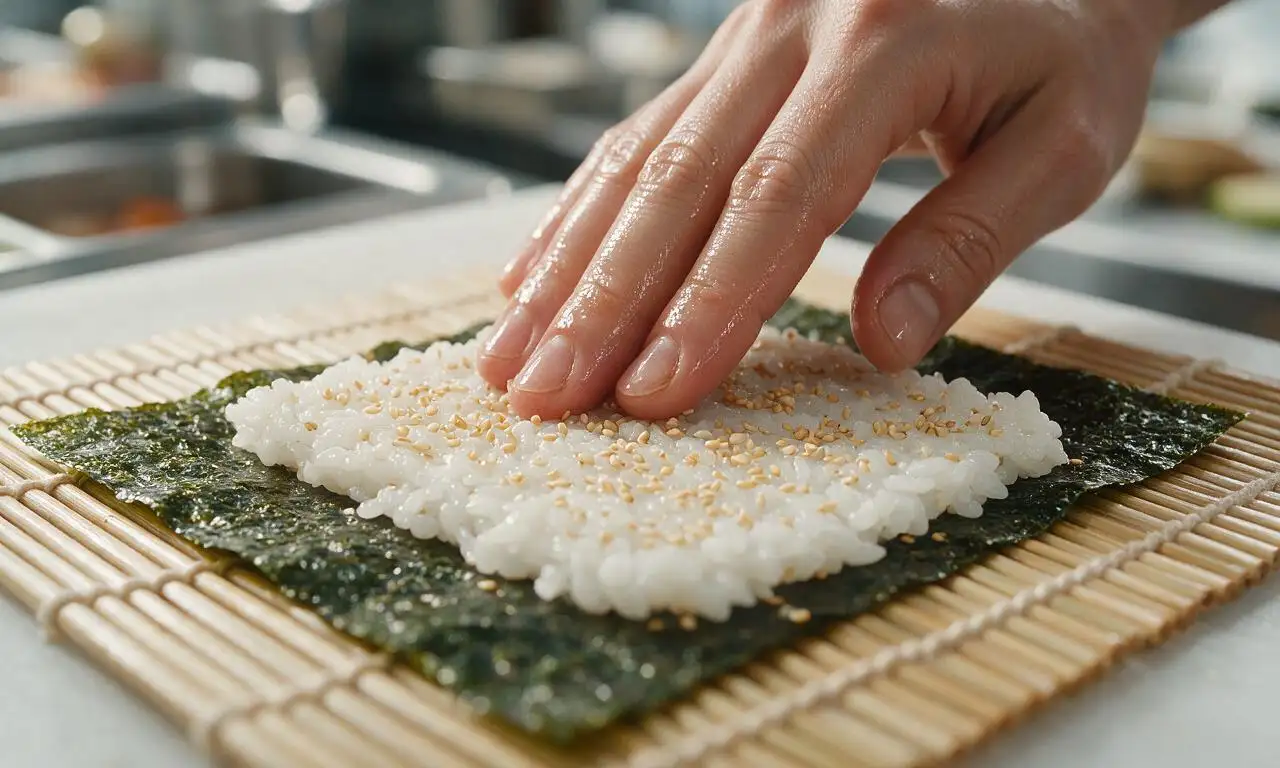
Place 1 full nori sheet shiny-side down on the prepared bamboo mat. Dip your fingertips in the vinegared water to prevent sticking, then scoop 1/4 of the cooled seasoned rice (roughly 225g) onto the nori. Press the rice gently into a thin, even layer covering the entire surface of the nori, leaving no bare patches, taking care not to mash the rice grains. Sprinkle 1/4 of the toasted sesame seeds (roughly 2.25g) evenly across the entire rice layer, then carefully flip the nori sheet over so the rice-coated side faces down against the bamboo mat, and the plain matte nori side faces up toward you.
Arrange Fillings in a Line
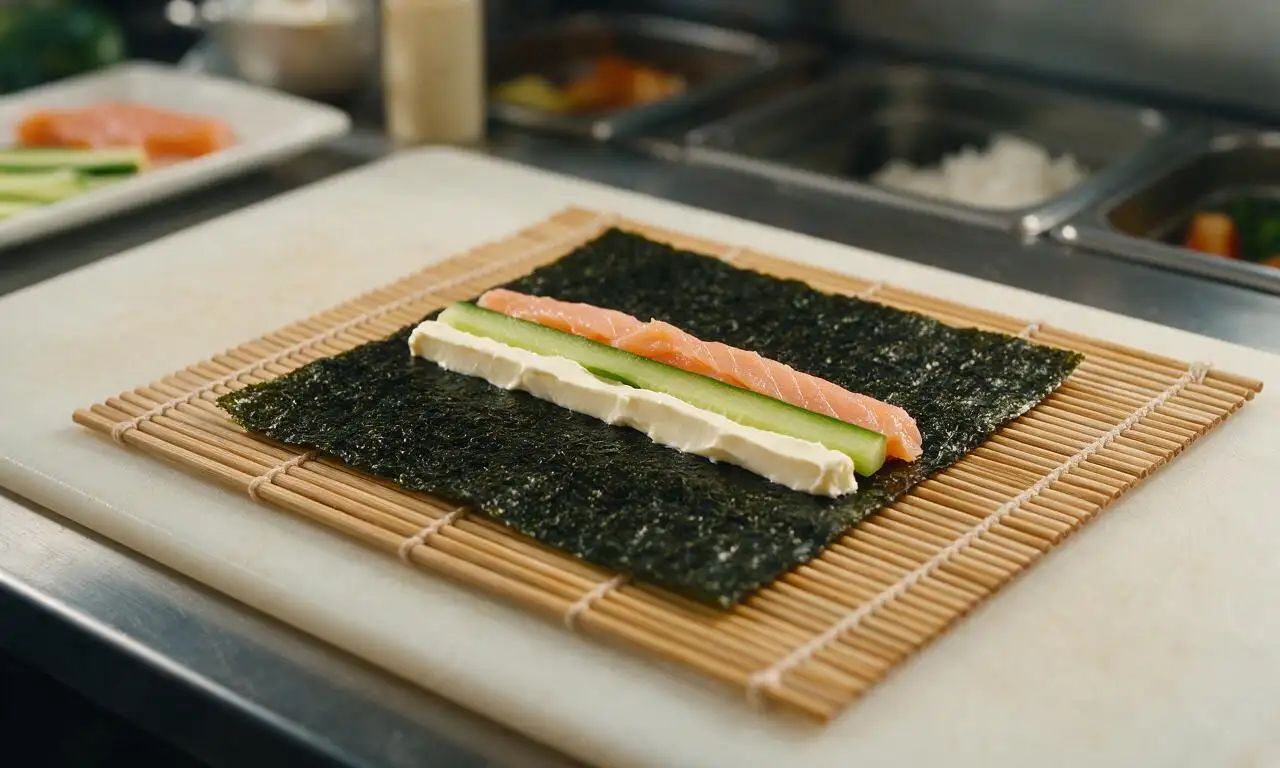
Arrange fillings in a single, straight line running the full length of the nori sheet, centered horizontally: Lay 2-3 strips of cream cheese (about 56g), 2 cucumber strips (about 37g), and 2-3 slices of smoked salmon (about 42g) evenly across the center. Do not overstuff the roll, as this will cause it to burst open and leak fillings when rolling; keep the fillings in a tight, narrow line no wider than 2.5cm across.
Tuck and Roll Sushi Tightly
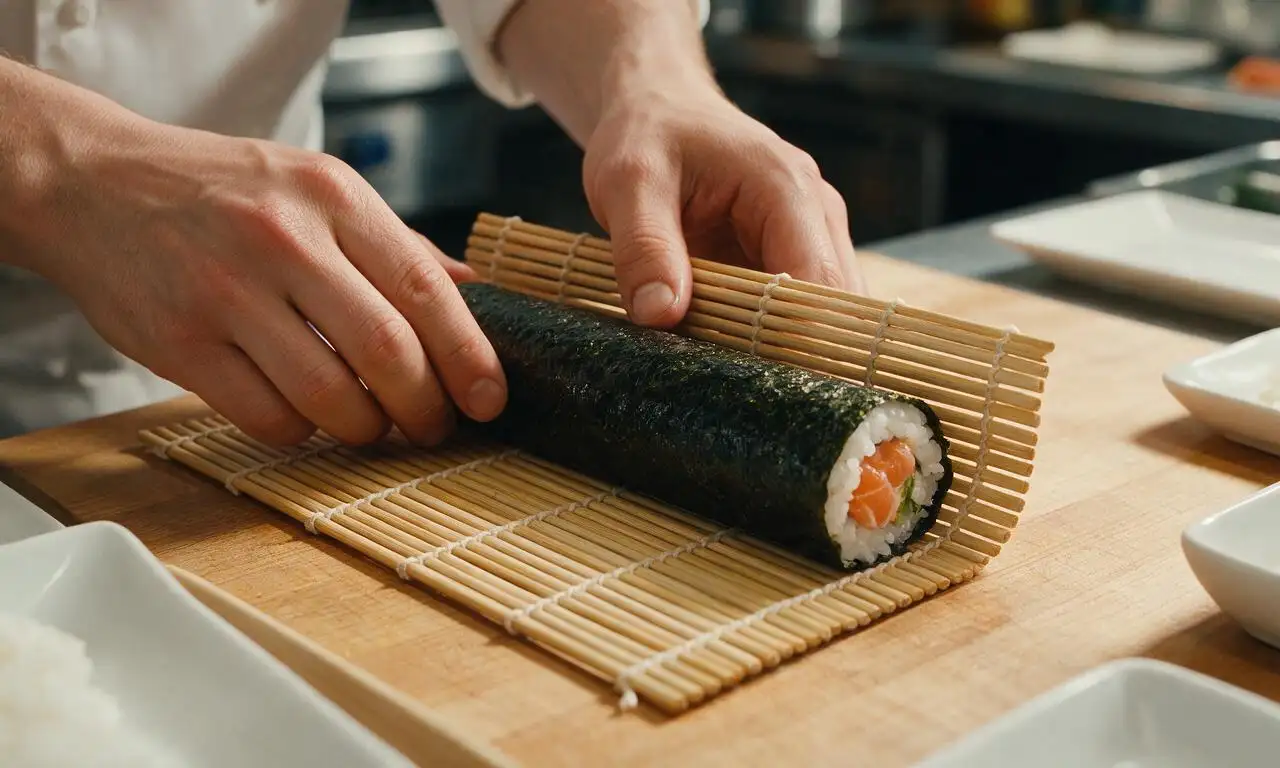
Lift the bottom edge of the bamboo mat closest to your body, folding it up and over the line of fillings to tuck the nori and rice snugly around the fillings, squeezing gently with even pressure along the length of the mat to form a tight log shape. Continue rolling the mat forward slowly, applying gentle, consistent pressure as you go to compress the roll into a uniform cylinder, dabbing a tiny amount of vinegared water along the far edge of the nori to seal it closed if it does not stick on its own. Once fully rolled, squeeze the mat around the log lightly to shape it into an even 5cm-diameter cylinder. Repeat assembly and rolling with the remaining nori, rice, sesame seeds, and fillings to make 4 total rolls.
Rest and Slice Sushi Rolls
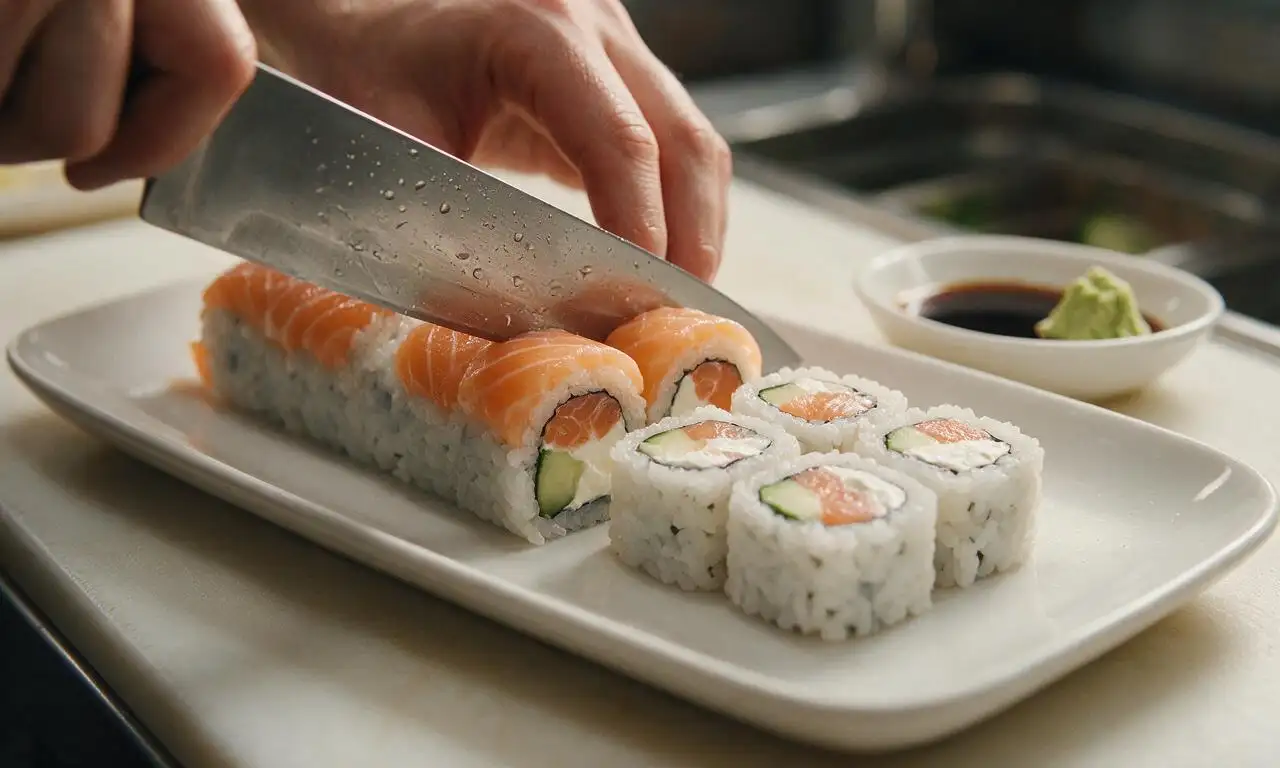
Let the completed rolls rest at room temperature for 2 minutes to allow the rice to set and the nori to adhere, which prevents fillings from falling out during cutting. Dip a sharp, thin-bladed knife in the vinegared finger water, then slice each roll into 8 even 2cm-thick pieces, wiping the knife blade clean with a damp cloth and re-dipping in vinegared water after every 2 cuts to prevent sticking. Arrange the sliced rolls on a serving plate, and serve with optional pickled ginger, wasabi, and low-sodium soy sauce on the side.
Tips
2.Keep cream cheese fully chilled until you are ready to assemble rolls: room-temperature cream cheese softens too quickly and will ooze out of the roll during rolling and slicing, creating messy, uneven pieces.
3.Apply gentle, even pressure when rolling: squeezing the mat too hard will mash the rice into a gummy texture and push fillings out the ends of the roll, while too little pressure will result in a loose roll that falls apart when cut.






Game changer! I’ve been paying $12 a roll for Philly rolls at my local sushi spot for years and can’t believe how easy these are to make at home. The ratio of cream cheese to salmon to cucumber is perfect — not too much of any one ingredient. Made these for my roommate’s potluck last weekend and everyone asked for the recipe!
Took me a minute to get the rolling technique down, my first two rolls came out a little lopsided, but they still tasted amazing! I added a tiny bit of sesame seed on the outside for extra crunch, would recommend. Only note: make sure your sushi rice is properly seasoned, that makes all the difference.
Perfect for meal prep! I made a big batch on Sunday, wrapped them tightly in plastic wrap, and they kept great for 3 days in the fridge for quick work lunches. I did skip the cucumber in half the rolls because I’m not a huge cucumber fan, and swapped in a little avocado instead. 10/10, will make again.
My kids loved it! My 6 year old is obsessed with sushi but I hate taking her out for it because it’s so pricey, so this was the perfect at-home activity to do together. She helped spread the rice and add the fillings, and was so proud of the rolls we made. Even my picky 4 year old ate two whole pieces!
Pretty good base recipe! I found the rolls a little plain for my taste, so I added a drizzle of spicy mayo and a sprinkle of togarashi on top, and that kicked it up perfectly. Cook time took me a little longer than 40 minutes because I had to cook the rice and let it cool, but that’s to be expected for homemade sushi.
SO good. I made this in my tiny dorm kitchen with a $10 bamboo mat I grabbed off Amazon, and it turned out way better than the sushi they sell at the campus dining hall. Total win for a budget-friendly date night in, my girlfriend was super impressed.
Super easy to adapt for gluten free! I used gluten free soy sauce for seasoning the rice and for dipping, and made sure my cream cheese didn’t have any hidden gluten fillers, and it worked perfectly. This is going to be a go-to for our weekly family dinner going forward.
Wait, is there a trick to getting the rice to stick to the nori without making a huge sticky mess all over my hands? I had rice stuck to my fingers, my counter, even my hair by the time I was done rolling. Taste was great but the process was chaotic lol.
I was skeptical about making sushi at home because I thought you needed super fancy equipment, but this recipe proved me wrong! I didn’t even have a bamboo mat, I used a piece of parchment paper to roll, and it worked just fine. The flavor is spot on, tastes exactly like the Philly rolls I get at my favorite sushi restaurant.
I made this vegan by swapping the salmon for smoked carrot lox and using dairy free cream cheese, and it was incredible! Even my non-vegan roommate tried a piece and said he couldn’t tell the difference. Great base recipe to customize for different diets.
I made these for my granddaughter’s birthday party, and they were a huge hit with all the teenagers! I will say I wish I had made a double batch, because they were gone within 15 minutes of putting them out on the snack table. Next time I’ll know to make more!
Brought these to my office potluck earlier this week and people were coming up to me for the recipe all afternoon! I added a little everything bagel seasoning on the outside of the rolls for extra flavor, and it was chef’s kiss. Will absolutely be making these again for future gatherings.