
belgian waffle recipe easy

title 1
belgian waffle recipe easy
⏱️ cook time 15 minutes
🍽️ servings 4
⚡ Difficulty easy

intro

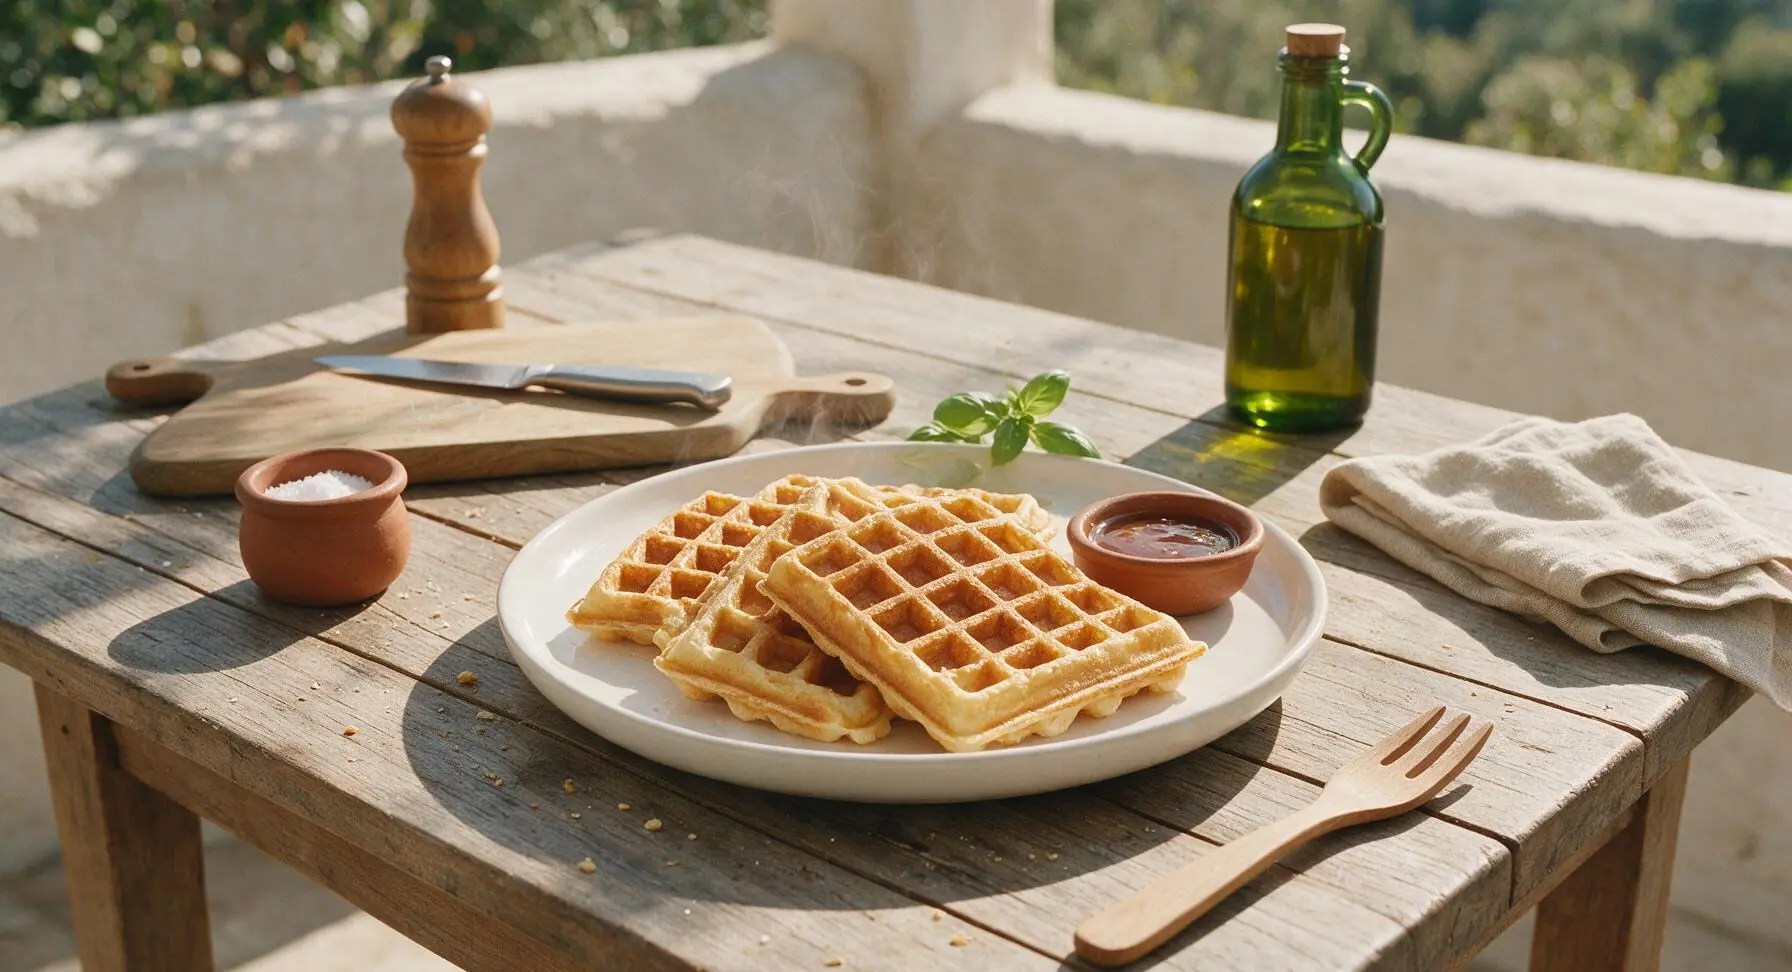
Crisp, golden, and fluffy inside, these no-fuss easy Belgian waffles come together in 25 minutes with pantry staples for a cozy, satisfying meal any time of day.

Ingredients
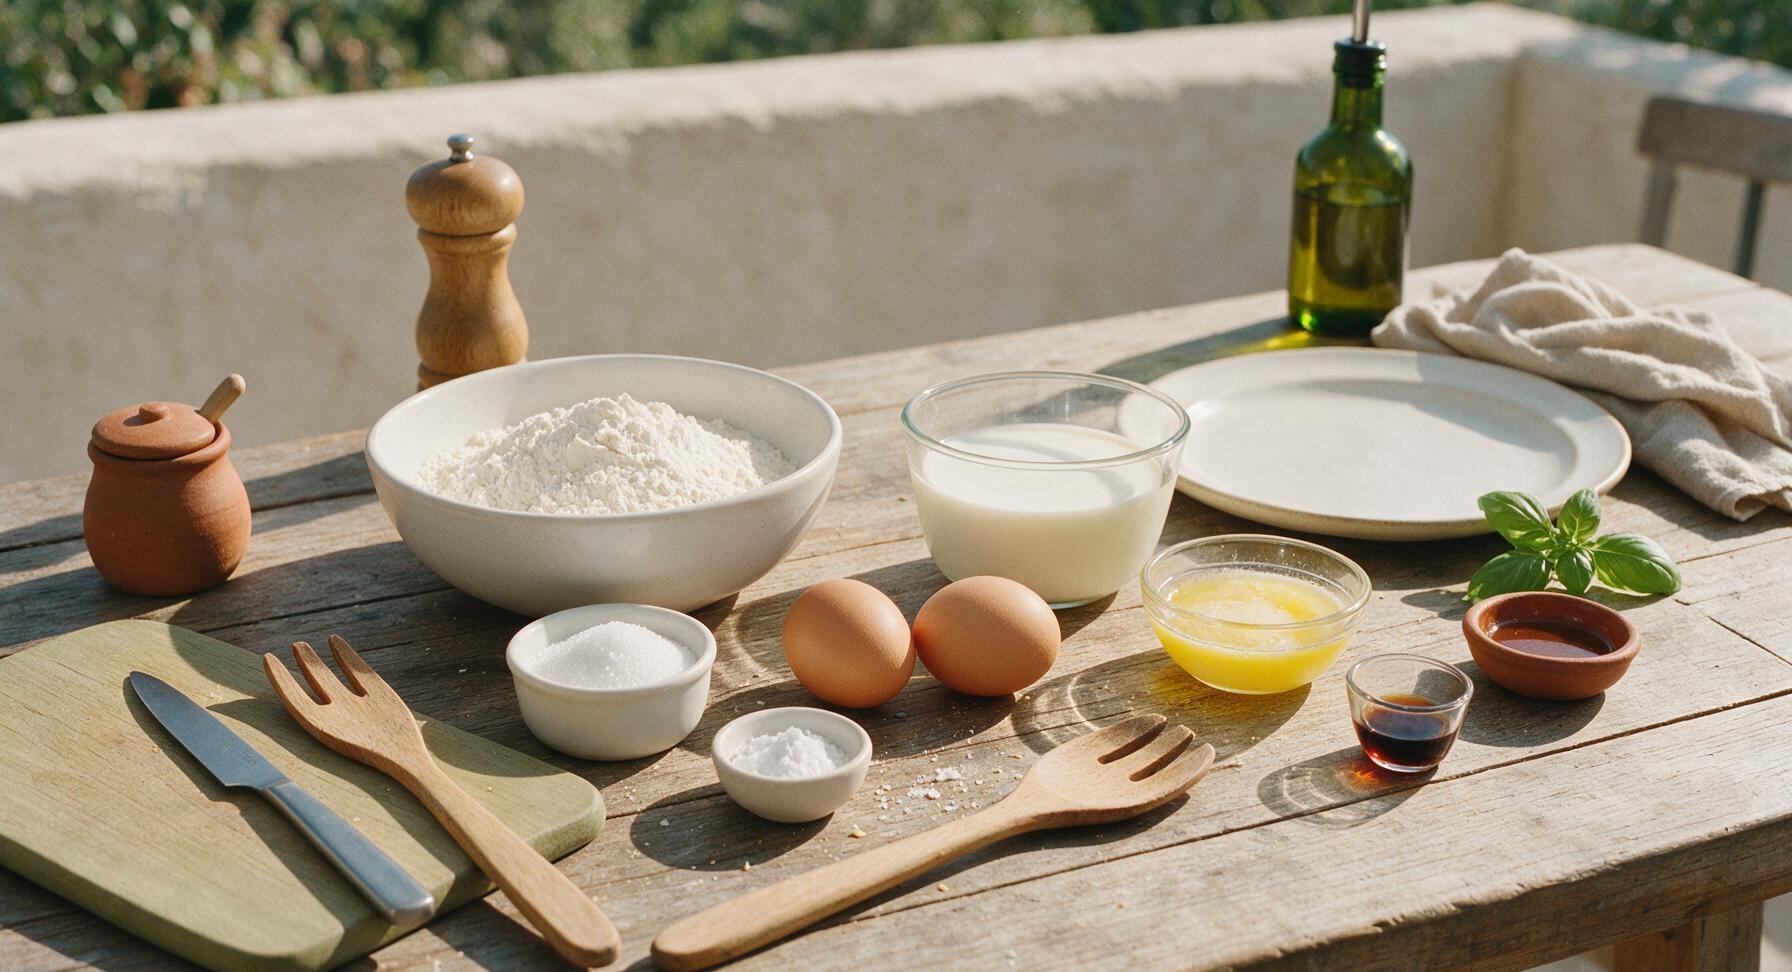
All-purpose flour 2 cups (240g)
Granulated sugar 2 tbsp (25g)
Baking powder 1 tbsp (12g)
Fine table salt 1/2 tsp (3g)
Large eggs 2
Whole milk 1 3/4 cups (420ml)
Unsalted butter, melted and cooled 1/3 cup (75g)
Pure vanilla extract 1 tsp (5ml)

Steps

1

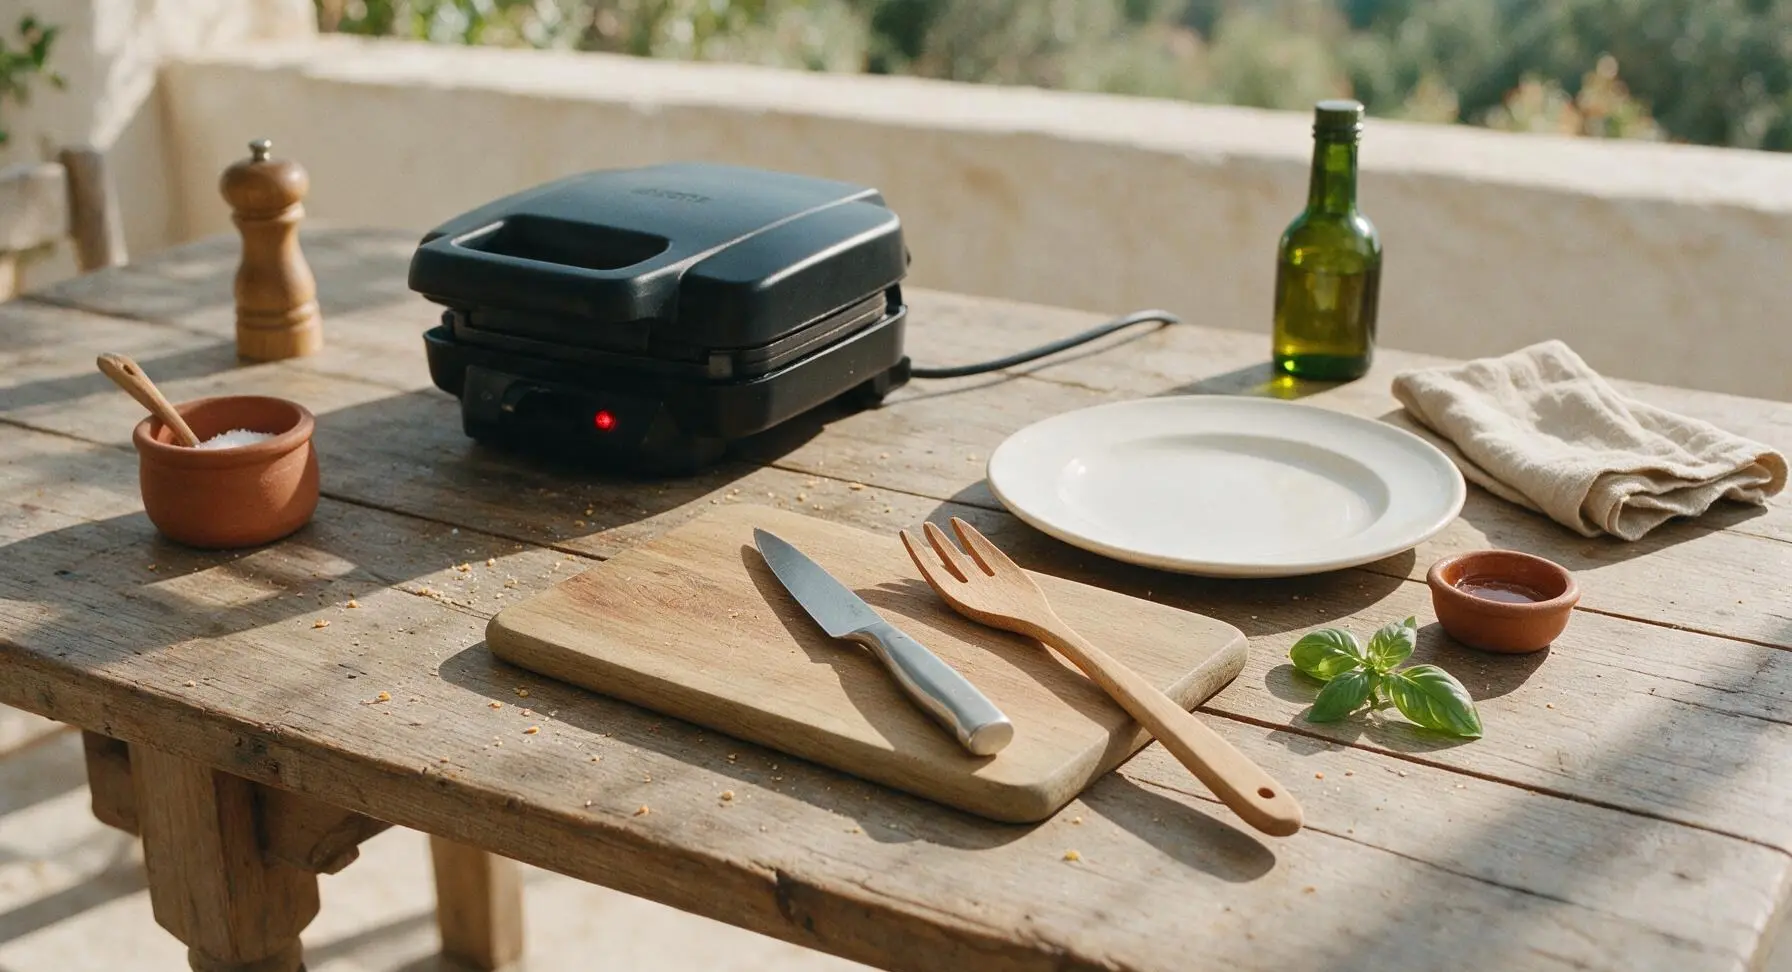
Preheat Waffle Maker

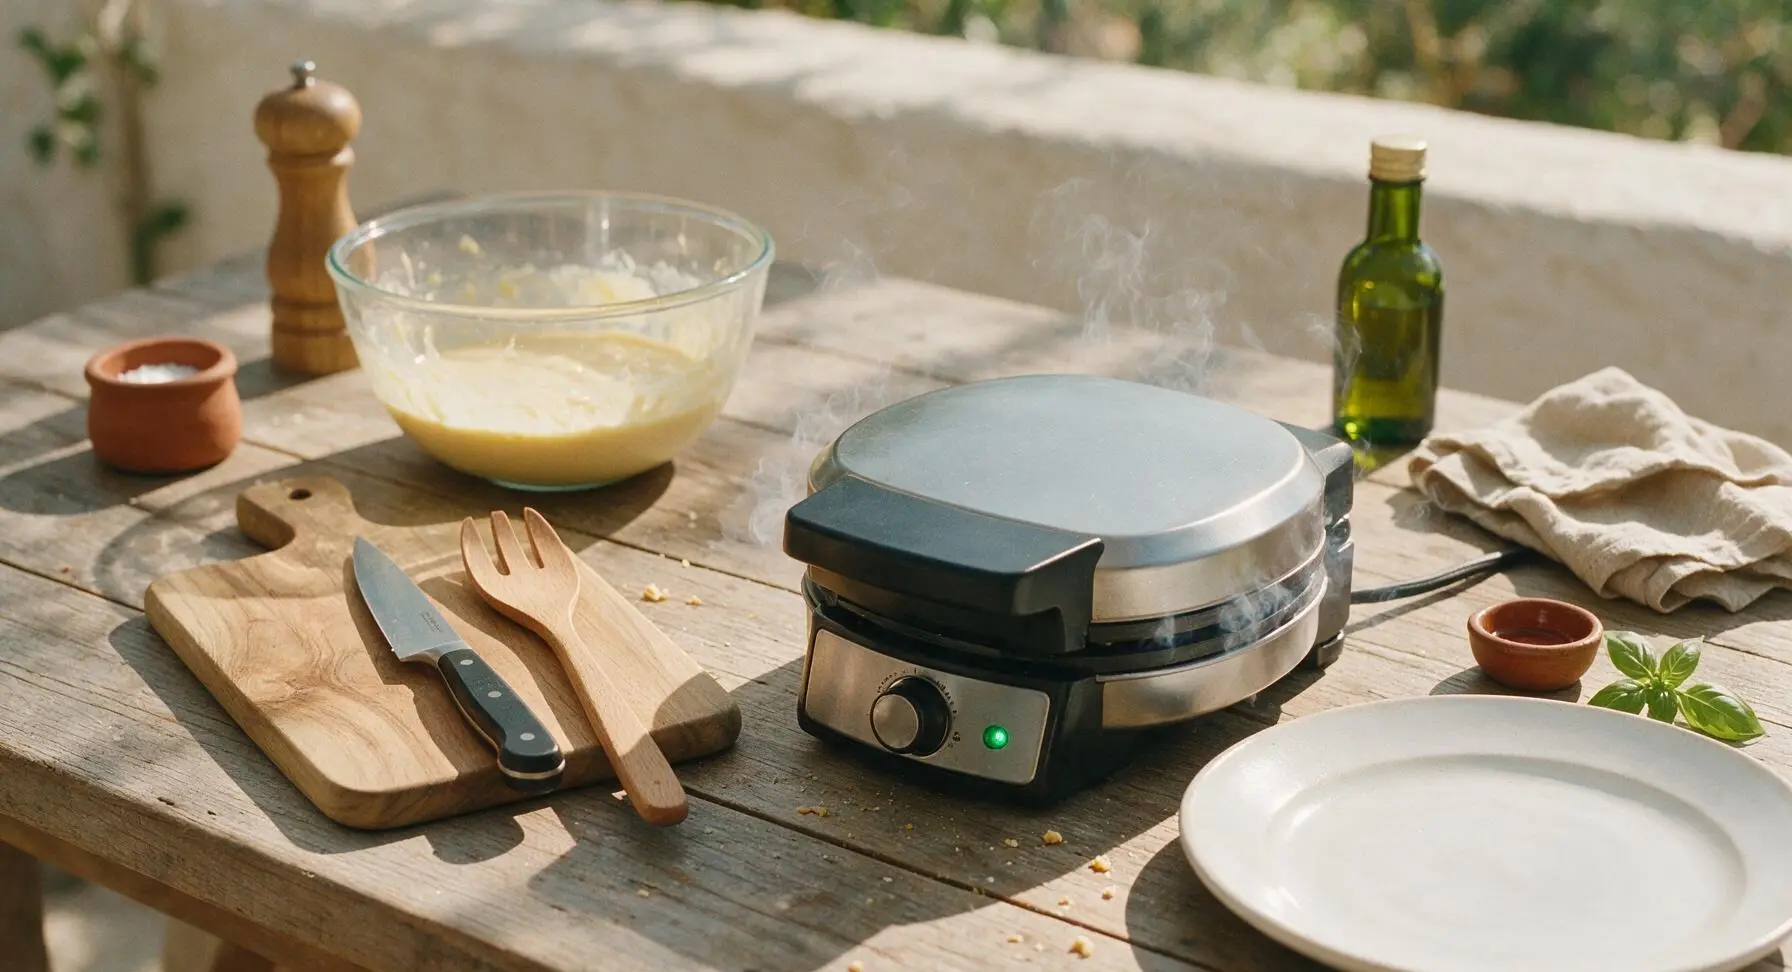
Plug in the matte black Belgian waffle maker and preheat to medium-high (375°F/190°C). Close the lid while you prepare the batter; the red power light will illuminate first, and a green indicator light will turn on when the iron reaches cooking temperature, about 3 minutes. No extra greasing is needed for high-quality non-stick plates.
Step 1
step1:Preheat Waffle Maker
2

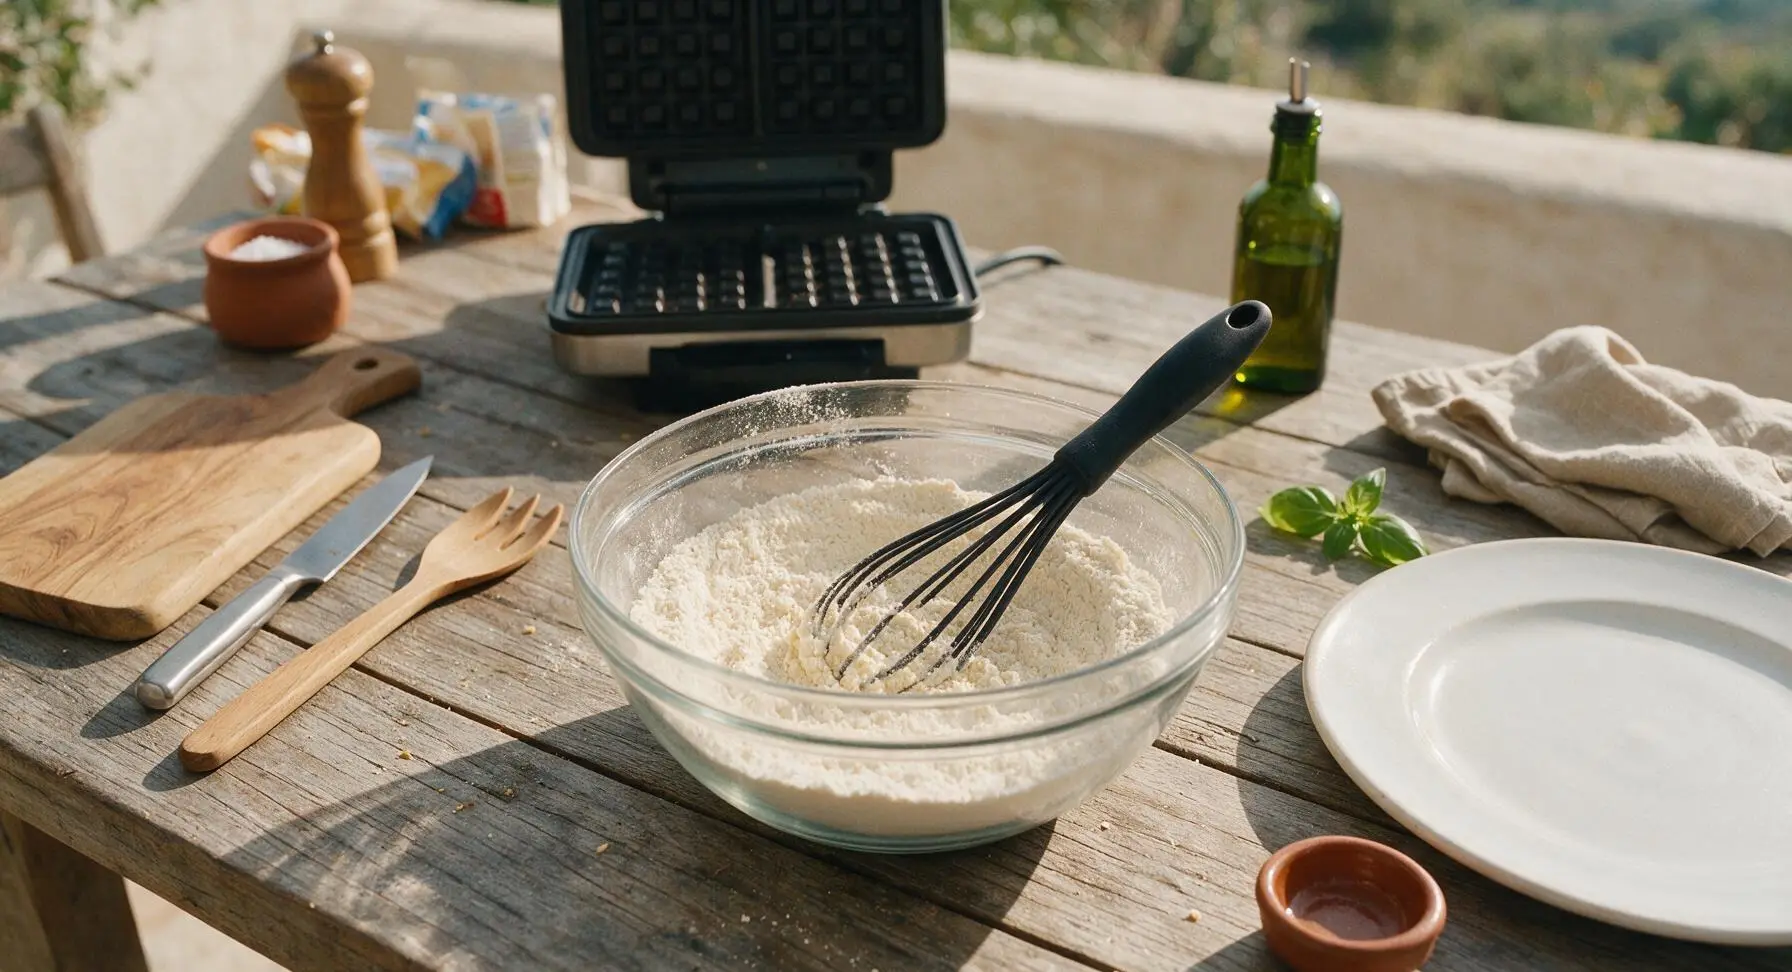
Whisk Dry Ingredients

Add 2 cups all-purpose flour, 1 tablespoon baking powder, 1/2 teaspoon fine salt, and 2 tablespoons granulated sugar to the 3-quart clear glass mixing bowl. Use the matte black silicone whisk to stir the dry ingredients for 30 seconds until fully combined, with no visible clumps of baking powder. The finished dry mixture will be a uniform pale off-white color.
Step 2
step2:Whisk Dry Ingredients
3

Combine Wet Ingredients

Make a small well in the center of the mixed dry ingredients, then crack 2 large eggs into the well. Pour in 1 3/4 cups whole milk, 1/3 cup cooled melted unsalted butter from the white ceramic ramekin, and 1 teaspoon pure vanilla extract. Do not stir yet to avoid accidental over-mixing.
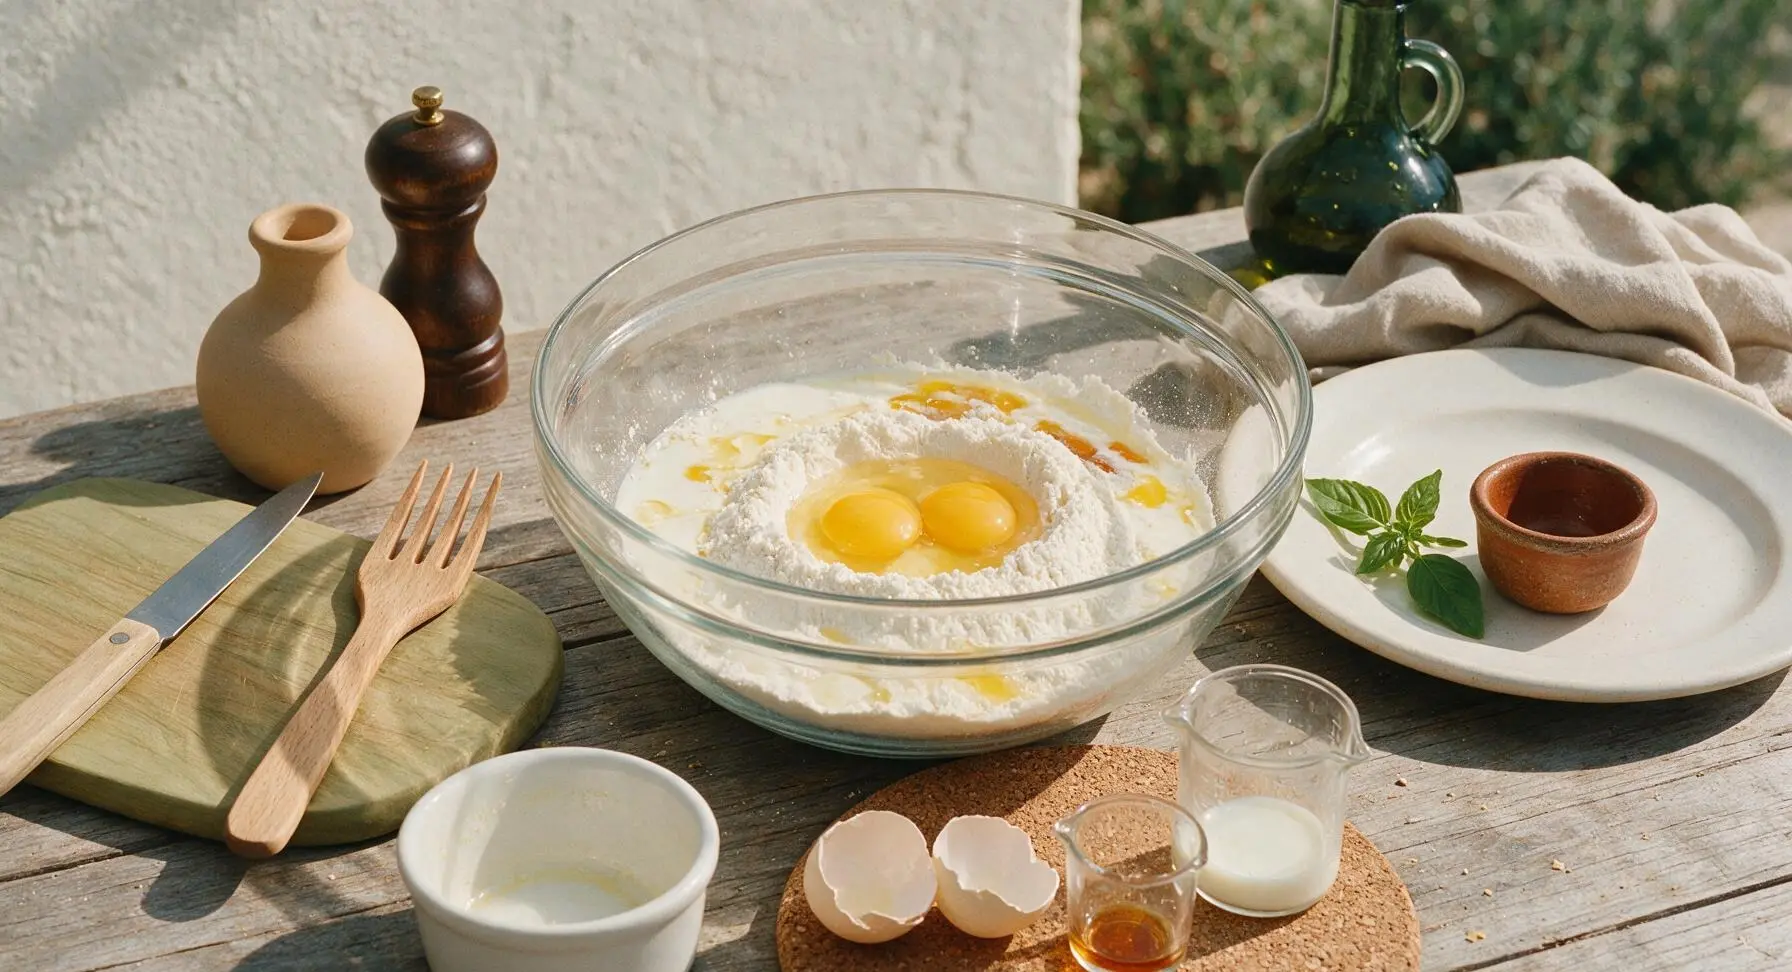
Step 3
step3:Combine Wet Ingredients
4

Mix Smooth Batter

Use the black silicone whisk to gently stir the wet and dry ingredients together, mixing only just until no large dry flour streaks remain. The batter will be thick and slightly lumpy—do not over-mix, as this develops gluten and creates tough, dense waffles. Stop stirring as soon as the last dry flour patch disappears, after about 40 seconds of total mixing time.
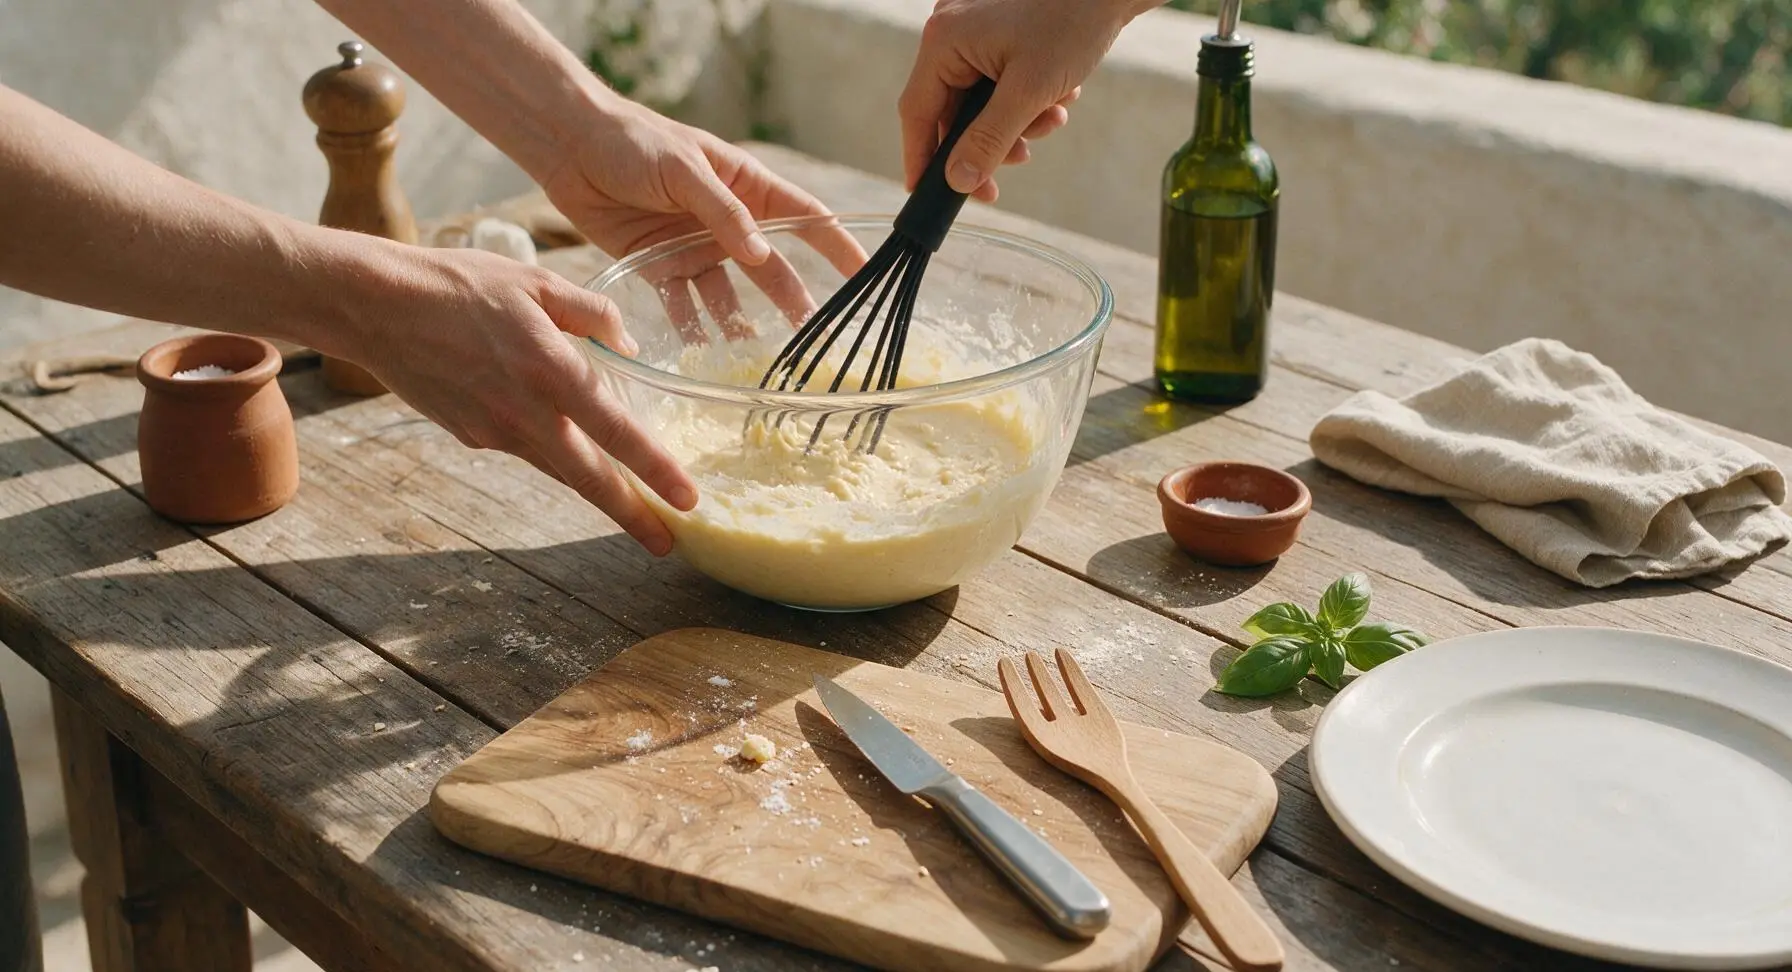
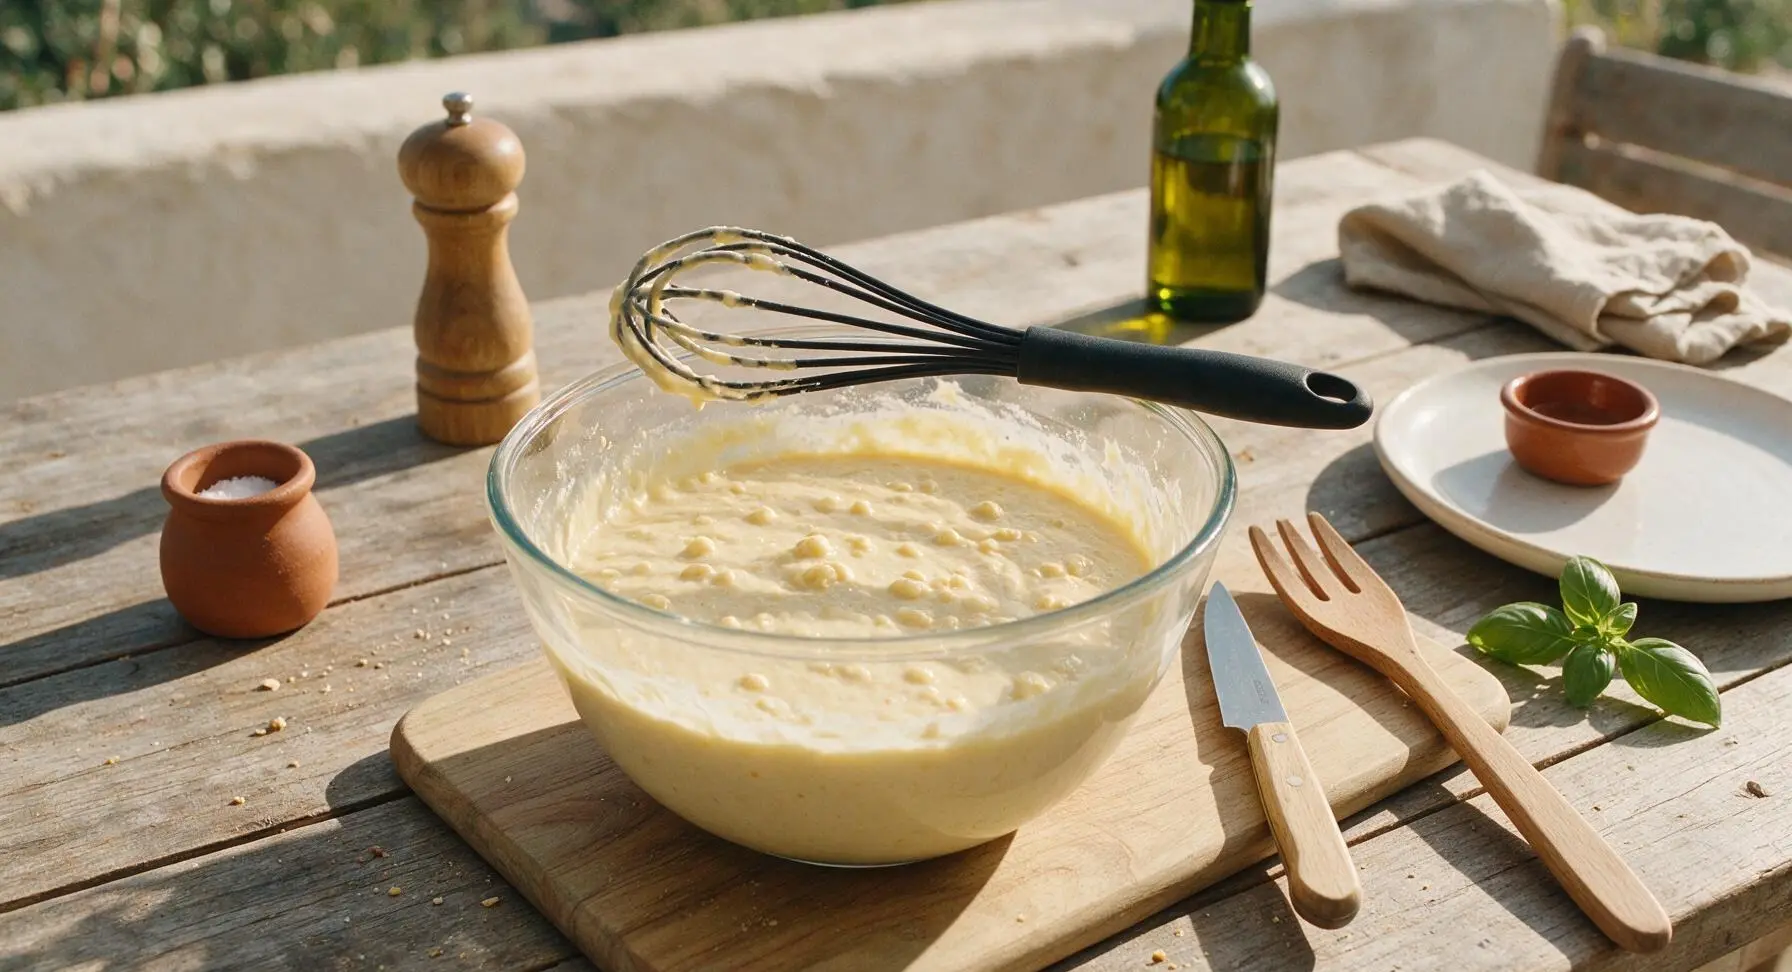
Step 4
step4:Mix Smooth Batter
Step 4
step4:Mix Smooth Batter
5

Pour Batter Onto Iron

Once the waffle maker’s green ready light turns on, open the lid and use the black silicone spatula to scoop 3/4 cup of batter directly onto the center of the lower waffle plate. Do not spread the batter—it will spread evenly across the grid when the lid closes. Gently lower the lid without pressing down hard, as pressing squeezes out batter and creates thin, tough waffles.
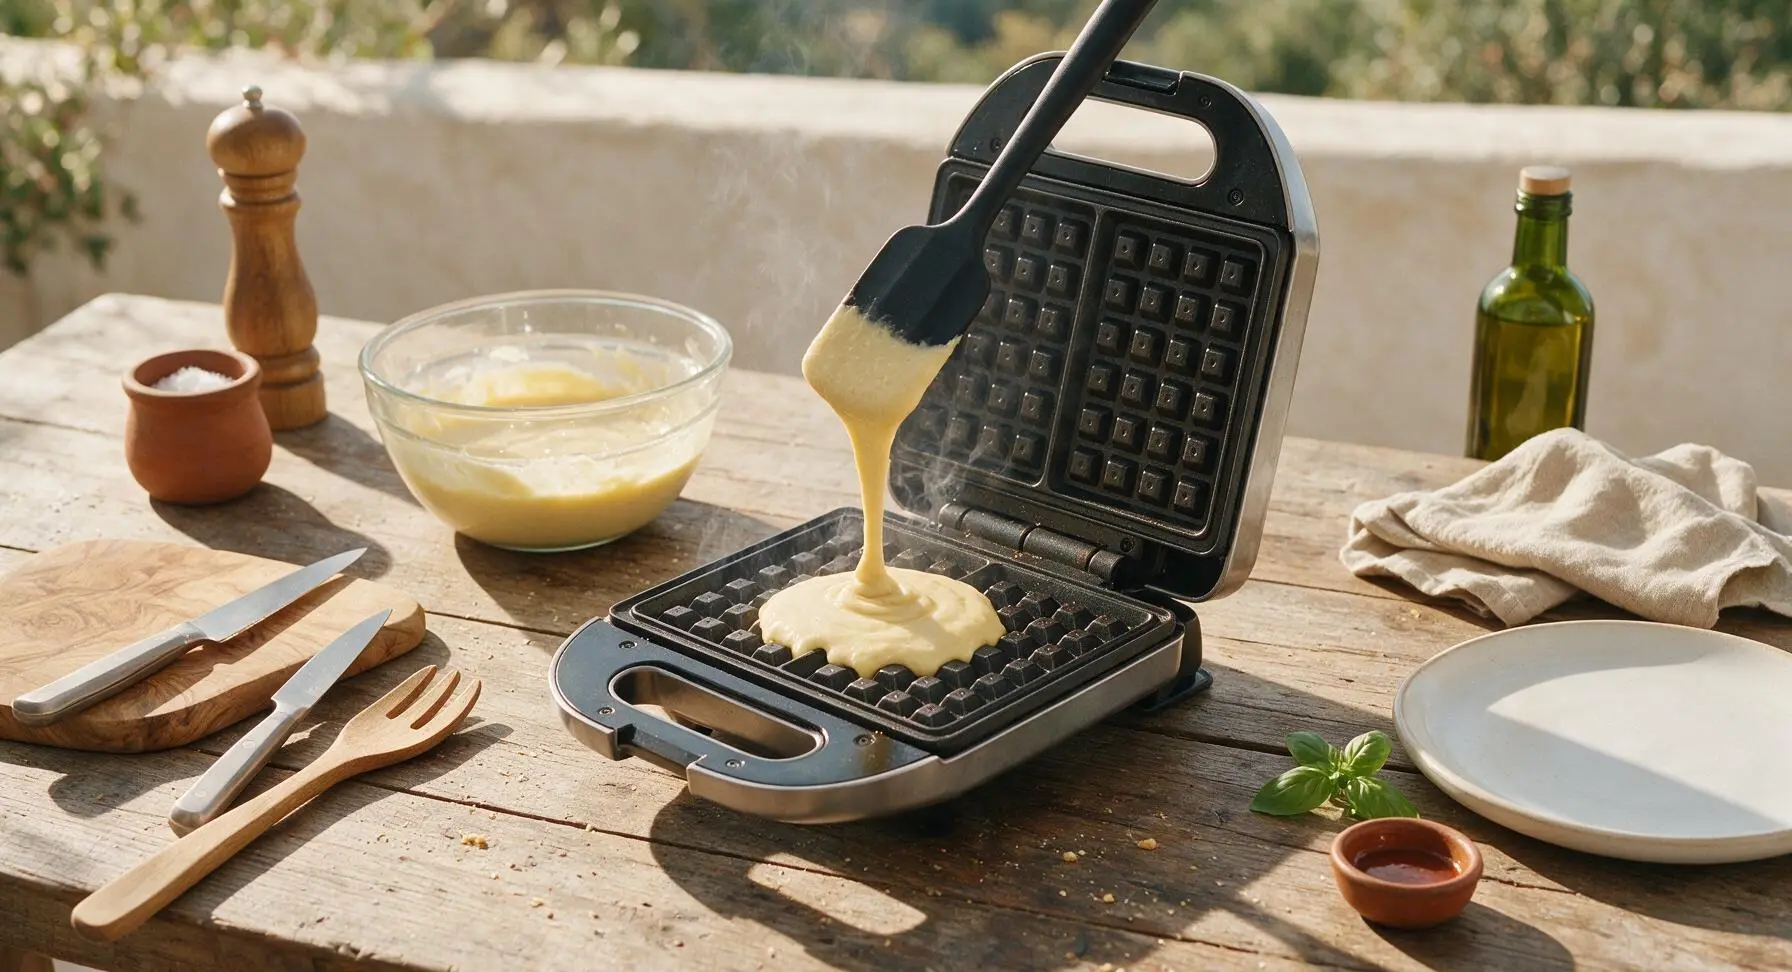
Step 5
step5:Pour Batter Onto Iron
6

Cook Until Golden Crisp

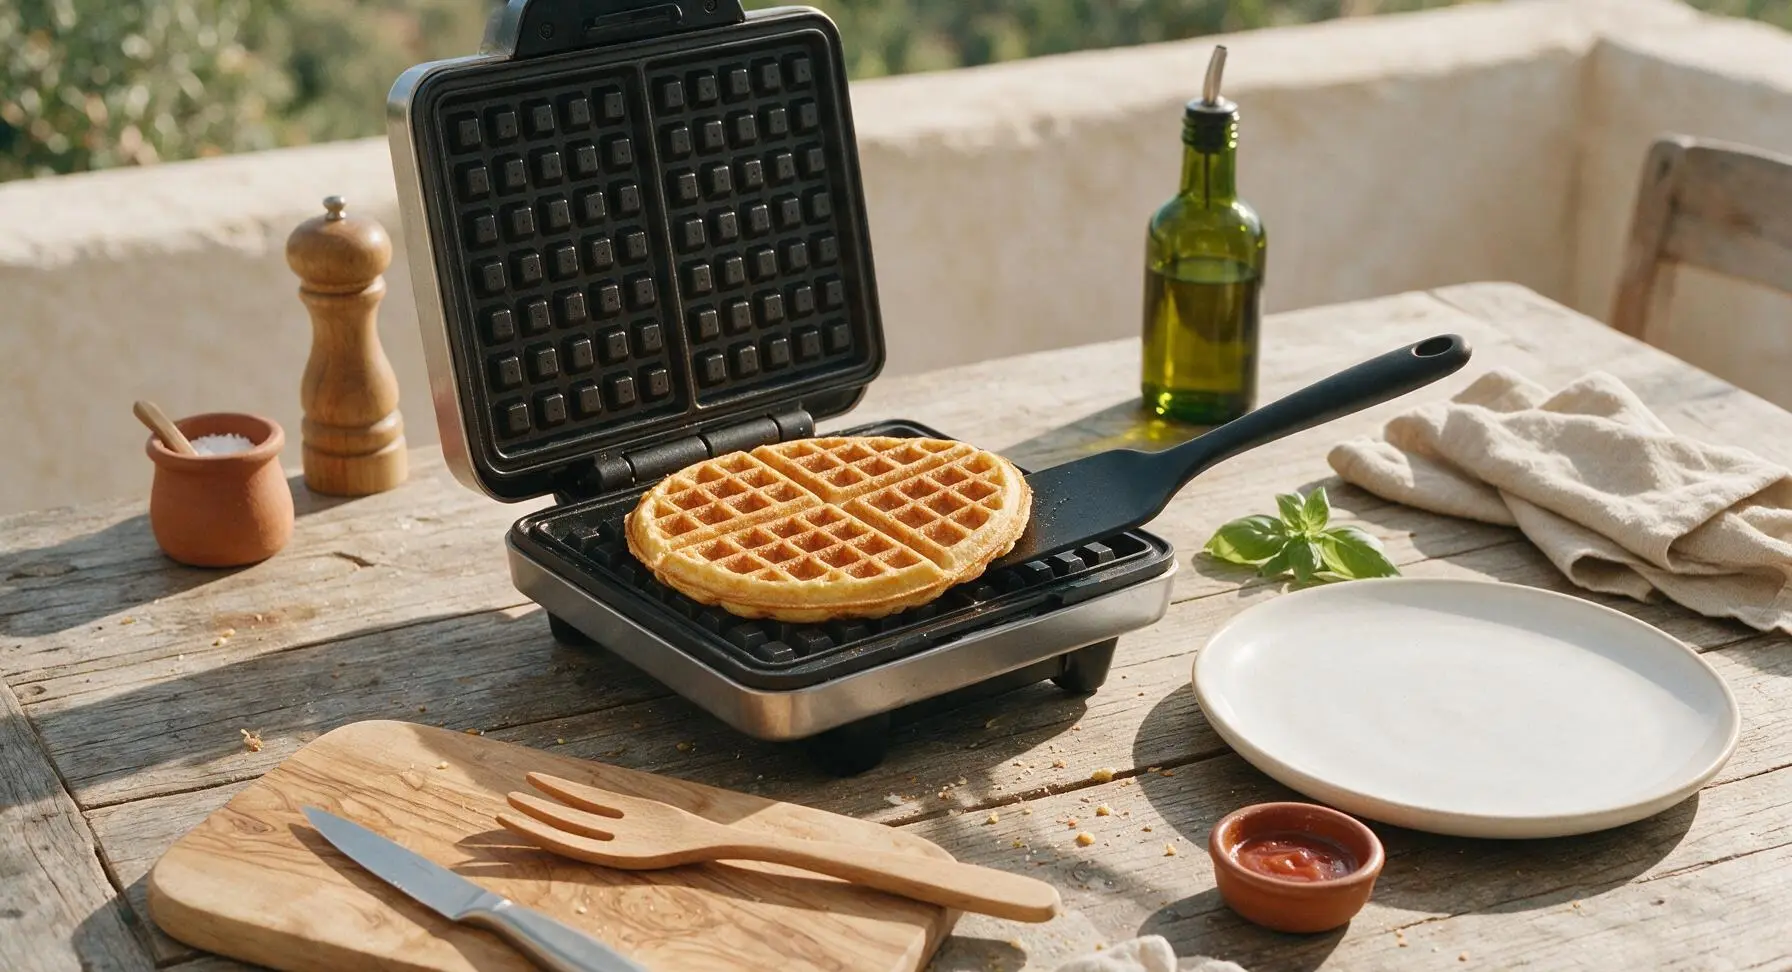
Close the waffle maker lid and cook for 3 to 4 minutes, until the green ready light illuminates again and thin wispy steam stops escaping from the iron edges. Do not open the lid early, as this can tear the half-cooked waffle. Finished waffles will be deep golden brown, crisp on the outer ridges, and lift easily from the non-stick plates without sticking.
Step 6
step6:Cook Until Golden Crisp
Step 6
step6:Cook Until Golden Crisp
7

Stack and Serve

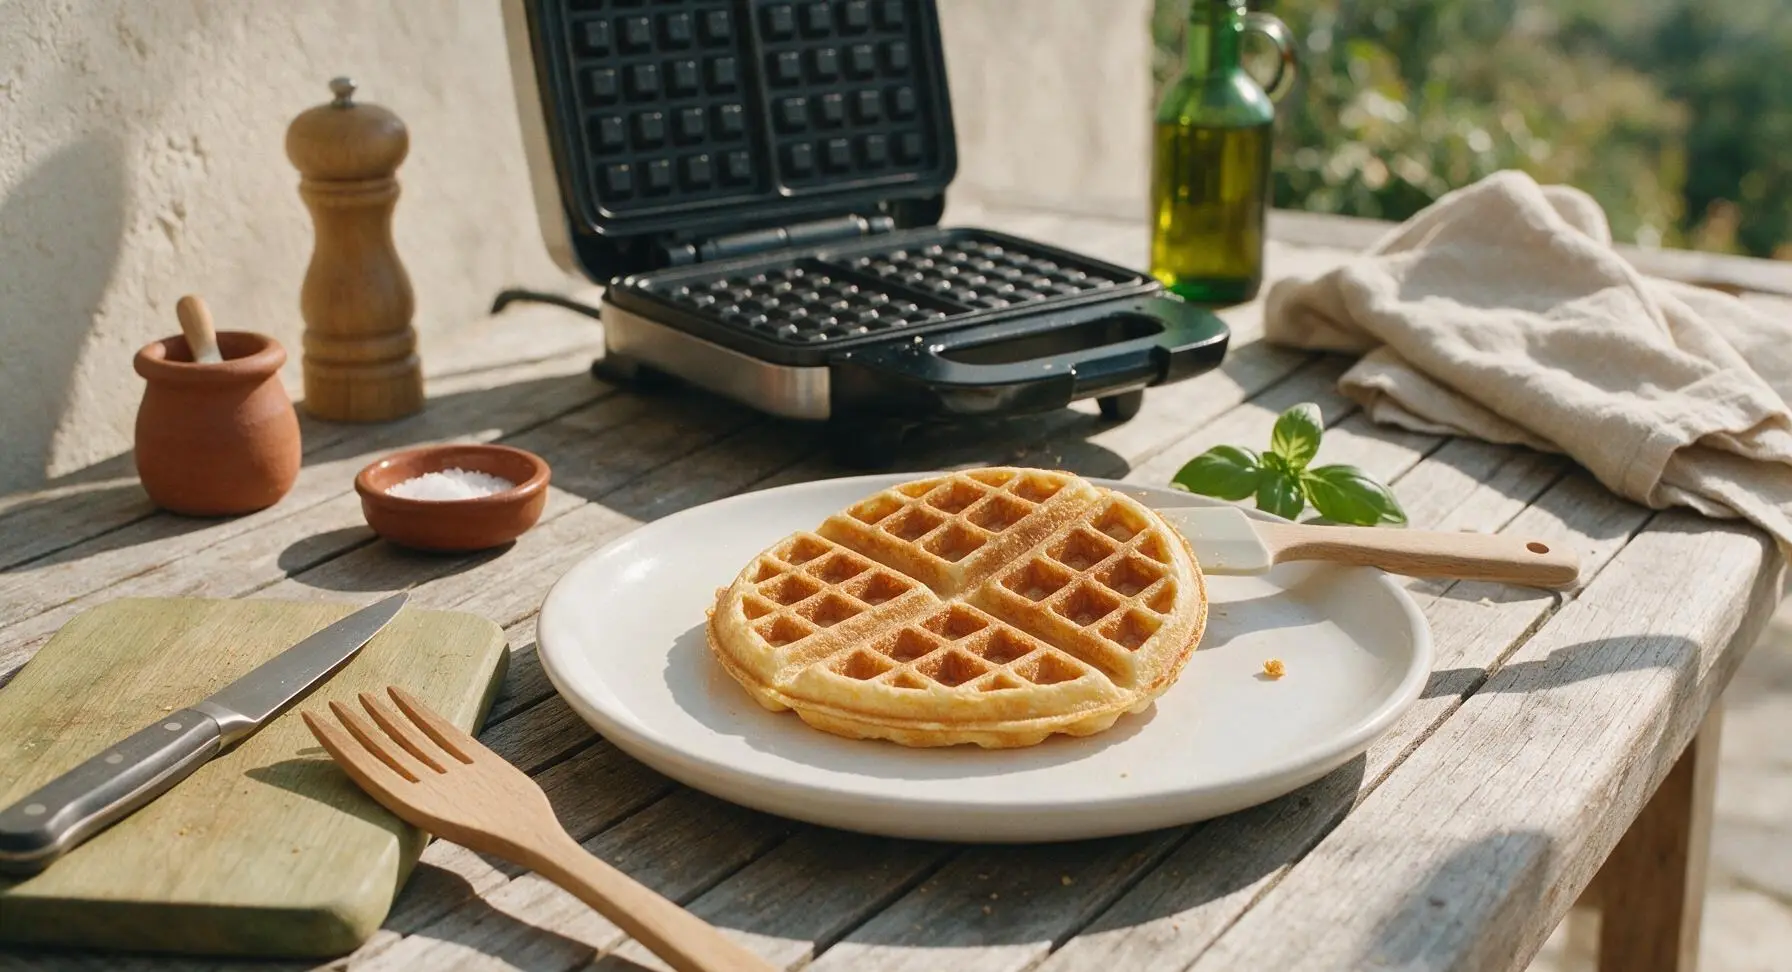
Transfer each cooked waffle to the 28cm white ceramic dinner plate, letting each waffle rest for 30 seconds before adding the next to the stack to avoid sogginess from trapped steam. Cook remaining batter in 3/4 cup batches, then top the stack with butter, maple syrup, fresh sliced strawberries, and a mint sprig to serve.
Step 7
step7:Stack and Serve

Tips

1.Resist over-mixing the batter: Small lumps are completely normal and desired, as over-stirring develops gluten in the flour and leads to tough, chewy waffles instead of light, fluffy ones. Stop mixing the second you no longer see dry flour streaks.
2.Let waffles rest briefly between stacking: Piling hot waffles directly on top of each other right off the iron traps steam between layers, turning crisp edges soft and soggy. A 30-second rest per waffle lets excess moisture escape so waffles stay crisp all the way through the meal.
3.Cool melted butter before adding it to batter: Hot melted butter will partially cook the eggs when poured directly into the mixing bowl, creating tiny lumps of scrambled egg in your finished batter. Letting butter cool for 2 minutes after melting ensures it mixes smoothly without curdling eggs.


✨ You May Also Like

Breakfast
🍜 United States

Crisp-edged, fluffy lard griddle cakes are a nostalgic homestyle staple, with rich savoriness from rendered lard, perfect topped with maple syrup or savory gravy.

⏱️ 25 minuteBreakfast ★ 4.8
Breakfast
🍜 United States

Flaky, buttery homemade buttermilk biscuits smothered in creamy, peppery pork sausage gravy: a beloved, hearty Southern American comfort food classic.

⏱️ 35 minuteBreakfast ★ 4.8
Breakfast
🍜 United States

Golden, custardy brioche stuffed with sweet cream cheese and fresh berries, pan-fried to crisp perfection. An indulgent, cozy breakfast perfect for slow weekend mornings.

⏱️ 30 minuteBreakfast ★ 4.7
Breakfast
🍜 United States

Flaky, buttery Southern-style biscuits stuffed with savory salty country ham, a portable, satisfying classic perfect for casual on-the-go meals.

⏱️ 25 minuteBreakfast ★ 4.8
Breakfast
🍜 United States

Iconic puffy baked pancake popularized in Seattle, with crisp golden edges and soft custardy center, served warm with classic sweet toppings.

⏱️ 35 minuteBreakfast ★ 4.6
Breakfast
🍜 United States

Fluffy, golden pancakes studded with juicy peak-summer mixed berries, drizzled with maple syrup for a bright, comforting, crowd-pleasing family breakfast.

⏱️ 25 minuteBreakfast ★ 4.7

belgian waffle recipe easy:Frequently Asked Questions

1.Do I need a special Belgian waffle maker to make this recipe? ▾
You don’t absolutely need one, but a standard Belgian waffle iron with deep 1-inch grids works best to get that signature tall, fluffy interior and crisp crust. If you only have a classic thin waffle maker, it will still work—just reduce cook time by 30 to 60 seconds to avoid overbrowning, and expect thinner, less lofted results.
2.Why did my waffles turn out soggy instead of crisp? ▾
Soggy waffles usually stem from two common missteps: not letting your waffle iron fully preheat, or stacking waffles straight off the iron. Preheat until a drop of water sizzles immediately on the surface, and hold finished waffles on a wire rack in a 200°F oven instead of piling them on a plate to trap steam.
3.Can I make this waffle batter ahead of time? ▾
You can pre-mix the dry ingredients—all-purpose flour, sugar, baking powder, and salt—up to 3 days ahead and store them in an airtight container at room temperature. Wait to add beaten eggs and any other wet ingredients until right before cooking, since baking powder activates on contact with moisture and will lose lift if left mixed too long.
4.Do I have to separate eggs and whip whites for this easy recipe? ▾
Nope, that’s what makes this recipe so low-fuss! Unlike more complicated Belgian waffle recipes that require separating eggs and whipping whites for extra lift, this version uses extra baking powder paired with whole, lightly beaten large eggs to get that light, fluffy interior without extra bowls or tedious prep work.
5.What’s the best way to keep waffles warm when cooking for a group? ▾
Skip the plate stack, which traps steam and makes waffles soggy. As you finish each waffle, set them in a single layer on a wire rack placed over a rimmed baking sheet, and slide the setup into a 200°F oven. This lets air circulate around every waffle, keeping them crisp and warm for up to 30 minutes while you cook the rest of the batch.
6.Can I use self-rising flour instead of all-purpose flour here? ▾
You can, but you’ll need to adjust the other dry ingredients to avoid overly salty or dense waffles. Swap the all-purpose flour for an equal amount of self-rising flour, then cut the baking powder down to 1 teaspoon and omit the fine table salt entirely to account for the leavening and salt already mixed into self-rising flour.
7.How do I tell when waffles are done without opening the iron too early? ▾
Wait for the steam! Most waffle irons will stop releasing steady, visible steam from the edges when the waffle is fully cooked, usually 3 to 4 minutes per batch. If you open the iron early and the waffle sticks, it’s not done—close the lid for another 30 seconds, and it will release easily once crisp and set.
8.Can I freeze leftover waffles for quick weekday meals? ▾
Absolutely! Let cooked waffles cool completely to room temperature first, then stack them with small squares of parchment paper between each waffle to prevent sticking, and store in a sealed freezer bag for up to 3 months. Reheat straight from frozen in a toaster or 350°F oven for 3 to 4 minutes to bring back that crisp texture.
9.Why did my waffles stick to my nonstick waffle iron? ▾
Sticking usually happens if your iron isn’t fully preheated, or if you pry the waffle out too early before it sets. You can give the grids a light coating of melted butter or nonstick spray before the first batch, even on nonstick irons. Skip greasing between batches unless you notice sticking, as too much oil makes waffles greasy.
10.Can I reduce the granulated sugar for less sweet waffles? ▾
Definitely! The small amount of granulated sugar in this recipe adds subtle sweetness and helps with golden browning, but you can cut it in half or even omit it entirely if you plan to top waffles with sweet syrups, fruit, or whipped cream. If you omit sugar entirely, add 1 extra minute of cook time to build that crisp golden crust.
11.What consistency should the waffle batter be for the best texture? ▾
Your batter should be thick but pourable, similar to slightly lumpy cake batter—don’t overmix it! A few small lumps of flour are totally fine, as overmixing develops gluten in the all-purpose flour and will lead to tough, chewy waffles instead of light, fluffy ones. Thin with a splash of milk if it’s too thick to pour easily.

Comments (11)

1 week ago

Made these for my friend’s potluck brunch last weekend and everyone was asking for the recipe! I added a handful of blueberries to the batter and topped with fresh whipped cream, chef’s kiss. Only took 15 minutes total which was perfect because I was running late 😂

5 days ago

Wait did you fold the blueberries in or toss them in flour first? I always have mine sink to the bottom of the waffle iron!

3 days ago

Great tip adding blueberries! If you toss them in a light coating of flour first like you’re thinking, they won’t sink to the bottom of your batter — hope that helps for next time!

3 days ago

Super easy recipe, even for someone who burns toast half the time! My only tiny note is I wish it was a little sweeter, so I added a teaspoon of vanilla extract and that fixed it right up for my taste. Will definitely make again.

2 days ago

So glad you enjoyed them! Adding extra vanilla is such a tasty swap, that’s one of my favorite little tweaks too when I’m craving a sweeter waffle.

just now

Literally the easiest thing I’ve made all semester. I don’t have a fancy waffle maker, just the cheap $20 one from Target, and these still came out perfectly crispy. Meal prepped 6 of them and pop them in the toaster for 2 minutes before class, 10/10

yesterday

OMG made these for my kids’ Saturday morning breakfast and they ate them faster than I could pull them off the iron! Topped with a drizzle of maple syrup and some sliced strawberries, didn’t have a single leftover. Worth every minute.

2 hours ago

How well do these freeze? I want to make a big batch for my kid’s early soccer practice mornings!

30 minutes ago

They freeze beautifully! Let them cool completely first, then store in a sealed freezer bag for up to 3 months. Reheat in the toaster or oven for that same fresh crispy texture.

2 hours ago

Swapped the all purpose flour for a 1:1 gluten free baking flour and these turned out INCREDIBLE. I was so worried they’d be dense or gummy, but they were just as fluffy as regular waffles. My whole family (even the non-GF folks) loved them!

30 minutes ago

Which brand of 1:1 GF flour did you use? I’ve had bad luck with a couple brands making baked goods taste weird!

30 minutes ago

Game. Changer. I’ve been using those frozen waffles from the grocery store for years and I will never go back. These are so simple, I don’t even have to get out my stand mixer, just a bowl and a whisk works perfectly. SO good.

5 minutes ago

That’s what we love to hear! No fancy equipment required for great homemade waffles — a simple bowl and whisk works every time.

2 weeks ago

Brought these to my office potluck and they were gone in 10 minutes flat. People kept coming back asking if I’d brought extra! I set up a little topping bar with syrup, chocolate chips, sprinkles, and whipped cream, it was a total hit.

5 minutes ago

Okay, I’m literally 22 and have never cooked anything more complicated than microwave mac and cheese, and I nailed these on the first try? My roommate thought I ordered them from our local brunch spot lmao. 10/10, no notes, will be making every Sunday from now on.

just now

LMAO that’s such a flex! Did you add any toppings or just eat them plain with syrup?

just now

I went all in! Added mini chocolate chips, a scoop of vanilla ice cream (don’t judge) and a drizzle of maple syrup. 10/10 combo.

2 days ago

Love that this recipe doesn’t have a ton of added sugar! I top mine with Greek yogurt and fresh berries for a high protein post-gym breakfast, and it hits every single time. Super quick to whip up after my morning workout too.

yesterday

That topping combo sounds amazing! We love that you can customize these to fit whatever dietary preferences or meal goals you have — sweet, savory, high protein, anything goes.

5 days ago

Wait, quick question — is there a trick to getting them extra crispy on the outside? Mine came out a little soft last time I made them, even though I followed the cook time exactly. Still tasted great, just missing that crunch I love from restaurant Belgian waffles!

2 days ago

I had the same problem at first! Try brushing your waffle iron with a little melted butter before pouring the batter in, and don’t open the lid too early while they cook. Game changer for crunch!

2 days ago

Great tip from CrispyWaffleStan! We also recommend letting the waffles rest on a wire rack for a minute after pulling them off the iron instead of piling them on a plate, which keeps them from getting soggy from trapped steam.

1 week ago

I’ve tried so many Belgian waffle recipes over the years and this one is by far the easiest and most consistent. No weird fancy ingredients, just stuff I already have in my pantry, and it turns out perfect every single time. Passed this along to all my neighbors already!



