
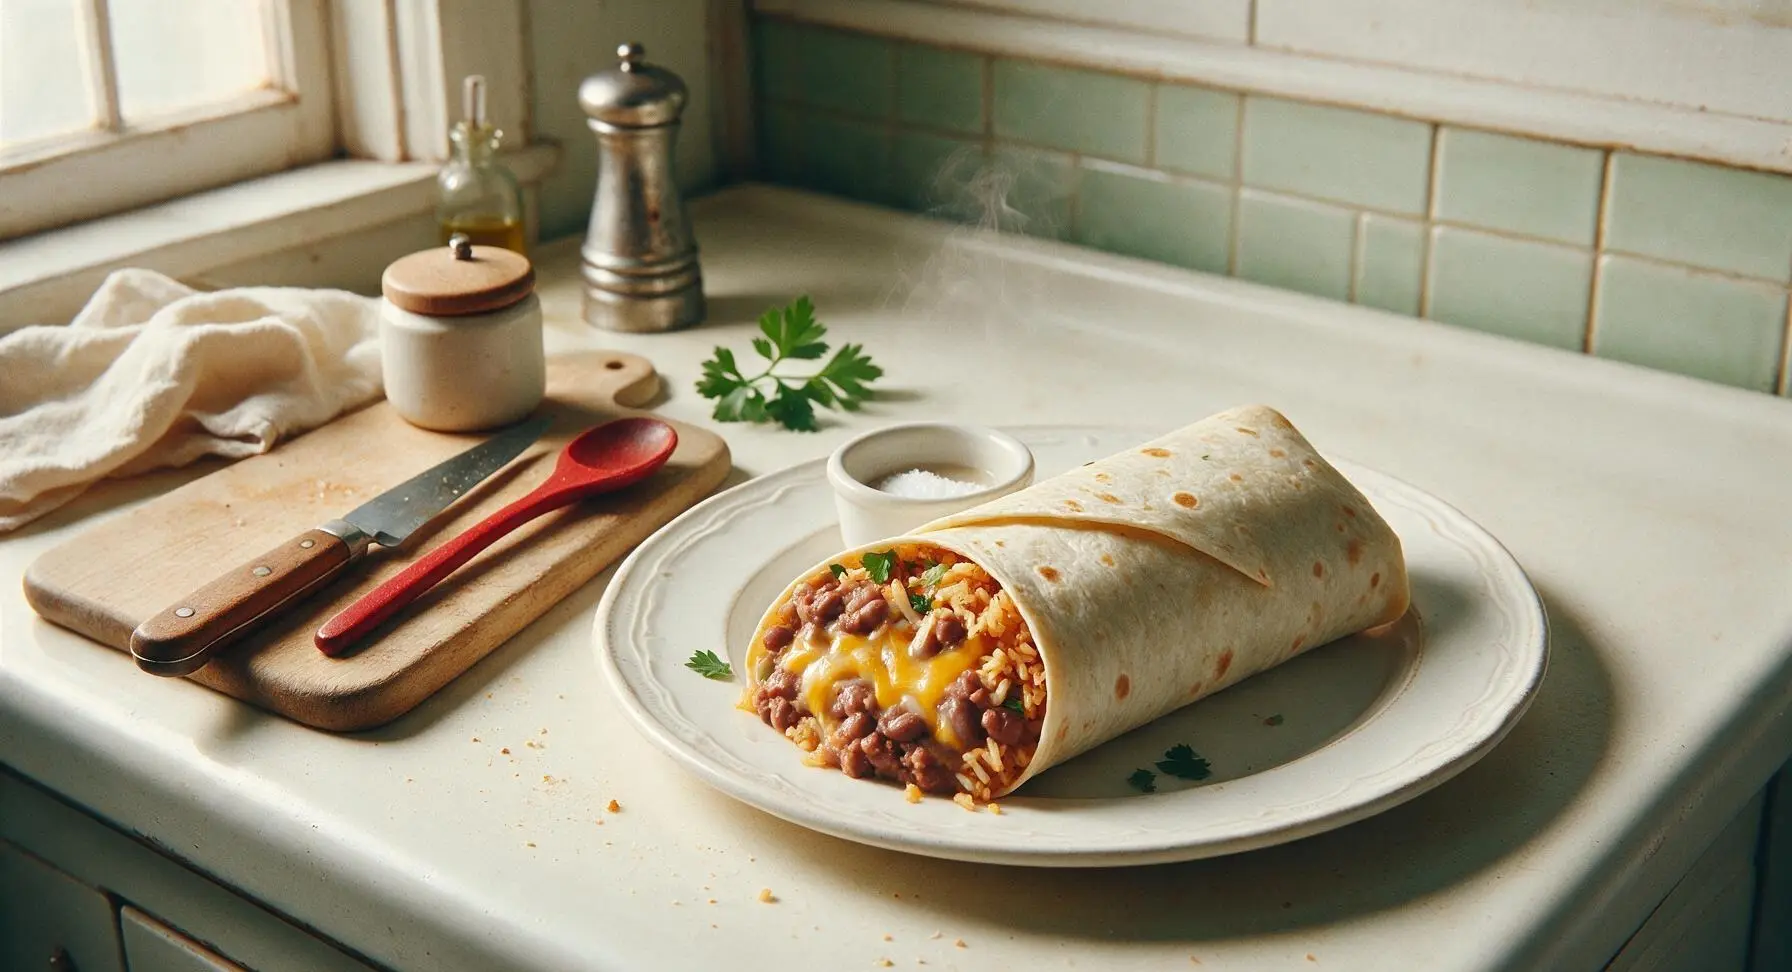
best bean and cheese burrito

title 1
best bean and cheese burrito
⏱️ cook time 15 minutes
🍽️ servings 4
⚡ Difficulty easy

intro

Creamy seasoned refried beans, stretchy melted cheddar, and fluffy spiced rice wrapped in a crisp, warm flour tortilla—this classic Tex-Mex burrito is quick, satisfying, and perfect for busy weeknights.

Ingredients
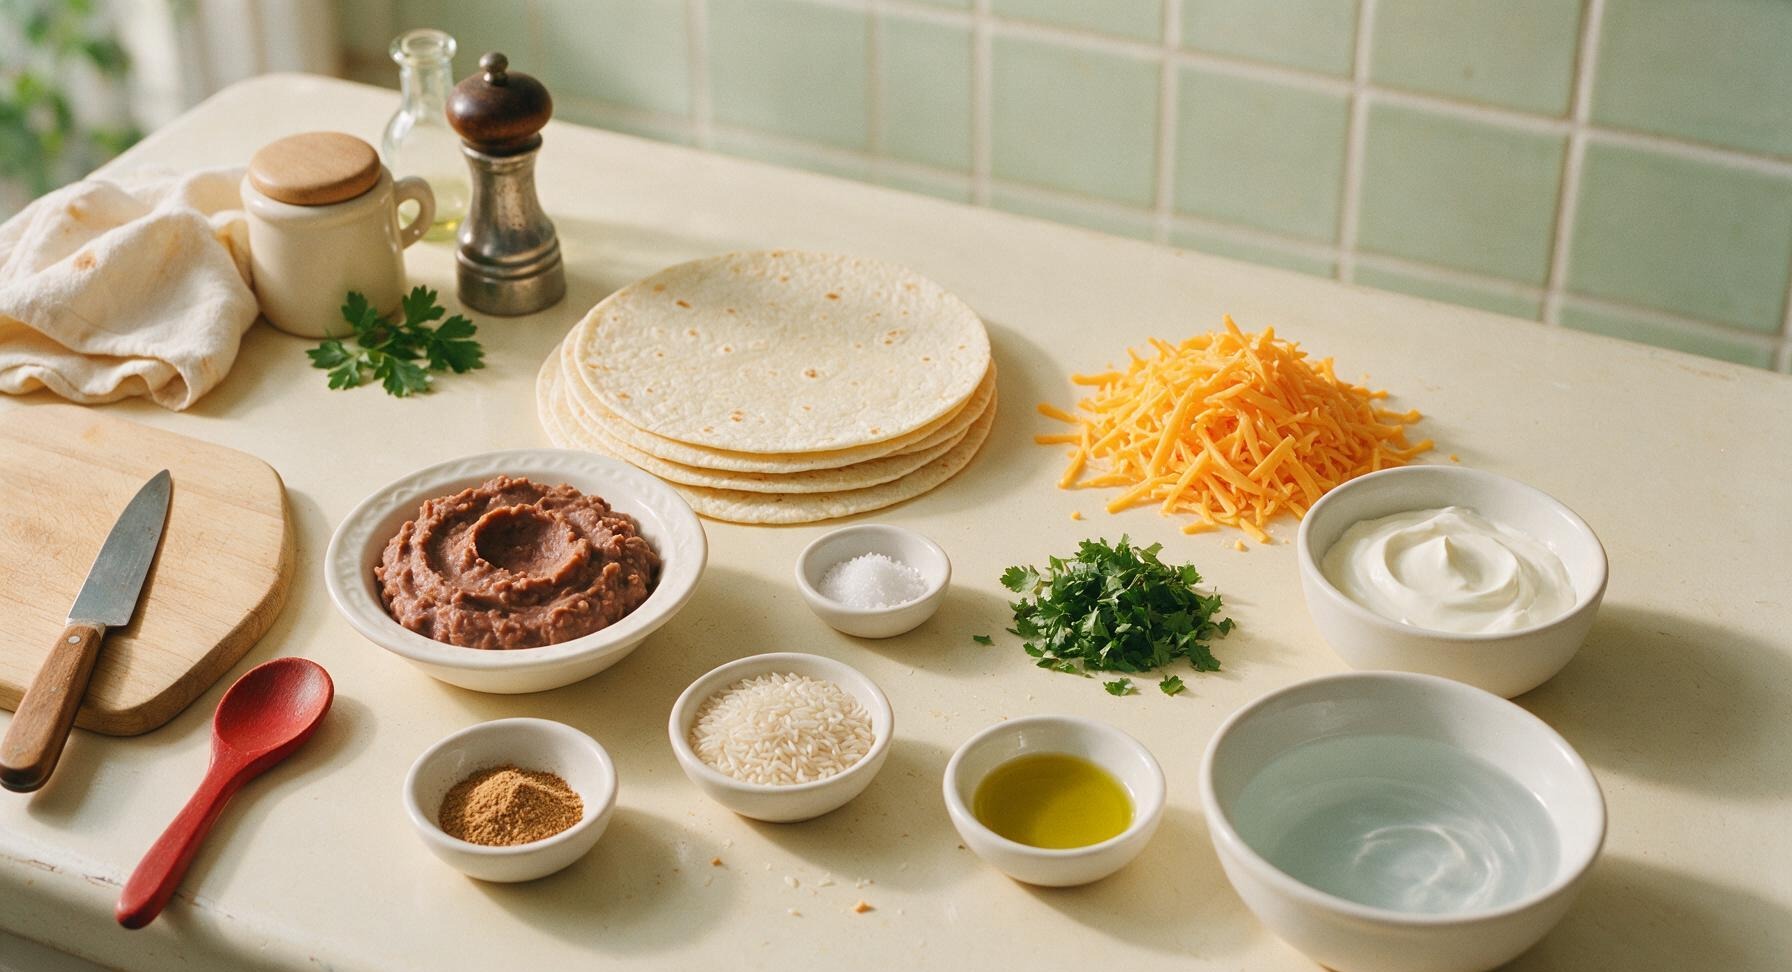
12-inch flour tortillas 4 each
Low-sodium refried pinto beans 450g (1 can)
Sharp orange cheddar cheese 220g (8oz)
Long-grain white rice 90g (½ cup uncooked)
Mild taco seasoning 2 tbsp
Extra-virgin olive oil 1 tbsp
Kosher salt 1 tsp
Fresh cilantro 10g (¼ cup chopped)
Sour cream 60g (¼ cup)
Water 300ml (1 ¼ cups)

Steps

1

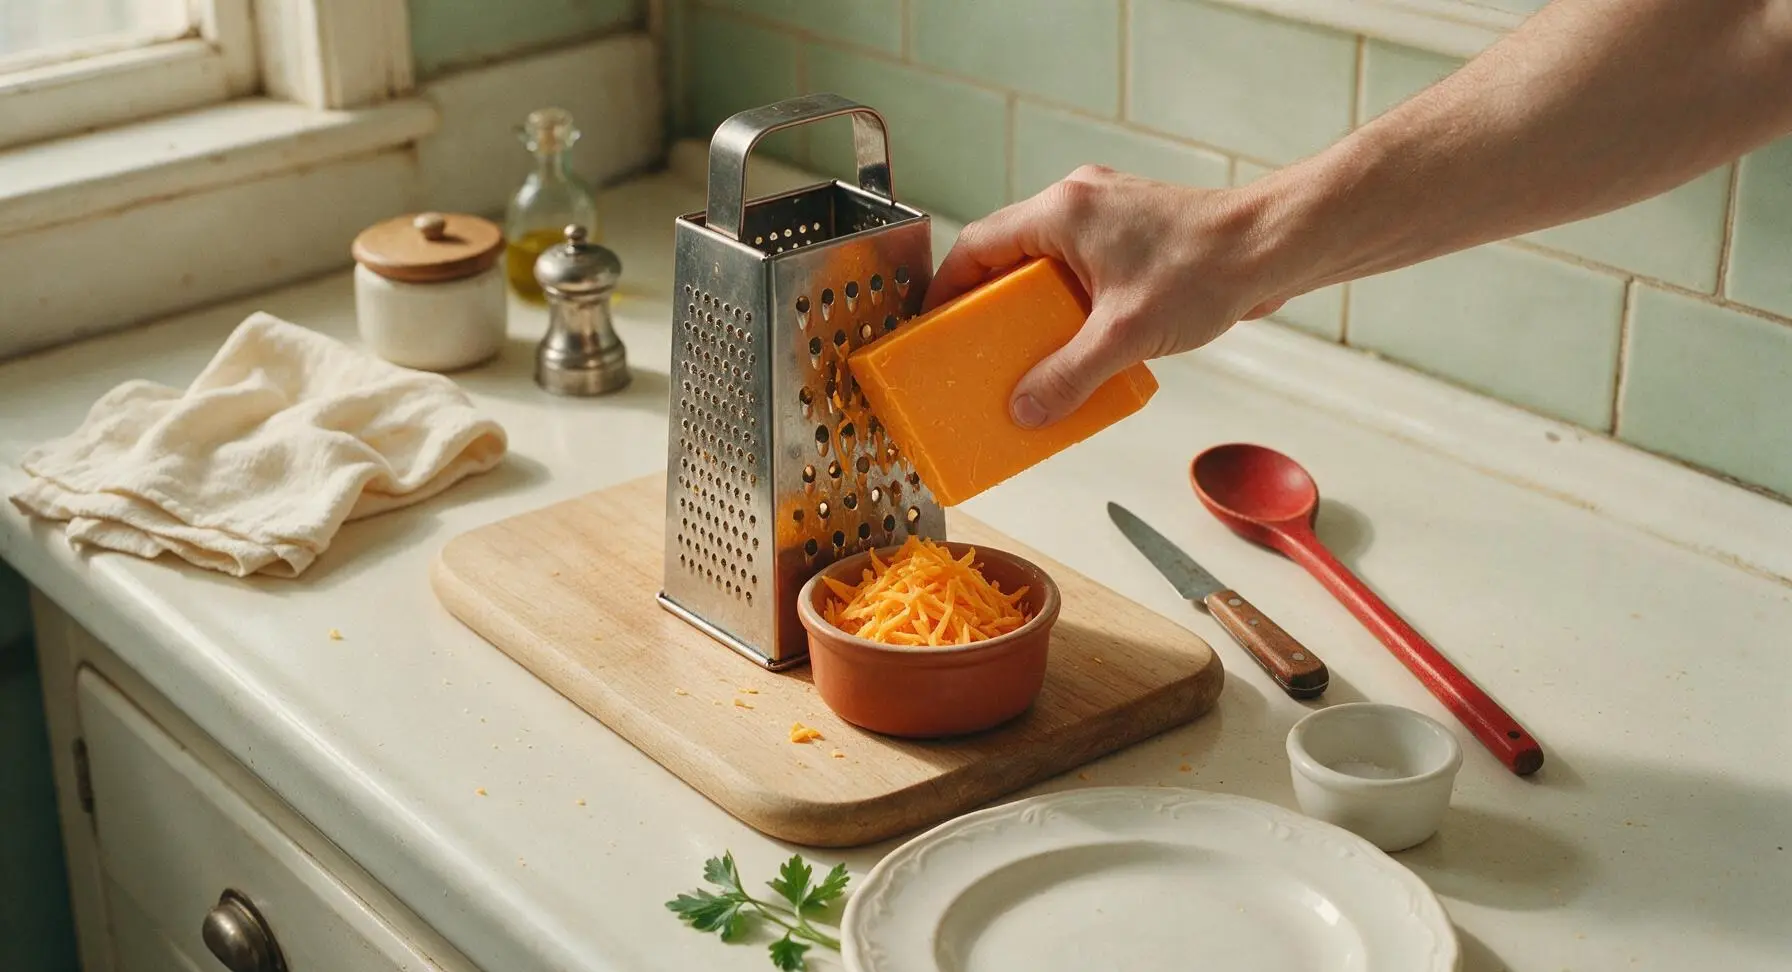
Grate Fresh Cheddar

Place the 4-sided stainless steel box grater on the light oak cutting board. Grate the 220g block of sharp orange cheddar using the large holes, collecting shreds in the matte terracotta ramekin. Set aside ¼ cup of shreds for optional topping, if desired. Do not pack shreds tightly, as loose shreds melt more evenly.
Step 1
step1:Grate Fresh Cheddar
2

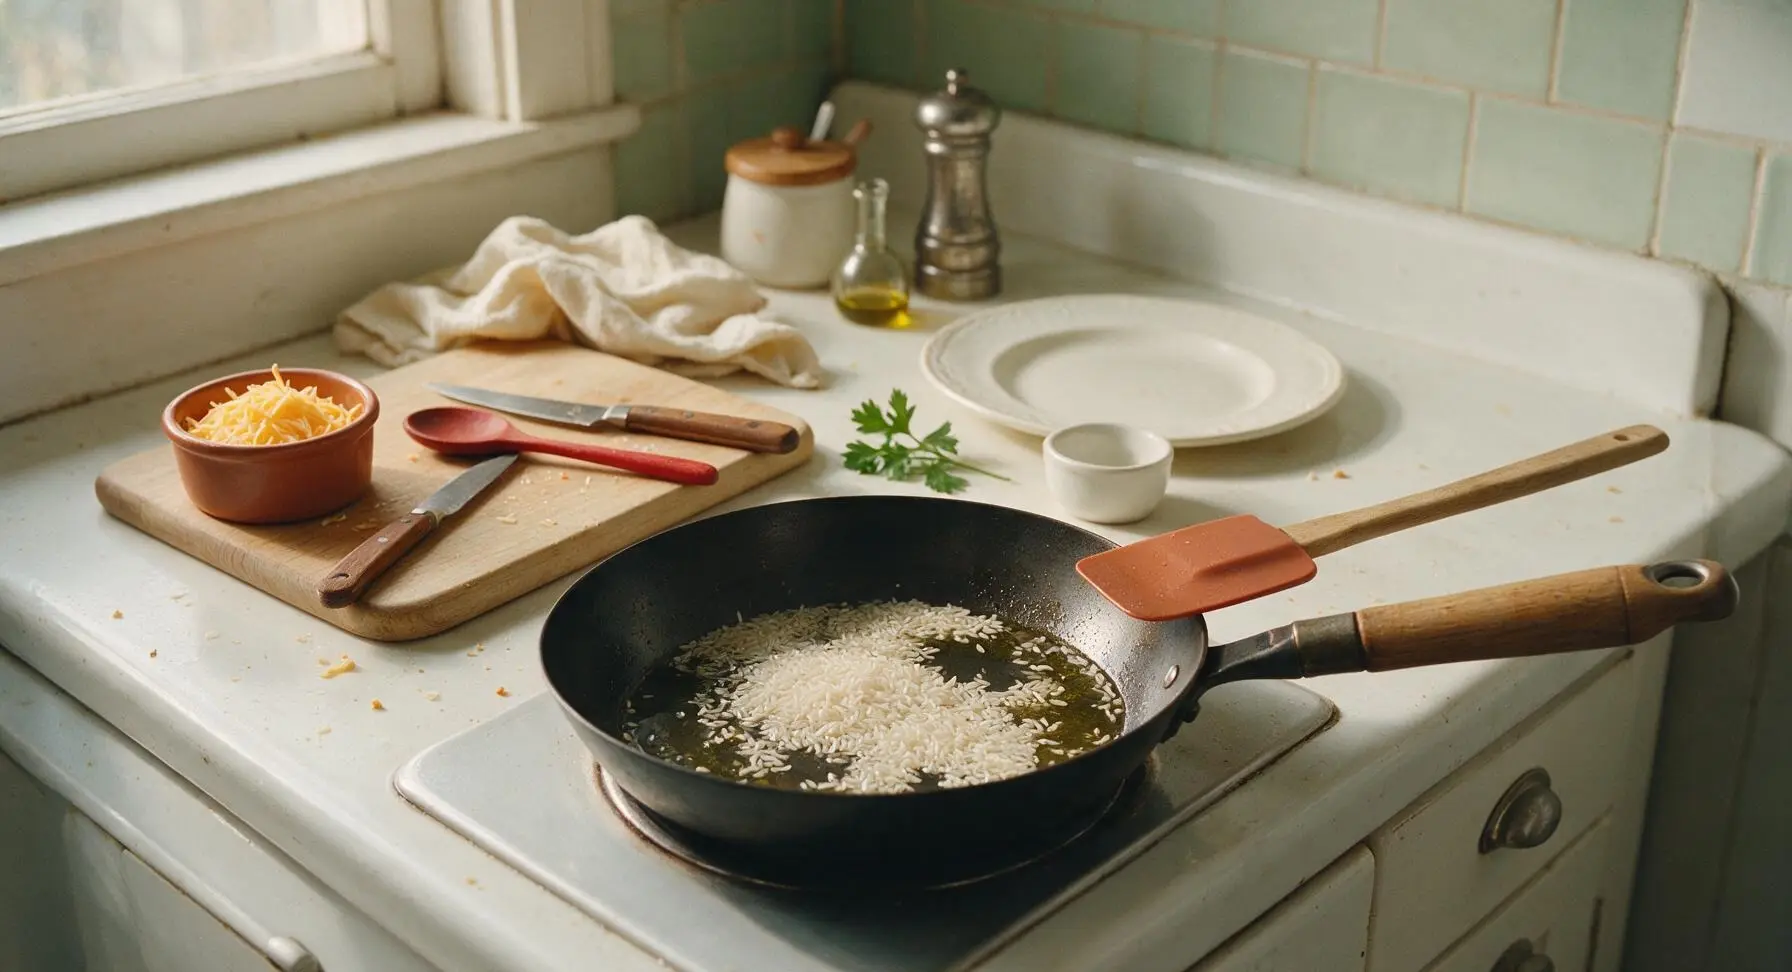
Cook Seasoned Rice

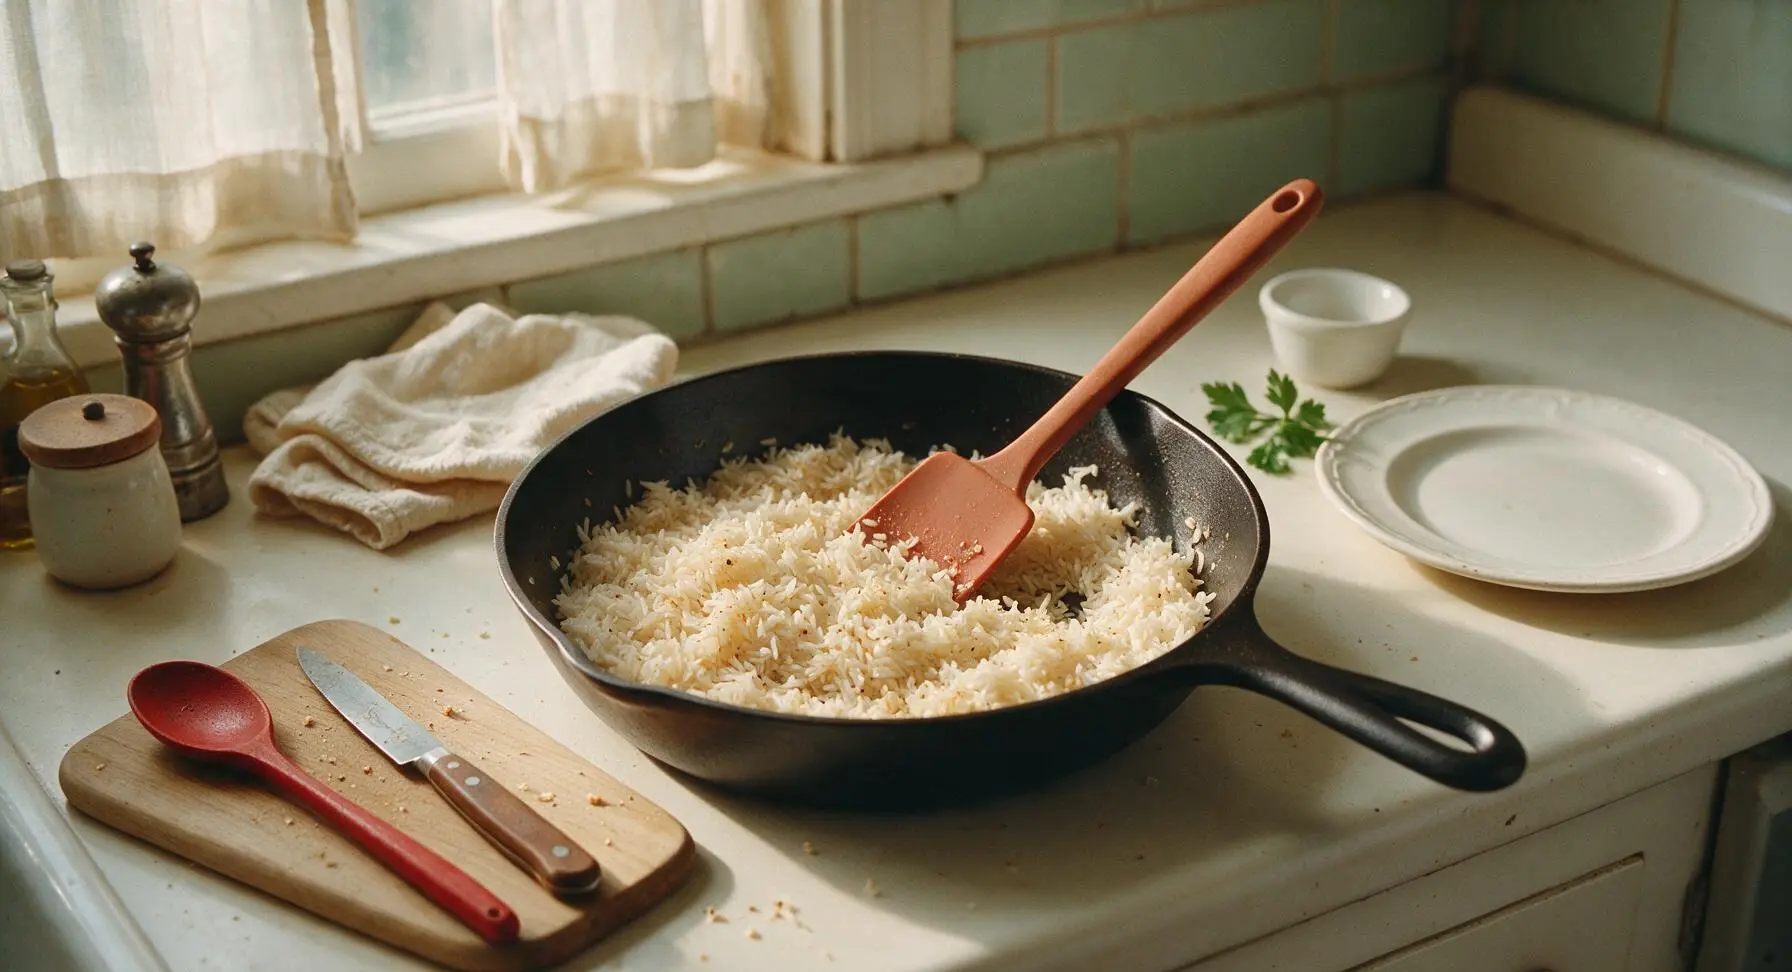
Heat 1 teaspoon of olive oil in the 10-inch matte black carbon steel skillet over medium heat. Add ½ cup (90g) uncooked long-grain white rice, toast for 2 minutes until grains turn slightly translucent at the edges and give off a faint nutty aroma. Stir in 1 cup (240ml) water, 1 teaspoon taco seasoning, and ¼ teaspoon kosher salt. Bring to a gentle simmer, reduce heat to the lowest setting, cover tightly, and cook for 12 minutes without lifting the lid, until all water is fully absorbed. Remove from heat, let rest covered for 5 minutes, then fluff gently with the terracotta silicone spatula and set aside.
Step 2
step2:Cook Seasoned Rice
Step 2
step2:Cook Seasoned Rice
3

Warm Refried Beans

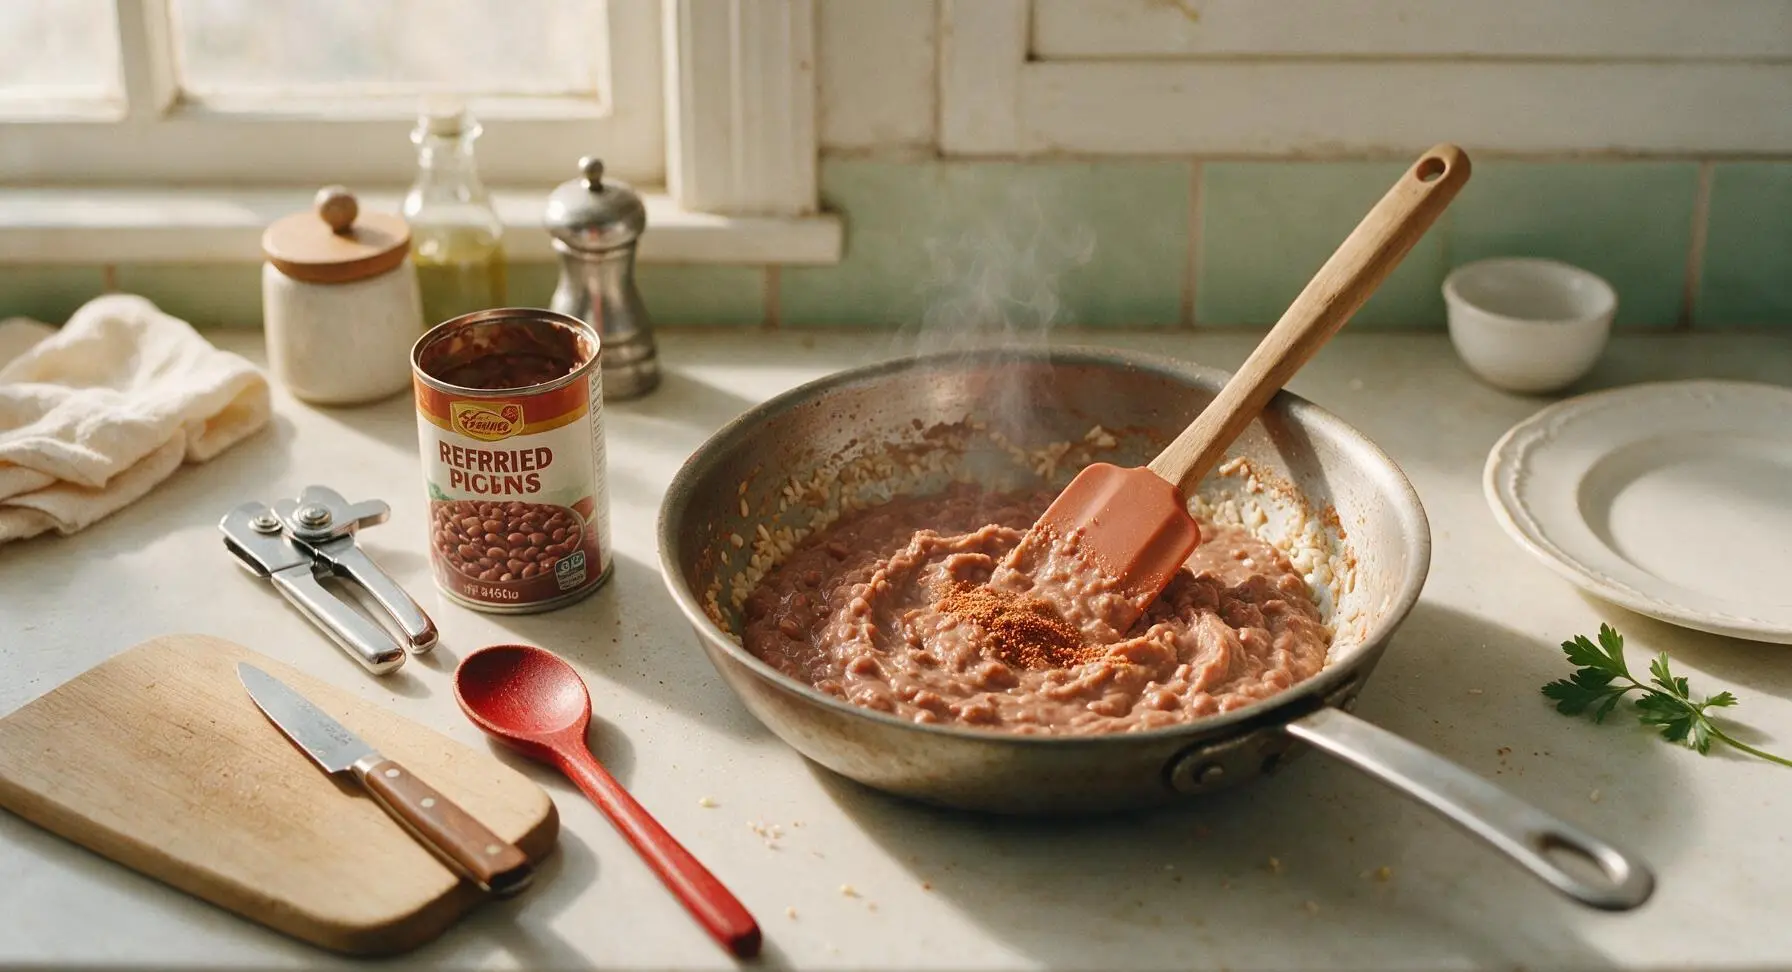
Use the silver can opener to open the 450g can of refried pinto beans. Pour beans into the same skillet used for rice (no need to wipe clean, as leftover rice seasoning adds depth) over medium-low heat. Stir in the remaining 1 tablespoon + 2 teaspoons taco seasoning and ¼ cup (60ml) water to thin beans to a smooth, spreadable consistency similar to thick hummus. Cook for 3 minutes, stirring occasionally, until beans are heated through and bubble gently at the pan edges. Taste and season with the remaining ¾ teaspoon kosher salt if needed.
Step 3
step3:Warm Refried Beans
4

Warm Flour Tortillas

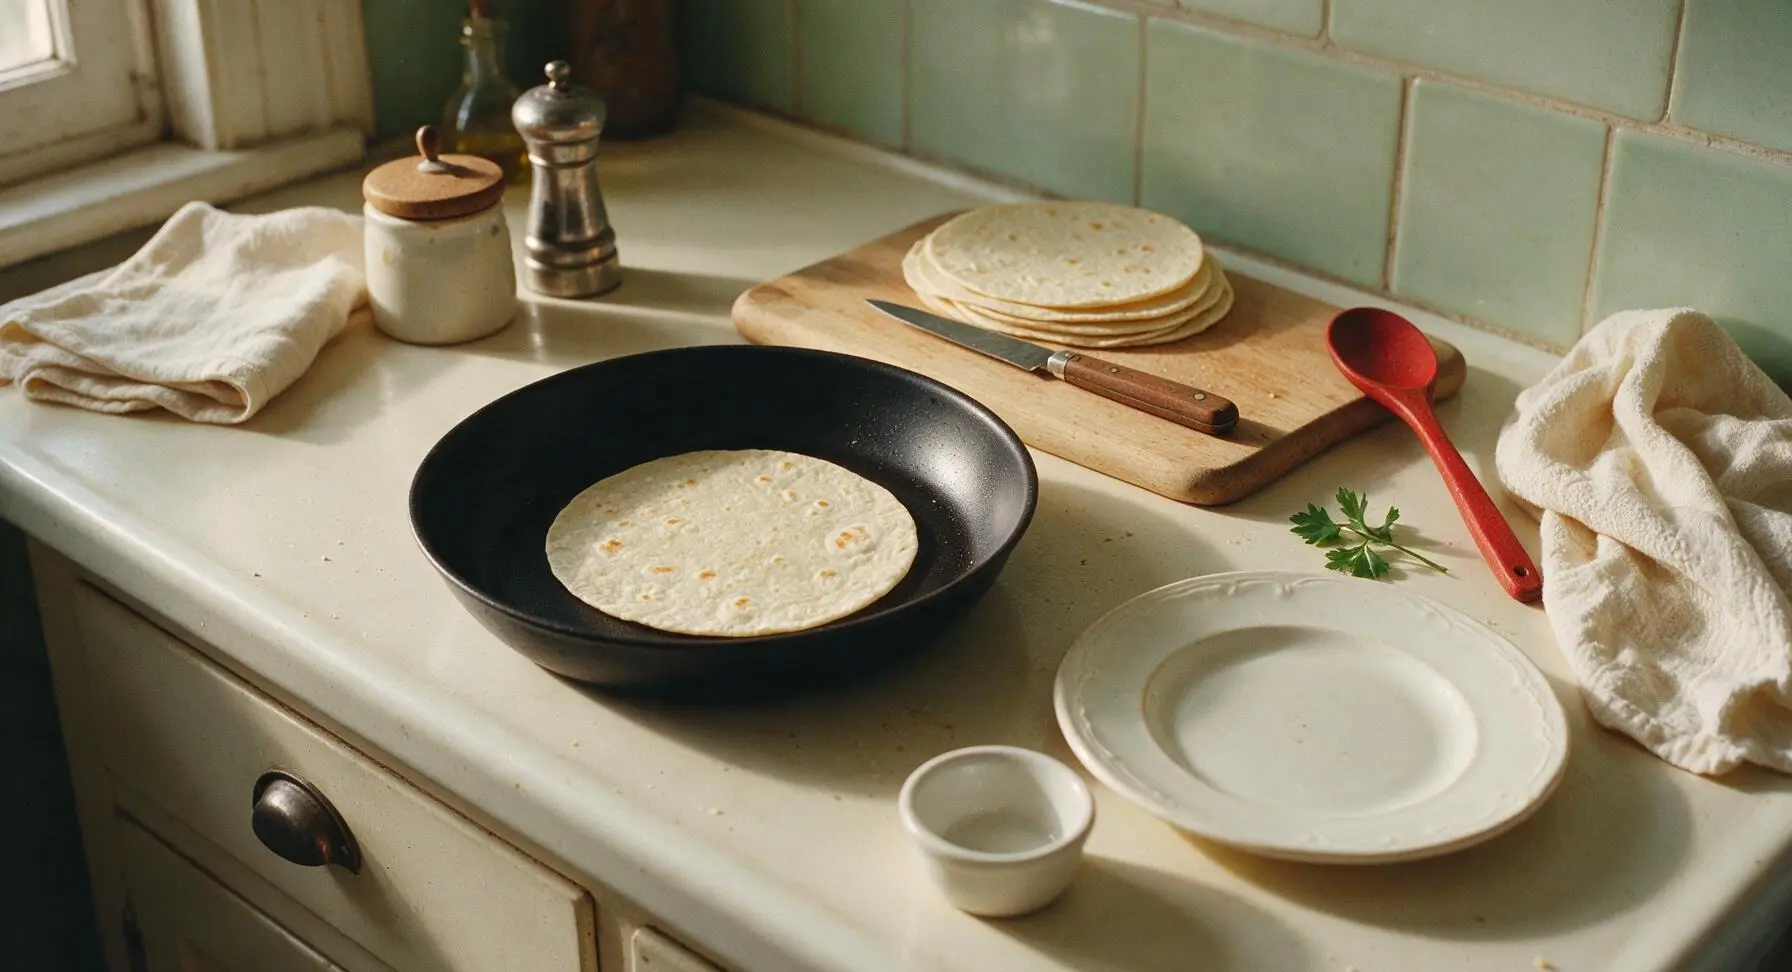
Wipe the skillet clean with a paper towel, then heat over medium-low heat. Warm each tortilla for 15 seconds per side, until soft, pliable, and marked with faint light golden toasting spots. Stack warmed tortillas on a clean paper towel and cover loosely with the edge of the cream kitchen towel to keep them soft and pliable while assembling. Do not over-toast tortillas, as they will turn brittle and crack when rolled.
Step 4
step4:Warm Flour Tortillas
5

Layer Fillings Evenly

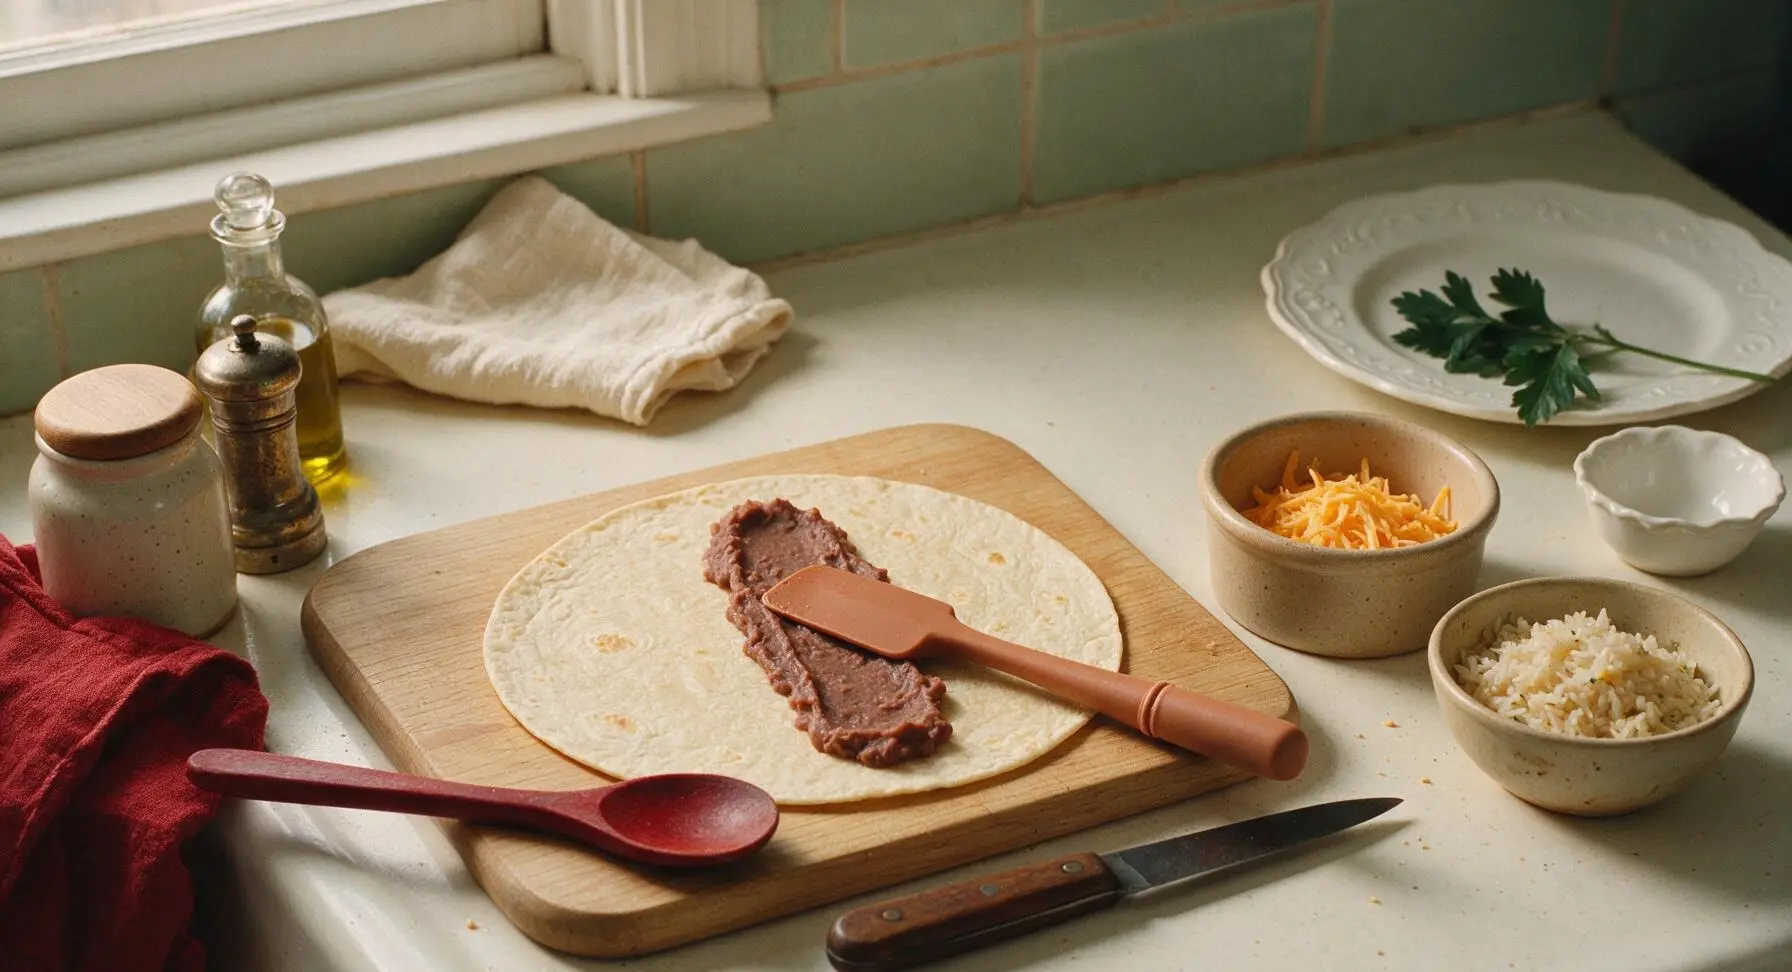
Lay one warm tortilla flat on the light oak cutting board. Spread ⅓ cup of warm refried beans in a 2-inch wide strip down the center of the tortilla, leaving a 2-inch clear border at the top and bottom edges, and 3-inch borders on the long sides. Top beans with ¼ cup of fluffed seasoned rice, then ¼ cup of freshly shredded cheddar, spreading each layer evenly and pressing gently to compact. Sprinkle with a pinch of chopped fresh cilantro, if using.
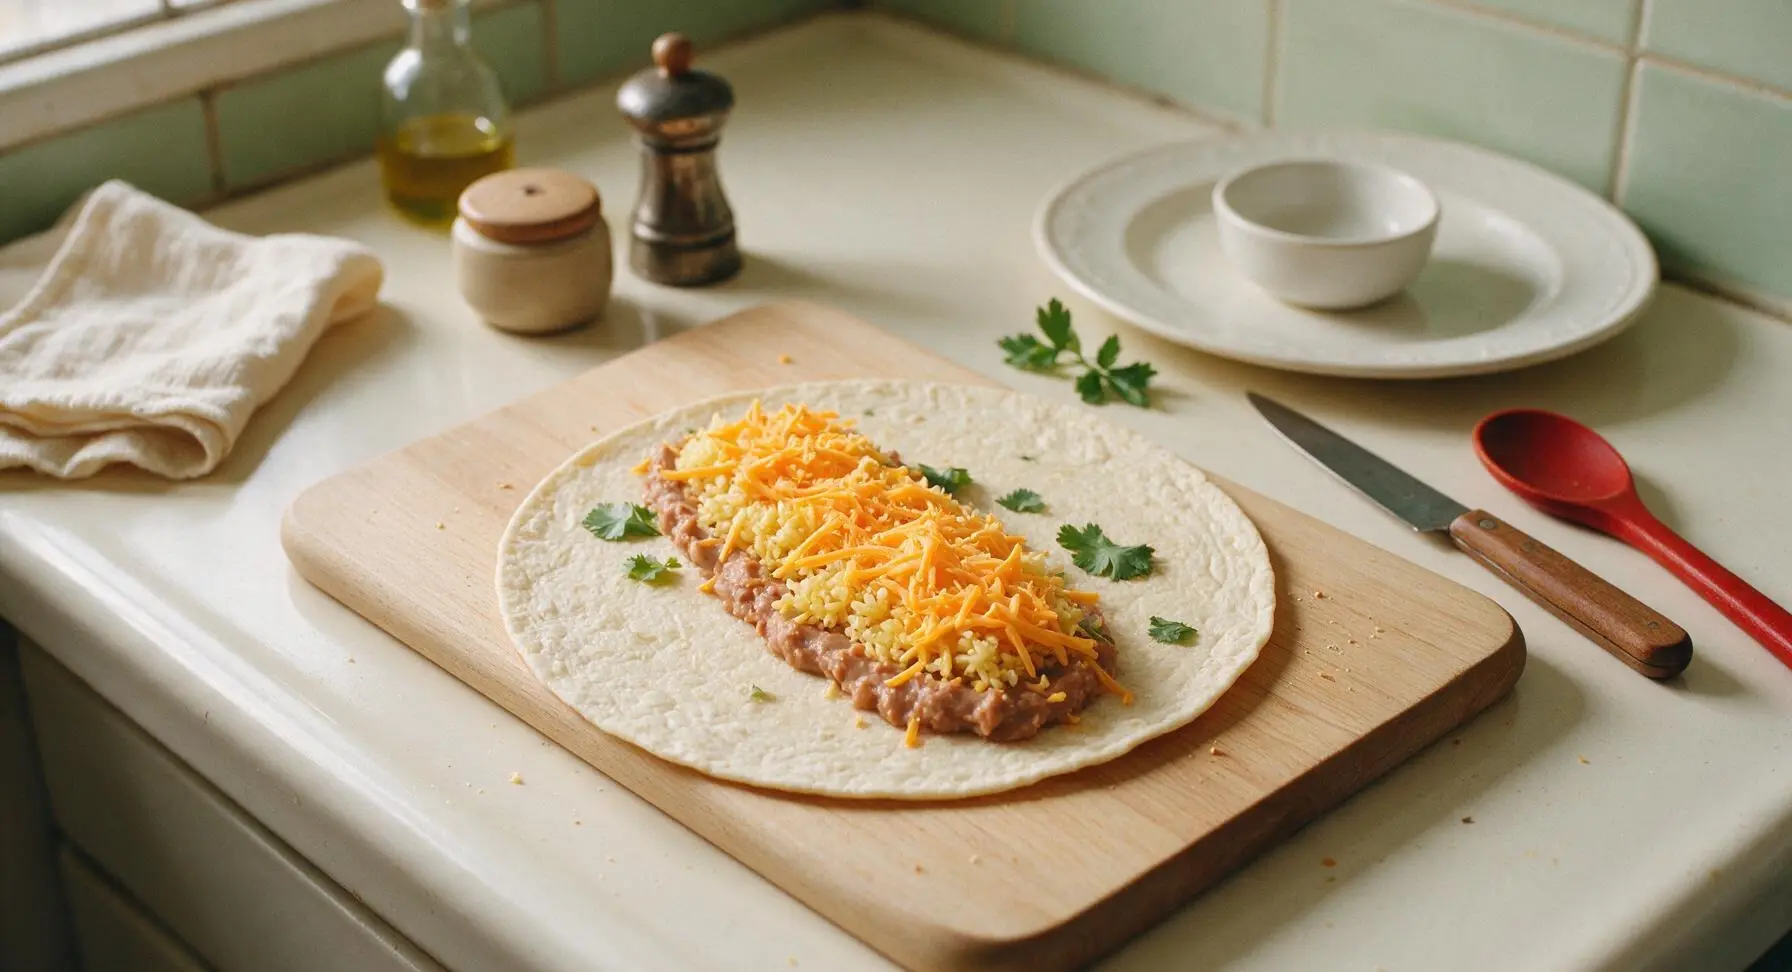
Step 5
step5:Layer Fillings Evenly
Step 5
step5:Layer Fillings Evenly
6

Roll Burritos Tightly

Fold the 2-inch top and bottom edges of the tortilla in over the ends of the filling strip. Hold the folded edges firmly in place, then roll the tortilla tightly from one long side to the other, tucking the tortilla edge under the fillings as you roll to create a sealed, compact burrito with no open gaps. Set rolled burritos seam-side down while repeating the process with remaining tortillas and fillings.
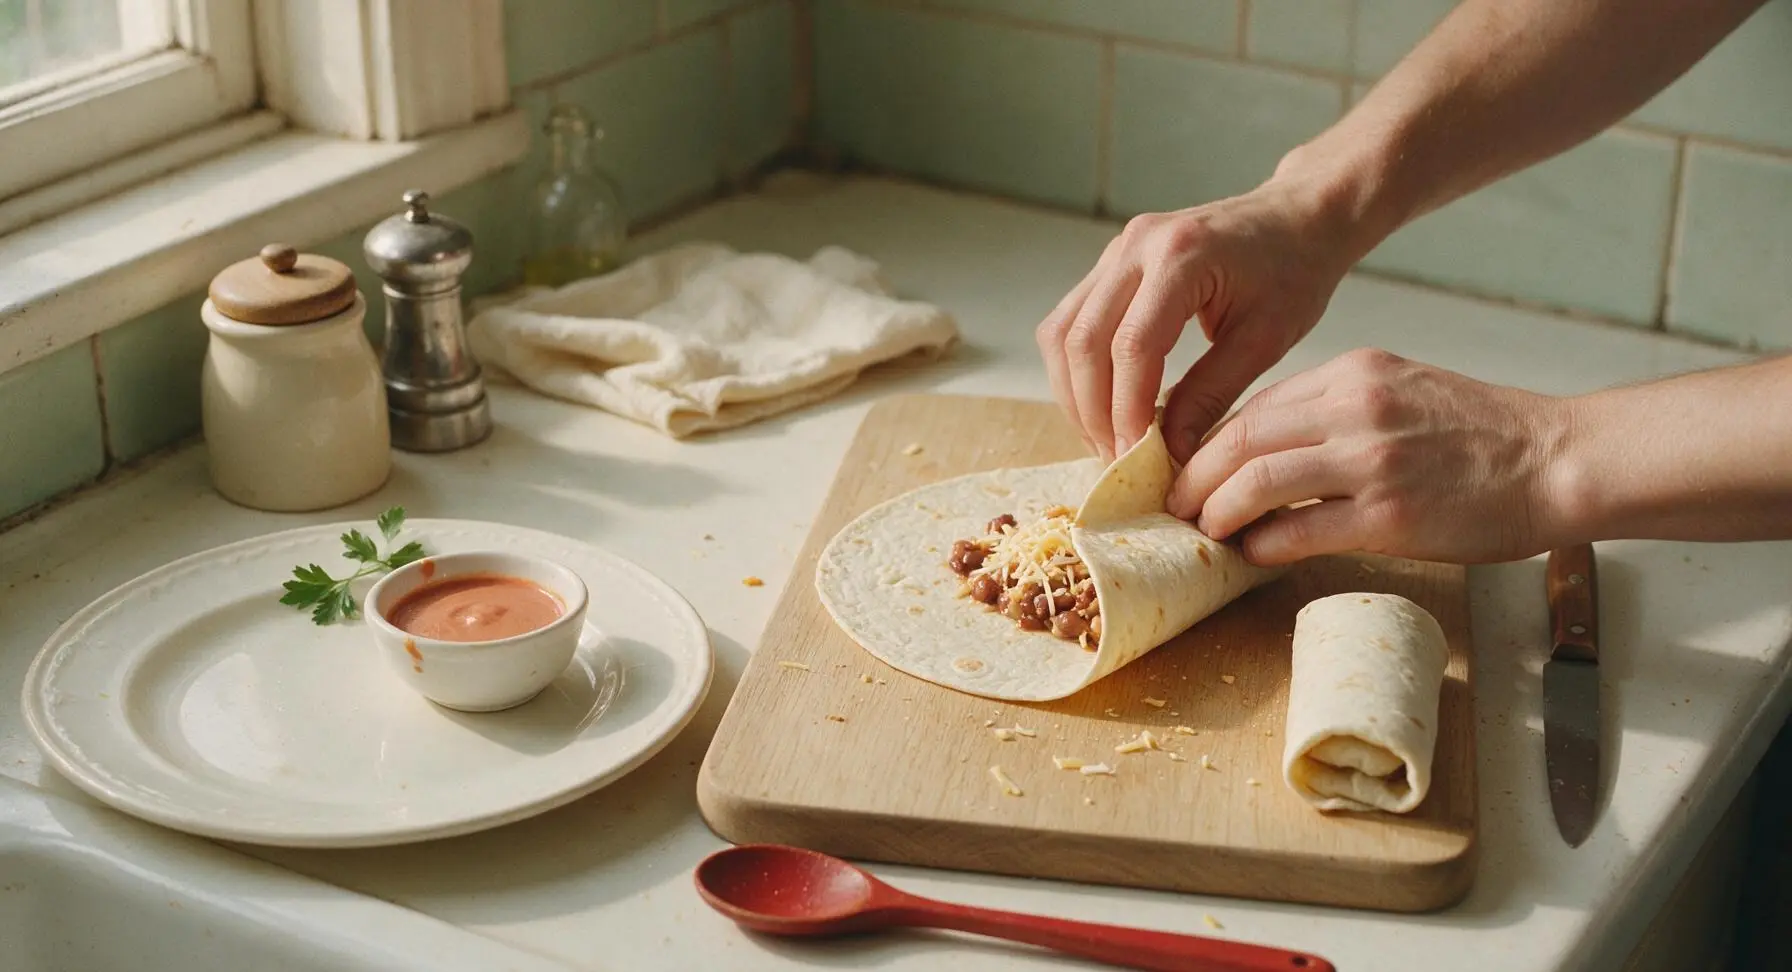
Step 6
step6:Roll Burritos Tightly
7

Toast Seams Crisp

Return the dry skillet to medium-low heat. Place rolled burritos in the pan seam-side down first, cooking for 1 minute until the seam is sealed and lightly crisp. Flip and cook for 1 additional minute on each remaining side, until the entire tortilla is golden and slightly crisp, and melted cheese oozes slightly from the burrito ends (a sign the filling is fully heated through). Press gently with the silicone spatula while toasting to ensure even contact with the pan.
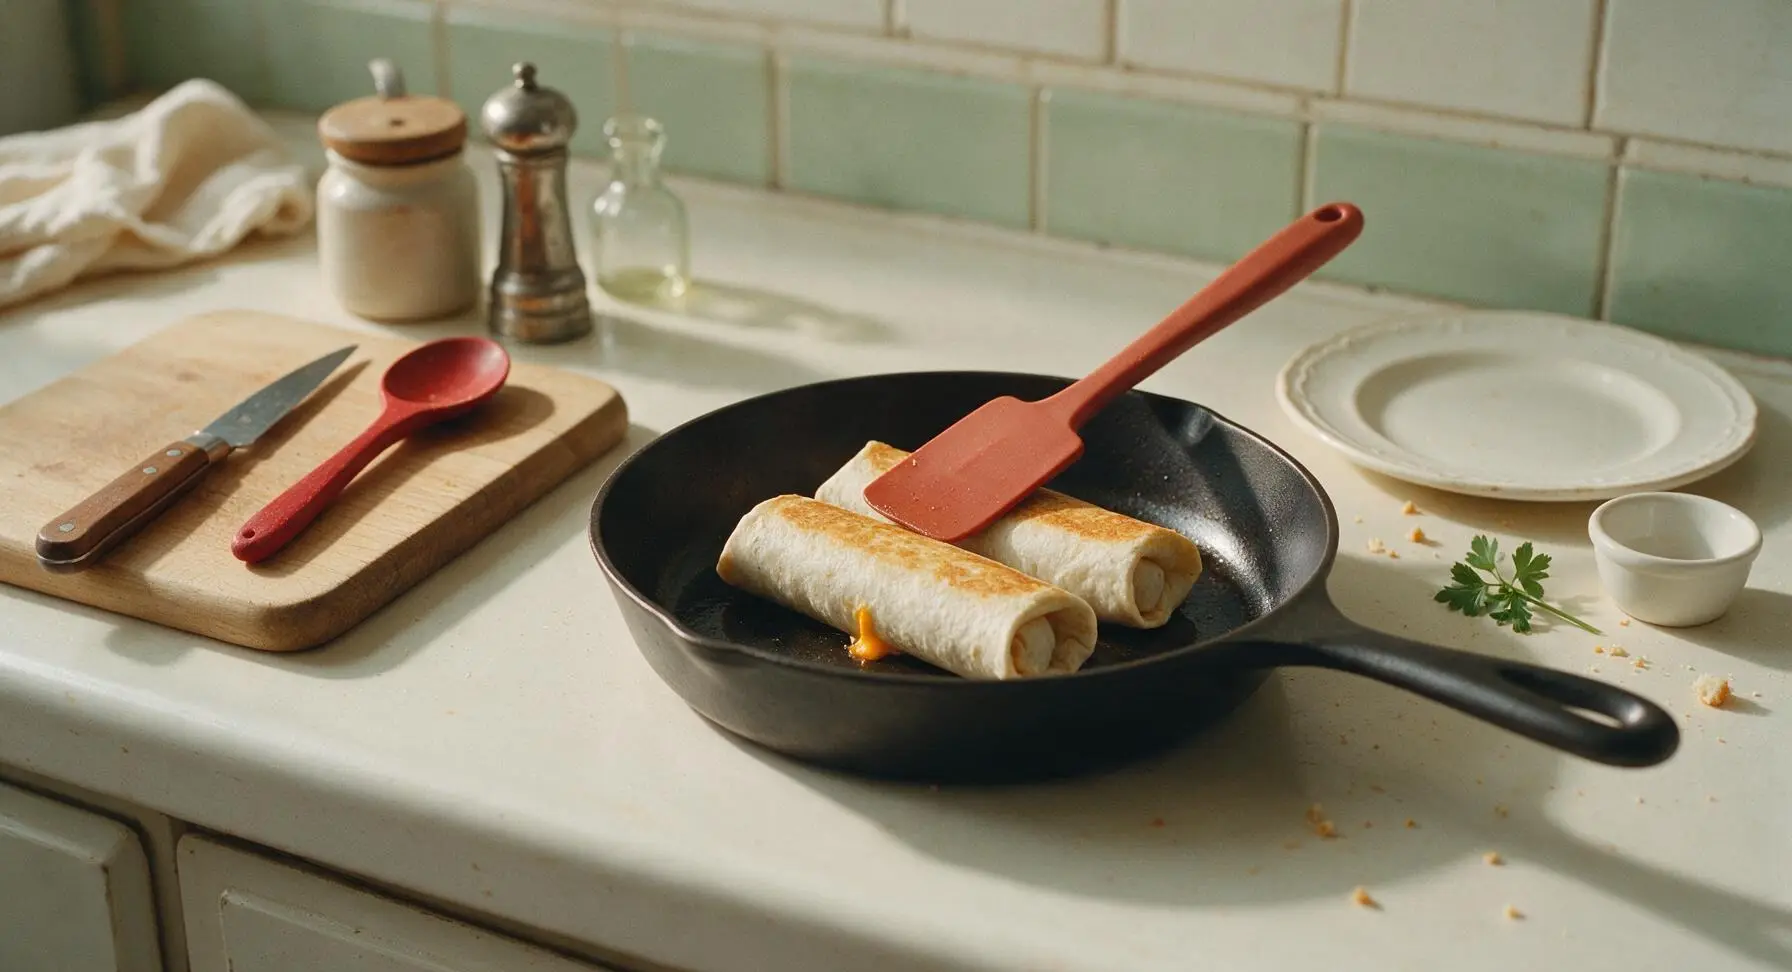
Step 7
step7:Toast Seams Crisp

Tips

1.Grate your own cheese instead of using pre-shredded: Store-bought pre-shredded cheddar is coated in potato starch and anti-caking agents that prevent smooth, stretchy melting; freshly grated cheese melts evenly and creates the iconic gooey texture that defines a great bean and cheese burrito.
2.Don’t overstuff the tortillas: Adding more than the measured amount of filling will cause the tortilla to tear during rolling and leak filling while toasting. The clear 2-inch end borders and 3-inch side borders are critical to creating a tight, sealed burrito that holds together when eaten.
3.Keep tortillas warm while assembling: Cold tortillas are stiff and prone to cracking; keeping them covered with the kitchen towel after warming keeps them soft and pliable, making rolling easy and preventing splits.


✨ You May Also Like

Main Course
🍜 United Kingdom

A showstopping classic of tender seared beef, savory mushroom duxelles, and crisp prosciutto wrapped in flaky golden puff pastry, baked to juicy perfection.

⏱️ 2 hours 1Main Course ★ 4.7
Main Course
🍜 India

Tender charred marinated chicken simmered in a rich, spiced creamy tomato sauce, this iconic Anglo-Indian curry pairs perfectly with basmati rice or warm naan.

⏱️ 50 minuteMain Course ★ 4.6
Main Course
🍜 Thailand

Classic tangy, sweet, and savory Thai stir-fried rice noodles with shrimp, tofu, and crunchy garnishes, balancing all five core Thai flavor profiles.

⏱️ 30 minuteMain Course ★ 4.5
Main Course
🍜 United Kingdom

Crispy golden beer-battered cod and fluffy double-fried chips, served with tangy tartar sauce and malt vinegar: the timeless, beloved British pub comfort classic.

⏱️ 45 minuteMain Course ★ 4.7
Main Course
🍜 Mexico

Smoky, chile-marinated pork tacos with caramelized pineapple, fresh cilantro, and lime: a beloved classic Mexican street food perfect for casual summer gatherings.

⏱️ 1 hour 45Main Course ★ 4.8
Main Course
🍜 United States

Crunchy Fritos corn chips layered with savory beef chili and melted cheddar, topped with cool, zesty fixings for a beloved, cozy Tex-Mex comfort food.

⏱️ 35 minuteMain Course ★ 4.8

best bean and cheese burrito:Frequently Asked Questions

1.Can I use whole wheat tortillas instead of 12-inch all-purpose flour tortillas? ▾
Sure, you can swap in 12-inch whole wheat flour tortillas if you want extra fiber, just warm them for 10 seconds per side on a dry skillet first to make them pliable enough to fold without cracking. Avoid smaller tortillas, as you won’t be able to tuck filling tightly without messy spills mid-bite.
2.Why does the recipe call for low-sodium refried pinto beans instead of regular? ▾
Low-sodium refried beans let you control salt levels as you season them with mild taco seasoning, so your burrito won’t end up overly salty once you add sharp cheddar. If you only have regular refried beans, cut the added taco seasoning by 1/3 and skip any extra salt you might otherwise add.
3.How do I get perfectly melted, stretchy cheddar inside the burrito? ▾
Layer shredded sharp orange cheddar directly on the warm tortilla first, right after you heat it, before adding hot beans and rice. The residual heat from the tortilla and hot fillings will melt the cheese into that ideal gooey, stretchy texture without extra cooking time needed.
4.Can I substitute long-grain white rice with brown rice for this recipe? ▾
Absolutely, you can swap long-grain white rice for cooked long-grain brown rice for a nuttier, higher-fiber option. Just make sure your brown rice is fully cooked and fluffed, not mushy, so it doesn’t make the burrito soggy. Toss it with a pinch of taco seasoning while warm to match the spiced profile.
5.What’s the best way to warm tortillas so they don’t crack when I fold them? ▾
The easiest foolproof method is to heat each 12-inch flour tortilla on a dry cast-iron skillet over medium heat for 10 seconds per side, until soft and flexible. If prepping multiple tortillas, wrap them in a clean kitchen towel as you warm them to trap steam and keep them pliable.
6.How do I fold a burrito so filling doesn’t fall out while I eat it? ▾
Start with fillings centered in the lower third of the warm tortilla, fold the left and right sides in over the filling, then tuck the bottom flap up tightly over the fillings and roll away from you to seal. Don’t overstuff—stick to roughly 1/2 cup total filling per burrito to avoid splits.
7.Can I make these bean and cheese burritos ahead for meal prep? ▾
These burritos freeze beautifully for meal prep! Assemble them fully (skip pan-toasting the outside for prep), wrap each tightly in plastic wrap, and store in a labeled freezer bag for up to 3 months. Reheat in the microwave for 2 minutes, then crisp on a skillet for 1 minute per side for that classic crisp exterior.
8.My refried beans are really thick straight from the can—should I thin them out? ▾
If your low-sodium refried beans are stiff out of the can, stir in 1 to 2 tablespoons of warm water or low-sodium vegetable broth as you heat them with taco seasoning, until they’re a smooth, spreadable consistency. Add liquid a splash at a time—runny beans will make your tortilla soggy.
9.Do I have to use sharp orange cheddar, or can I use a different cheese? ▾
Sharp orange cheddar delivers that classic tangy Tex-Mex flavor and ideal melt, but you can swap in Monterey Jack, pepper Jack for a little heat, or a Mexican cheese blend if that’s what you have. Skip pre-shredded cheese with anti-caking coatings for the smoothest, stretchiest melt.
10.How do I get that crisp tortilla exterior mentioned in the recipe intro? ▾
After you fold your burrito tightly, place it seam-side down on a dry medium-heat skillet for 1 to 2 minutes per side, until the outside is golden and slightly crisp to the touch. You don’t need extra oil—residual flour on the tortilla toasts perfectly without making the burrito greasy.
11.Is mild taco seasoning required, or can I use a spicier blend? ▾
Mild taco seasoning keeps this burrito family-friendly and lets the creamy beans and tangy cheddar shine, but you can absolutely use medium or spicy taco seasoning if you prefer more heat. Stick to mild for kids or spice-averse eaters, and offer hot sauce on the side for custom heat levels.
12.My spiced rice came out mushy—what did I do wrong? ▾
Mushy long-grain white rice usually comes from using too much cooking water, or stirring the rice too much as it cooks. For perfect fluffy rice, use a 2:1 water to rice ratio, simmer covered on low for 15 minutes without lifting the lid, then rest 5 minutes before fluffing and seasoning.
13.Can I add extra fillings like guacamole or sour cream? ▾
You can absolutely add custom fillings, but add cold, wet fillings like sour cream or guacamole right before serving instead of adding them before toasting or reheating. Wet cold fillings added ahead of time will make the tortilla soggy, and heating them can ruin their creamy texture.
14.How long do leftover assembled burritos last in the fridge? ▾
Fully assembled, cooked burritos will keep in an airtight container in the fridge for 3 to 4 days. Reheat them in a 350°F oven for 10 minutes, or in the microwave for 60 to 90 seconds, then finish on a hot skillet for 30 seconds per side to bring back that signature crisp tortilla texture.
15.Why doesn’t my cheese get that stretchy, restaurant-style pull? ▾
Shred your own sharp cheddar from a block instead of using pre-shredded bagged cheese for the stretchiest melt. Pre-shredded cheese is coated in potato starch to prevent clumping, which stops it from melting smoothly. Layer it against the hot tortilla so it melts as you add warm beans and rice.

Comments (3)

3 days ago

OMG these were SO good! I threw these together last minute for Taco Tuesday when I forgot to defrost ground beef, and my whole family went crazy for them. My picky 7 year old asked for seconds before he even finished his first burrito! Total game changer for busy weeknights, especially since it only takes 15 minutes. I added a little pickled jalapeño to mine for a kick, chef’s kiss.

2 days ago

Wait the pickled jalapeño addition sounds chef’s kiss! I’m making these for our neighborhood potluck this weekend, definitely gonna set out a little bowl of them on the side so people can add their own heat. Thanks for the great tip!

2 days ago

Love that pickled jalapeño hack! So glad the recipe worked for your Taco Tuesday crew — quick, flexible meals like this are made for those busy weeknight saves, and adding your favorite toppings makes them totally your own. Hope the potluck is a huge hit!

1 week ago

Super easy recipe, perfect for my Sunday meal prep! I made a big batch, wrapped each burrito individually in foil, and they heated up perfectly for quick work lunches all week. Only reason I’m not giving 5 stars is I wish the recipe had a note about which melting cheese works best — I used pre-shredded mozzarella first and it was kinda bland, switched to shredded Monterey Jack mid-batch and that was way better. Will absolutely make this again for my rotation!

5 days ago

Great call on Monterey Jack, that’s actually our go-to cheese for this recipe! I’ll add a quick note to the recipe card soon about recommended cheeses — pre-shredded pepper jack is also amazing if you want a little extra zing. So glad these worked out for your meal prep lineup!

30 minutes ago

As a broke college student with barely any cooking skills and a tiny dorm kitchenette, this recipe was an absolute lifesaver! I had a can of refried beans, a block of cheap cheddar, and some flour tortillas lying around, and this came together faster than waiting for my usual Uber Eats delivery. Way cheaper and tastier than the sad bean burritos from the campus dining hall, already sent the recipe link to all three of my roommates.



