
chicken deep fryer

title 1
chicken deep fryer
⏱️ cook time 25 minutes (total for 2 batches)
🍽️ servings 4
⚡ Difficulty medium

intro

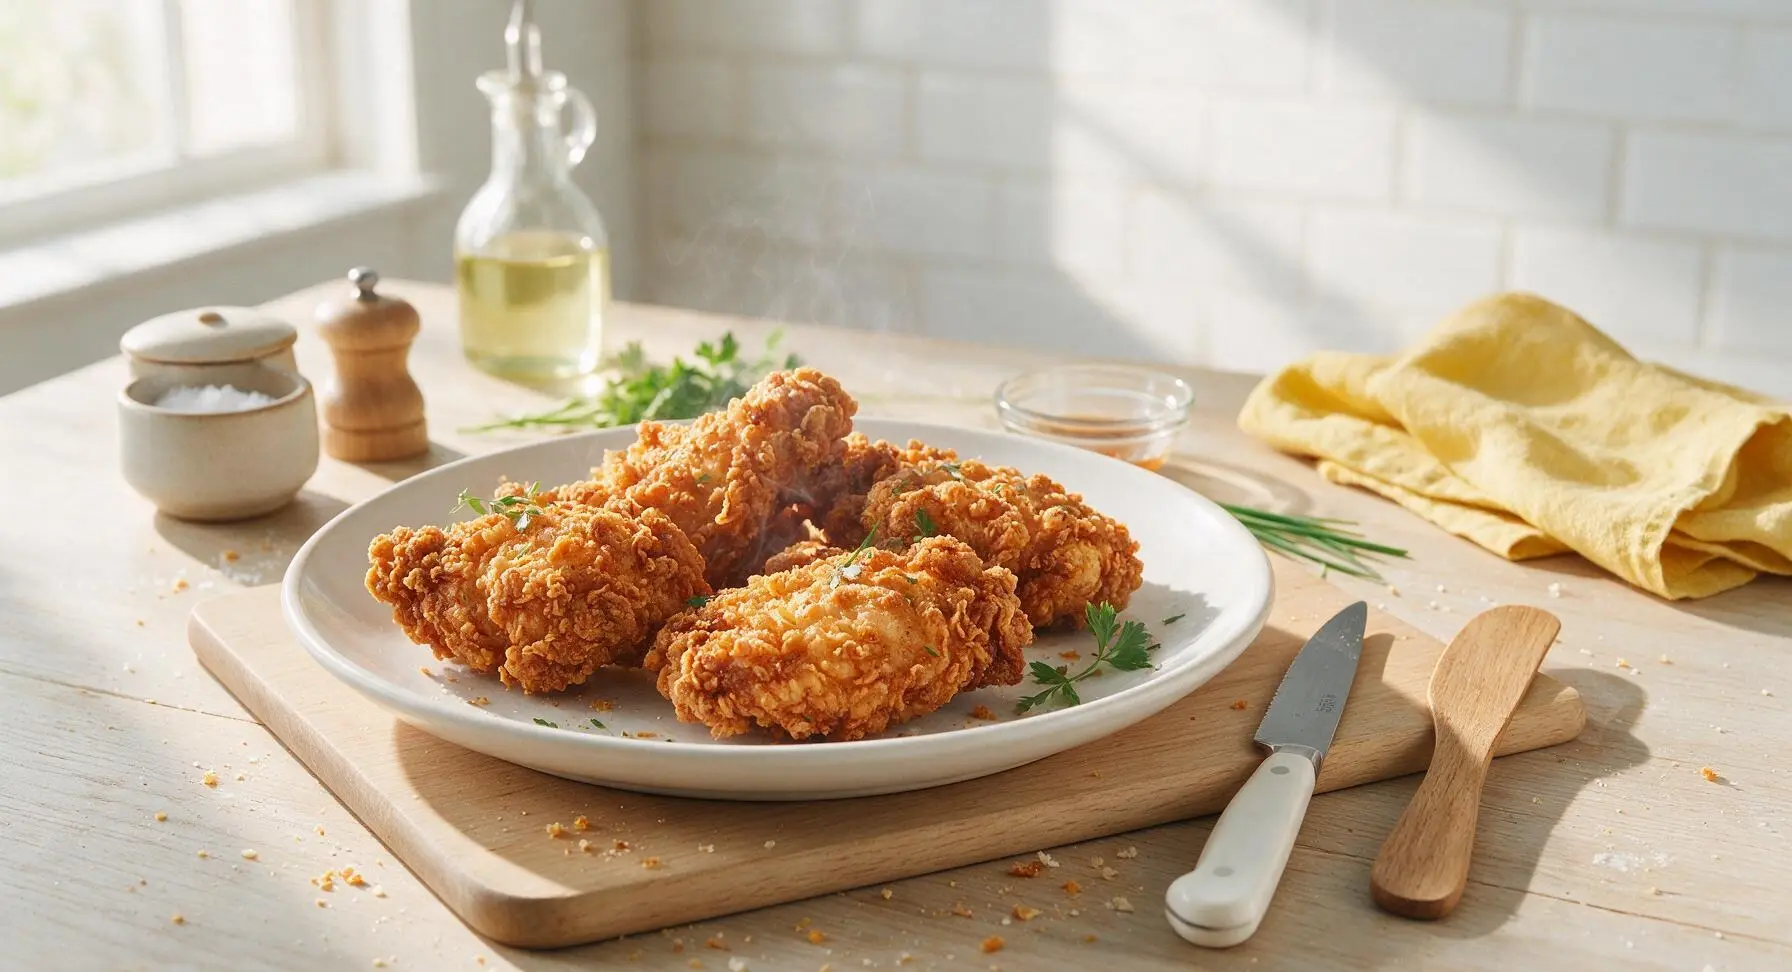
Shatteringly crisp, juicy Southern-style fried chicken, brined in tangy buttermilk, coated in spiced flour, and deep-fried to golden perfection for no-fuss, crowd-pleasing crunch.

Ingredients
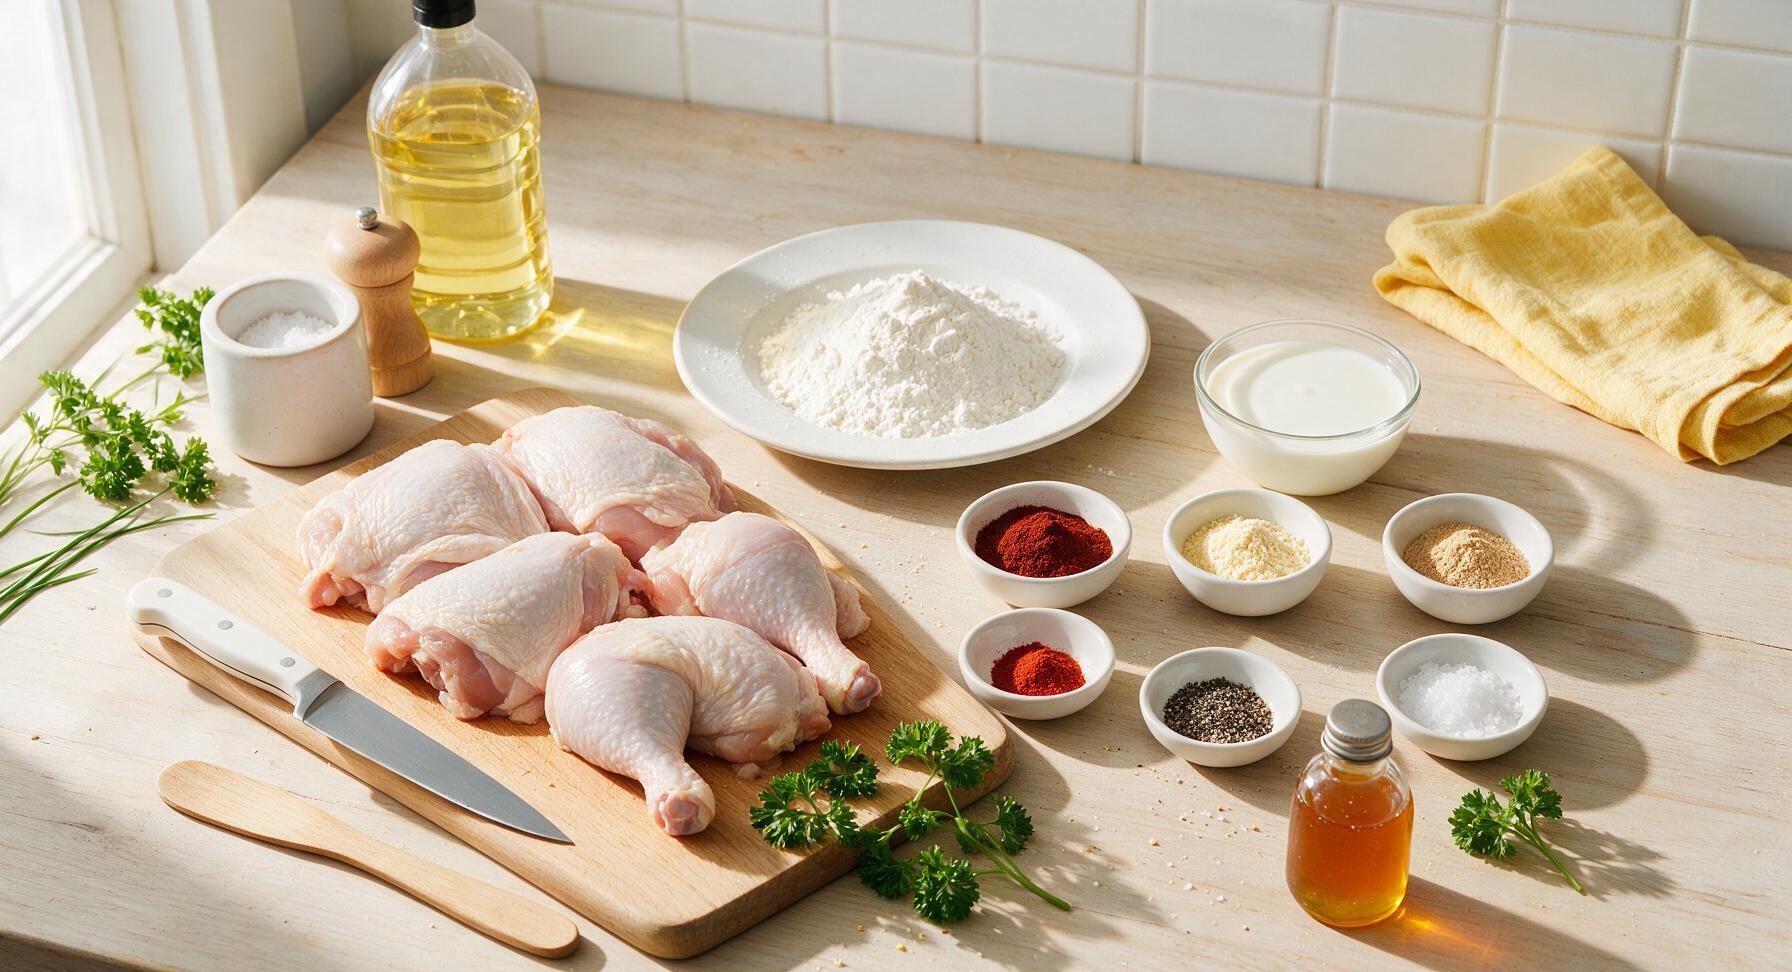
Bone-in, skin-on chicken pieces (mix of thighs, drumsticks, split breasts) 1.2kg
Full-fat buttermilk 500ml
All-purpose flour 300g
Smoked paprika 2 tbsp
Garlic powder 1 tbsp
Onion powder 1 tbsp
Cayenne pepper 1 tsp
Freshly ground black pepper 2 tsp
Kosher salt 1 tbsp
Flaky sea salt 1 tsp
Canola oil (for frying) 2L
Hot honey (for serving) 60ml
Fresh curly parsley (for garnish) 5 sprigs

Steps

1

Brine Chicken in Buttermilk

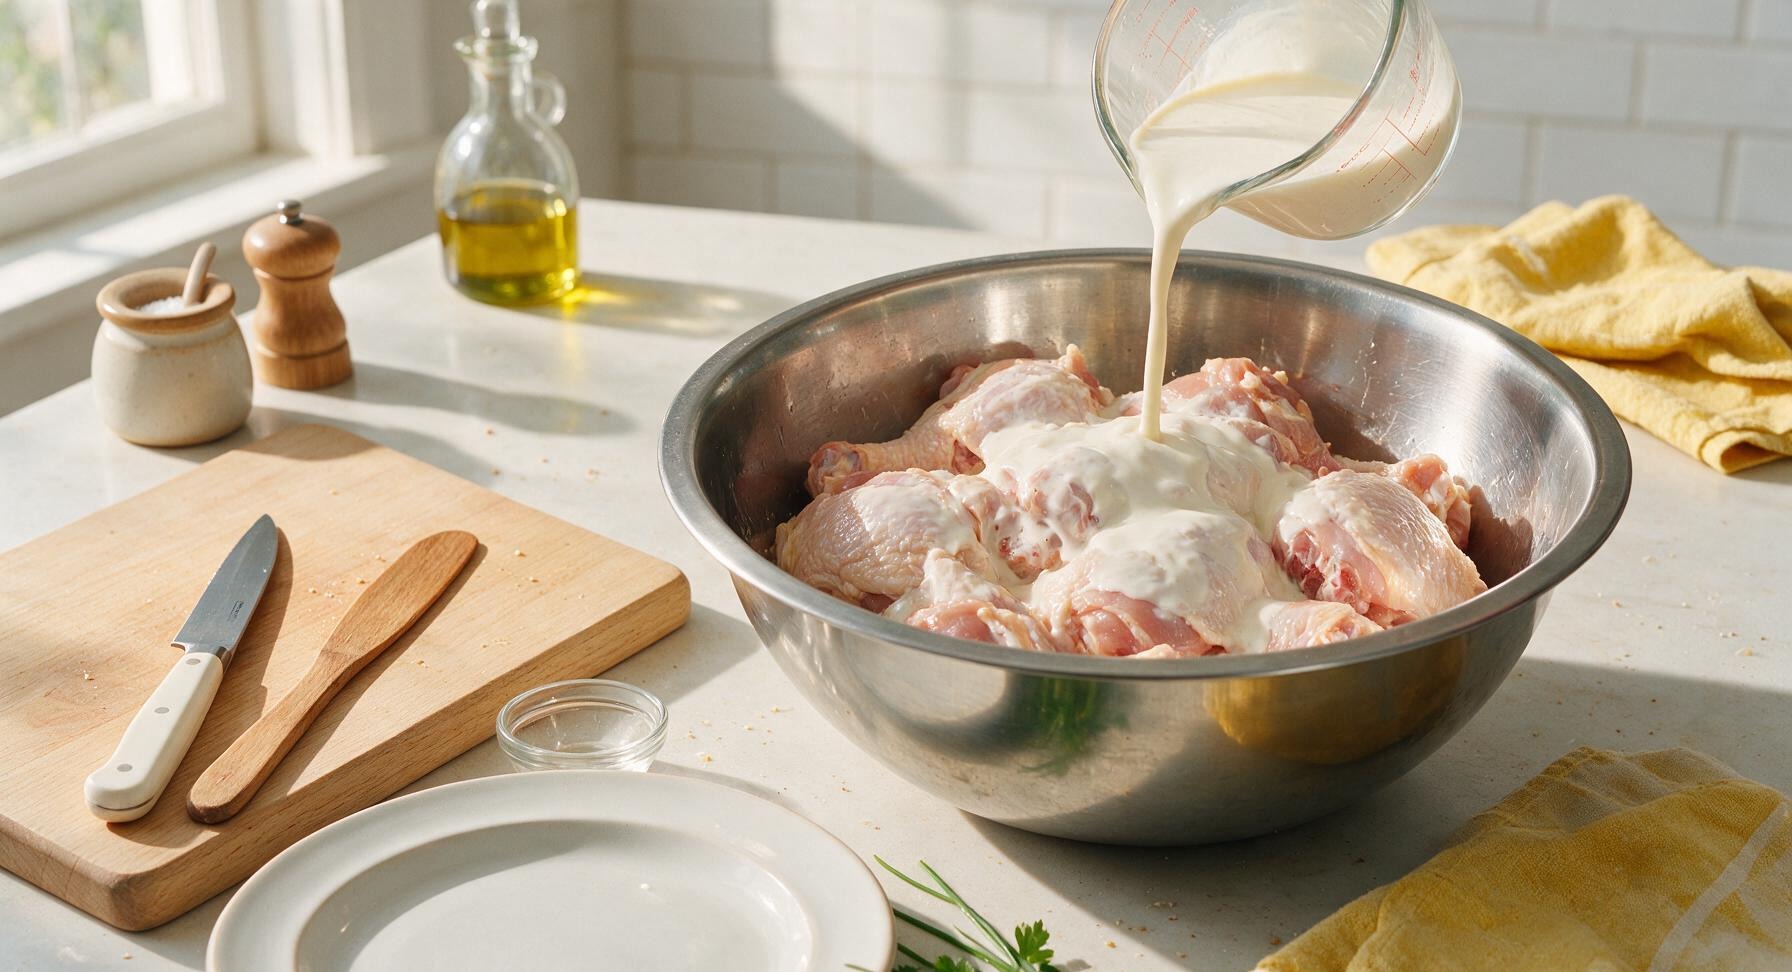
Pat 1.2kg bone-in, skin-on chicken pieces dry with paper towels, then place into the large 24cm stainless steel mixing bowl. Pour 500ml full-fat buttermilk over the chicken, stir in 1 tsp kosher salt, and turn pieces to coat fully. The thick buttermilk should cling to every patch of skin. Cover the bowl and refrigerate for 4–12 hours to tenderize the meat before cooking.
Step 1
step1:Brine Chicken in Buttermilk
2

Preheat Deep Fryer

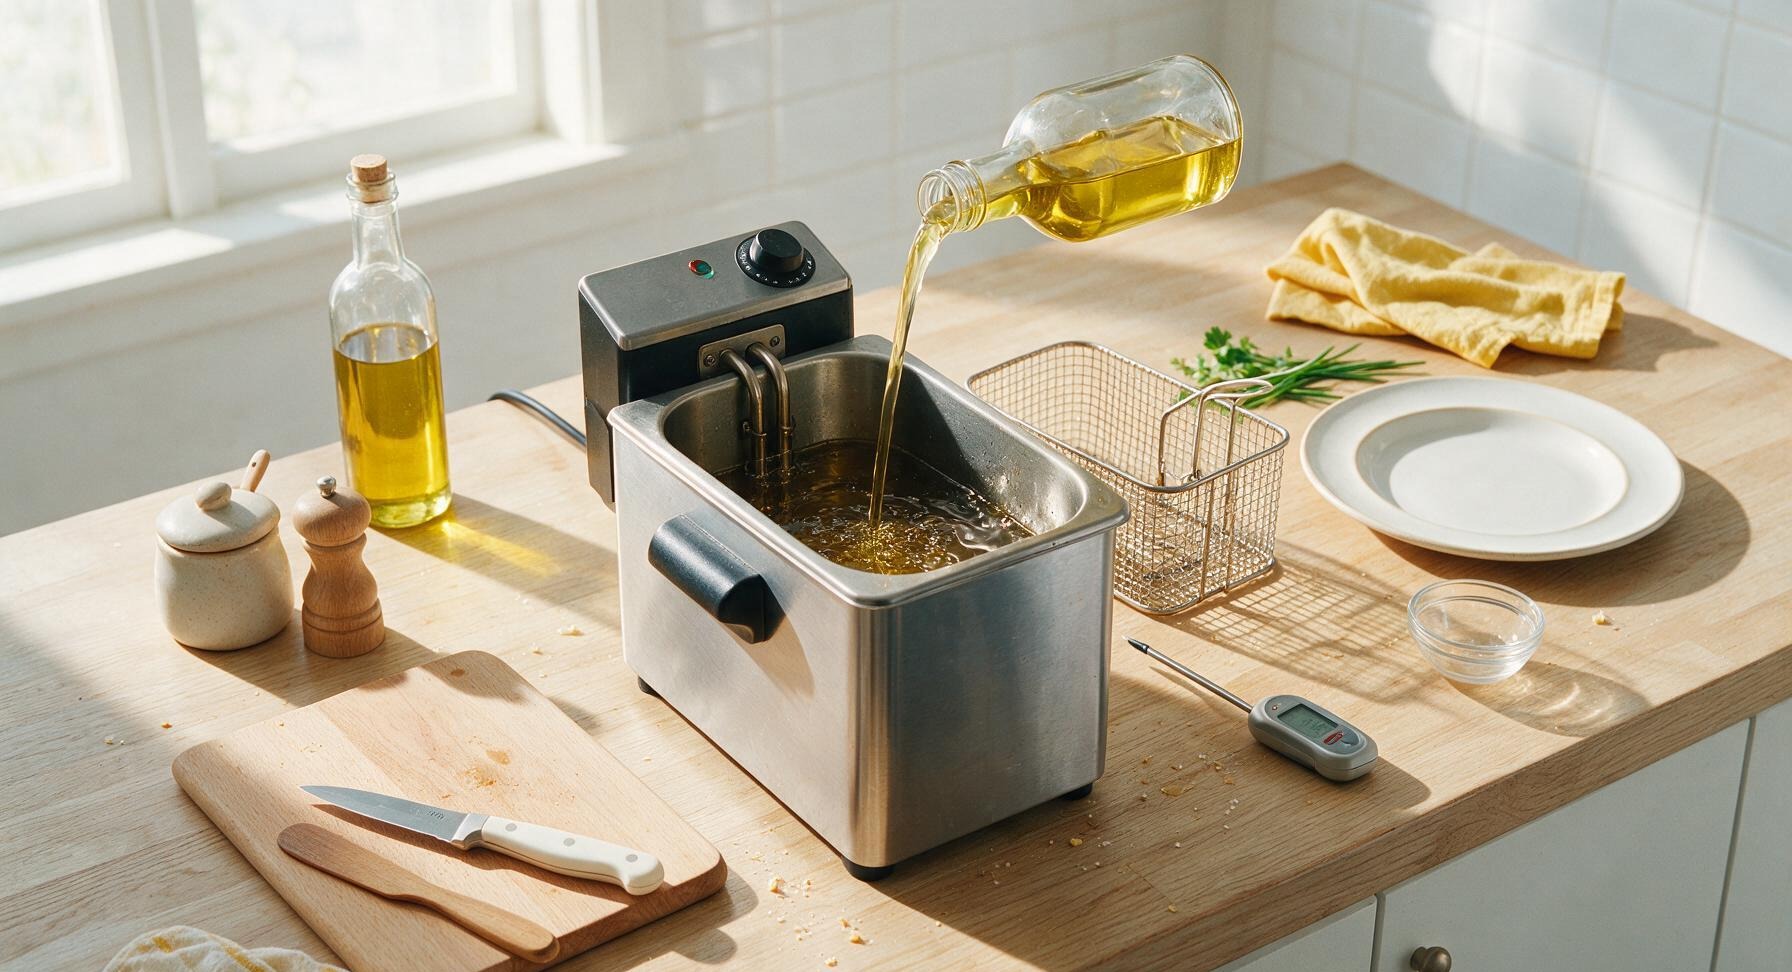
After the chicken finishes brining, pour 2L canola oil into the 4L electric deep fryer, close the lid, and set the temperature dial to 175°C (350°F). Allow the oil to preheat fully for 10–12 minutes; wait for the fryer’s ready indicator light to turn on before adding food, as too-cool oil will produce soggy, greasy chicken.
Step 2
step2:Preheat Deep Fryer
3

Mix Seasoned Flour

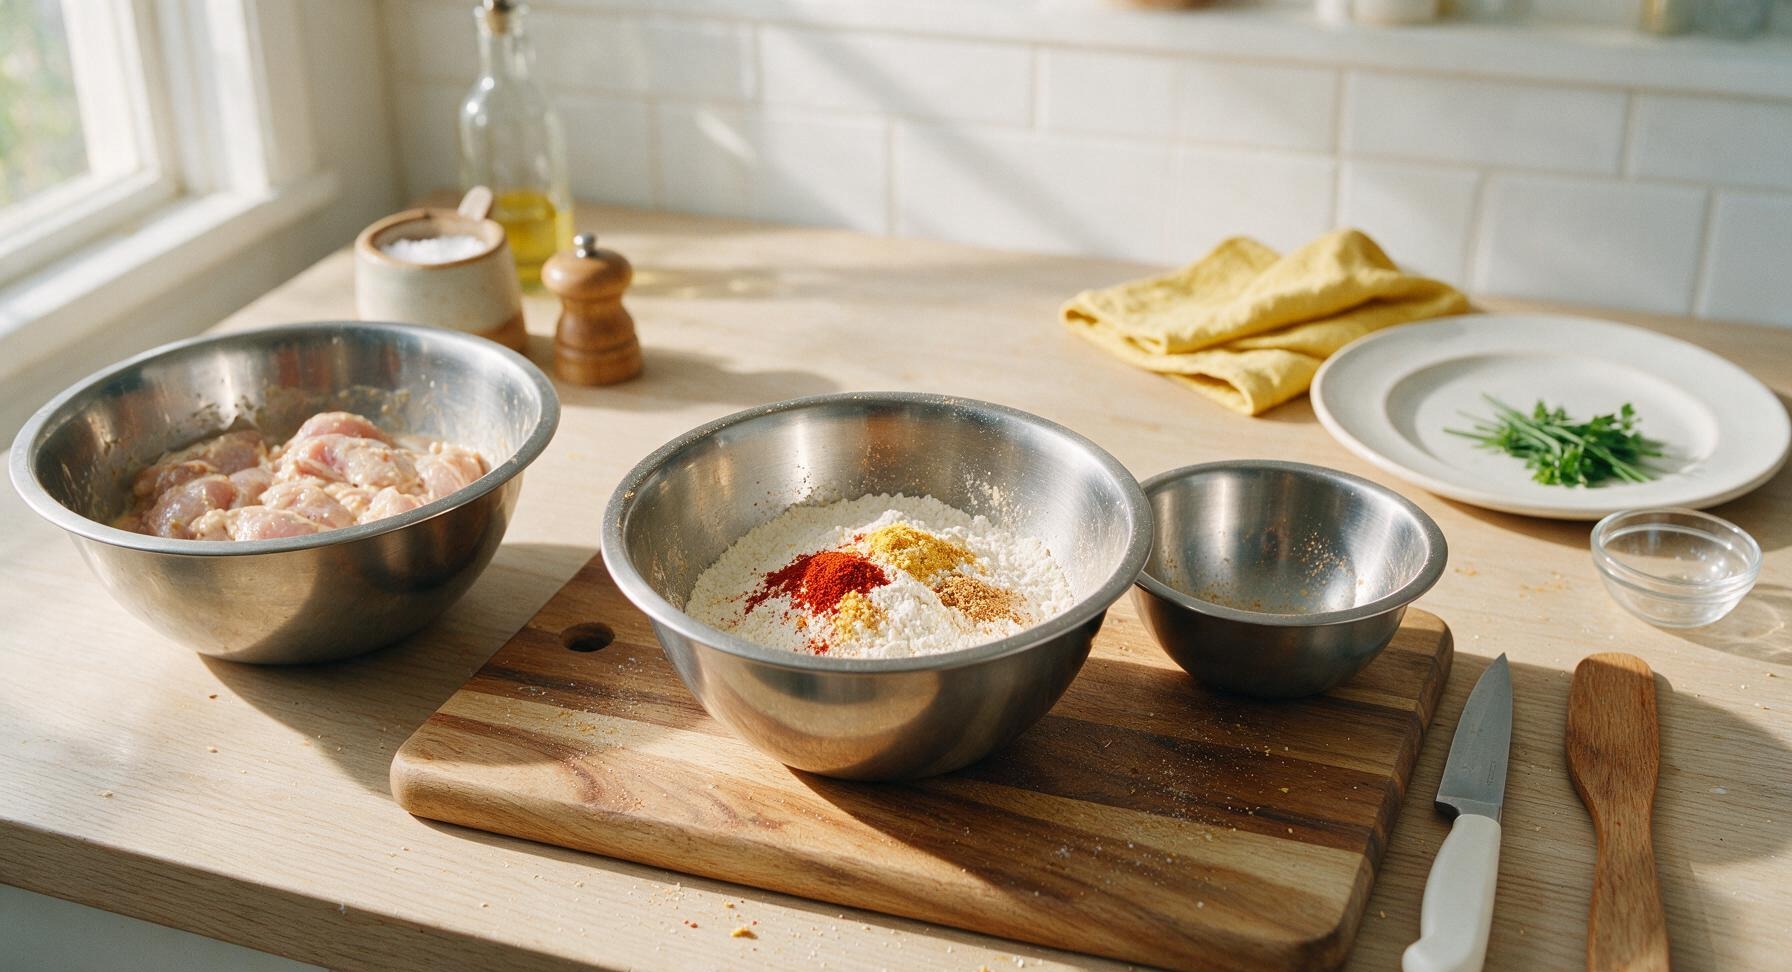
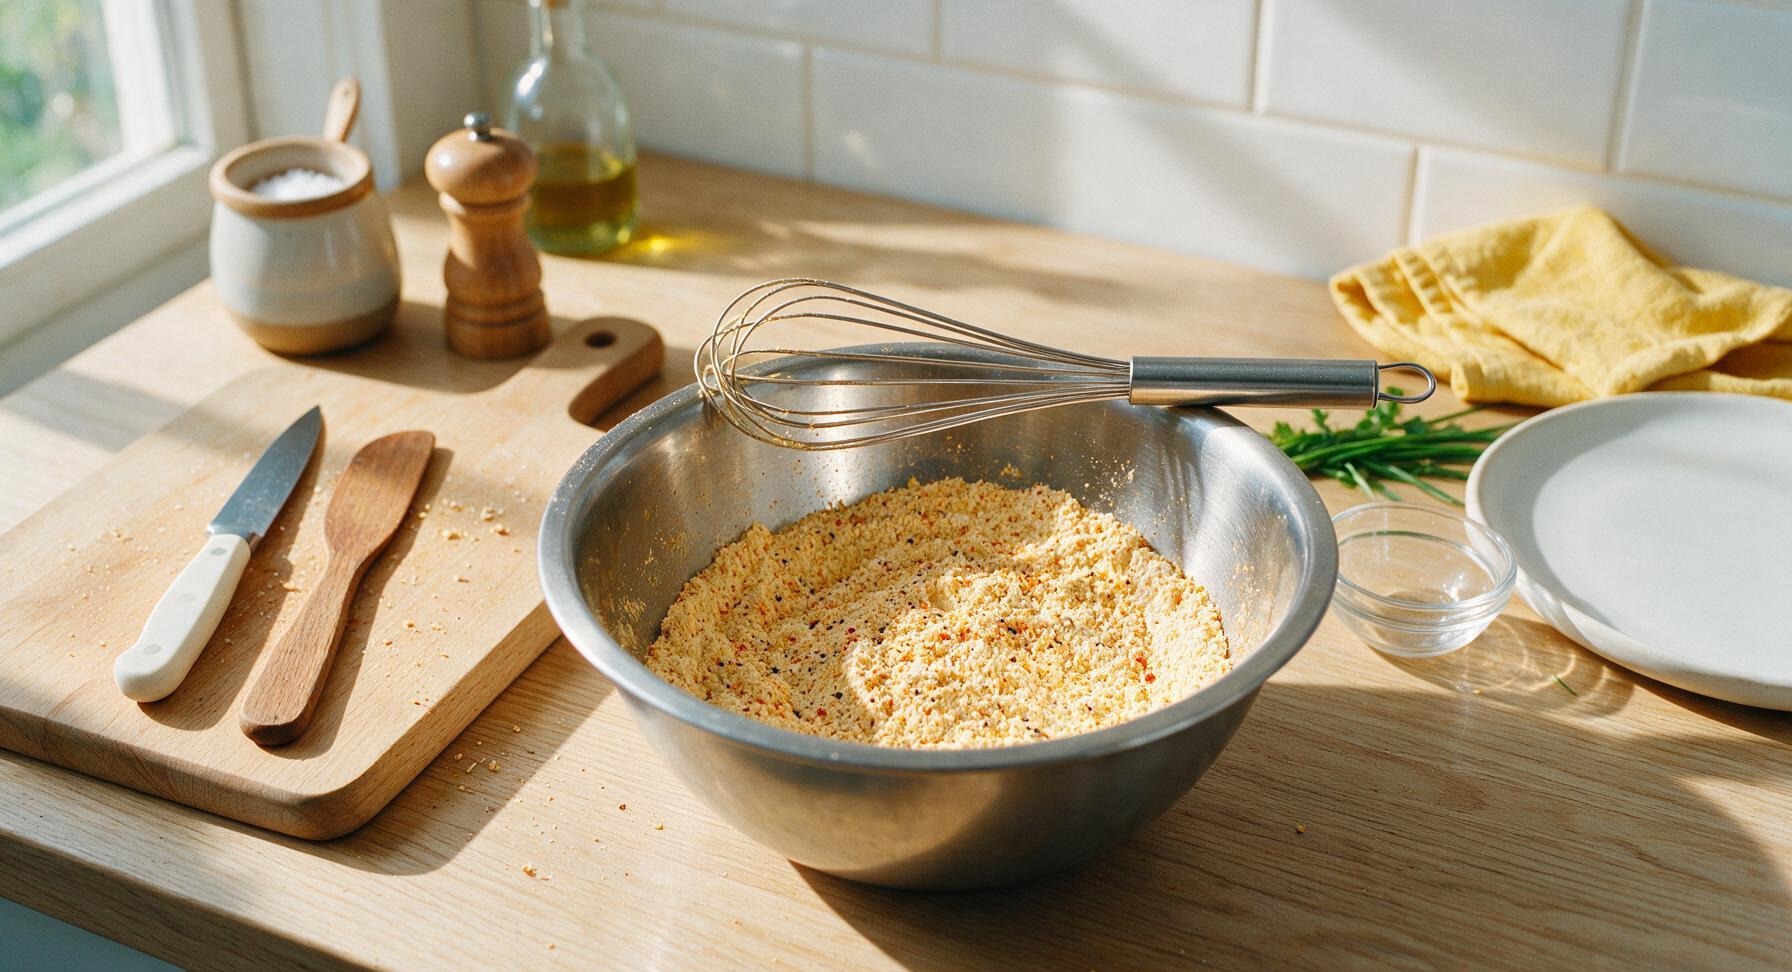
In the medium 20cm stainless steel mixing bowl, combine 300g all-purpose flour, 2 tbsp smoked paprika, 1 tbsp garlic powder, 1 tbsp onion powder, 1 tsp cayenne pepper, 2 tsp freshly ground black pepper, and the remaining 2 tsp kosher salt. Whisk thoroughly for 30 seconds to evenly distribute all spices, so no concentrated clumps of spice remain in the flour.
Step 3
step3:Mix Seasoned Flour
Step 3
step3:Mix Seasoned Flour
4

Coat Chicken Evenly

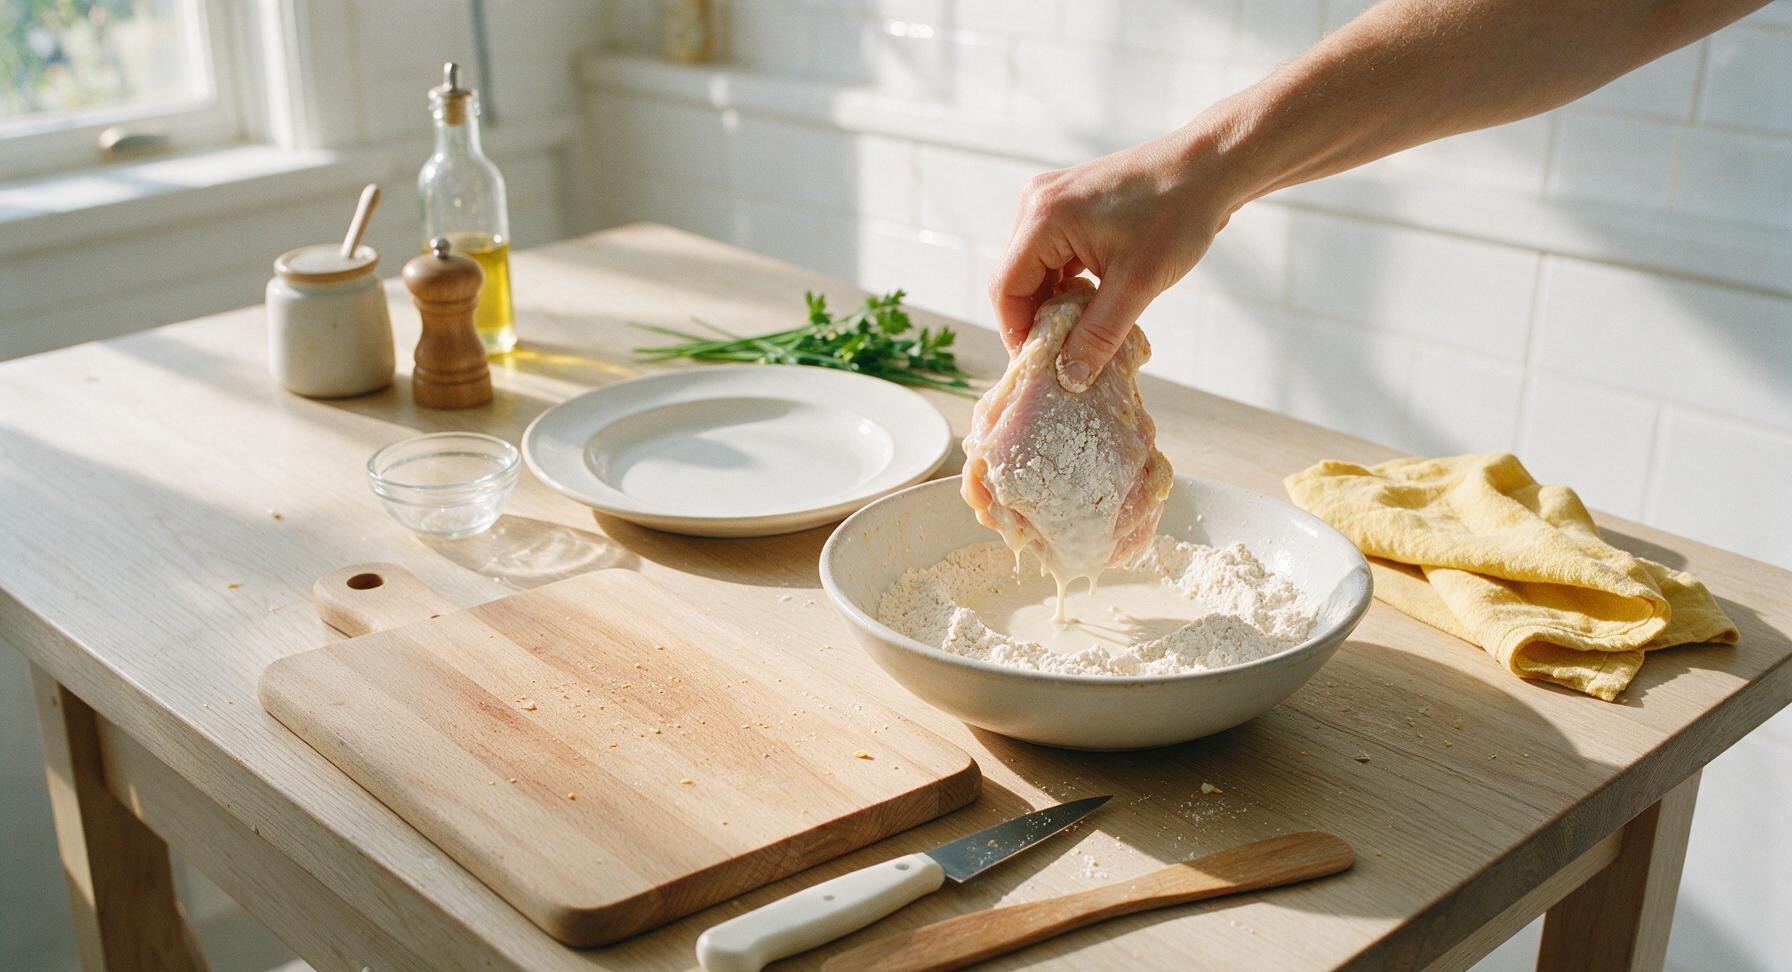
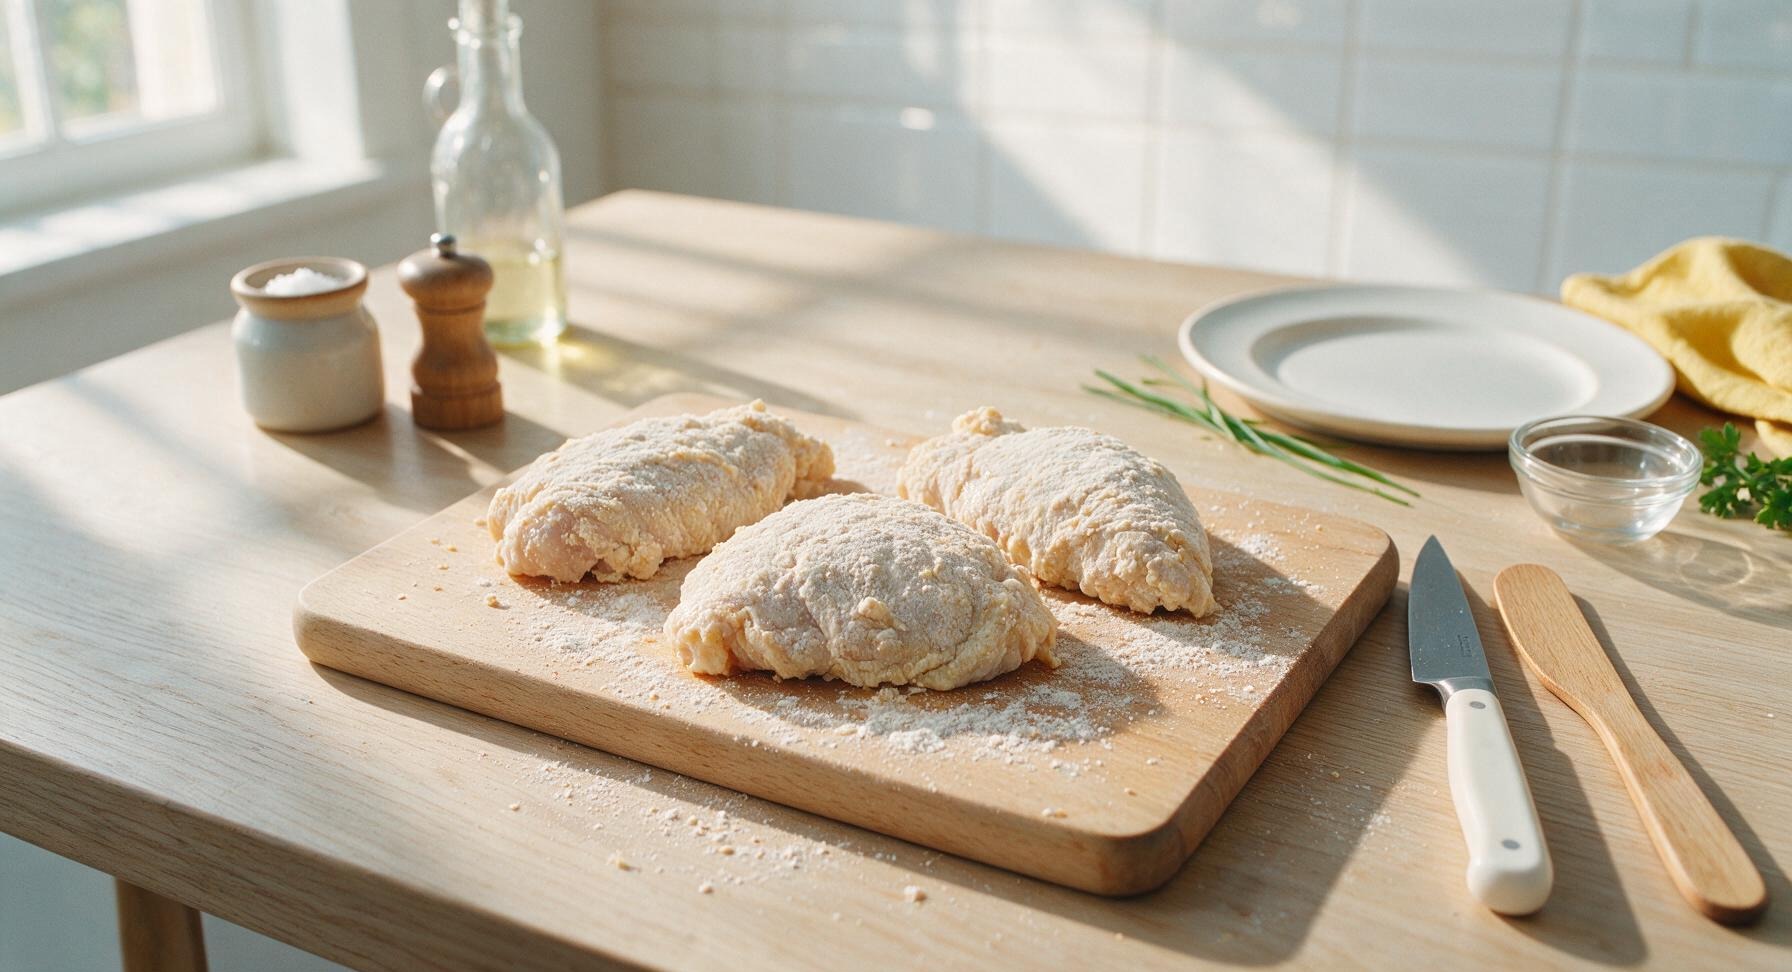
Remove one piece of buttermilk-soaked chicken from the brine at a time, letting excess buttermilk drip off for 2 seconds. Drop the piece into the seasoned flour, press firmly to coat every surface (including under skin folds and around bone edges), then lift and shake off loose excess flour. Place coated pieces on a clean section of the acacia cutting board, and let rest for 10 minutes to allow the coating to set—this prevents breading from sliding off during frying.
Step 4
step4:Coat Chicken Evenly
Step 4
step4:Coat Chicken Evenly
5

Fry Chicken in Batches

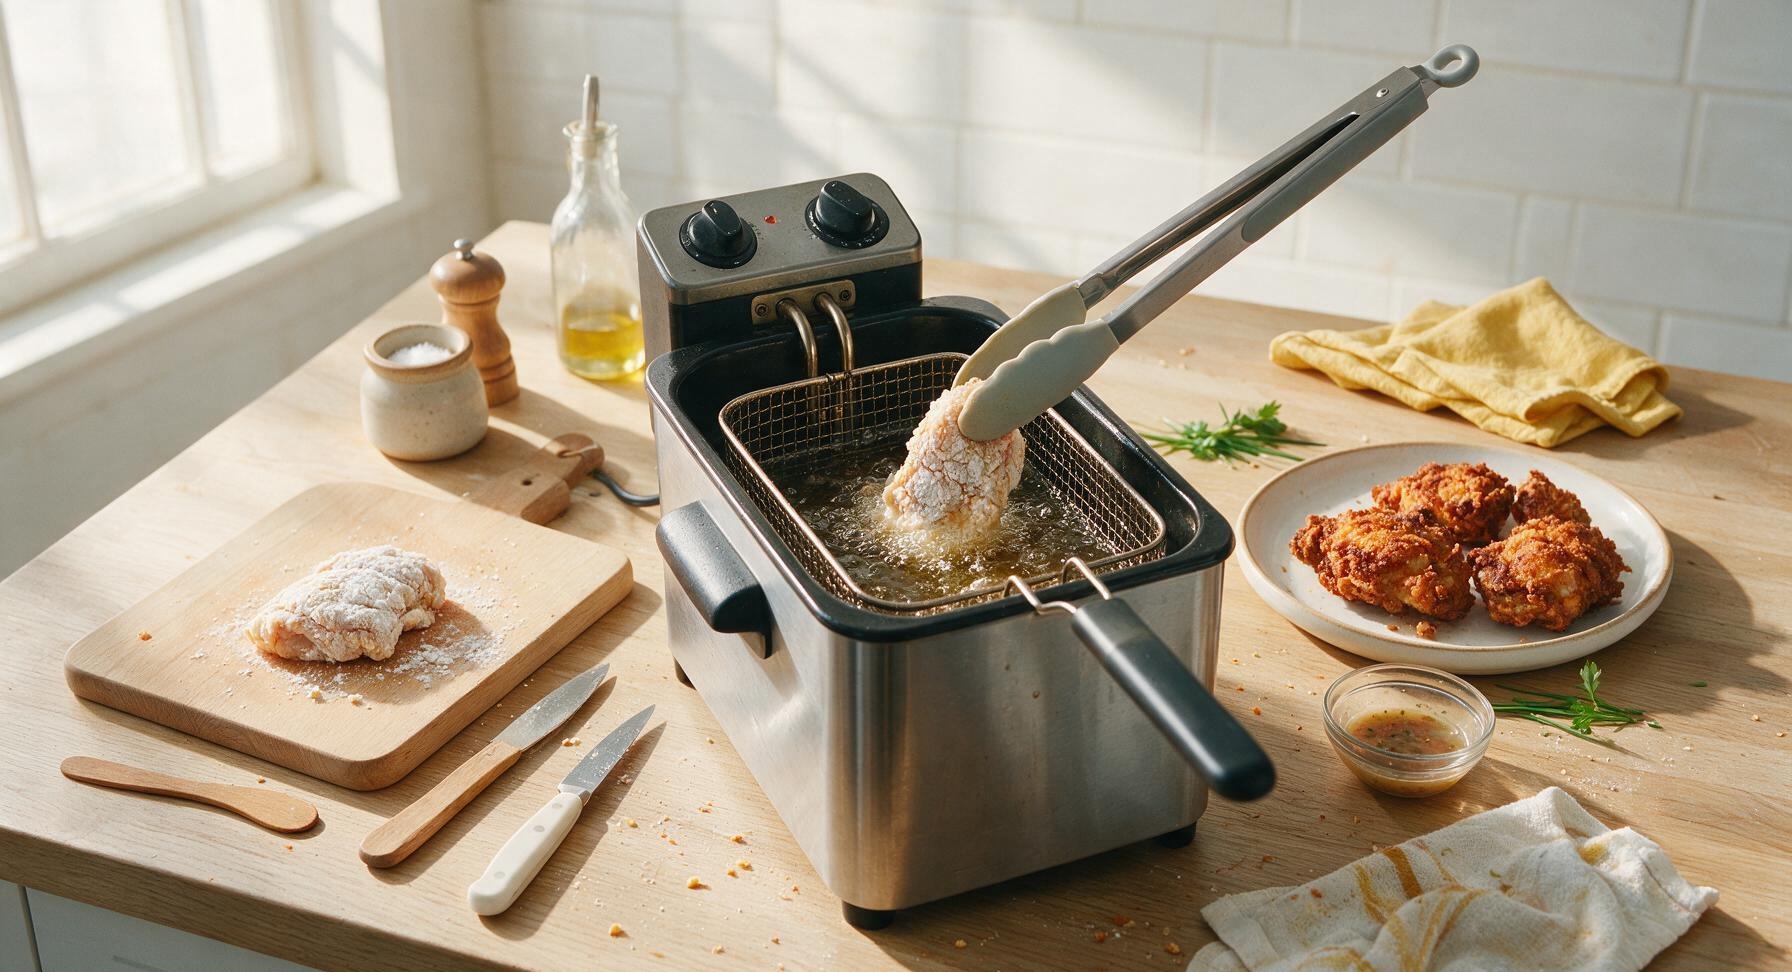
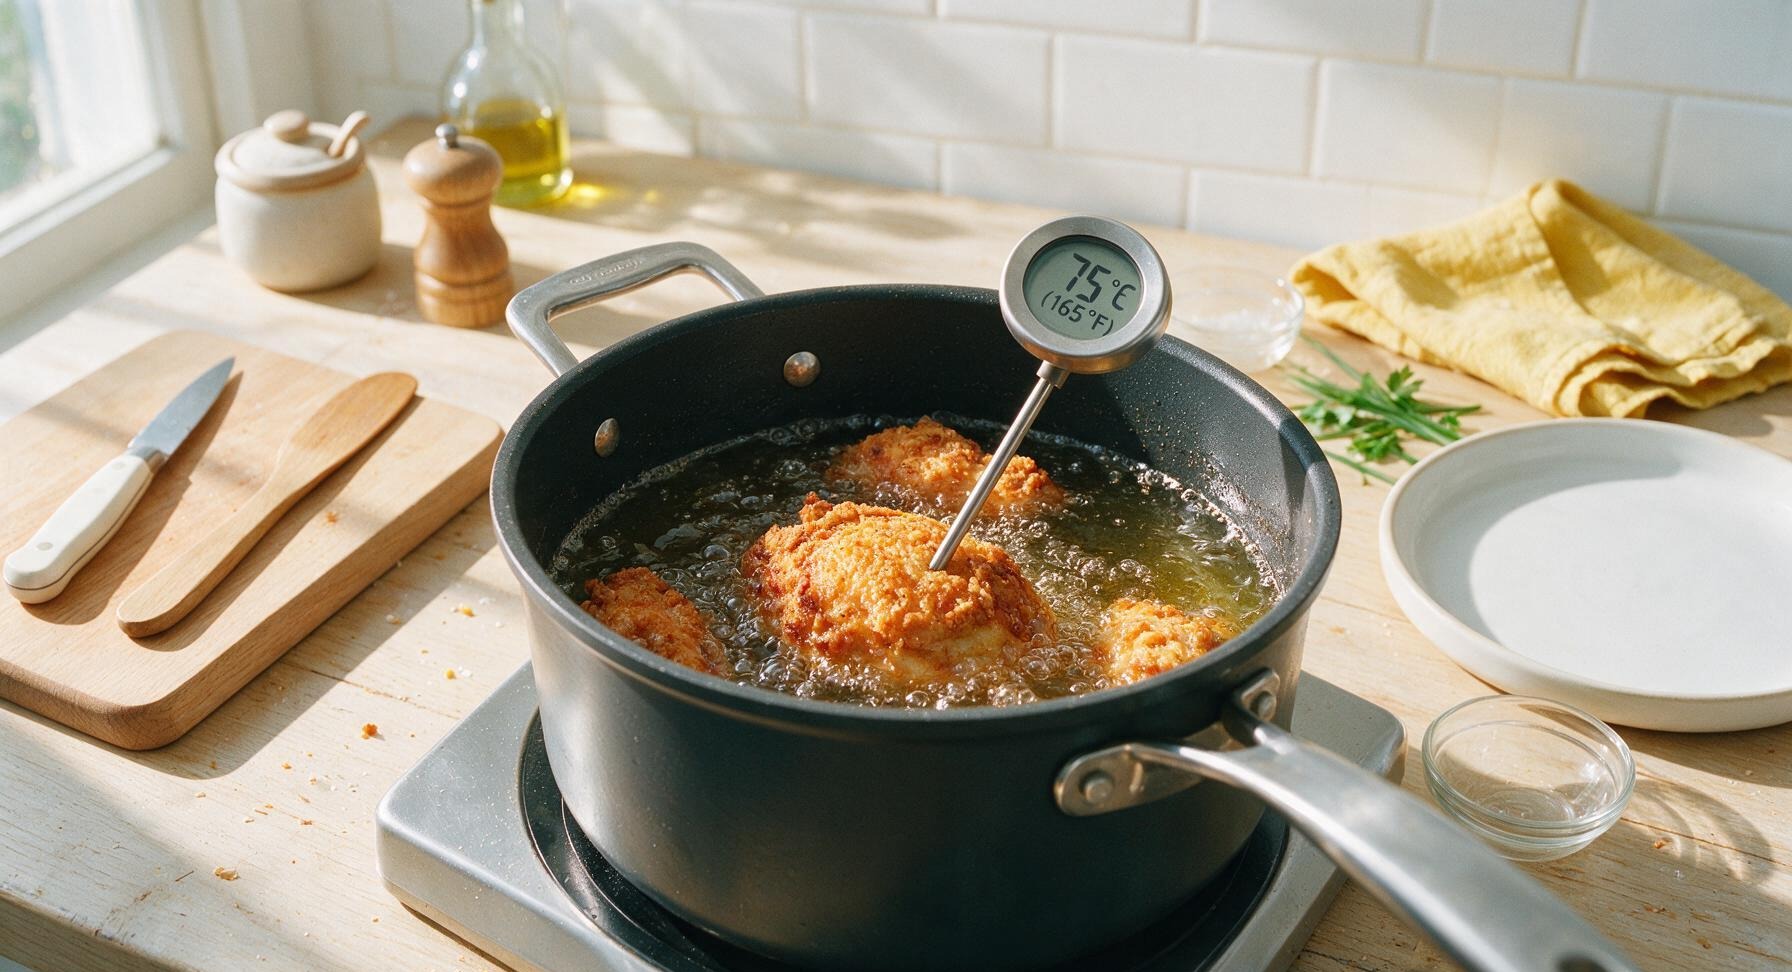
Once the oil reaches 175°C (350°F), use the silicone-tipped tongs to lower 2–3 chicken pieces into the deep fryer basket—do not overcrowd the basket, as this drops oil temperature and causes soggy crust. Close the fryer lid and cook 12–15 minutes per batch: drumsticks and thighs take 14–15 minutes, breast pieces take 12–13 minutes. Cook until the crust is deep golden brown, and the internal temperature at the thickest part (not touching bone) reads 75°C (165°F) on the instant-read thermometer.
Step 5
step5:Fry Chicken in Batches
Step 5
step5:Fry Chicken in Batches
6

Drain and Season Chicken

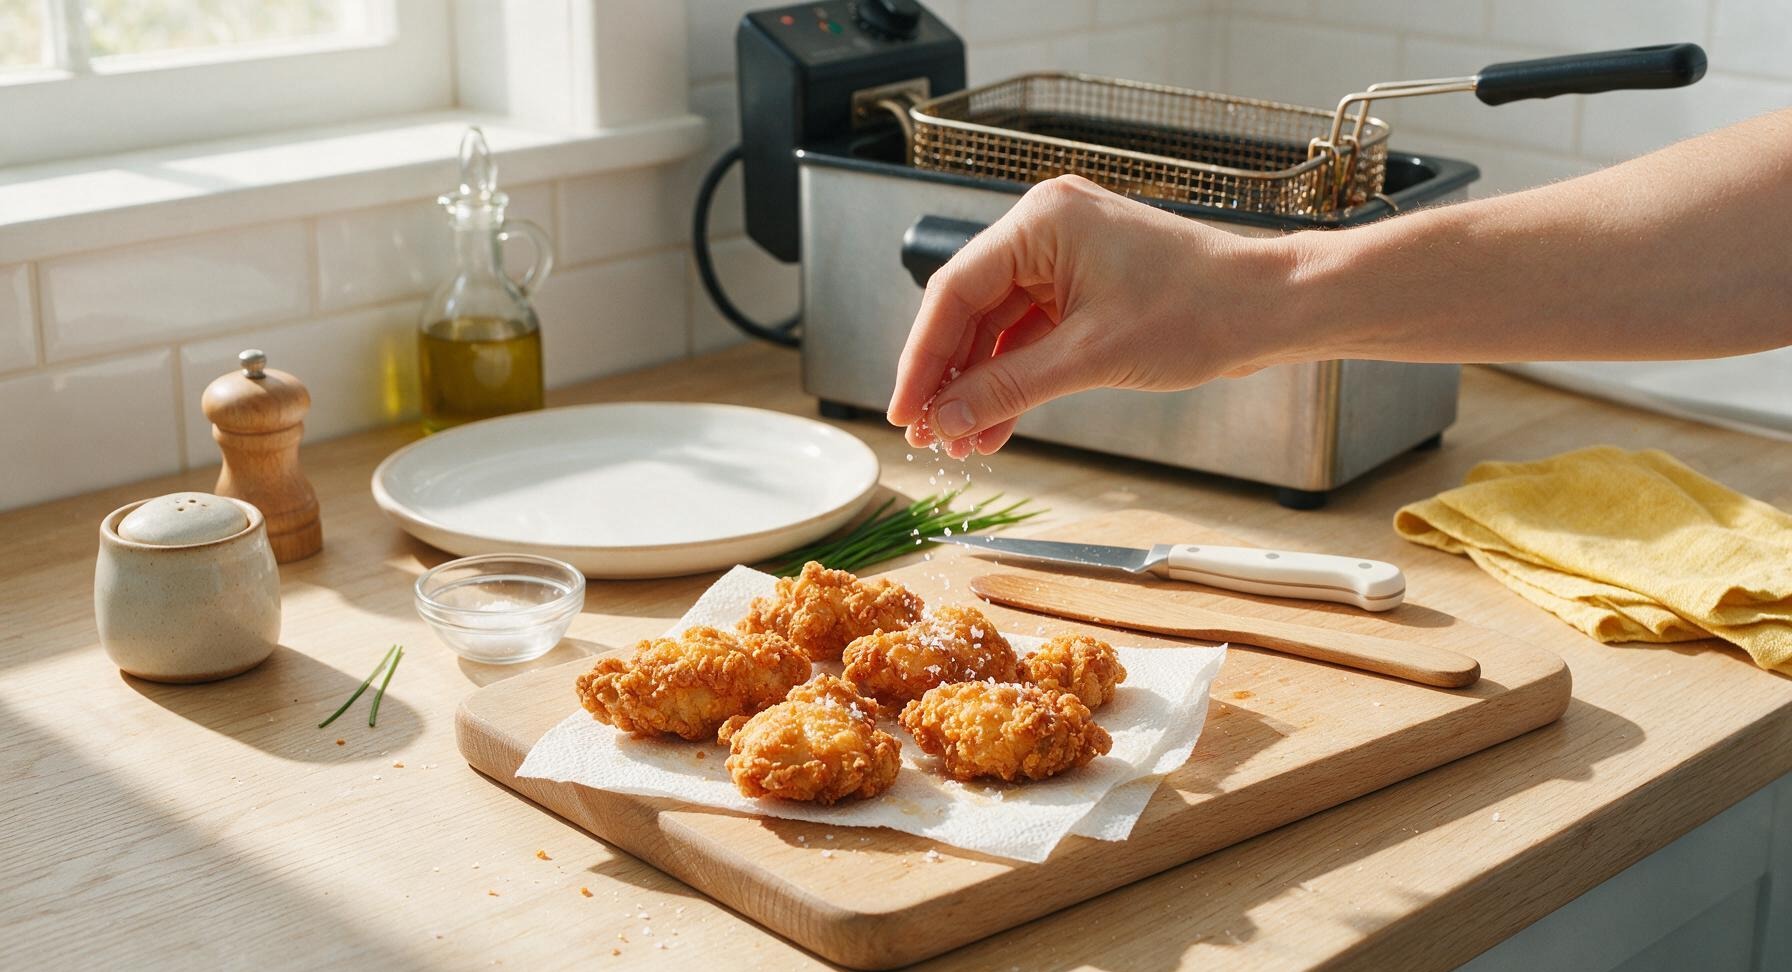
Once chicken reaches the correct internal temperature, lift the fry basket and hook it to the fryer edge to let excess oil drain off for 30 seconds. Transfer cooked pieces to a paper towel-lined section of the acacia cutting board, and immediately sprinkle lightly with flaky sea salt so the salt adheres to the hot crust. Let chicken rest 5 minutes to allow juices to redistribute before plating.
Step 6
step6:Drain and Season Chicken
7

Plate and Garnish

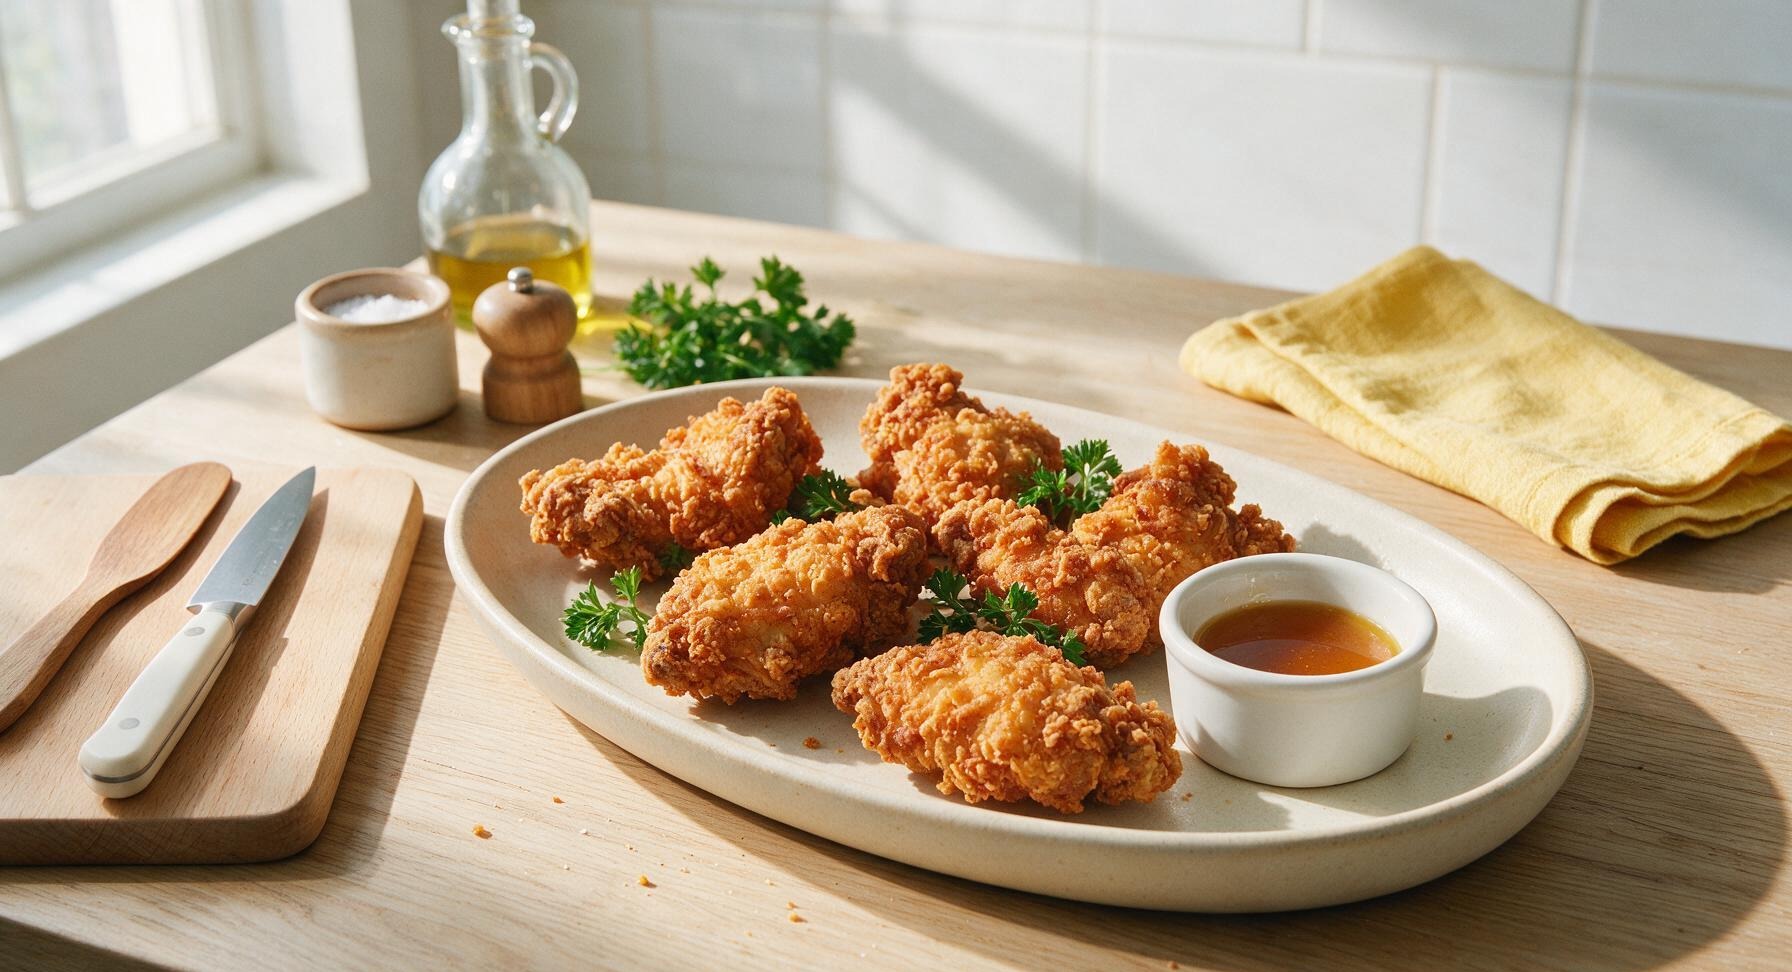
Arrange the drained, rested fried chicken pieces loosely on the matte cream stoneware oval platter. Tuck fresh curly parsley sprigs between the chicken pieces for a bright garnish, and pour 60ml hot honey into the small 8cm white ceramic ramekin to set beside the platter for dipping.
Step 7
step7:Plate and Garnish

Tips

1.Let flour-coated chicken rest for 10 minutes before frying: this resting period lets the buttermilk and flour hydrate and form a tight, adhesive layer that won’t slide off the chicken or separate in hot oil, creating the signature shaggy, extra-crisp crust instead of a thin, smooth coating that falls off when you take a bite.
2.Never overcrowd the deep fryer basket: adding more than 2–3 pieces at once drops the oil temperature below 350°F, which makes the chicken absorb excess oil (leading to greasy, soggy crust) and causes uneven cooking. Cook in small batches for the crunchiest, most evenly cooked results.
3.Season fried chicken with flaky salt immediately after pulling it from the oil: the residual heat on the crust melts the salt slightly, helping it stick evenly instead of sliding off onto the plate, and amplifies the savoriness of the spiced coating. Waiting until the chicken cools will result in salt that bounces off the crisp surface.


✨ You May Also Like

Main Course
🍜 United Kingdom

A showstopping classic of tender seared beef, savory mushroom duxelles, and crisp prosciutto wrapped in flaky golden puff pastry, baked to juicy perfection.

⏱️ 2 hours 1Main Course ★ 4.7
Main Course
🍜 India

Tender charred marinated chicken simmered in a rich, spiced creamy tomato sauce, this iconic Anglo-Indian curry pairs perfectly with basmati rice or warm naan.

⏱️ 50 minuteMain Course ★ 4.6
Main Course
🍜 Thailand

Classic tangy, sweet, and savory Thai stir-fried rice noodles with shrimp, tofu, and crunchy garnishes, balancing all five core Thai flavor profiles.

⏱️ 30 minuteMain Course ★ 4.5
Main Course
🍜 United Kingdom

Crispy golden beer-battered cod and fluffy double-fried chips, served with tangy tartar sauce and malt vinegar: the timeless, beloved British pub comfort classic.

⏱️ 45 minuteMain Course ★ 4.7
Main Course
🍜 Mexico

Smoky, chile-marinated pork tacos with caramelized pineapple, fresh cilantro, and lime: a beloved classic Mexican street food perfect for casual summer gatherings.

⏱️ 1 hour 45Main Course ★ 4.8
Main Course
🍜 United States

Crunchy Fritos corn chips layered with savory beef chili and melted cheddar, topped with cool, zesty fixings for a beloved, cozy Tex-Mex comfort food.

⏱️ 35 minuteMain Course ★ 4.8

chicken deep fryer:Frequently Asked Questions

1.How long should I brine chicken in buttermilk for the juiciest results? ▾
For the juiciest, most tangy results, brine your bone-in, skin-on chicken pieces (thighs, drumsticks, split breasts) in full-fat buttermilk for a minimum of 4 hours, and up to 24 hours covered in the fridge. Don’t brine longer than 24 hours, as buttermilk’s lactic acid can break down muscle fibers too much, leading to mushy rather than tender bites.
2.Can I use low-fat or non-fat buttermilk if that’s all I have on hand? ▾
I strongly recommend sticking to full-fat buttermilk for the best brine, as the extra fat locks in moisture and adds rich, classic tang. If you only have low-fat, stir 2 tablespoons of full-fat sour cream per cup of low-fat buttermilk to mimic the right fat content. Skip non-fat entirely, as it won’t tenderize properly or add enough depth.
3.What temperature should I set my deep fryer to for perfect, evenly cooked chicken? ▾
Set your deep fryer to a steady 350°F for this recipe. If the oil is too hot, the outer spiced flour coating will burn before the chicken cooks through to the safe 165°F internal temp; too low, and the coating will soak up excess oil, turning soggy and greasy instead of shatteringly crisp.
4.Do I need to let the coated chicken rest before putting it in the fryer? ▾
Yes! Let your flour-coated chicken pieces rest on a wire rack for 15 to 20 minutes before frying. This gives the all-purpose flour time to hydrate and adhere tightly to the buttermilk coating, so your crust won’t slide off mid-fry, and you’ll get a more even, consistent crunch across every piece.
5.Can I use boneless, skinless chicken instead of the called-for bone-in, skin-on cuts? ▾
You can, but you’ll need to adjust fry time significantly—boneless cuts cook 30 to 40% faster than bone-in, so watch closely to avoid dry, overcooked meat. Keep in mind you’ll lose a lot of that classic deep flavor and natural moisture lock from the skin and bone, so bone-in, skin-on is always my top pick.
6.How do I make sure the spiced flour coating is evenly seasoned? ▾
Whisk your smoked paprika, garlic powder, salt, black pepper, and any extra add-ins (like a pinch of cayenne) into the all-purpose flour really thoroughly before dredging. Give it a quick taste with a clean fingertip—it should be well-seasoned on its own, since that’s where most of the crust’s bold flavor comes from.
7.Why does my fried chicken crust turn out soggy instead of crispy? ▾
Soggy crust usually traces back to one of three common mistakes: your fryer oil was too cold, you overcrowded the fryer basket (which drops oil temperature rapidly), or you skipped the post-dredge rest period. Fry in small batches, hold oil steady at 350°F, and let coated chicken rest for that perfect shatter.
8.How long does each batch of chicken take to cook all the way through? ▾
Cook time varies by cut: drumsticks and thighs take 12 to 15 minutes, while split bone-in breasts take 15 to 18 minutes. Always verify doneness with an instant-read thermometer stuck into the thickest part of the meat (avoid touching bone) to hit 165°F, then rest pieces 5 minutes on a rack after frying.
9.Can I make this fried chicken ahead of time for a party or potluck? ▾
Absolutely! Fry the chicken up to 2 hours ahead of time, and hold it on a wire rack set over a baking sheet in a 200°F oven. Don’t stack the pieces or cover them with foil, as trapped steam will soften that crisp crust. It will stay perfectly crisp and juicy until you’re ready to serve to guests.
10.What’s the best type of oil to use in my deep fryer for this recipe? ▾
Reach for a neutral, high-smoke-point oil for the best results: peanut oil is my classic Southern pick for its subtle nutty flavor and 450°F smoke point, but canola, vegetable, or safflower oil work great too. Avoid olive oil or butter, which have low smoke points and will burn or leave bitter off-flavors at frying temps.
11.Do I need to add egg to the buttermilk brine to help the coating stick? ▾
Nope! The thick, tangy full-fat buttermilk is more than enough to help the spiced flour adhere tightly to the chicken skin when you follow the 15-minute post-dredge rest period. Adding egg can actually make the crust heavier and less shatteringly crisp, so skip it for that light, crunchy texture we’re going for.
12.How do I avoid powdery, raw flour pockets in my finished fried chicken crust? ▾
When dredging, press the spiced all-purpose flour firmly into every nook and cranny of the buttermilk-brined chicken, shaking off excess loose flour as you go. Those dry, unpressurized flour bits are what turn into raw, powdery pockets once fried, so a firm, even press during dredging eliminates that issue entirely.
13.How do I reheat leftover fried chicken without making the crust soggy? ▾
For best results, arrange fully cooled leftover chicken on a wire rack over a baking sheet and bake at 375°F for 18 to 22 minutes, until the internal temperature hits 165°F. Skip the microwave entirely—it will turn that perfect, shatteringly crisp crust soggy and rubbery every single time, no matter how short you run it.

Comments (5)

2 days ago

OMG this fried chicken is a total game changer! I made it for our Sunday family dinner last night and even my super picky 7 year old asked for seconds. The crust was so perfectly crispy and didn’t slide off the chicken like every other fried chicken recipe I’ve tried. 10/10 will be making this for our neighborhood potluck next weekend too! Wait, quick question—can I prep the buttermilk brine the night before to save time?

yesterday

So glad your family loved it! Prepping the buttermilk brine the night before is actually ideal—letting the chicken soak 8-12 hours makes it even juicier, just give the coating a good press right before frying to make sure it sticks.

2 hours ago

Second this! I brined mine overnight for a cookout last month and people were begging for the recipe. So much easier to do the brine ahead so you don’t have a million steps day of

5 minutes ago

Wait, quick question before I make this—do I need to let the coated chicken rest for a few minutes before dropping it in the fryer? I’ve had recipes where the coating falls right off if you fry it immediately and I’m trying to avoid that mess! Medium difficulty makes me a little nervous as a newer cook but this looks too good to pass up.

just now

Great question! I recommend letting the coated chicken rest on a wire rack for 10-15 minutes before frying—this helps the flour mixture adhere so you get that perfect crispy crust that stays put, no sliding off. You’ve got this, it’s way easier than it sounds!

1 week ago

This is my new go-to fried chicken recipe for meal prep! I make a big batch on Sundays, portion it out with coleslaw and mac and cheese, and it stays crispy even when I reheat it in the air fryer for lunch during the week. My husband said it’s better than the fast food fried chicken we used to get on Friday nights. Only thing I will say is make sure your oil temp stays consistent, that’s the key to not having greasy chicken!

5 days ago

Love that you use this for meal prep! You’re so right about consistent oil temp—keeping it between 350-375°F the whole time makes all the difference for non-greasy, crispy chicken. So happy you and your husband enjoy it!

3 days ago

Pro tip for reheating: I put mine on a wire rack over a baking sheet in the oven at 400°F for 10 minutes and it tastes just as crispy as day one! No soggy crust at all

yesterday

Made this for my office potluck yesterday and it was GONE in 10 minutes. People kept coming up to me asking if I’d bought it from that fancy southern restaurant downtown! The only issue I had was my deep fryer is a little smaller, so I had to do 3 batches instead of 2, but total cook time was still under 40 minutes which was totally manageable. Will absolutely be making this again for our Fourth of July cookout.

30 minutes ago

Oh my gosh I had the same issue with my tiny countertop deep fryer! I heated my oven to 200°F and kept the finished batches on a wire rack in there while I cooked the rest and it stayed perfectly crispy the whole time. Total game plan for July 4th for sure!

2 weeks ago

Made this for my roommates last night after we got tired of eating pizza and ramen. None of us really cook much but we followed the recipe step by step and it turned out insane! The crust was so crispy, the chicken was juicy all the way through, SO good we ended up eating the whole batch in one sitting. 10/10, way easier than I thought it would be even with the medium difficulty rating. Already planning to make it again when our friends come over for game night next week.



