
best frozen burritos 2021
intro
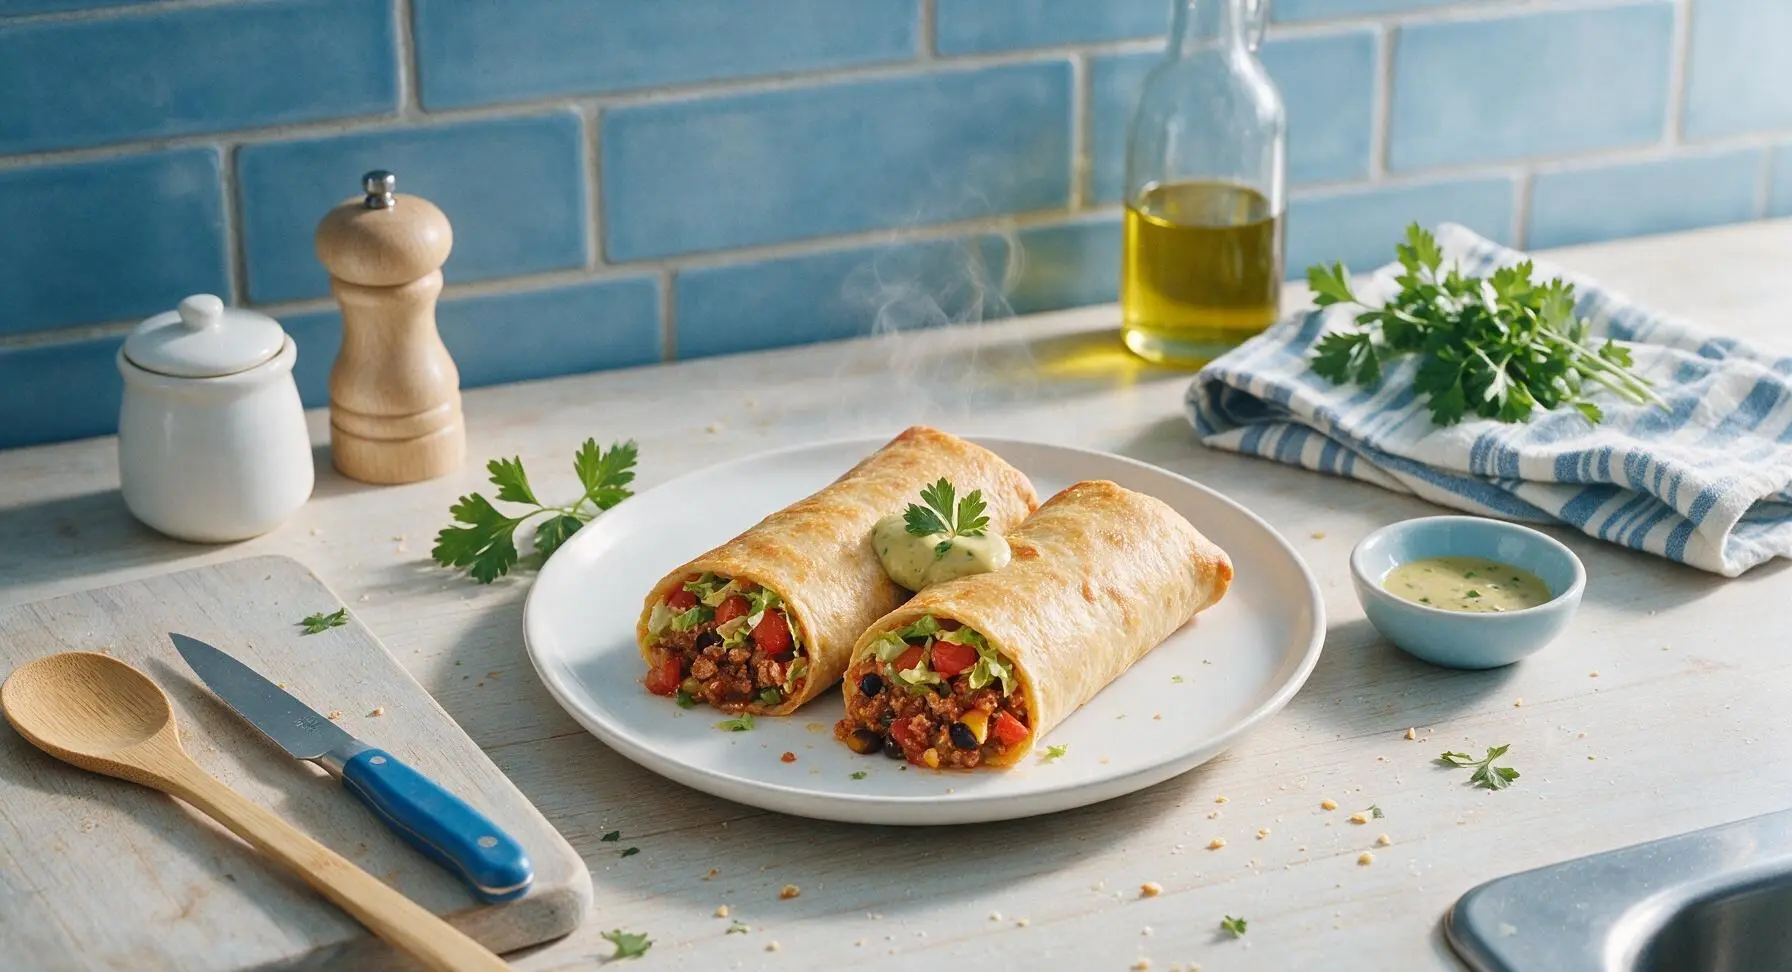
These crispy, flavor-packed make-ahead frozen burritos beat store-bought by a mile, reheat perfectly without sogginess, and deliver hearty Tex-Mex comfort in minutes.
Ingredients
Steps
Prep Filling Ingredients
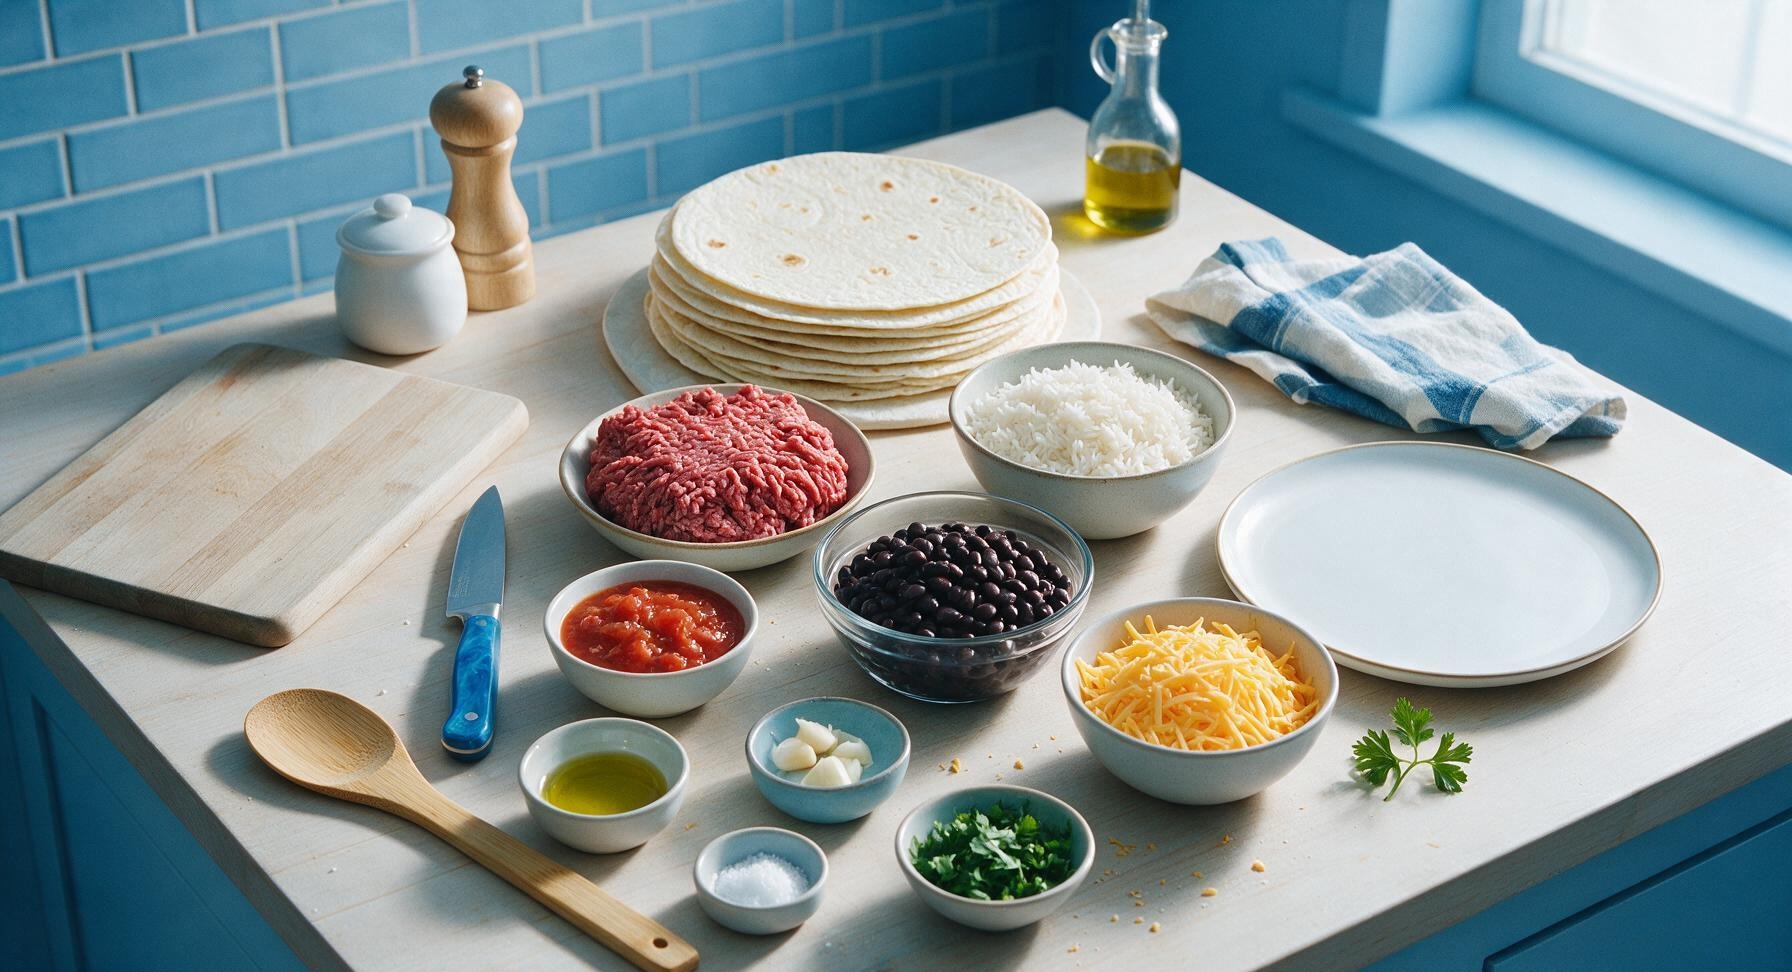
Place the light maple cutting board on the counter left of center. Use the 8-inch stainless steel chef knife to dice 1/2 cup yellow onion into 5mm pieces, mince 2 garlic cloves finely, and chop 1/4 cup fresh cilantro. Rinse and drain 425g canned black beans fully to remove all canning liquid, drain 1/2 cup salsa of excess watery juice by pressing it through a fine sieve, and confirm 2 cups cooked long-grain rice is completely cool to room temperature before starting to prevent soggy tortillas.
Sauté Aromatic Base
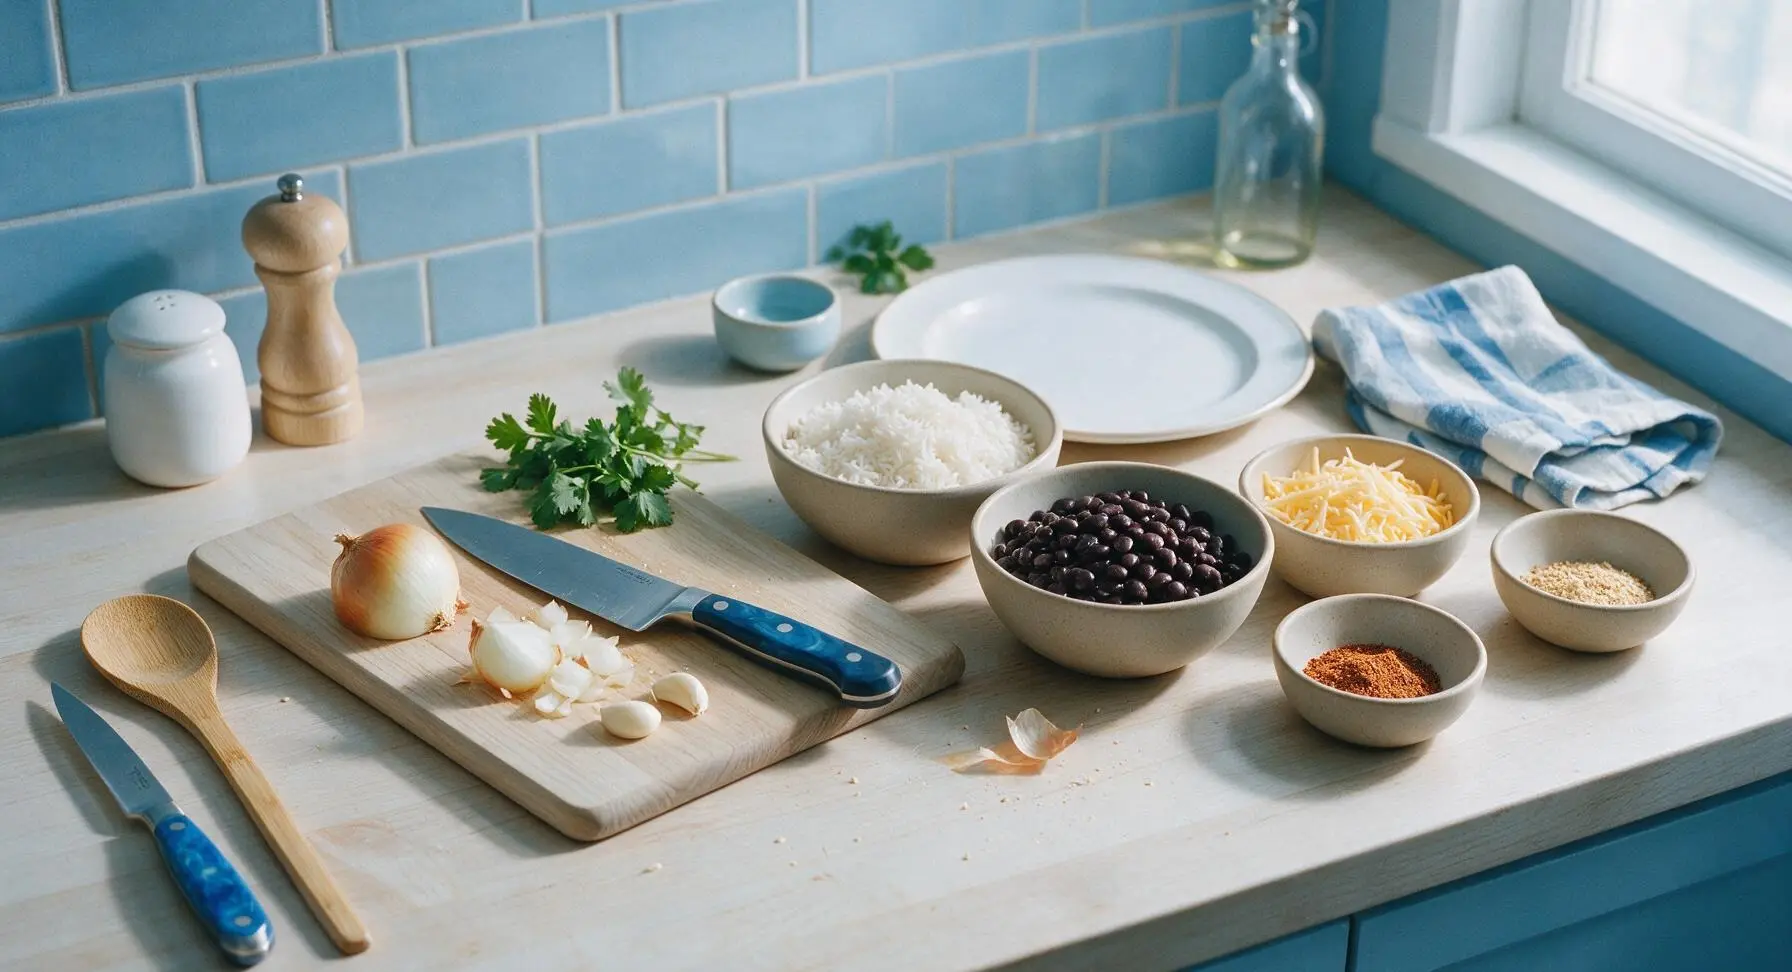
Place the 30cm seasoned carbon steel skillet on the burner over medium heat, add 1 tablespoon extra-virgin olive oil. Once the oil shimmers (approximately 1 minute, 350°F/175°C), add the diced yellow onion and cook for 3 minutes, stirring occasionally with the matte red silicone spatula, until soft and translucent. Add the minced garlic and cook for 30 seconds more, stirring constantly, until fragrant—do not let the garlic turn brown, as it will become bitter.
Brown Seasoned Ground Beef
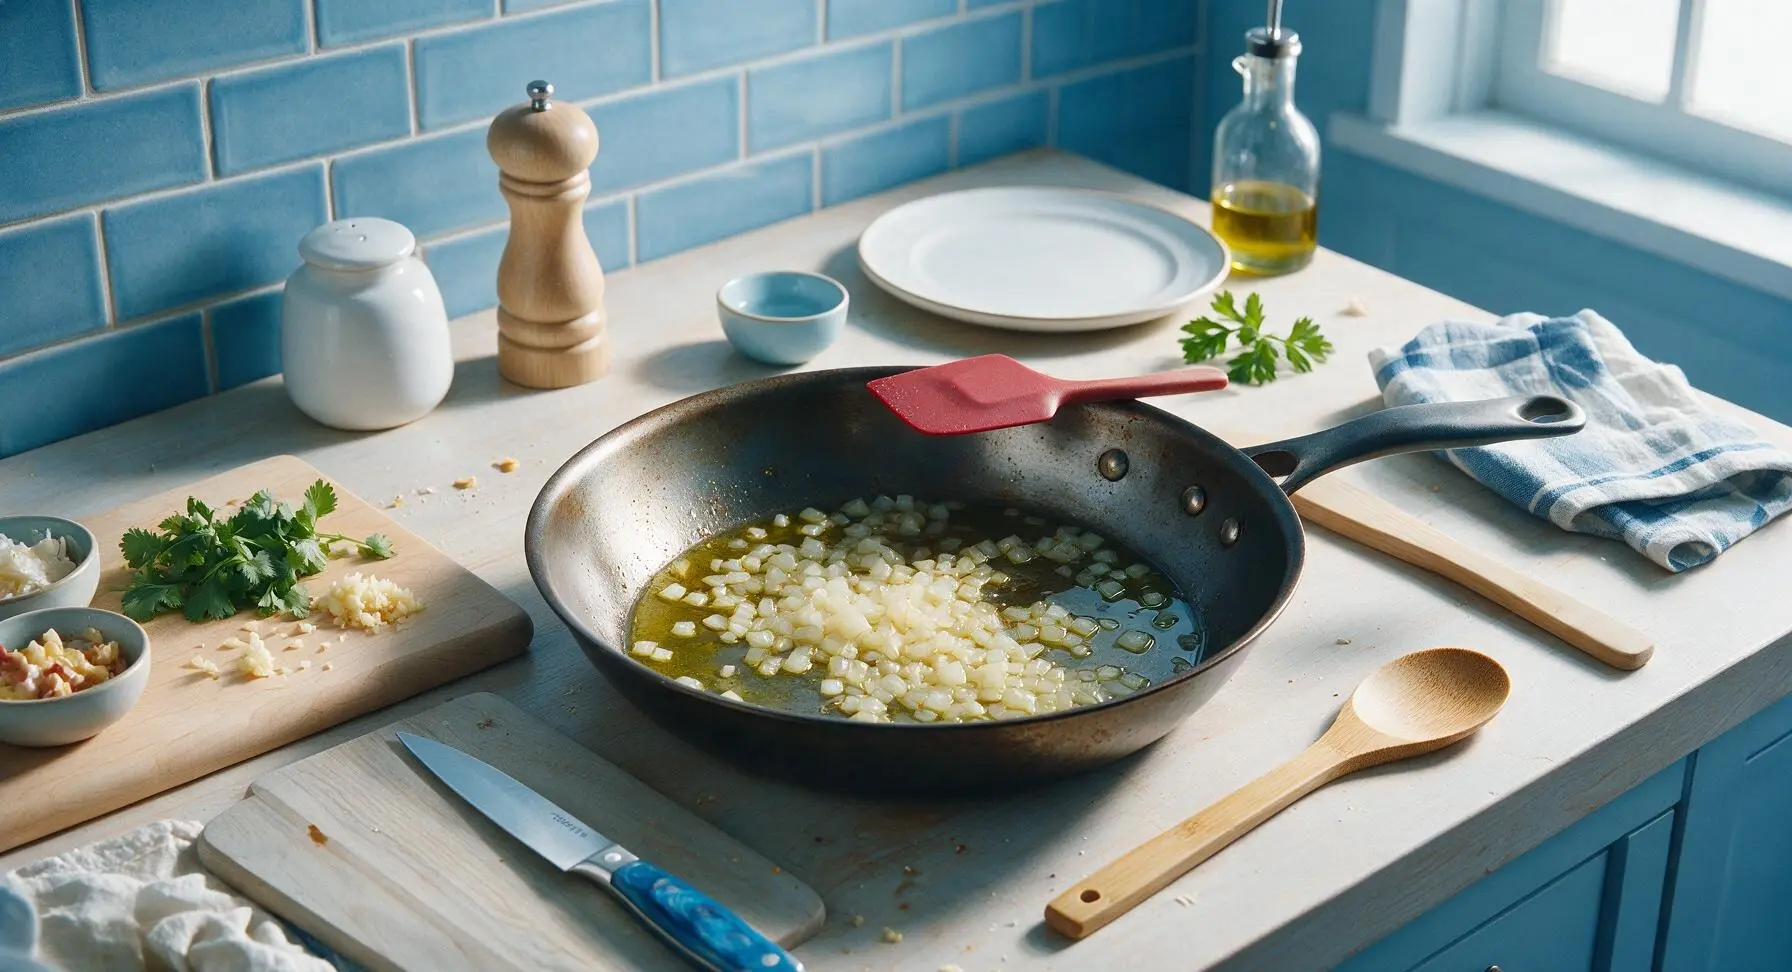
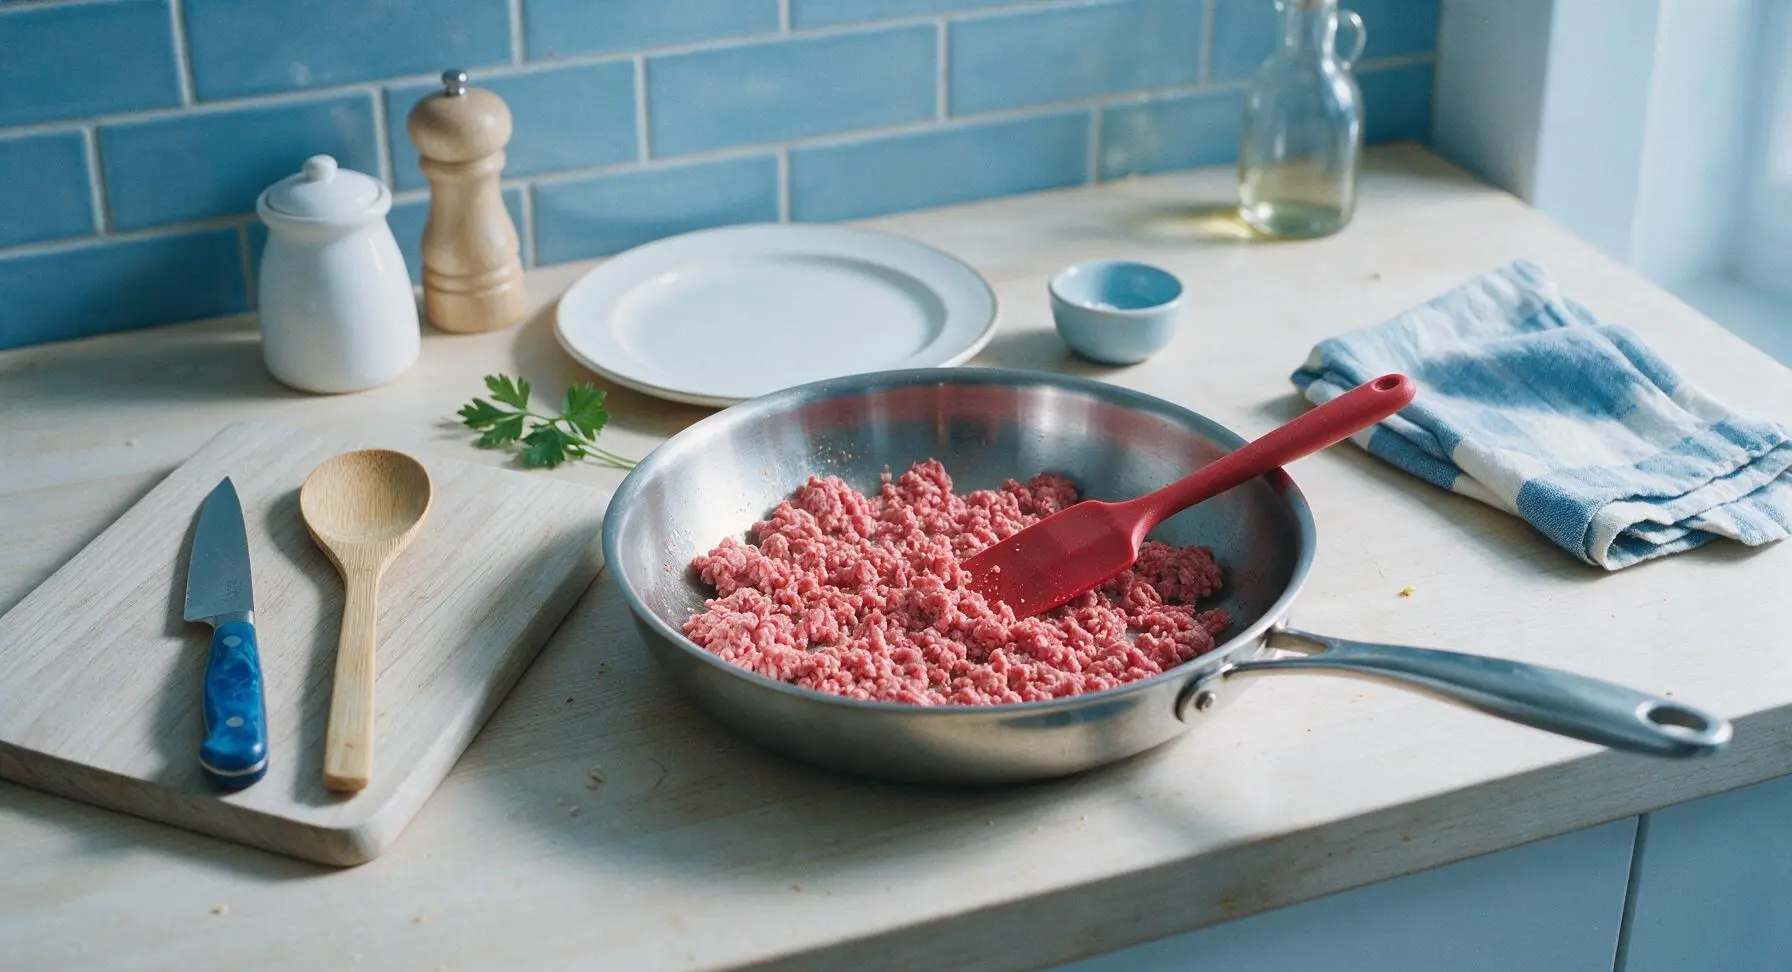
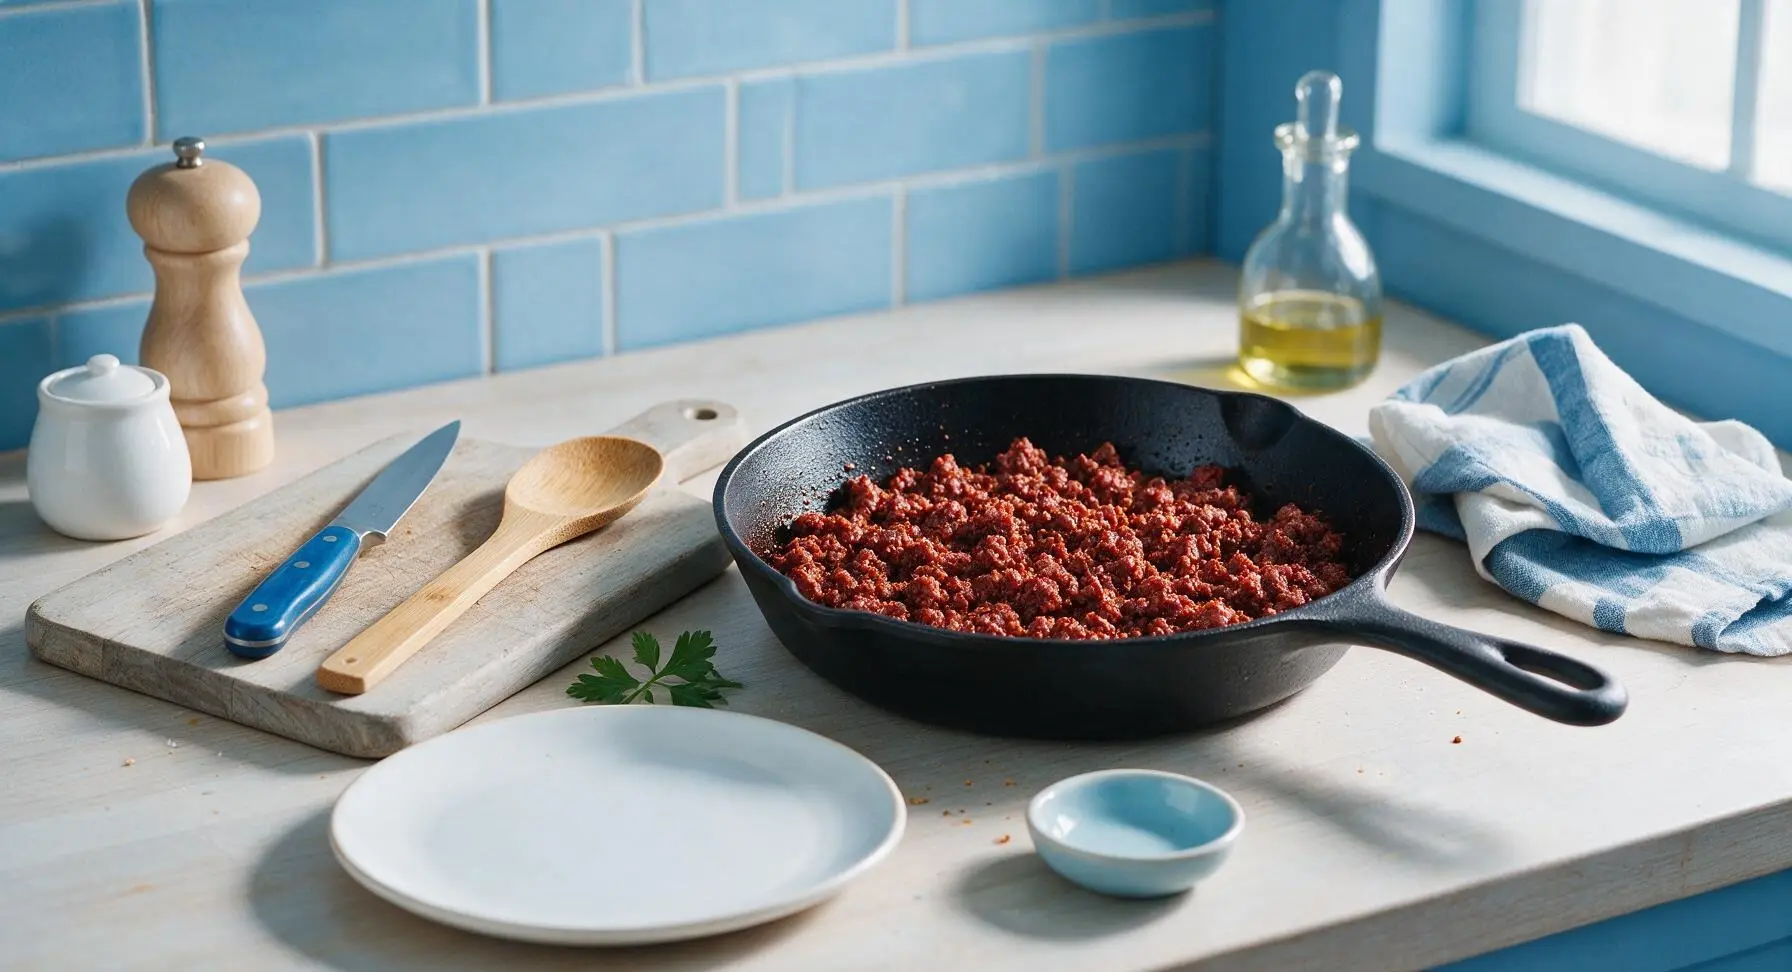
Add 450g 90/10 lean ground beef to the skillet with the softened aromatics, breaking it apart into small, even crumbles with the silicone spatula. Cook for 5-6 minutes, stirring occasionally, until the beef is fully browned with no visible pink remaining. Tilt the pan and spoon out any excess rendered fat to prevent greasy, soggy filling. Sprinkle 2 tablespoons taco seasoning and 1 teaspoon kosher salt over the beef, stir to coat evenly, and cook for 1 additional minute until the spices release their fragrance.
Combine Cooled Fillings
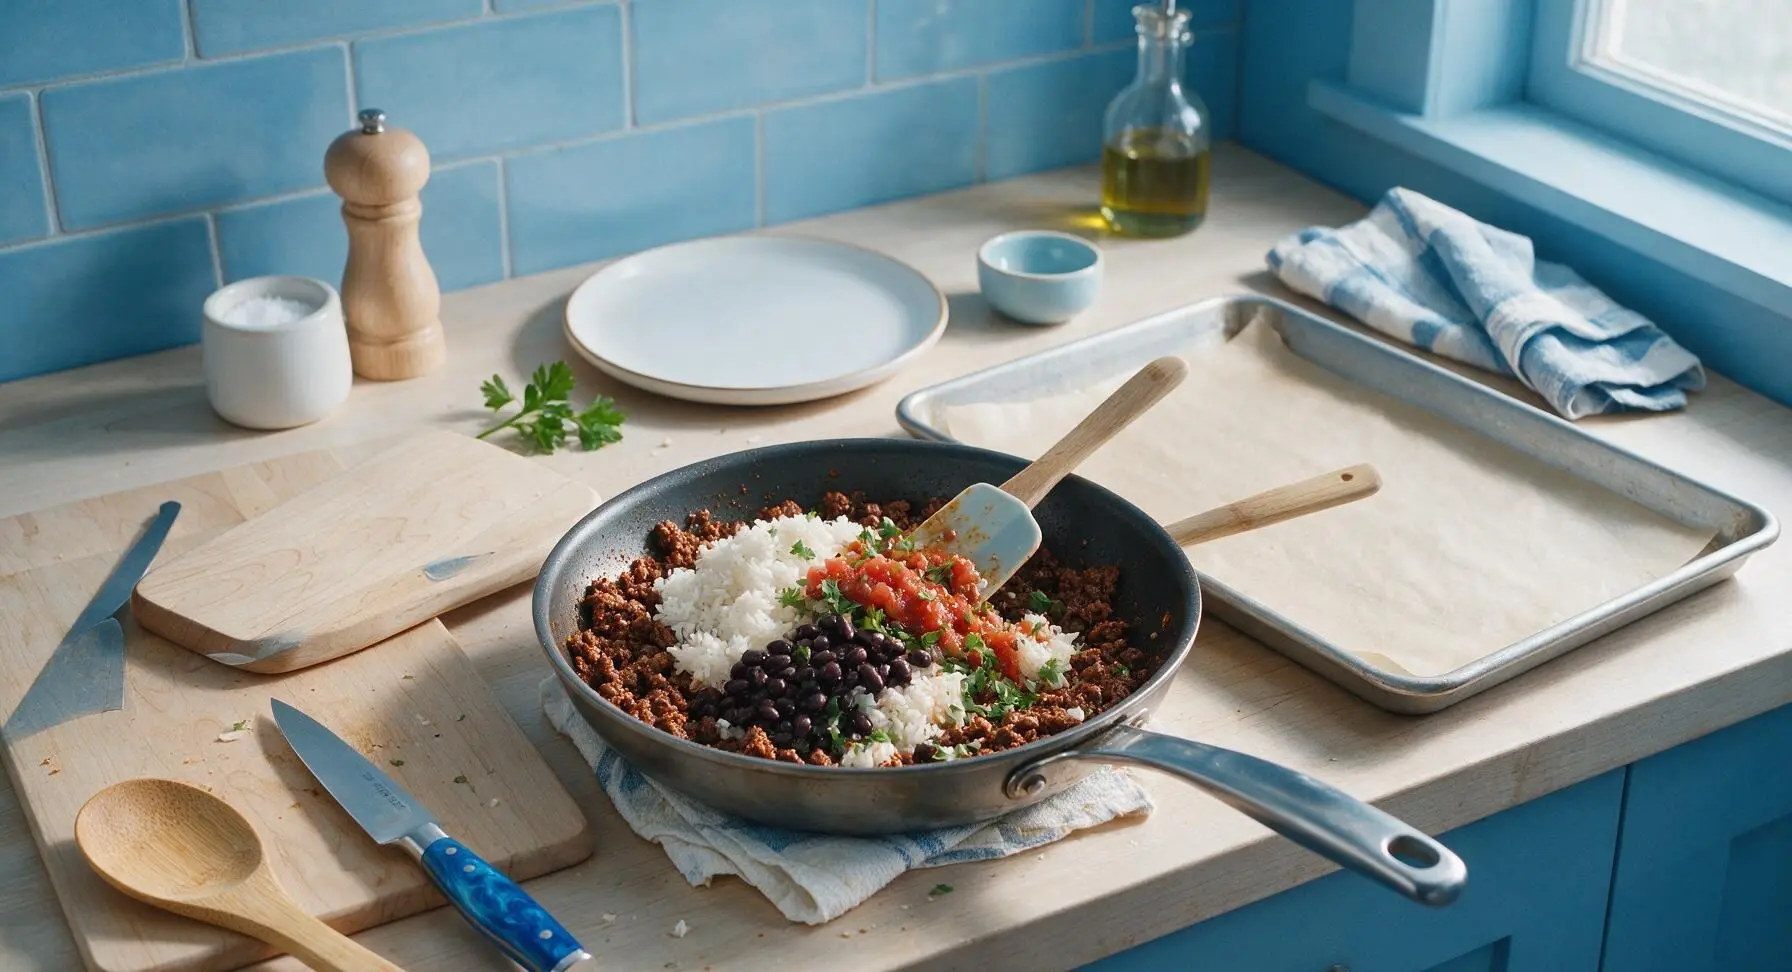
Remove the skillet from heat and let the beef cool for 5 minutes. Add the fully cooled white rice, drained black beans, drained salsa, and chopped cilantro to the pan. Stir gently with the silicone spatula until all ingredients are evenly distributed, then let the entire filling mixture cool completely for 10 more minutes (warm filling will melt tortillas and cause excess condensation during freezing). Fold in 1 cup of the shredded sharp cheddar, reserving the remaining 1 cup for burrito assembly. The parchment-lined aluminum baking sheet is now set out to the right of the skillet for assembly.
Roll Tightly Sealed Burritos
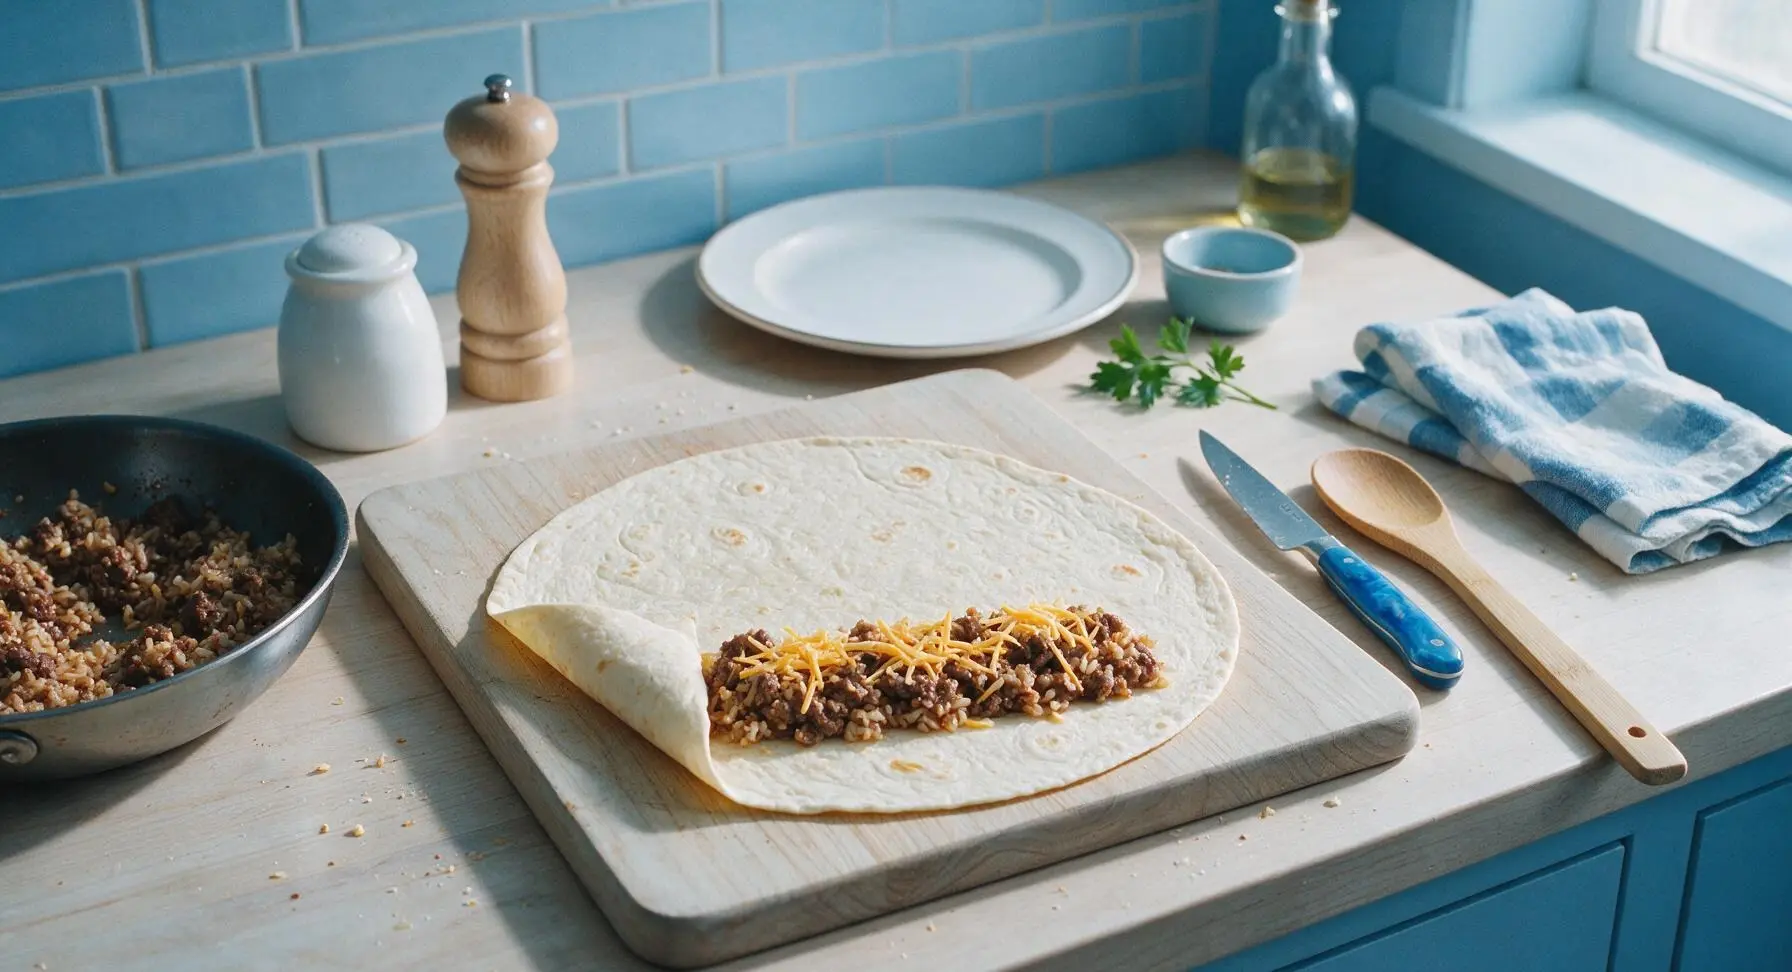
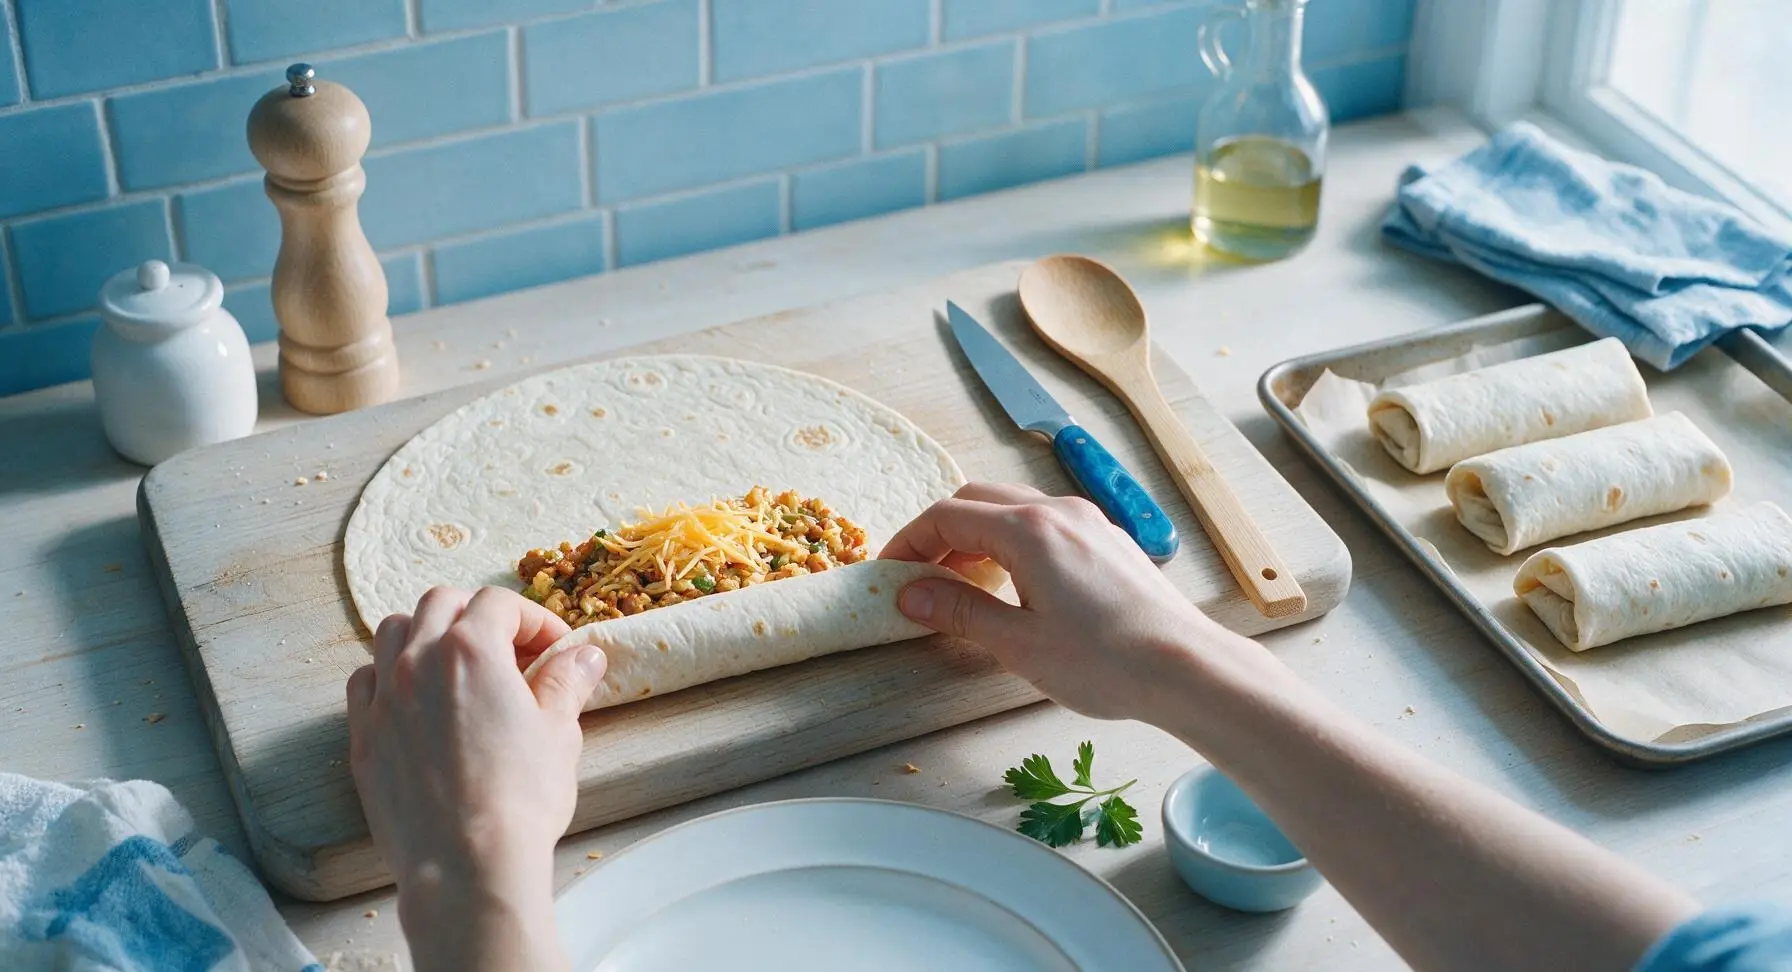
Lay one 10-inch flour tortilla flat on the maple cutting board. Scoop a heaping 1/2 cup of cooled filling in a straight line across the lower third of the tortilla, leaving a 2-inch border on the left and right edges. Top each filling portion with 2 tablespoons of the reserved shredded cheddar. Fold the left and right tortilla edges inward over the filling, then roll the tortilla tightly from the bottom edge up to form a compact, seam-side-down burrito. Avoid overstuffing, as overfilled burritos will split during freezing or reheating. Place each rolled burrito on the parchment-lined baking sheet as you work.
Flash Freeze and Wrap
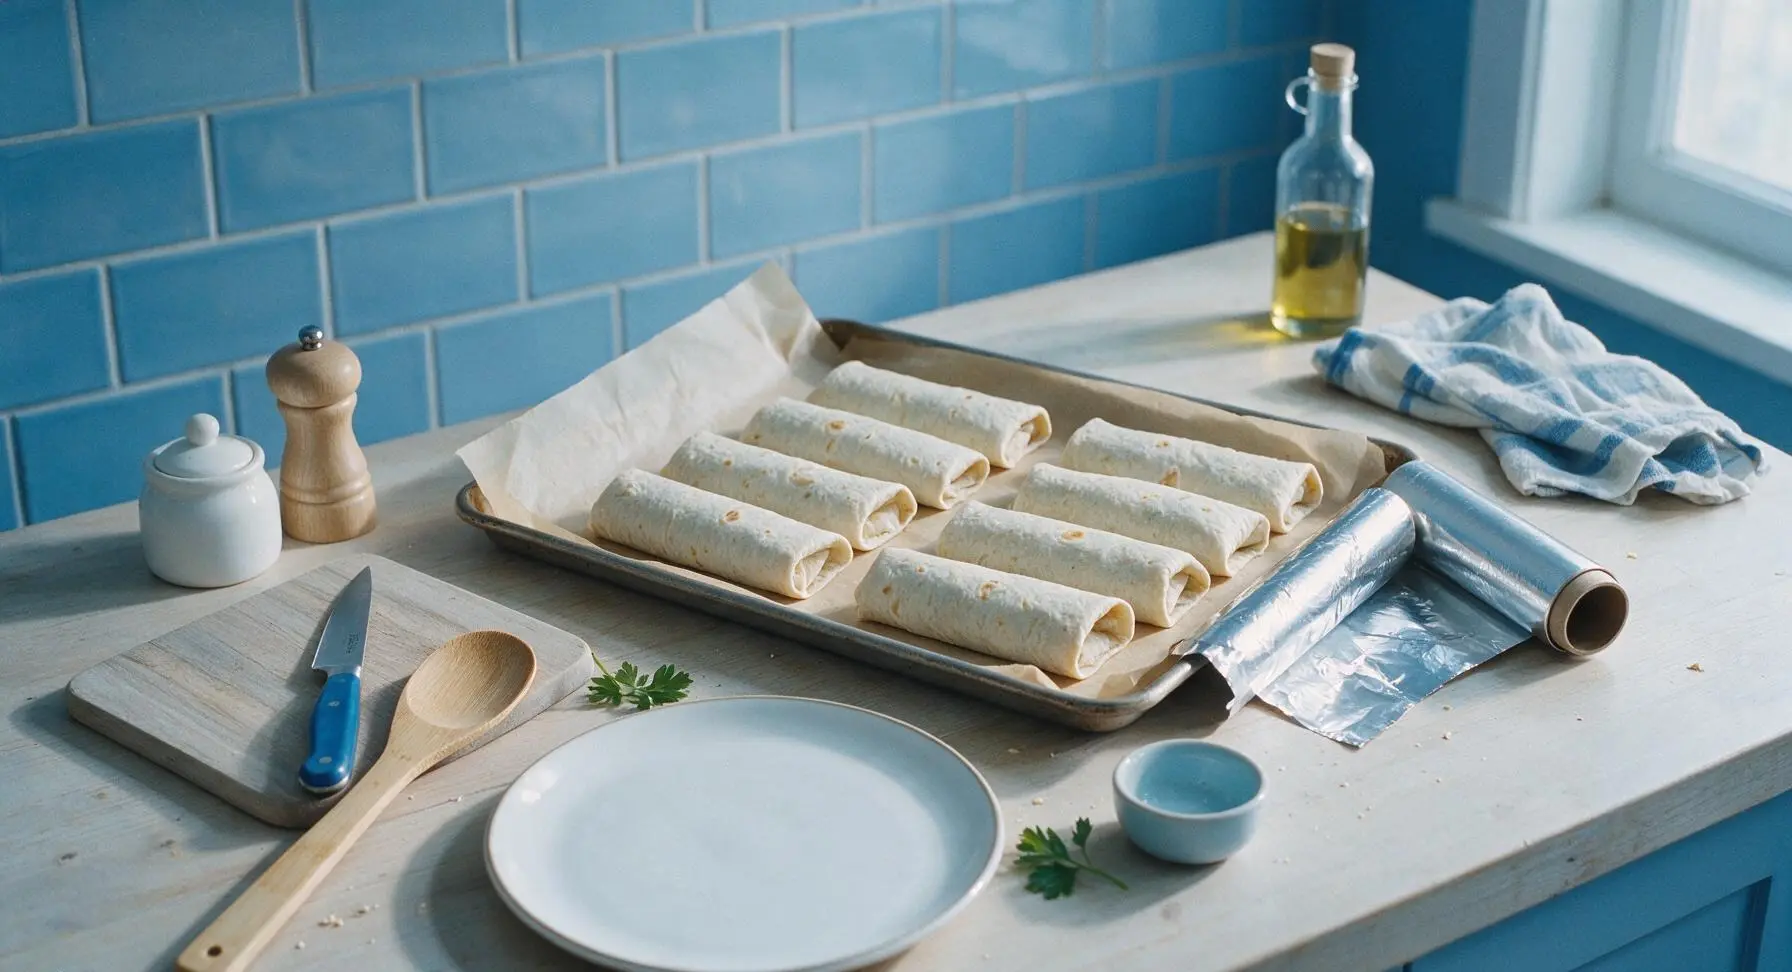
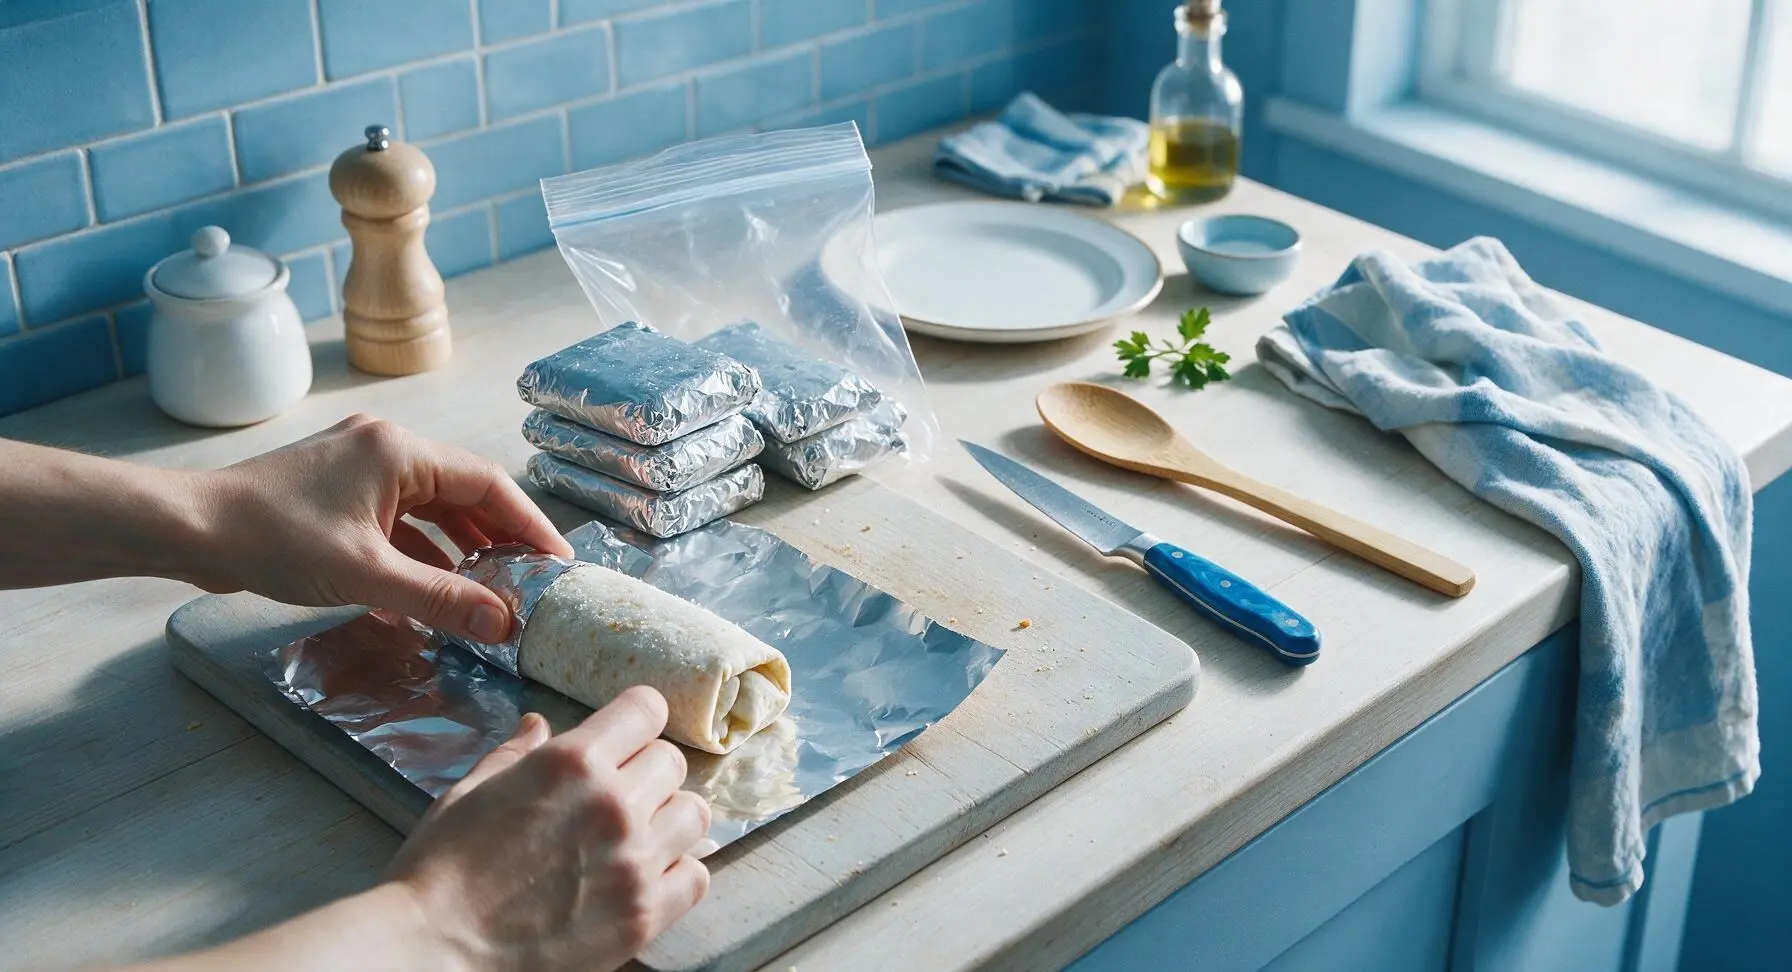
Once all 8 burritos are rolled and arranged seam-side down in even rows on the baking sheet, transfer the sheet to the freezer for 1 hour, until burritos are firm to the touch (this flash-freeze step prevents burritos from sticking together during long-term storage). After flash-freezing, pull the baking sheet from the freezer. Tear 15cm squares of aluminum foil from the foil roll, wrap each individual burrito tightly in foil, pressing out excess air to prevent freezer burn. Place all foil-wrapped burritos in the 3.7L clear freezer zip-top bag, squeeze out all remaining air, seal tightly, and return to the freezer for up to 3 months.
Reheat for Crisp Texture
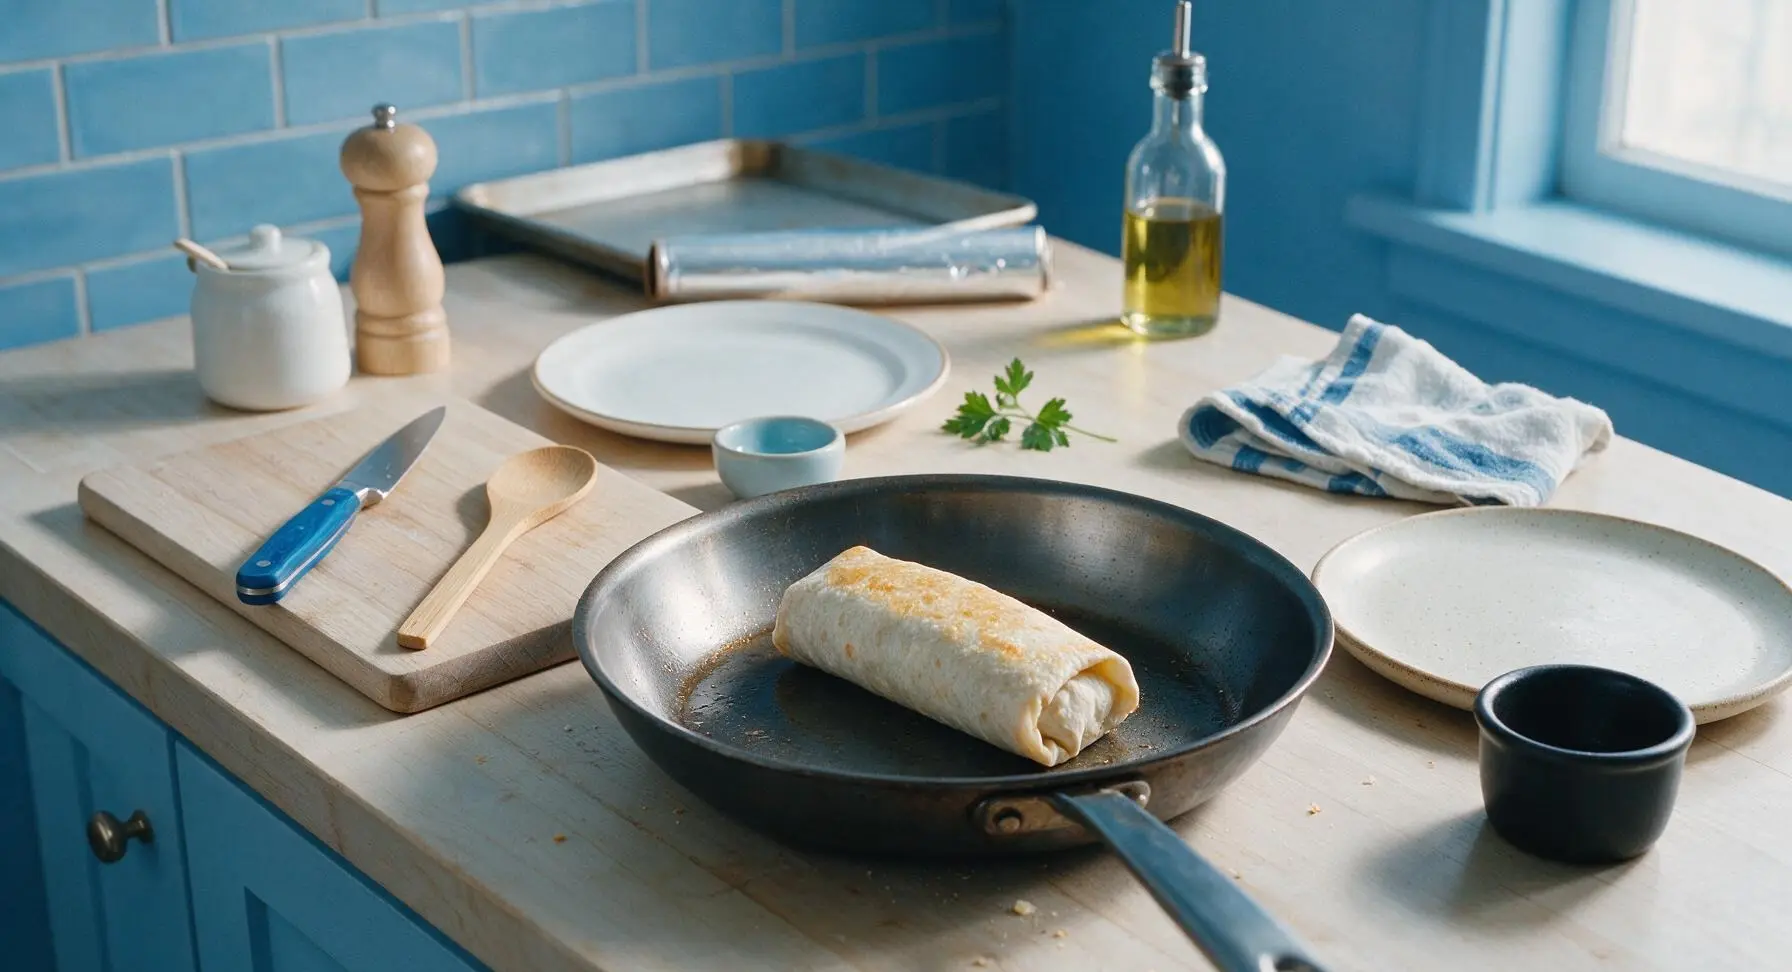
When ready to serve, remove one burrito from the freezer and unwrap the foil. Place the burrito on a microwave-safe plate and microwave on high for 1 minute to thaw the center. Transfer the burrito back to the dry carbon steel skillet over medium-low heat, cooking for 8-10 minutes total, turning every 2 minutes, until the tortilla is golden and slightly crisp on all sides and the internal temperature reaches 165°F/74°C. Let rest 1 minute before plating.
Tips
2.Never skip the 1-hour flash freeze on the open baking sheet: this step hardens the burrito surface so they do not stick together in the storage bag, letting you grab a single serving at a time without thawing the whole batch.
3.Avoid microwave-only reheating: a 1-minute microwave thaw followed by pan-crisping gives a crunchy, golden tortilla exterior and evenly melted filling, instead of the rubbery, soggy texture you get from microwaving the whole time.






My kids devoured these! I added a little extra taco seasoning to the ground beef and tossed in some diced bell peppers, and even my pickiest eater asked for seconds. Total game changer for our weeknight dinner rush, perfect for after soccer practice when I don’t have time to cook a whole meal.
Brought a platter of these (cooked, cut in half with a side of salsa and guac) to my neighborhood block party last weekend and people were begging for the recipe! SO good, way better than the frozen ones from the grocery store that taste like cardboard.
OMG, as a broke college student with only a mini fridge and microwave, these are a lifesaver. I used canned black beans and pre-shredded cheese to cut down on prep time, and they last for weeks in the freezer. 10/10 would make again.
I wrapped a few of these in foil and tossed them in my cooler for a weekend camping trip, and they heated up perfectly over the campfire grate. Stuffed with rice, beans, cheese, and a little green chile, they were the perfect warm, filling meal after a long hike.
Wait, how do you keep the tortillas from getting mushy when you freeze them? I tried making frozen burritos once before and they were a total soggy mess when I reheated them, so I’m nervous to try again.
How long do these actually last in the freezer? I want to make a big batch for weekly meal prep but don’t want them to get freezer burnt before I can eat them all.
Is there an easy way to make these vegetarian? My partner doesn’t eat meat but we love frozen burritos for quick workweek lunches.
Y’all, I added a blend of pepper jack and cheddar to these and it’s *chef’s kiss*. The little bit of spice from the pepper jack kicks the whole thing up a notch without being too hot for my toddler.
Has anyone tried reheating these in the air fryer instead of the microwave? I hate how microwaved tortillas can get chewy and soft sometimes.
Made these for our Super Bowl watch party last month and they were gone in 10 minutes flat! My only complaint is that I didn’t make a double batch. Any idea if these work with shredded chicken instead of beef?
Help! I made my first batch last night and the filling oozed out the ends when I reheated them. What did I do wrong? I really want these to work because the flavor was amazing even with the oopsie.
These have completely replaced my sad takeout lunch runs! I grab one from the freezer on my way out the door, and by lunchtime it’s mostly thawed, so I only need to microwave it for a minute and a half at work. So much cheaper than eating out every day!
These are amazing! I used gluten free flour tortillas for my household and they held up perfectly in the freezer, no crumbling or weird texture when reheated. Finally a frozen burrito recipe that works for my GF kiddo!