
best homemade burritos

title 1
best homemade burritos
⏱️ cook time 25 minutes
🍽️ servings 4
⚡ Difficulty easy

intro

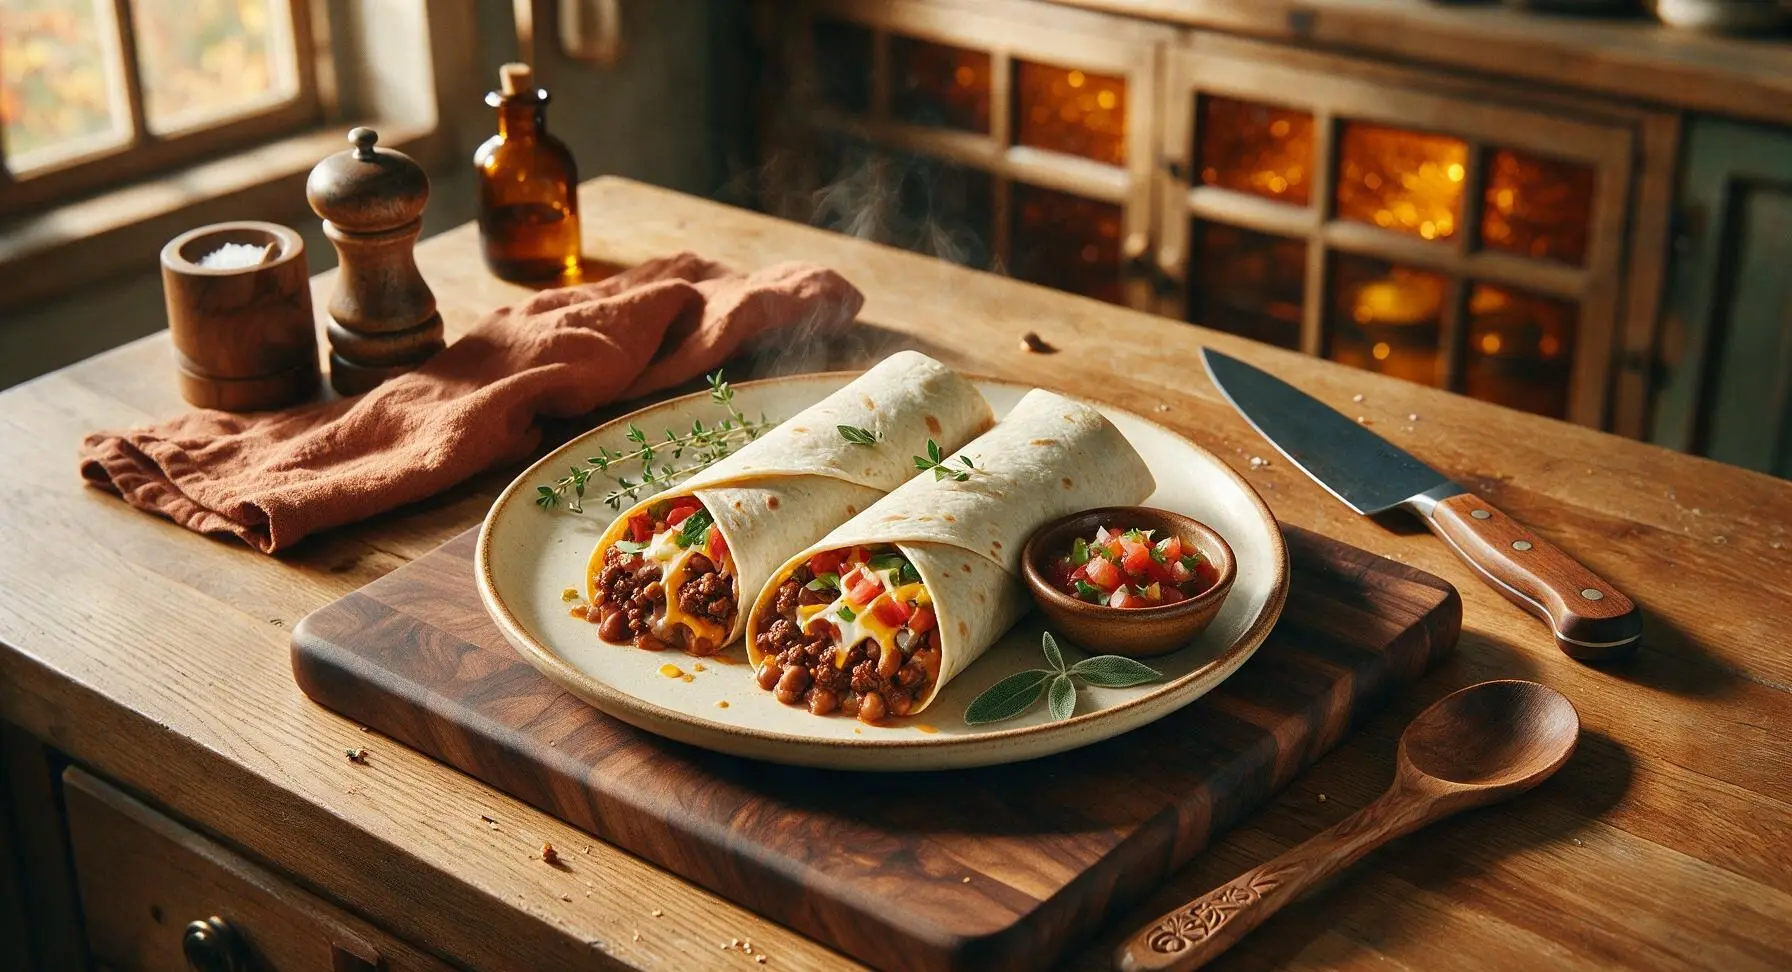
Juicy, loaded homemade Tex-Mex burritos packed with seasoned beef, creamy beans, melted cheese, and bright fresh toppings, wrapped tight for a satisfying, mess-free weeknight meal.

Ingredients
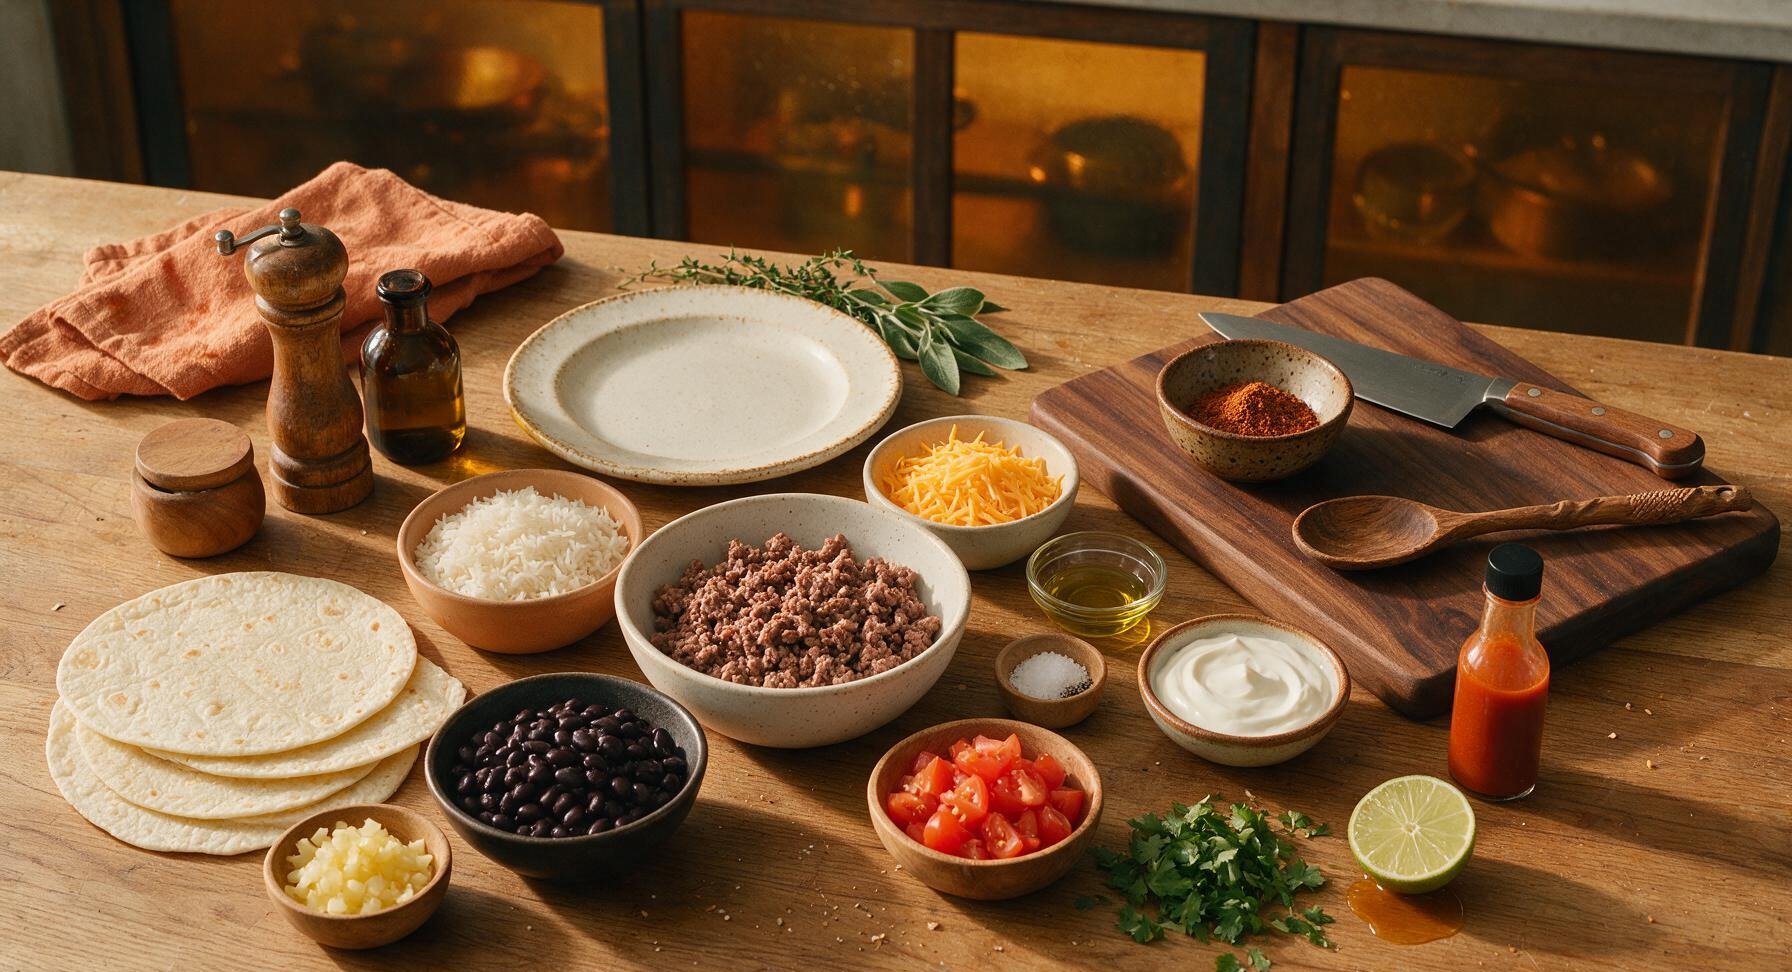
10-inch flour tortillas 4 each
Lean ground beef (90/10) 500g
Cooked long-grain white rice 2 cups
Canned black beans, rinsed and drained 400g
Sharp cheddar cheese, shredded 1 cup
Taco seasoning blend 2 tbsp
Small yellow onion, finely diced 1 each (approx 120g)
Roma tomatoes, seeded and diced 2 each (approx 180g)
Fresh cilantro, chopped 1/4 cup
Whole lime, juiced 1 each (approx 30ml juice)
Extra-virgin olive oil 1 tbsp
Sour cream 1/2 cup
Kosher salt 1 tsp
Freshly ground black pepper 1/2 tsp
Hot sauce (optional, for serving) 1/4 cup

Steps

1

Season Cilantro-Lime Rice

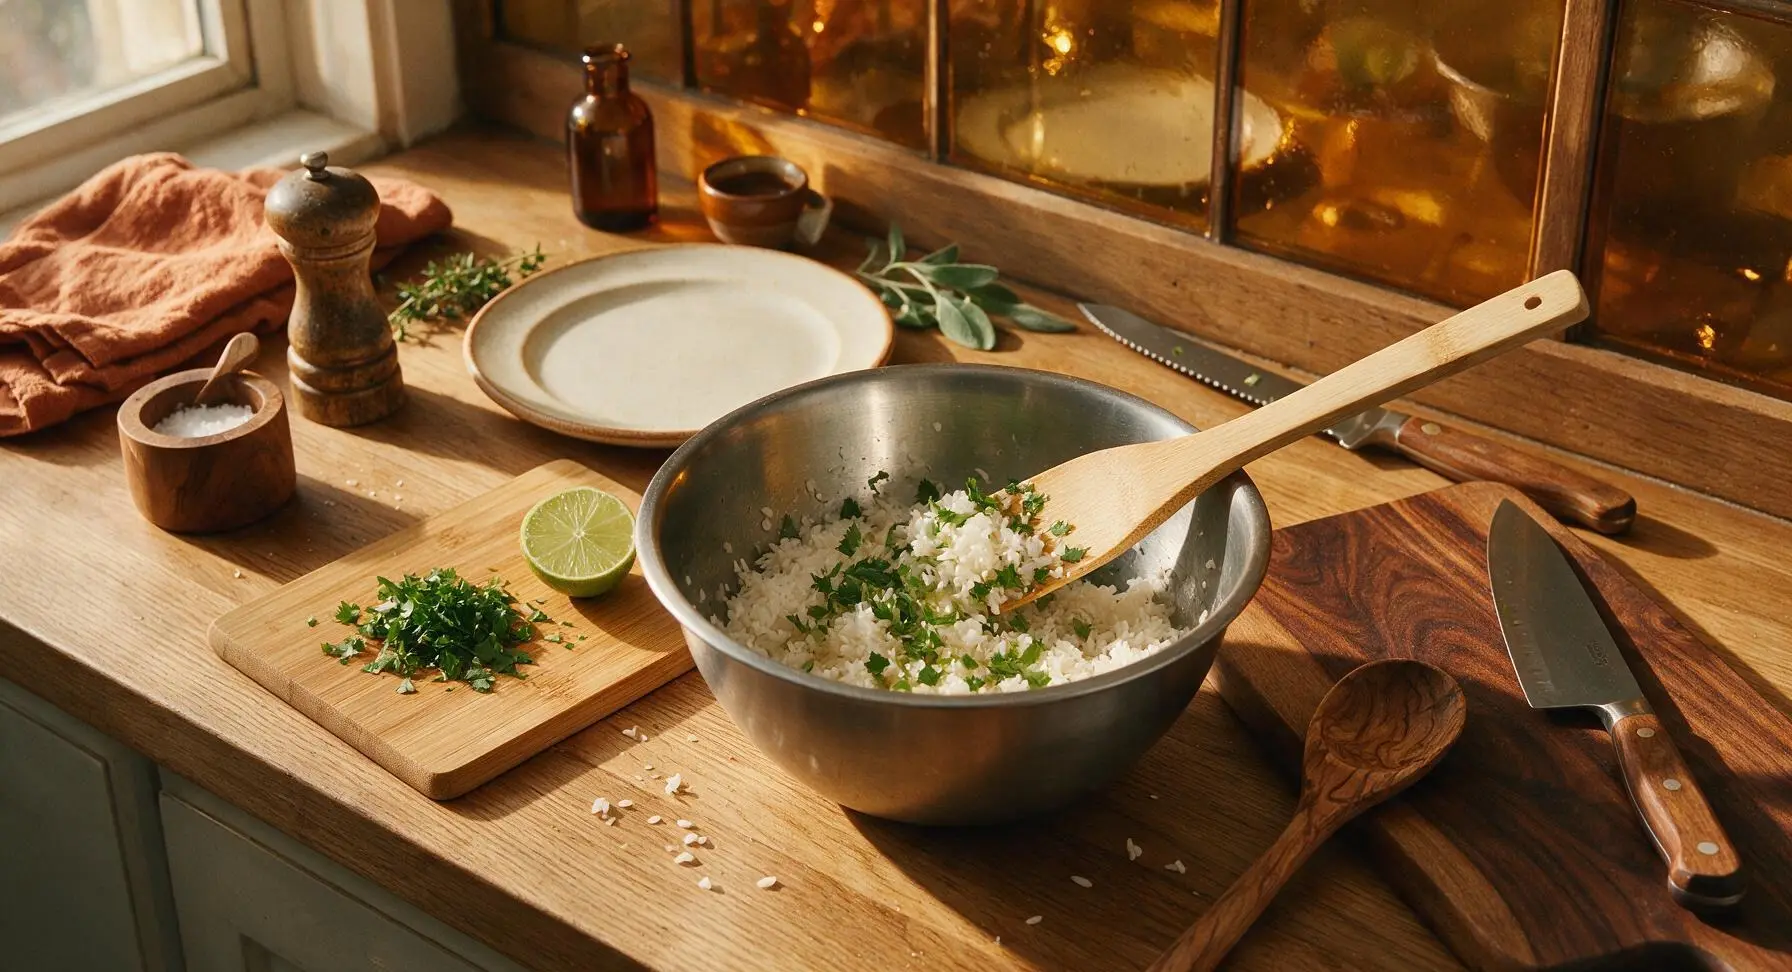
Place the 2 cups of cooked white rice in the matte stainless steel mixing bowl. Add 1 tbsp of fresh lime juice, 2 tbsp of chopped cilantro, and 1/4 tsp of kosher salt. Toss gently with the bamboo rice paddle until evenly mixed, so every grain is lightly coated with lime and flecked with green cilantro. Set aside while you cook the beef.
Step 1
step1:Season Cilantro-Lime Rice
2

Cook Seasoned Beef

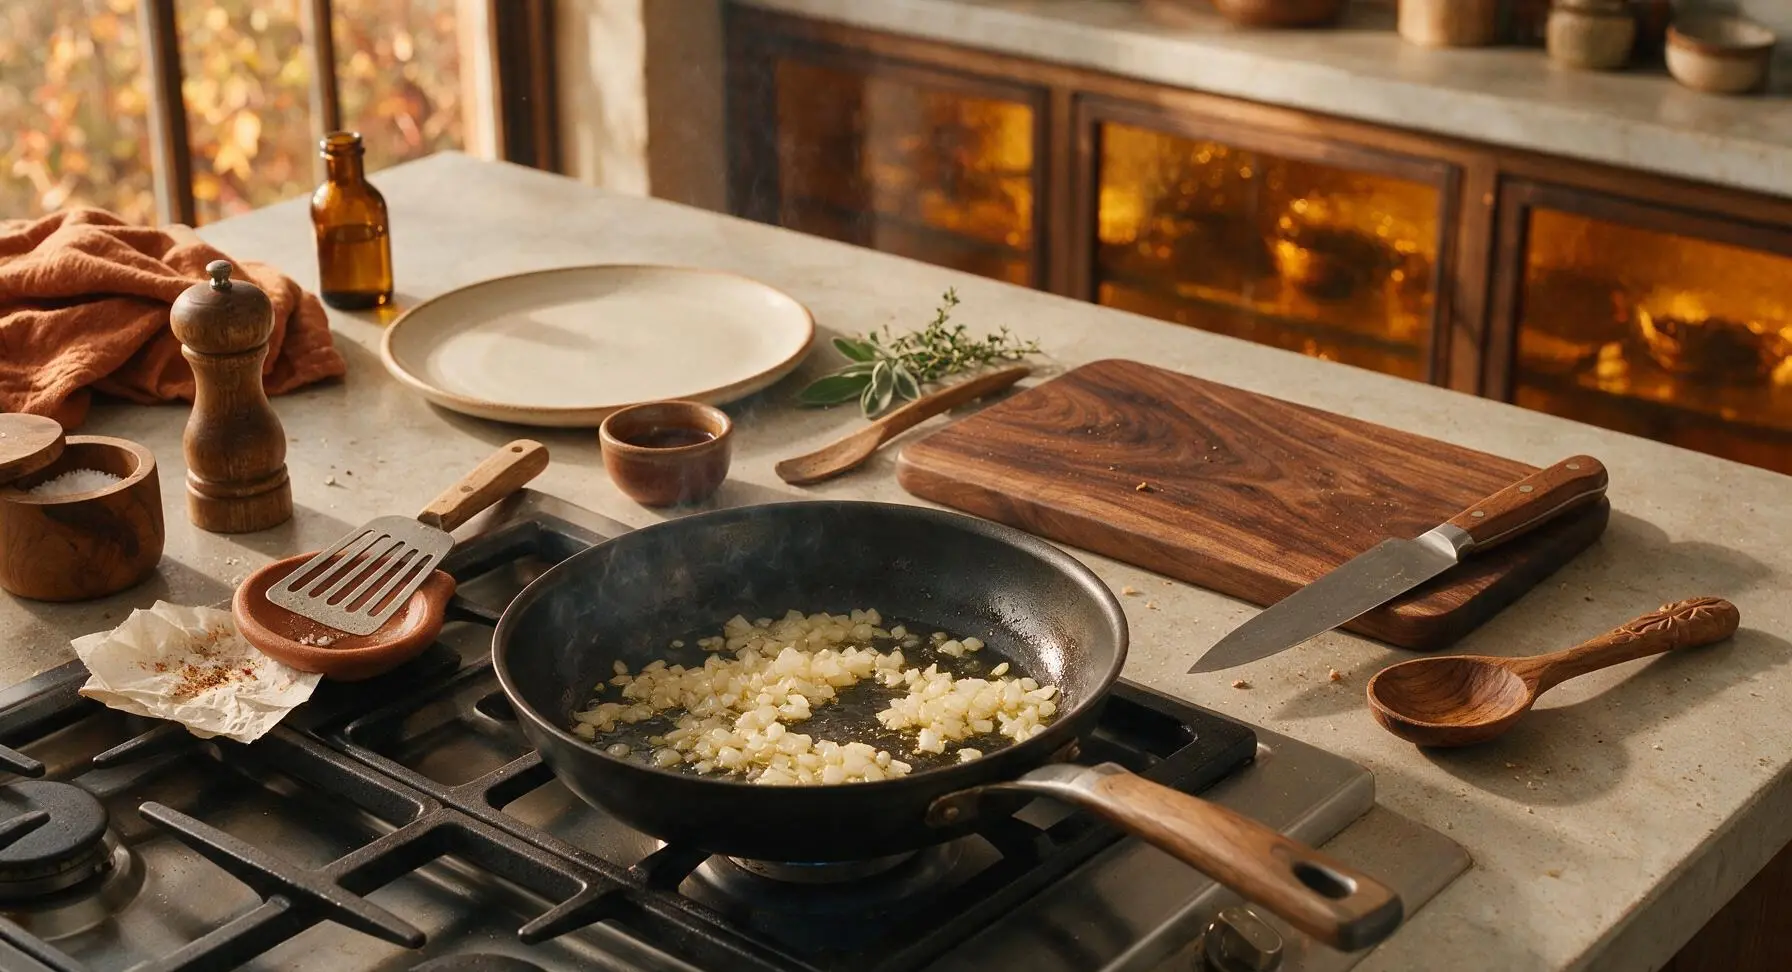
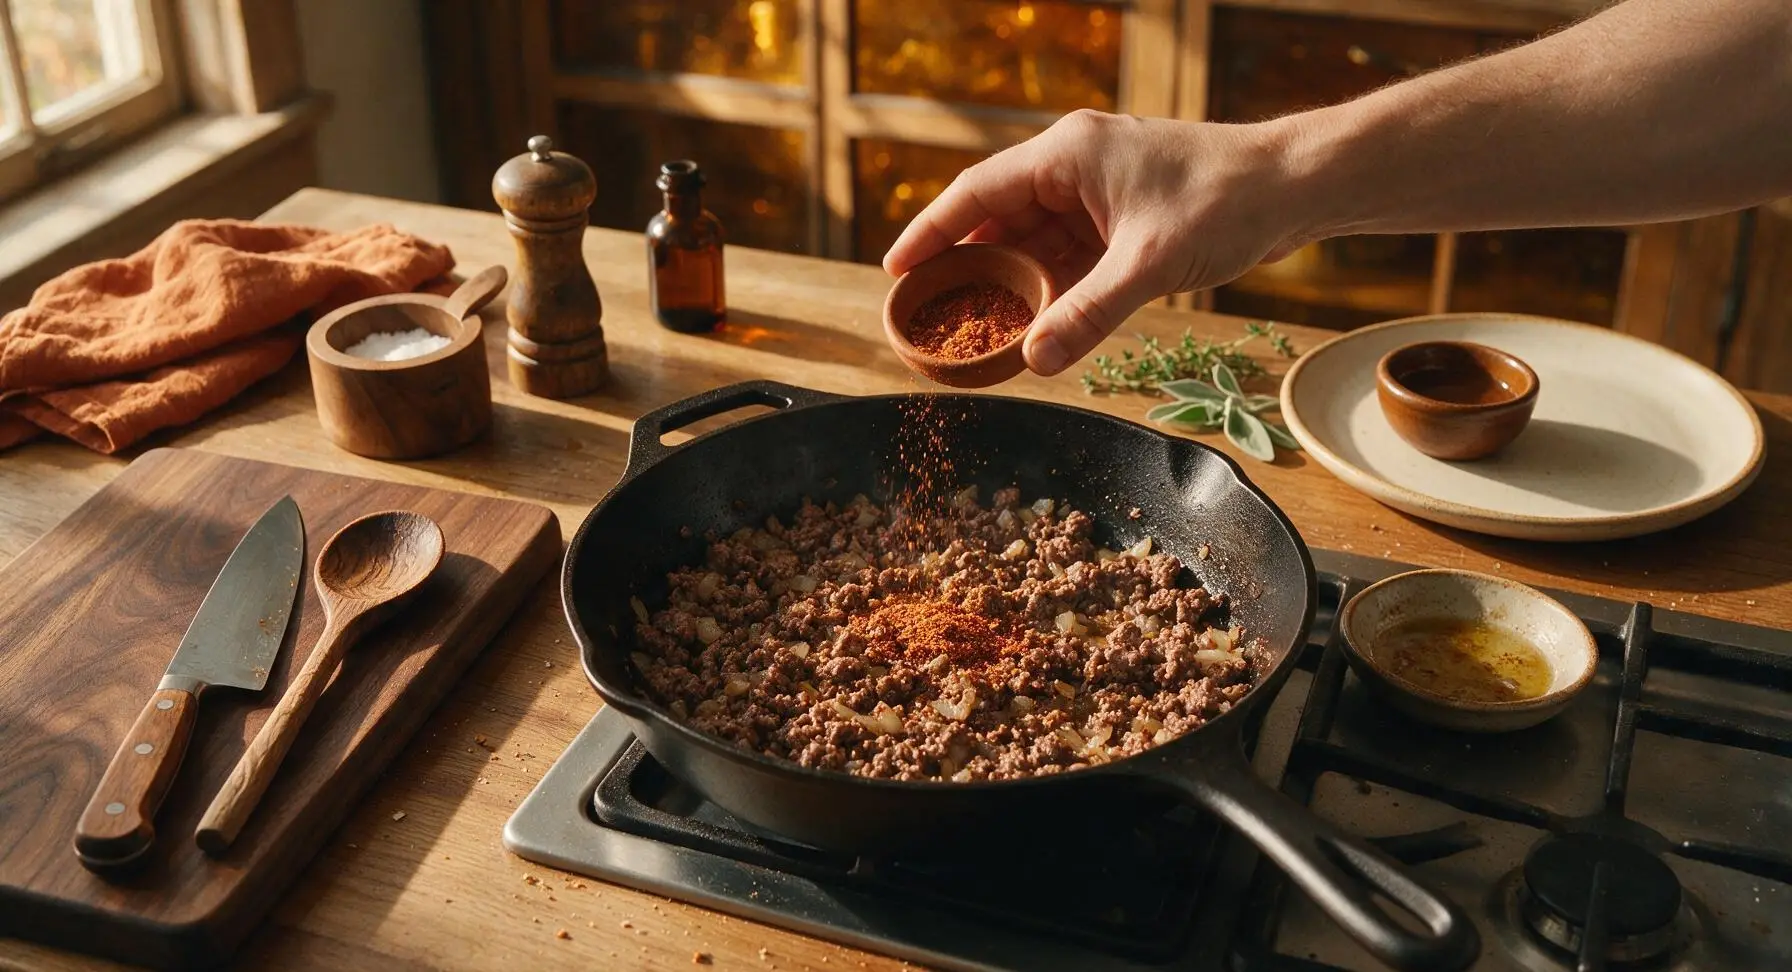
Heat the 1 tbsp olive oil in the matte black carbon steel skillet over medium heat (175°C/350°F). Add the finely diced yellow onion and sauté for 3 minutes until soft and translucent, with no raw sharp bite. Add the 500g lean ground beef, breaking it into small crumbles with the oak-handled slotted turner as it cooks. After 5 minutes, when the beef is fully browned with no visible pink remaining, carefully tilt the pan and drain excess rendered grease into a small heatproof dish. Stir in the 2 tbsp taco seasoning, remaining 3/4 tsp kosher salt, and freshly ground black pepper, cook for 1 additional minute until the spice fragrance is noticeable, coating all beef crumbles evenly.
Step 2
step2:Cook Seasoned Beef
Step 2
step2:Cook Seasoned Beef
3

Warm Flour Tortillas

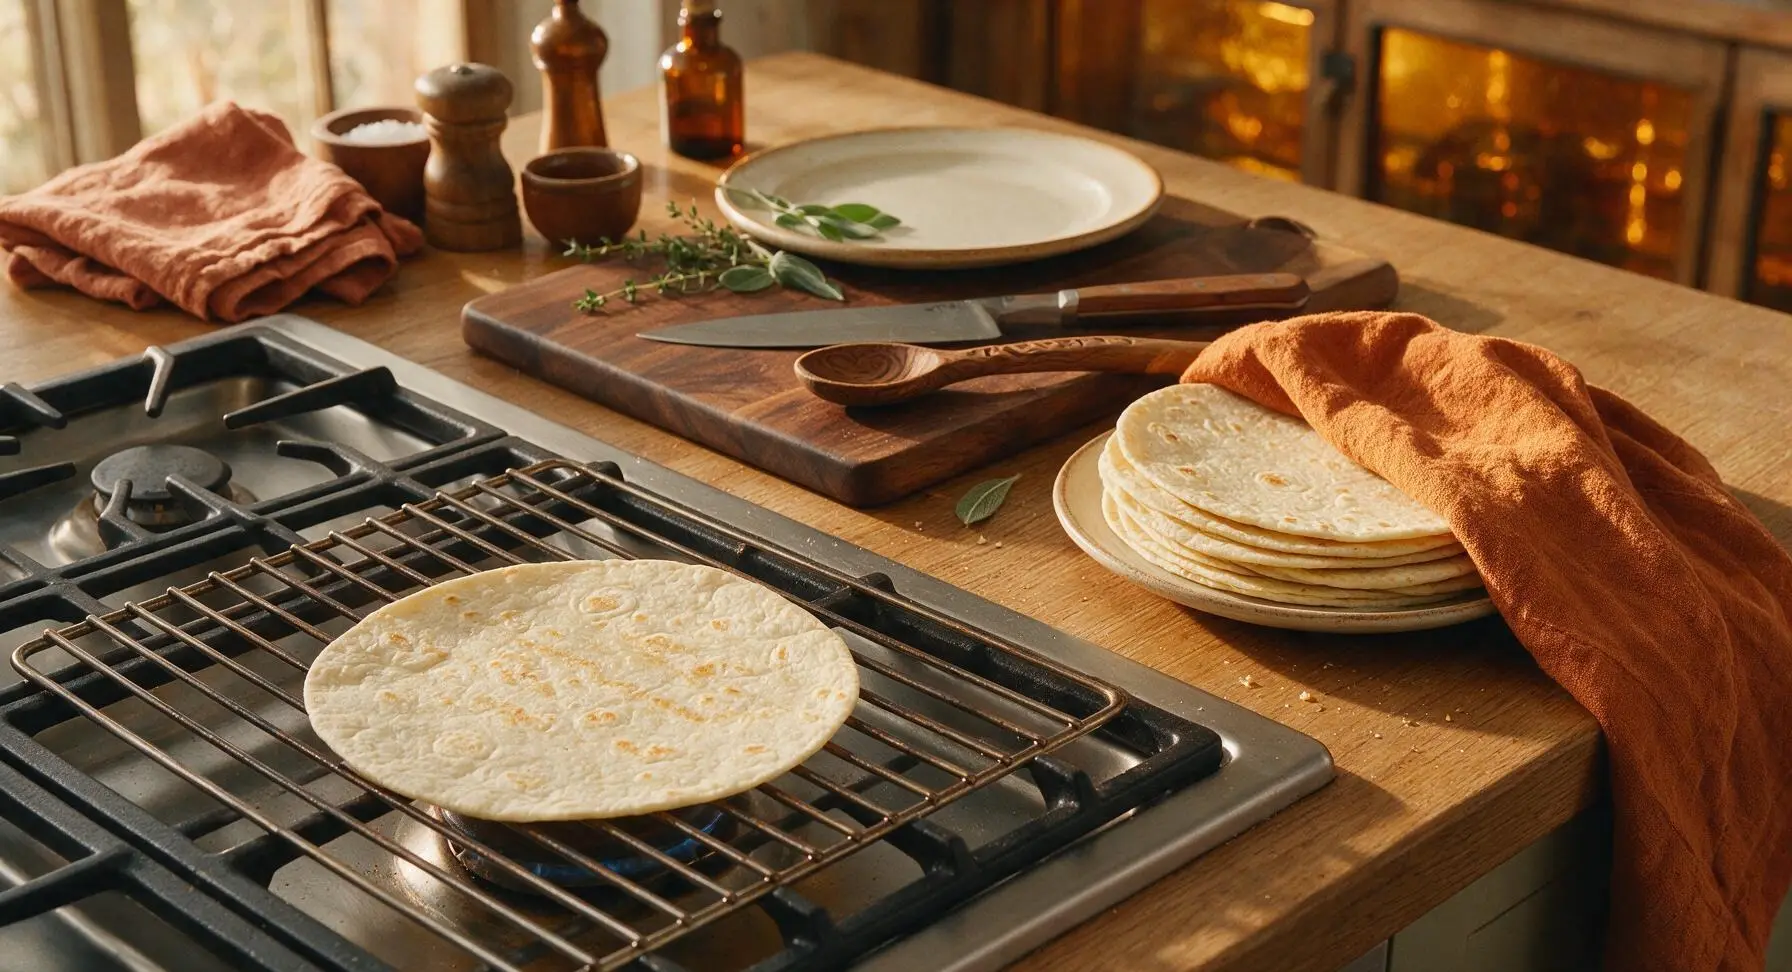
Turn a stovetop burner to low heat. Warm each flour tortilla directly on the burner grate for 10 seconds per side, until soft and pliable with faint light golden toasting spots. Do not over-toast, as tortillas will become brittle and crack when rolling. Stack warmed tortillas on a small clean plate and cover with the edge of the burnt orange cotton kitchen towel to trap steam and keep them soft during assembly.
Step 3
step3:Warm Flour Tortillas
4

Layer Burrito Fillings

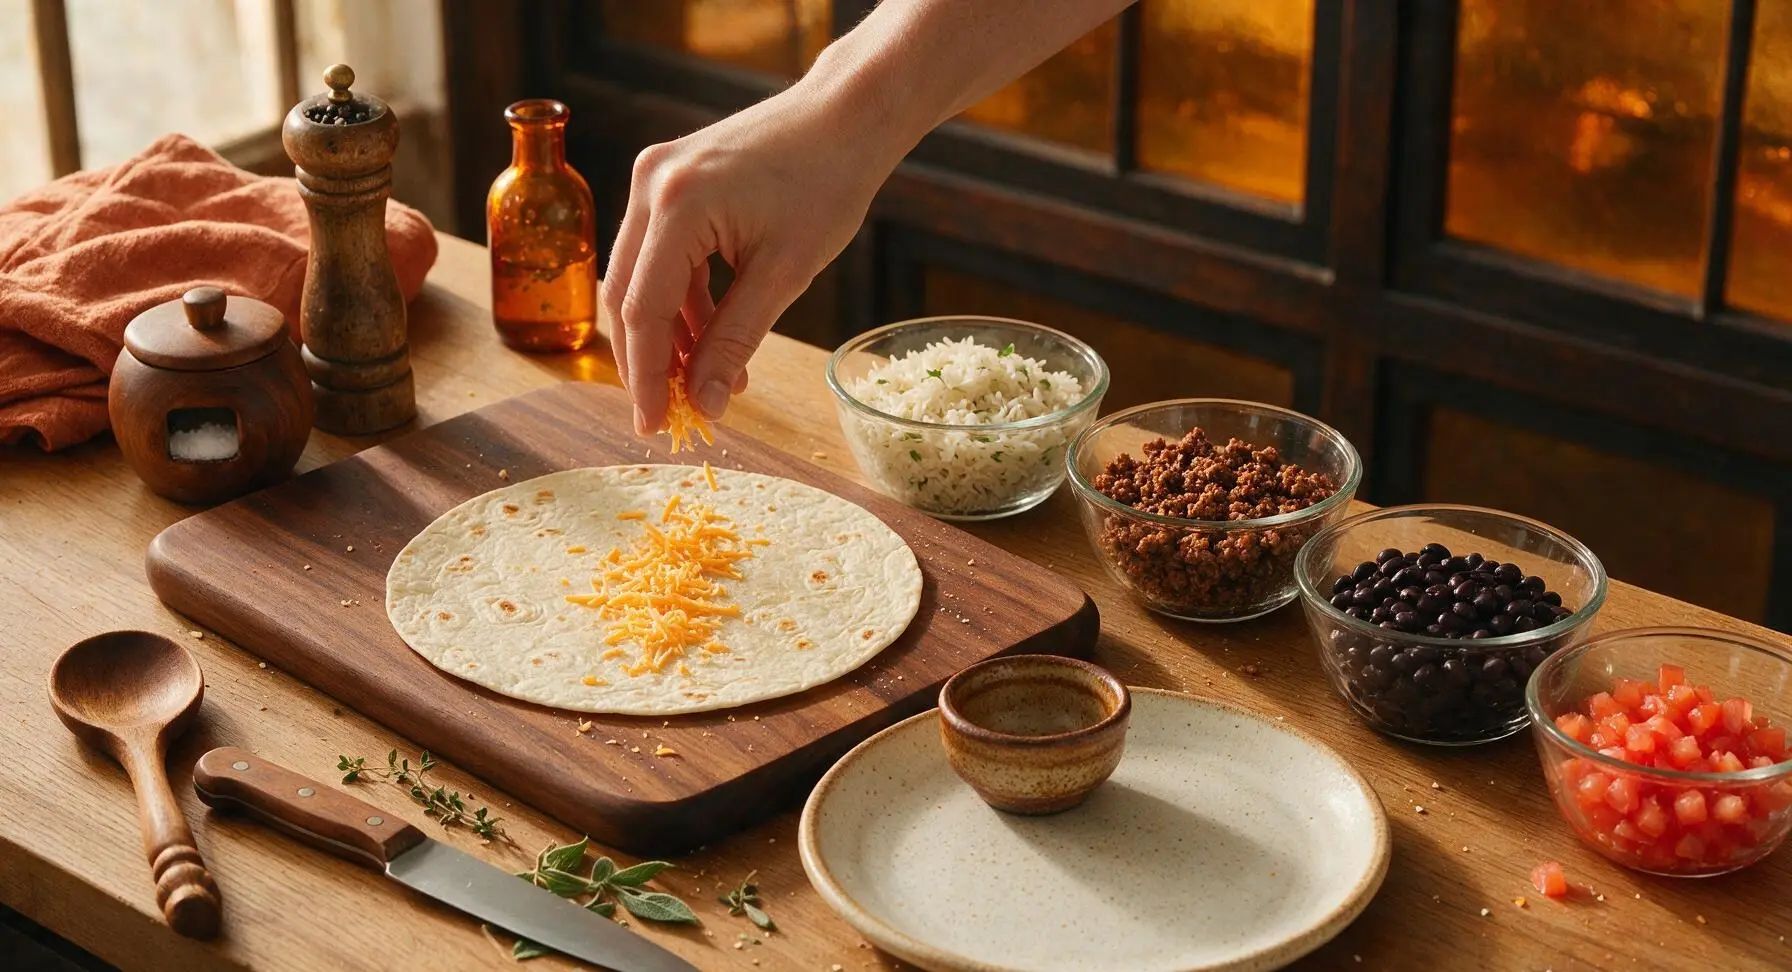
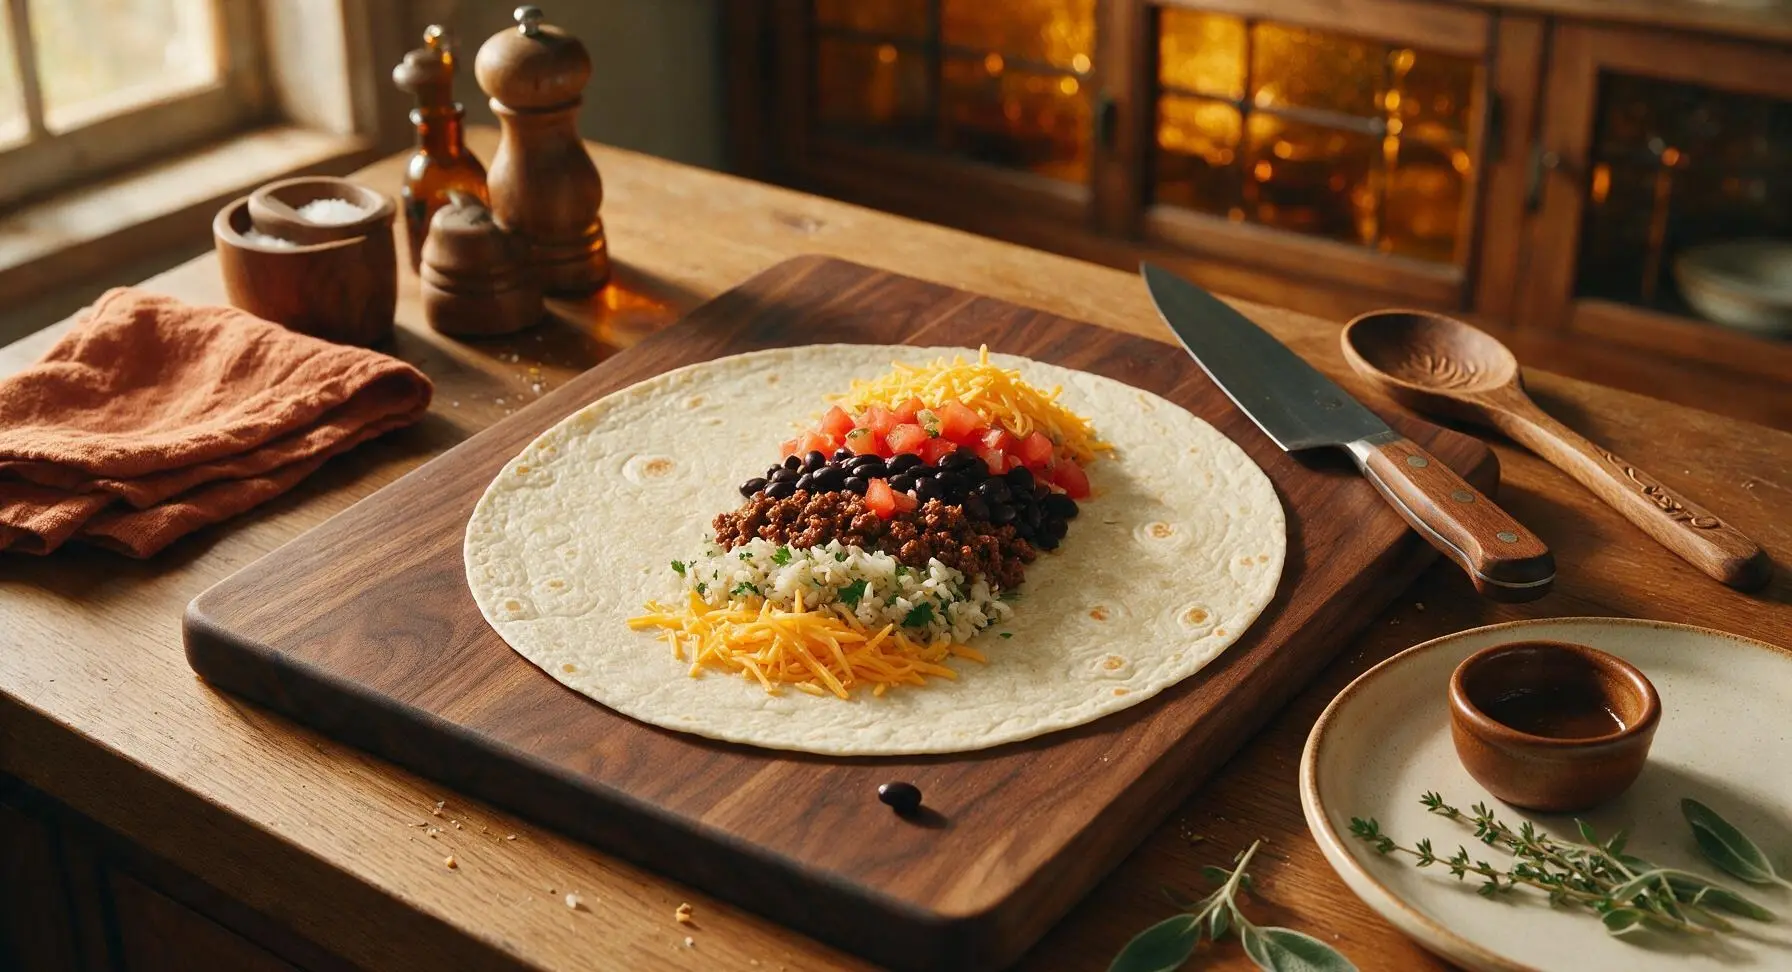
Lay one warmed tortilla flat on the honey-toned bamboo cutting board. Layer fillings evenly down the center third of the tortilla in this sogginess-preventing order: first 2 tbsp shredded sharp cheddar (placed against the warm tortilla to melt quickly), followed by 1/2 cup cilantro-lime rice, 1/2 cup seasoned ground beef, 1/3 cup rinsed drained black beans, 2 tbsp diced seeded tomato, and a final 2 tbsp shredded cheddar on top. Leave a clear 5cm border on the top and bottom edges of the filling line to make folding clean and easy. Do not overstuff, as this will cause burritos to split when rolling.
Step 4
step4:Layer Burrito Fillings
Step 4
step4:Layer Burrito Fillings
5

Fold Burritos Tightly

Fold the top and bottom 5cm tortilla borders in over the ends of the filling line, covering the edges of the filling to prevent leaks. Then, roll the tortilla tightly from one long open side to the other, tucking the tortilla edge under the fillings as you go to create a sealed, compact burrito with no gaps for filling to fall out. Press the final seam gently with your palm to help it stick. Repeat the layering and folding process with the remaining 3 tortillas and fillings.
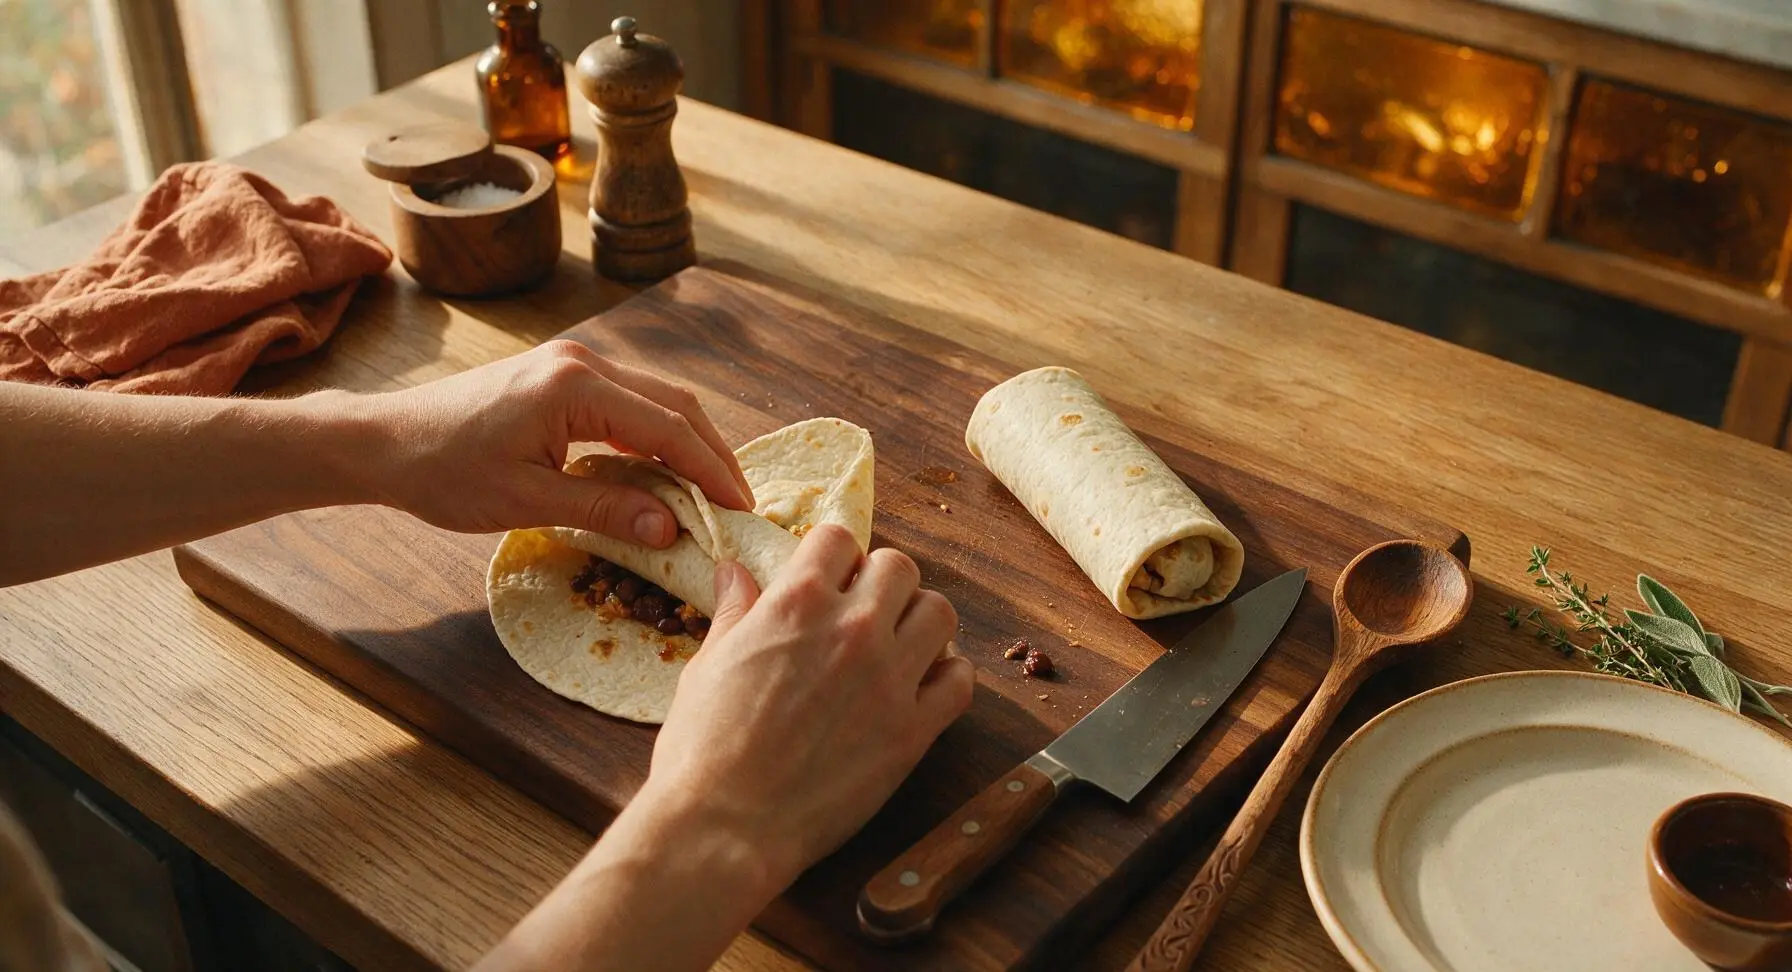
Step 5
step5:Fold Burritos Tightly
6

Sear Wrapped Burritos

Return the matte black carbon steel skillet to medium heat (no extra oil needed). Place the wrapped burritos seam-side down in the dry skillet, cooking for 1-2 minutes per side until the tortilla exterior is golden brown and slightly crisp, and the cheese inside is fully melted. Turn burritos carefully with the slotted turner to avoid tearing the tortilla shell. Remove from heat once all sides are evenly seared, then plate and serve with sour cream and hot sauce if desired.
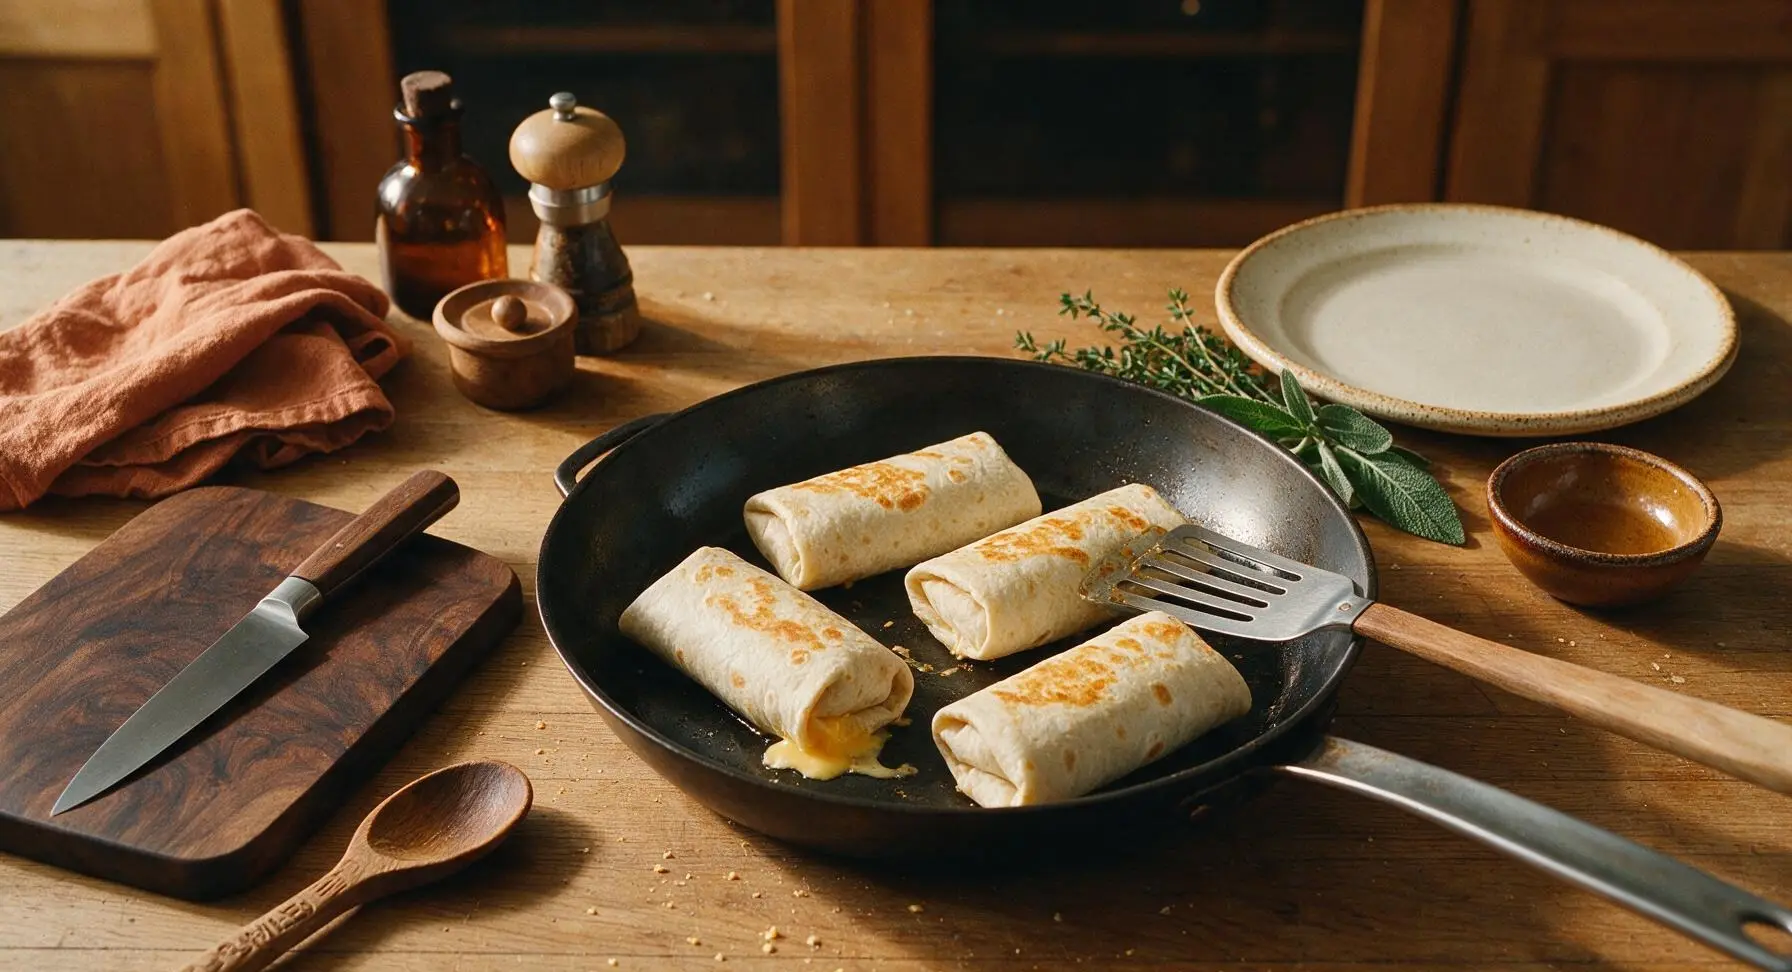
Step 6
step6:Sear Wrapped Burritos

Tips

1.Warm tortillas right before assembly: Cold or room-temperature tortillas crack easily when rolled, but warming them for 10 seconds per side over low heat makes them soft and pliable enough to wrap tightly without splitting, even when generously stuffed. Keep warmed tortillas covered with a towel to trap steam so they stay flexible through assembly.
2.Layer cheese against the tortilla: Placing shredded cheddar both directly on the warm tortilla (under the fillings) and on top of the filling stack creates a natural moisture barrier that prevents wet fillings from making the tortilla soggy, and ensures every bite has melted, stretchy cheese.
3.Resist overstuffing: It is tempting to pack in extra rice, beans, or beef, but leaving a 5cm clear border around the center filling line allows you to roll a tight, leak-proof seal that won’t split while searing or drip down your wrist when you eat it.


✨ You May Also Like

Main Course
🍜 United Kingdom

A showstopping classic of tender seared beef, savory mushroom duxelles, and crisp prosciutto wrapped in flaky golden puff pastry, baked to juicy perfection.

⏱️ 2 hours 1Main Course ★ 4.7
Main Course
🍜 India

Tender charred marinated chicken simmered in a rich, spiced creamy tomato sauce, this iconic Anglo-Indian curry pairs perfectly with basmati rice or warm naan.

⏱️ 50 minuteMain Course ★ 4.6
Main Course
🍜 Thailand

Classic tangy, sweet, and savory Thai stir-fried rice noodles with shrimp, tofu, and crunchy garnishes, balancing all five core Thai flavor profiles.

⏱️ 30 minuteMain Course ★ 4.5
Main Course
🍜 United Kingdom

Crispy golden beer-battered cod and fluffy double-fried chips, served with tangy tartar sauce and malt vinegar: the timeless, beloved British pub comfort classic.

⏱️ 45 minuteMain Course ★ 4.7
Main Course
🍜 Mexico

Smoky, chile-marinated pork tacos with caramelized pineapple, fresh cilantro, and lime: a beloved classic Mexican street food perfect for casual summer gatherings.

⏱️ 1 hour 45Main Course ★ 4.8
Main Course
🍜 United States

Crunchy Fritos corn chips layered with savory beef chili and melted cheddar, topped with cool, zesty fixings for a beloved, cozy Tex-Mex comfort food.

⏱️ 35 minuteMain Course ★ 4.8

best homemade burritos:Frequently Asked Questions

1.What size tortillas work best for these homemade burritos, and why? ▾
Stick with 10-inch flour tortillas for this recipe—they’re the perfect sweet spot. Smaller 8-inch tortillas tear or overflow when folded, while oversized 12-inch tortillas get floppy and make burritos overly bready. Warm them for 10 seconds in the microwave or on a skillet first so they’re pliable and don’t crack while wrapping.
2.Why do you recommend 90/10 lean ground beef instead of a fattier blend? ▾
90/10 lean ground beef gives you juicy, flavorful filling without the excess grease that makes burritos soggy and messy to eat. Fattier 80/20 blends leave greasy residue that seeps into tortillas and makes toppings slide, while extra-lean 93/7 can come out dry if not seasoned carefully, so 90/10 hits the ideal balance.
3.Do I have to use long-grain white rice, or can I swap in another rice variety? ▾
Cooked long-grain white rice is ideal here because it stays light, fluffy, and separate, rather than getting clumpy or mushy in your burrito. You can swap in cilantro-lime long-grain rice for extra flavor, or long-grain brown rice for whole grains, but skip short-grain sticky rice—it makes filling gummy and dense.
4.Why do I need to rinse and drain canned black beans before adding them? ▾
Rinsing and draining canned black beans washes away the thick, starchy, salty canning liquid that would make your burrito filling watery and overly briny. It also removes faint metallic canned aftertaste, so beans taste creamy and earthy, pairing perfectly with beef, rice, and cheese without turning your wrap soggy.
5.Can I prep these burritos ahead of time for quick weeknight meals? ▾
Absolutely! Assemble and wrap burritos tightly in plastic wrap or aluminum foil, then store them in the fridge for up to 3 days, or freeze for up to 3 months. For best results, leave cold fresh toppings like pico de gallo or lettuce out of prepped burritos, adding those right after reheating to keep them crisp and bright.
6.What’s the best way to reheat a premade burrito so it doesn’t get soggy? ▾
For the crispiest, least soggy result, reheat unwrapped burritos in a 350°F oven for 15 to 20 minutes (25 to 30 minutes from frozen) wrapped loosely in foil. If you’re short on time, microwave for 1 minute first, then crisp the outside on a dry skillet over medium heat for 1 minute per side to restore tortilla texture.
7.Why use sharp cheddar instead of a milder cheese for these burritos? ▾
Sharp cheddar has a bold, tangy flavor that cuts through the richness of seasoned beef and creamy beans, so you get prominent cheesy flavor in every bite without piling on mounds of cheese. It also melts smoothly into the rice and bean filling, creating that perfect gooey texture that holds fillings together as you eat.
8.How do I wrap a burrito tight enough to avoid fillings falling out while I eat? ▾
Start with your warmed tortilla on a flat surface, piling fillings in a straight line down the center with a 2-inch border at the top and bottom. Fold the short top and bottom edges over the filling first, tuck one long side tight over the fillings, roll firmly toward the remaining open edge, and press gently to seal for a mess-free hold.
9.Can I make these burritos without beef for a vegetarian option? ▾
Definitely! Swap the 90/10 ground beef for seasoned crumbled plant-based ground, or sautéed peppers and onions mixed with extra black beans and a pinch of taco seasoning. Keep the rice, cheese, and bean base the same, and you’ll get a hearty, flavorful vegetarian burrito just as satisfying as the beef version.
10.How much filling should I add to each burrito to avoid tearing the tortilla? ▾
Stick to roughly ¾ cup of total filling per 10-inch tortilla to avoid overflow and tears. That breaks down to about 2 tablespoons each of seasoned beef, rice, beans, and shredded cheese, plus a small scoop of fresh toppings. Overstuffing is the number one cause of split, messy burritos, so resist the urge to pack in extra.
11.What fresh toppings pair best with these burritos to match the Tex-Mex flavor profile? ▾
Stick with bright, crisp toppings that cut through the rich, savory filling: fresh pico de gallo, diced avocado, a dollop of sour cream, shredded iceberg lettuce, a squeeze of lime, or a spoonful of pickled jalapeños work beautifully. Add toppings right before wrapping or serving so they don’t make the tortilla soggy during storage.
12.Do I need to cook the black beans further after rinsing and draining them? ▾
No extra cooking is required! Canned black beans are fully cooked during the canning process, so once you rinse and drain them, you can add them straight to the burrito filling. If you want extra flavor, toss them with a pinch of cumin, garlic powder, and salt while warming them slightly, but that’s totally optional for quick weeknight prep.
13.My rice always comes out clumpy when I make burritos—what am I doing wrong? ▾
Clumpy rice usually comes from overcooking long-grain white rice, or stirring it too much while it cooks. Cook rice at a gentle simmer with a 2:1 water to rice ratio, leave the lid on the whole time it cooks, and let it rest for 5 minutes off heat before fluffing with a fork. Light, separate grains won’t turn filling gummy.
14.Can I use corn tortillas instead of flour tortillas for this recipe? ▾
Corn tortillas aren’t ideal for these large, loaded burritos, even in 10-inch sizes, because they’re stiffer, more prone to cracking when folded, and have a strong corn flavor that competes with the fillings. If you prefer corn, use them for smaller taco-style portions instead, since they won’t hold the full burrito filling load without splitting.
15.How do I season the ground beef to match that classic Tex-Mex burrito flavor? ▾
For classic seasoned beef, brown the 90/10 ground beef over medium heat, drain any tiny bit of excess grease, then season with 1 tablespoon of chili powder, 1 teaspoon each of cumin, garlic powder, onion powder, and a half teaspoon each of salt, black pepper, and paprika. Stir in a quarter cup of water and simmer for 2 minutes to let spices coat the beef evenly.
16.Should I shred my own sharp cheddar, or is pre-shredded cheese fine to use? ▾
Pre-shredded sharp cheddar works in a pinch for quick weeknight prep, but freshly shredded cheese melts smoother and has a richer, less starchy flavor. Pre-shredded cheese is coated in anti-caking agents that can make it slightly grainy when melted, so if you have an extra 2 minutes, shredding your own block of cheddar is worth the small effort.
17.How do I keep the burrito tortilla from getting soggy once it’s assembled? ▾
To avoid soggy tortillas, make sure all hot fillings (beef, beans, rice) are drained of excess liquid before adding them, and don’t overdo it with wet toppings like salsa or sour cream if prepping ahead. Adding a thin layer of shredded cheese right against the tortilla first creates a barrier that keeps moisture from seeping into the flour.
18.Can I make these burritos on a sheet pan for a crowd instead of assembling them one by one? ▾
Absolutely! For a crowd, lay out all 10-inch tortillas on sheet pans, portion fillings evenly down the center, wrap them tight, and brush the outside lightly with oil. Bake at 400°F for 12 to 15 minutes until tortillas are slightly crisp outside and cheese is fully melted, then serve with toppings on the side for guests to customize.
19.What’s the best way to store leftover burrito fillings if I don’t assemble all the burritos at once? ▾
Store leftover cooked beef, rice, rinsed beans, and shredded cheese in separate airtight containers in the fridge for up to 4 days. Keeping components separate lets you assemble fresh burritos in minutes when you want them, and prevents ingredient textures from getting mushy from sitting mixed together. Reheat hot components before assembling fresh burritos.

Comments (12)

2 days ago

OMG these are SO good! I made these for taco night last week and my kids loved it so much that my picky 7 year old asked for seconds before he even finished his first burrito. Game changer for our weekly family dinner rotation! I added a little extra lime to the rice and it was chef’s kiss. Cook time was totally accurate too, took me exactly 25 minutes start to finish which is perfect for busy weeknights.

1 day ago

Wait the extra lime in the rice is such a good call! Did you use white rice or brown rice for that? I’m prepping these for my work meal prep this Sunday!

18 hours ago

So glad your family loved them! White long-grain rice works perfectly with that extra lime squeeze, but brown rice works great too if you want extra fiber. Pro tip: let the rice cool a tiny bit before stuffing so your tortillas don’t get soggy for meal prep!

5 days ago

Brought these to my neighborhood potluck last Saturday and people were begging for the recipe before I even left! I made a big batch with ground beef, black beans, and all the fixings, wrapped them up in foil to keep warm, and they were gone in 15 minutes. So easy to make even for a crowd, 10/10.

1 week ago

This is my new go-to Sunday meal prep recipe! I make 8 of these at a time, wrap them in parchment paper, and keep them in the fridge for quick lunches all week. They reheat so well in the microwave for 2 minutes, no sogginess at all if you follow the tip to not overstuff them. Only thing I swapped was using whole wheat tortillas for a little extra fiber.

6 days ago

Love the meal prep hack! Whole wheat tortillas are such a smart swap, we’re big fans of that too. If you ever want to freeze them, they hold up for up to 3 months wrapped tight in foil—perfect for extra busy weeks!

30 minutes ago

Wait, super new to cooking here—this says easy difficulty, right? I don’t have a fancy rice cooker or anything, can I make the rice on the stovetop no problem? I’m trying to stop eating takeout every night and these look way cheaper and tastier than the burritos from the spot down the street.

15 minutes ago

Dude I made these last week in my tiny dorm kitchen with just a tiny stovetop pot for rice, no fancy gear at all! The rice cooks in like 15 minutes while you brown the meat, it’s totally doable even if you’re a total beginner.

10 minutes ago

You absolutely don’t need any fancy equipment! Stovetop rice works perfectly, and as DormRoomChef said, you can cook the rice and the filling at the same time to stay on that 25 minute cook time. You’ve got this!

3 days ago

Added a scoop of pickled jalapeños and a drizzle of hot sauce inside each burrito and wow, that kicked it up to the next level. My partner said these are better than any burrito we’ve gotten at our local Mexican restaurant, and we’ve tried literally every spot within 20 minutes of our house. Will be making these at least twice a month from now on.

yesterday

Made these for my son’s post-soccer practice dinner last night and the whole team (plus all the parents hanging around) ended up eating half the batch! I used ground turkey instead of beef to keep it a little lighter and nobody even noticed the swap. So easy to throw together after running around to practices all afternoon.

12 hours ago

Wait I was nervous to swap ground turkey for beef because I thought it’d be dry—did you add any extra seasoning to it to keep it moist? I want to try that for my family too!

2 weeks ago

Made a vegetarian version of these with sautéed bell peppers, onions, black beans, and corn instead of meat, and it was so hearty even my meat-obsessed brother loved them! The seasoning blend in this recipe is perfect, I didn’t even have to add extra salt or anything. 10/10, will make the veggie version for our next game night.

2 hours ago

These were really tasty overall! My only mistake was using the giant burrito size tortillas and overstuffing them so half of them split open when I rolled them. Flavor was 10/10 though, I’ll definitely go lighter on the fillings next time I make them. Would recommend to anyone, just don’t be greedy with the stuffing like I was lol.

1 hour ago

So glad the flavor hit for you! Overstuffing is such an easy (and relatable) mistake—those giant tortillas can be tricky! A good rule of thumb is to leave about an inch of space around the edges of the tortilla when adding fillings to make rolling a breeze next time.

5 minutes ago

Wait, has anyone tried adding crispy french fries inside these for that California burrito vibe? I’m tempted to test it this weekend when I make these for my roommate and I, just curious if anyone else has tried that hack with this recipe.

2 minutes ago

OH MY GOODNESS I did that last time I made these! Tossed some frozen seasoned fries in the air fryer while the burrito filling cooked, stuffed them in with a little extra cheese, and it was insane. 10/10, do it. You won’t regret it.

just now

That’s such a fun twist! We love the California burrito style too—pro tip: add a little dollop of sour cream to cut the savoriness of the fries if you go that route. Let us know how it turns out!

1 week ago

This recipe is such a money saver! I calculated it out and each burrito costs like $1.25 to make, compared to the $9 burritos I buy at the shop near my office. I can make a whole week’s worth for less than the cost of two takeout burritos. Total no-brainer for anyone trying to cut down on food costs right now.

5 days ago

Wait that math checks out! I did the same last month and calculated I saved almost $80 in two weeks just by making these instead of grabbing takeout for lunch. Wild how much money we waste on takeout without realizing it!

2 days ago

I added a handful of shredded pepper jack cheese to each burrito before rolling them and then seared them seam-side down in a little butter for a minute to get the tortilla crispy on the outside. Game. Changer. The crispy tortilla plus the melty spicy cheese is unmatched. I’ll never make a burrito without searing it again.

1 day ago

That crispy sear hack is one of our all-time favorite tricks! Melty pepper jack takes these to a whole new level too, we’re so glad you loved that variation. Thanks for sharing the tip!

2 hours ago

I’ve literally never cooked anything more complicated than microwave mac and cheese before, and I pulled these off with zero issues! The instructions were so clear and straightforward, I didn’t burn anything, and my roommate said they were restaurant quality. I feel so proud of myself lol, this recipe gave me the confidence to try more easy homemade meals now.

1 hour ago

Yay you! That’s such a win, there’s no better feeling than nailing a new recipe as a beginner. These are the perfect starter recipe for sure, I started with them too when I was learning to cook last year!

30 minutes ago

That makes us so happy to hear! We design our easy recipes to be totally approachable for new cooks, and we’re stoked these gave you the confidence to cook more. Can’t wait to hear what you make next!



