
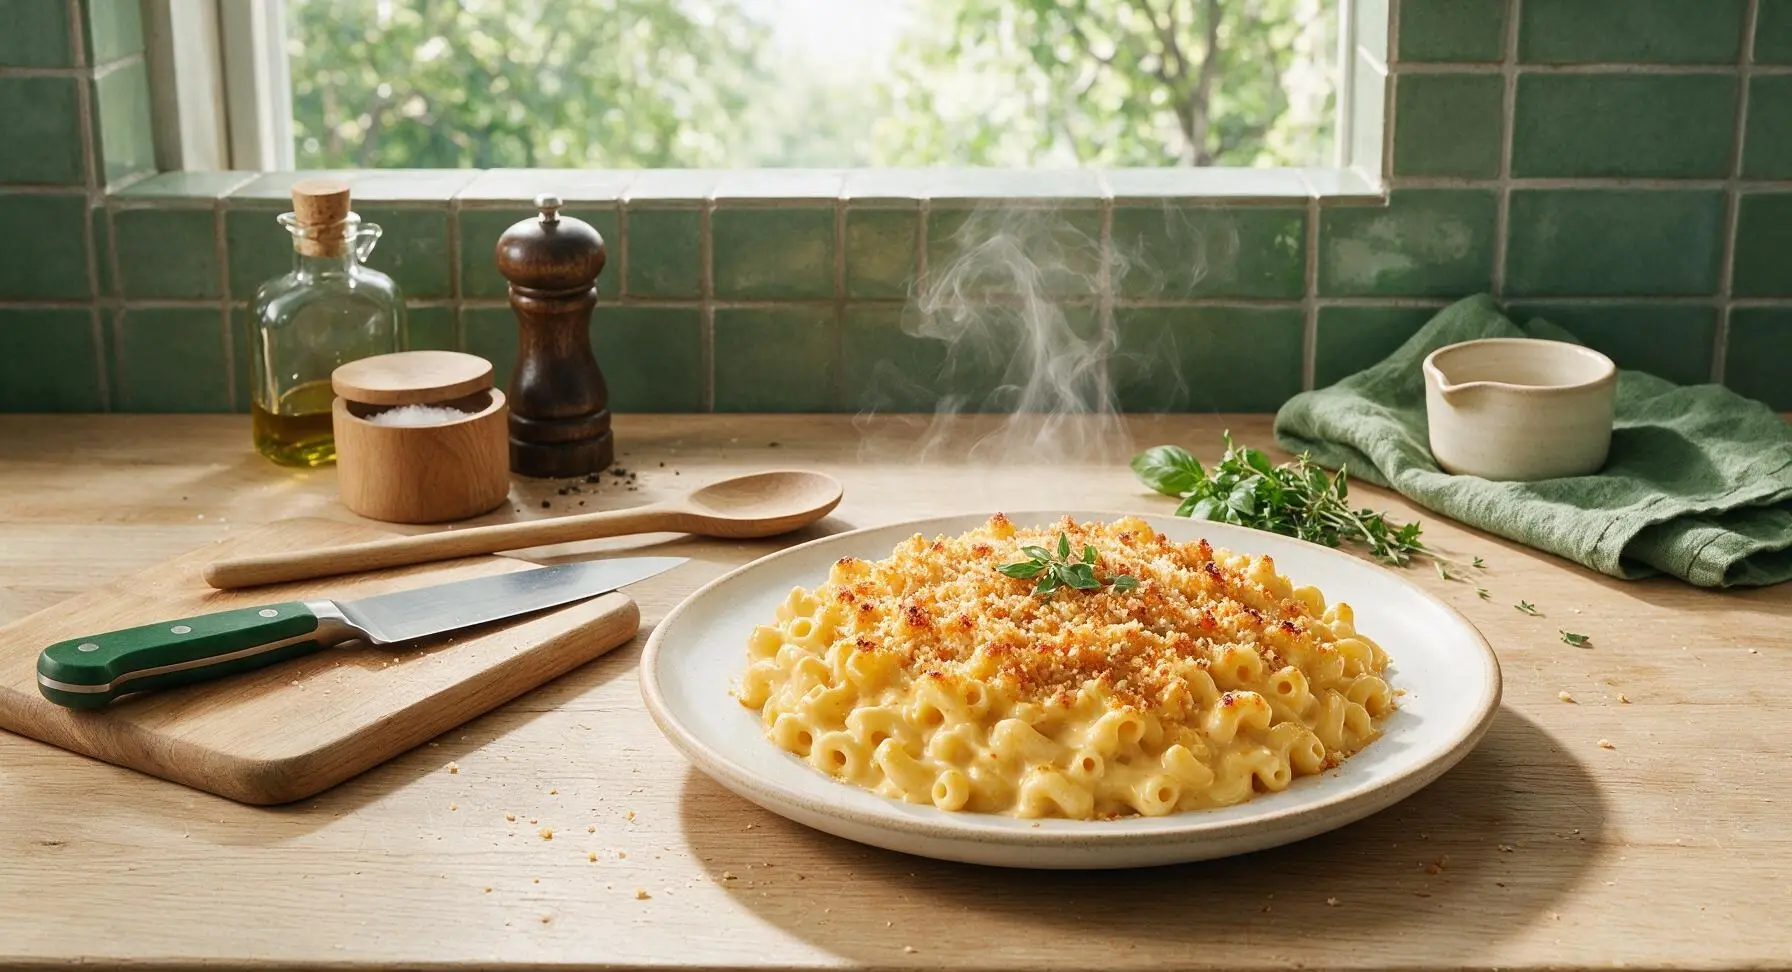
best mac n cheese

title 1
best mac n cheese
⏱️ cook time 40 minutes
🍽️ servings 6
⚡ Difficulty easy

intro

Ultra-creamy sharp cheddar sauce coats every elbow noodle, topped with buttery crispy panko, baked to golden bubbly perfection—pure nostalgic comfort in every bite.

Ingredients
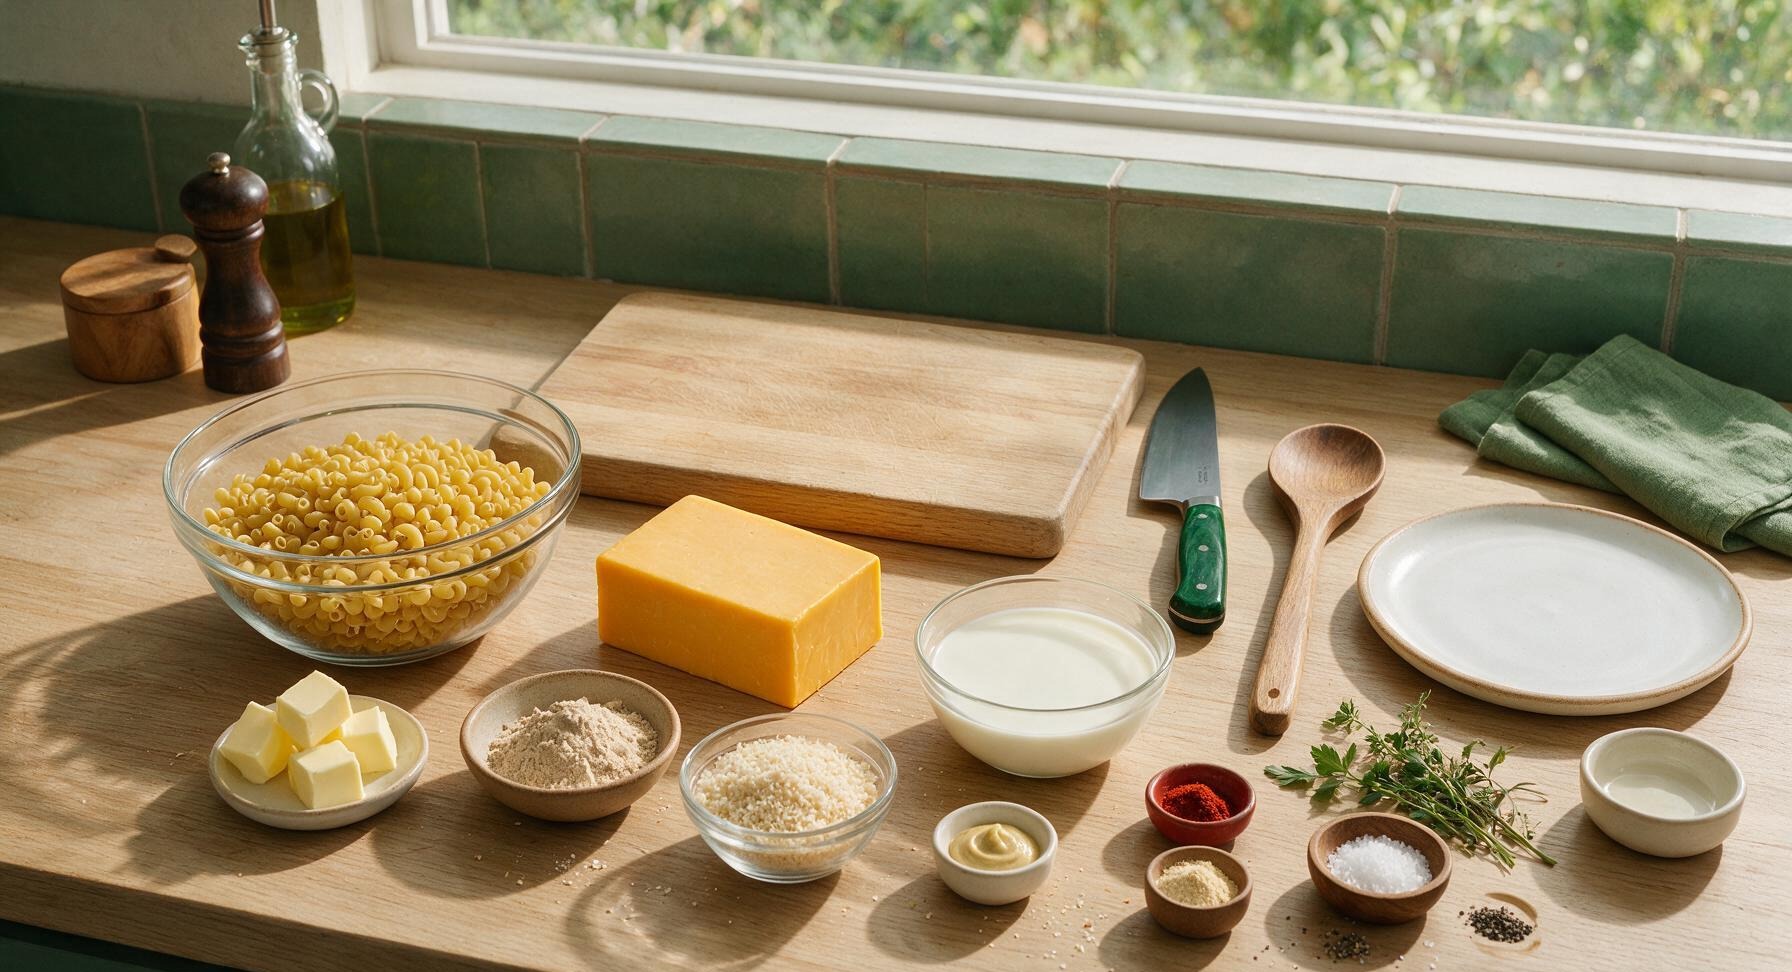
Dry elbow macaroni 340g (12oz)
Block sharp yellow cheddar cheese 340g (12oz, ~3 cups shredded)
Whole milk 480ml (2 cups)
Unsalted butter 57g (4 tbsp, divided)
All-purpose flour 24g (3 tbsp)
Panko breadcrumbs 30g (1/2 cup)
Dijon mustard 5g (1 tsp)
Garlic powder 3g (1 tsp)
Onion powder 1.5g (1/2 tsp)
Smoked paprika 0.5g (1/4 tsp)
Kosher salt 20g (1 tbsp for pasta water + 1 tsp for sauce)
Freshly ground black pepper 1g (1/2 tsp)

Steps

1

Prep Oven and Pasta

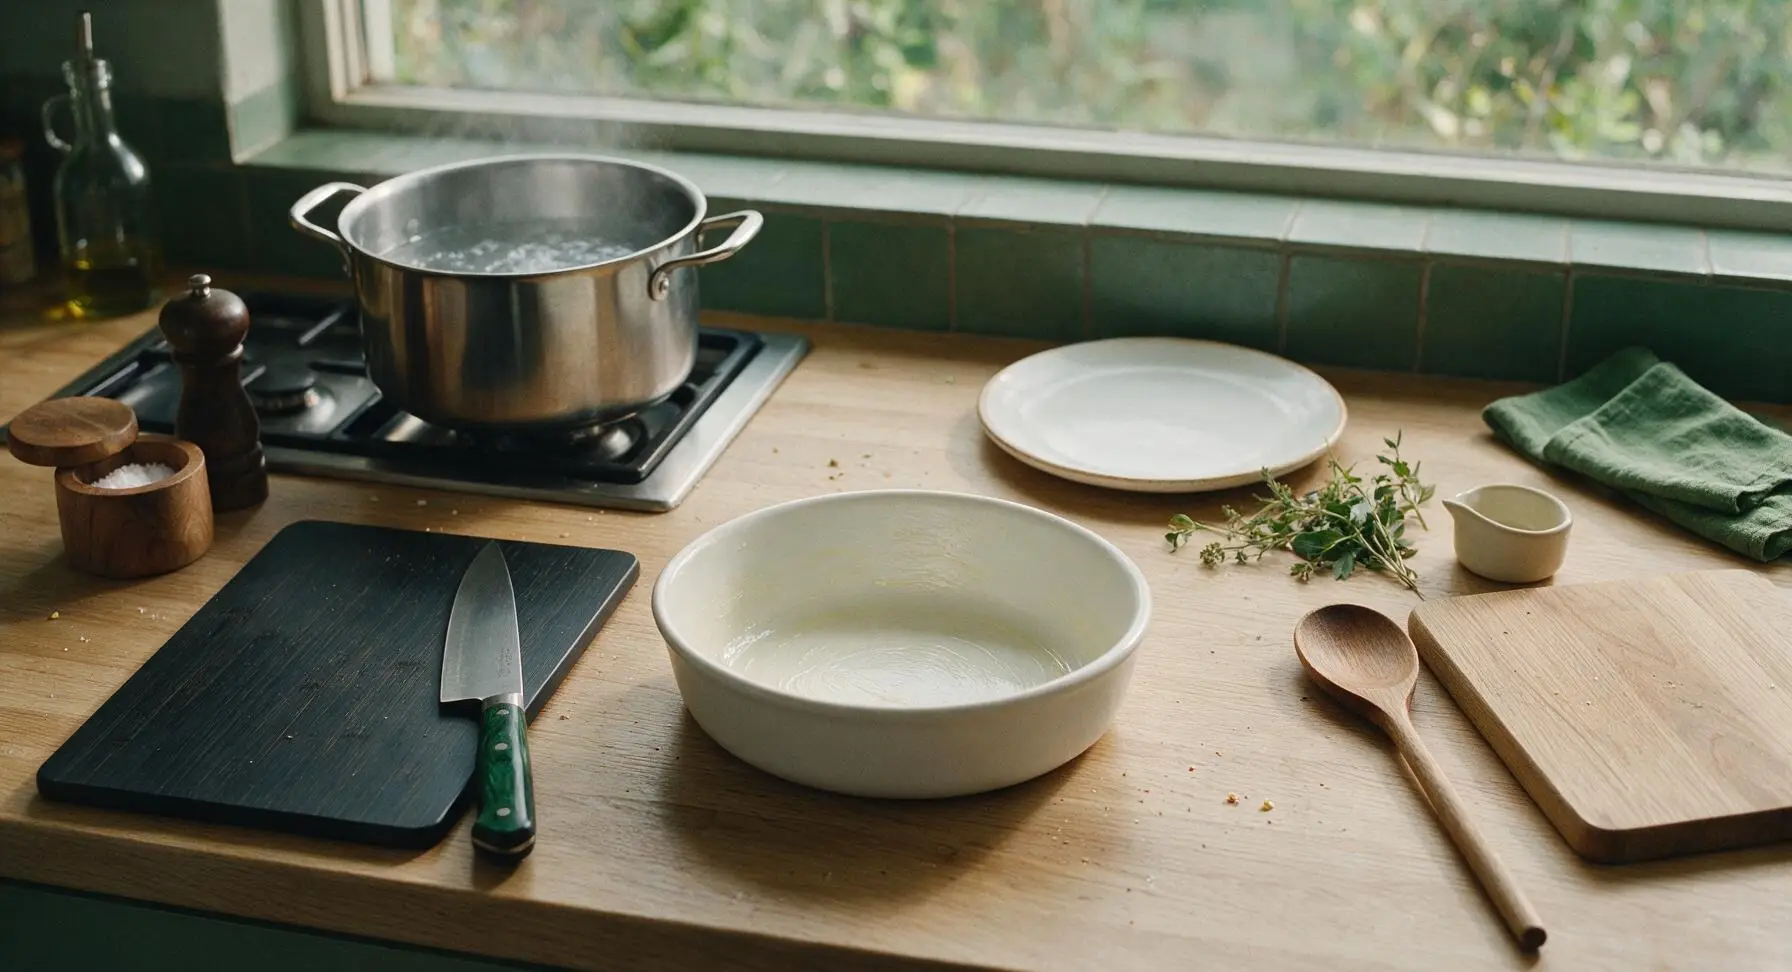
Adjust oven rack to middle position, preheat oven to 375°F (190°C). Fill the 5L polished stainless steel stock pot with 4L of cold water, add 1 tablespoon of kosher salt (water should taste as salty as seawater), place on the back left stovetop burner over high heat to bring to a rolling boil. Grease the interior of the matte white ceramic baking dish with 1 teaspoon of softened butter, then set the dish on the center counter.
Step 1
step1:Prep Oven and Pasta
2

Shred Sharp Cheddar

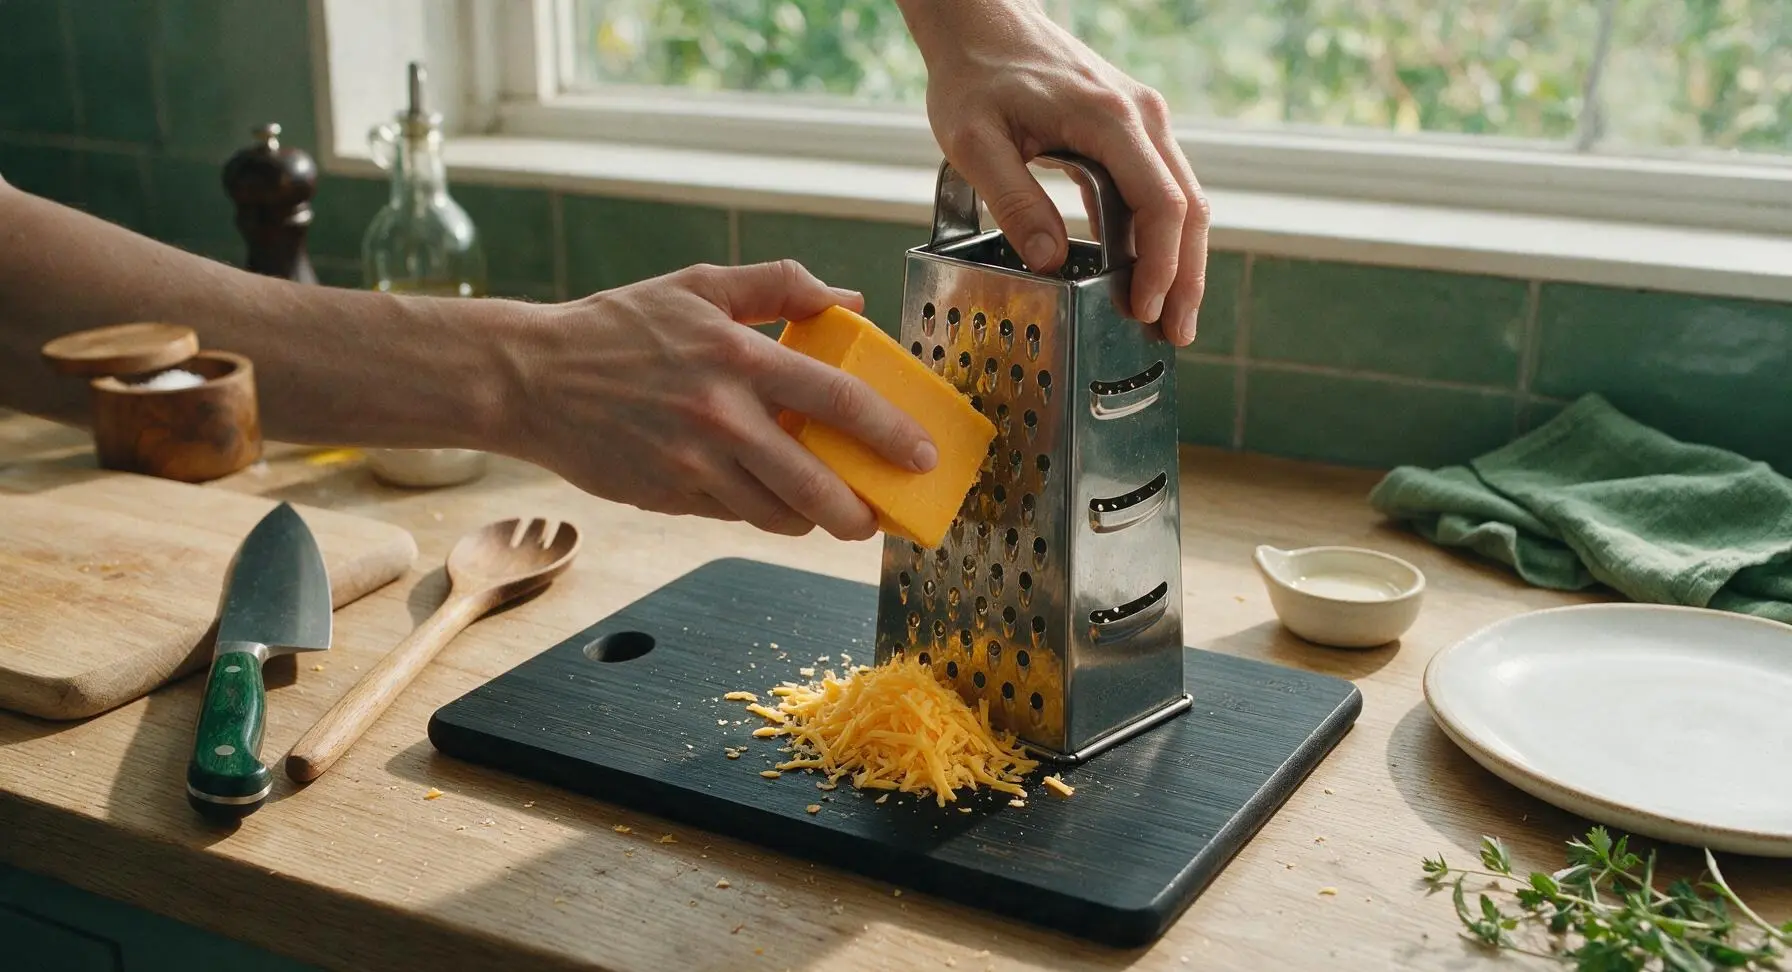
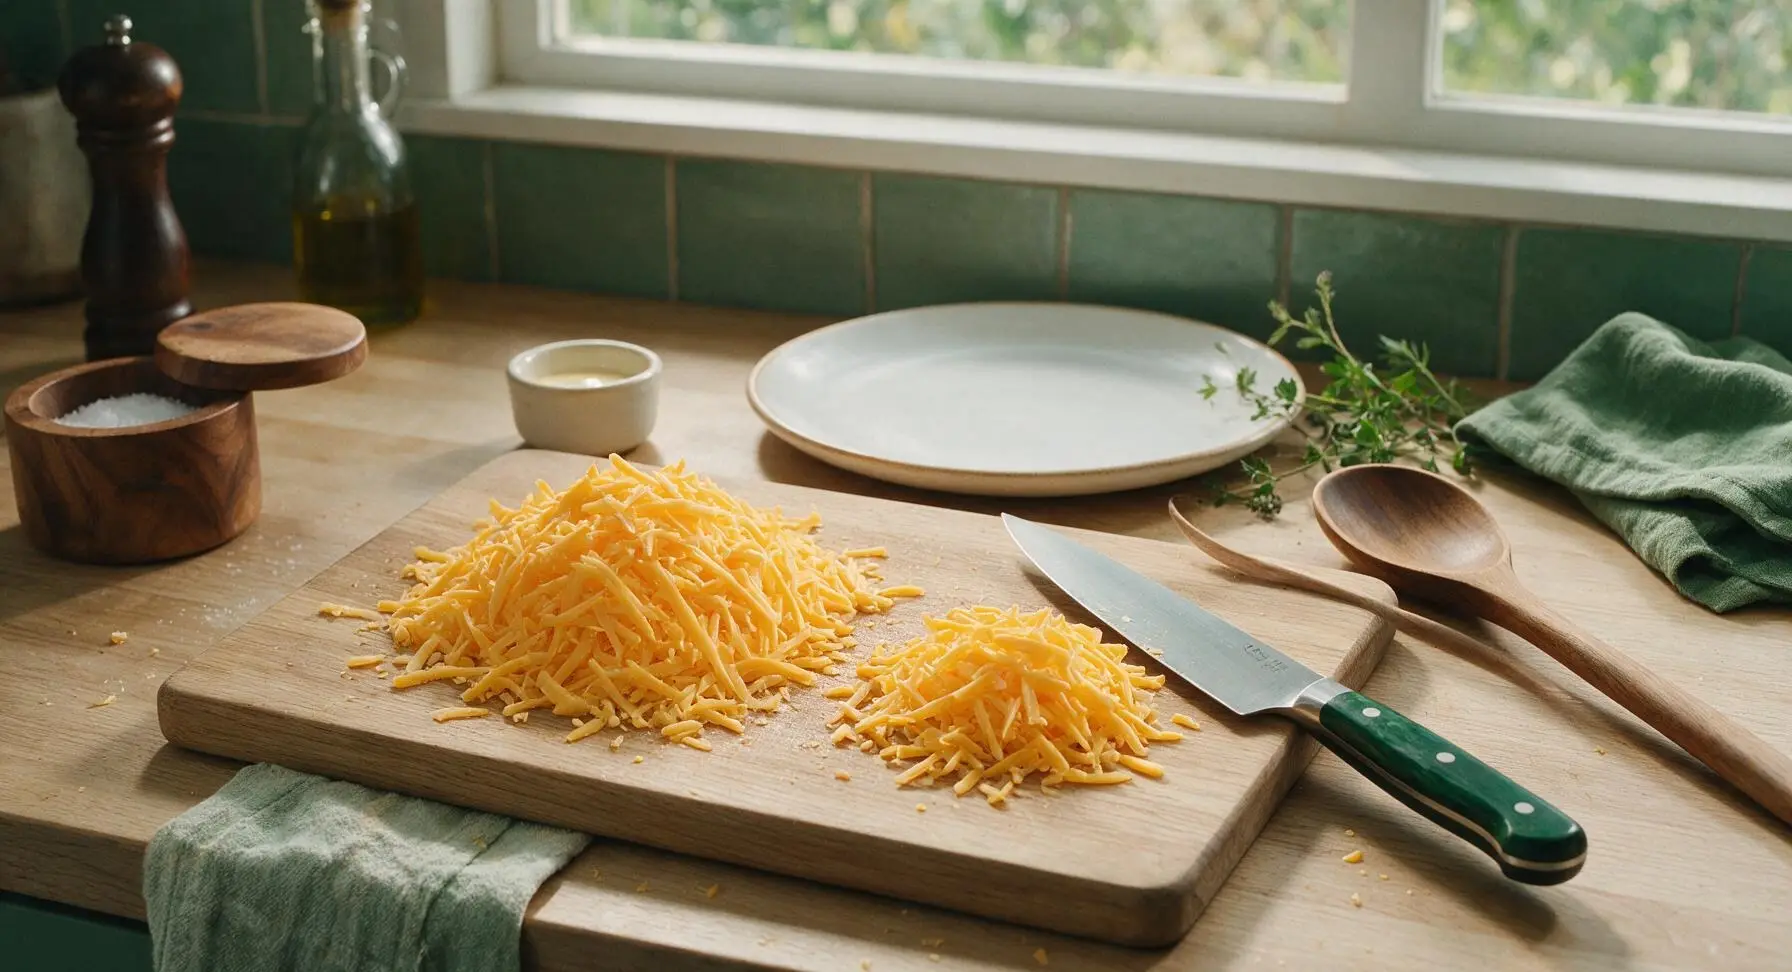
Place the block of sharp yellow cheddar on the matte black bamboo cutting board. Use the 4-sided stainless steel box grater (largest hole setting) to shred all cheese into a loose, fluffy pile. Set aside 1/2 cup of shredded cheese for the topping, keep the remaining 2.5 cups for the cheese sauce. Do not use pre-shredded cheese, as it contains anti-caking agents that create a grainy sauce.
Step 2
step2:Shred Sharp Cheddar
Step 2
step2:Shred Sharp Cheddar
3

Cook Pasta Al Dente

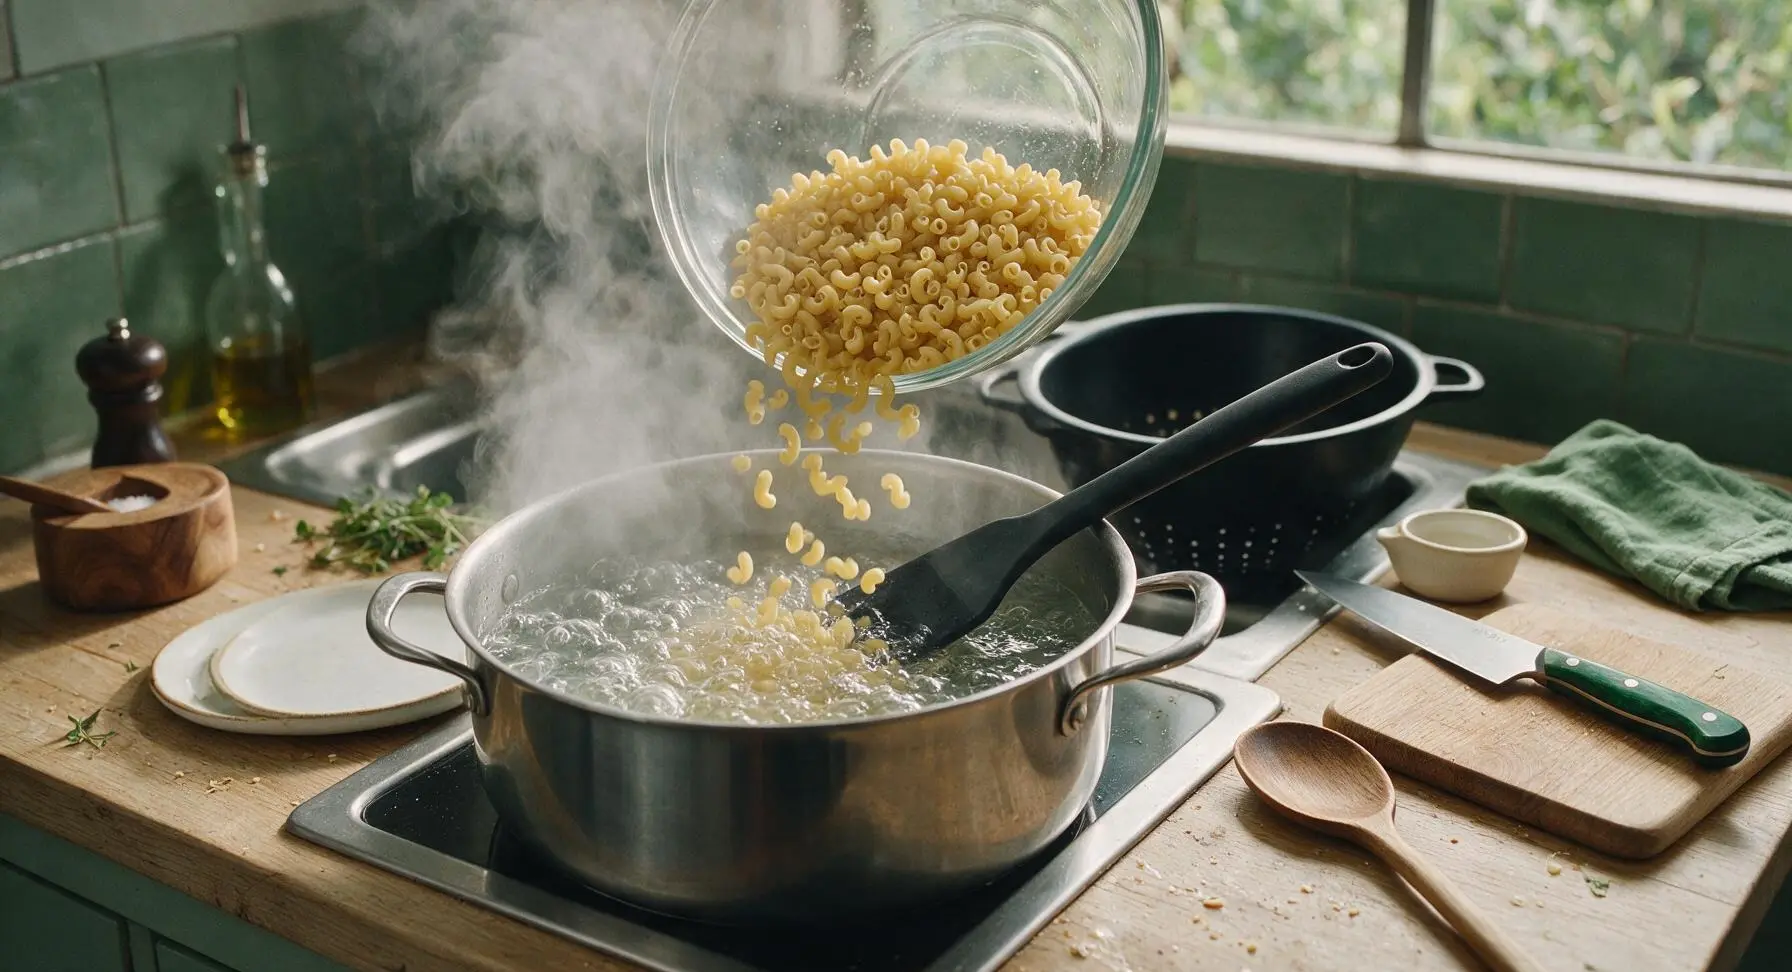
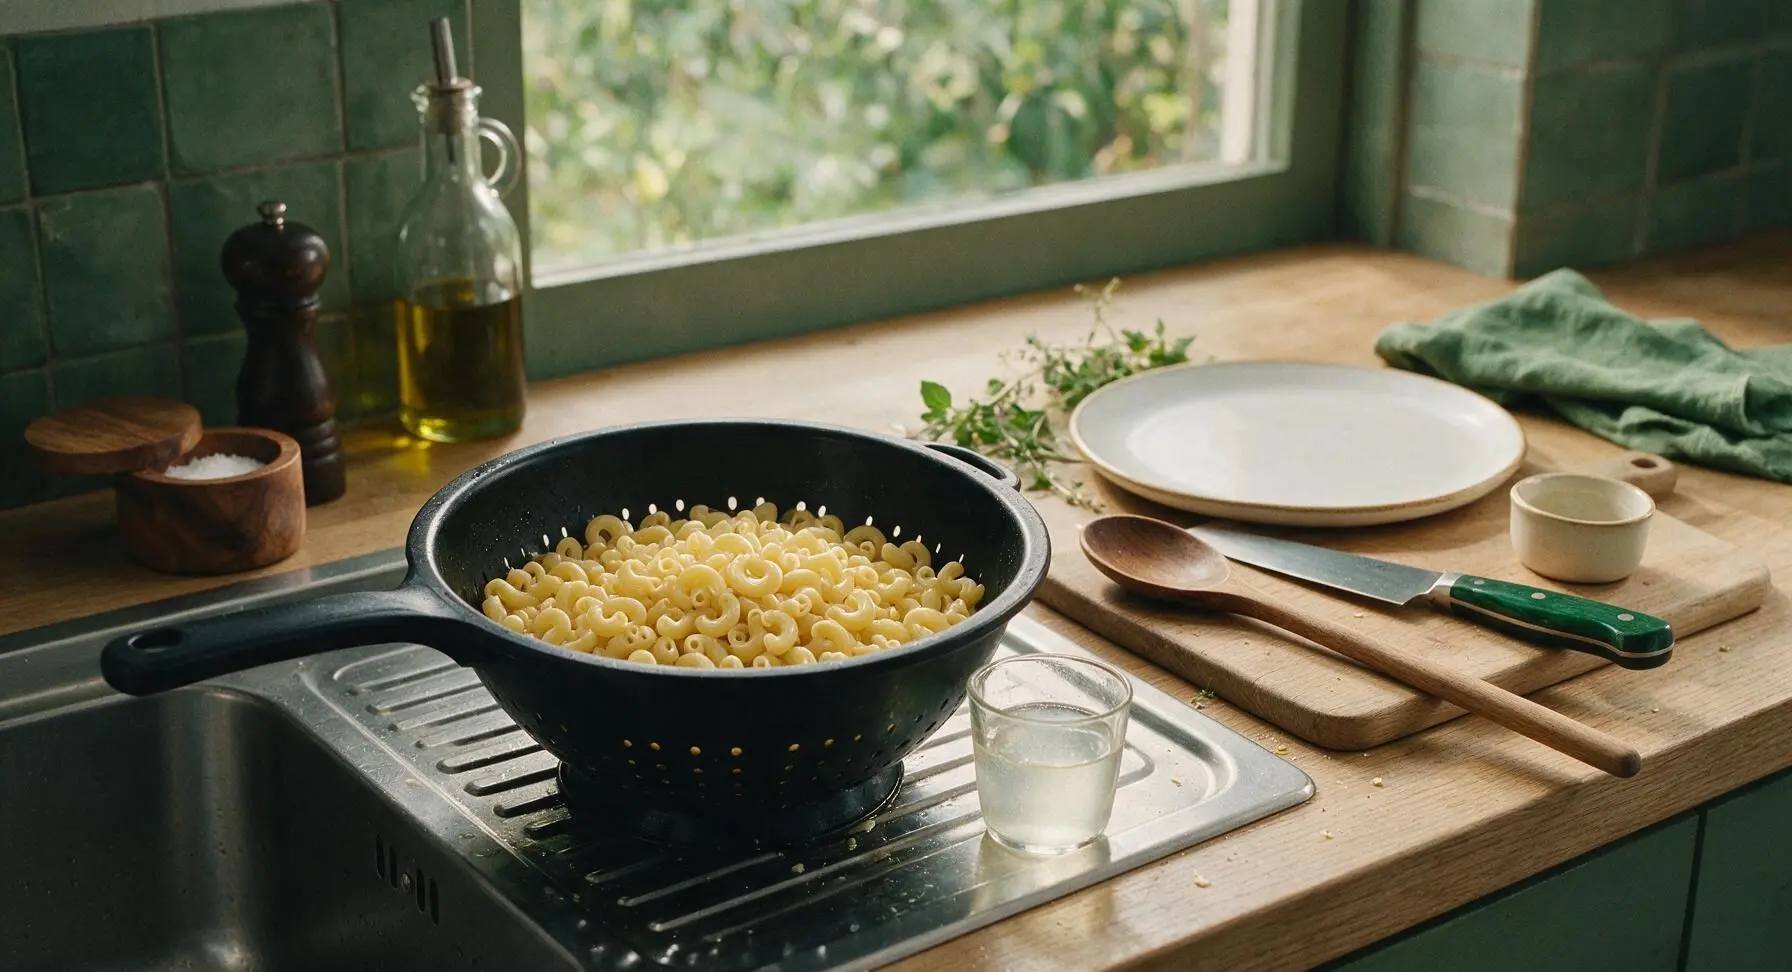
Once the stock pot water reaches a vigorous rolling boil, add the dry elbow macaroni. Stir immediately with the matte black silicone spatula to prevent noodles from sticking to the pot bottom. Cook for 6 minutes (2 minutes less than package al dente directions, as pasta will finish cooking in the oven). Reserve 1/4 cup of starchy pasta water in a small glass, then drain pasta completely in the matte black plastic colander set in the sink. Do not rinse pasta, as rinsing removes surface starch that helps sauce cling to noodles.
Step 3
step3:Cook Pasta Al Dente
Step 3
step3:Cook Pasta Al Dente
4

Cook Smooth Roux

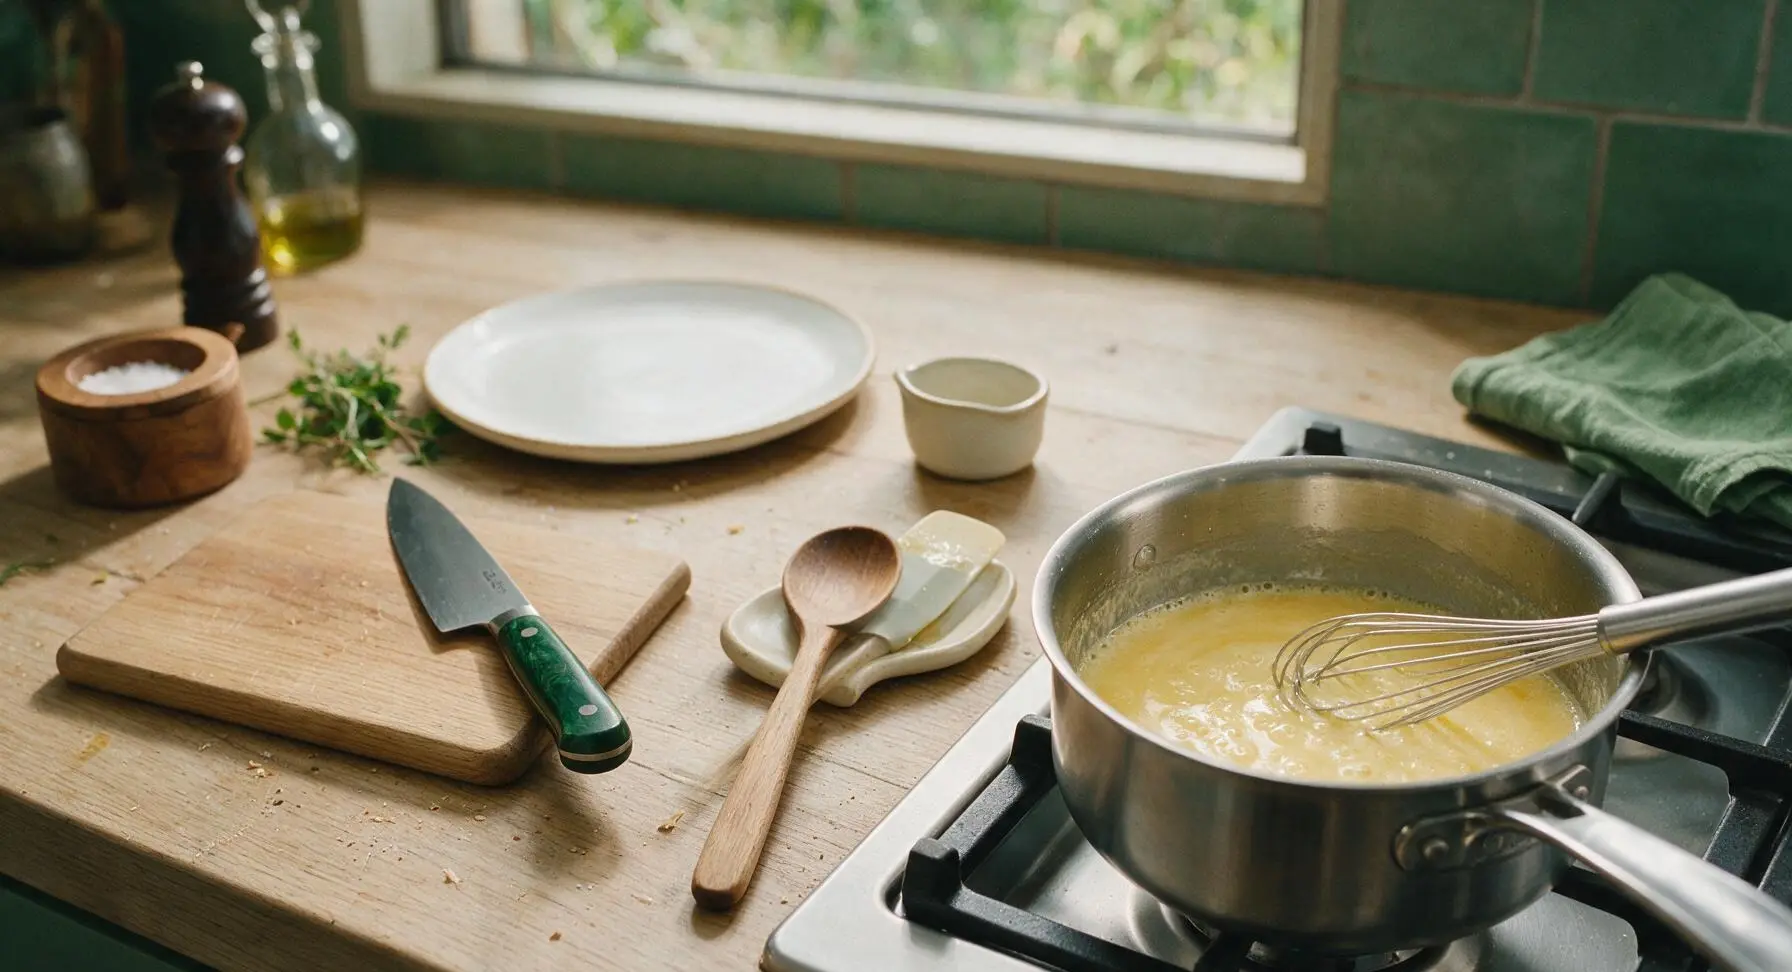
Place the 3L stainless steel saucepan on the front right stovetop burner over medium heat. Add 3 tablespoons of unsalted butter, melt until foaming subsides. Add the all-purpose flour, whisk constantly with the stainless steel wire whisk for 2 minutes, until the roux is pale golden and smells slightly nutty, with no raw flour aroma remaining. Do not let the roux turn dark brown, as this will create a dark, nutty gravy flavor instead of a mild, creamy cheese sauce base.
Step 4
step4:Cook Smooth Roux
5

Whisk Cheese Sauce

Slowly pour cold whole milk into the roux, 1/4 cup at a time, whisking constantly to eliminate lumps. Once all milk is added, continue whisking for 3-4 minutes until the sauce thickens enough to coat the back of a spoon (run a finger across the coated spoon; the line should hold without running). Stir in Dijon mustard, garlic powder, onion powder, smoked paprika, 1 teaspoon kosher salt, and black pepper. Remove pan from heat, stir in the 2.5 cups of reserved shredded cheddar, whisking until fully melted and smooth. If sauce feels too thick, stir in 1-2 tablespoons of reserved pasta water to reach a thick, pourable consistency.
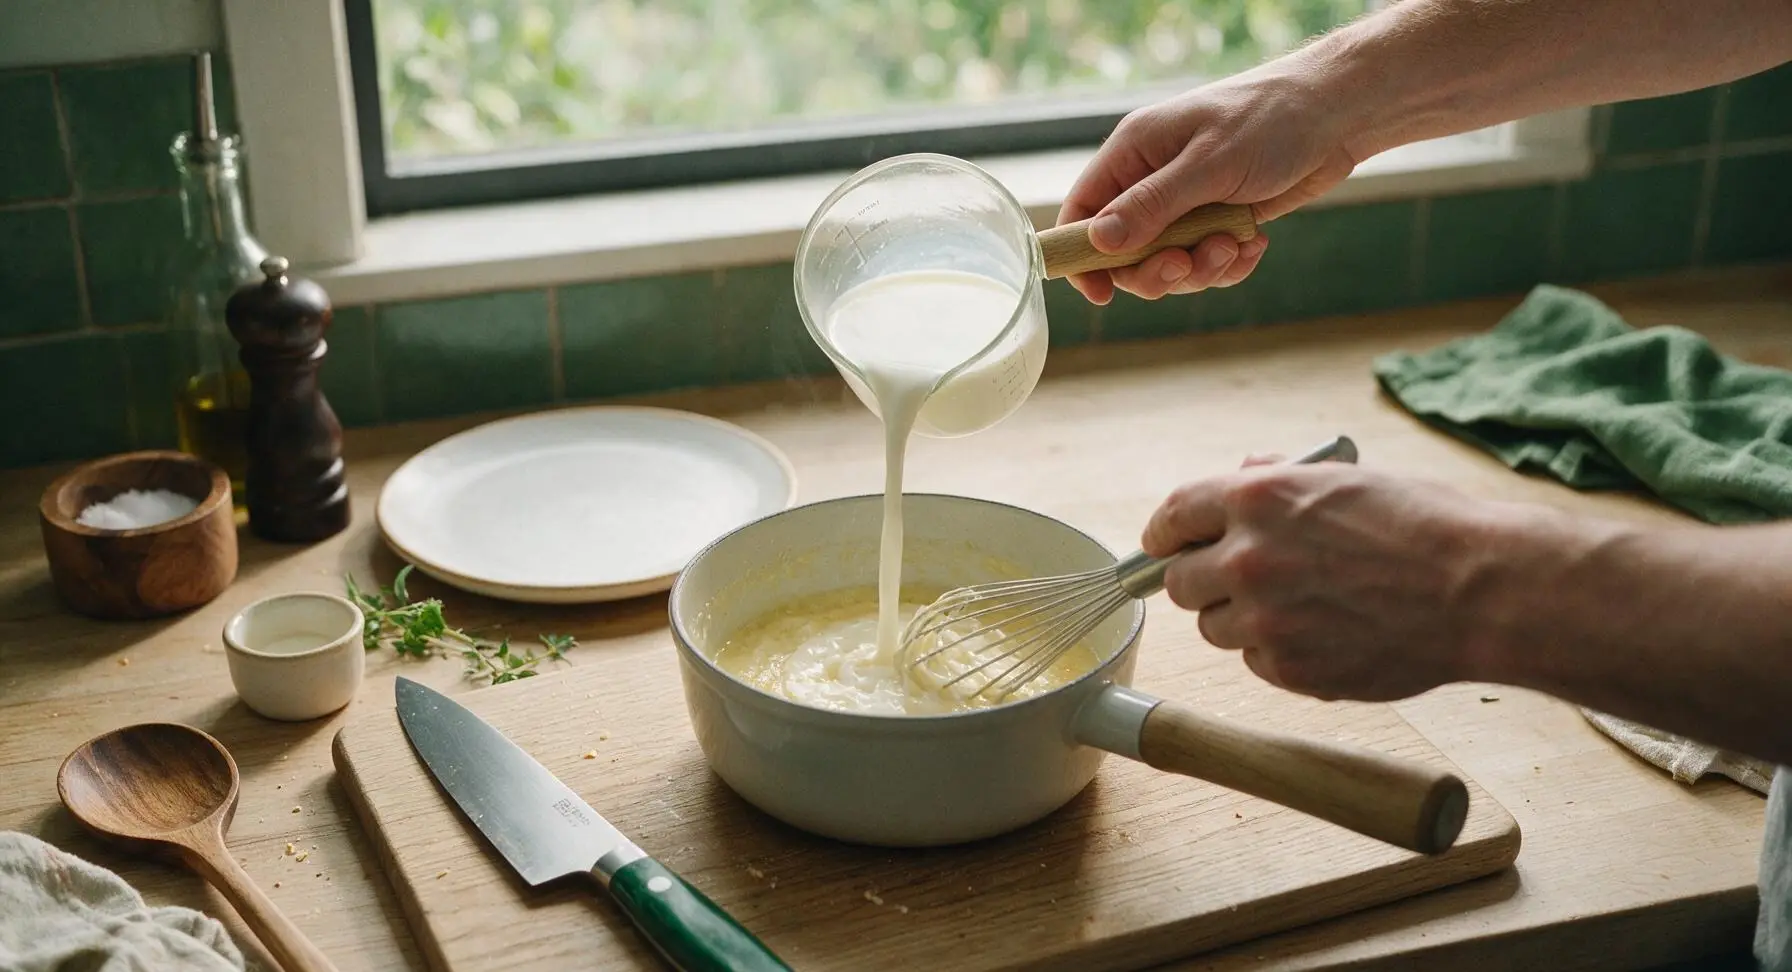
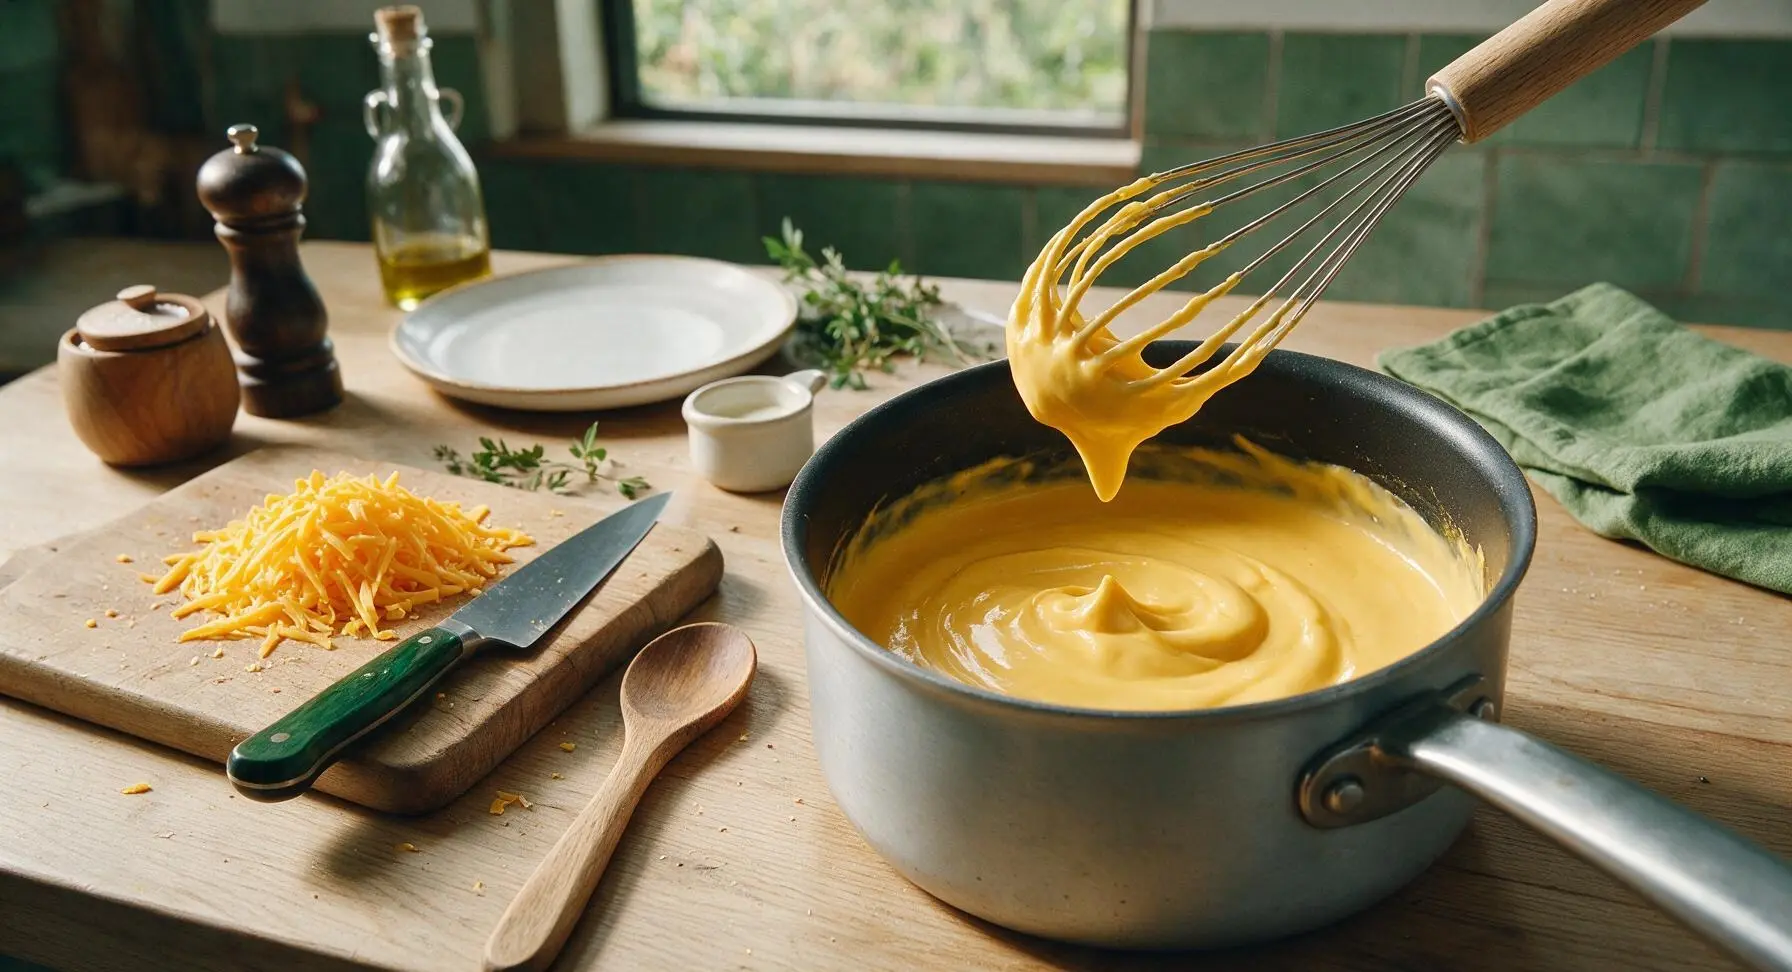
Step 5
step5:Whisk Cheese Sauce
Step 5
step5:Whisk Cheese Sauce
6

Combine Pasta and Sauce

Add the drained elbow macaroni from the colander to the saucepan with the cheese sauce, use the matte black silicone spatula to fold gently until every noodle is evenly coated in sauce, making sure no dry noodles remain at the bottom of the pan. Do not stir aggressively, as this can break tender pasta noodles into small pieces.
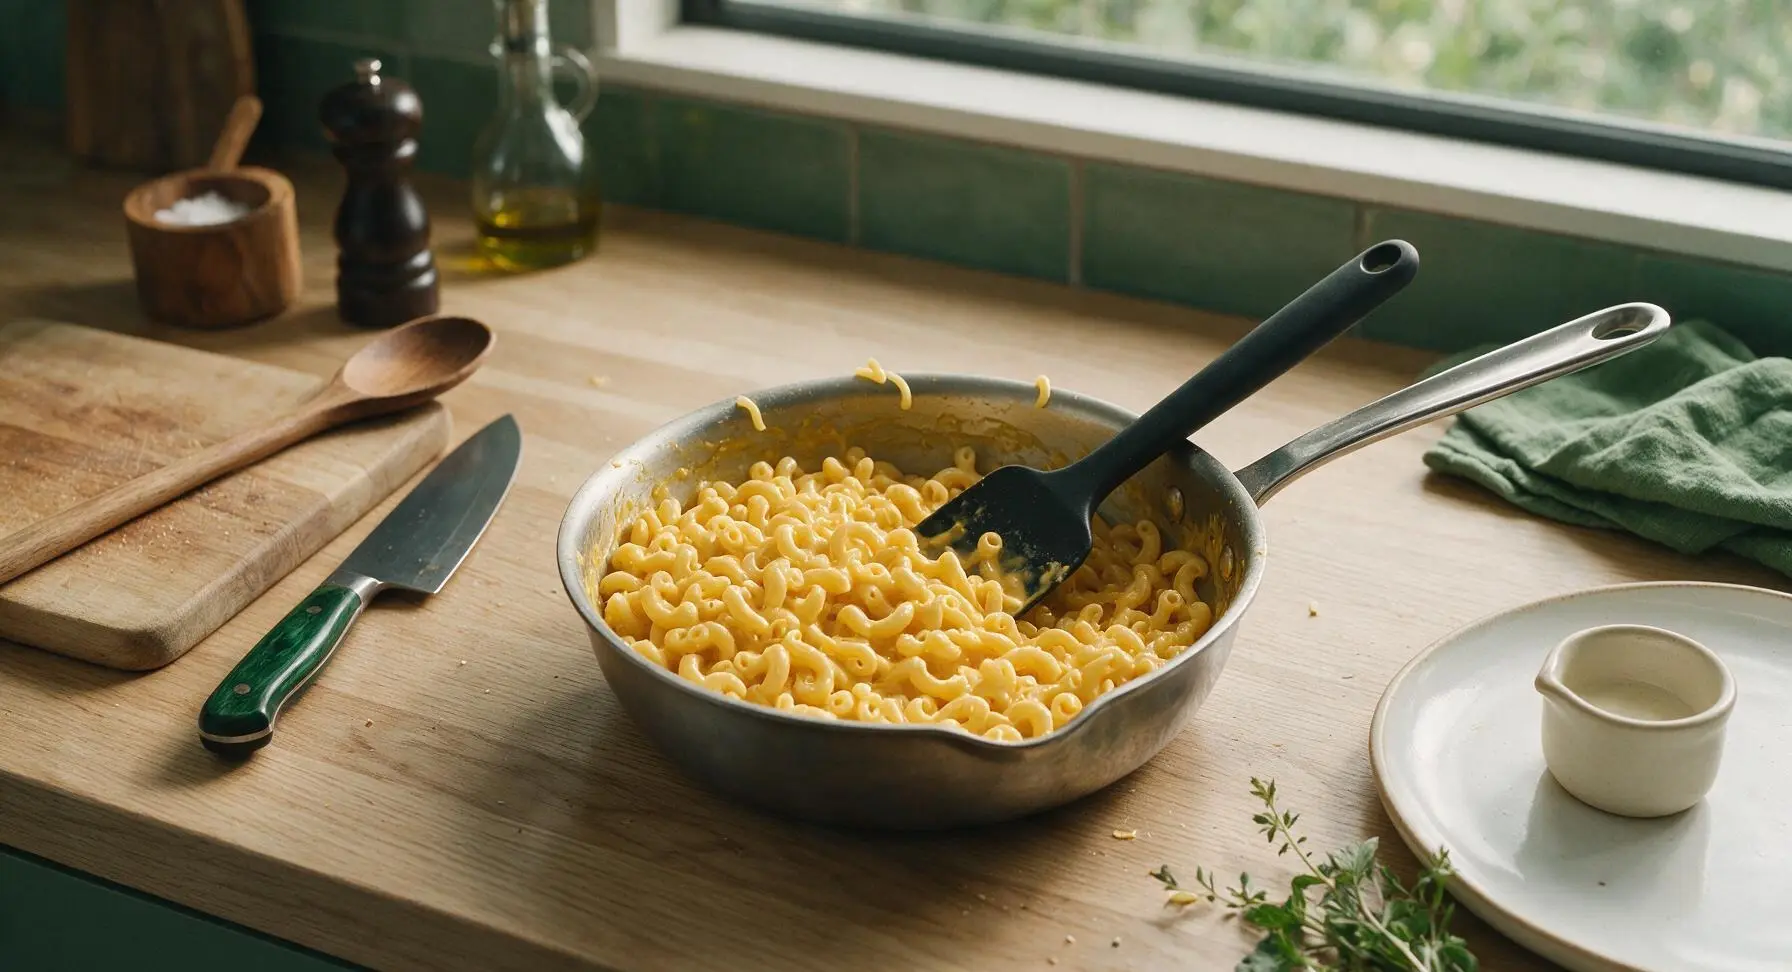
Step 6
step6:Combine Pasta and Sauce
7

Add Crispy Topping

Pour the sauced macaroni into the prepared buttered baking dish, spread into an even layer with the spatula. Melt the remaining 1 tablespoon of unsalted butter, mix with panko breadcrumbs and the reserved 1/2 cup of shredded cheddar. Sprinkle the panko mixture evenly over the top of the macaroni, covering the entire surface in a loose, even crumb layer.
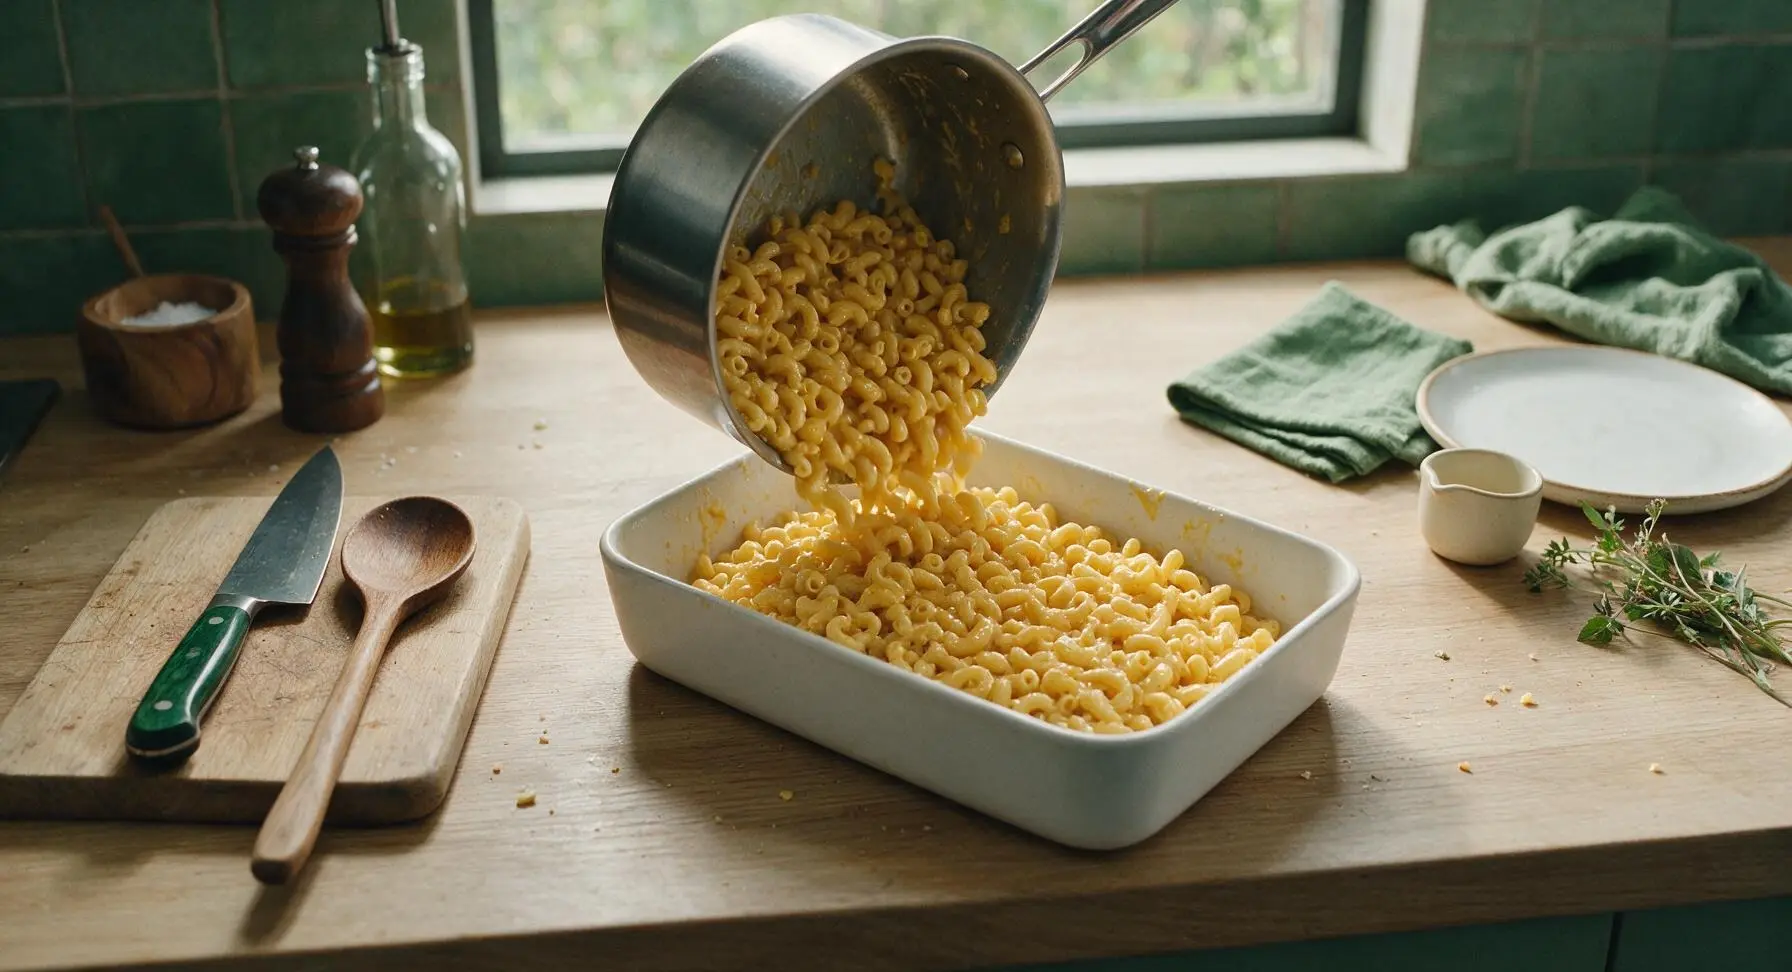
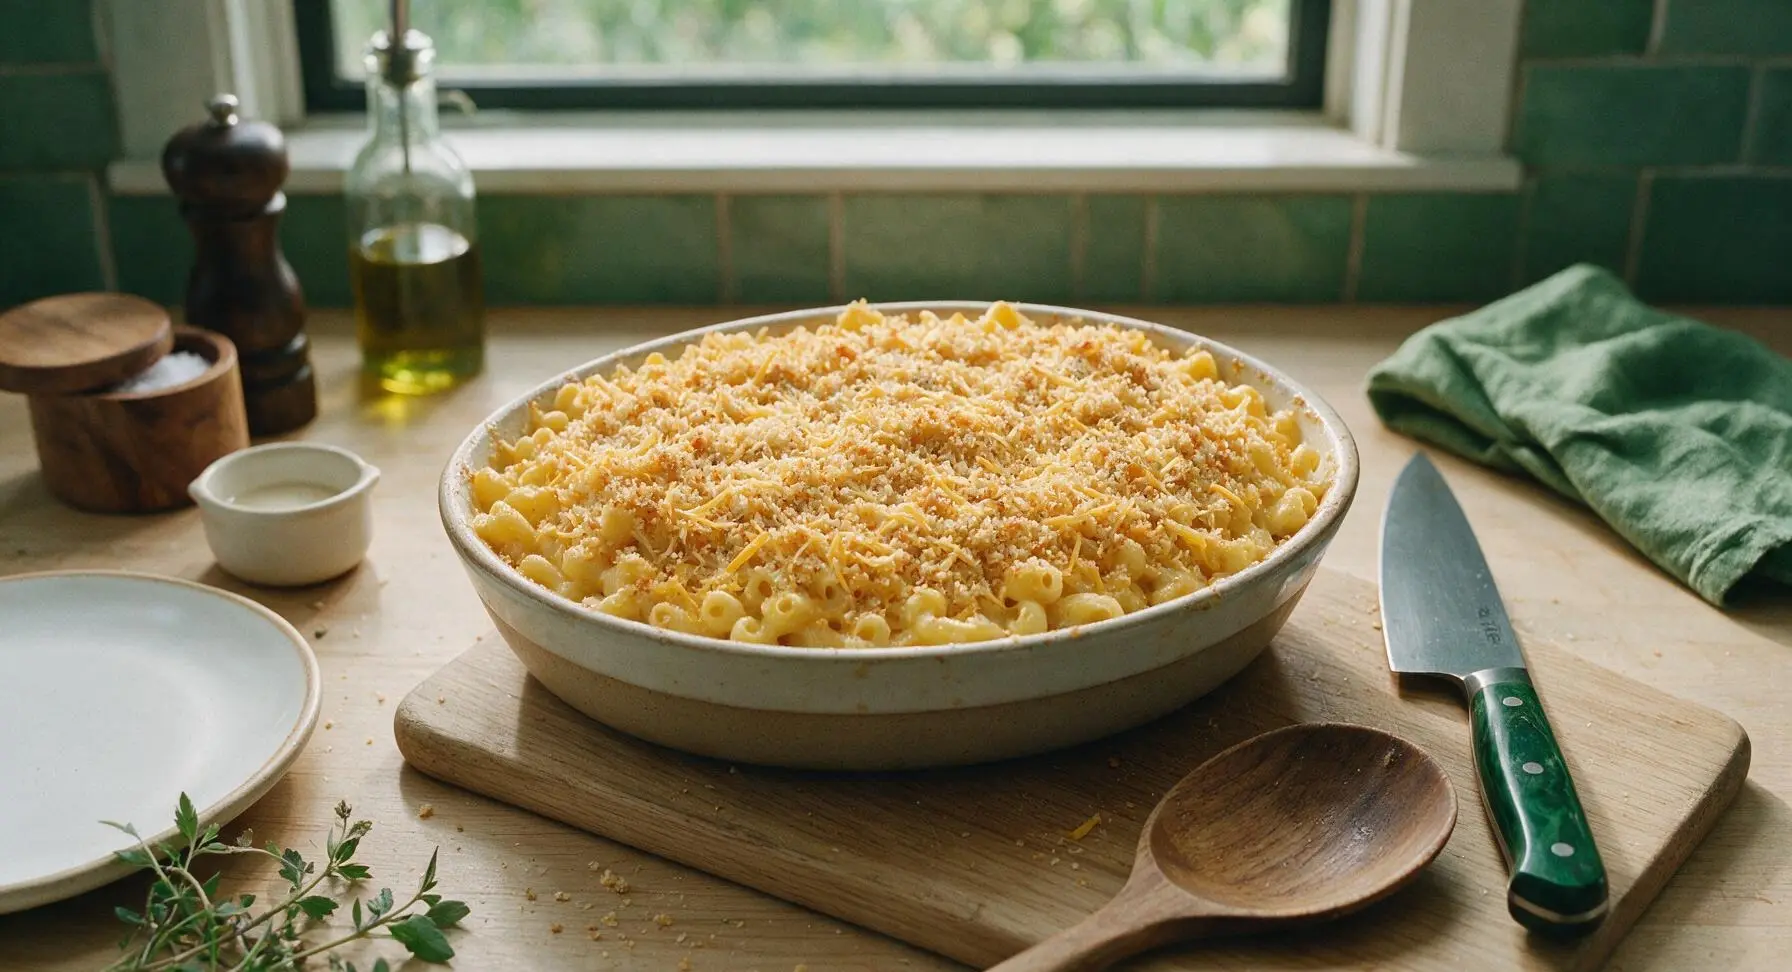
Step 7
step7:Add Crispy Topping
Step 7
step7:Add Crispy Topping
8

Bake Until Bubbly

Place the baking dish on the middle oven rack, bake for 20-25 minutes, until the sauce is bubbling around the edges of the dish and the panko topping is deep golden brown and crispy. Remove from oven, let rest for 5 minutes before serving (this allows the sauce to set so it does not run when plated). Garnish with a light sprinkle of chopped fresh flat-leaf parsley if desired.
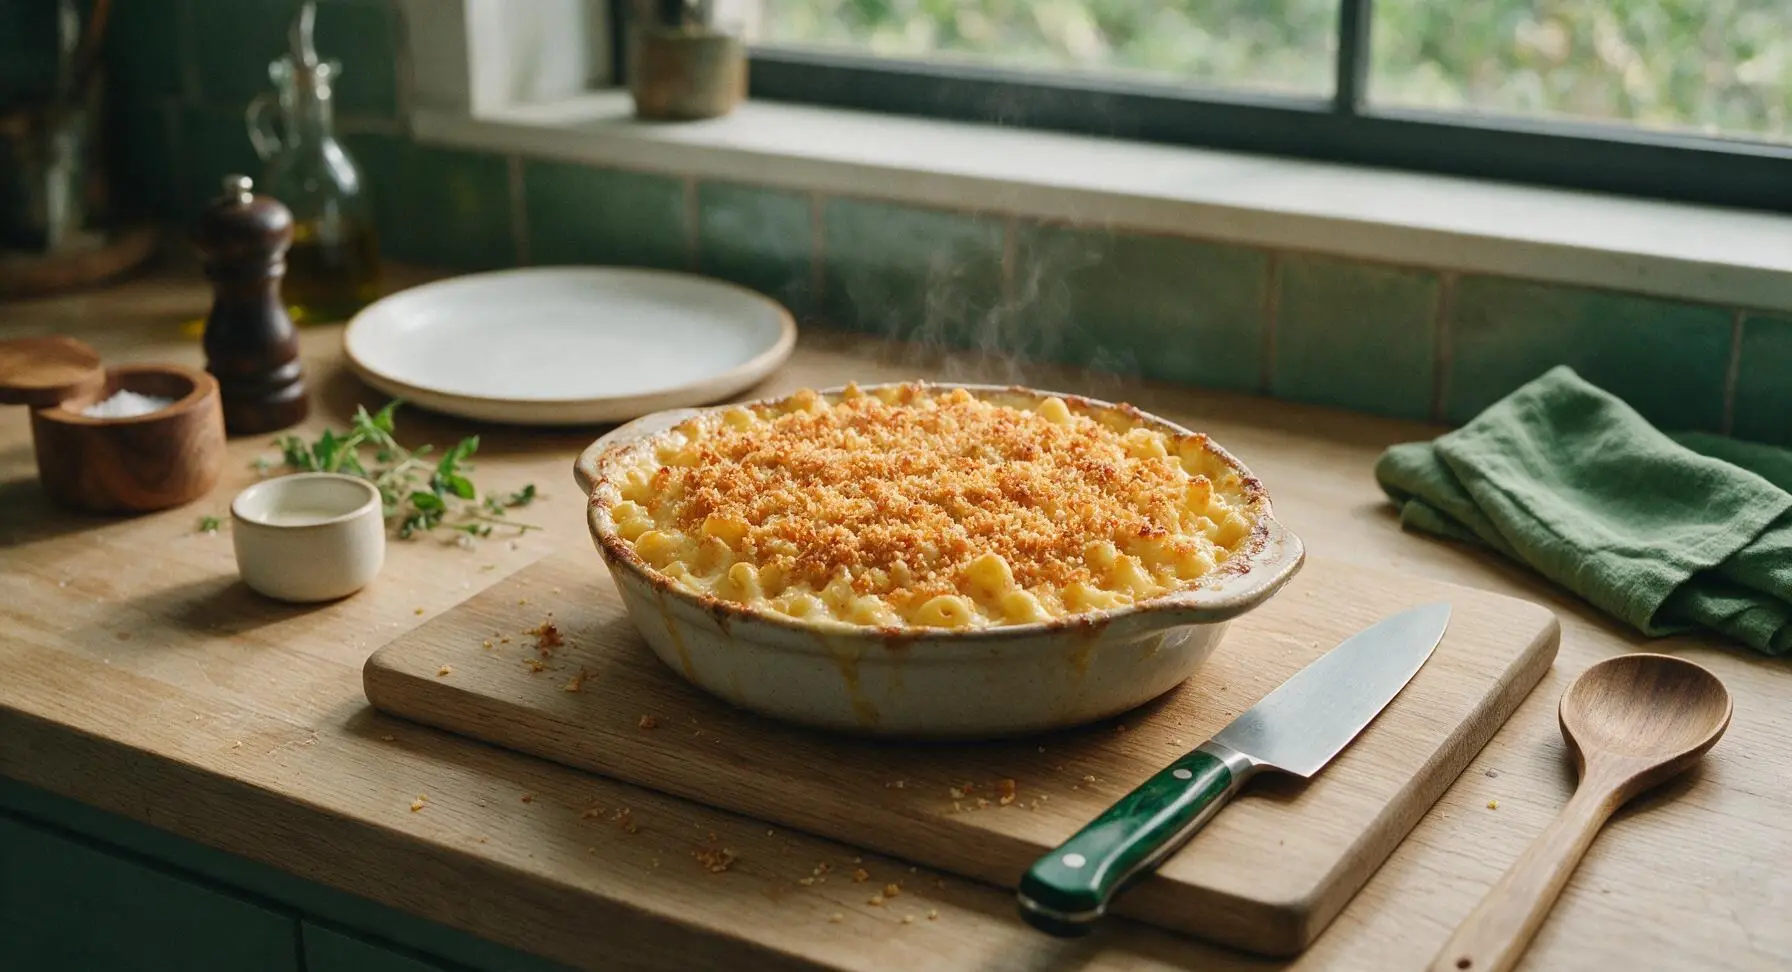
Step 8
step8:Bake Until Bubbly

Tips

1.Shred cheese fresh from a block instead of using pre-shredded bagged cheese: pre-shredded cheese is coated in potato starch and natamycin to prevent clumping in the bag, which stops it from melting smoothly and can leave a gritty, starchy texture in your sauce.
2.Under-cook pasta by 2 minutes from package al dente directions: noodles will continue to absorb liquid and cook while baking in the hot cheese sauce, and fully cooked pasta will turn mushy and soft instead of holding a pleasant firm bite.
3.Let the baked mac and cheese rest for 5 full minutes after removing it from the oven: this short rest lets the cheese sauce thicken and set, so you get clean, creamy servings instead of runny sauce pooling across your plate.


✨ You May Also Like

Main Course
🍜 United Kingdom

A showstopping classic of tender seared beef, savory mushroom duxelles, and crisp prosciutto wrapped in flaky golden puff pastry, baked to juicy perfection.

⏱️ 2 hours 1Main Course ★ 4.7
Main Course
🍜 India

Tender charred marinated chicken simmered in a rich, spiced creamy tomato sauce, this iconic Anglo-Indian curry pairs perfectly with basmati rice or warm naan.

⏱️ 50 minuteMain Course ★ 4.6
Main Course
🍜 Thailand

Classic tangy, sweet, and savory Thai stir-fried rice noodles with shrimp, tofu, and crunchy garnishes, balancing all five core Thai flavor profiles.

⏱️ 30 minuteMain Course ★ 4.5
Main Course
🍜 United Kingdom

Crispy golden beer-battered cod and fluffy double-fried chips, served with tangy tartar sauce and malt vinegar: the timeless, beloved British pub comfort classic.

⏱️ 45 minuteMain Course ★ 4.7
Main Course
🍜 Mexico

Smoky, chile-marinated pork tacos with caramelized pineapple, fresh cilantro, and lime: a beloved classic Mexican street food perfect for casual summer gatherings.

⏱️ 1 hour 45Main Course ★ 4.8
Main Course
🍜 United States

Crunchy Fritos corn chips layered with savory beef chili and melted cheddar, topped with cool, zesty fixings for a beloved, cozy Tex-Mex comfort food.

⏱️ 35 minuteMain Course ★ 4.8

best mac n cheese:Frequently Asked Questions

1.Why do you recommend block sharp yellow cheddar instead of pre-shredded cheese? ▾
Great question! Pre-shredded cheddar is coated in potato starch or anti-caking agents to prevent clumping in the bag, which makes your final sauce grainy and less melty. Grating your own block sharp yellow cheddar right before making the sauce gives you that ultra-smooth, rich, tangy melt that coats every noodle perfectly, with no weird gritty texture.
2.Can I use a different pasta shape instead of dry elbow macaroni? ▾
Absolutely, though elbows are classic for a reason—their curved, ridged shape holds onto thick cheese sauce perfectly. If you swap, pick short, ridged shapes like cavatappi, rotini, or small shells that catch sauce the same way. Avoid long, smooth pasta like spaghetti, as it won’t hold the creamy cheddar coating well, and sauce will pool at the bottom of your pan.
3.Why do you call for whole milk instead of skim or 2% for the cheese sauce? ▾
Whole milk has a 3.5% fat content that creates a luxuriously creamy, stable roux-based sauce without feeling overly heavy. Skim or 2% will make a thinner, watery sauce that curdles more easily when baked, and it won’t deliver that rich, nostalgic homestyle mouthfeel we’re going for. For extra richness, you can swap ¼ cup of milk for heavy cream.
4.How do I keep my baked mac and cheese from turning out grainy? ▾
Grainy sauce almost always comes from overheating your cheese or adding it too fast. First, take your roux-thickened milk base off the heat before stirring in grated cheddar a handful at a time, stirring fully between additions. Never boil the sauce once cheese is added, and skip pre-shredded cheese—its anti-caking coating is a common grit culprit.
5.Do I really need to bake this, or can I eat it as stovetop mac and cheese? ▾
You can absolutely toss cooked noodles and cheese sauce together and eat it right away as stovetop mac, but baking delivers that classic homestyle touch. The edges get slightly chewy, the sauce bubbles up, and that buttery panko top toasts to golden crispness you can’t get on the stovetop. It only takes 20-25 minutes, and it’s 100% worth the wait.
6.What’s the best way to get that light, crispy panko topping? ▾
Melt 2 tablespoons of unsalted butter in a small pan, toss the panko crumbs in the melted butter until every crumb is evenly coated, then spread it in a loose, even layer over the mac and cheese before baking. Don’t pack the crumbs down! Keeping the layer light lets air circulate, so you get crisp crumbs instead of a soggy, dense top.
7.How done should I cook the dry elbow macaroni before baking? ▾
Cook your dry elbow macaroni 2 minutes less than the package instructions for al dente, so it still has a slight firm bite in the center. The noodles will keep cooking as they bake in the hot cheese sauce, and if you boil them fully tender first, they’ll turn mushy and oversoft by the time the dish is done bubbling. Don’t forget to salt your pasta water generously!
8.Can I make this mac and cheese ahead of time for a potluck or family gathering? ▾
Definitely! Assemble the mac and cheese (hold the panko topping if prepping more than 12 hours ahead) and cover tightly in the fridge for up to 2 days. When you’re ready to bake, add the buttered panko, and tack 5-10 minutes onto the bake time since it’ll be cold going into the oven. Let it rest 10 minutes before serving so the sauce sets.
9.My cheese sauce came out too thick—what went wrong, and how do I fix it? ▾
If your roux (made with equal parts unsalted butter and all-purpose flour) to milk ratio is off, or you simmered the milk base too long, it can get overly thick before you add cheese. Fix it by stirring in a splash of warm whole milk, 1 tablespoon at a time, until it coats the back of a spoon. Remember, sauce thickens more as it bakes, so err on the slightly looser side.
10.Why use unsalted butter instead of salted butter for this recipe? ▾
Unsalted butter lets you control exactly how much salt goes into both your roux sauce and panko topping, so you don’t end up with an overly salty dish. Salted butter has widely varying salt levels across brands, which makes it hard to balance the sharp tang of the cheddar. If you only have salted butter, cut added salt by half and taste as you go.
11.How do I prevent the cheese sauce from breaking or curdling while baking? ▾
Curdling happens when sauce gets too hot too fast, causing milk proteins to separate. Avoid this by baking at 375°F (no higher than 400°F), don’t over-thicken your roux base, and add cheese off direct heat. For extra insurance, toss a tiny pinch of cornstarch with your grated cheese before adding it to stabilize the emulsion.
12.Can I mix other cheeses in with the sharp yellow cheddar? ▾
Of course! Sharp yellow cheddar is the star for that classic tangy homestyle flavor, but you can swap up to ⅓ of the cheese for other melty options. Gruyère adds nutty depth, Monterey Jack adds extra stretch, and a small scoop of cream cheese adds extra silkiness. Skip crumbly, non-melty cheeses like feta as a base, since they won’t create a smooth sauce.
13.Should I cover the baking dish with foil while it bakes? ▾
Cover it for the first 15 minutes of baking to let the sauce heat through and bubble without drying out the noodles or burning the panko top, then remove the foil for the last 10 minutes to let the panko toast to perfect golden crisp. If you skip foil entirely, the top will brown too fast before the center heats through, and edge noodles may get dry and crunchy.
14.Why is my panko topping soggy instead of crispy? ▾
Soggy panko usually happens for one of three reasons: you didn’t toss crumbs in melted butter first, you packed the crumb layer too tight, or your sauce was too thin and bubbled up through the crumbs while baking. Make sure crumbs are evenly buttered and spread loosely, and don’t over-thin your sauce. A 1-minute broil at the end can crisp soft tops fast—just watch closely to avoid burning.
15.How long should I let the mac and cheese rest after taking it out of the oven? ▾
Let it rest for 10 full minutes before scooping and serving! Right out of the oven, the cheese sauce is super thin and bubbly, so it’ll run right off the noodles if you dig in immediately. That short rest lets the sauce thicken up and cling to every elbow noodle, so you get perfect, creamy bites instead of a pool of sauce at the bottom of your plate.
16.Can I freeze leftover baked mac and cheese for later? ▾
Yes! Let the baked mac cool completely, then portion it into airtight, freezer-safe containers and freeze for up to 3 months. To reheat, thaw it in the fridge overnight, then bake covered at 350°F for 20-25 minutes until heated through. Add a tiny splash of whole milk when reheating if the sauce feels thick, and top with a pinch of extra panko if the original top softened.
17.What simple mix-ins work well with this homestyle mac and cheese? ▾
Keep it plain for that pure nostalgic feel, or stir in add-ins before baking if you want to bulk it up. Crispy crumbled bacon, diced cooked ham, roasted broccoli, caramelized onions, or a pinch of smoked paprika all pair beautifully with tangy sharp cheddar. Just pat any wet mix-ins dry first so they don’t add extra water that thins out your creamy sauce.

Comments (5)

2 days ago

OMG this mac and cheese is a total game changer! I made it for our Sunday family dinner last night and even my super picky 7 year old asked for seconds. The crispy panko top with that creamy, cheesy sauce? *Chef's kiss* Way easier than I thought it would be too, only took 40 minutes total so I didn't have to slave away in the kitchen all afternoon. Already planning to make a double batch for our neighborhood potluck next weekend! SO good.

1 day ago

Wait did you use extra sharp cheddar like the recipe says? I'm thinking of mixing in a little gouda for extra smokiness, wondering if that works!

1 day ago

So glad your family loved it! Adding a bit of smoked gouda is a fantastic swap—just make sure you don't go over 1/2 cup so it doesn't overpower the classic cheddar flavor. Enjoy the potluck!

30 minutes ago

Really solid mac and cheese recipe! I prepped the cheese sauce last night and tossed it with cooked noodles right before baking tonight, and it came together so fast for a weeknight meal. Only reason I'm not giving 5 stars is I wish it had a little note about not overcooking the noodles before baking—mine got a touch mushy because I boiled them the full time like regular pasta. Will definitely cook them al dente next time!

10 minutes ago

Thanks so much for the helpful feedback! That's such a great tip—boiling noodles 2 minutes less than package directions for al dente makes a huge difference since they keep cooking in the oven. I'll add that note to the recipe right away!

5 days ago

As a college student who barely knows how to boil water, this was SO easy to make! I was scared baked mac and cheese would be super complicated, but the steps were so straightforward and I already had most of the ingredients in my dorm kitchen (shoutout to the mini oven I hauled to campus this year). My roommates devoured half the pan before I even got a second serving. Will absolutely be making this again for our next movie night!

3 days ago

Wait how did you fit a 9x13 pan in a mini dorm oven? I've been wanting to make this but I thought my tiny oven was too small!

2 days ago

I used an 8x8 square pan instead! It fits perfectly in my little oven, just cut the ingredient amounts by about a third and it works like a charm.

yesterday

Made this gluten free by swapping in brown rice elbow pasta and using GF all purpose flour for the roux, and it turned out AMAZING. You literally can't tell it's gluten free at all—my husband who makes fun of all my GF swaps had three servings. The cheese sauce is so rich and creamy, no grainy texture at all which is usually my problem with homemade mac and cheese. 10/10!

2 hours ago

Oh thank you for sharing the GF swap! I've been looking for a good mac and cheese recipe that works with GF pasta, can't wait to try your trick this weekend.

3 days ago

This is the new go-to mac and cheese in our house! My twins are obsessed, they kept saying 'this tastes like the fancy restaurant mac!' It's so easy to throw together after work too, no fancy ingredients needed. I love that I can pop it in the oven and help the kids with homework while it bakes. Absolute winner.



