
best waffle mix for crispy waffles
intro
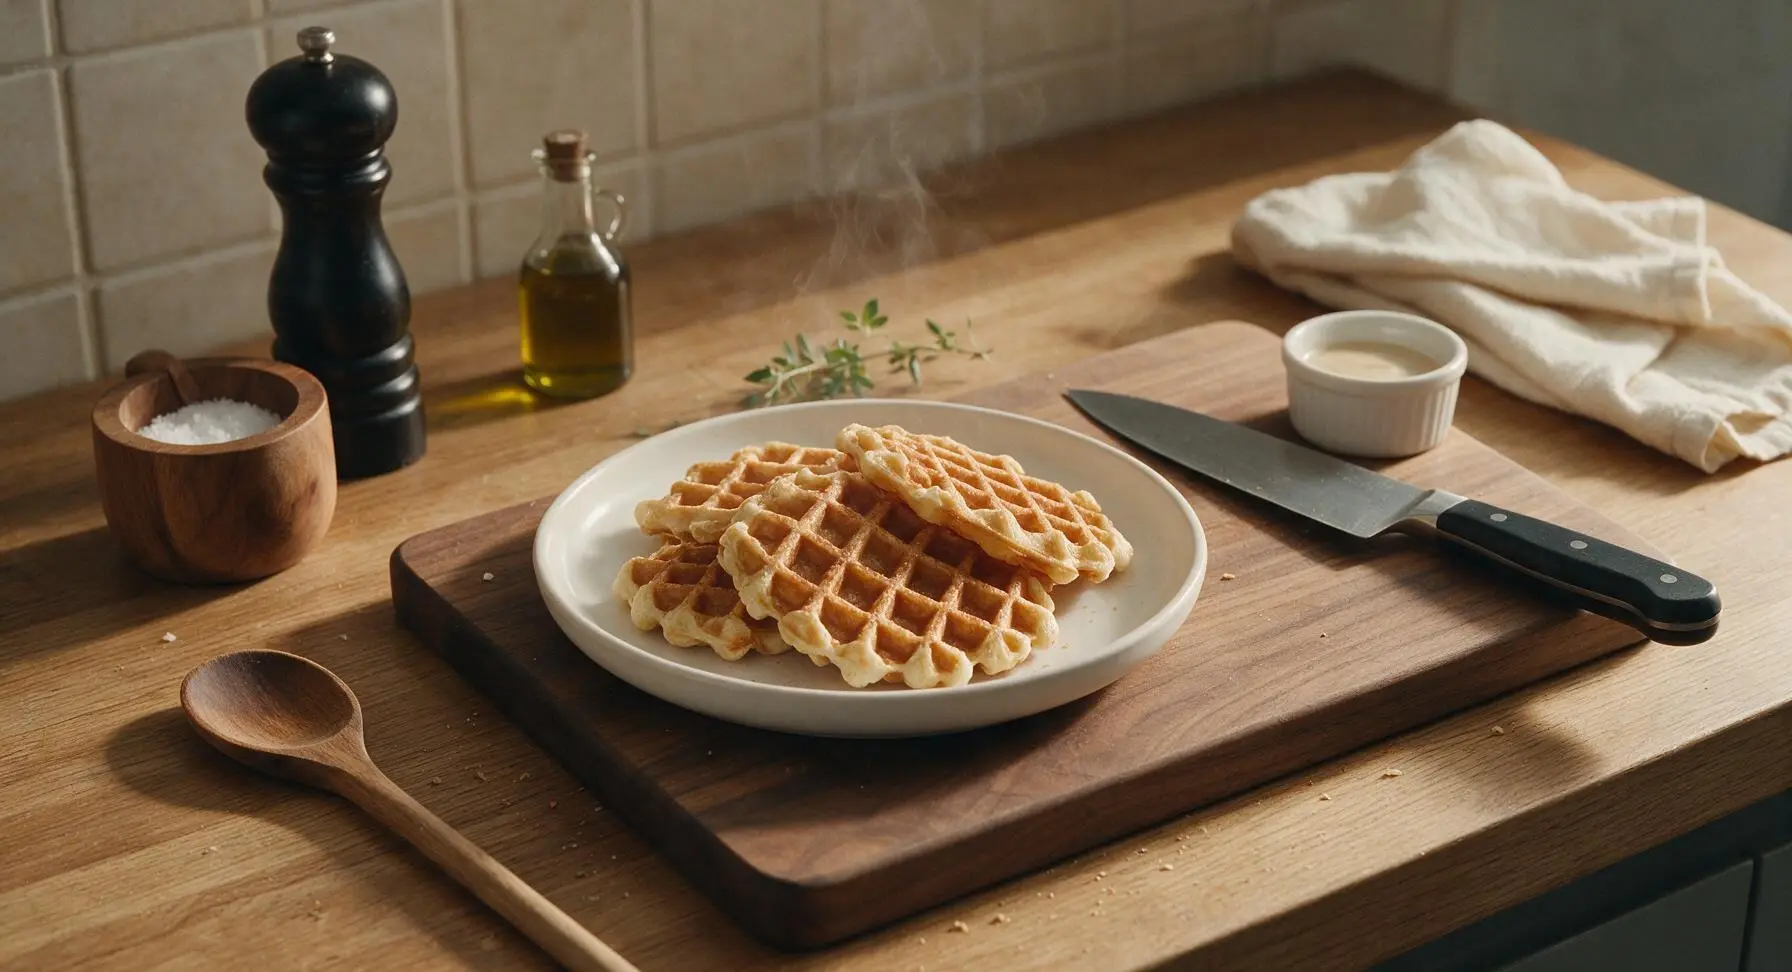
This pantry-stable homemade mix makes shatteringly crisp, light golden waffles every time—no soggy centers, just classic diner-style texture ready in minutes.
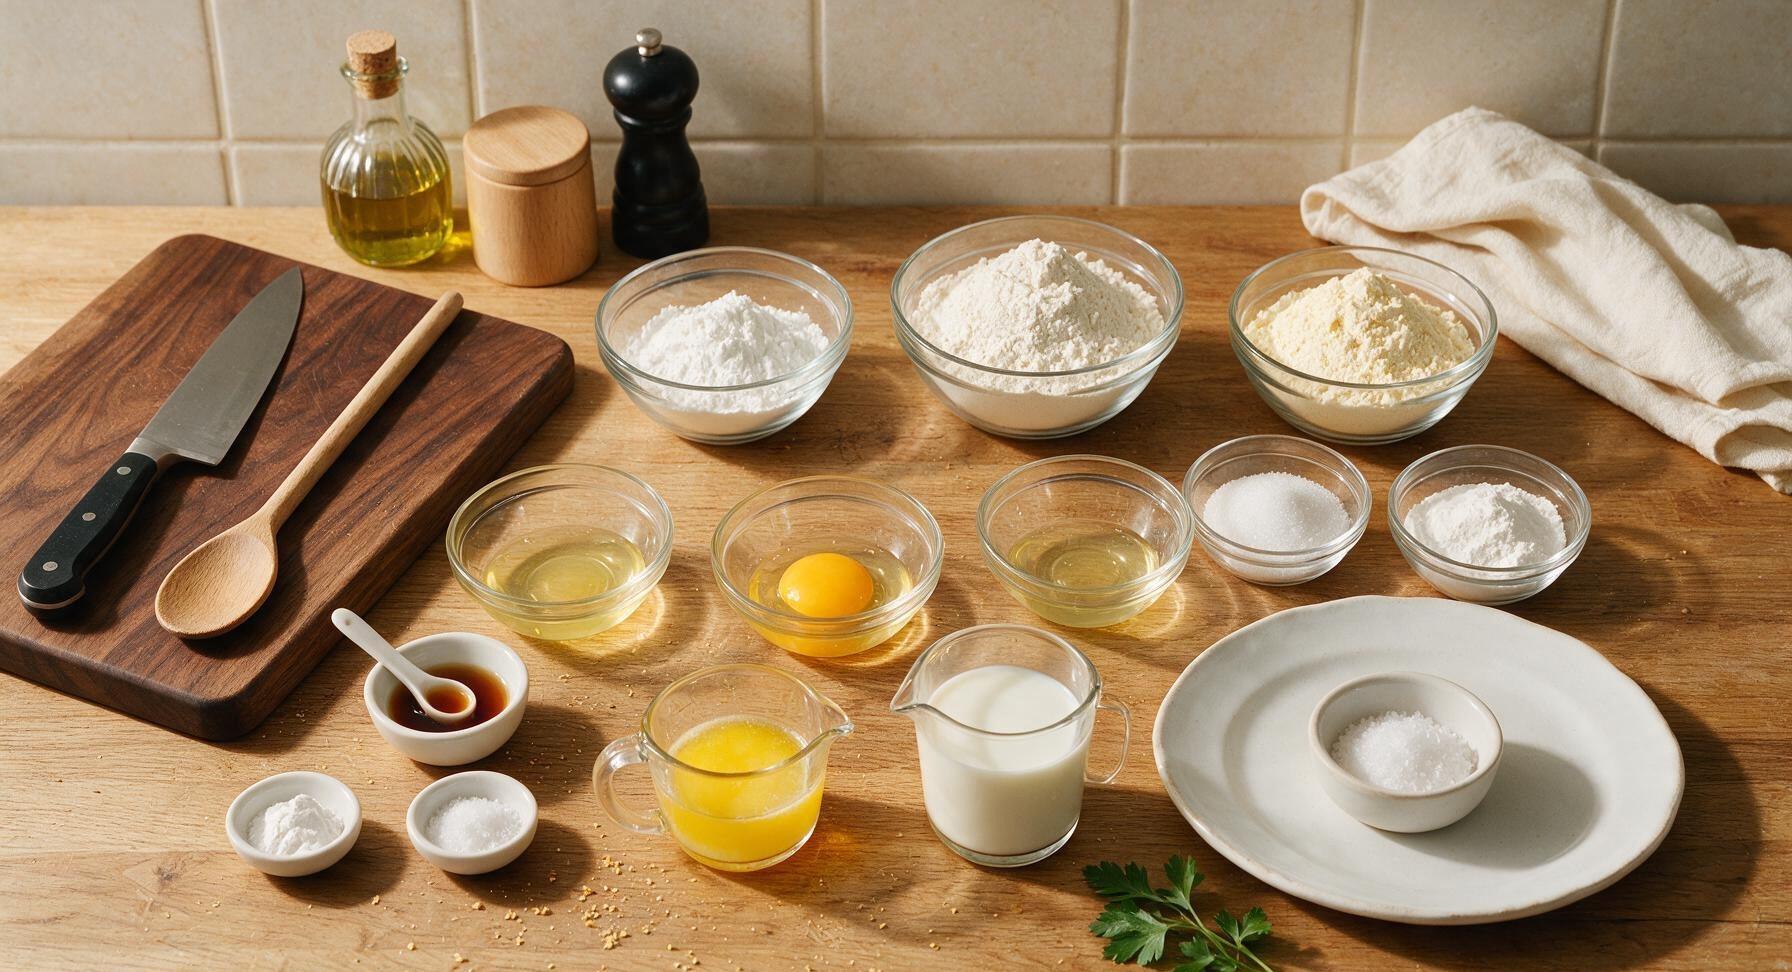
Ingredients
Steps
Combine Dry Ingredients
Add 2 cups all-purpose flour, 1/2 cup cornstarch, 1/2 cup powdered buttermilk, 2 tablespoons granulated sugar, 1 tablespoon baking powder, 1 teaspoon baking soda, and 1 teaspoon fine sea salt to the large clear glass mixing bowl. Use the stainless steel wire whisk to stir for 45-60 seconds to roughly combine ingredients. The mixture will be unevenly colored, with visible small clumps of cornstarch and powdered buttermilk at this stage.
Whisk Out All Clumps
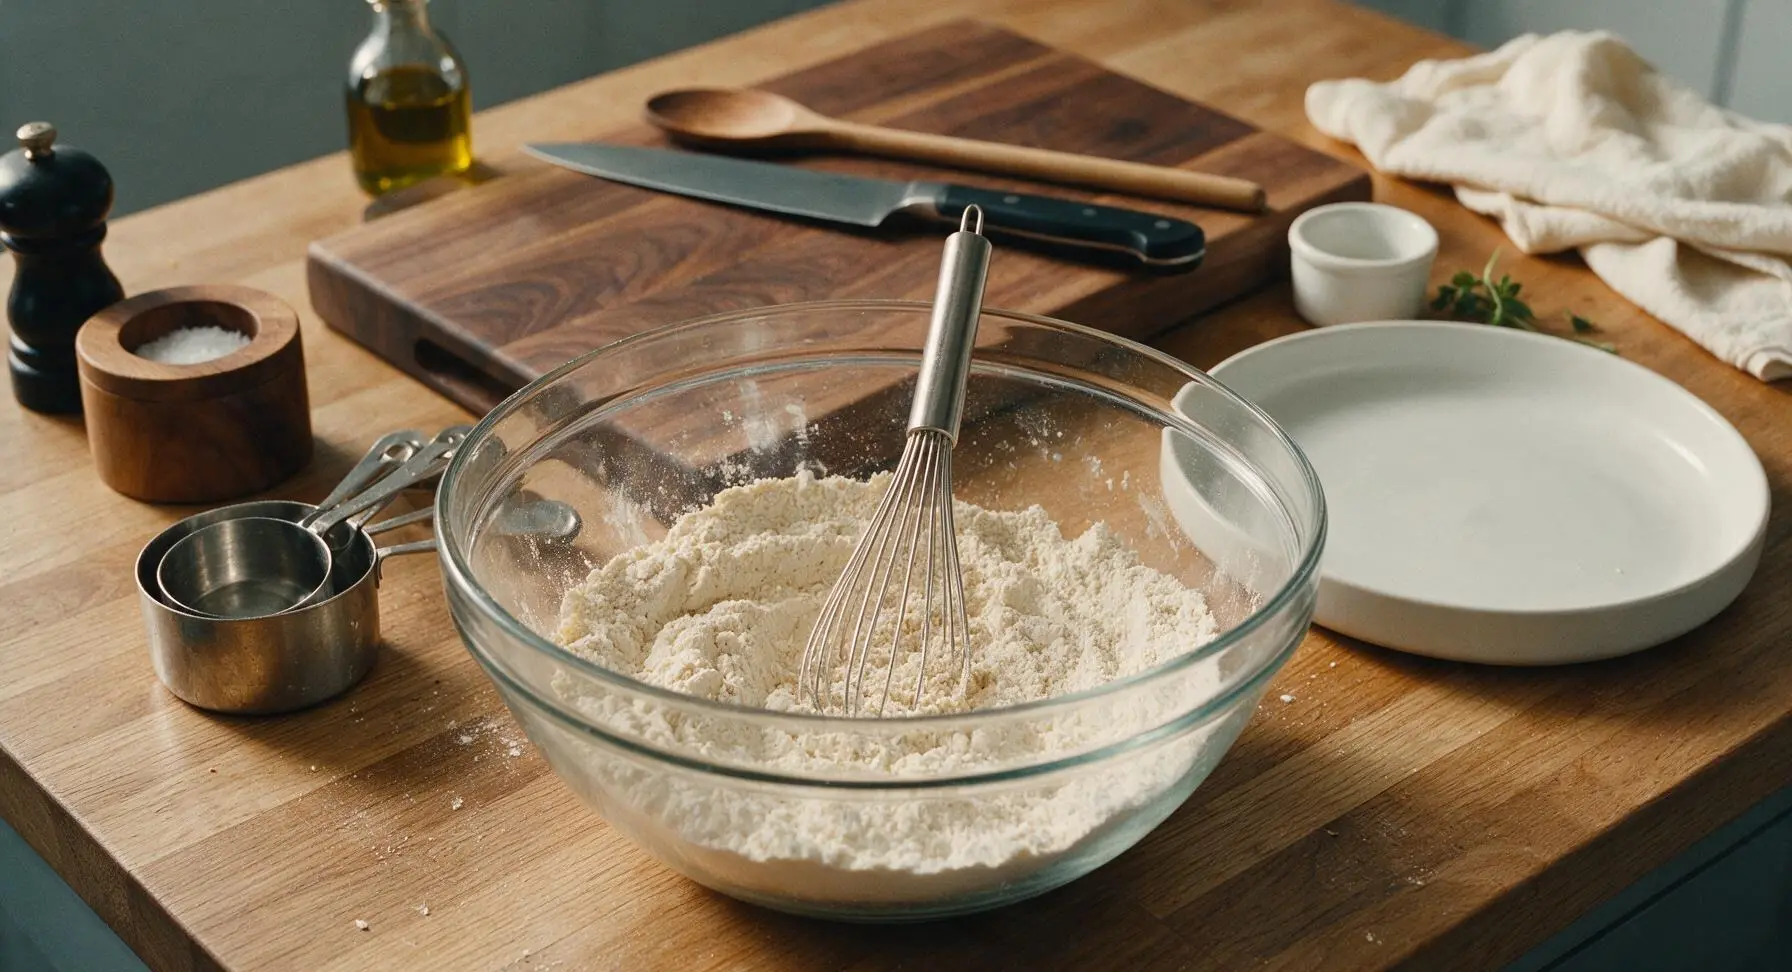
Vigorously whisk the dry mixture for another 30 seconds, pressing any small clumps of powdered buttermilk or cornstarch against the bowl side to break them up. Run a clean finger through the mix; it should feel completely smooth, with no hard lumps, when fully combined. Even mixing ensures consistent leavening and crispness across every waffle.
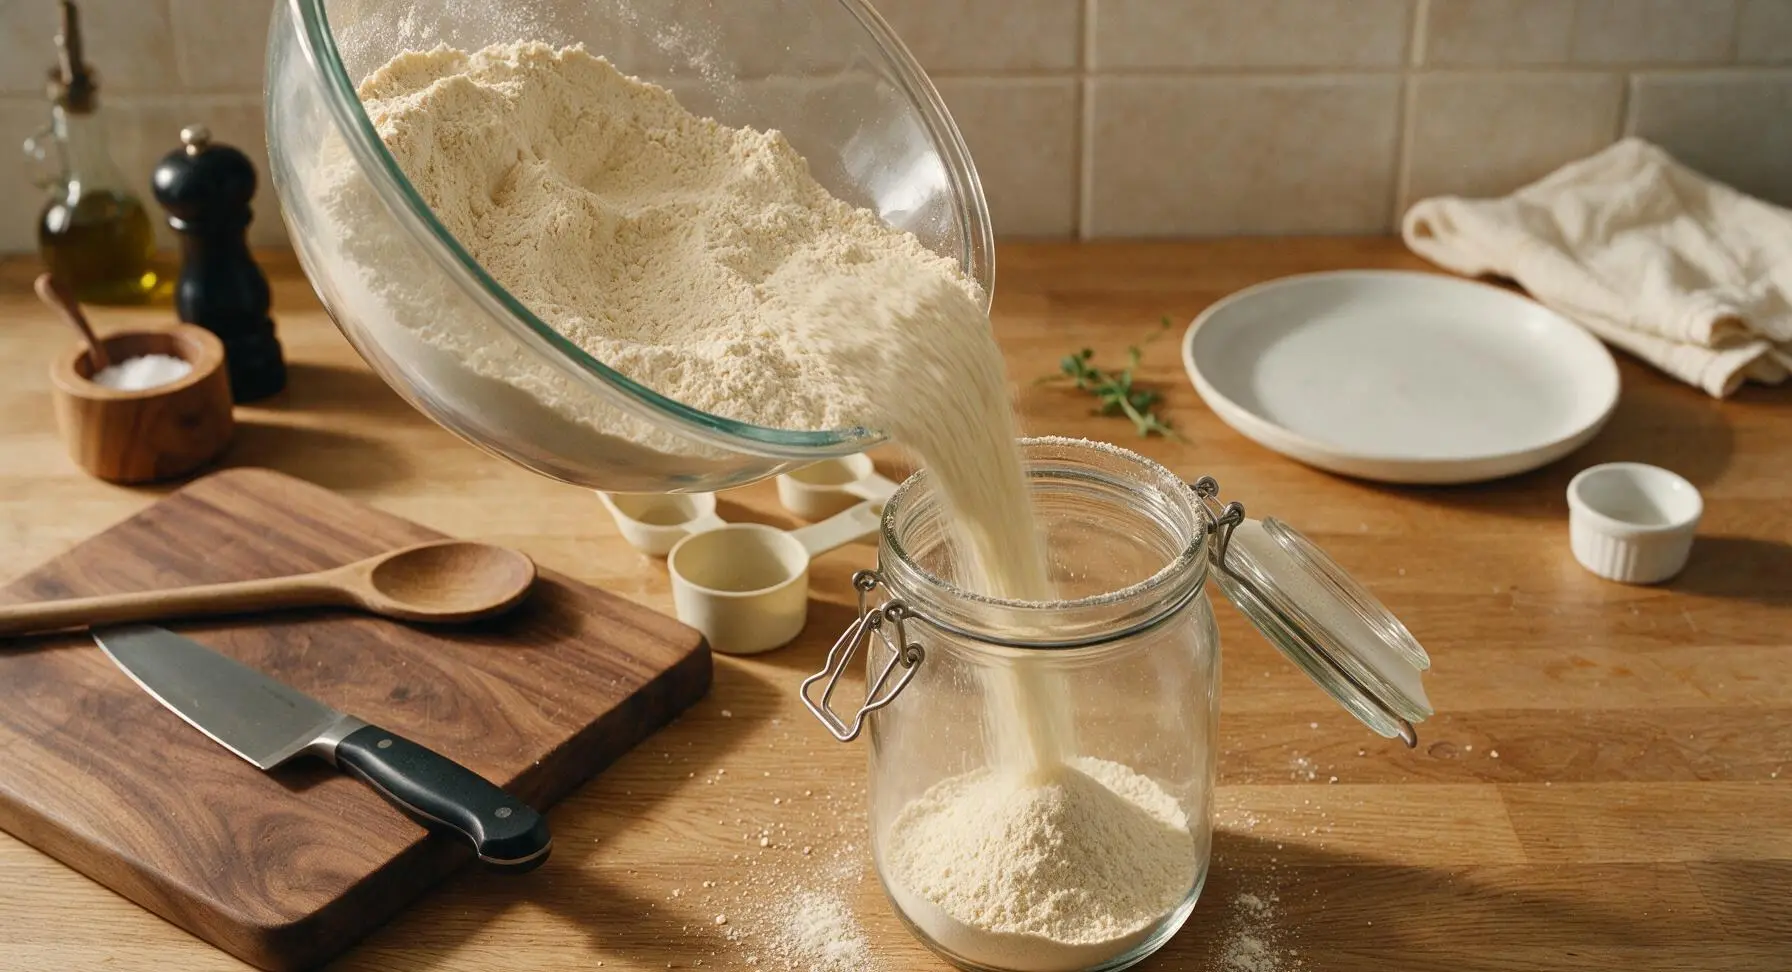
Store Mix in Jar
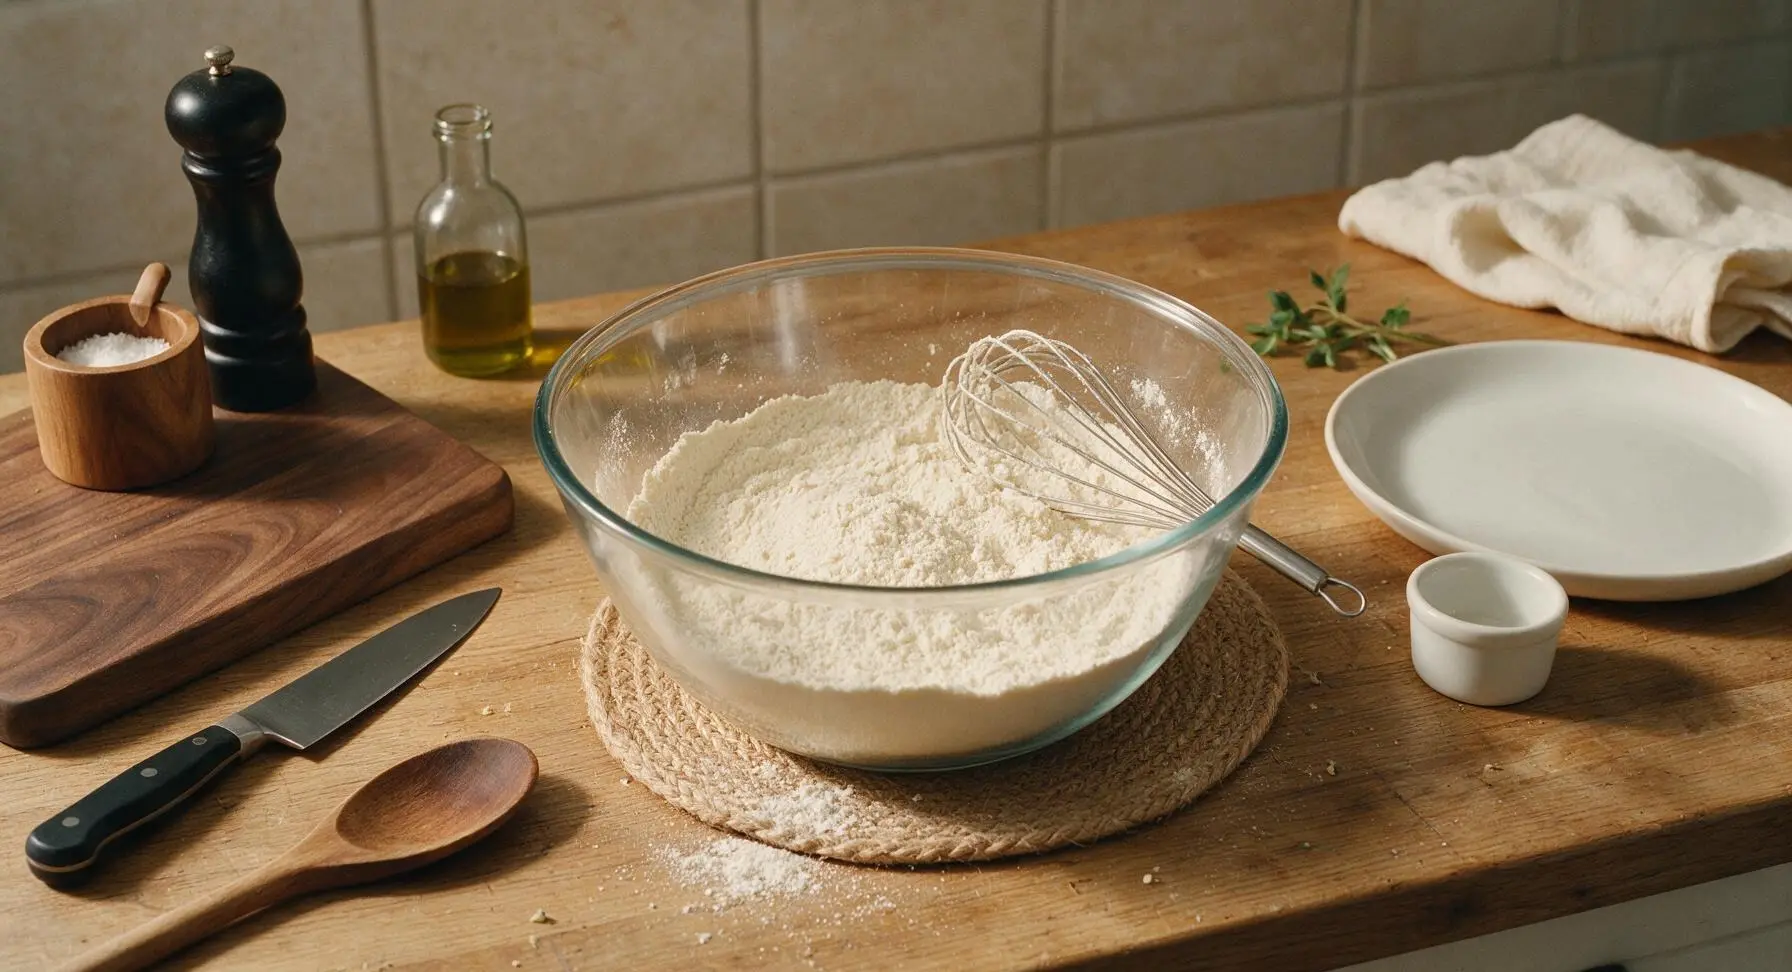
Carefully pour the fully mixed dry waffle mix into the 1-liter clear glass clamp-top storage jar. Seal the clamp lid tightly to lock out air; stored in a cool, dark pantry, the mix will stay fresh for up to 3 months. If making waffles immediately, you may skip long-term storage and measure 2 cups of mix directly back into the mixing bowl to proceed.
Prep Wet Batter Base
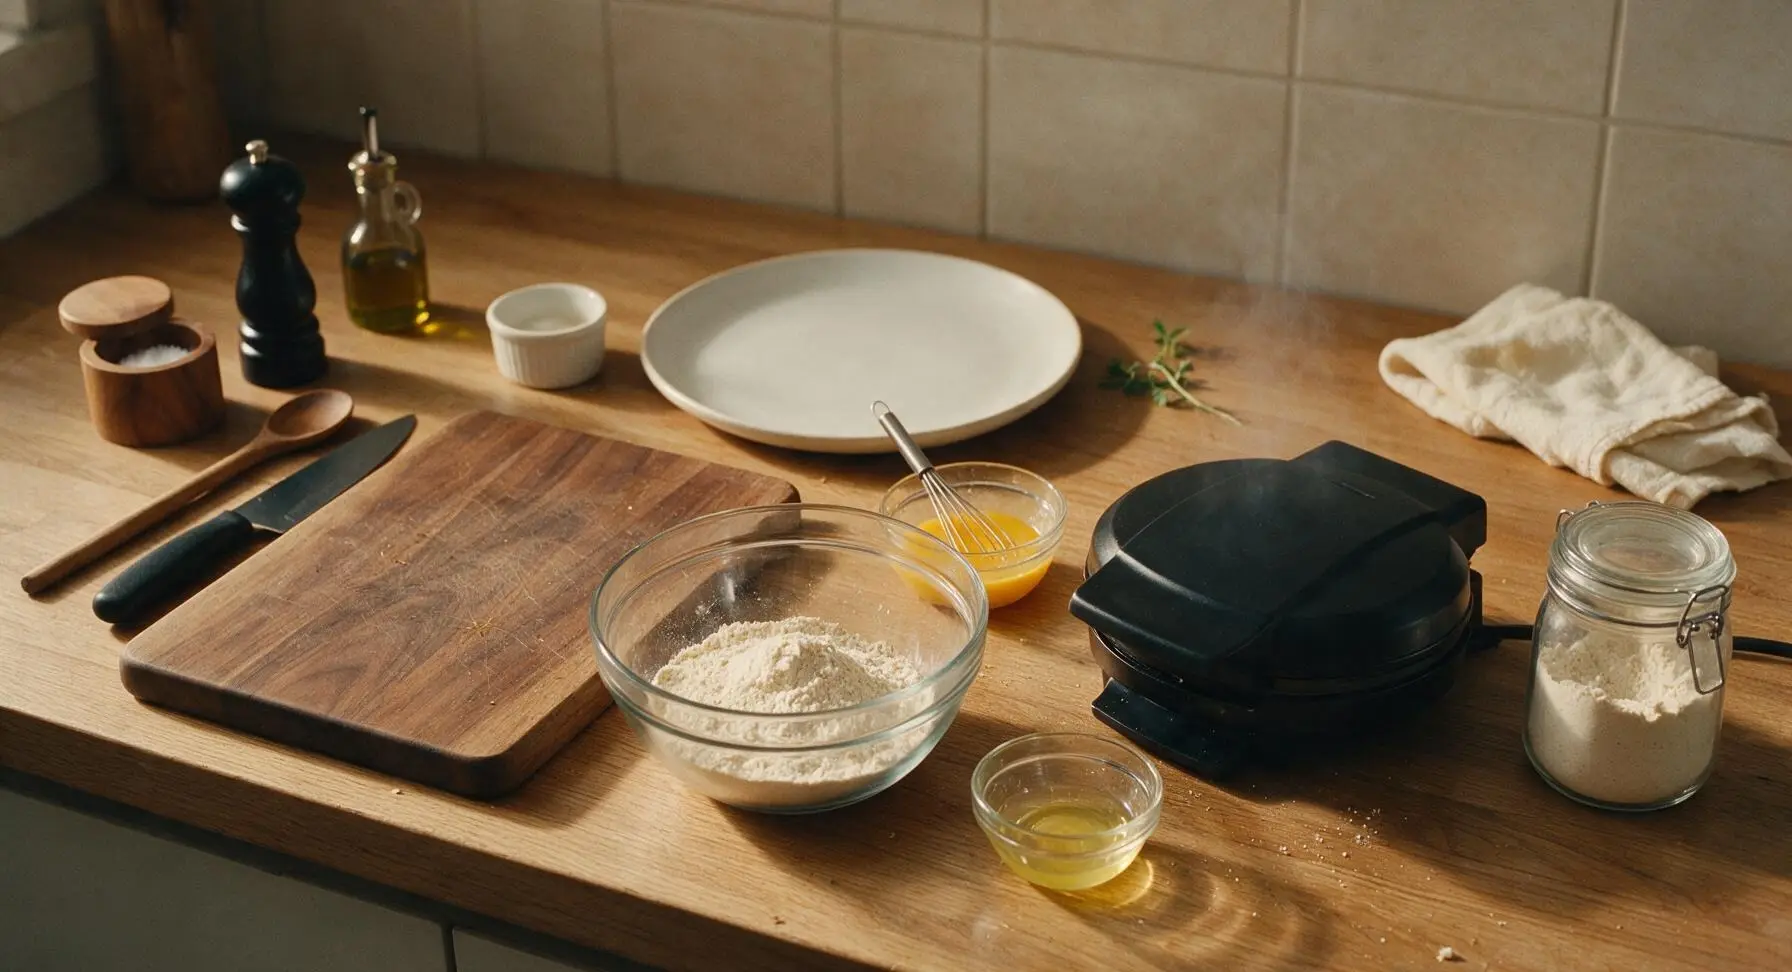
When ready to cook waffles, pull the waffle iron out to the counter and preheat to 400°F (200°C, medium-high heat). Measure 2 cups of prepared waffle mix back into the large mixing bowl. In one small glass prep bowl, whisk together the 2 egg yolks, 1 cup whole milk, 3 tablespoons cooled melted unsalted butter, and 1 teaspoon vanilla extract until completely smooth. Set the reserved egg whites aside in the second clean, dry small prep bowl.
Whip Egg Whites to Peaks
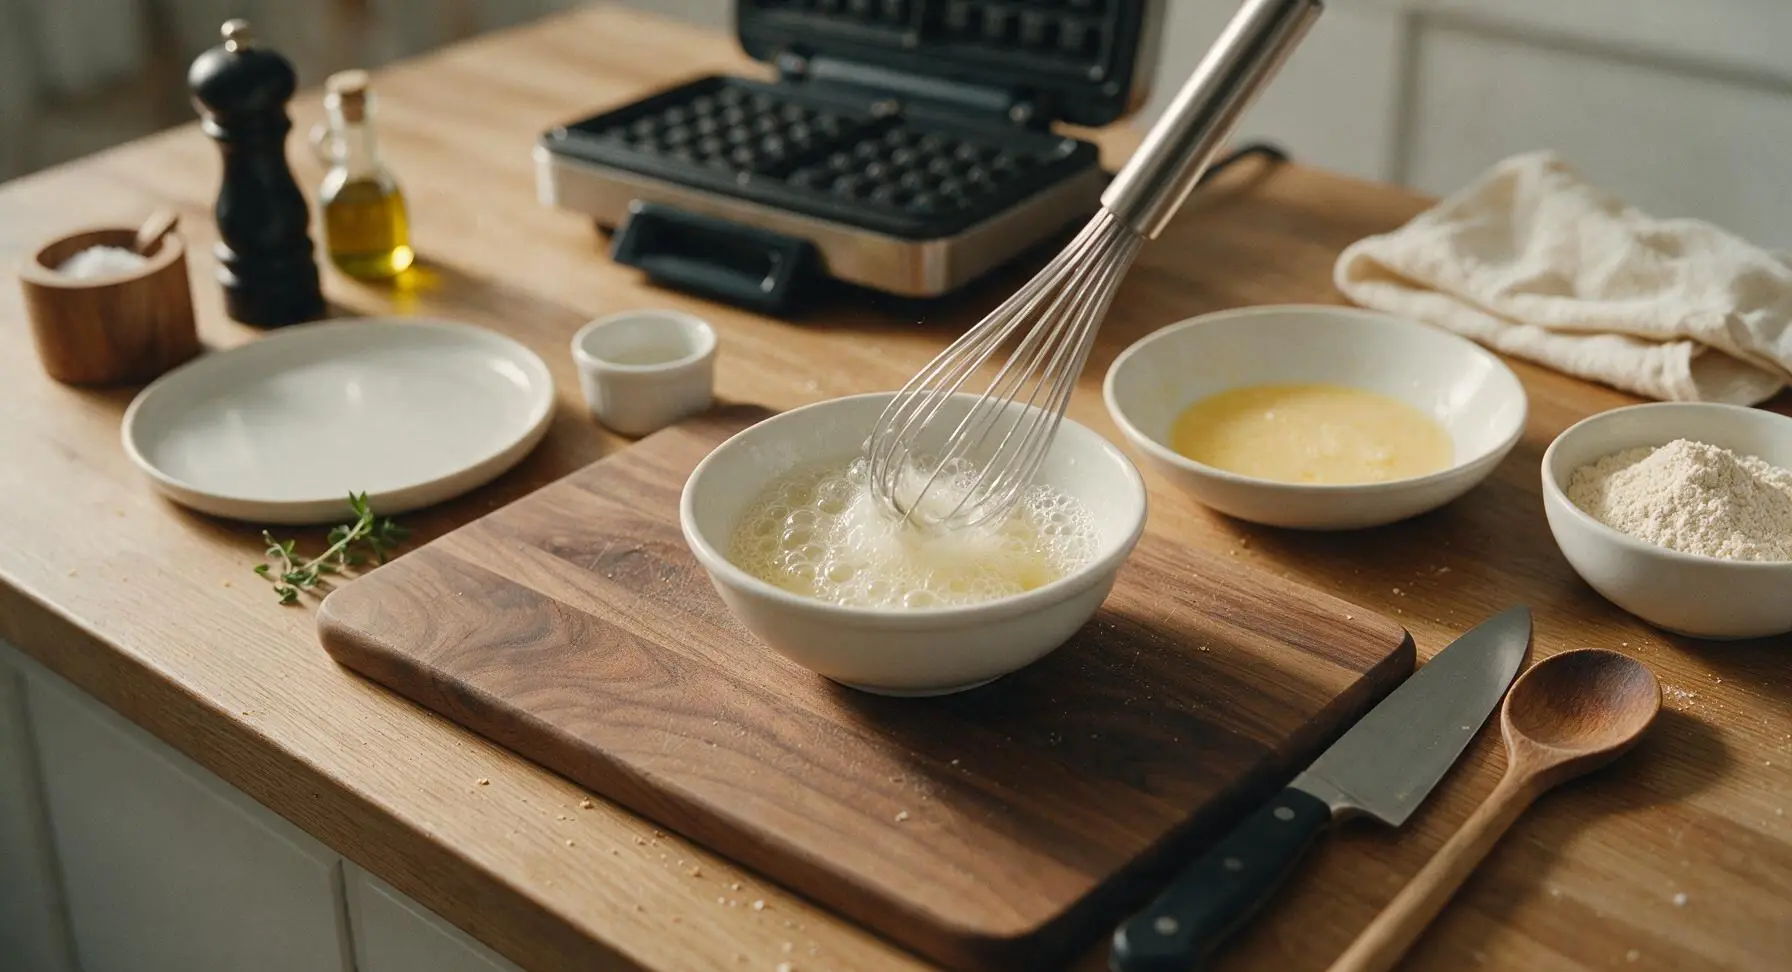
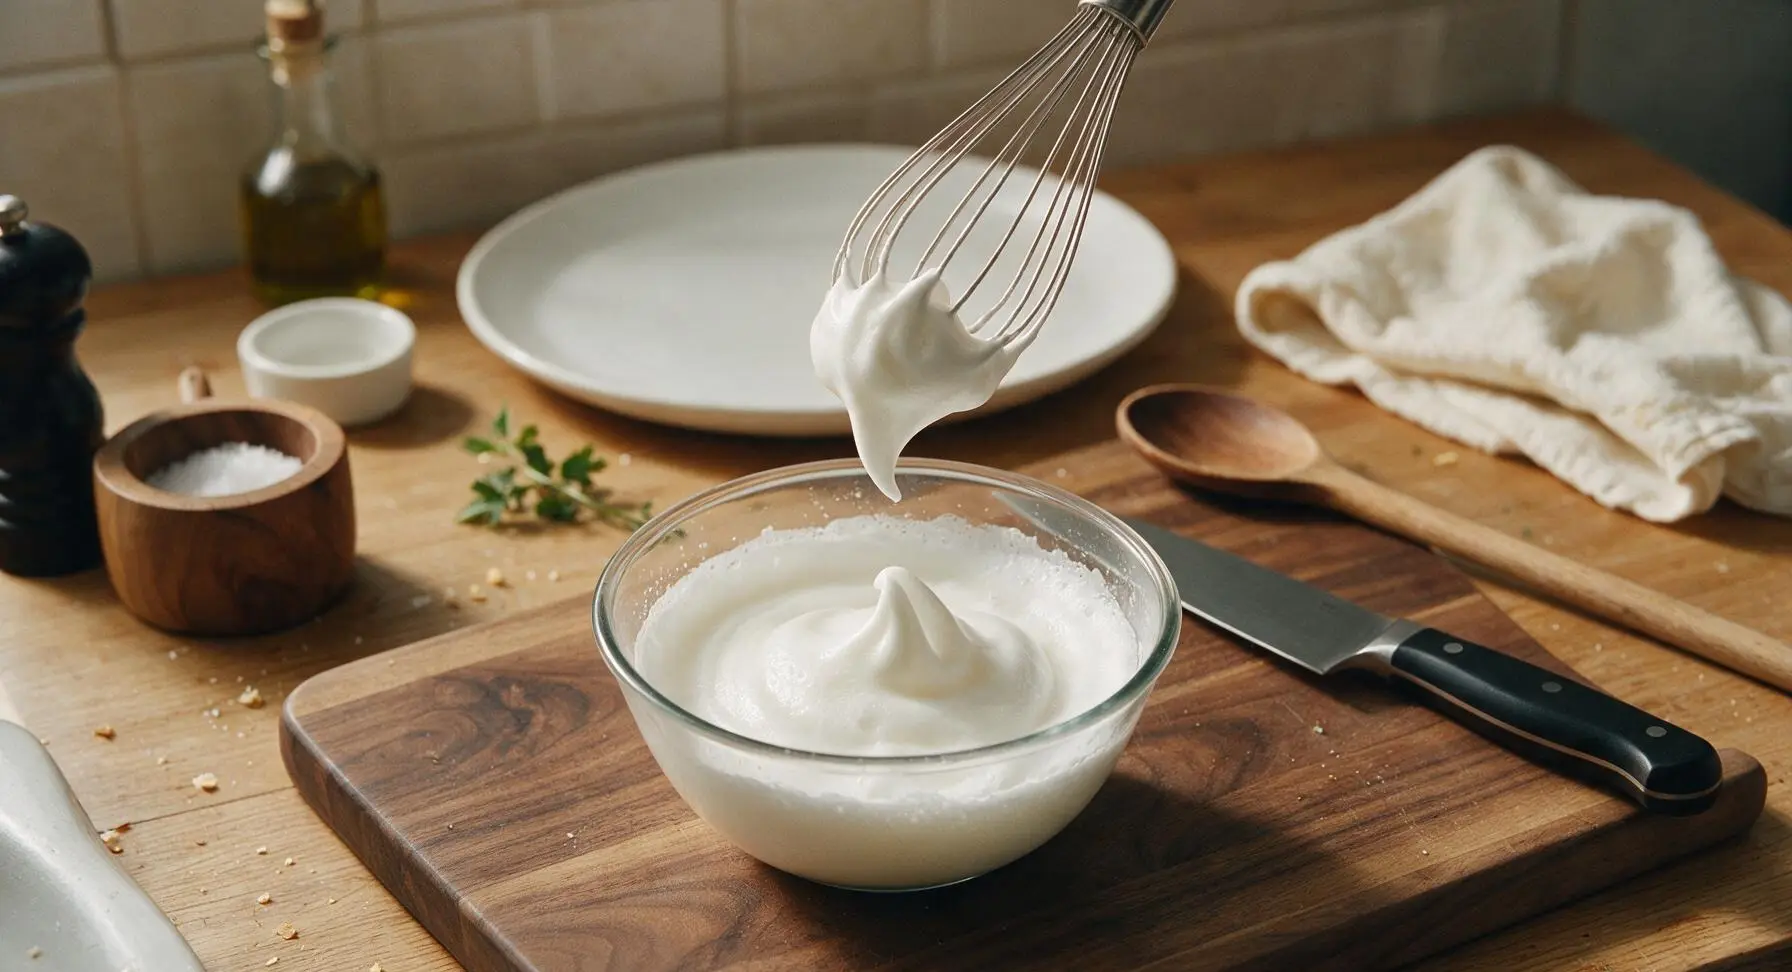
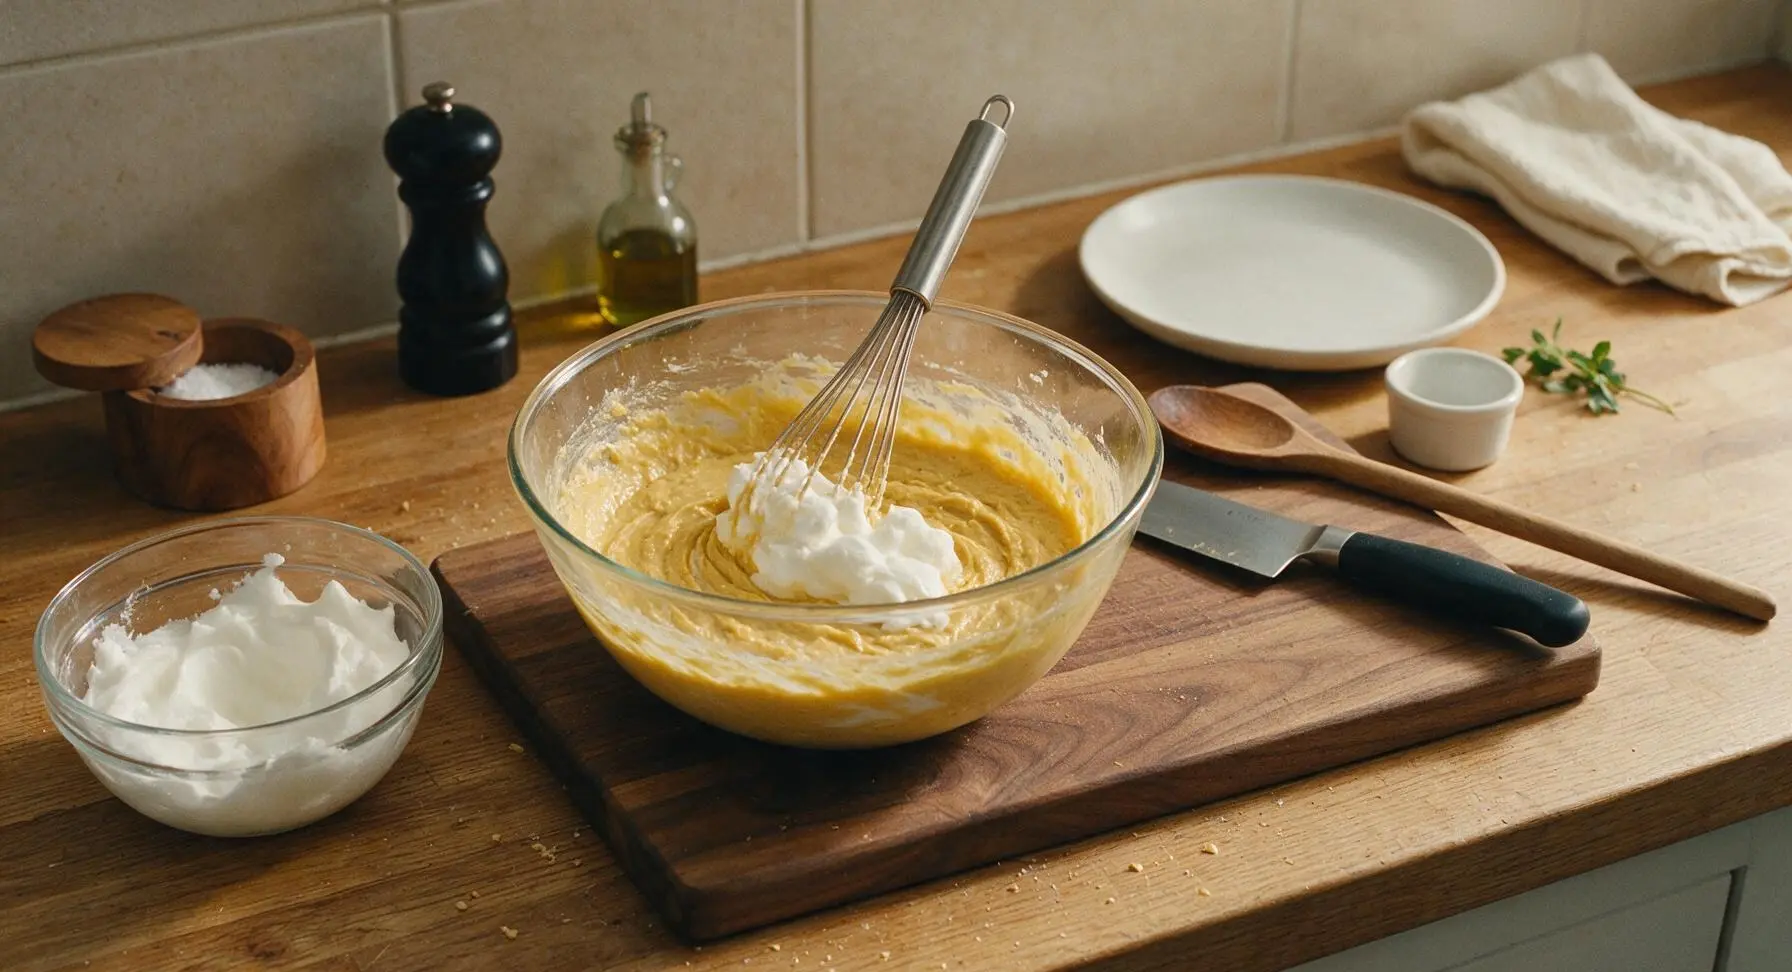
Use a clean, dry whisk to beat the reserved egg whites in the small prep bowl for 2-3 minutes, until they form soft, glossy peaks that curl gently over when the whisk is lifted straight out of the bowl. Do not overwhip to stiff, dry peaks, as this will create dense, tough waffles instead of light, crisp ones.
Fold Batter Gently
Pour the wet yolk mixture into the large bowl of dry waffle mix, and stir with the whisk just until combined — a few small lumps are perfectly fine, do not overmix, as overmixing develops gluten and leads to chewy, not crisp, waffles. Gently fold 1/3 of the whipped egg whites into the batter to lighten it, then carefully fold in the remaining whites in two additions, stopping as soon as no white streaks remain. The finished batter will be thick, fluffy, and pale golden.
Cook Waffles Until Crisp
Lightly coat the preheated waffle iron plates with a thin layer of melted butter or nonstick spray. Pour 1/2 cup of batter onto the center of the lower waffle plate, close the lid, and cook for 3-4 minutes, until the waffle is deep golden brown, crisp to the touch, and no more steam escapes from the edges of the iron. Do not open the lid early, as this will cause the waffle to split and stick.
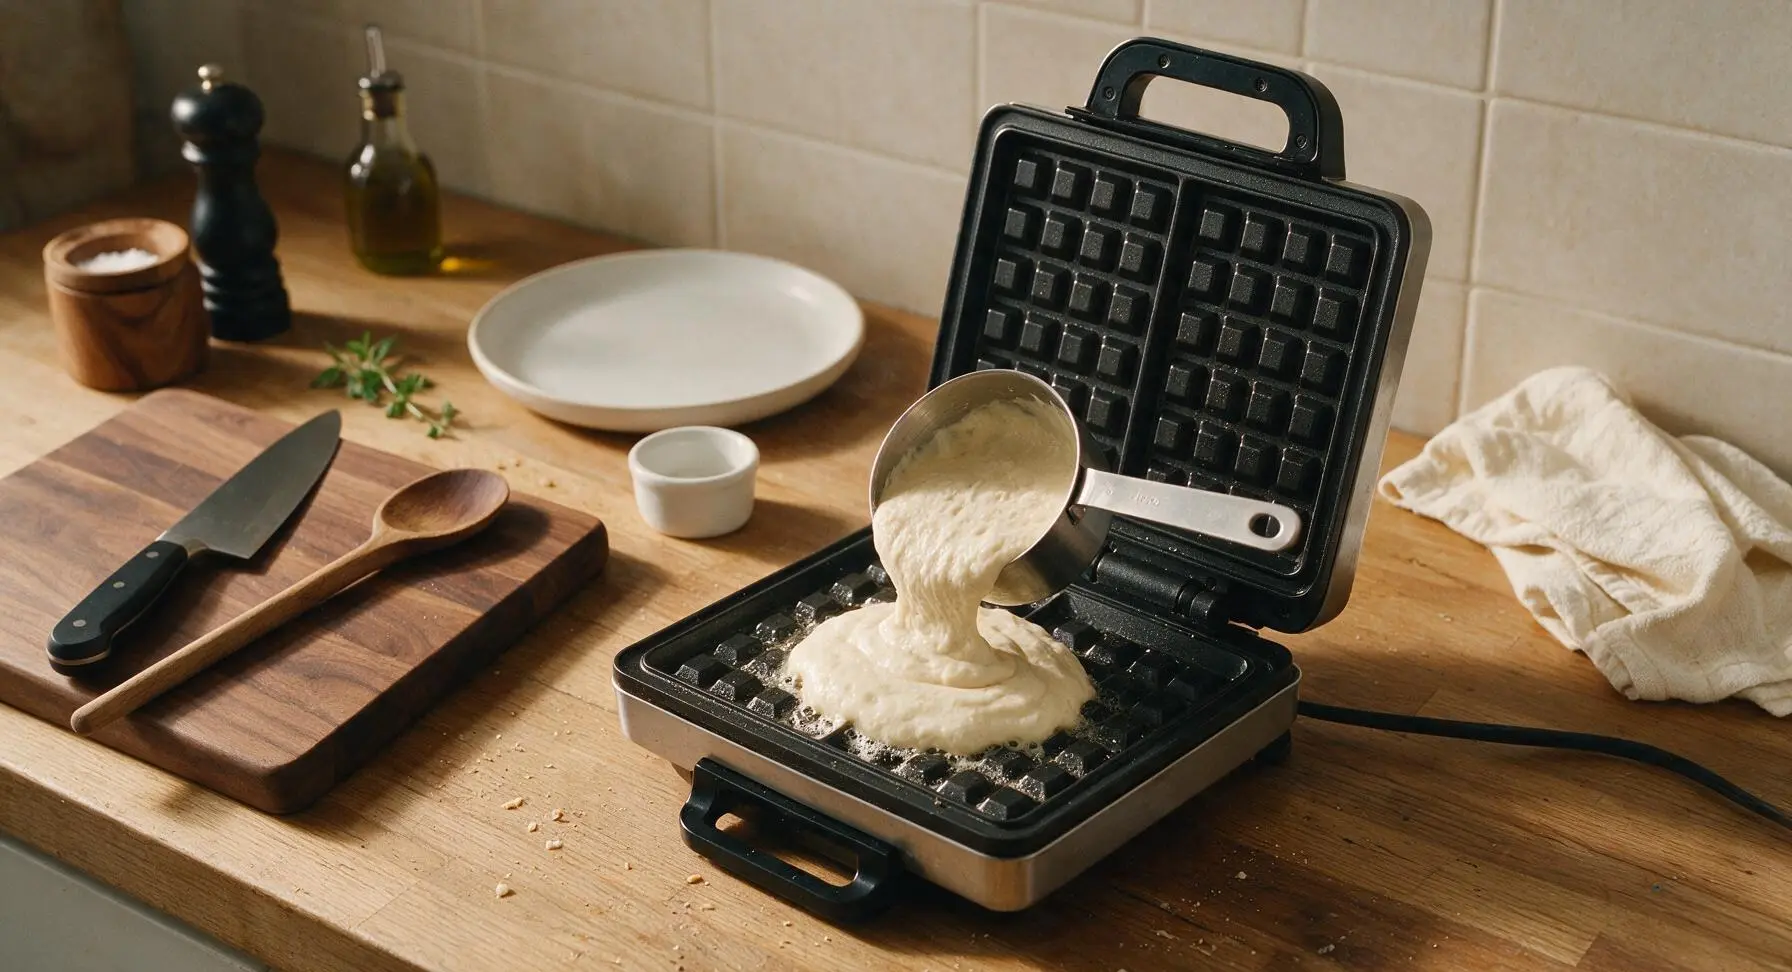
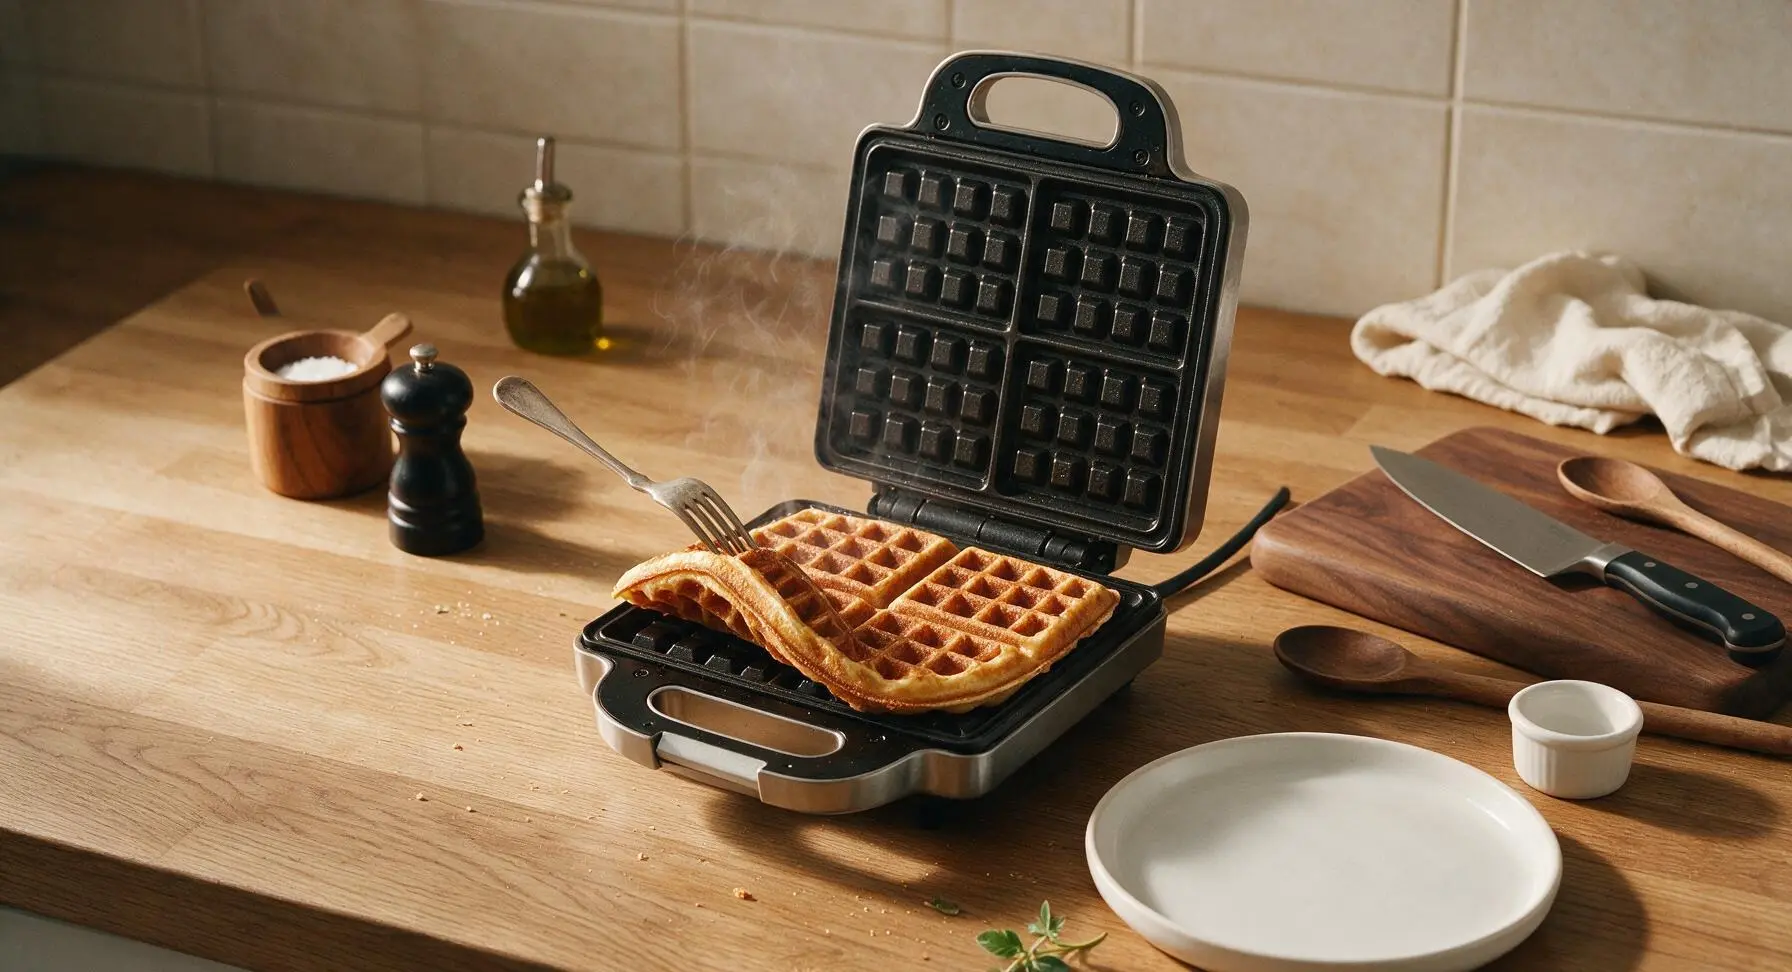
Plate and Serve Hot
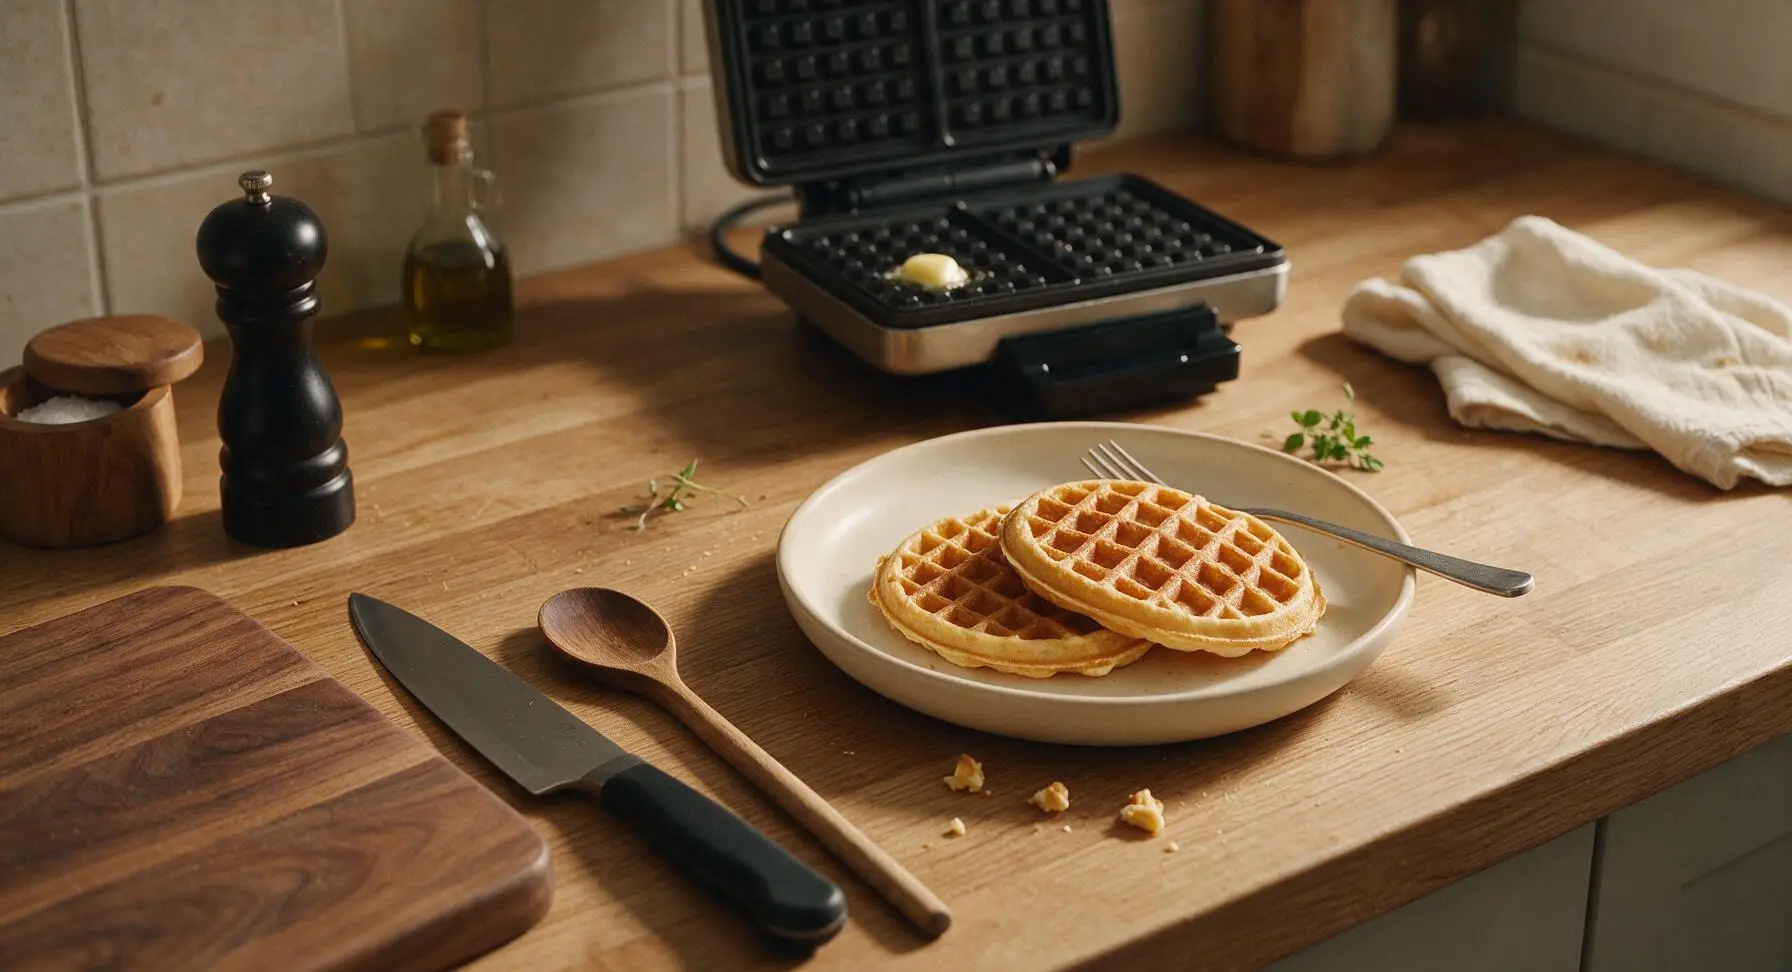
Transfer the cooked waffle to the waiting matte cream ceramic plate. Repeat cooking with remaining batter, holding finished waffles on a wire rack set in a 200°F oven to keep them crisp (do not stack waffles while waiting, as trapped steam will soften the crust). Serve hot with butter, maple syrup, fresh fruit, or your favorite toppings.
Tips
2.Avoid stacking cooked waffles while you finish batches: trapped steam will soften the crisp crust in under a minute. Hold cooked waffles on a wire rack set over a baking sheet in a 200°F oven to keep them crisp until serving.
3.Wait for steam to stop escaping from the waffle iron edges before opening the lid: this visual cue signals the waffle has fully set and developed a crisp outer crust; opening too early leads to split, stuck, soggy waffles.






OMG this mix is a total game changer! I made a double batch last Sunday for my friend’s potluck brunch and everyone was begging for the recipe. The waffles came out so crispy on the outside, fluffy inside, even after sitting on the serving platter for 20 minutes. No soggy mess like the store-bought mix I usually grab! 10/10 will be keeping a jar of this pre-mixed in my pantry for lazy weekends forever.
SO good. My kids are super picky about waffles—they say the frozen ones are too mushy, the restaurant ones are too sweet—and they went back for seconds AND thirds when I made these last night for breakfast for dinner. Only thing I did add was a dash of cinnamon to the batter, it was chef’s kiss. Cook time was exactly 3 minutes per waffle in my old waffle iron, no guesswork needed.
Super easy to throw together even in my tiny dorm kitchen! I don’t have a ton of fancy baking supplies, and I already had all the ingredients in my cabinet. Made waffles for my roommates last night and we ate them with Nutella and strawberries, no regrets. Way cheaper than buying the pre-made boxed mix too.
Wait, has anyone tried making this with a 1:1 gluten free flour blend? I’ve been searching for a crispy gluten free waffle recipe forever, most of them turn out gummy no matter how long I cook them.
I pre-portioned the dry mix into individual baggies for meal prep this week, and it’s made morning rush so much less stressful. Just dump a bag, add the wet ingredients, pour in the waffle maker, and done in 4 minutes flat. My 4 year old says these are “better than the waffles at Disney World” so that’s the highest possible praise if you ask me.
Okay I’m literally the worst at baking, I burn pancakes 90% of the time, but these came out perfect on the first try? The instructions were so straightforward, no weird steps. I was worried they’d be bland because it’s a homemade mix, but they have the perfect amount of sweetness so you don’t even need a ton of syrup.
Made a batch of this mix before my last backpacking trip, just added powdered milk to the dry mix so all I had to do at camp was add water and cook on my camp waffle iron. Crispy, warm, way better than the sad granola bars I usually eat for breakfast on the trail. Will be a staple for all my future camping trips.
I hosted a big family brunch last weekend and used this recipe, and I got so many compliments. My sister-in-law even asked if I’d cater her next book club brunch because the waffles were such a hit. Only note: I did find my first batch was a little less crispy because I overfilled the waffle iron, so definitely don’t pour too much batter!
This tastes just like the waffle mix my mom used to make back in the 70s! Crispy, buttery, no weird artificial aftertaste like the boxed stuff from the grocery store has now. I’ve already passed the recipe along to all my grandkids, they love making it for their own kids now.
I love that I can tweak this to fit my macro goals! I swapped half the all purpose flour for whole wheat, used unsweetened almond milk, and cut the sugar a tiny bit, and they still got perfectly crispy. Great base recipe that you can customize however you want without ruining the texture.
Wait, can I use this mix to make pancakes too? I don’t always feel like dragging out the waffle iron, but I love how simple this mix is to keep on hand.
I brought jars of this mix as little neighbor gifts for Christmas last year, tied with a cute ribbon and handwritten cooking instructions, and every single neighbor texted me later to say it was the best homemade waffle they’d ever had. Super cute, affordable gift idea for the holidays!
Game changer for potlucks! I brought my waffle maker to our neighborhood block party last weekend, mixed up a huge batch of this dry mix ahead of time, and made fresh waffles to order for everyone. They cooked so fast (3 minutes exactly!) that I didn’t have a huge line waiting, and everyone was raving about how crispy they were even when loaded up with whipped cream and fruit toppings.