
best way to cook chicken thighs

title 1
best way to cook chicken thighs
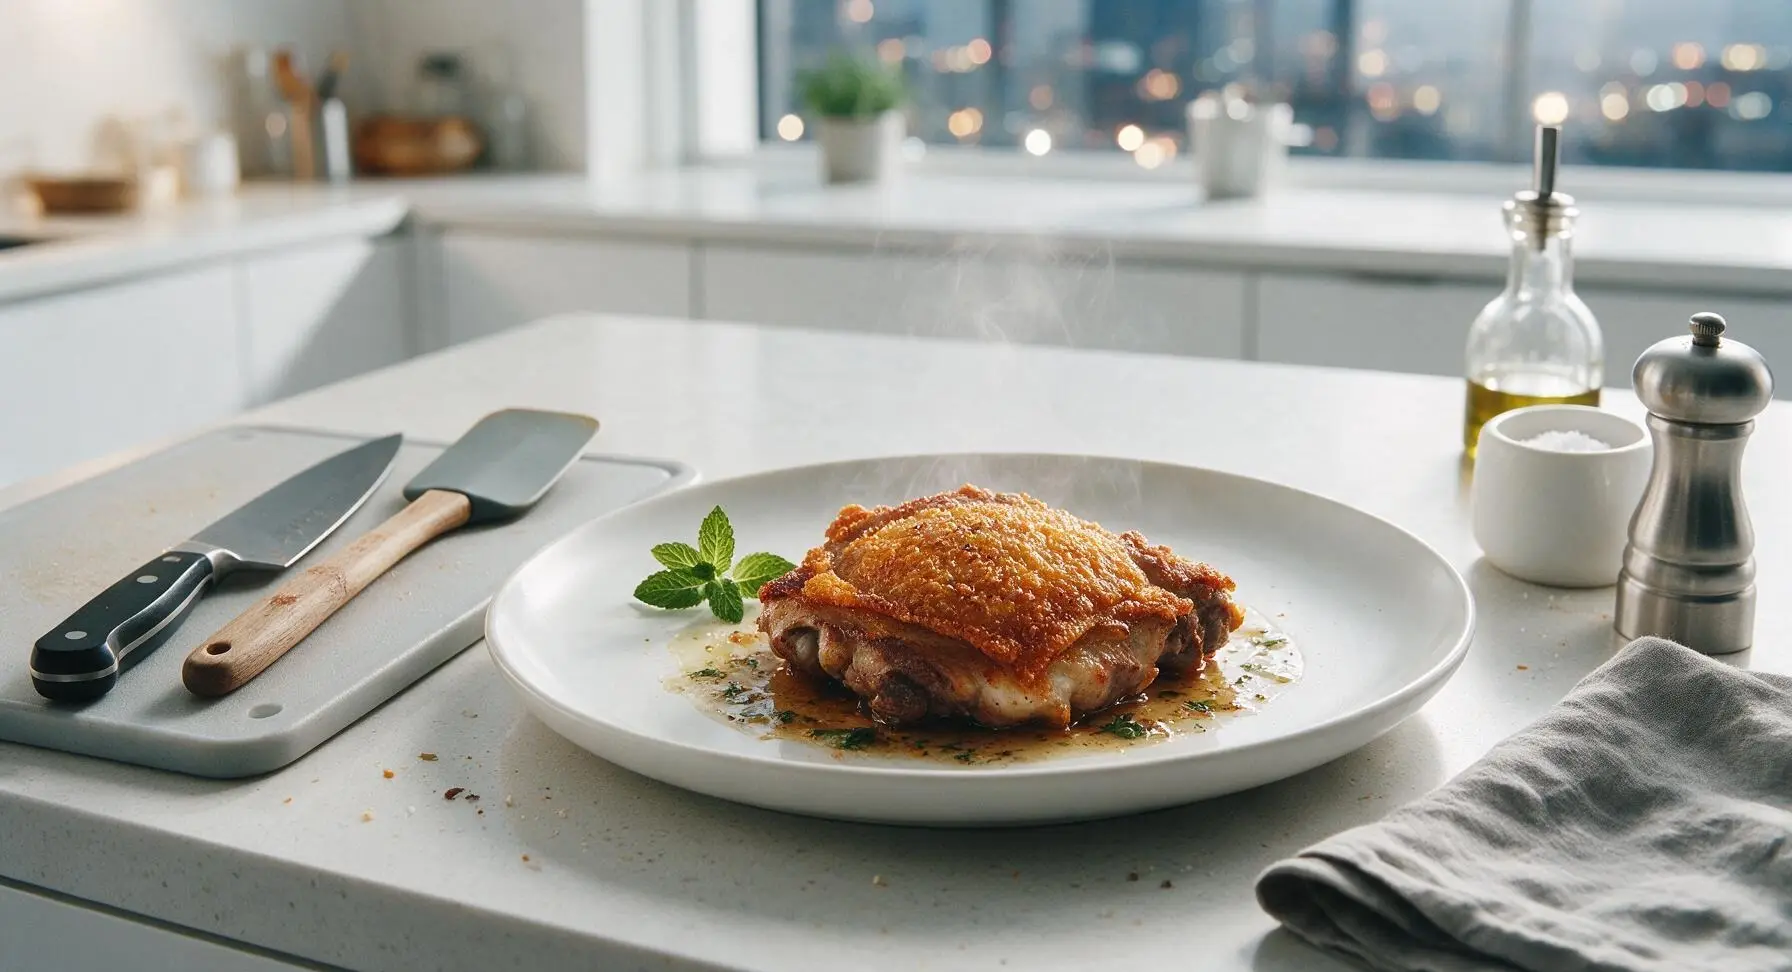
⏱️ cook time 25 minutes
🍽️ servings 4
⚡ Difficulty easy

intro

Shatteringly crisp golden skin, juicy evenly cooked dark meat, and herb-infused pan drippings make this no-fail chicken thigh method perfect for casual family meals.

Ingredients
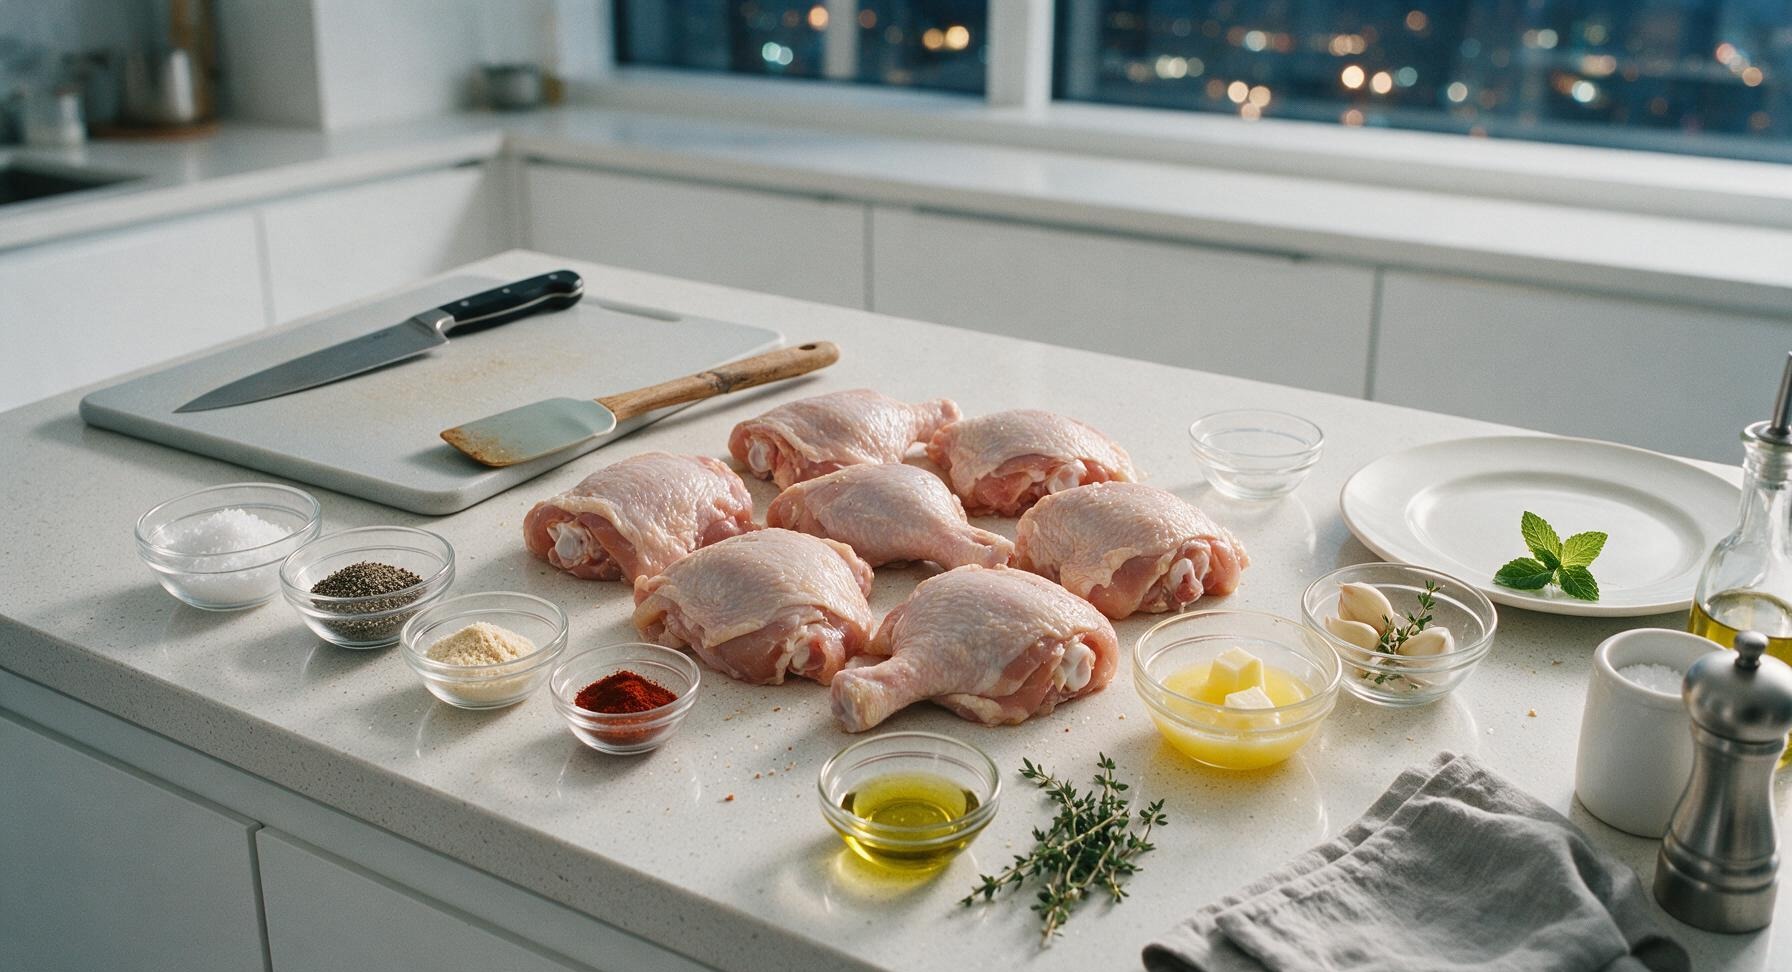
Bone-in, skin-on chicken thighs 6 pieces (1.4kg / 3lbs total)
Kosher salt 1 tablespoon
Freshly ground black pepper 1 teaspoon
Garlic powder 1/2 teaspoon
Smoked paprika 1/4 teaspoon
Extra-virgin olive oil 1 tablespoon
Unsalted butter 3 tablespoons (42g)
Fresh thyme sprigs 4 sprigs (5g total)
Garlic cloves 3 large, crushed unpeeled

Steps

1

Pat Chicken Completely Dry

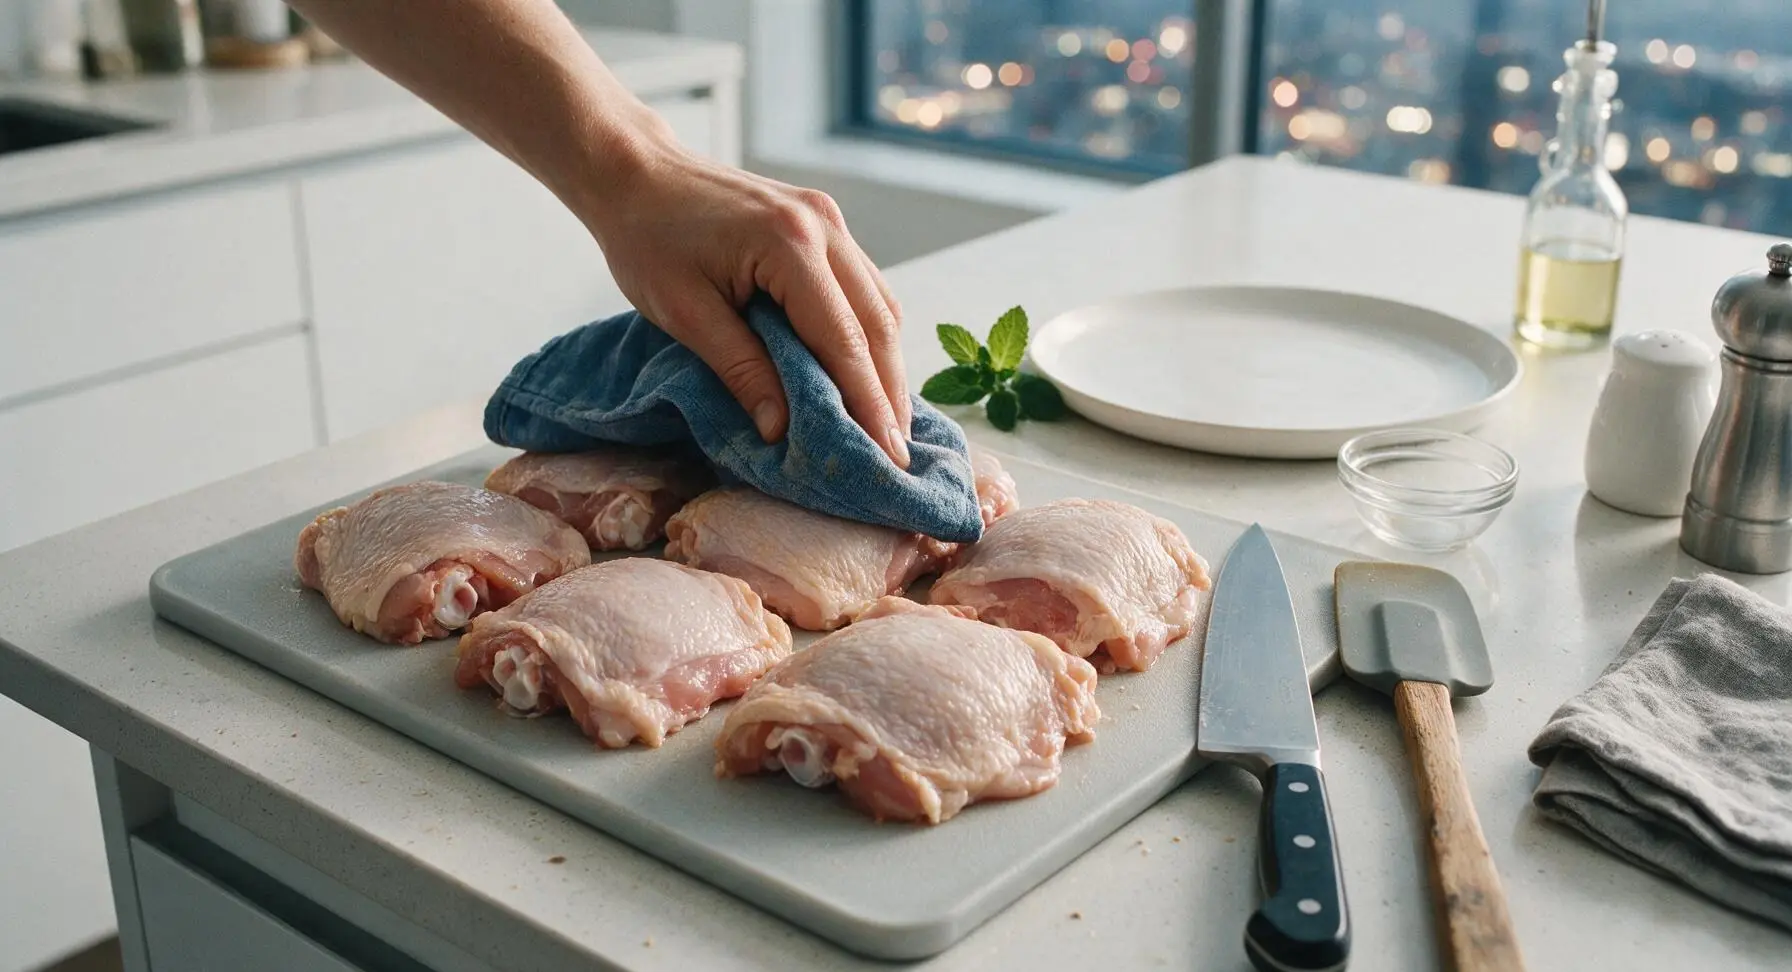
Arrange the 6 bone-in, skin-on chicken thighs on the light maple cutting board. Use the faded indigo cotton kitchen towel to pat every surface of the chicken skin completely dry, paying extra attention to creases where skin meets meat. Dry skin is the single most important step for shatteringly crisp results; the skin should feel like dry parchment paper to the touch, with no damp spots visible. Trim any excess loose skin or large fat deposits that hang over the edge of the thighs using the 8-inch chef knife. Let the chicken sit while you mix the seasonings.
Step 1
step1:Pat Chicken Completely Dry
2

Season Thighs Generously

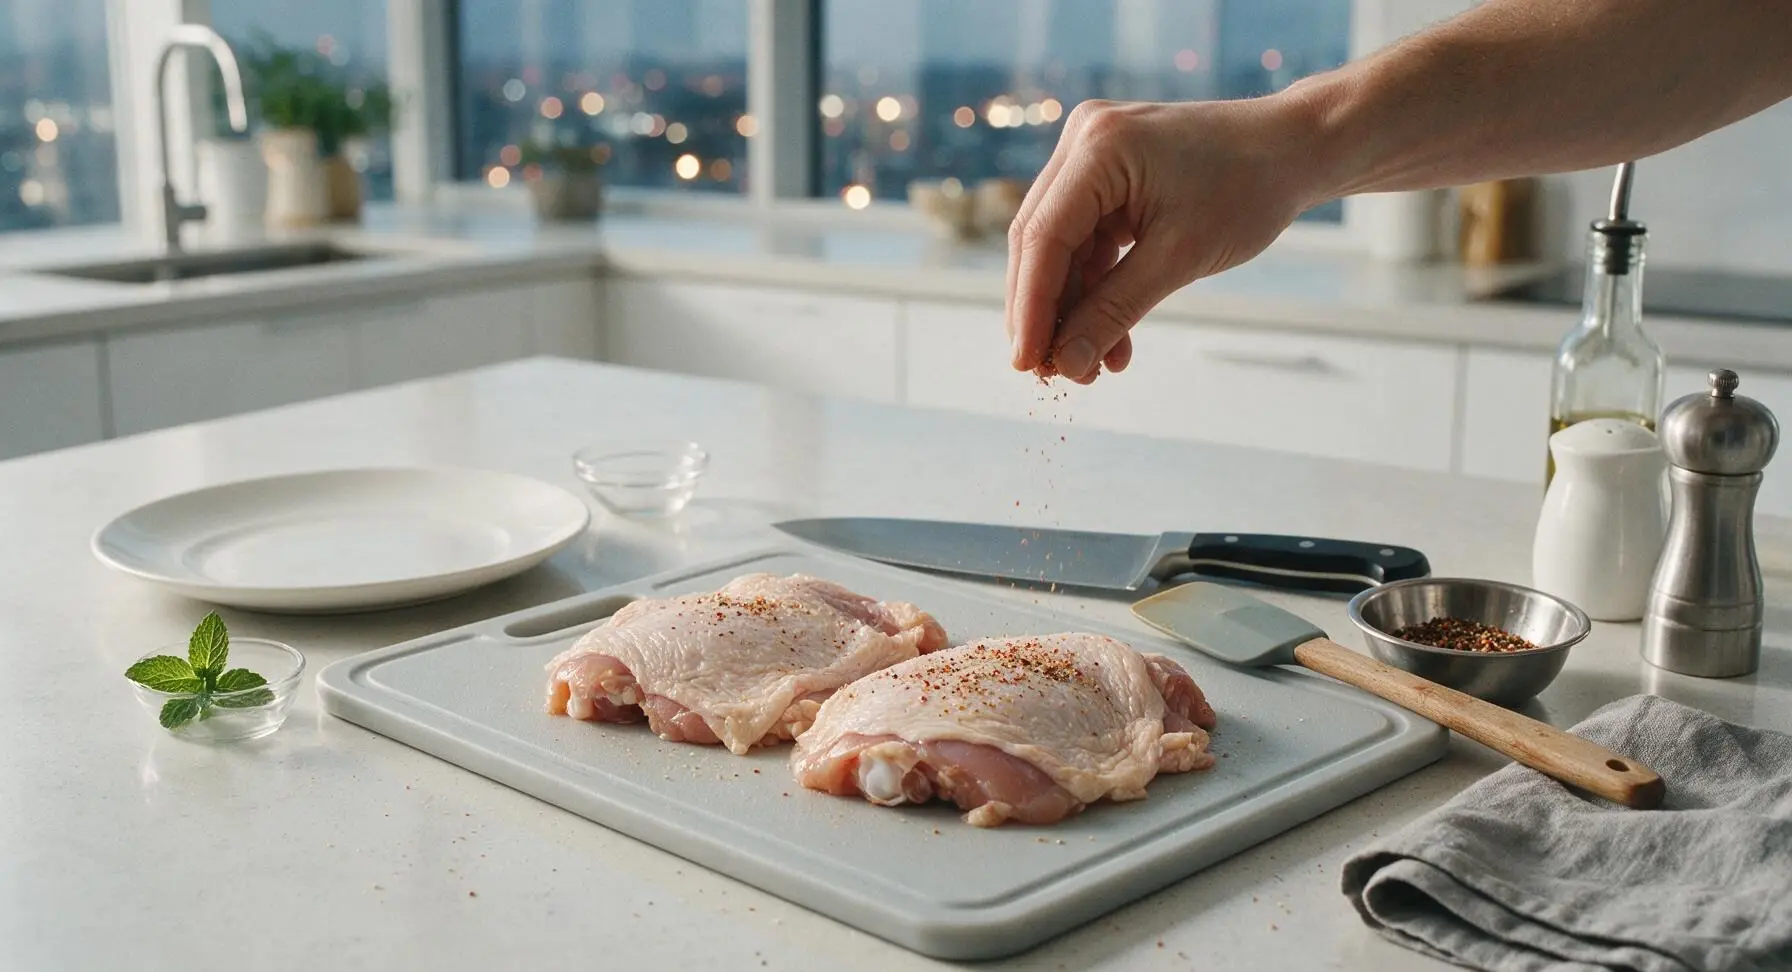
In the small stainless steel mixing bowl, combine 1 tablespoon kosher salt, 1 teaspoon freshly ground black pepper, 1/2 teaspoon garlic powder, and 1/4 teaspoon smoked paprika, stirring to mix evenly. Sprinkle 2/3 of the spice blend evenly over the skin side of the chicken thighs, pressing gently so the seasoning adheres. Flip the thighs and sprinkle the remaining seasoning over the meat side. Let the seasoned thighs rest at room temperature for 10 minutes to allow the salt to penetrate and draw out surface moisture for better searing.
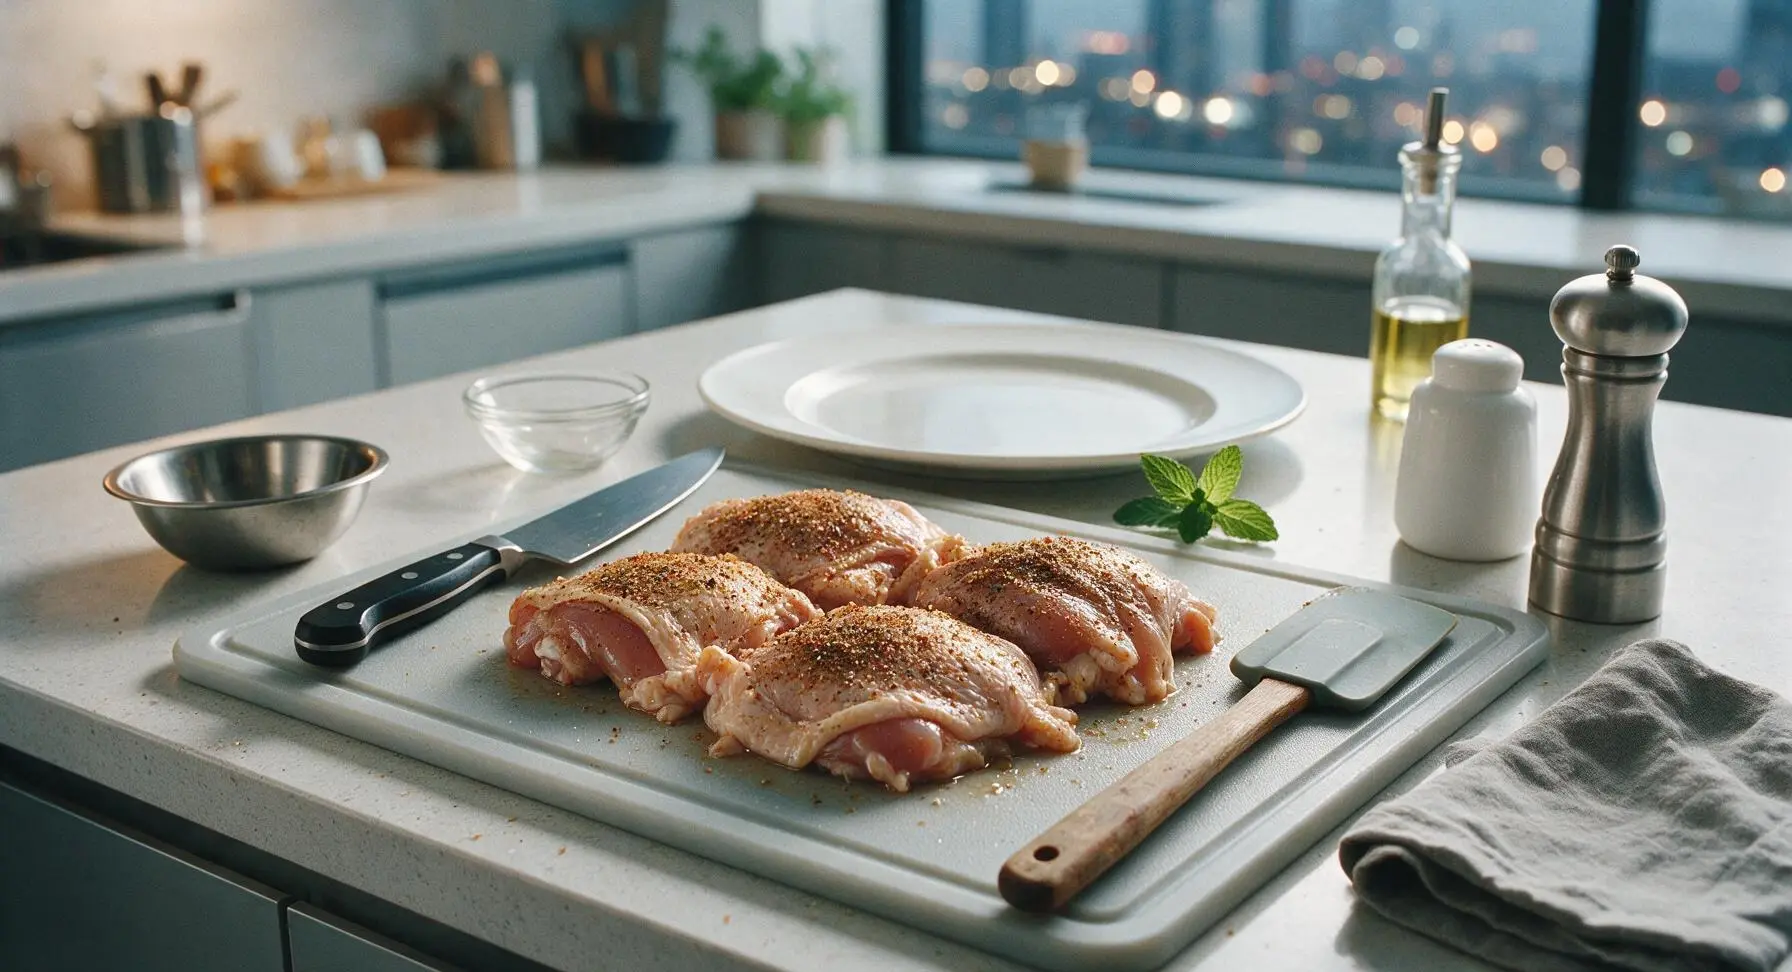
Step 2
step2:Season Thighs Generously
Step 2
step2:Season Thighs Generously
3

Sear Skin Side First

Place the 12-inch seasoned carbon steel skillet on the center-right stovetop burner over medium heat. Add 1 tablespoon extra-virgin olive oil, and wait until the oil shimmers but does not smoke (approximately 2 minutes). Arrange the chicken thighs skin-side down in the skillet in a single layer, leaving 1/2 inch of space between each piece. Do not move the chicken once placed. Cook for 10-12 minutes, until the skin is deep golden brown and releases easily from the pan without sticking. Resist the urge to lift or nudge the thighs during this time, as this will tear the skin and prevent crisping.
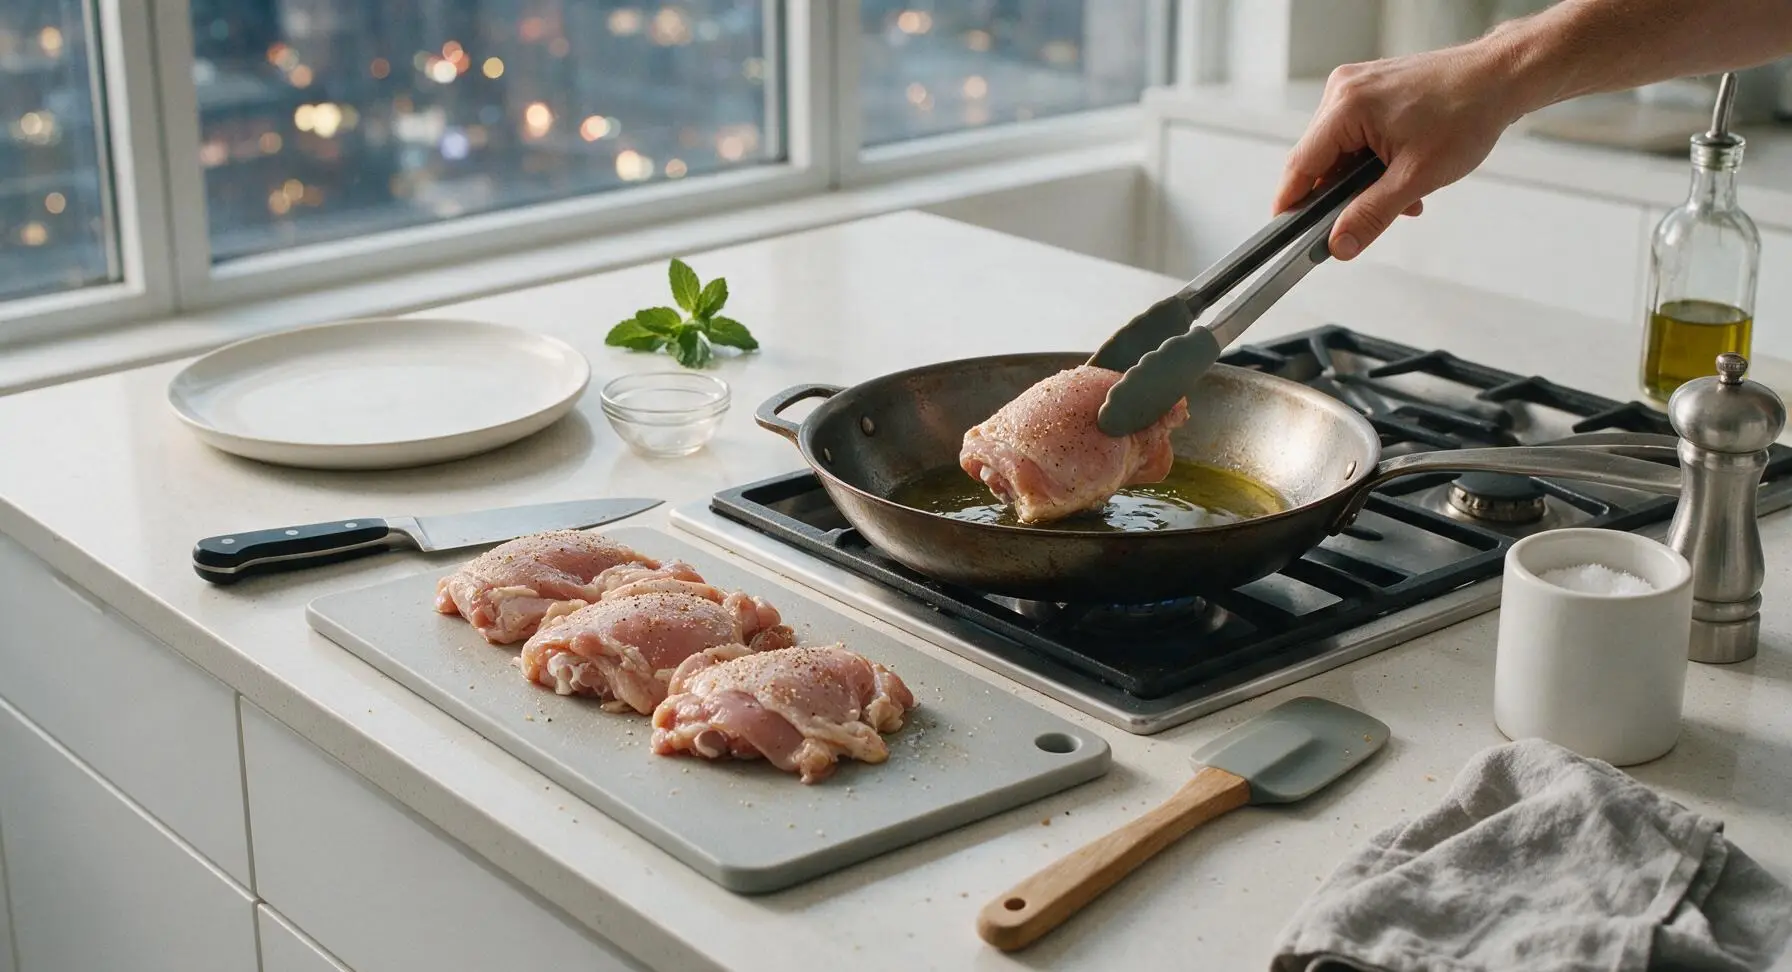
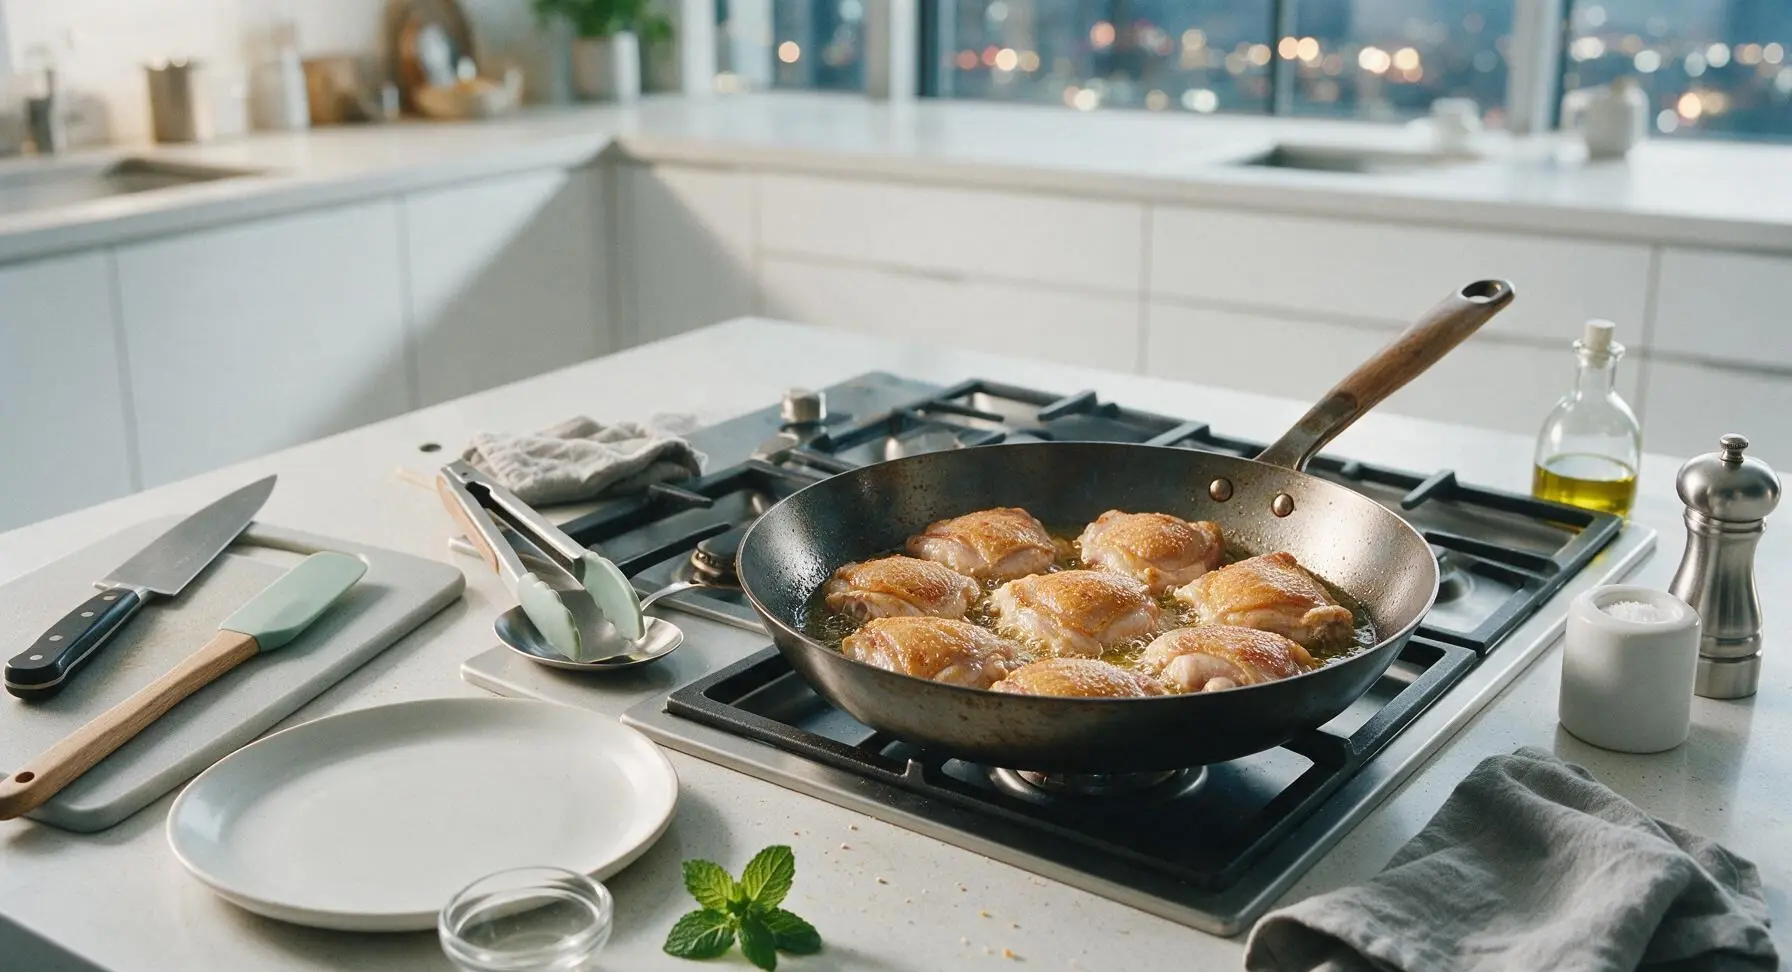
Step 3
step3:Sear Skin Side First
Step 3
step3:Sear Skin Side First
4

Flip Chicken, Add Aromatics

After the skin is fully crisp and releases easily from the pan, use the silicone-tipped tongs to flip each thigh so the meat side is down. Add 3 tablespoons unsalted butter, 3 crushed unpeeled garlic cloves, and 4 fresh thyme sprigs to the skillet. The butter will melt quickly and foam, mixing with the rendered chicken fat to create a fragrant basting liquid. Cook the meat side for 3 minutes, until lightly browned.
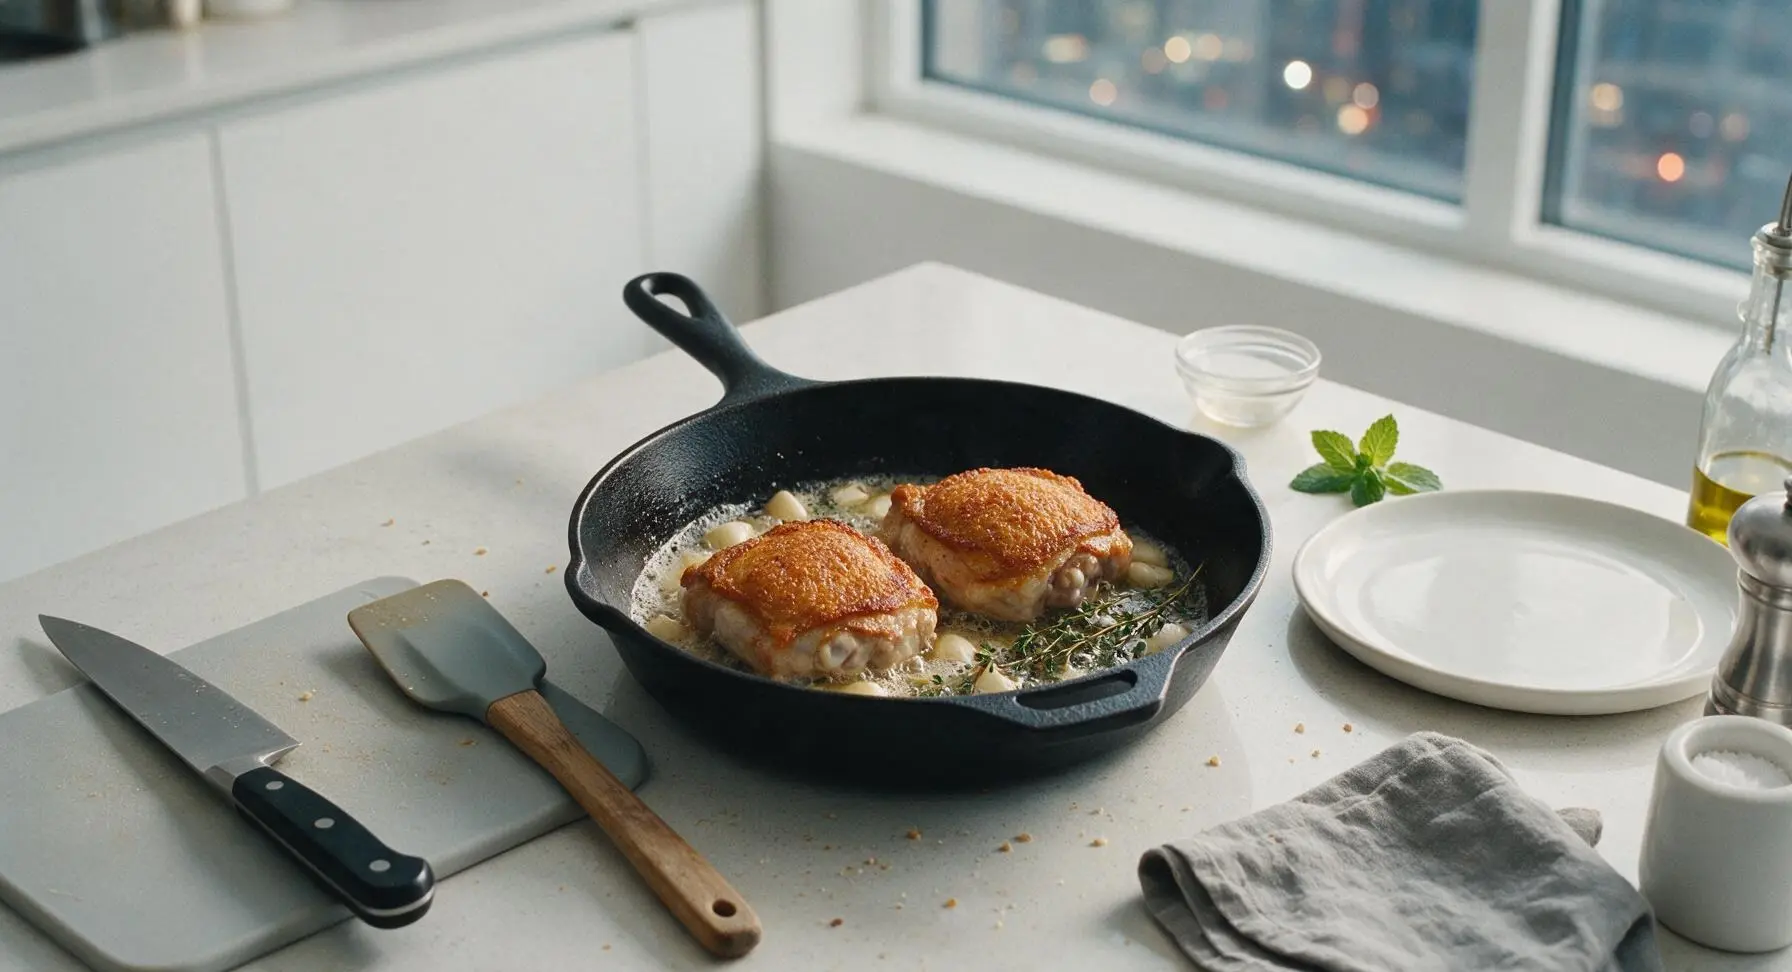
Step 4
step4:Flip Chicken, Add Aromatics
5

Baste With Herb Butter

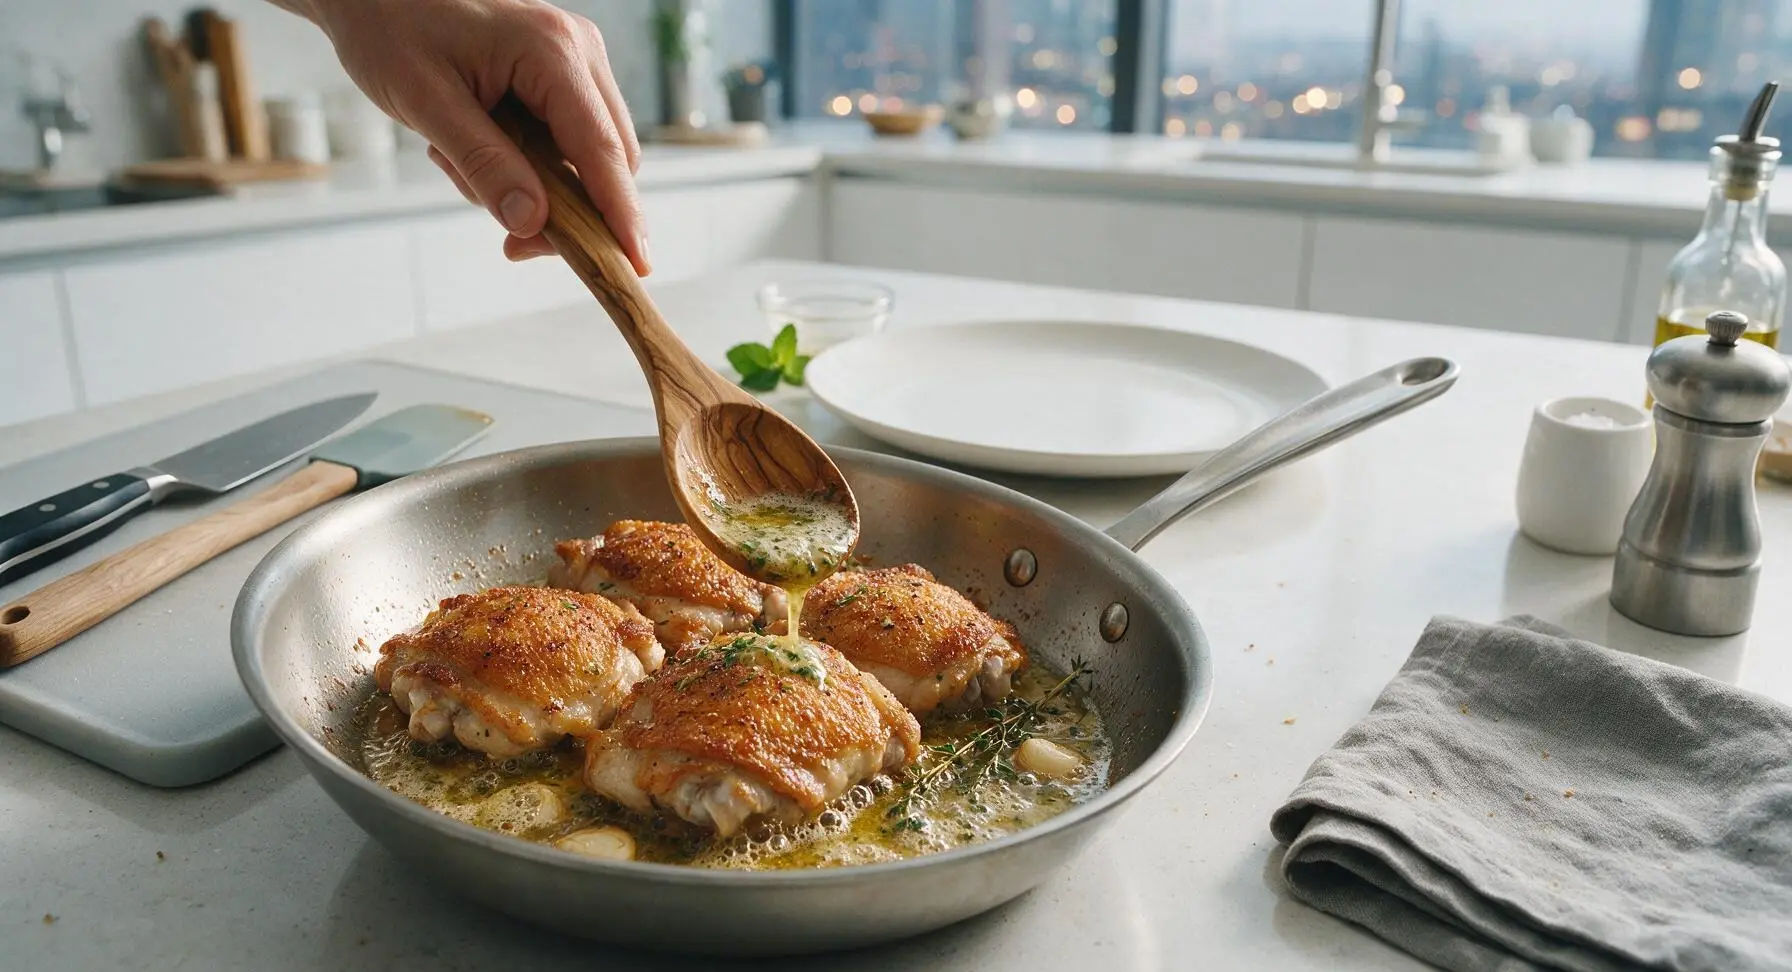
Tilt the skillet slightly toward you so the melted herb butter pools at the lower edge. Use the long olive wood basting spoon to scoop the hot butter and drizzle it repeatedly over the crispy skin of each chicken thigh. Continue basting for 2 full minutes, until the garlic smells fragrant and nutty, and the thyme releases its bright, earthy aroma. Take care not to let the butter burn; if it turns dark brown, reduce the heat slightly to medium-low.
Step 5
step5:Baste With Herb Butter
6

Roast To Safe Temperature

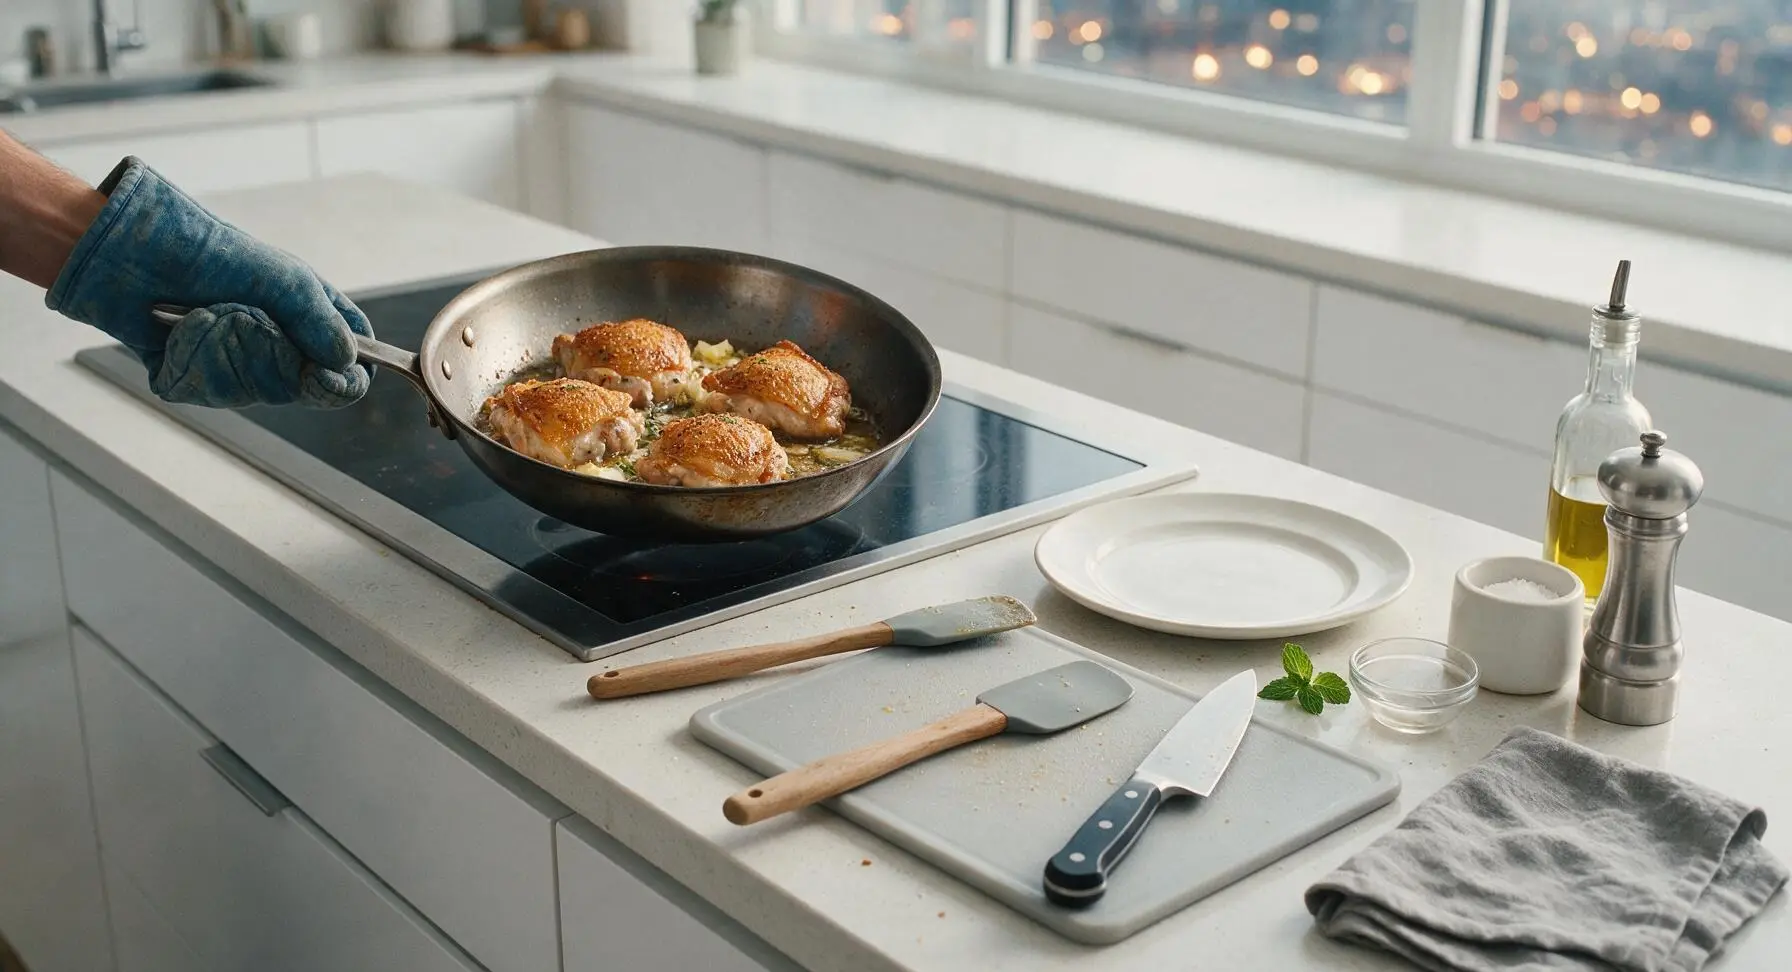
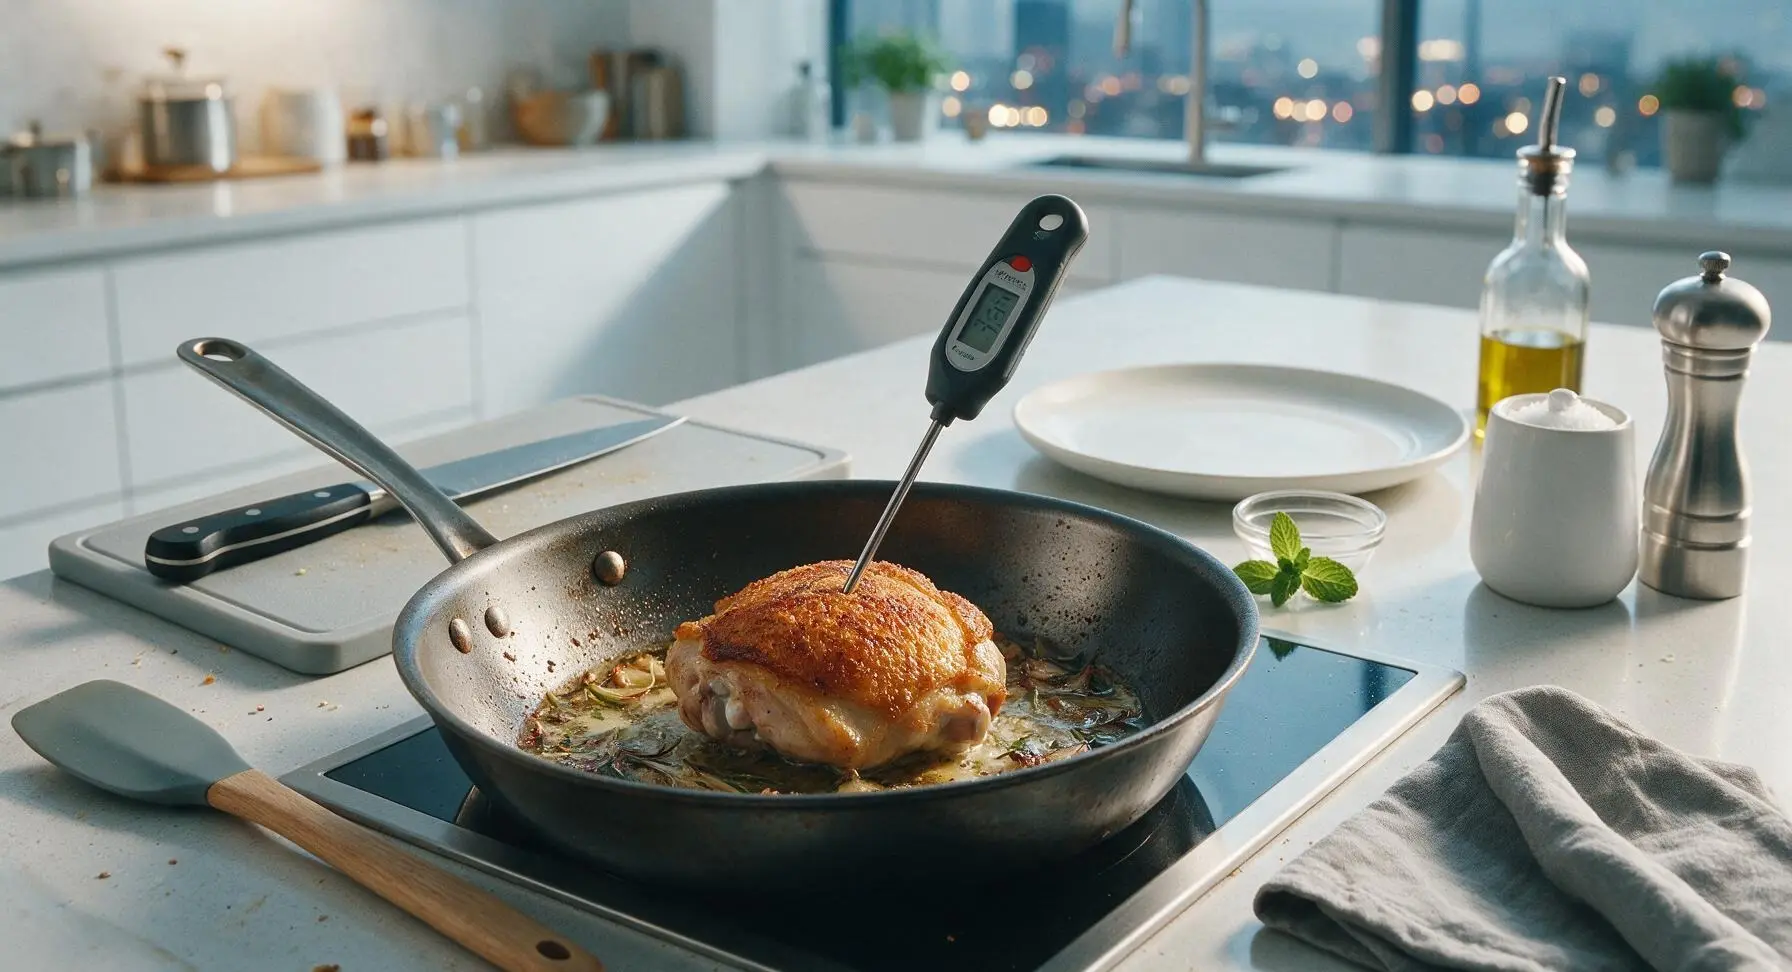
Carefully use the indigo oven mitt to grip the skillet handle and transfer the entire carbon steel skillet to a preheated 400°F (200°C) oven. Roast for 8-10 minutes, until the chicken reaches an internal temperature of 175°F (79°C) when measured with the instant-read meat thermometer inserted into the thickest part of the thigh, not touching bone. This higher final temperature for dark meat ensures tender, juicy results rather than rubbery, undercooked connective tissue.
Step 6
step6:Roast To Safe Temperature
Step 6
step6:Roast To Safe Temperature
7

Rest Chicken Thoroughly

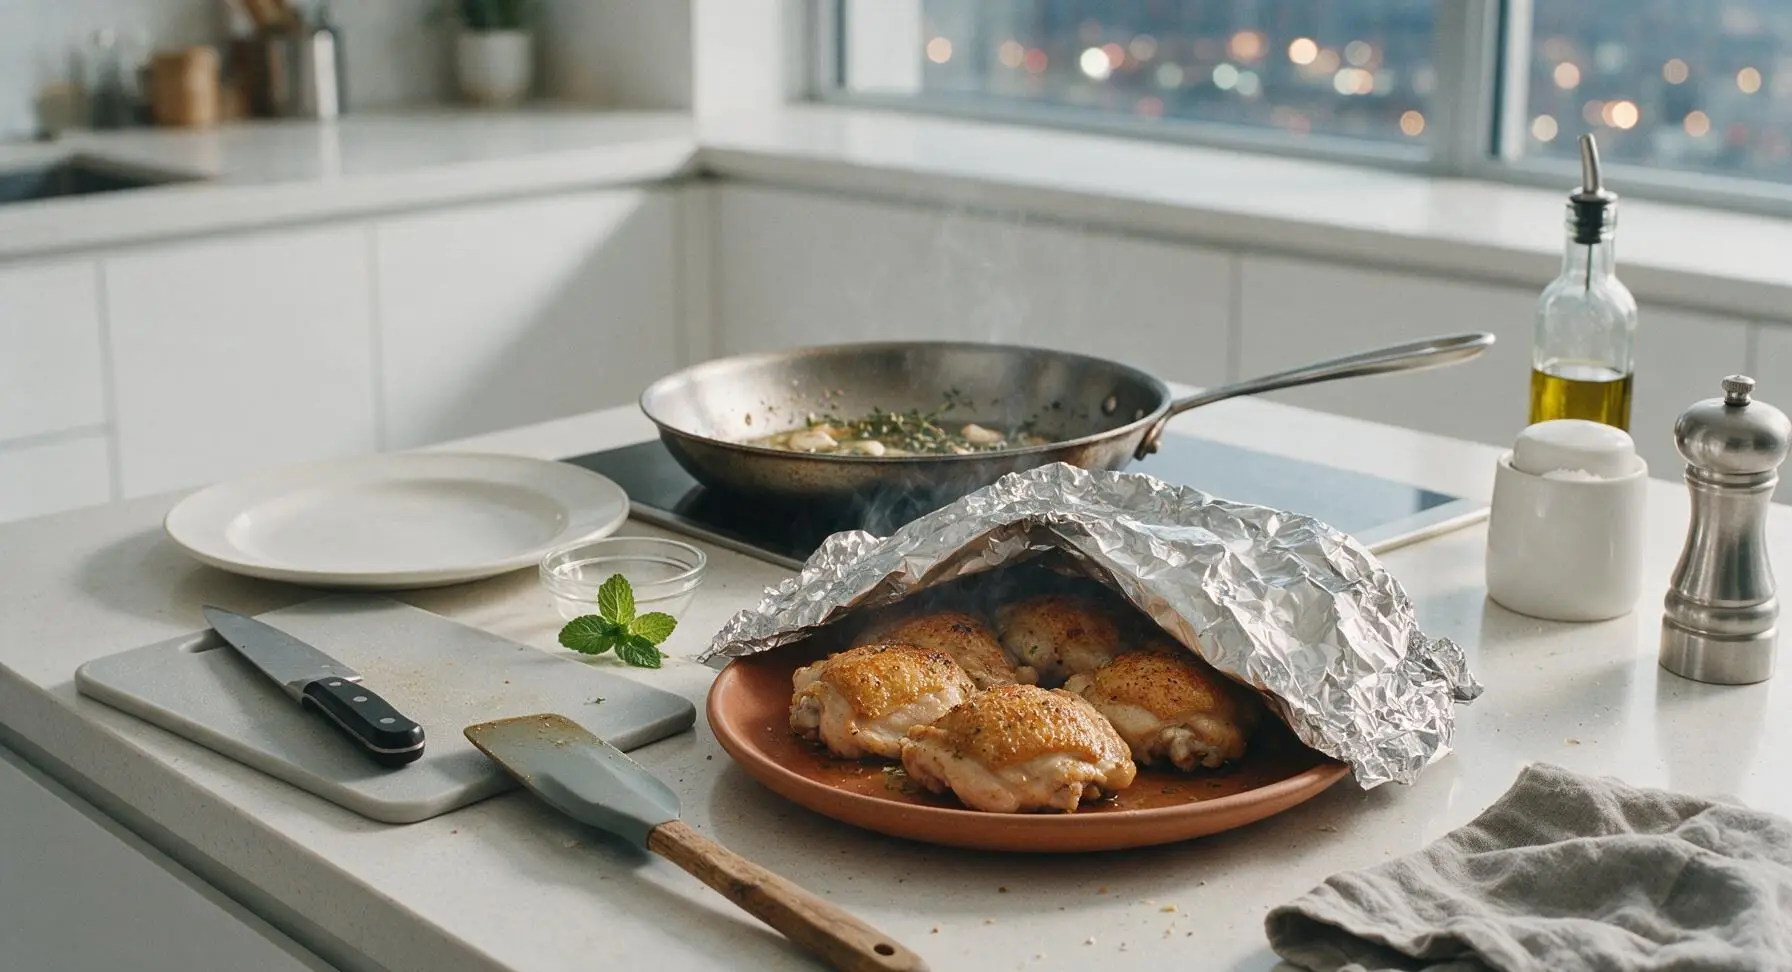
Use the tongs to transfer the cooked chicken thighs from the skillet to the matte warm terracotta dinner plate. Loosely tent a small piece of aluminum foil over the top, and let the thighs rest for 5 full minutes. Resting allows the muscle fibers to relax and reabsorb juices, so every bite is juicy rather than running with liquid when cut. Spoon 1 tablespoon of the herb butter pan drippings over the thighs before serving, discarding the cooked garlic and thyme sprigs if desired.
Step 7
step7:Rest Chicken Thoroughly

Tips

1.Never skip drying the chicken skin: Any residual moisture on the skin will steam instead of sear, leading to rubbery, flabby skin instead of the desired shatteringly crisp texture. For extra-crisp results, you can leave the uncovered thighs on a wire rack in the fridge for 2-4 hours before cooking to air-dry the skin completely.
2.Sear over medium, not high heat: High heat will burn the skin surface before the underlying subcutaneous fat has time to render out, leading to a charred outer layer and chewy, un-rendered fat under the skin. Medium heat allows gradual fat rendering for even, long-lasting crispness.
3.Cook dark meat to 175°F (79°C), not the 165°F (74°C) minimum recommended for white breast meat: Thighs contain high amounts of connective tissue that breaks down into tender, juicy texture at the higher temperature, resulting in pull-apart meat instead of tough, rubbery bites. The 5-minute rest period ensures juices redistribute evenly instead of running out when you cut into the chicken.


✨ You May Also Like

Main Course
🍜 United Kingdom

A showstopping classic of tender seared beef, savory mushroom duxelles, and crisp prosciutto wrapped in flaky golden puff pastry, baked to juicy perfection.

⏱️ 2 hours 1Main Course ★ 4.7
Main Course
🍜 India

Tender charred marinated chicken simmered in a rich, spiced creamy tomato sauce, this iconic Anglo-Indian curry pairs perfectly with basmati rice or warm naan.

⏱️ 50 minuteMain Course ★ 4.6
Main Course
🍜 Thailand

Classic tangy, sweet, and savory Thai stir-fried rice noodles with shrimp, tofu, and crunchy garnishes, balancing all five core Thai flavor profiles.

⏱️ 30 minuteMain Course ★ 4.5
Main Course
🍜 United Kingdom

Crispy golden beer-battered cod and fluffy double-fried chips, served with tangy tartar sauce and malt vinegar: the timeless, beloved British pub comfort classic.

⏱️ 45 minuteMain Course ★ 4.7
Main Course
🍜 Mexico

Smoky, chile-marinated pork tacos with caramelized pineapple, fresh cilantro, and lime: a beloved classic Mexican street food perfect for casual summer gatherings.

⏱️ 1 hour 45Main Course ★ 4.8
Main Course
🍜 United States

Crunchy Fritos corn chips layered with savory beef chili and melted cheddar, topped with cool, zesty fixings for a beloved, cozy Tex-Mex comfort food.

⏱️ 35 minuteMain Course ★ 4.8

best way to cook chicken thighs:Frequently Asked Questions

1.Why do I need bone-in, skin-on chicken thighs instead of boneless for this recipe? ▾
Bone-in, skin-on thighs are non-negotiable for that signature perfect result! The bone conducts heat gently to keep dark meat juicy and evenly cooked, while the skin renders fat as it sears to create that craveable shatteringly crisp golden crust. Boneless, skinless thighs dry out much faster and won’t deliver that iconic crispy texture.
2.How do I get shatteringly crisp chicken skin instead of rubbery, soggy skin? ▾
Start by patting the skin completely dry with paper towels first—any surface moisture will steam instead of crisp the skin. Place thighs skin-side down in a preheated heavy pan over medium heat, and don’t move them for the first 12-14 minutes to let the fat under the skin fully render before flipping.
3.Can I use regular table salt instead of kosher salt for the seasoning? ▾
You can, but you’ll need to adjust the amount heavily! Kosher salt and freshly ground black pepper form the simple seasoning base, and kosher salt’s larger, flakier grains distribute more evenly over the chicken skin and season the meat more gently than dense fine table salt. If using table salt, cut the measured amount in half to avoid over-salting, and sprinkle from 6 inches up for even coverage.
4.Do I need to bring chicken thighs to room temperature before cooking? ▾
It’s not a hard requirement, but it does help create more even results! Letting thighs sit on the counter for 20-30 minutes before cooking takes the chill off, so the meat cooks evenly from edge to bone instead of seizing up when it hits the hot pan. If you’re short on time, just add 2-3 minutes to your total cook time.
5.What type of pan works best for pan-roasting these chicken thighs? ▾
Reach for a heavy-bottomed stainless steel or cast iron skillet for the best results. These pans hold consistent, even heat without hot spots that burn the skin or leave patches under-crisped, and they catch all the flavorful pan drippings you can repurpose for sides or sauces. Skip thin nonstick pans, which can’t get hot enough for a proper crisp crust.
6.Why is smoked paprika included in the basic seasoning blend? ▾
Smoked paprika adds a deep, warm, subtly smoky note that cuts through the richness of the chicken skin and dark meat without overpowering it. It also adds a subtle warm red hue to the finished crisp skin, making it look as golden and appetizing as it tastes. Sweet paprika works as a 1:1 substitute if you don’t have the smoked variety.
7.How do I tell when chicken thighs are fully cooked without drying them out? ▾
The most reliable method is to use an instant-read thermometer inserted into the thickest part of the thigh, not touching the bone—you’re looking for an internal temp of 175°F for dark meat. At this temp, the meat will be juicy, tender, and pull easily from the bone. Skip cutting into the thigh to check, as that lets precious juices run out.
8.Can I add extra herbs or aromatics to the pan while the chicken cooks? ▾
Absolutely! After the first 10 minutes of cooking skin-side down, you can toss in a few sprigs of fresh thyme, rosemary, a couple crushed garlic cloves, or a pat of butter to infuse the pan drippings. Just don’t add these too early, or they’ll burn and turn bitter in the hot rendered fat before the chicken finishes cooking.
9.Why does my chicken stick to the pan when I first try to flip it? ▾
If your chicken is sticking, it’s not ready to flip yet! As the skin crisps and renders fat, it will naturally release from the pan surface once it’s fully golden and crisp. If you have to pry it up, give it another 1-2 minutes of uninterrupted cook time skin-side down. Resist nudging it early, as that tears the delicate crisp skin.
10.How do I keep the chicken from creating too much smoke while cooking on the stovetop? ▾
Rendering chicken fat can smoke if your heat is cranked too high! Keep your burner set to steady medium, not high, for the duration of the skin-side down cook time. If you notice light smoke starting, turn the heat down just a touch, and run your exhaust fan to catch faint fumes before they set off your smoke alarm.
11.Can I make these chicken thighs ahead of time for weekly meal prep? ▾
These thighs hold up really well for meal prep! Let them cool completely, then store in an airtight container in the fridge for up to 4 days. To re-crisp the skin, place them skin-side up on a wire rack over a baking sheet and warm in a 400°F oven for 8-10 minutes—microwaving will make the skin soggy, so skip that method.
12.What should I do with the seasoned pan drippings left after cooking? ▾
Don’t toss those golden, seasoned drippings—they’re liquid gold! You can spoon them directly over the chicken when serving, toss them with roasted veggies or mashed potatoes, or use them as a base for a quick pan sauce by stirring in a splash of chicken broth, a squeeze of lemon, and a pinch of black pepper over low heat.
13.Why use garlic powder instead of fresh garlic for this seasoning blend? ▾
Garlic powder works better here because it distributes evenly across the skin and meat without burning the way minced fresh garlic can during the long, high-heat sear. It delivers a mellow, rounded garlic flavor in every bite, instead of leaving you with burnt, bitter garlic bits stuck to your pan or unevenly flavored chicken.
14.My skin gets crispy but the meat near the bone is undercooked—how do I fix that? ▾
Once you flip the chicken skin-side up after crisping, pop the whole oven-safe pan in a 400°F oven for 5-8 minutes to finish cooking through gently. This lets the meat come up to the correct internal temp without burning the already crisp skin, and ensures even cooking all the way to the bone without over-searing on the stovetop.

Comments (20)

just now

Super easy even for a guy who usually burns toast! Only had basic salt, pepper, and garlic powder in my dorm and it still turned out chef’s kiss. Will 100% add this to my tiny rotation of meals I don’t mess up.

just now

SO good. I was skeptical you could get that level of crisp without a deep fryer but wow, proved me wrong. Ate them straight out of the pan standing over the stove no regrets.

5 minutes ago

OMG these chicken thighs came out so crispy I thought I ordered them from my favorite wing spot! Cooked them up for the Sunday football watch party and everyone was asking for the recipe. Total game changer for quick weeknight or game day eats, no cap.

5 minutes ago

Made these for a post-hike dinner last night and they hit so hard after 6 miles on the trail. Crispy outside, juicy inside, zero fuss. Paired it with roasted broccoli and quinoa for a perfect high protein meal.

yesterday

My super picky 7 year old ate TWO thighs without complaining, that alone is a 5 star review. I didn’t even have to bargain with screen time to get him to finish his dinner. Absolute mom win!

2 days ago

Made this for my mom for her birthday dinner and she cried (happy tears I think lmao). The skin was so crunchy I couldn’t believe it didn’t come from a restaurant. Super straightforward recipe no weird steps.

30 minutes ago

Wait, do I need to use bone-in skin-on thighs for this? I only have boneless skinless in the fridge right now and don’t want to run to the store in the rain.

10 minutes ago

Great question! Bone-in, skin-on thighs will give you that signature crispy skin and juiciest meat, but if you’re using boneless skinless, just reduce the cook time by 4-5 minutes and watch the internal temp (it should hit 165°F). You won’t get the crispy skin, but they’ll still be delicious!

2 hours ago

How well do these hold up for meal prep? I make lunches for the whole work week and need stuff that doesn’t get soggy in the fridge by Wednesday.

1 hour ago

I meal prepped these last week! Let them cool completely before putting them in airtight containers and the skin stays surprisingly crisp when you reheat them in the oven or air fryer (microwave makes it soggy fyi)

2 days ago

Made these for taco night instead of my usual ground beef and it was such a fun switch up! Chopped up the crispy chicken, threw it in corn tortillas with some lime crema and cilantro, everyone went back for seconds.

1 day ago

That taco twist sounds incredible! We love seeing people repurpose the recipe for fun themed nights, we might have to borrow that idea for our next taco Tuesday.

3 days ago

Perfect high protein, low carb meal for my post-workout dinners. Macros work out great, the flavor isn’t boring like so many other “healthy” chicken recipes I’ve tried. Will be on repeat for sure.

2 days ago

Agreed! I eat keto and these fit perfectly, no weird breading or added carbs just pure crispy deliciousness. I make them at least once a week now

5 days ago

First time making chicken thighs ever and I didn’t dry them out!!! My husband said it’s the best thing I’ve ever cooked, I feel like a literal kitchen wizard now. Thank you for the easy to follow steps!

4 days ago

Congratulations on nailing your first batch of chicken thighs! That’s such a fun win for a newlywed kitchen — so happy we got to be part of that win. Can’t wait to hear what you cook next!

1 week ago

25 minute cook time is no joke! I got home late from work, threw these together, and had dinner on the table before my partner even finished setting the table. Absolute weeknight staple now.

6 days ago

That makes our day to hear! Quick, low-fuss dinners that don’t skimp on flavor are exactly what we aim for. So glad it worked for your busy weeknight!

2 weeks ago

I added a little smoked paprika and garlic powder to the seasoning per my grandma’s old chicken trick and *chef’s kiss* the flavor was out of this world. The crisp was perfect even with my extra seasonings.

1 week ago

Omg stealing that paprika trick! I made these plain last time and they were great but I bet that little smoky kick takes it to the next level

2 weeks ago

I’ve been making chicken thighs for 50 years and this method is the best one I’ve ever tried for that perfect shatteringly crisp skin. Shared the recipe with my whole bridge club, they all loved it too.

12 days ago

This is the highest possible compliment tbh, if a grandma with 50 years of cooking experience says it’s good I know it’s a guaranteed hit. Making these tonight!

30 minutes ago

Wait, my skin stuck to the pan when I tried to flip it! Did I do something wrong? I was so excited for crispy chicken and ended up with half the skin left stuck to the skillet 😭

20 minutes ago

Don’t flip it too early! If the skin is sticking, that means it hasn’t had enough time to crisp up and release from the pan. Give it another 2-3 minutes and it’ll lift right up no problem, I made the same mistake my first time too

10 minutes ago

Hank is spot on! Resist the urge to move the chicken around once you set it skin-side down in the pan — let it cook undisturbed for 10-12 minutes, and it will release naturally when the skin is perfectly crispy. Also make sure your pan is fully preheated before adding the chicken, that helps prevent sticking too. Give it another try, you’ve got this!

2 hours ago

Wait, will this set off my tiny apartment smoke alarm? I don’t want to get chewed out by my landlord again for cooking lol, last time I seared steak the whole hall smelled like smoke for hours.

1 hour ago

I made these in my 300 sq ft studio last week and no smoke alarm! Just make sure your pan isn’t cranked up higher than medium-high and don’t overcrowd the pan, that’s when the oil starts smoking like crazy

45 minutes ago

Great tip from Sam! We also recommend patting the chicken completely dry with paper towels before adding it to the pan — excess moisture is a common culprit for excess smoke and splatter. If you have a splatter screen, that helps too!

yesterday

I used fresh thyme and rosemary from my backyard garden to baste the chicken with butter at the end and oh my gosh the herby butter flavor was insane. If you have fresh herbs lying around definitely toss them in, total game changer.

18 hours ago

Wait when do you add the herbs? I always burn my fresh herbs when I add them too early and they taste bitter lmao

12 hours ago

Add them the last 2-3 minutes of cooking with a couple tablespoons of butter, then spoon the melted herby butter over the top of the chicken! They don’t burn that way and the flavor gets right into the skin

3 days ago

Thinking of making a big batch of these for our neighborhood potluck this weekend. Do they taste good at room temp or do I need to keep them warm the whole time?

2 days ago

I brought these to our block party last month! They were totally fine at room temp for a couple hours, the skin even stayed crispy. People were hovering over the platter the whole time, I went home with an empty dish

1 day ago

Linda is exactly right! These hold up really well at room temp for 2-3 hours, which makes them perfect for potlucks. If you want to keep them extra crisp, you can set them on a wire rack over a baking sheet instead of piling them on a plate, so air circulates under them.

5 days ago

I work 12 hour shifts so quick meals are non-negotiable for me. Can I freeze these after cooking for quick grab and go meals on days I don’t have energy to cook after a long shift?

4 days ago

I froze half a batch last month! Let them cool fully, wrap each thigh individually in plastic wrap then toss in a freezer bag, they lasted 3 months no problem. Reheat in the oven at 375 for 15 minutes and they’re almost as good as fresh

3 days ago

Freezing works great for these! Just make sure to get as much air out of your freezer bag as possible to avoid freezer burn, and skip the microwave for reheating if you want to keep that crispy skin intact. Perfect for busy shift days!

1 week ago

Made these for brunch last weekend paired with fluffy waffles and hot honey and I swear it was better than the chicken and waffles at the fancy brunch spot downtown. Who needs to pay $25 for a plate when you can make it at home for way cheaper?

6 days ago

Hot honey on crispy chicken is my love language!!! I need to try this combo this weekend, my brunch crew is going to lose their minds

5 days ago

That chicken and waffle combo sounds like absolute brunch perfection. We’re big fans of a little hot honey drizzle too — the sweet heat pairs so perfectly with the salty crispy skin. Great call!



