
bisquick ground beef

title 1
bisquick ground beef
⏱️ cook time 35 minutes
🍽️ servings 4
⚡ Difficulty easy

intro

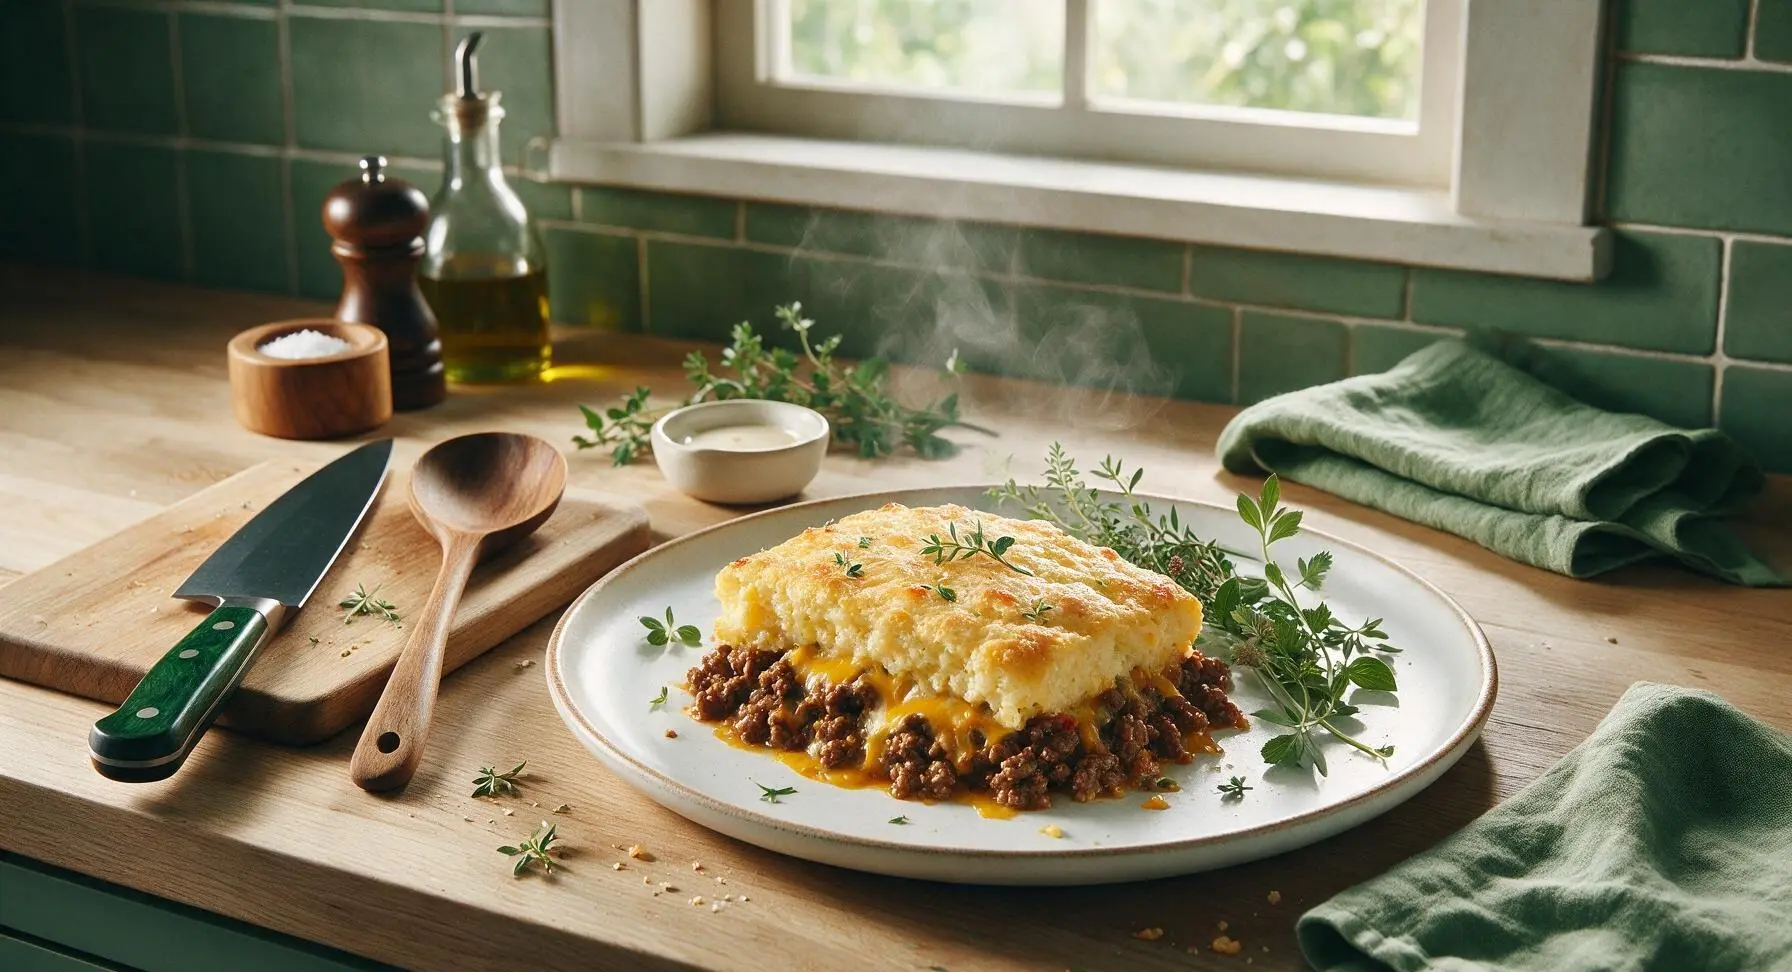
A cozy, savory one-pan bake of seasoned ground beef and melted cheddar, topped with a fluffy golden Bisquick crust—ready fast for no-fuss, comforting weeknight dinners.

Ingredients
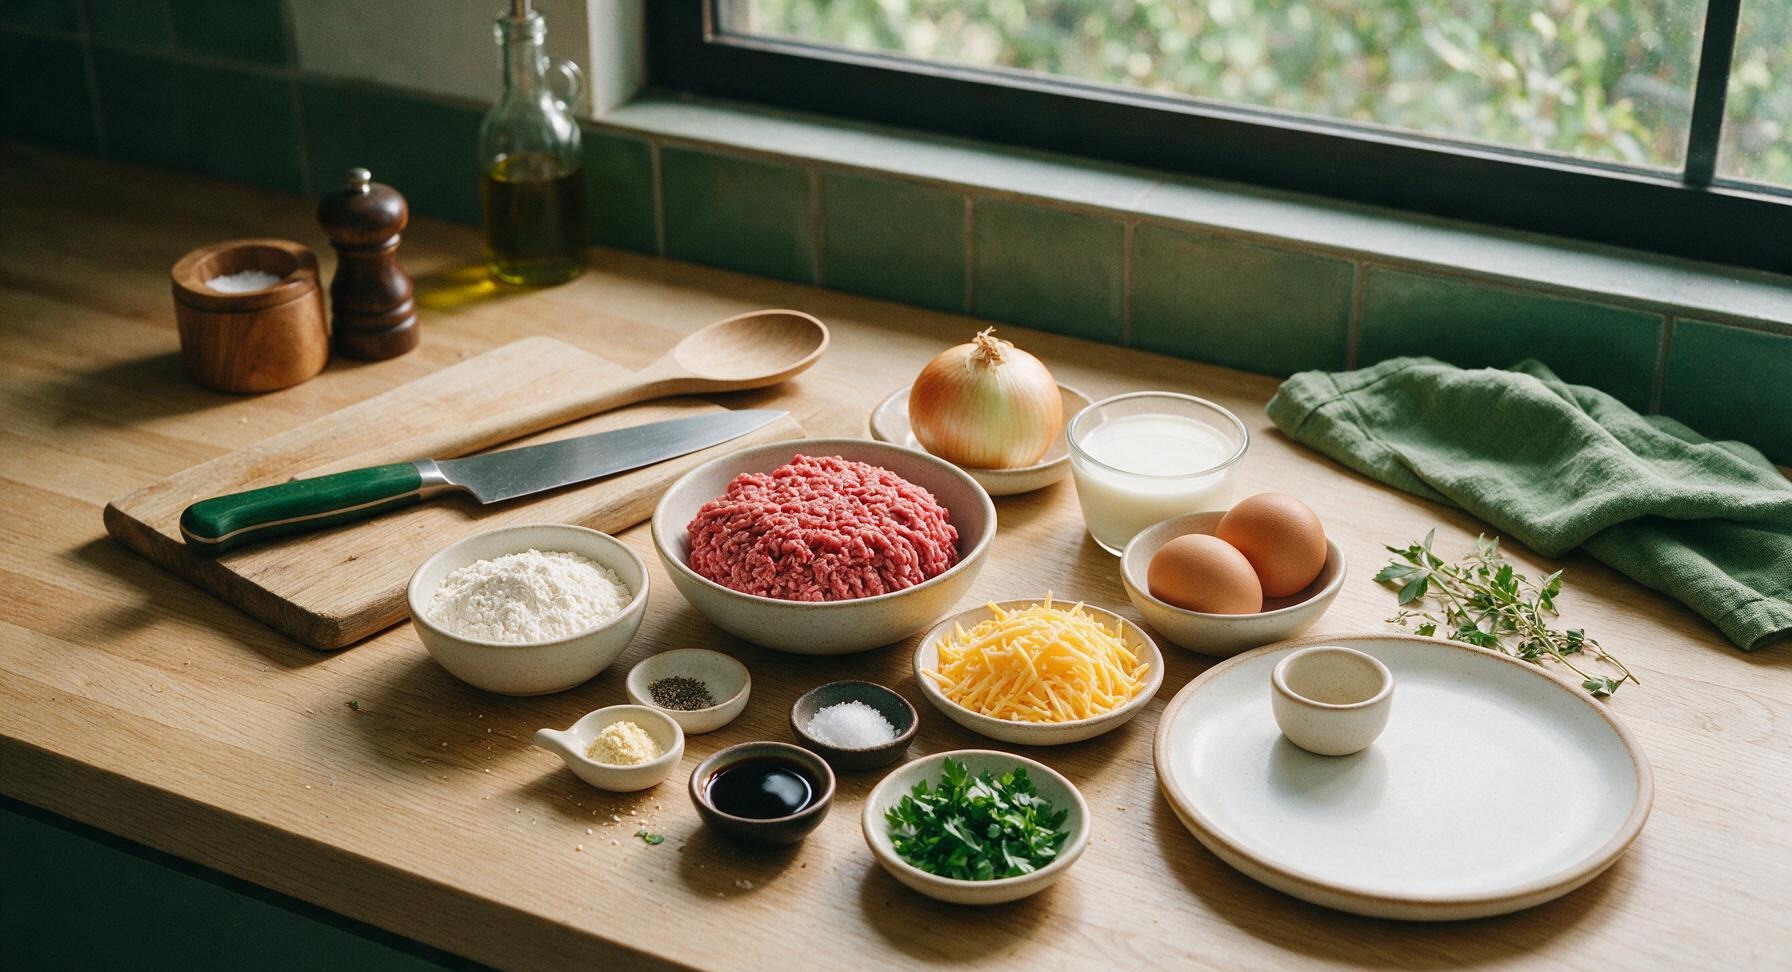
Lean ground beef (80/20) 450g
Original Bisquick baking mix 1 cup (120g)
Yellow onion 1 medium (150g)
Whole milk 1 cup (240ml)
Large eggs 2
Shredded sharp cheddar cheese 1 cup (113g)
Kosher salt 1 tsp
Freshly ground black pepper 1/2 tsp
Garlic powder 1/2 tsp
Worcestershire sauce 1 tbsp
Fresh flat-leaf parsley 2 tbsp (chopped)

Steps

1

Preheat Oven, Prep Pan

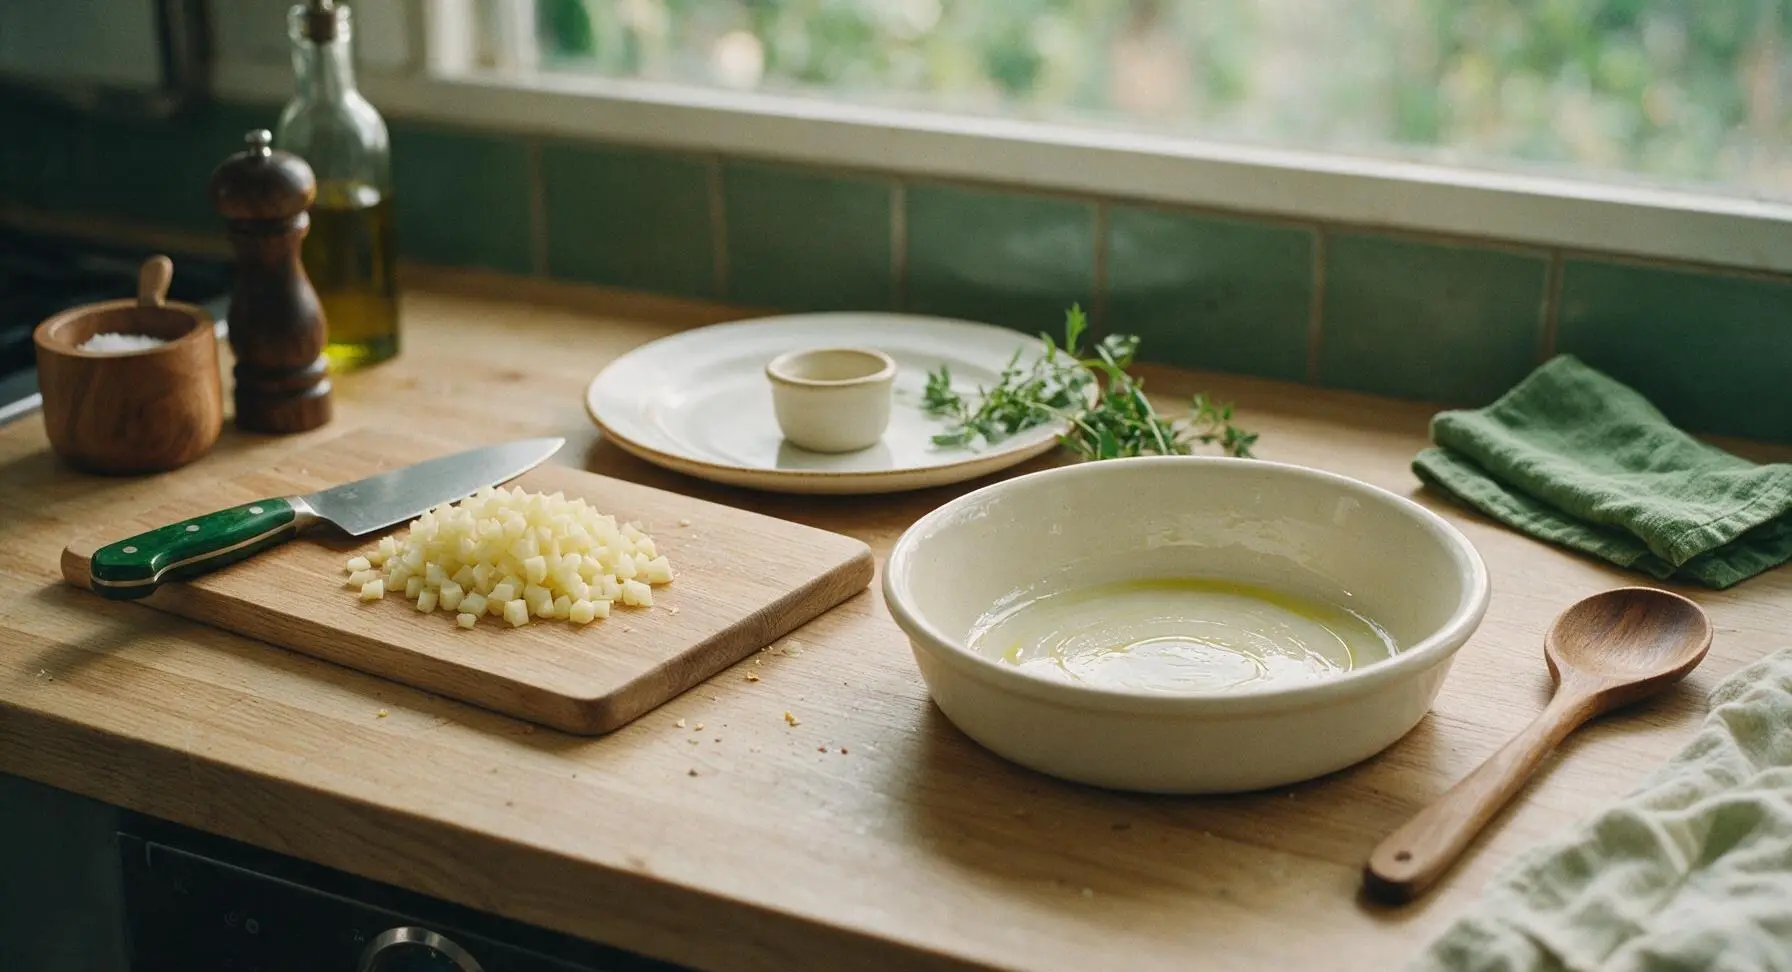
Preheat your oven to 400°F (200°C). Lightly grease the interior of the 9-inch cream white ceramic baking dish with a thin coating of canola oil, then return it to its fixed center-right counter position. Dice the medium yellow onion into 1cm uniform pieces using the 8-inch chef’s knife on the light maple cutting board, piling diced onion neatly on the edge of the board.
Step 1
step1:Preheat Oven, Prep Pan
2

Brown Seasoned Beef

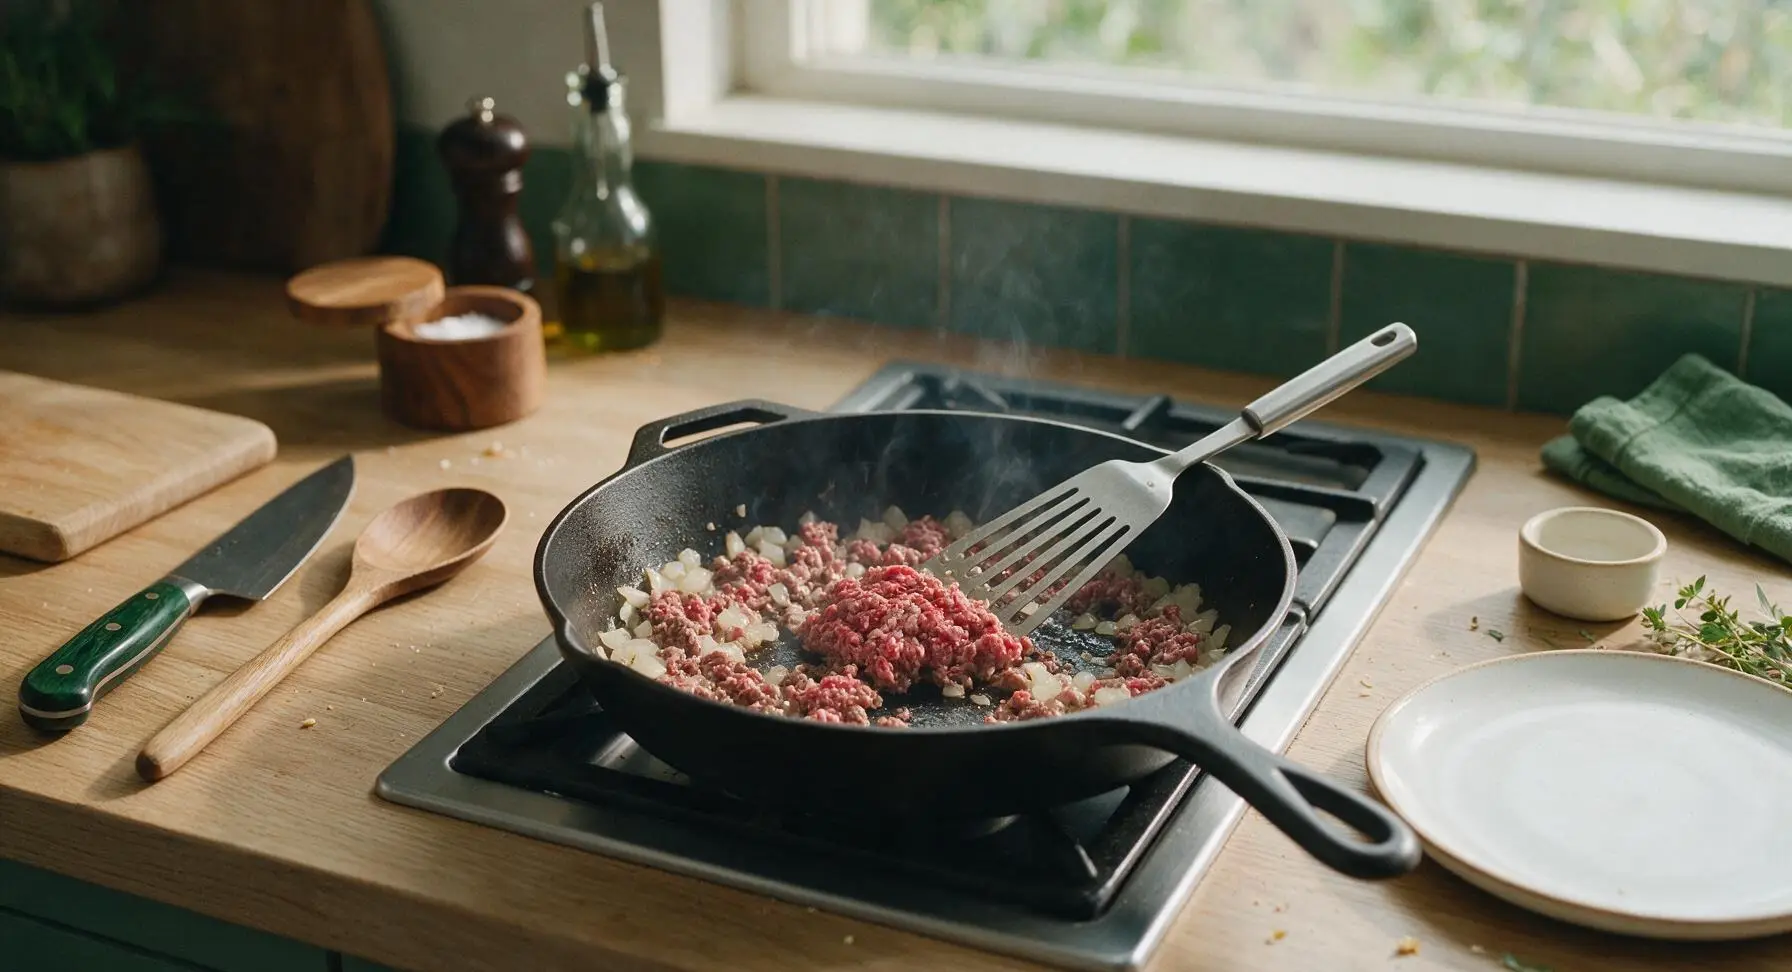
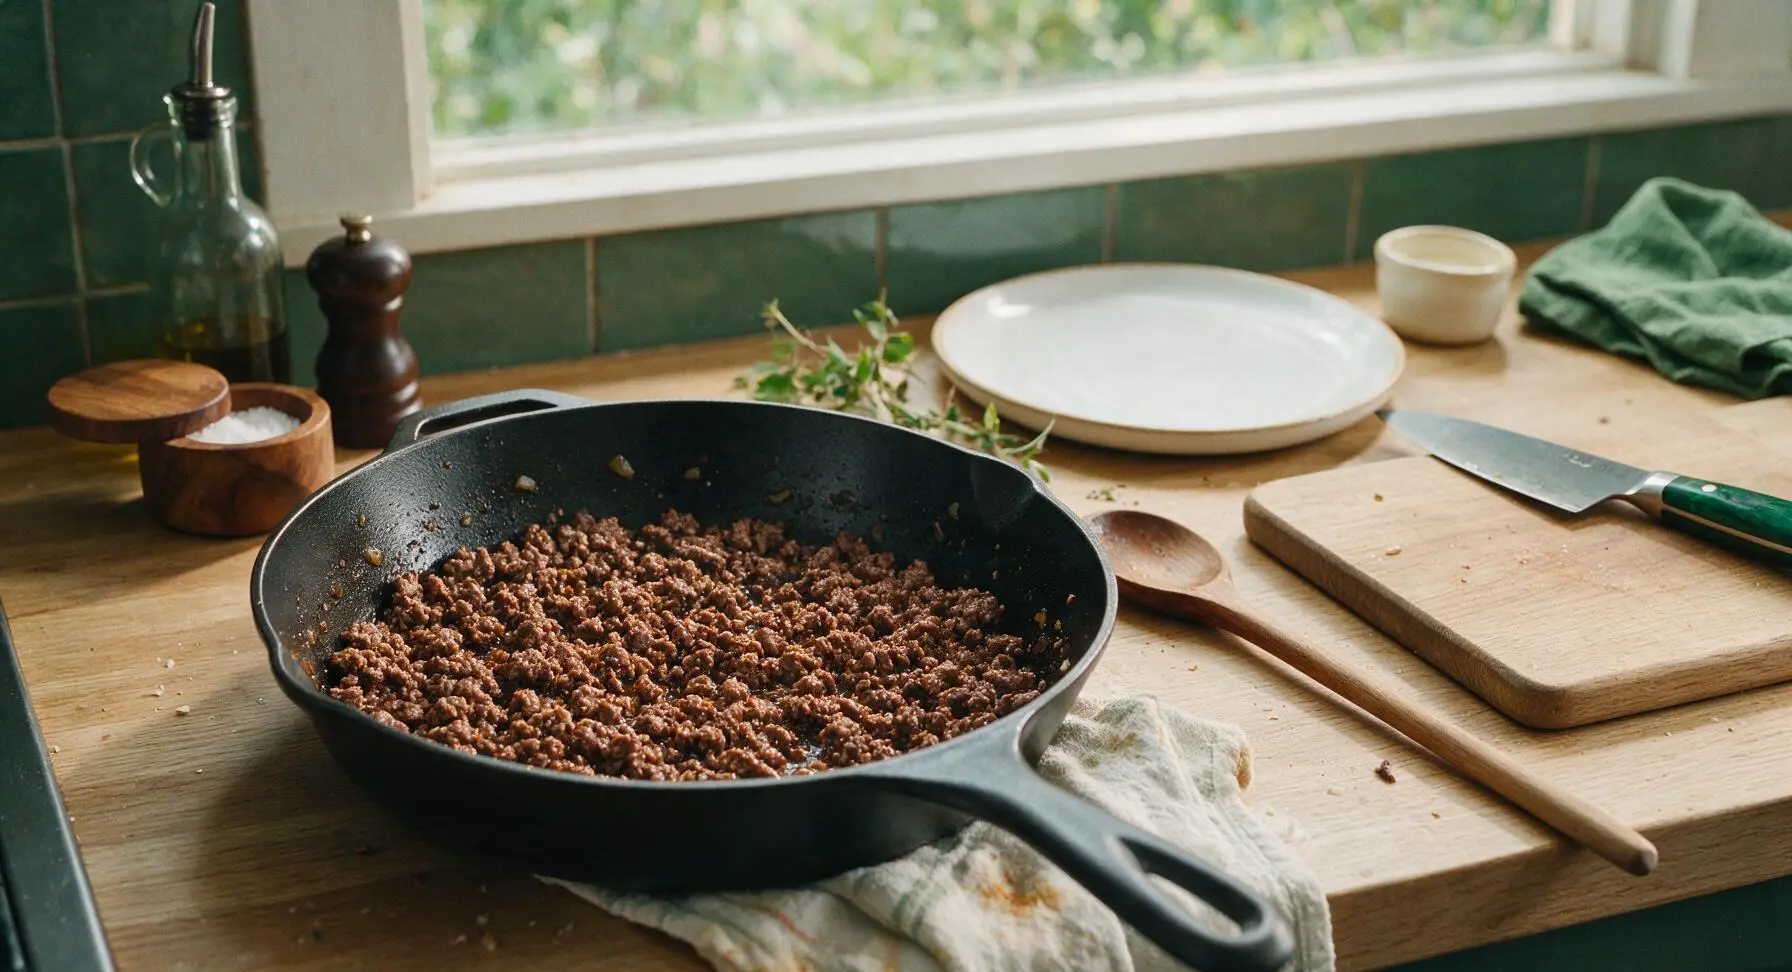
Move the 10-inch matte black carbon steel skillet from its rear ledge storage position to the stovetop over medium heat. Add the diced onion and cook for 3 minutes until soft and translucent, then add all 450g of 80/20 ground beef. Break the beef apart into small crumbles with the stainless steel slotted turner as it cooks, stirring occasionally for 7-8 minutes until fully browned with no pink remaining. Tilt the skillet to drain off all excess rendered grease, then stir in 1 tsp kosher salt, 1/2 tsp freshly ground black pepper, 1/2 tsp garlic powder, and 1 tbsp Worcestershire sauce until the beef is evenly coated in seasoning.
Step 2
step2:Brown Seasoned Beef
Step 2
step2:Brown Seasoned Beef
3

Layer Beef and Cheese

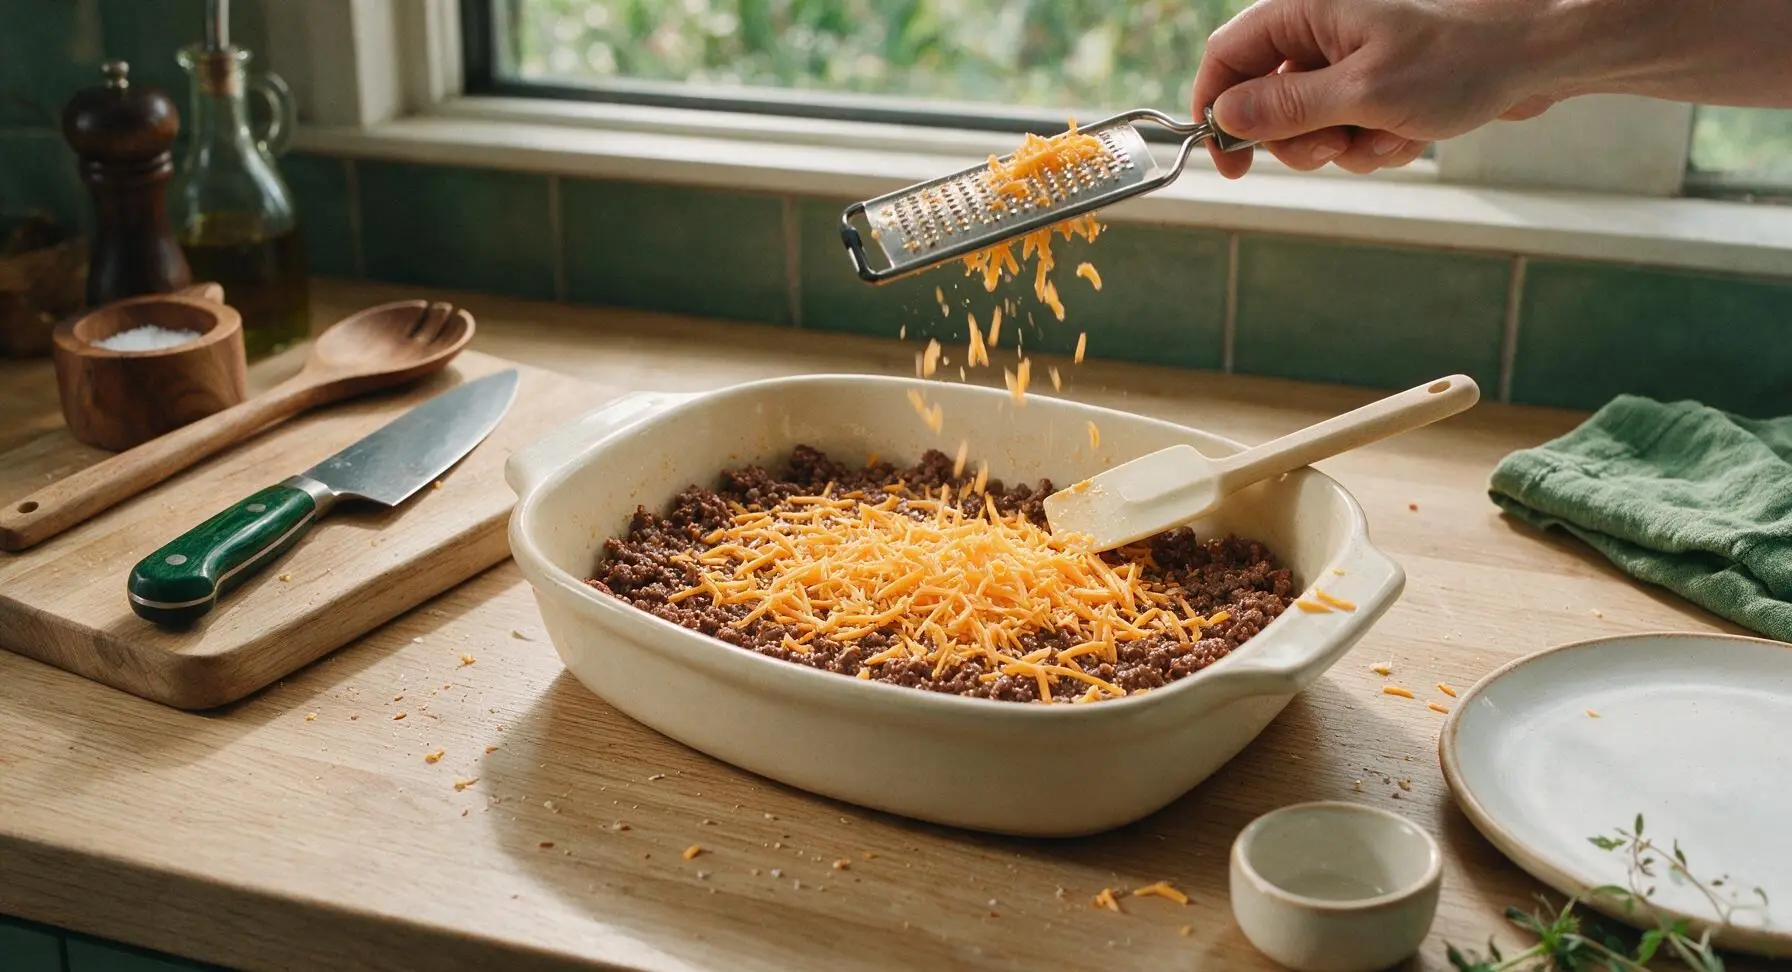
Transfer the fully seasoned cooked ground beef and onion mixture from the skillet into the greased cream ceramic baking dish, spreading it into a flat, even layer across the dish bottom with the off-white silicone spatula. Sprinkle the full 1 cup of shredded sharp cheddar cheese evenly over the top of the beef layer, covering all exposed beef.
Step 3
step3:Layer Beef and Cheese
4

Mix Smooth Batter

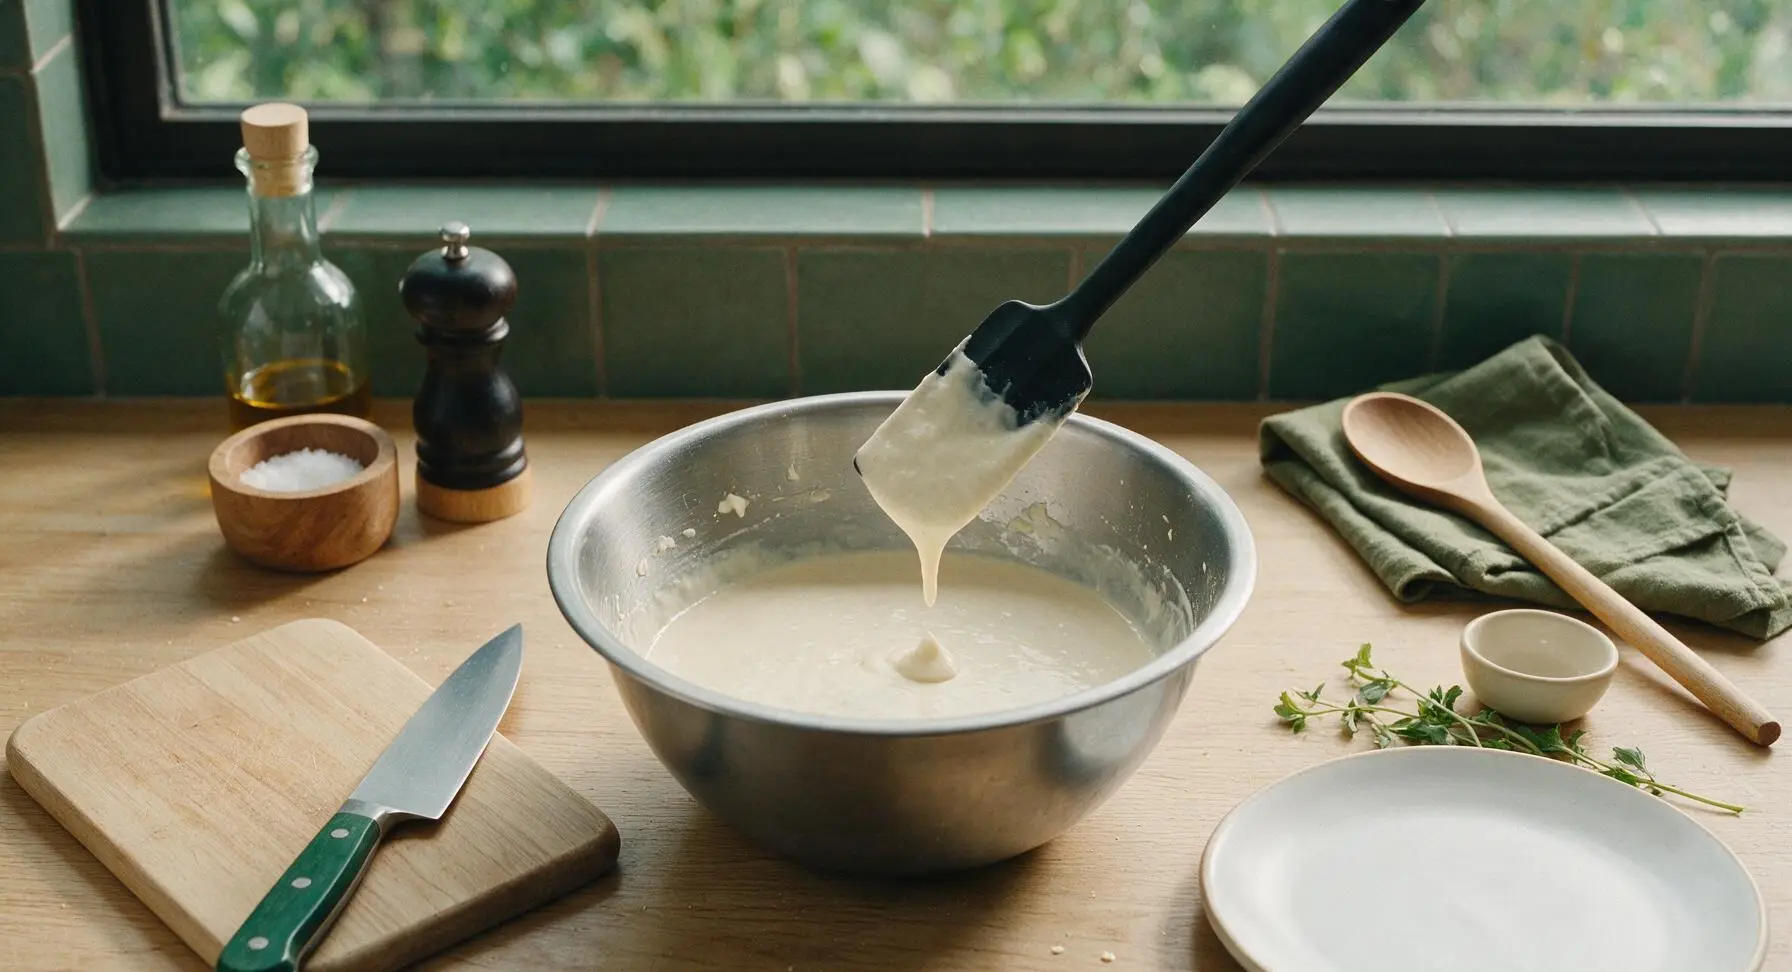
In the medium stainless steel mixing bowl, combine 1 cup (120g) original Bisquick baking mix, 1 cup (240ml) whole milk, and 2 large eggs. Stir with the silicone spatula for 45-60 seconds just until the batter is completely smooth, with no dry lumps of Bisquick remaining; the batter will be thin, with a pouring consistency similar to pancake batter. Take care not to overmix, as this will create a tough crust.
Step 4
step4:Mix Smooth Batter
5

Pour Batter Over Layers

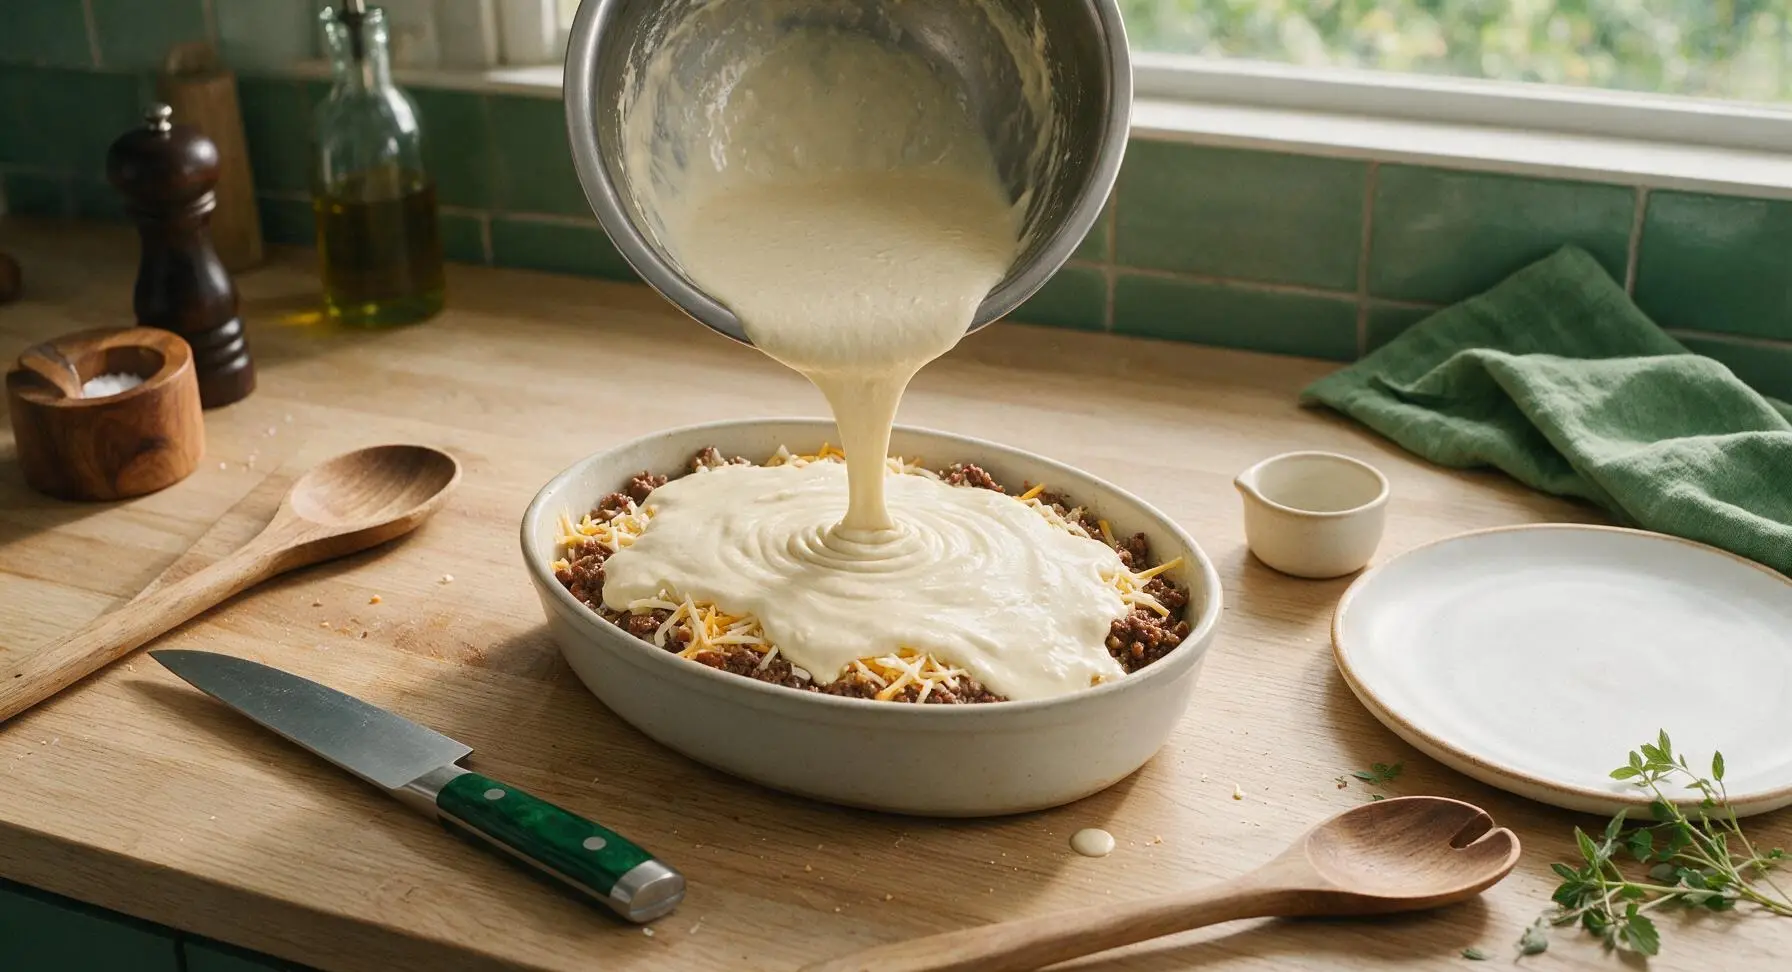
Slowly pour the smooth Bisquick batter evenly over the top of the cheese and beef layers in the baking dish. Do not stir the mixture; the batter will naturally settle and spread to cover the filling on its own, and small gaps will fill in as the bake rises in the oven.
Step 5
step5:Pour Batter Over Layers
6

Bake Until Golden

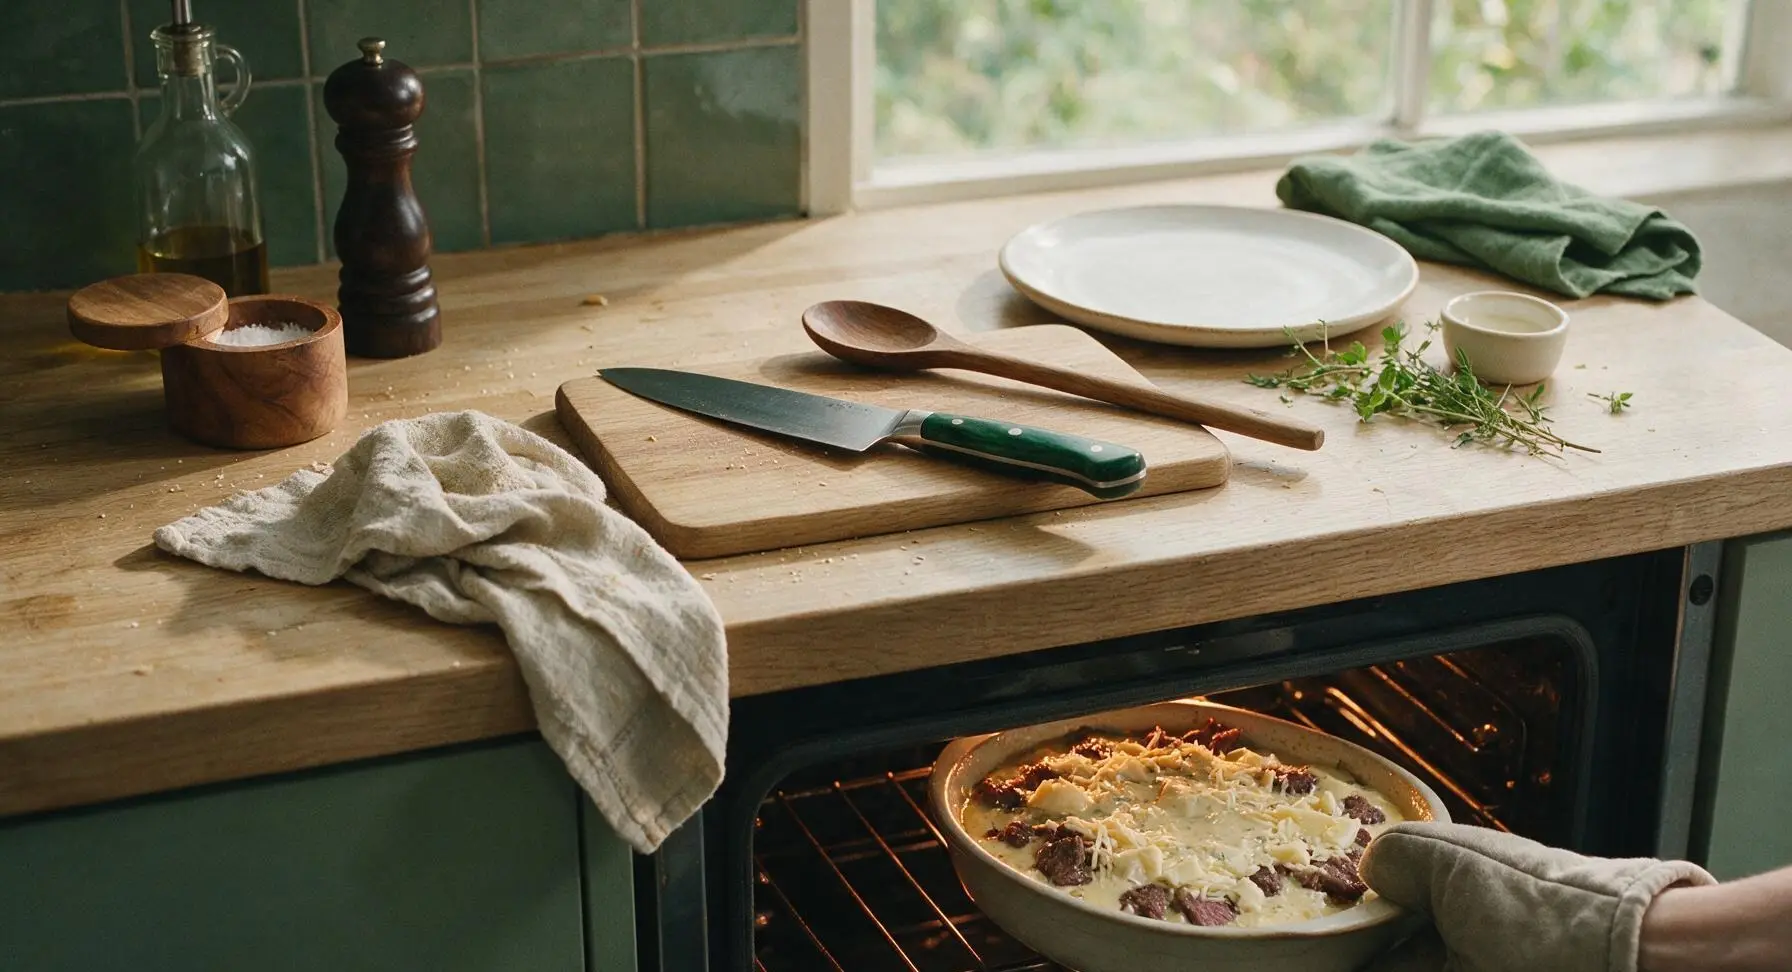
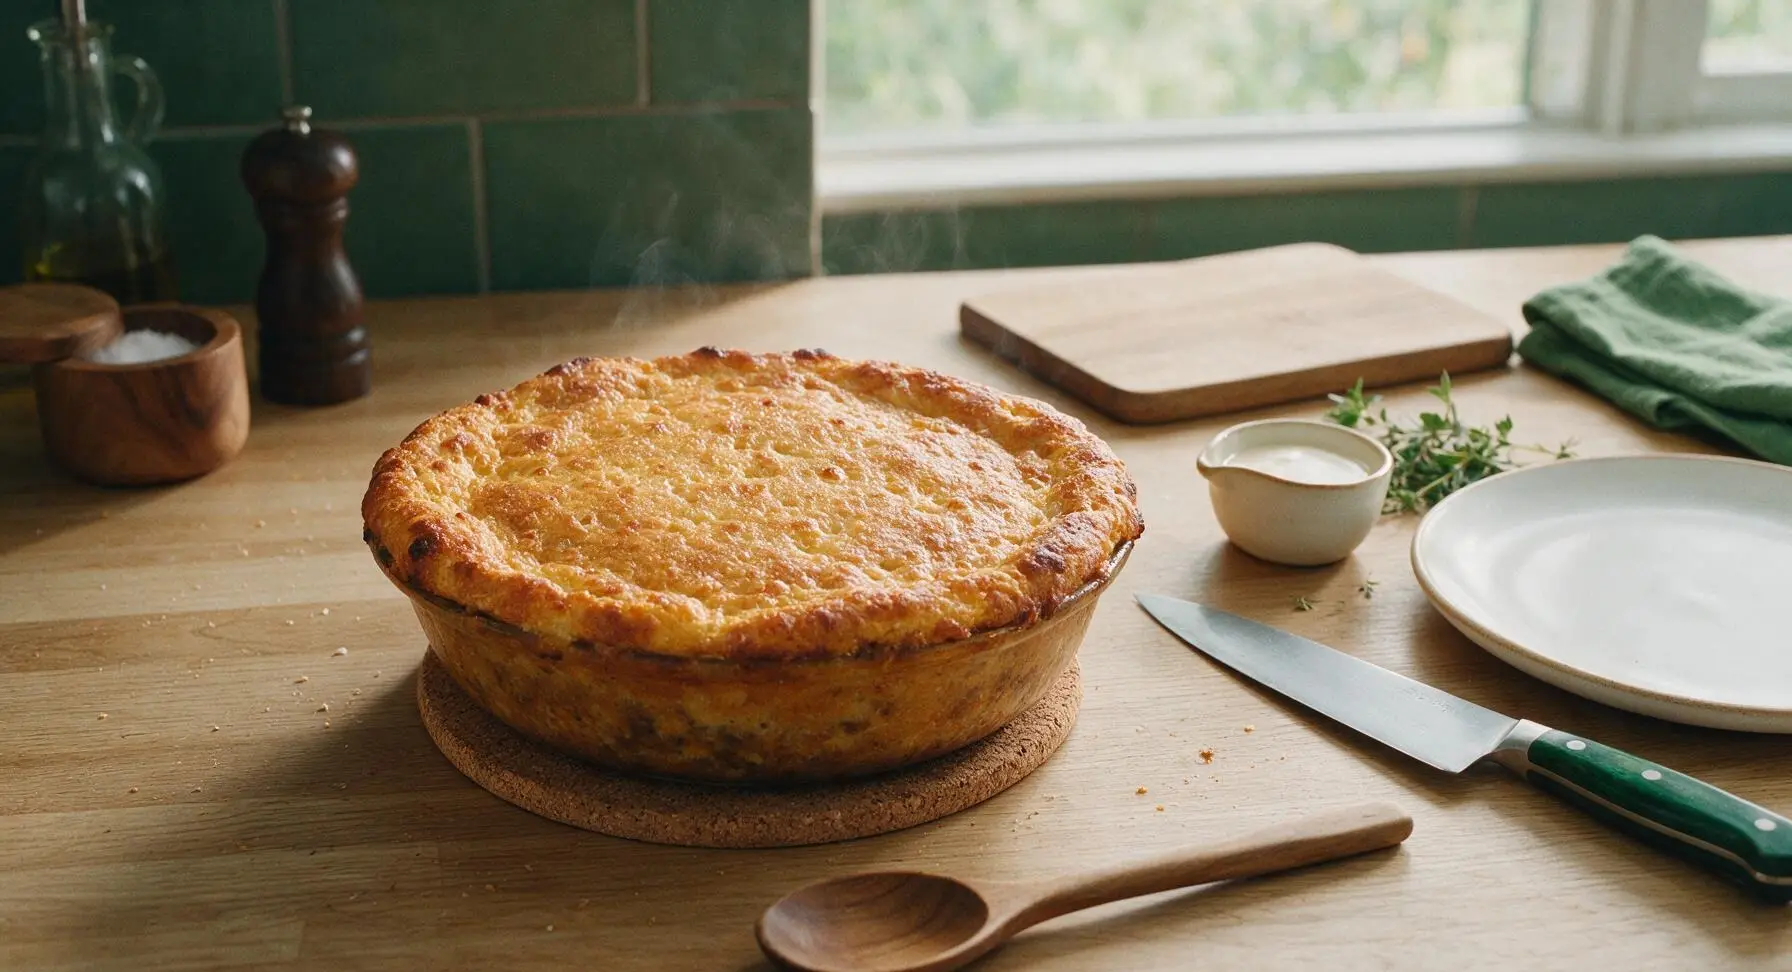
Carefully place the assembled baking dish on the middle rack of the preheated 400°F (200°C) oven. Bake for 25-30 minutes, until the top crust is deep golden brown, puffed 1-2cm above the dish rim, and a wooden toothpick inserted into the center comes out clean with no wet batter attached. Remove from the oven, set on the cork trivet on the counter, and let rest for 5 minutes to allow layers to set before slicing.
Step 6
step6:Bake Until Golden
Step 6
step6:Bake Until Golden
7

Slice and Plate

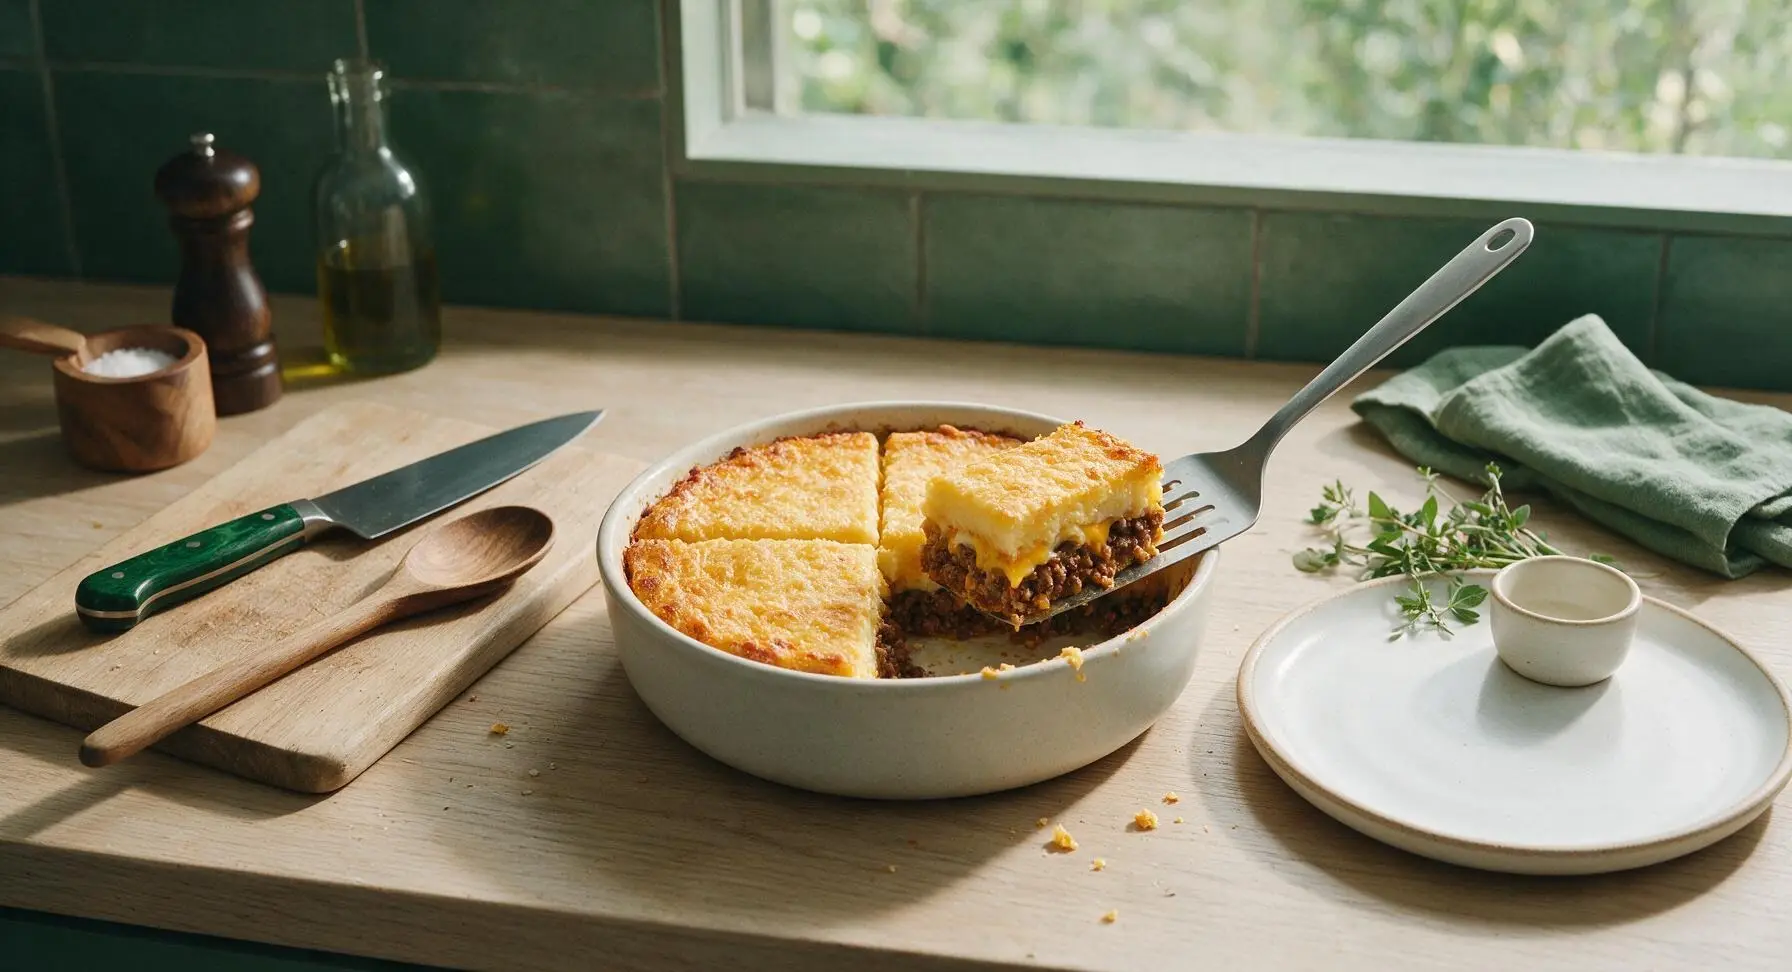
After the 5-minute rest period, slice the bake into four equal square portions with a sharp knife. Use the slotted turner to lift one portion onto the off-white matte ceramic round dinner plate, garnish with a light sprinkle of chopped fresh flat-leaf parsley, and serve warm.
Step 7
step7:Slice and Plate

Tips

1.Always drain all excess rendered grease from the browned ground beef before adding it to the baking dish: leftover grease will seep into the Bisquick crust, making it soggy and overly greasy instead of light and fluffy.
2.Avoid overmixing the Bisquick batter: stir only until dry lumps disappear, as overmixing develops gluten in the baking mix and results in a tough, dense crust rather than the tender, fluffy texture the recipe is known for.
3.Let the bake rest for a full 5 minutes after removing it from the oven: this short rest allows the layers to set fully, so slices hold their clean square shape instead of falling apart when served, and cools the molten cheese slightly to avoid burnt mouths.


✨ You May Also Like

Main Course
🍜 United Kingdom

A showstopping classic of tender seared beef, savory mushroom duxelles, and crisp prosciutto wrapped in flaky golden puff pastry, baked to juicy perfection.

⏱️ 2 hours 1Main Course ★ 4.7
Main Course
🍜 India

Tender charred marinated chicken simmered in a rich, spiced creamy tomato sauce, this iconic Anglo-Indian curry pairs perfectly with basmati rice or warm naan.

⏱️ 50 minuteMain Course ★ 4.6
Main Course
🍜 Thailand

Classic tangy, sweet, and savory Thai stir-fried rice noodles with shrimp, tofu, and crunchy garnishes, balancing all five core Thai flavor profiles.

⏱️ 30 minuteMain Course ★ 4.5
Main Course
🍜 United Kingdom

Crispy golden beer-battered cod and fluffy double-fried chips, served with tangy tartar sauce and malt vinegar: the timeless, beloved British pub comfort classic.

⏱️ 45 minuteMain Course ★ 4.7
Main Course
🍜 Mexico

Smoky, chile-marinated pork tacos with caramelized pineapple, fresh cilantro, and lime: a beloved classic Mexican street food perfect for casual summer gatherings.

⏱️ 1 hour 45Main Course ★ 4.8
Main Course
🍜 United States

Crunchy Fritos corn chips layered with savory beef chili and melted cheddar, topped with cool, zesty fixings for a beloved, cozy Tex-Mex comfort food.

⏱️ 35 minuteMain Course ★ 4.8

bisquick ground beef:Frequently Asked Questions

1.Can I use a leaner ground beef blend instead of the recommended 80/20 for this bake? ▾
You absolutely can, but note that 80/20 adds rich, savory fat that keeps the beef layer moist without extra oil. If you use 90/10 or leaner, toss in 1 teaspoon of olive oil when sautéing the onion, and don’t overcook the beef to avoid a dry, crumbly final texture.
2.Do I need to pre-cook the ground beef before adding it to the baking dish? ▾
Yes, always pre-cook your ground beef and diced onion first—raw beef will release excess grease as it bakes, leaving you with a soggy crust and unevenly cooked filling. Drain any excess rendered fat after sautéing before spreading the beef in your dish to keep the final bake firm, not greasy.
3.Can I add extra veggies to this bake to make it more filling? ▾
Definitely! This recipe is super flexible for mix-ins. Try stirring in ½ cup of frozen corn, diced bell pepper, or steamed, drained broccoli into the cooked beef layer before adding cheese and the Bisquick topping. Just pat any added veggies dry first to avoid extra moisture that sogs out the crust.
4.What size baking dish works best for this recipe? ▾
A 9x9-inch square baking dish or 2.5-quart rectangular casserole dish is ideal for this recipe. If you use a larger 9x13 dish, the Bisquick crust will be thinner and cook faster, so start checking for doneness 5 minutes earlier than recommended to avoid burning the edges.
5.Can I use a plant-based ground beef substitute for a vegetarian version? ▾
You sure can. Swap the 80/20 ground beef for your favorite plant-based crumble, sautéing it with the onion just as you would regular beef. If making a fully vegan version, use unsweetened plant-based milk, flax eggs, and vegan cheddar, and confirm your Bisquick is labeled vegan to avoid hidden dairy ingredients.
6.Why is my Bisquick crust coming out dense instead of light and fluffy? ▾
Dense crust usually happens from overmixing the Bisquick, milk, and egg batter. Stir the ingredients just until no dry Bisquick lumps remain—overstirring develops gluten in the baking mix, leading to a tough, dense top instead of the light, fluffy texture you want. Don’t worry about small, pea-sized lumps in the batter, those are totally fine.
7.How do I know when the bake is fully done and safe to eat? ▾
Start checking at the 25-minute mark for a standard 9x9 dish. The bake is done when the Bisquick top is deep golden brown, set in the very center (no jiggly raw batter when you nudge the dish), and a toothpick inserted into the crust comes out clean with no wet, gooey batter attached.
8.Can I make this bake ahead of time for weeknight meal prep? ▾
You can prep the cooked beef and onion layer up to 3 days in advance, stored in an airtight container in the fridge. Wait to mix the Bisquick batter and assemble the bake until right before you pop it in the oven, though—pre-mixed batter loses leavening power and won’t puff up into a fluffy crust.
9.What kind of cheese works best, and can I swap out the cheddar? ▾
Sharp yellow cheddar is classic here, as its tangy, bold flavor cuts through the rich beef and fluffy crust perfectly. You can swap it for pepper jack for a spicy kick, colby jack for a milder bite, or a Mexican blend—just avoid pre-shredded cheese with anti-caking coatings, as it melts less smoothly.
10.Do I need to grease my baking dish before adding the ingredients? ▾
It’s always a good idea to give your baking dish a light coat of nonstick spray or a thin rub of butter, even if you’re using a nonstick pan. Melted cheese and beef filling can stick to the edges as it bakes, and a quick grease job makes serving clean slices easy with no stuck-on mess.
11.Can I freeze leftover portions of this bake? ▾
Absolutely! Let fully cooled bake slices come to room temperature first, then wrap each tightly in plastic wrap and aluminum foil before freezing for up to 3 months. Reheat slices in a 350°F oven for 15-20 minutes (or the microwave for 2-3 minutes) until heated through, and the crust will crisp back up nicely.
12.My crust got too dark on top before the center was set—what went wrong, and how do I fix it? ▾
This usually happens if your oven runs hot, or if the rack is positioned too close to the top heating element. If you notice the top browning too fast, tent a loose piece of aluminum foil over the dish for the last 10 minutes of bake time to reflect excess heat away so the center can set without burning.
13.Can I add extra seasonings to the beef layer for more flavor? ▾
Of course! The base recipe is mild and family-friendly, so feel free to bump up the flavor to taste. Try adding a teaspoon of garlic powder, smoked paprika, or taco seasoning to the beef as it cooks, or a splash of Worcestershire for umami—go light on added salt, since Bisquick and cheddar are already fairly salty.
14.Do I have to use yellow onion, or can I swap for another onion variety? ▾
You don’t have to stick to yellow onion if you have another type on hand. Sweet white onion makes a milder, softer filling, while a small diced red onion adds a brighter, sharper flavor. If you don’t have fresh onion, you can substitute 1 tablespoon of dried onion flakes in a pinch, though you’ll miss the soft, sweet texture of sautéed fresh onion.
15.Is there a way to make this recipe gluten-free? ▾
You can easily make this gluten-free by swapping original Bisquick for Bisquick’s certified gluten-free baking mix, which performs exactly the same as the original for a fluffy, golden crust. Double check that any added seasonings, cheese, or mix-ins you use are also labeled gluten-free to avoid accidental cross-contamination.

Comments (20)

2 hours ago

OMG this was such a game changer for our busy weeknight dinner! I threw it together in 10 minutes after soccer practice and all three of my boys cleaned their plates, even the picky one who hates casseroles usually. SO good, will be adding this to our regular rotation!

1 hour ago

Wait did you add any extra veggies? I’m thinking of tossing in some frozen corn next time I make it!

45 minutes ago

Love that this was a hit with your crew! Adding frozen corn, diced bell peppers, or even a handful of shredded cheddar on top right before baking works perfectly if you want to mix in extra veggies!

3 days ago

Made this on Sunday for my weekly meal prep and it held up perfectly all week in the fridge! Super simple, minimal cleanup, and the flavor is way better than I expected for something that uses Bisquick. 10/10

2 days ago

So glad it worked for meal prep! It stores great in an airtight container for up to 4 days, and reheats in the microwave in 90 seconds flat for a quick lunch

1 week ago

Brought this to our neighborhood potluck last weekend and people were asking me for the recipe before I even set the dish down! I added a little extra cheese on top because why not, and it was gone in 15 minutes. Absolute crowd pleaser.

30 minutes ago

Wait, do you have to cook the ground beef all the way before putting it in the bake? I’m super new to cooking and don’t want to mess this up, it looks so easy!

20 minutes ago

Great question! Yes, brown the ground beef fully and drain off any excess grease before layering it in the dish—this prevents the bake from getting greasy and ensures the beef is cooked through perfectly. You’ve got this!

2 days ago

I swapped the regular cheddar for pepper jack and added a can of diced green chiles, and WOW that kicked it up a notch! If you like a little heat, definitely give that variation a try. My roommate is already begging me to make it again this weekend.

1 day ago

Oh that sounds chef’s kiss! I have a block of pepper jack in my fridge right now, gonna make this tomorrow night for sure

1 day ago

That variation sounds incredible! We love when folks customize recipes to their taste—adding green chiles and pepper jack is such a smart, flavorful twist!

yesterday

Made this last night with my 7 year old, and she loved helping mix up the Bisquick topping! It was simple enough for her to help stir and layer ingredients, and we didn’t have to run to the store for a bunch of fancy stuff. Perfect daddy-daughter dinner activity.

5 hours ago

This is such a good idea! My twins love helping in the kitchen, I’m always looking for easy recipes they can assist with without making a huge mess. Adding this to next week’s menu!

5 days ago

Total win for my grocery budget this month! I already had Bisquick in the pantry, a pound of ground beef in the freezer, and cheese in the fridge, so I didn’t have to spend a dime extra to make a full dinner that fed four people. Can’t beat that.

3 days ago

This was good, but I felt like the Bisquick layer was a little thinner than I expected? Did I do something wrong when I mixed it? I followed the measurements exactly, just wondering if anyone else had that issue.

2 days ago

I had that happen the first time too! I started letting the Bisquick mix rest for 2 minutes after stirring it before pouring, and it puffed up way better when it baked. Hope that helps!

2 days ago

Thanks for the great tip! You can also add an extra 2 tablespoons of milk to the Bisquick mix if you prefer a thicker, fluffier top layer—both fixes work like a charm!

yesterday

I never get excited about leftovers but I’m actually looking forward to eating the rest of this for lunch today. The flavors meld together so well after sitting in the fridge overnight? Who knew!

12 hours ago

We totally agree! This bake is one of those rare dishes that tastes even better the next day, as all the flavors have time to mix together. Enjoy your lunch!

1 week ago

Has anyone tried making this with the gluten free Bisquick? My son has a gluten sensitivity and I’m always on the hunt for easy dinners he can eat with the rest of the family without making two separate meals.

5 days ago

I made it last week with GF Bisquick and it turned out almost identical to the regular version! Just make sure you mix it really well, no lumps, and it bakes up perfectly.

4 days ago

So great to hear the GF swap works! We’ve tested it with gluten free Bisquick too, and it’s a perfect 1:1 swap so no other measurement adjustments are needed.

2 weeks ago

Made this for our Sunday football watch party and it was the perfect easy game day food! Cut it into little squares, set out some sour cream and salsa for dipping, and it was way easier than making sliders or wings. Will be on our tailgate menu all season.

5 minutes ago

Do y’all think adding a dollop of sour cream on top before baking would be good, or would that make it too runny? I love sour cream in basically every savory bake.

2 minutes ago

Great question! You can absolutely mix ½ cup of sour cream into the Bisquick layer for extra richness, or add a dollop on top after baking—adding it before baking on the surface might make the top a little soggy, so mixing it in is the way to go!

2 days ago

Okay I burned the top a little my first try because my oven runs hot, oops! But even the slightly crispy edges were so good, I’m not even mad. Next time I’ll turn the temp down 25 degrees and set a timer like I should have.

1 day ago

Oh girl, I feel you—my old apartment oven was 50 degrees off! I keep an oven thermometer in mine now and it’s saved so many meals. This bake is forgiving though, even the crispy bits slap!

1 day ago

We’ve all been there! So glad it still tasted good even with the extra crispy edges. Oven temperature variation is totally normal, so adjusting the temp for your specific appliance is always a smart call.

5 days ago

I finely diced a bunch of zucchini and mushrooms and mixed them in with the ground beef when I browned it, and my husband had zero clue there were extra veggies in there. Win for me! He’s the worst about eating his vegetables.

3 days ago

This is genius! My son swears he hates all veggies, I’m definitely gonna finely dice some carrots and zucchini to sneak in next time I make this. Thanks for the idea!

just now

35 minutes total from opening the fridge to sitting down to eat? I timed it! That’s faster than waiting for takeout, and way cheaper too. This is going to be my go-to for nights I get home late from work and don’t feel like cooking.

2 hours ago

Wait I used too much milk in the Bisquick mix and it was super runny when I poured it, did I ruin the whole thing? It’s in the oven right now and I’m panicking a little.

45 minutes ago

Don’t panic! I did the exact same thing last month, I just baked it 8 extra minutes and it set up perfectly. It’ll be fine, I promise!

40 minutes ago

No ruined dinner here! If the mix is a little runny, just add 5-10 extra minutes of bake time, and check that the center is set and the top is golden brown before pulling it out. It’ll turn out delicious!

1 week ago

Can you freeze this after baking? I love making double batches of meals to stick in the freezer for crazy weeks, and this seems like it would freeze great.

6 days ago

Absolutely! Let it cool completely, then wrap it tightly in plastic wrap and foil, and it will keep in the freezer for up to 3 months. Thaw in the fridge overnight before reheating in the oven at 350°F for 20 minutes until warmed through.

3 days ago

Served this with a side of garlic bread and a simple Caesar salad last night, and my husband said it’s better than the beef casserole his mom used to make. Don’t tell his mom I said that, but he’s right 😂

2 weeks ago

Made this in my tiny dorm oven with a mini baking dish, cut the recipe in half, and it still turned out perfect! Super cheap, minimal ingredients, no fancy equipment needed. Perfect for broke college kids who are sick of ramen.

1 week ago

Wait I’m also in a dorm with a tiny oven, I didn’t even think to cut the recipe in half! Definitely making this this weekend, thanks for the inspo.

2 days ago

I skipped the diced onion the recipe calls for because I can’t stand the texture of cooked onion, and it still tasted amazing! I added a little extra garlic powder to make up for the missing flavor, and it was chef’s kiss. Love when recipes are easy to customize without messing up the whole dish.



