
Bisquick Waffles
intro
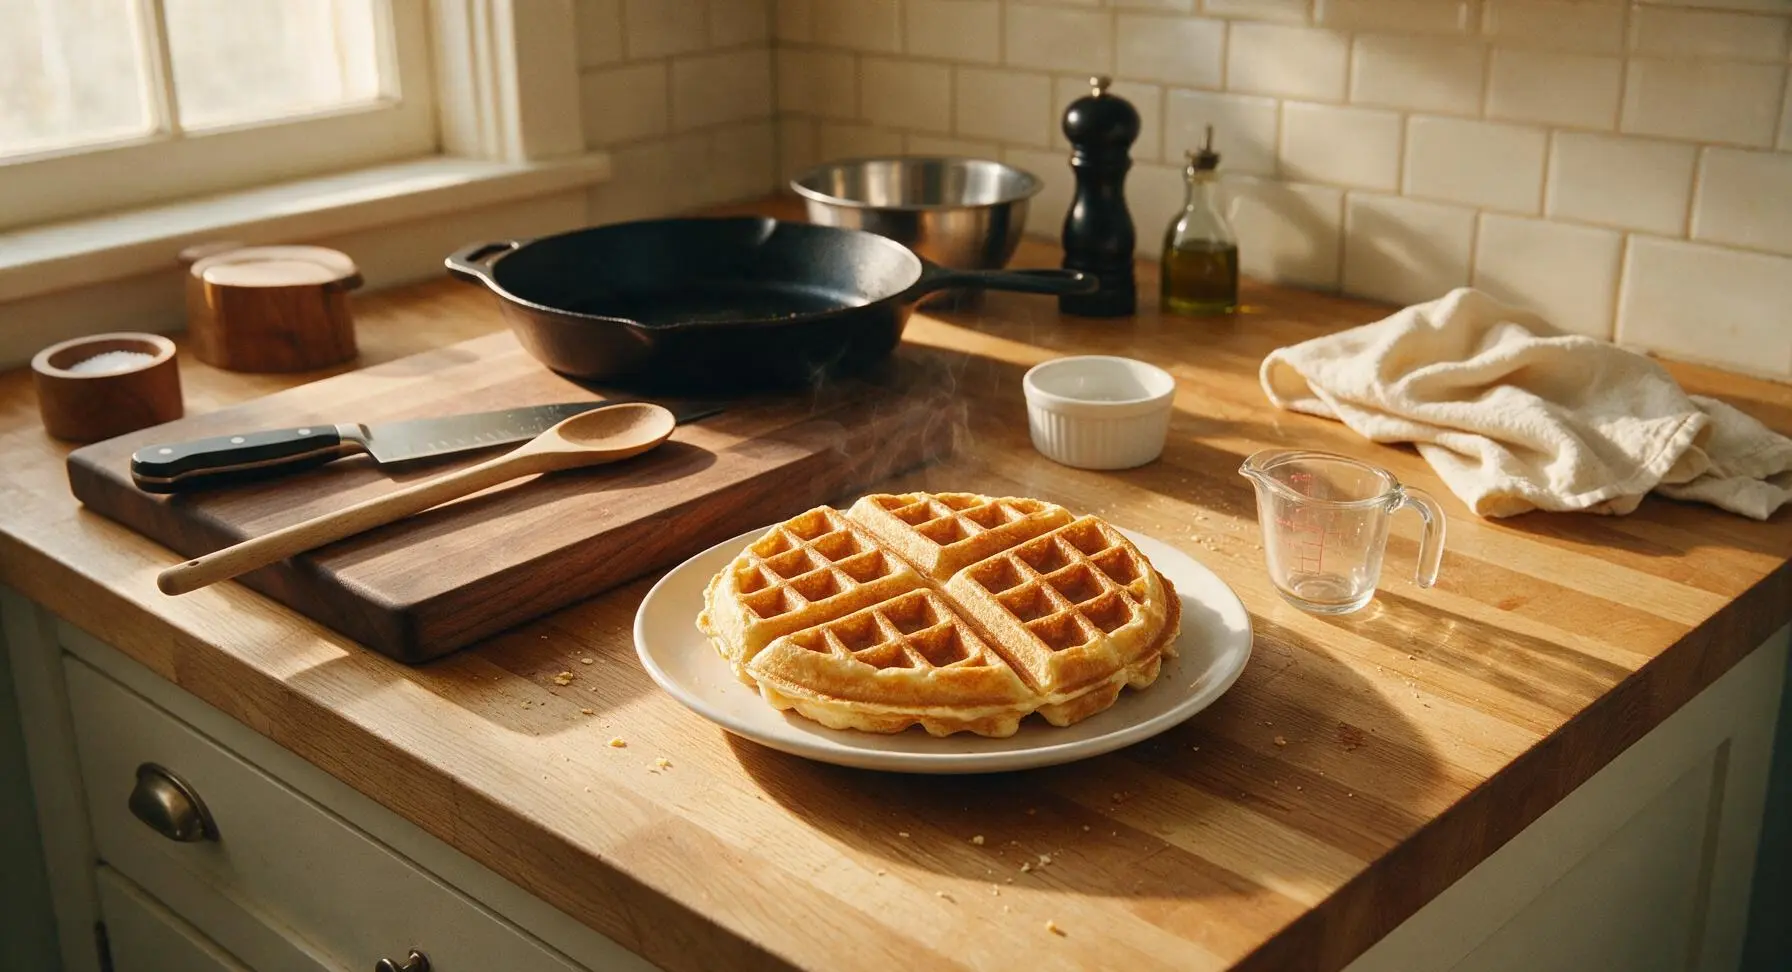
Crisp at the edges, light and fluffy inside, these classic Bisquick waffles come together in 25 minutes for a cozy, customizable meal the whole family will love.
Ingredients
Steps
Preheat Waffle Maker
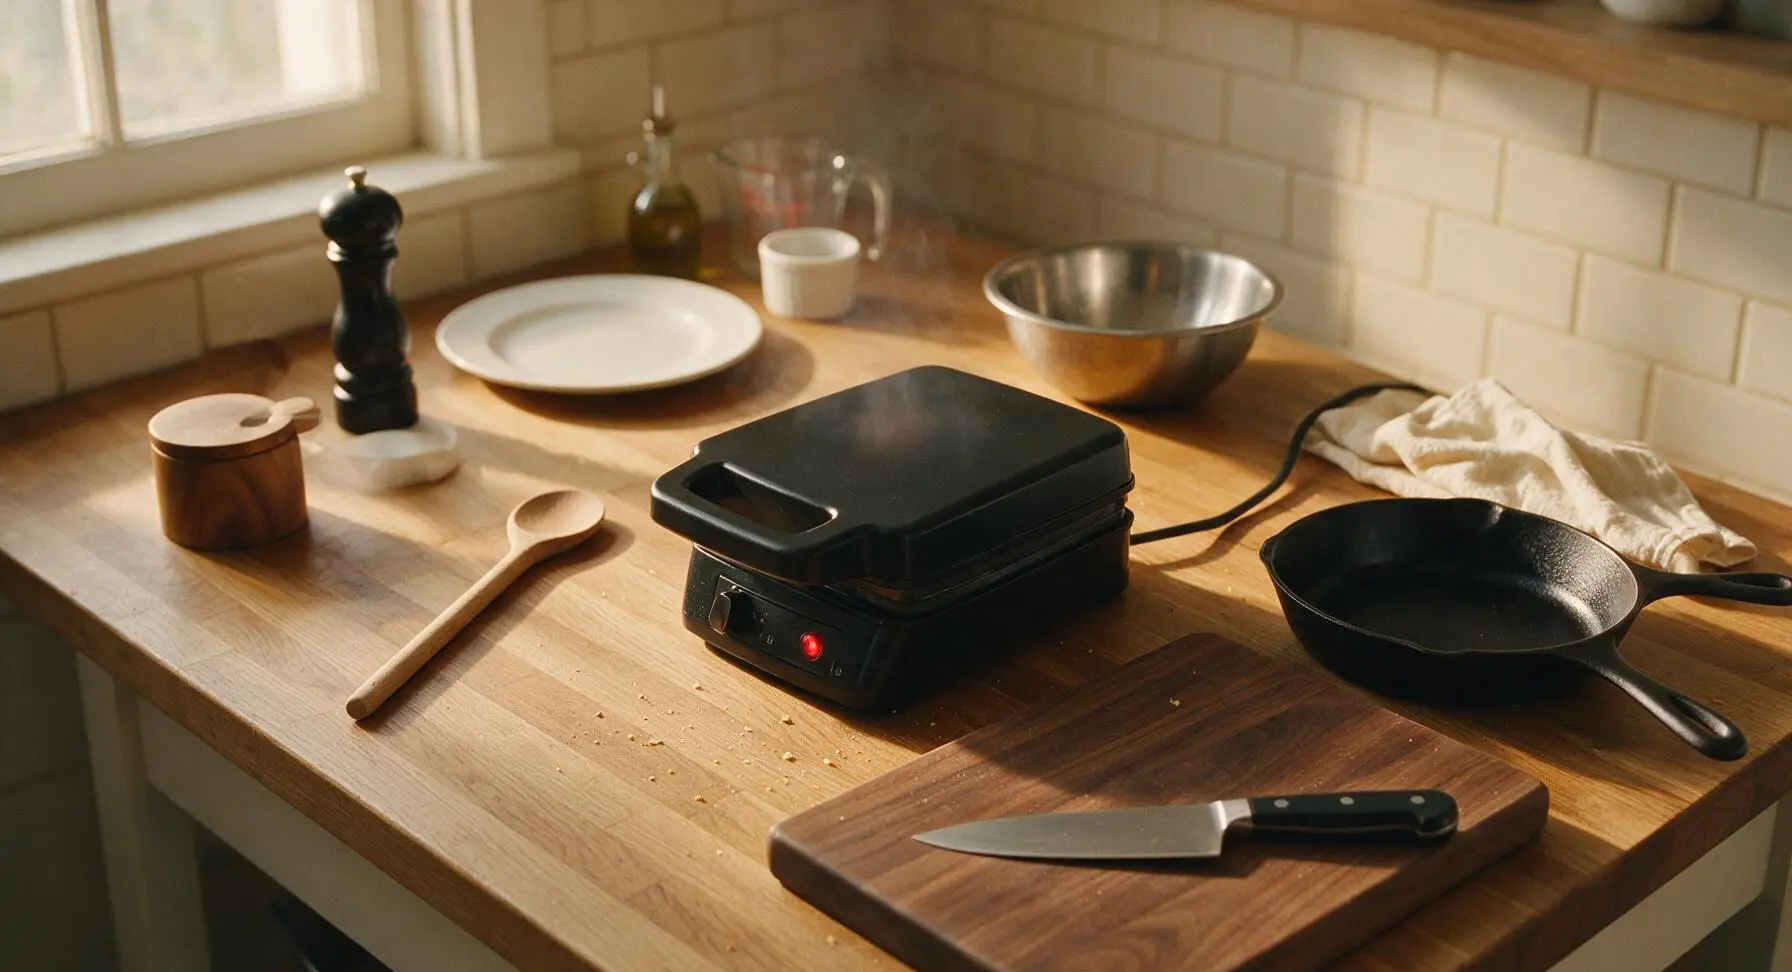
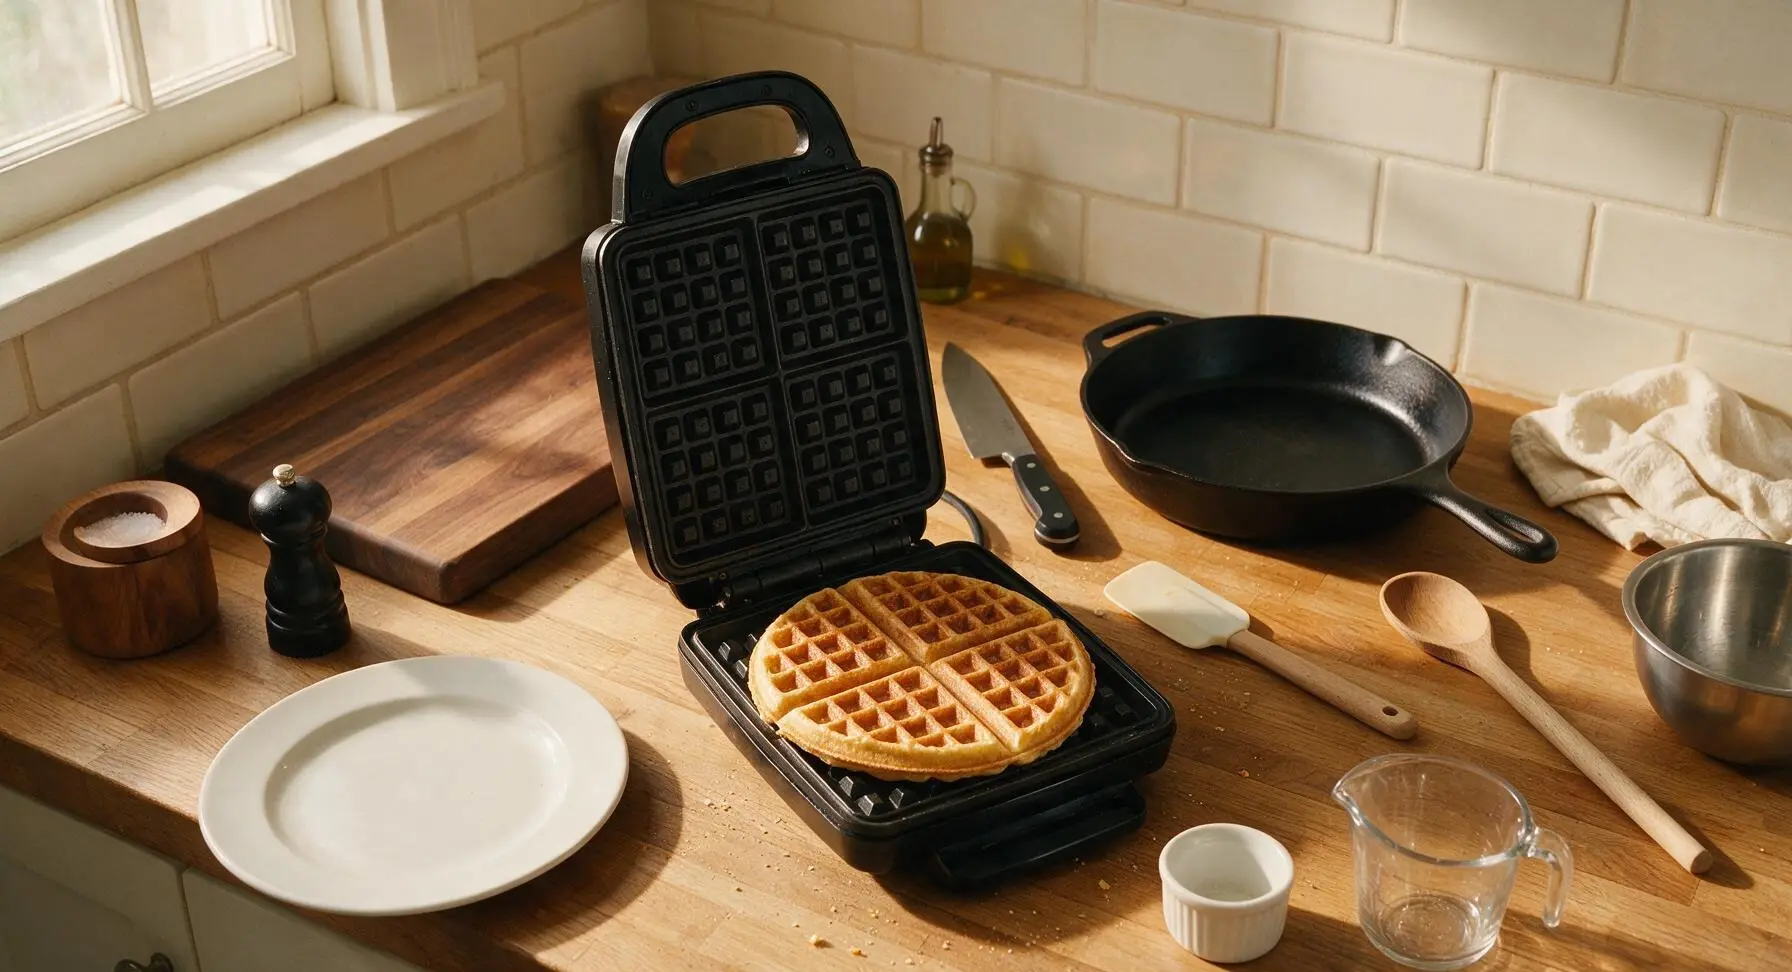
Plug in the matte black electric waffle maker and preheat to medium-high setting (375°F/190°C). Wait until the red indicator light turns off (or green light turns on, depending on model) to signal it is fully heated, approximately 3 minutes. Lightly coat the cooking grids with non-stick spray or a thin brush of oil if your waffle maker does not have a premium non-stick coating.
Mix Wet Ingredients
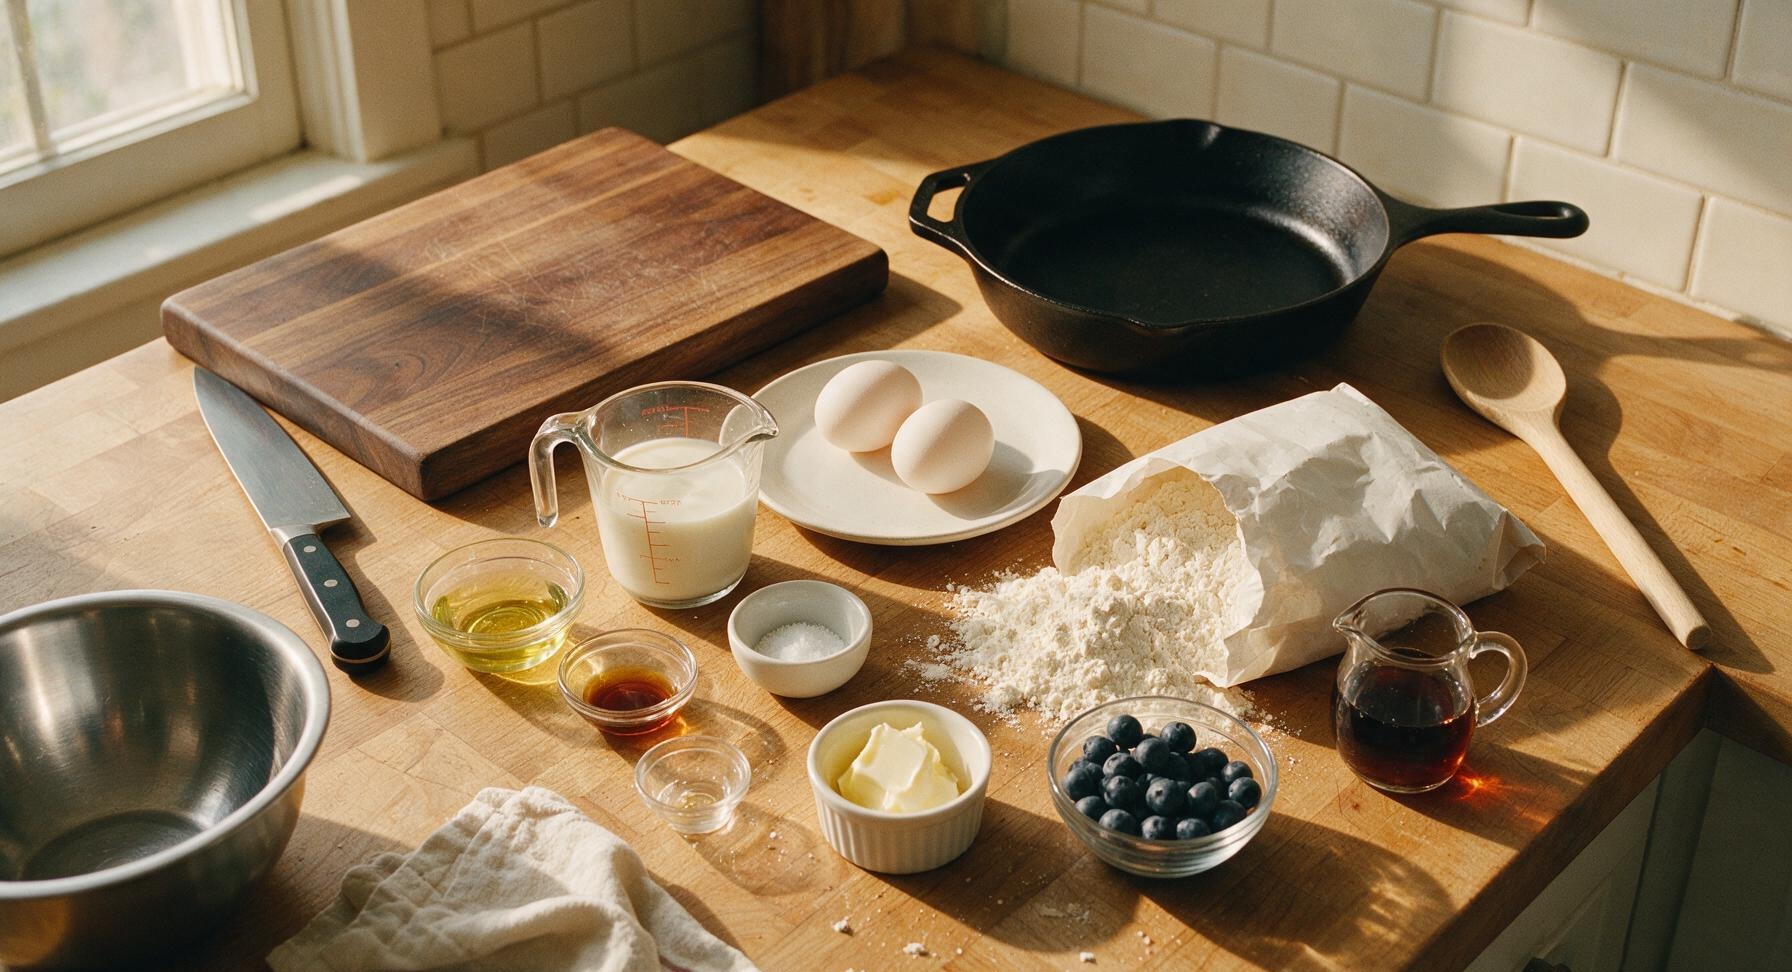
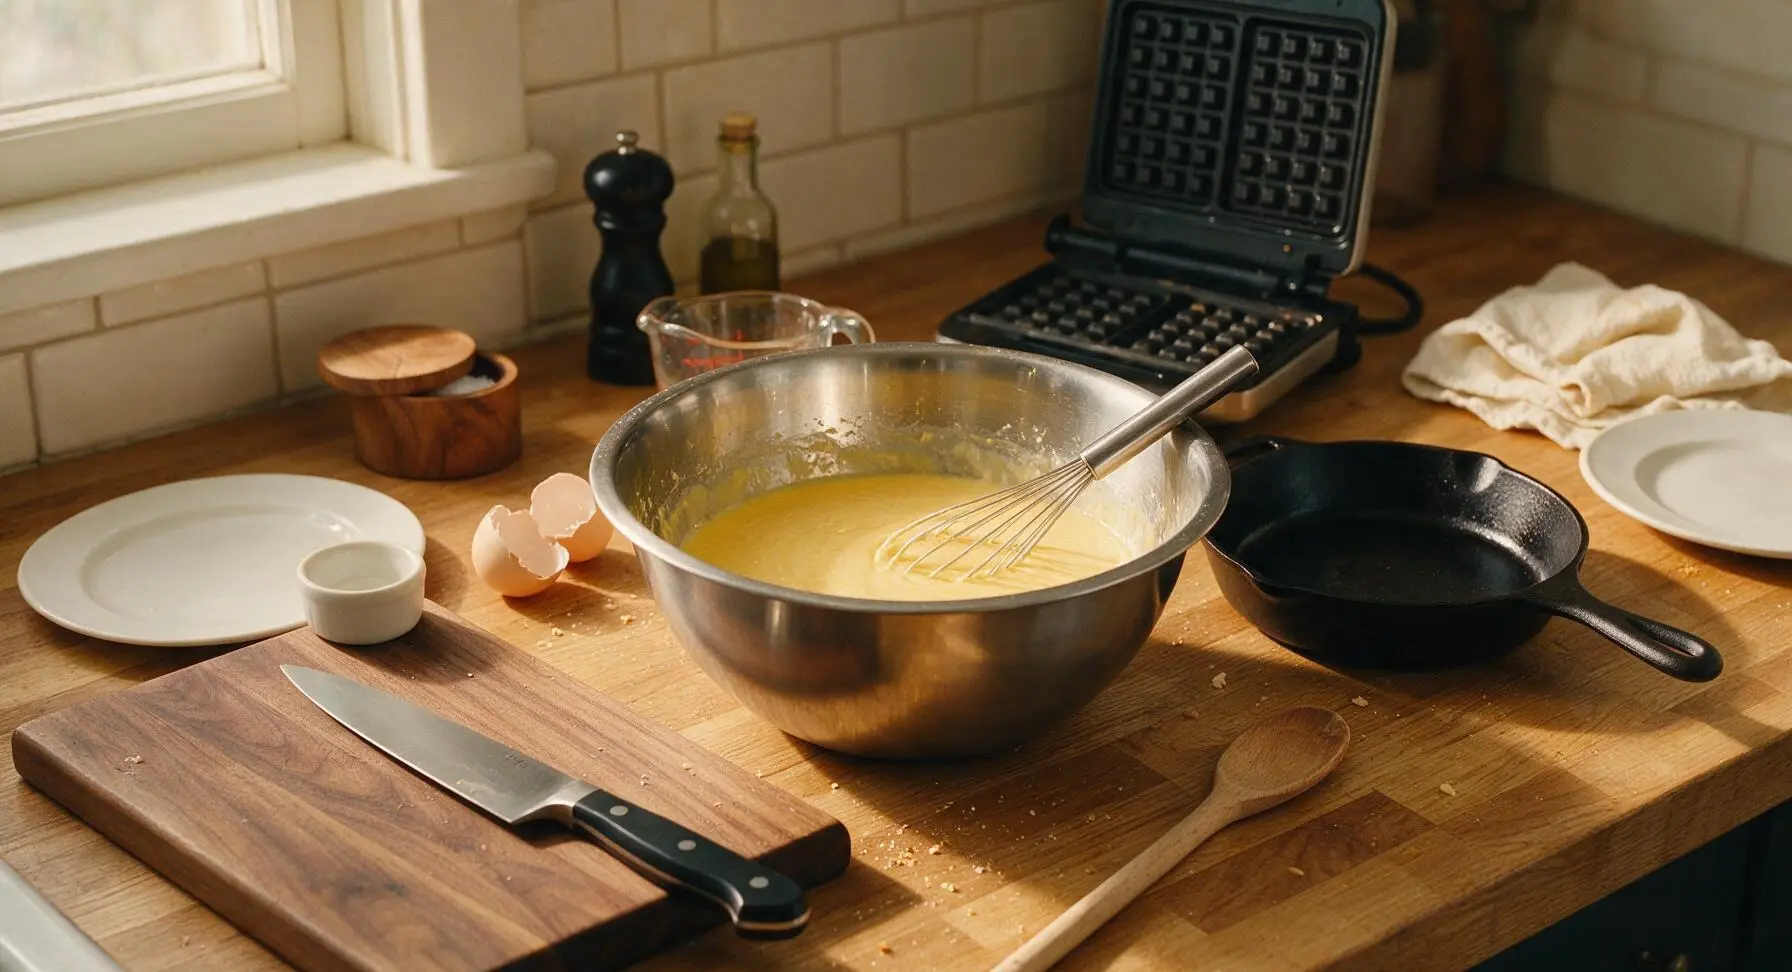
Crack the 2 large eggs into the medium stainless steel mixing bowl. Add 1 ½ cups whole milk, 2 tablespoons vegetable oil, and 1 teaspoon vanilla extract. Use the wire whisk to beat the mixture for 30 seconds until fully combined, with no streaks of egg white remaining, and a smooth pale uniform yellow color.
Add Bisquick Mix
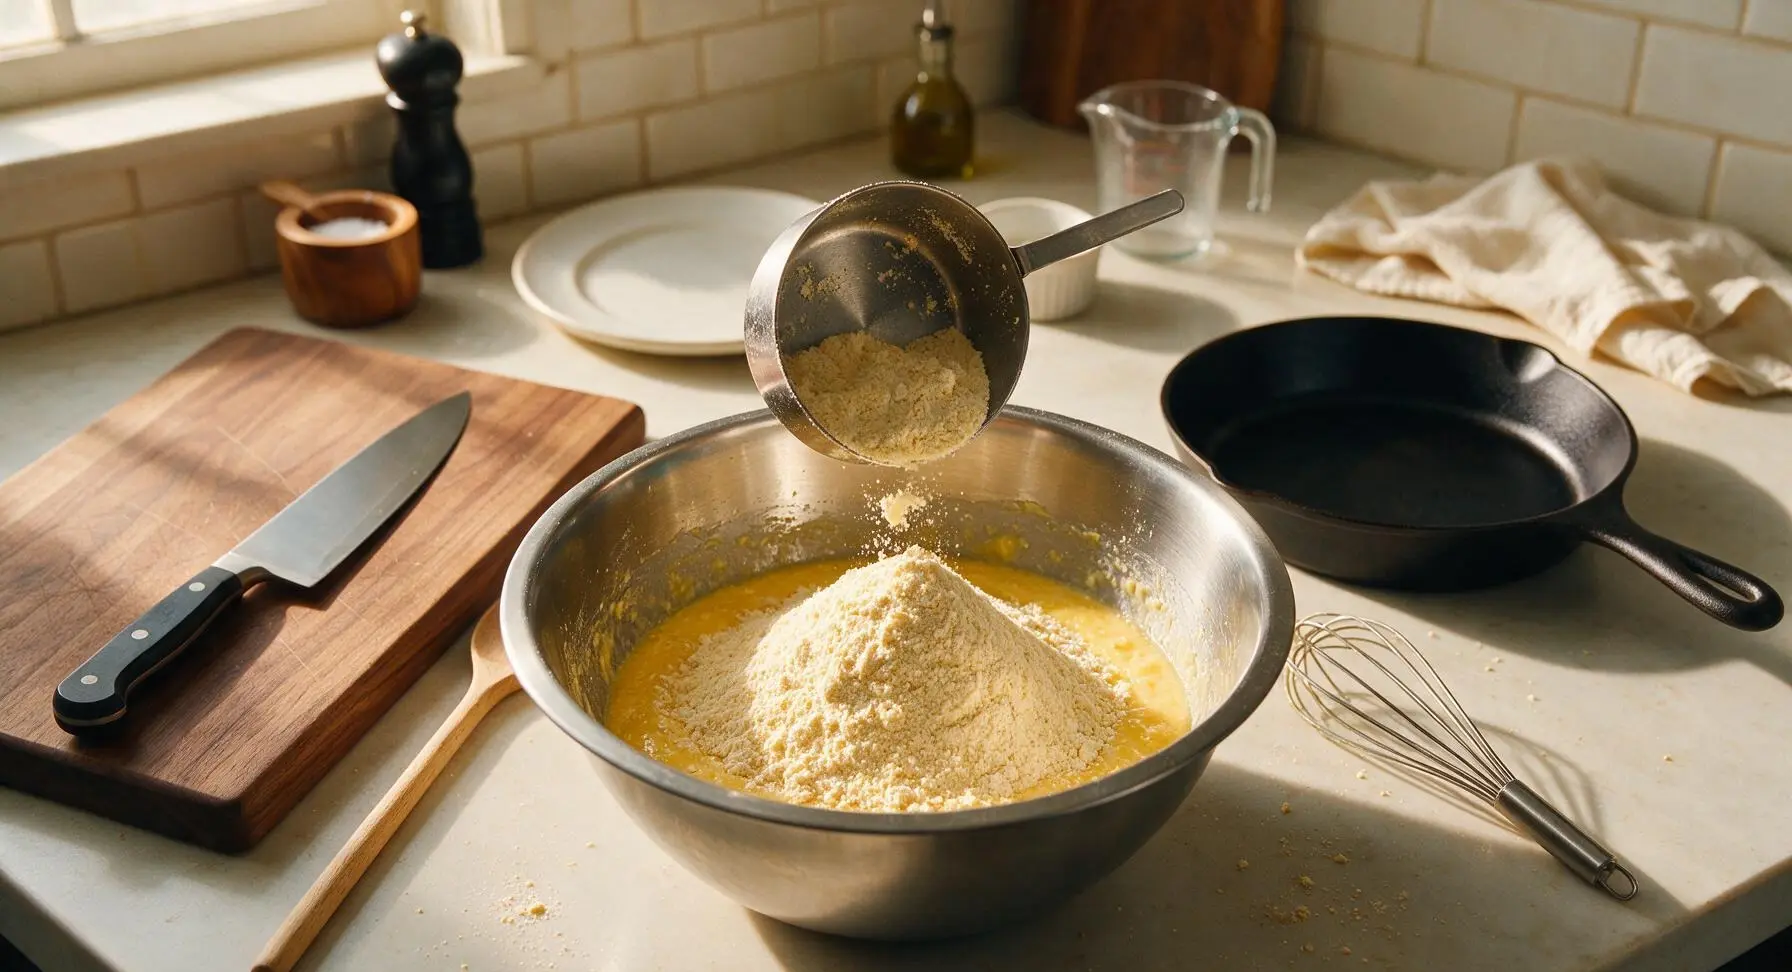
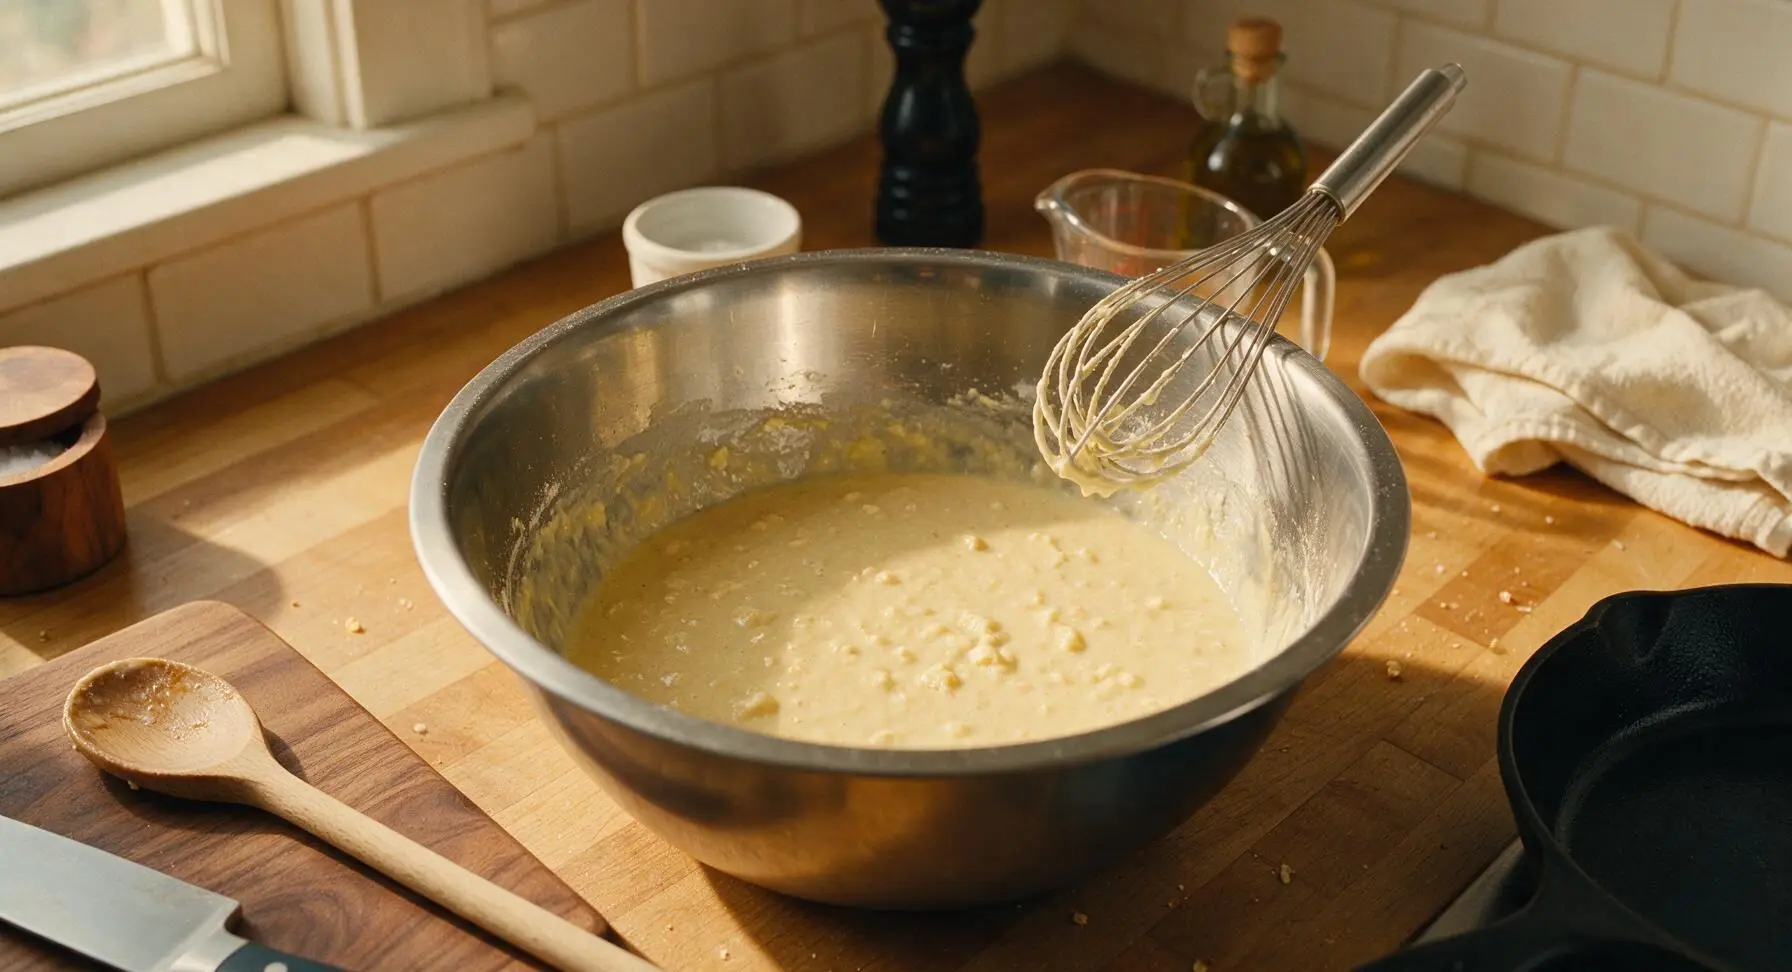
Add the full 2 cups of Bisquick baking mix and ¼ teaspoon fine salt to the bowl with the wet ingredients. Use the wire whisk to stir the batter gently, only mixing until just combined — stop as soon as no dry flour streaks remain. The batter will be slightly lumpy; do not overmix, as this will develop gluten and make tough, dense waffles.
Pour Batter Onto Iron
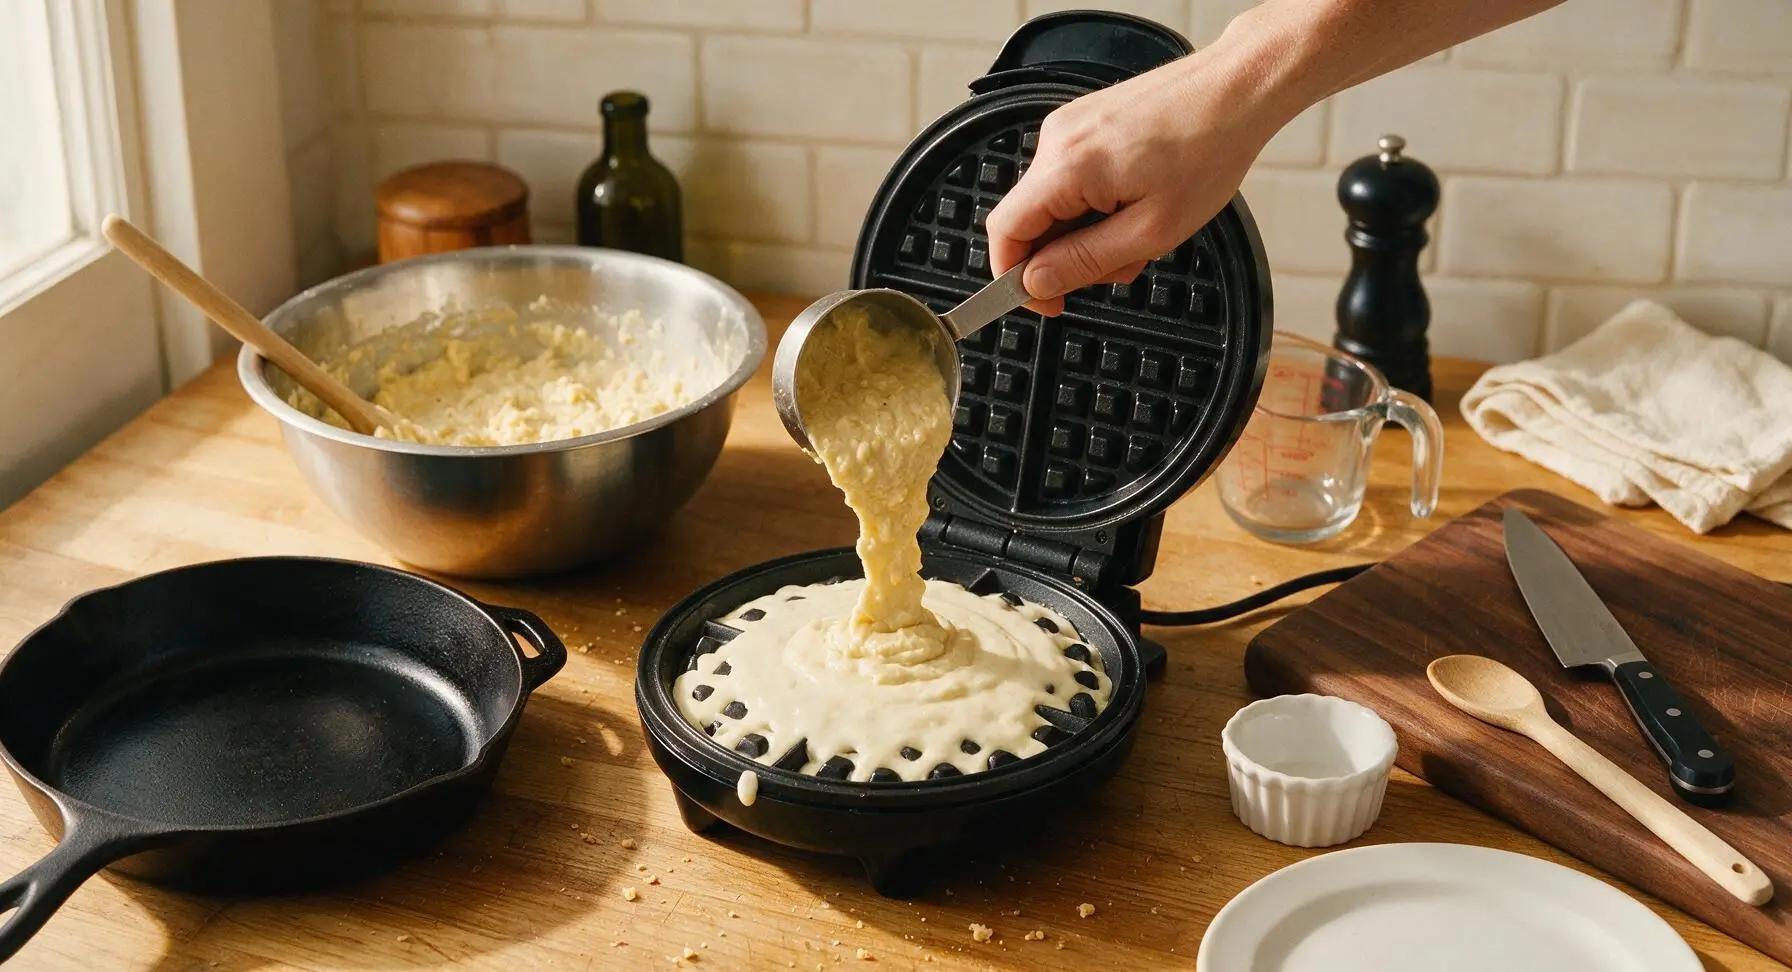
Use the ¼ cup stainless steel measuring cup to scoop batter, pouring ½ cup (two scoops) of batter onto the center of the preheated waffle maker’s lower grid. Do not spread the batter; it will spread naturally and evenly as you close the lid. Close the waffle maker lid firmly, latching it if your model includes a safety latch.
Cook Waffles Until Crisp
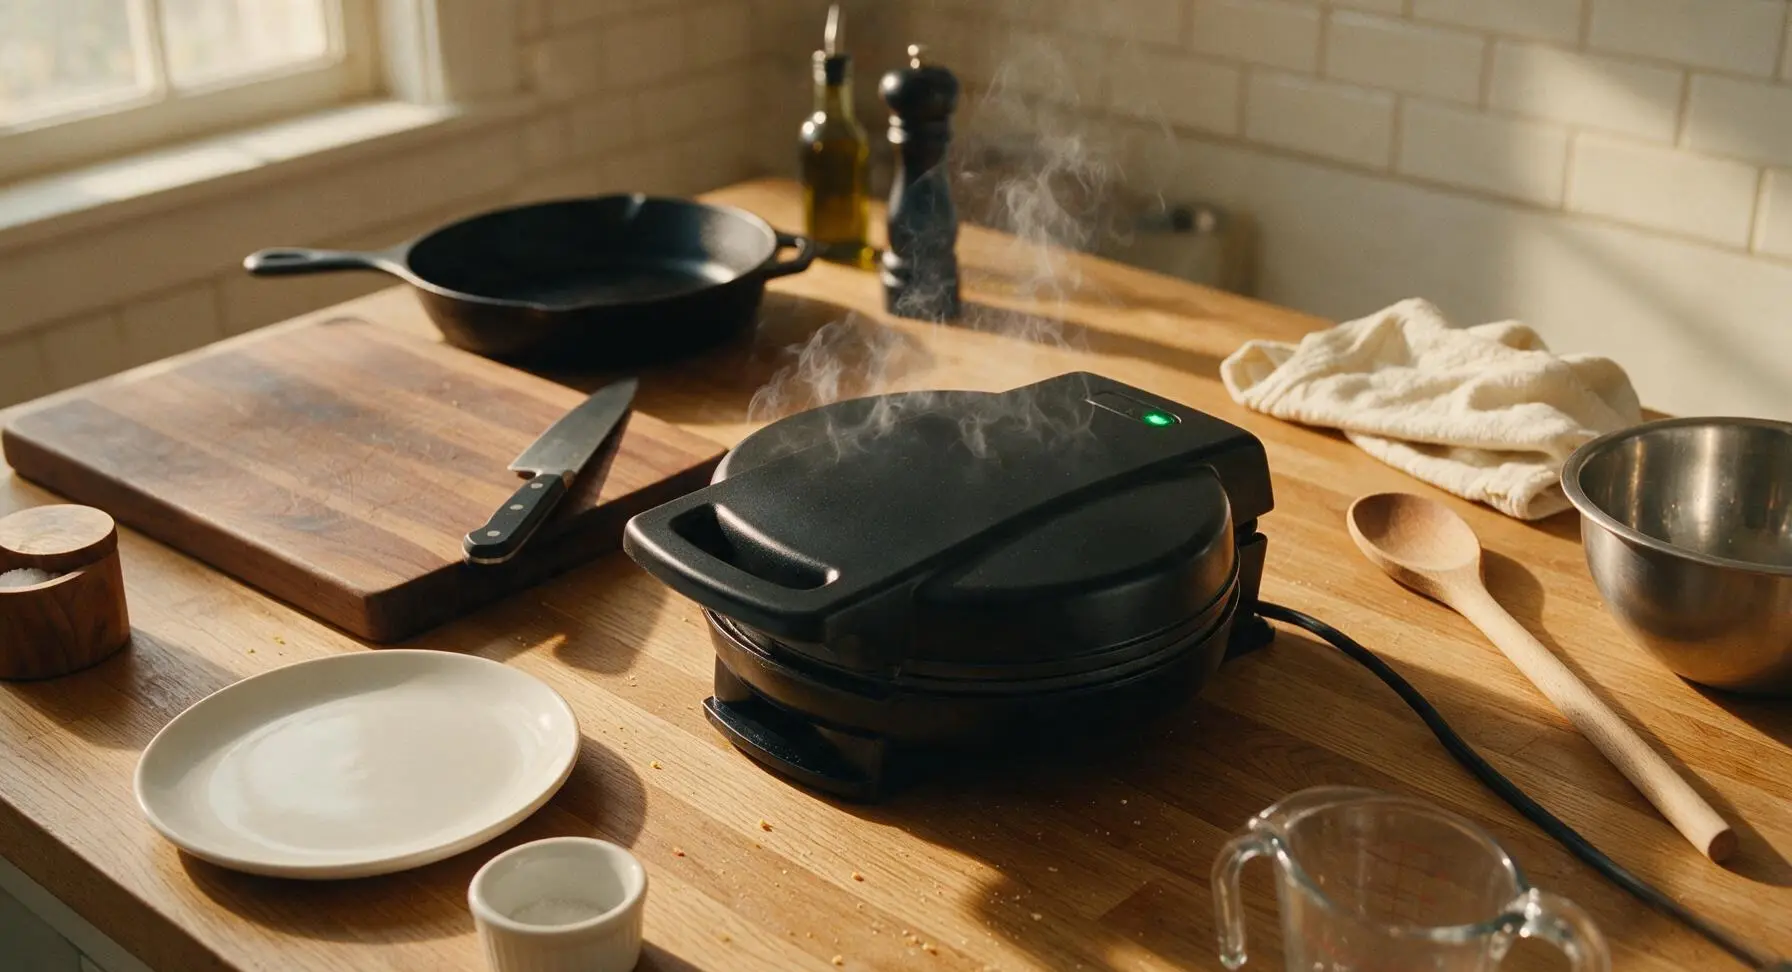
Let the waffle cook for 3 to 4 minutes, until steam stops escaping from the edges of the waffle maker and the green indicator light turns on to signal doneness. Do not open the lid early, as this will tear the delicate waffle surface. The finished waffle will be deep golden brown, with crisp raised grid edges.
Transfer to Cooling Rack
Use the matte black silicone spatula to gently lift the cooked waffle from the iron, transferring it to the chrome wire cooling rack positioned to the right of the waffle maker. Do not stack waffles directly on top of each other while hot, as trapped steam will make them soggy. Repeat the pouring and cooking process with the remaining batter, making 4 total waffles.
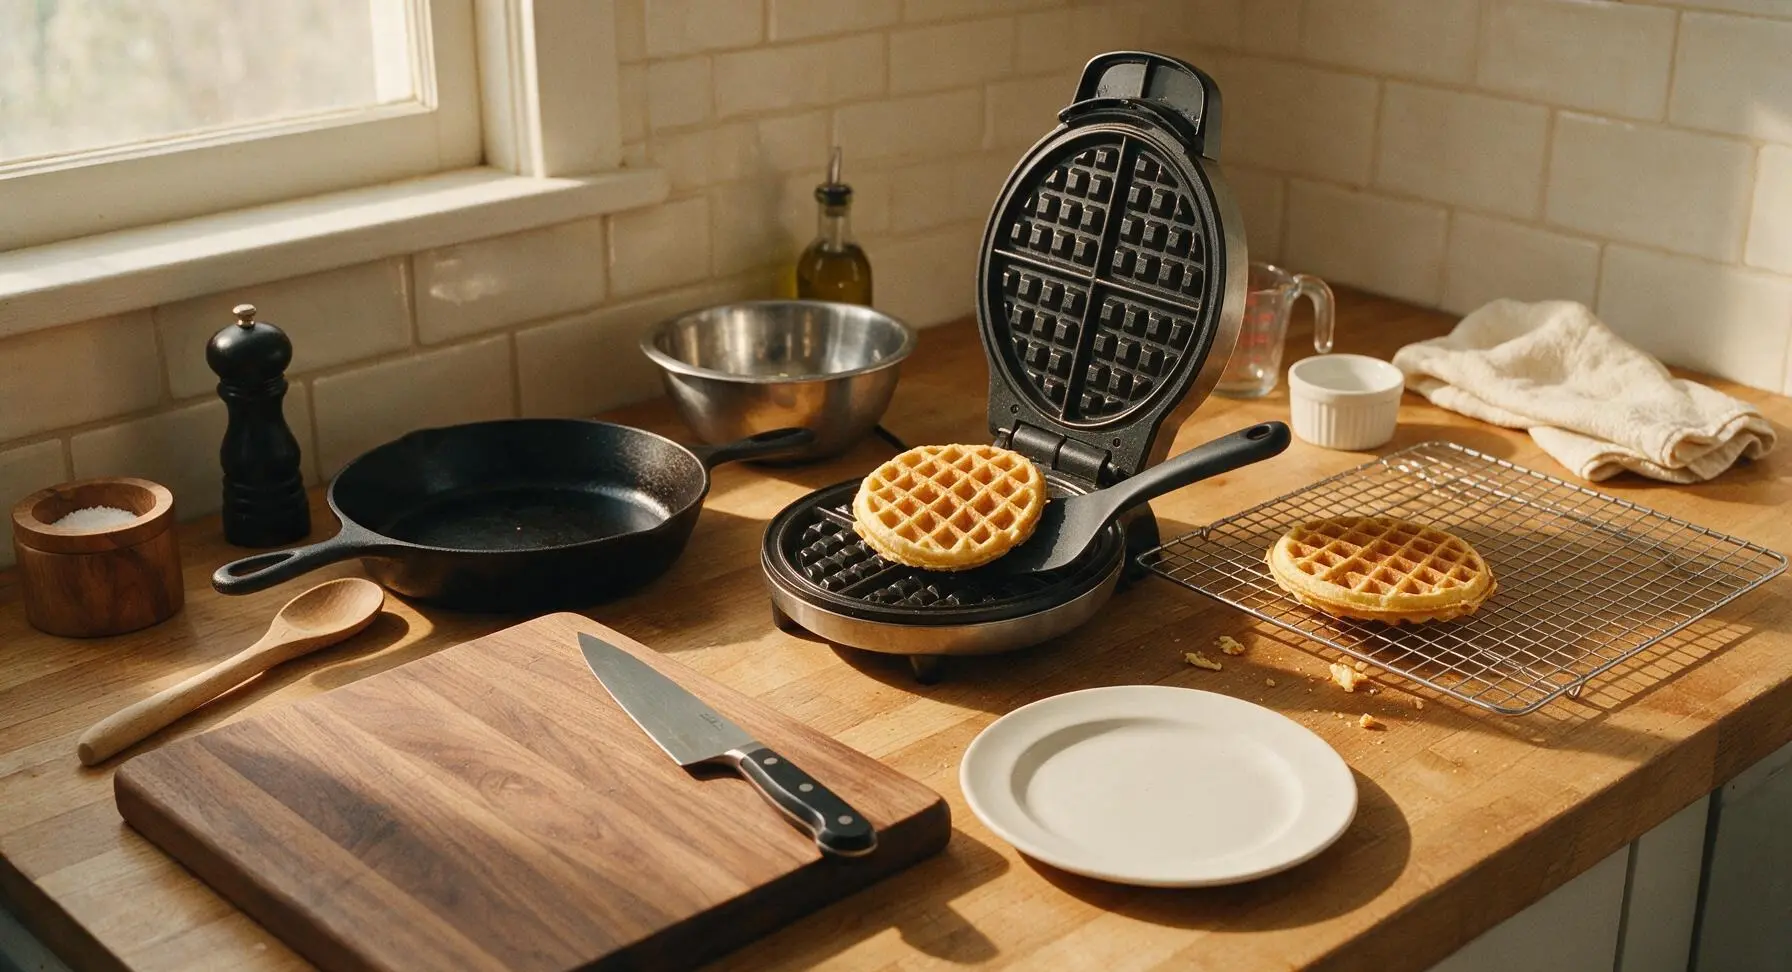
Plate and Serve Warm
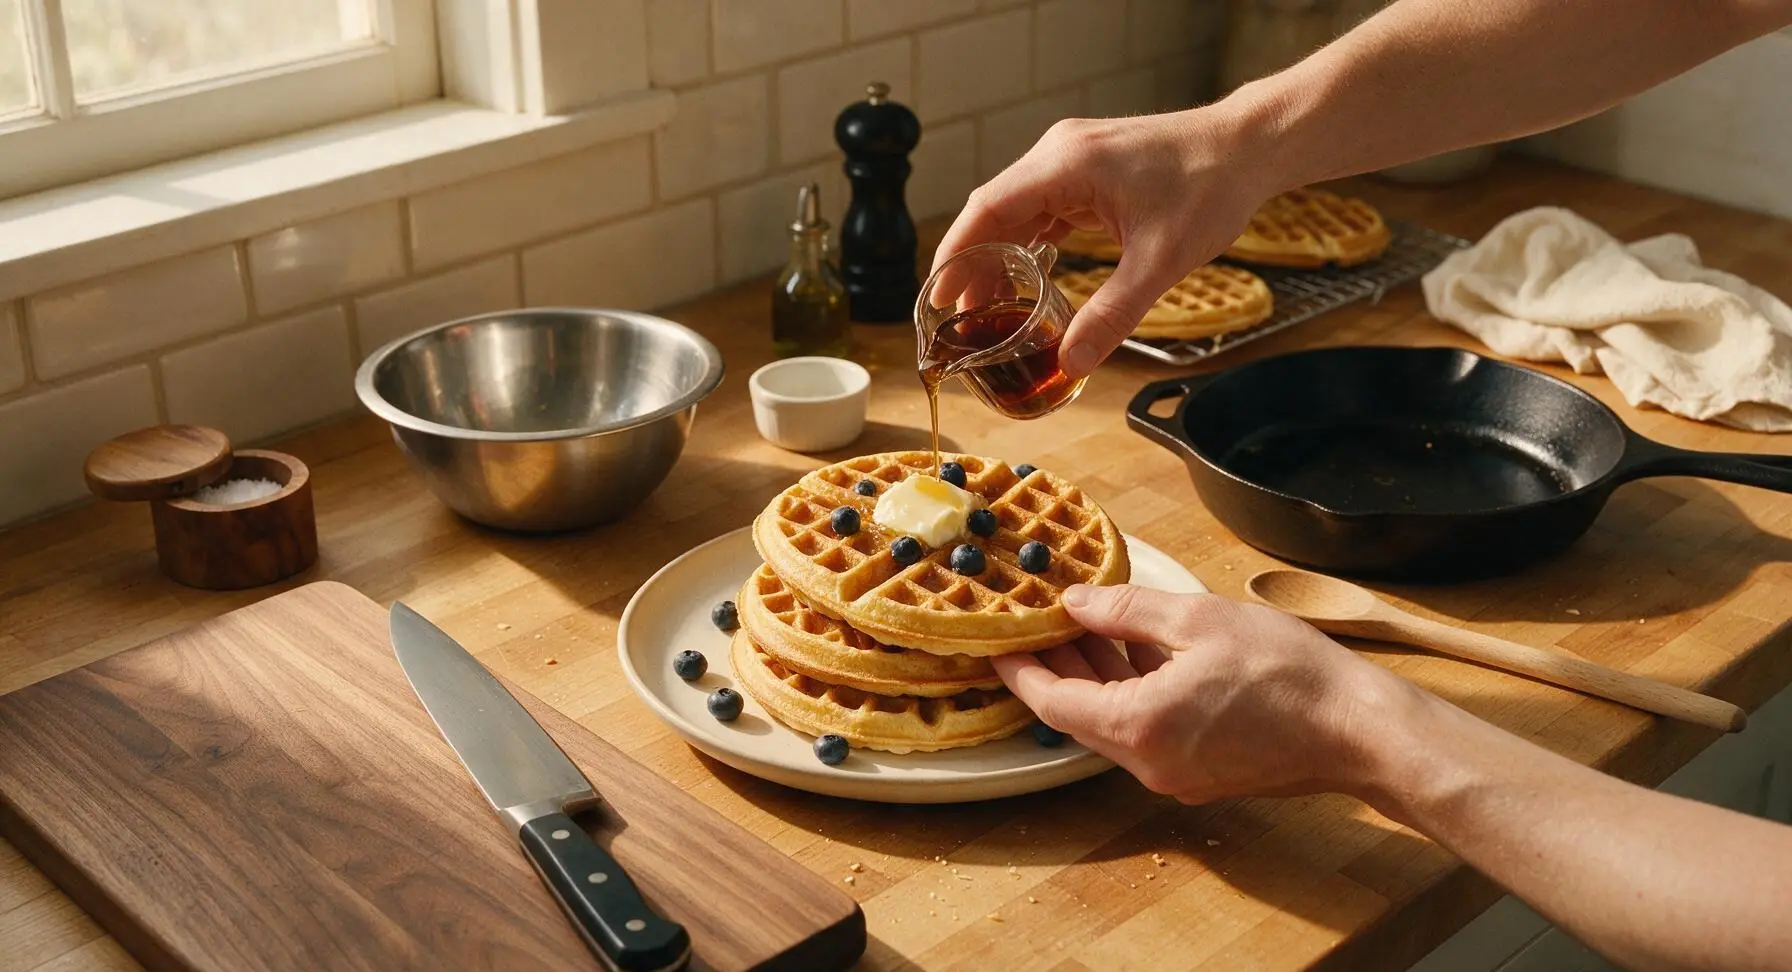
Stack 1 waffle per person on the off-white ceramic dinner plates. Top each stack with a ½-tablespoon pat of softened butter, a light drizzle of pure maple syrup, and a scattering of fresh blueberries. Serve immediately while warm, before the waffles lose their crisp edge.
Tips
2.Keep waffles crisp while cooking batches by placing them directly on the chrome wire cooling rack in a 200°F (95°C) oven, rather than stacking them on a plate. Stacking traps steam, which softens crisp edges into soggy, limp waffles.
3.For extra crunchy, restaurant-style edges, swap the vegetable oil for melted unsalted butter in the batter and cook waffles for 30 seconds longer. The extra milk solids in butter crisp up against the hot waffle iron for a deeper, nuttier flavor and extra crunch.


OMG these were SO fluffy! I’ve been messing up Bisquick waffles for years by following the box directions and they always came out flat and rubbery. Followed this recipe exactly this morning and my kids practically licked their plates! Even my husband, who swears he only likes diner waffles, asked for seconds. Game changer for weekend breakfasts!
Made these for our neighborhood potluck brunch last weekend and people were asking me for the recipe left and right! I added a handful of blueberries to half the batch and a sprinkle of cinnamon to the other half, both versions were a hit. Super easy too, only took 15 minutes total which is perfect when you’re cooking for a crowd.
Perfect easy recipe for my weekly meal prep! I make a batch on Sunday, pop them in the toaster during the week, and they taste just as fresh as the day I made them. Way cheaper than buying frozen waffles and way less sugar too. 10/10 will be on repeat.
Wait a second — has anyone tried this with the gluten free Bisquick? My youngest has celiac so I’m always looking for easy swaps that don’t taste like cardboard. Would love to hear if anyone tested it!
Okay I was skeptical because how much better can Bisquick waffles really be? But holy cow these are so light and fluffy I felt like I was eating at a fancy Manhattan brunch spot. I topped mine with fresh strawberries and whipped cream, no regrets. So easy to throw together before work too!
Made these on a whim this morning when I realized we had no cereal left. Only had Bisquick, eggs, and milk in the fridge and they turned out amazing. I didn’t even have vanilla extract and they were still so good. Perfect low-effort breakfast for when you don’t feel like running to the store.
Great base recipe! I swapped the regular milk for oat milk, used a little less oil, and added a scoop of vanilla protein powder to the batter. They were still super fluffy and kept me full for hours after my morning run. Will definitely make again.
Y’all I am not exaggerating when I say every waffle I’ve ever made has been a sad, soggy mess. I followed this recipe step by step, made sure my iron was hot, didn’t overmix, and they were CRISPY on the outside and fluffy on the inside? I almost cried. Who knew Bisquick could do that?!
These taste just like the waffles my grandma used to make when we visited her farm as kids! I added a tiny bit of nutmeg like she always did and it took me right back. So easy, I don’t know why I ever bought those fancy waffle mixes from the grocery store.
Quick heads up for anyone who has a smaller waffle maker — this recipe makes about 6 full-sized waffles on my 4-inch iron, so you might want to halve it if you’re only cooking for one or two people. Still turned out perfect, just had a ton of leftovers (which aren’t a bad thing, tbh).
Added a half cup of mini chocolate chips to the batter and my kids went absolutely wild for these. They kept begging for ‘more chocolate waffles’ before they even finished their first serving. I love that it’s easy enough to let my 8 year old help stir the batter too, no fancy skills needed.
Total lifesaver for school mornings! I mix the batter the night before and keep it in a sealed container in the fridge, then just pour and cook in the morning. Cuts down the time so much and the waffles are still just as fluffy. My kids don’t even complain about breakfast anymore!
I tried making these vegan by swapping the egg for a flax egg and using almond milk, and they actually turned out really well! They were a tiny bit less fluffy than the non-vegan version but still way better than any vegan waffle mix I’ve bought from the store. Will definitely make this swap again.
Brought my portable waffle maker to the tailgate last weekend and made these before the game. They were the most popular item at our setup — people were putting fried chicken on them and making chicken and waffle sliders. Absolute home run, so easy to transport the batter too.
Guys I just moved into my first apartment and this is the first recipe I’ve made that didn’t burn or turn out weird! My waffle iron was a $10 thrift store find and these still came out fluffy and perfect. I felt like a real adult making myself a nice breakfast instead of eating pop tarts for once lmao
These are the perfect base for loaded waffles! I topped mine with caramelized bananas, chopped pecans, and a drizzle of maple syrup and it tasted like something I’d pay $15 for at a brunch spot. The fluff factor is 10/10, no dense soggy spots at all.
Took someone’s earlier advice and froze a batch of these after making them last Sunday. Popped one in the toaster oven this morning for my kid’s breakfast and it tasted exactly like it was fresh off the iron. No more wasting money on frozen waffles with a million weird ingredients, this is our new go-to.
Wait I followed the recipe exactly but my waffles stuck to the iron so bad they fell apart when I tried to open it 😭 Did I do something wrong? I was so excited for fluffy waffles and ended up with waffle crumbles for breakfast.
Made these for my in-laws who were visiting this weekend and they were raving about them the whole time! My mother in law kept asking for the recipe and couldn’t believe it only used Bisquick and a few simple ingredients. Total win for impressing guests without spending hours in the kitchen.
I swirled a little cinnamon sugar into the batter right before pouring and it tasted like those cinnamon roll waffles I see at fancy breakfast spots! So good, even without any extra syrup on top. 10/10 will be making this version every time now.