1.Do I really need to use cold butter for the galette crust?
▾
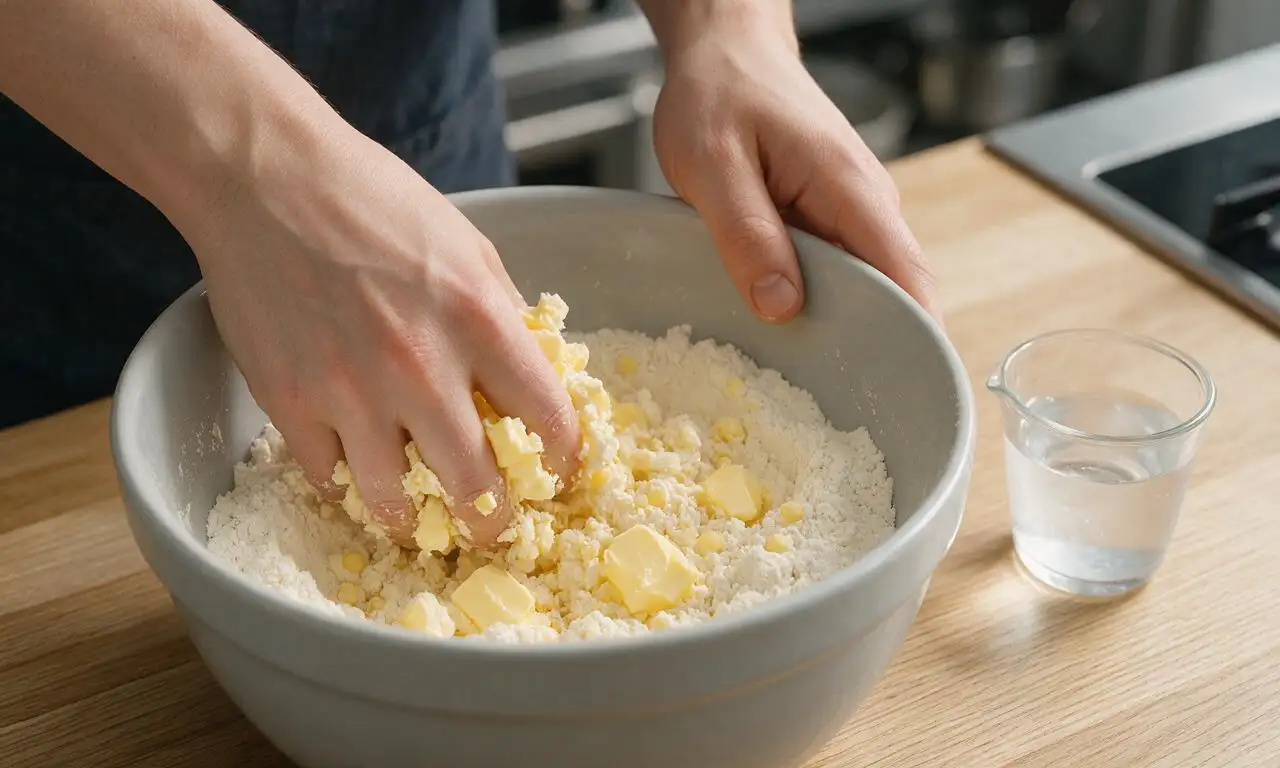
Absolutely—cold butter is the secret to that signature flaky, layered crust. When cold butter hits the hot oven, it releases steam that puffs up separate flaky layers instead of melting straight into the dough. Cut it into ½-inch cubes and chill it for 10 minutes before mixing if it softens while you prep.
2.Can I make the galette dough ahead of time?
▾
Definitely! You can make the dough up to 3 days in advance, wrapped tightly in plastic wrap and stored in the fridge. You can also freeze it for up to 3 months—just thaw it overnight in the fridge before rolling it out. Chilled dough actually rolls out easier and shrinks less in the oven too.
3.Why is my galette crust soggy on the bottom?
▾
Soggy bottoms usually happen from juicy filling seeping into raw dough or a too-warm crust. To prevent this, sprinkle a thin layer of fine breadcrumbs or crushed graham crackers on the dough center before adding fruit, and always bake on a preheated baking sheet to crisp the base fast.
4.Can I use frozen blueberries instead of fresh?
▾
You can, but take one quick extra step to avoid a runny filling. Toss frozen blueberries with an extra 1 teaspoon of flour or cornstarch, and don’t thaw them before adding to the galette—thawing releases excess juice that will make your filling watery and your crust soggy during baking.
5.What kind of banana works best for this galette?
▾
Reach for firm, just-ripe yellow bananas with a tiny hint of green at the stems, not the overripe, soft, spotty bananas you’d use for banana bread. Overripe bananas turn mushy and release too much moisture as they bake, while firm bananas hold their shape and add balanced, sweet, not-cloying flavor.
6.Do I need a special tart pan or pie dish to make this galette?
▾
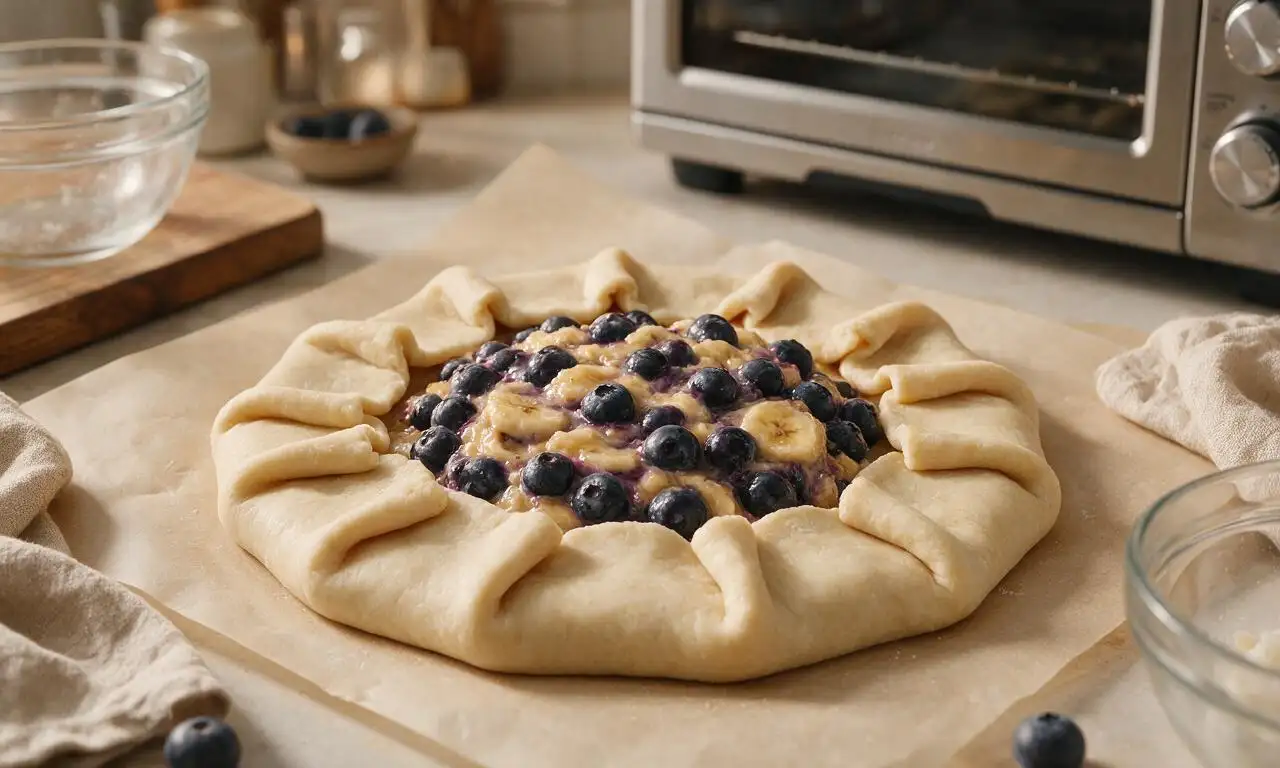
Nope, that’s the best part of a galette! It’s a free-form tart, so all you need is a rimmed baking sheet lined with parchment paper. You don’t have to worry about crimping edges perfectly or fitting dough into a pan—just fold the rough edges up over the filling however looks natural.
7.How do I keep the folded crust edges from burning?
▾
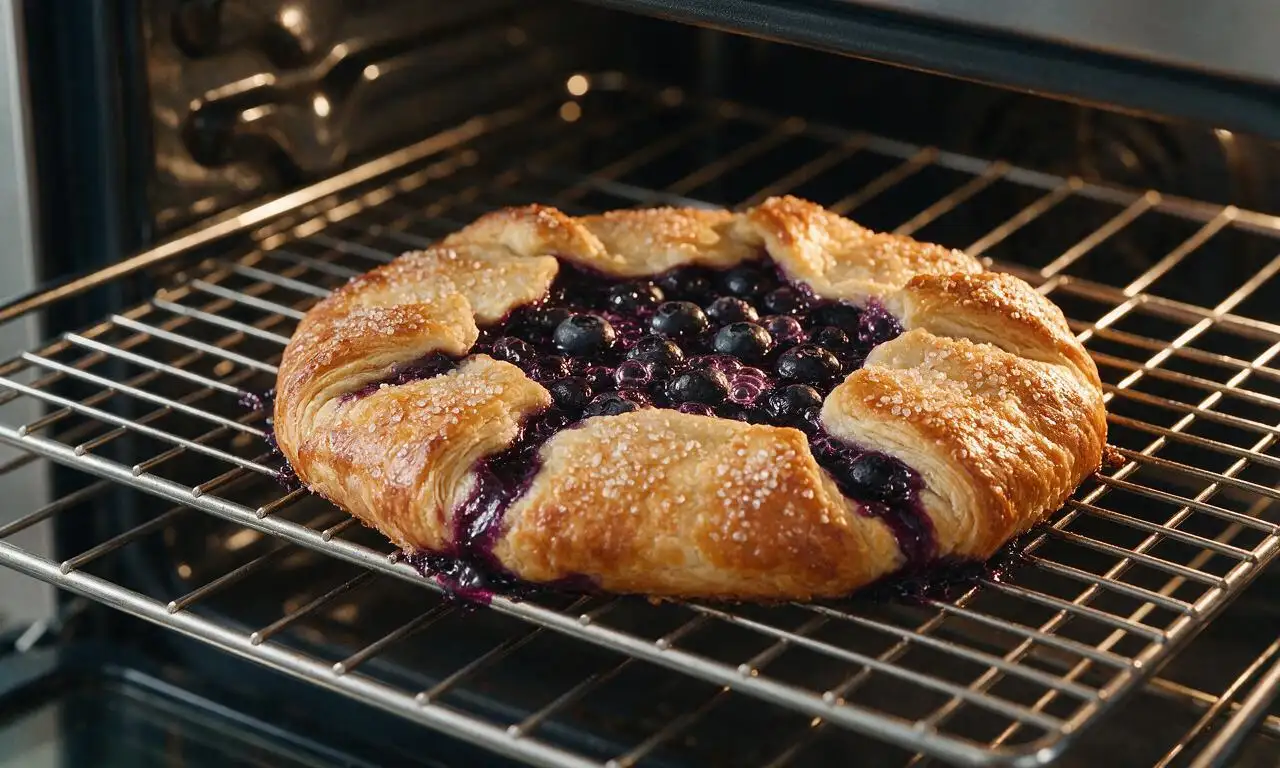
If you notice the crust edges browning faster than the filling cooks halfway through baking, just loosely tent a strip of aluminum foil over the crimped edges. The foil blocks direct oven heat so the edges don’t char while the fruit finishes cooking and the bottom crust crisps all the way through.
8.Can I reduce the amount of sugar in the recipe?
▾
Absolutely, you can adjust the sugar to taste and the sweetness of your fruit. If your blueberries are extra ripe and sweet, cut the granulated sugar by 1 to 2 tablespoons. Just don’t skip the tiny pinch of salt in the filling—it amplifies the fruit flavor even when you use less sugar.
9.Why do I need to use ice water for the dough?
▾
Ice water keeps the butter in your dough cold as you mix it, which is critical for flaky layers. If you use room temperature or warm water, it will melt the butter bits before baking, leading to a tough, dense crust instead of light, flaky pastry. Add it 1 tablespoon at a time so you don’t over-wet the dough.
10.How thick should I roll the galette dough out?
▾
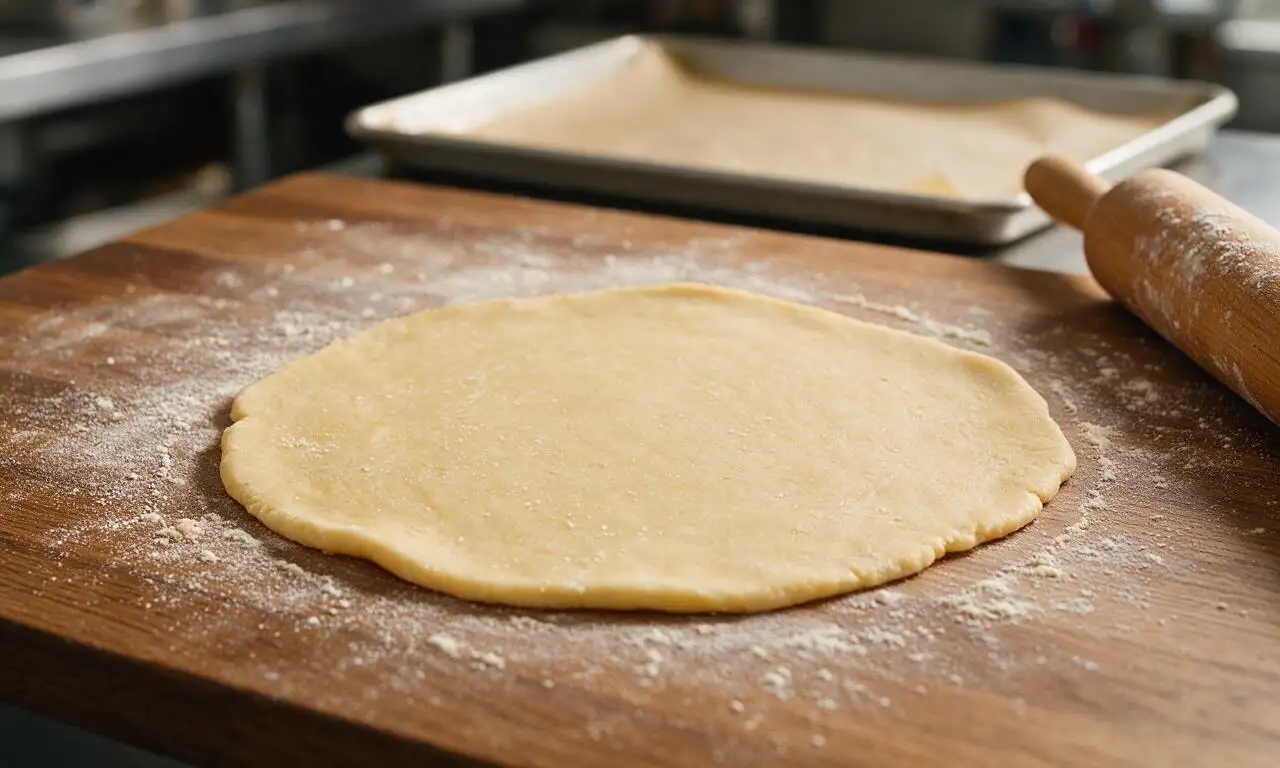
Aim to roll the dough into a rough 12-inch circle that’s about ⅛-inch thick. It doesn’t need to be a perfect circle—uneven edges look rustic and charming! If it’s too thick, the crust will be doughy in the center; too thin, it will tear when you fold the edges over the filling.
11.Can I add other fruits to this blueberry banana galette?
▾
Feel free to mix in small amounts of complementary fruit! Sliced fresh strawberries, a handful of raspberries, or even a ¼ cup of chopped fresh peaches work beautifully. Just don’t overload the dough, and toss extra-juicy additions with a pinch of extra thickener to avoid runny filling.
12.How do I fix dough that tears when I’m rolling or folding it?
▾
No need to panic—galettes are meant to look rustic! Just pinch small tears back together with your fingers, or patch gaps with a tiny scrap of extra dough. If the dough gets too soft and tears easily, pop it on the baking sheet in the fridge for 10 minutes to firm up before handling it again.
13.Should I brush the crust with anything before baking?
▾
For a golden, crisp, shiny crust edge, brush the folded dough with a thin coat of heavy cream or beaten egg before baking. You can also sprinkle a pinch of coarse turbinado sugar on top of the washed crust for a nice crunchy, sweet texture contrast to the soft fruit filling.
14.How long should I let the galette cool before serving?
▾
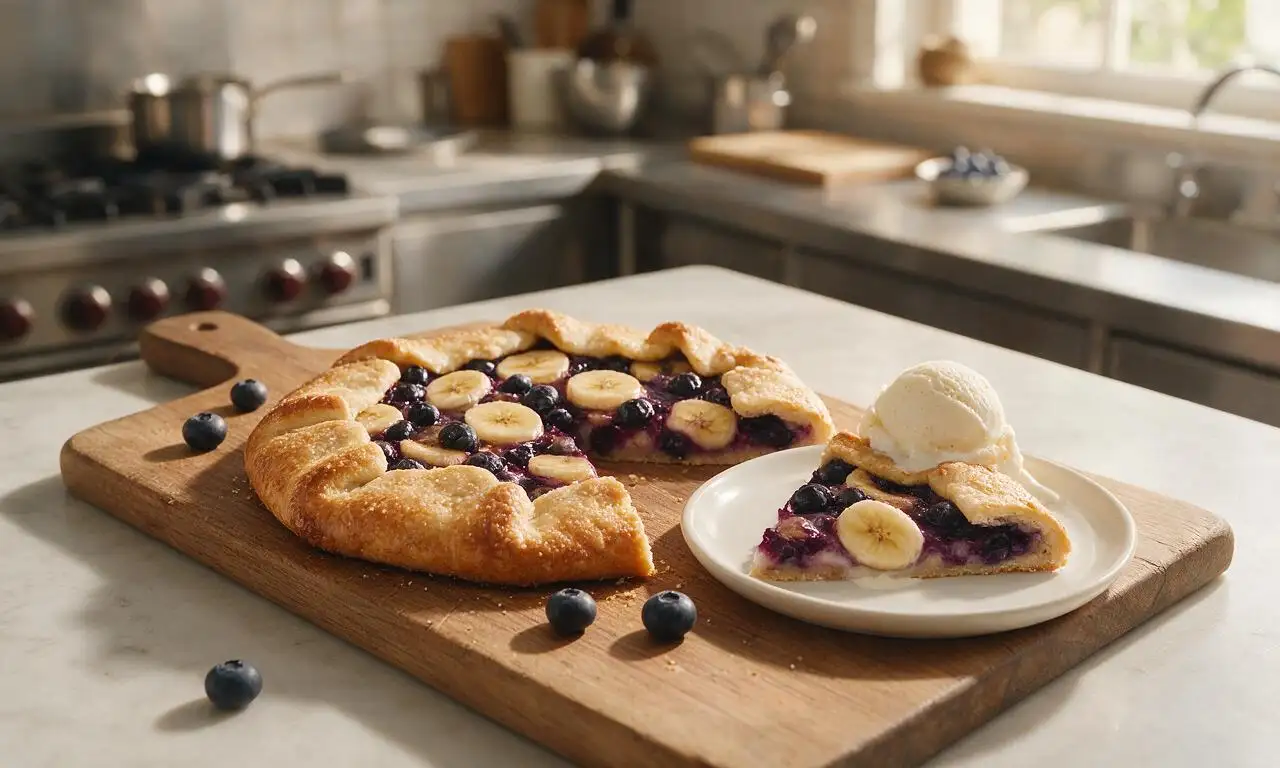
Let the galette cool on the baking sheet for 15 to 20 minutes before slicing. This resting time lets the hot, juicy filling set up so it doesn’t run all over your plate when you cut it. It’s delicious served slightly warm, at room temp, or even chilled the next day.
15.Can I make this galette gluten-free?
▾
Yes, you can swap the all-purpose flour for a high-quality 1:1 gluten-free baking flour that contains xanthan gum for structure. You may need to add 1 extra tablespoon of ice water to get the dough to hold together, since gluten-free flours absorb moisture a little differently than wheat flour.
16.What’s the best way to store leftover galette?
▾
Store leftover galette loosely covered with foil or plastic wrap on the counter for up to 2 days, or in the fridge for up to 4 days. Reheat slices in a 350°F oven for 5 to 7 minutes to crisp the buttery crust back up—microwaving will make the pastry soggy and tough, so skip that method entirely.
17.Why did my galette shrink so much in the oven?
▾
Shrinkage usually happens when the dough is too warm when it goes in the oven, or you stretched it too tight while rolling and folding it. After you assemble the galette on the baking sheet, chill it in the fridge for 15 minutes before baking to let the gluten relax and the butter firm up, which cuts down on shrinkage.
18.Do I need to add cornstarch or extra thickener to the fruit filling?
▾
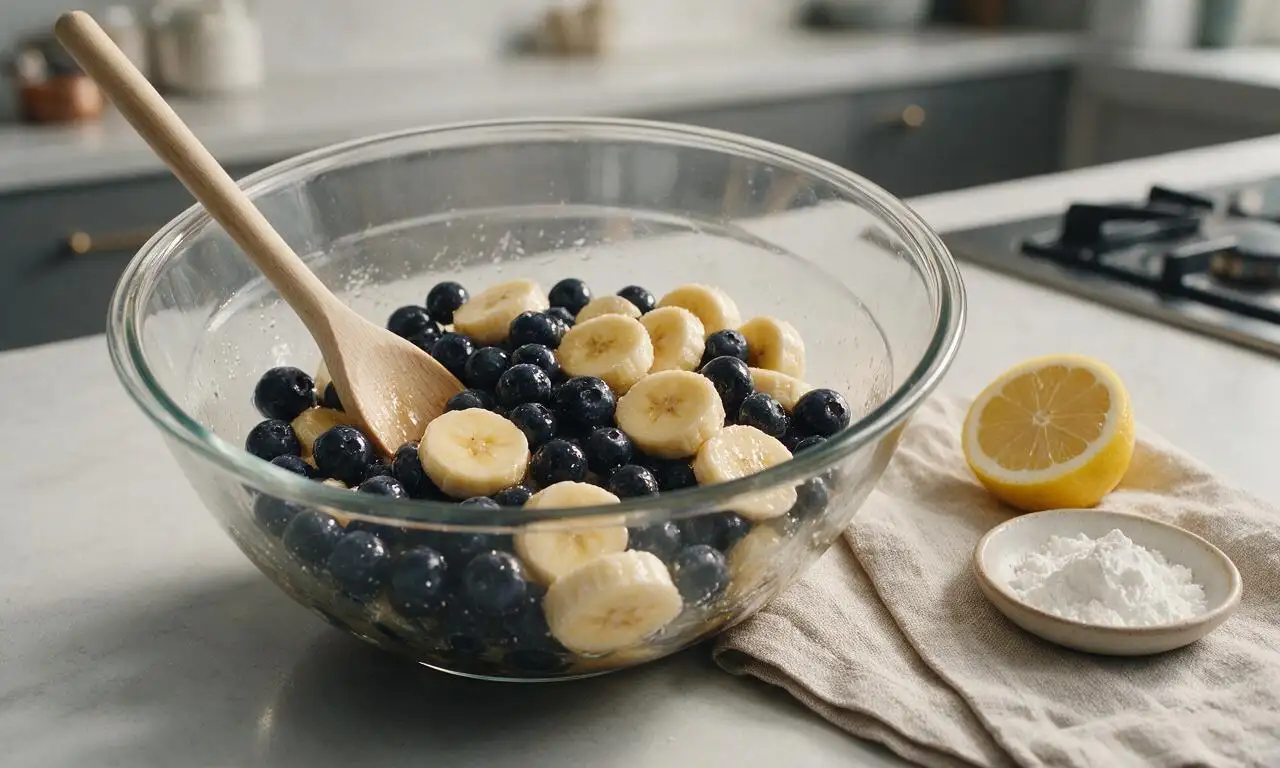
The small amount of sugar draws out just enough fruit juice for a juicy but not runny filling, but if your blueberries are extra ripe and juicy, toss them with 1 teaspoon of all-purpose flour before adding them to the dough. That’s all the thickener you need—too much will make the filling gummy instead of bright and fruity.
19.Can I use salted butter instead of unsalted for the crust?
▾
You can, just adjust the added fine sea salt to compensate. If using salted butter, cut the added salt in the crust by half, so the pastry doesn’t end up overly salty. Unsalted butter lets you control the exact salt level, which makes it easier to get that perfect balanced sweet-savory crust flavor.
20.What can I serve with this blueberry banana galette to make it feel more special?
▾
It’s delicious on its own, but a scoop of vanilla bean ice cream, a dollop of freshly whipped cream, or a drizzle of warm salted caramel sauce takes it to the next level. For a lighter brunch-friendly twist, serve it with a spoonful of plain Greek yogurt sweetened with a tiny bit of honey.

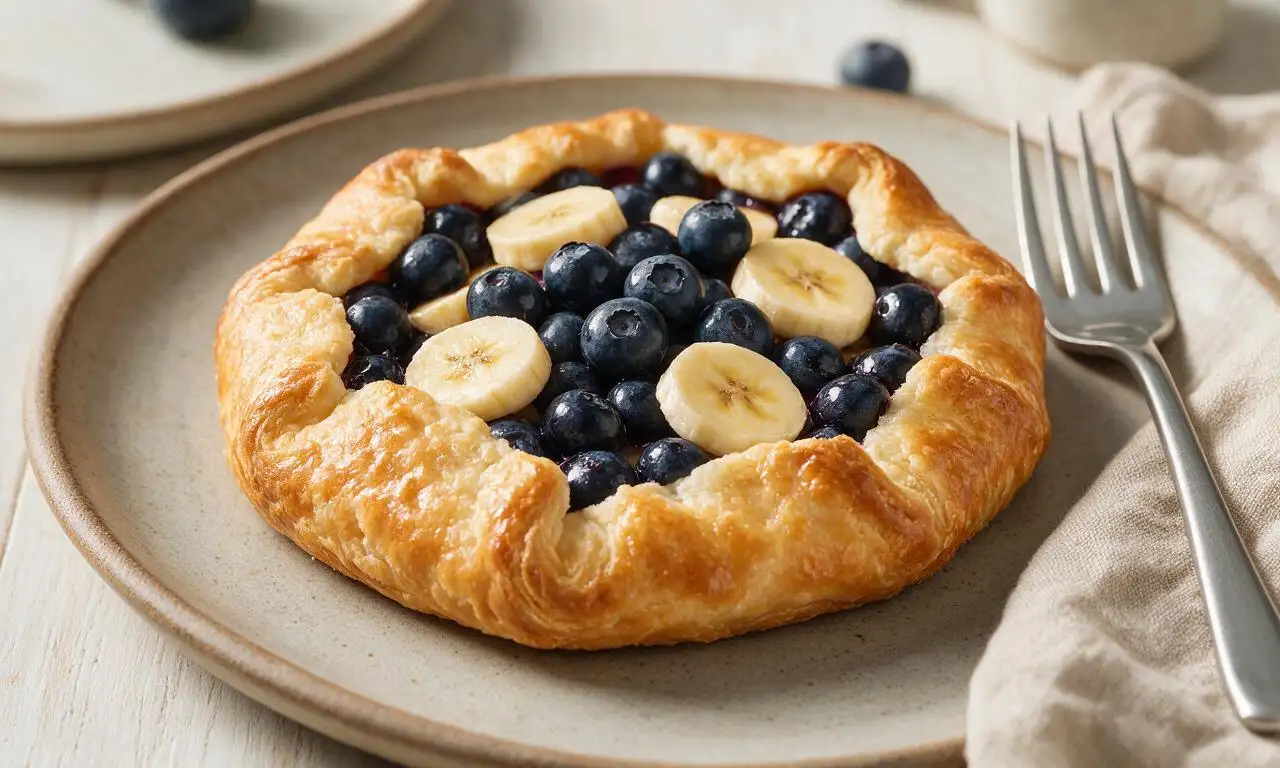






OMG this galette was SO good! I threw it together last minute for my Sunday family dinner and everyone asked for seconds. The crust came out perfectly flaky even though I’ve always been terrible at pastry, 10/10 how easy this was!
Made this for a post-hike potluck with my trail group last weekend and it disappeared in 10 minutes flat! I added a tiny sprinkle of lemon zest to the filling and it brightened up the blueberry and banana flavors so much. Will absolutely be making this again for our next meetup.
Game changer for weeknight meal prep dessert! I prepped the crust and filling on Sunday, popped it in the oven after dinner on Tuesday, and my kids loved it. Even my picky 7 year old who swears he hates fruit ate two slices. Total win.
Wait, 50 minutes total cook time? That’s way faster than any galette I’ve ever made! I was skeptical the crust would be underdone but it was perfectly golden and crispy. The combo of sweet banana and tart blueberry is chef’s kiss, no adjustments needed for me.
Super easy to make in my tiny dorm oven! I used frozen blueberries because that’s all I had on hand and it still came out amazing. Way better than the overpriced galettes they sell at the campus coffee shop.
Brought this to our neighborhood block party last week and I can’t count how many people asked me for the recipe! I topped it with a little dollop of vanilla ice cream when I served it and *chef’s kiss* pure summer.
First time ever making any kind of pastry and this turned out so good??? I was so nervous I’d mess up the crust but the instructions were so straightforward, even a total beginner like me could pull it off. My roommate said it looks like it came from a fancy bakery!
I was looking for a lower-sugar dessert that didn’t taste like cardboard and this delivered! The natural sweetness from the bananas means you don’t need a ton of added sugar, and the blueberries add that perfect tart kick. 10/10 for anyone trying to cut back on refined sugar.
I’ve been making galettes for 40 years and this recipe is a keeper. The ratio of fruit to crust is perfect, no soggy bottom even when the berries release their juices. I’ll be adding this to my regular summer rotation when blueberries are in season.
My kids helped me make this this afternoon and they had so much fun folding the crust and dumping the fruit in! It was the perfect easy weekend activity that ended with a delicious snack, we all ate slices while we watched our Friday night movie.
Made this for my weekly coffee date with my best friend and she begged me for the recipe before she even finished her first slice. We had it with lattes and it was the perfect mid-morning treat, not too heavy or sweet.
Made this for brunch last weekend and it was the star of the spread! I added a light drizzle of salted caramel on top right before serving and it elevated the whole thing. Who knew blueberry, banana, and salted caramel went so well together?
I was skeptical banana would work in a galette but wow, it pairs so perfectly with the blueberries! I made this on Sunday and it kept great in the fridge for 4 days, perfect for quick weeknight dessert servings after work.
I live in a tiny studio apartment with a countertop oven and this cooked perfectly in it! No fancy equipment needed, just a baking sheet, some parchment paper, and a rolling pin (I even used a wine bottle once when I couldn’t find my rolling pin, don’t judge). So accessible for people without full kitchens!