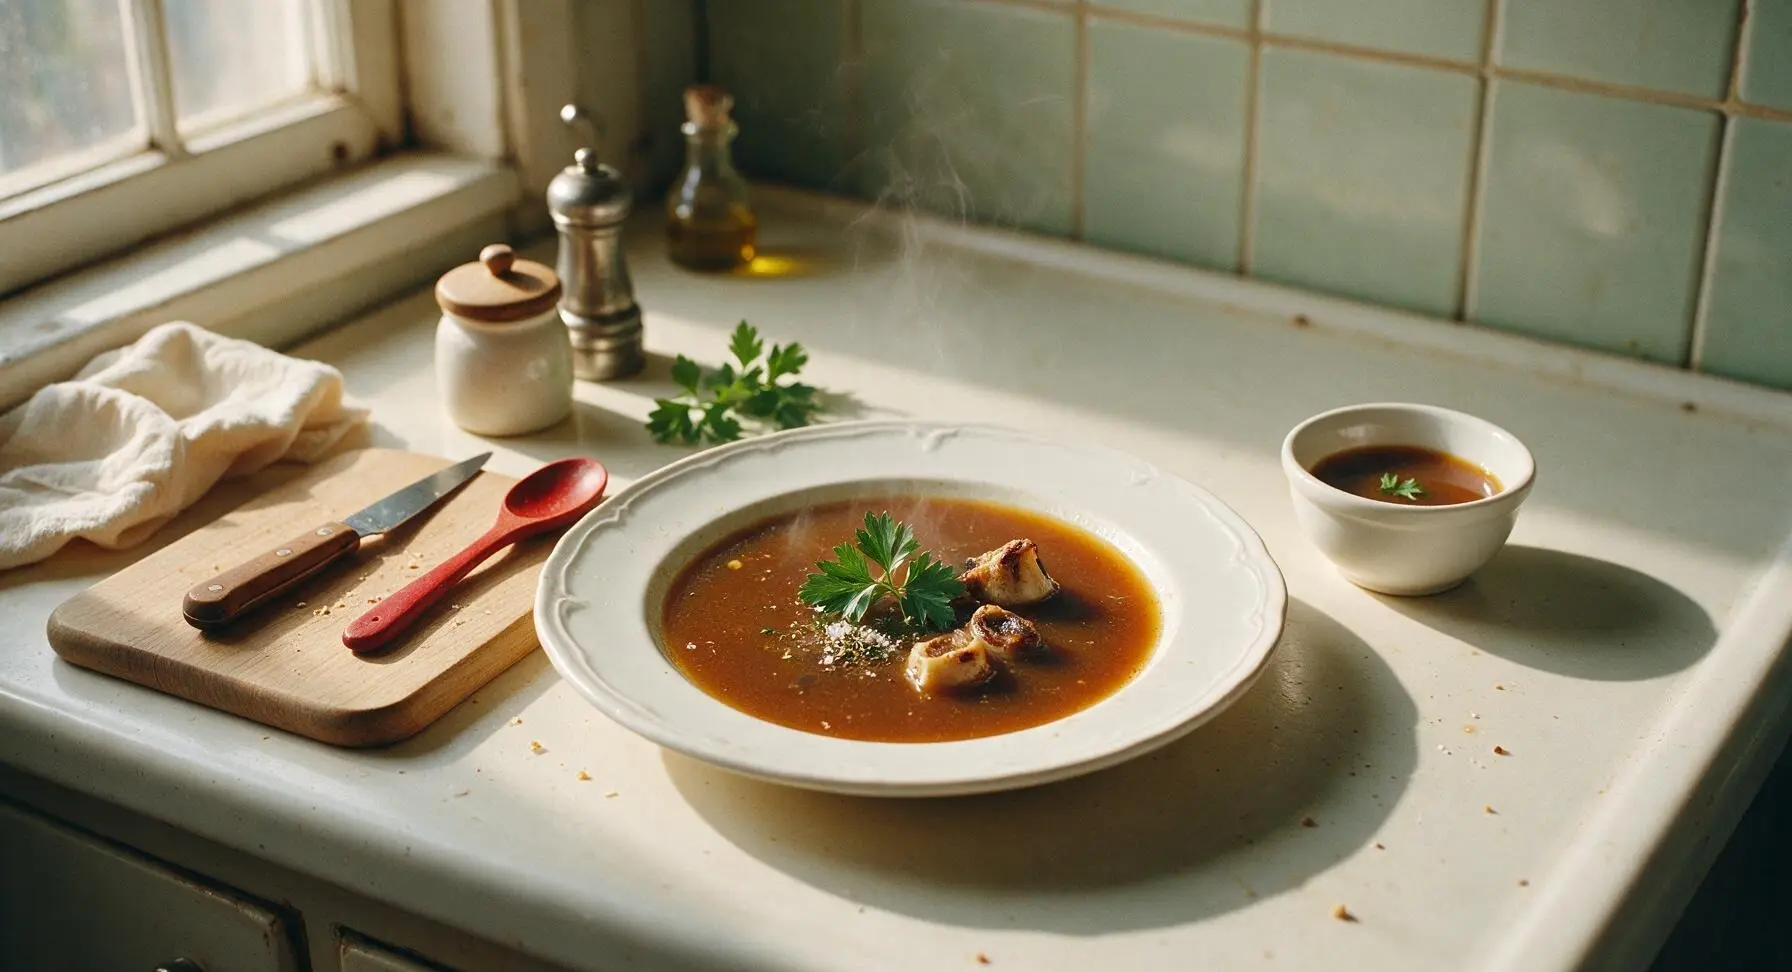
bone marrow broth

title 1
bone marrow broth
⏱️ cook time 12 hours 20 minutes
🍽️ servings 6
⚡ Difficulty medium

intro

Rich, velvety slow-simmered bone marrow broth, deep with nutty umami and warm aromatic notes, perfect for sipping on its own or as a luxurious base for soups and stews.

Ingredients
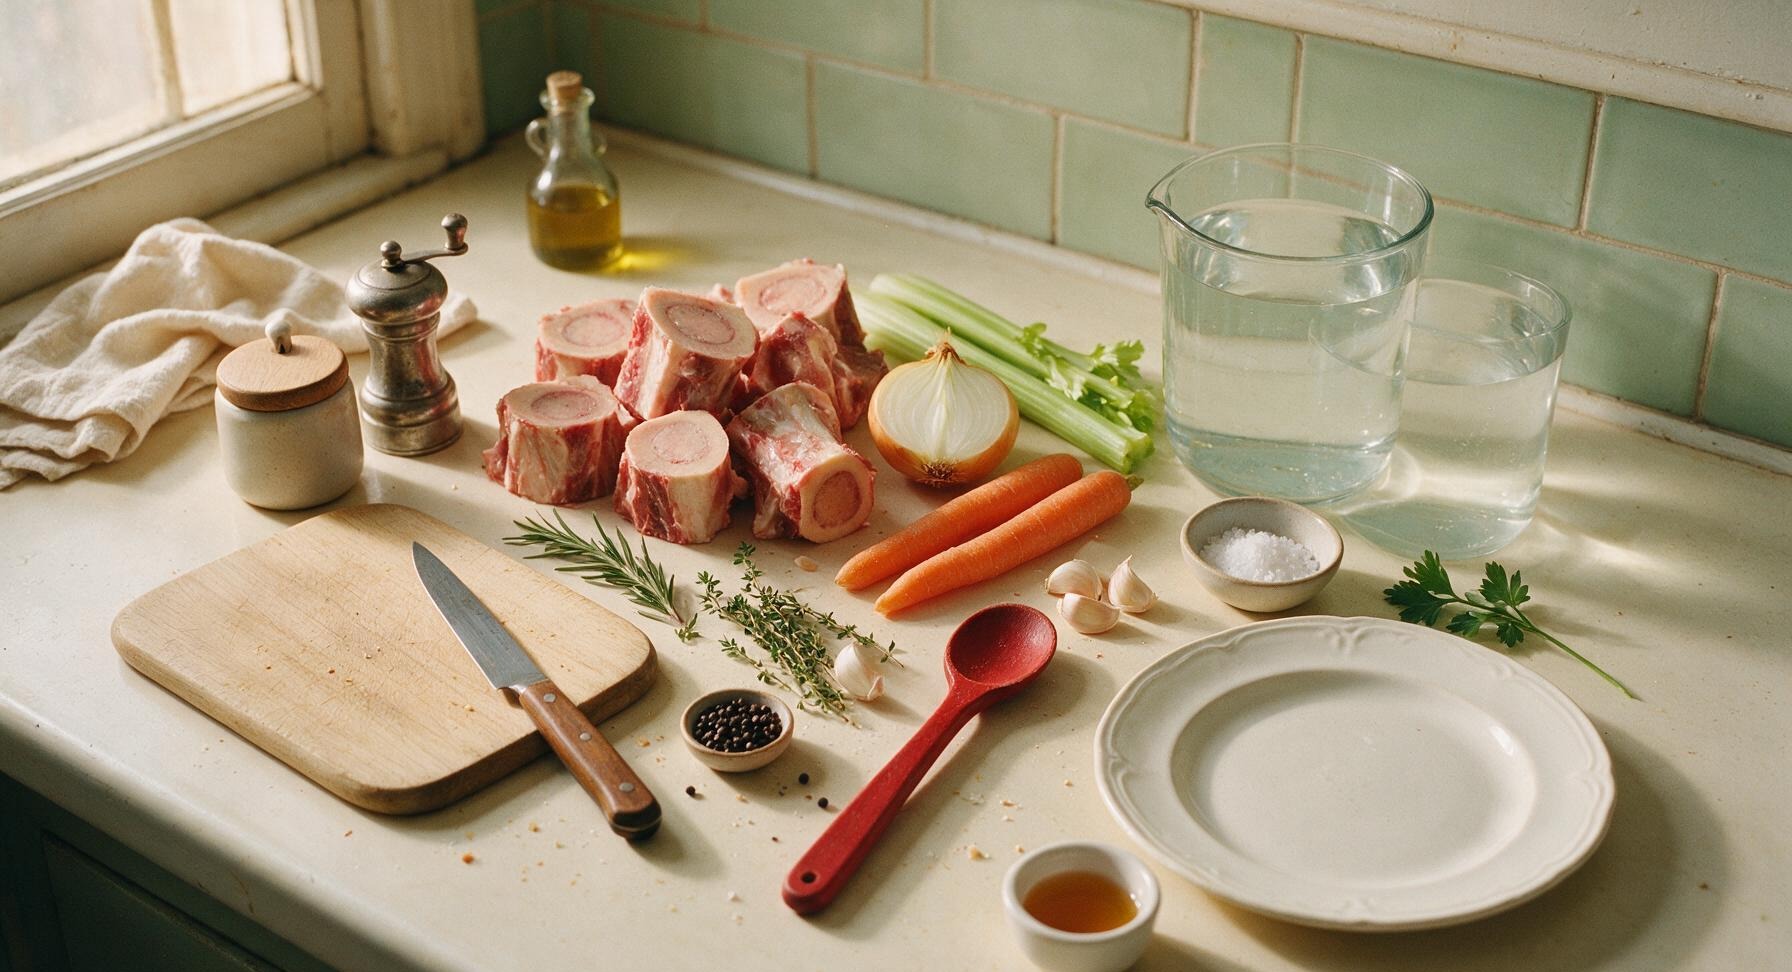
Beef marrow bones (split lengthwise, 5cm thick) 1.8kg (4 lbs)
Yellow onion (unpeeled, halved) 1 large (250g)
Carrots (scrubbed) 2 medium (150g)
Celery stalks 2 stalks (120g)
Garlic cloves (unpeeled) 4 cloves (20g)
Fresh thyme sprigs 6 sprigs (10g)
Fresh rosemary sprig 1 sprig (5g)
Whole black peppercorns 1 tsp (3g)
Apple cider vinegar 2 tbsp (30ml)
Coarse kosher salt 1 tbsp (15g)
Cold filtered water 4L (1 gallon)

Steps

1

Roast the Marrow Bones

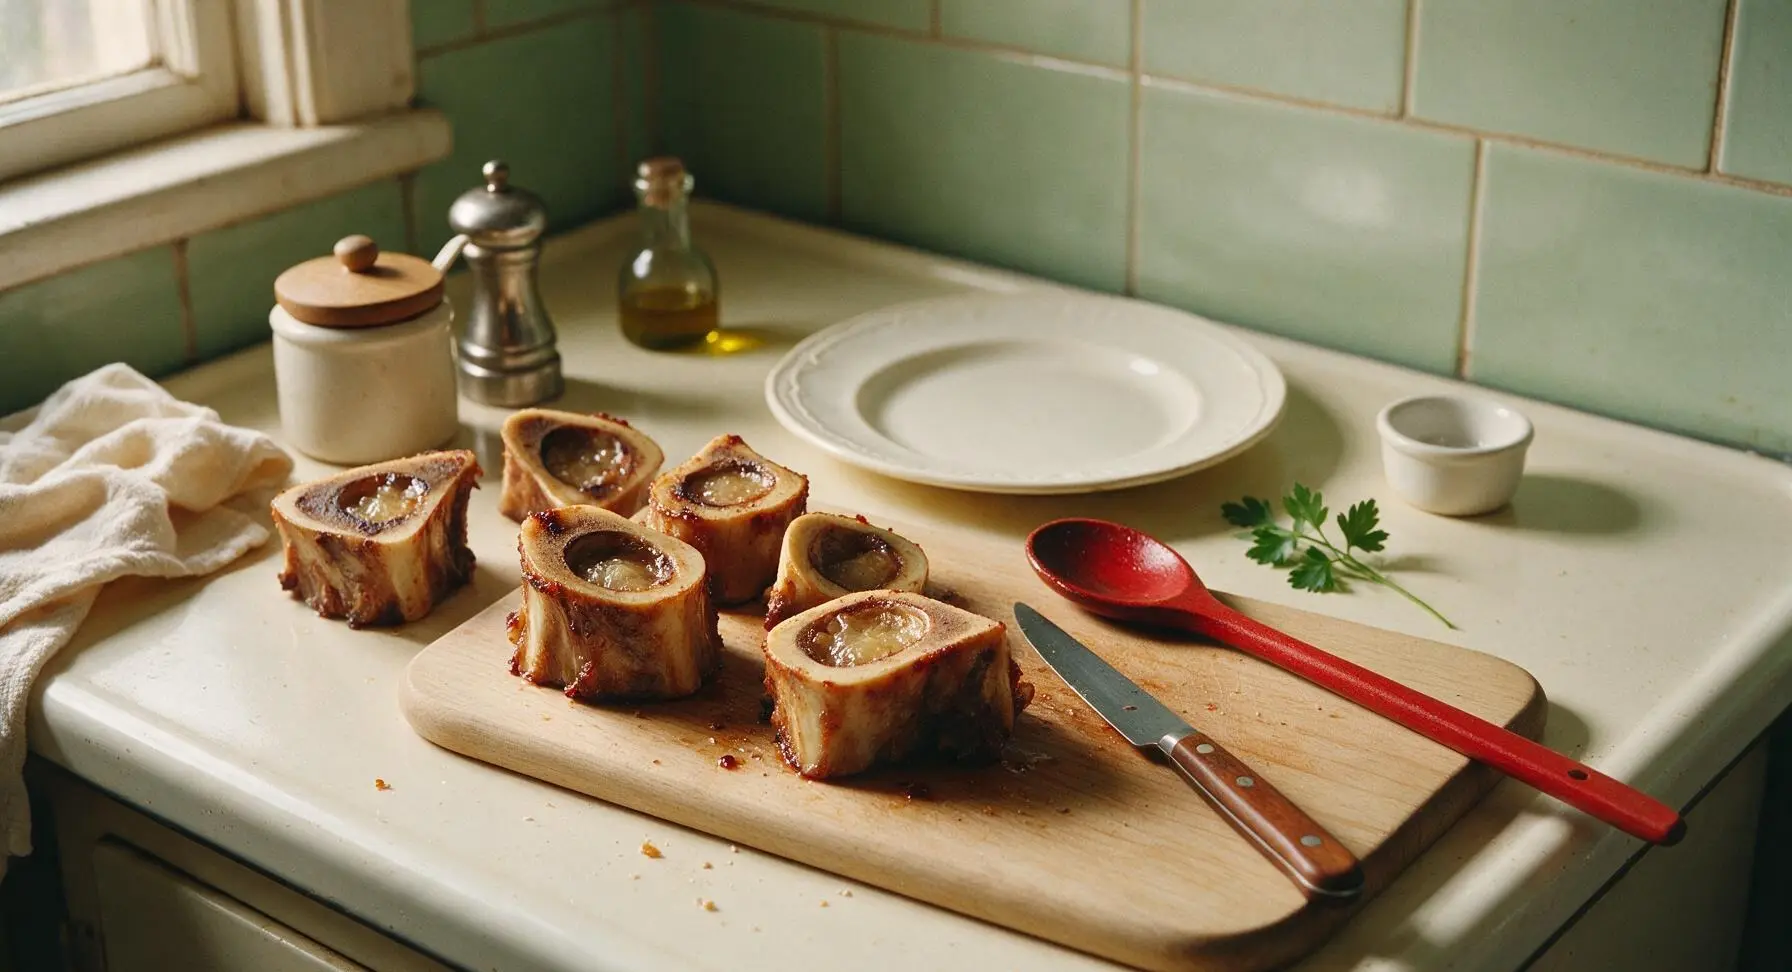
Preheat your oven to 220°C (425°F). Pat the split beef marrow bones completely dry with a paper towel, then arrange them cut-side up on the wire rack insert inside the stainless steel roasting pan. Roast for 20 minutes, until the bone edges are deep golden brown, marrow is soft and slightly bubbly, and a rich, nutty aroma fills the kitchen. Do not let the marrow burn or turn dark brown, as this will make the broth bitter.
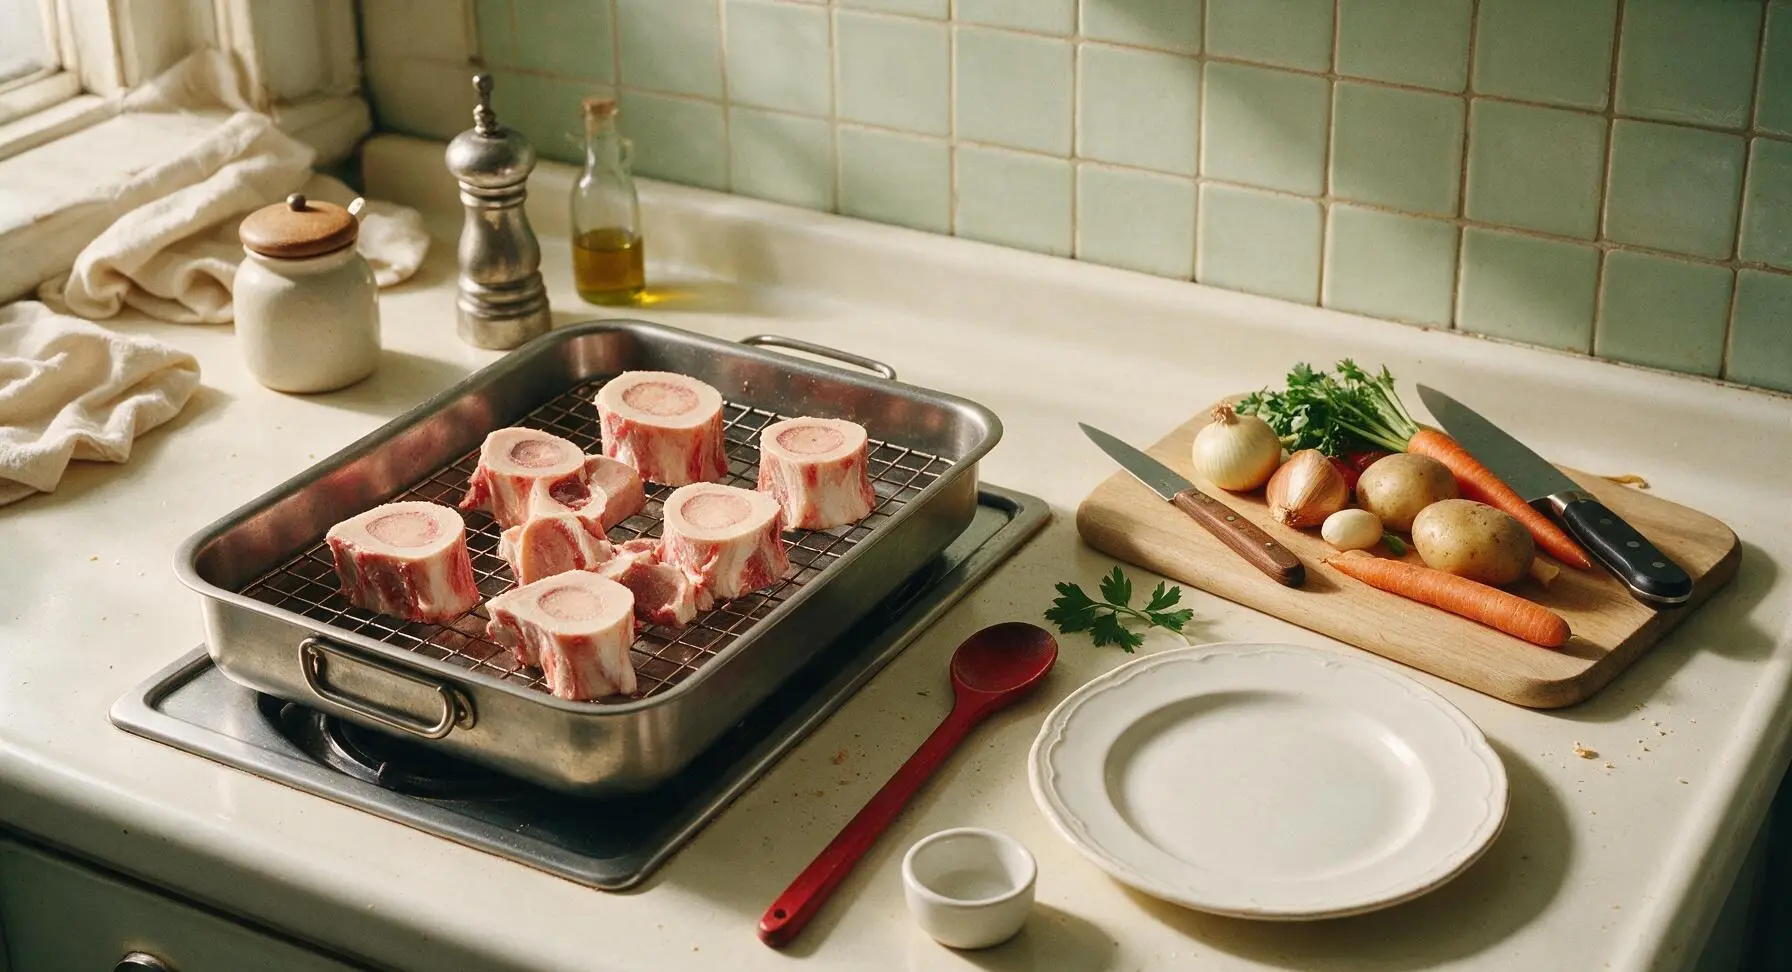
Step 1
step1:Roast the Marrow Bones
Step 1
step1:Roast the Marrow Bones
2

Chop Aromatic Vegetables

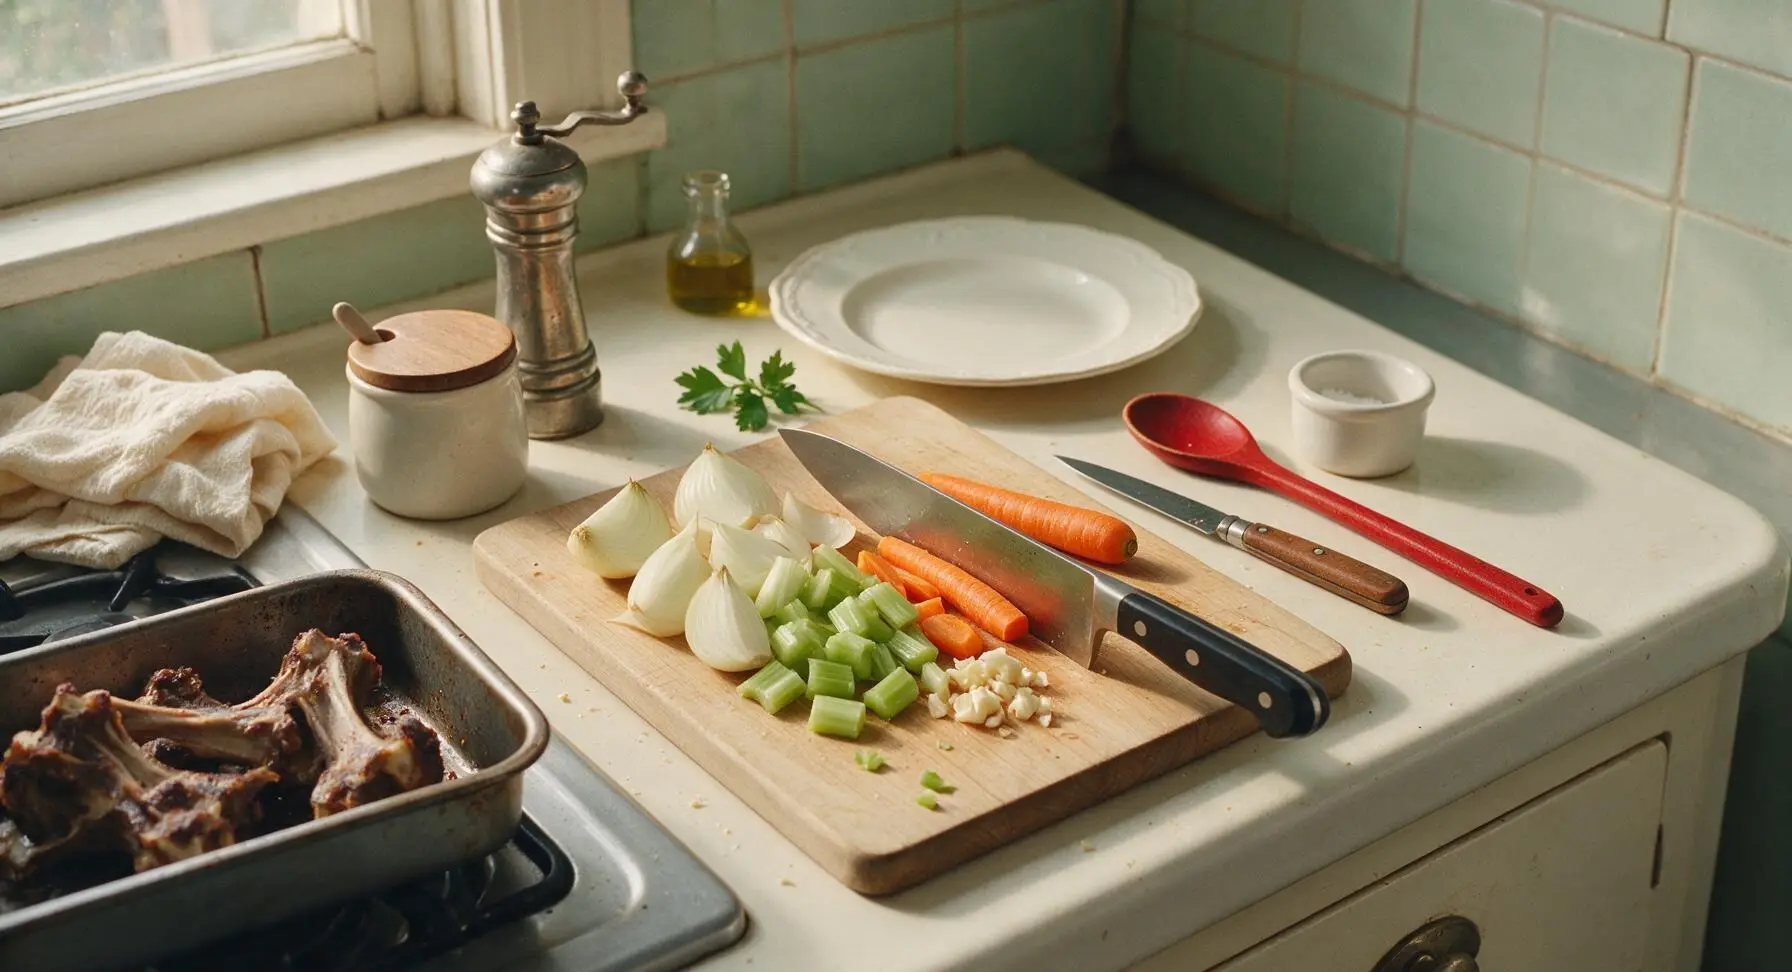
Place the unpeeled yellow onion, whole carrots, and celery stalks on the maple cutting board. Using the chef knife, cut the onion into 4 large wedges, carrots into 7cm (3-inch) chunks, and celery into matching 7cm chunks. Lightly crush the unpeeled garlic cloves with the flat side of the knife; no fine chopping is needed, as large chunks hold up better during long simmering and won’t cloud the broth.
Step 2
step2:Chop Aromatic Vegetables
3

Combine Ingredients In Pot

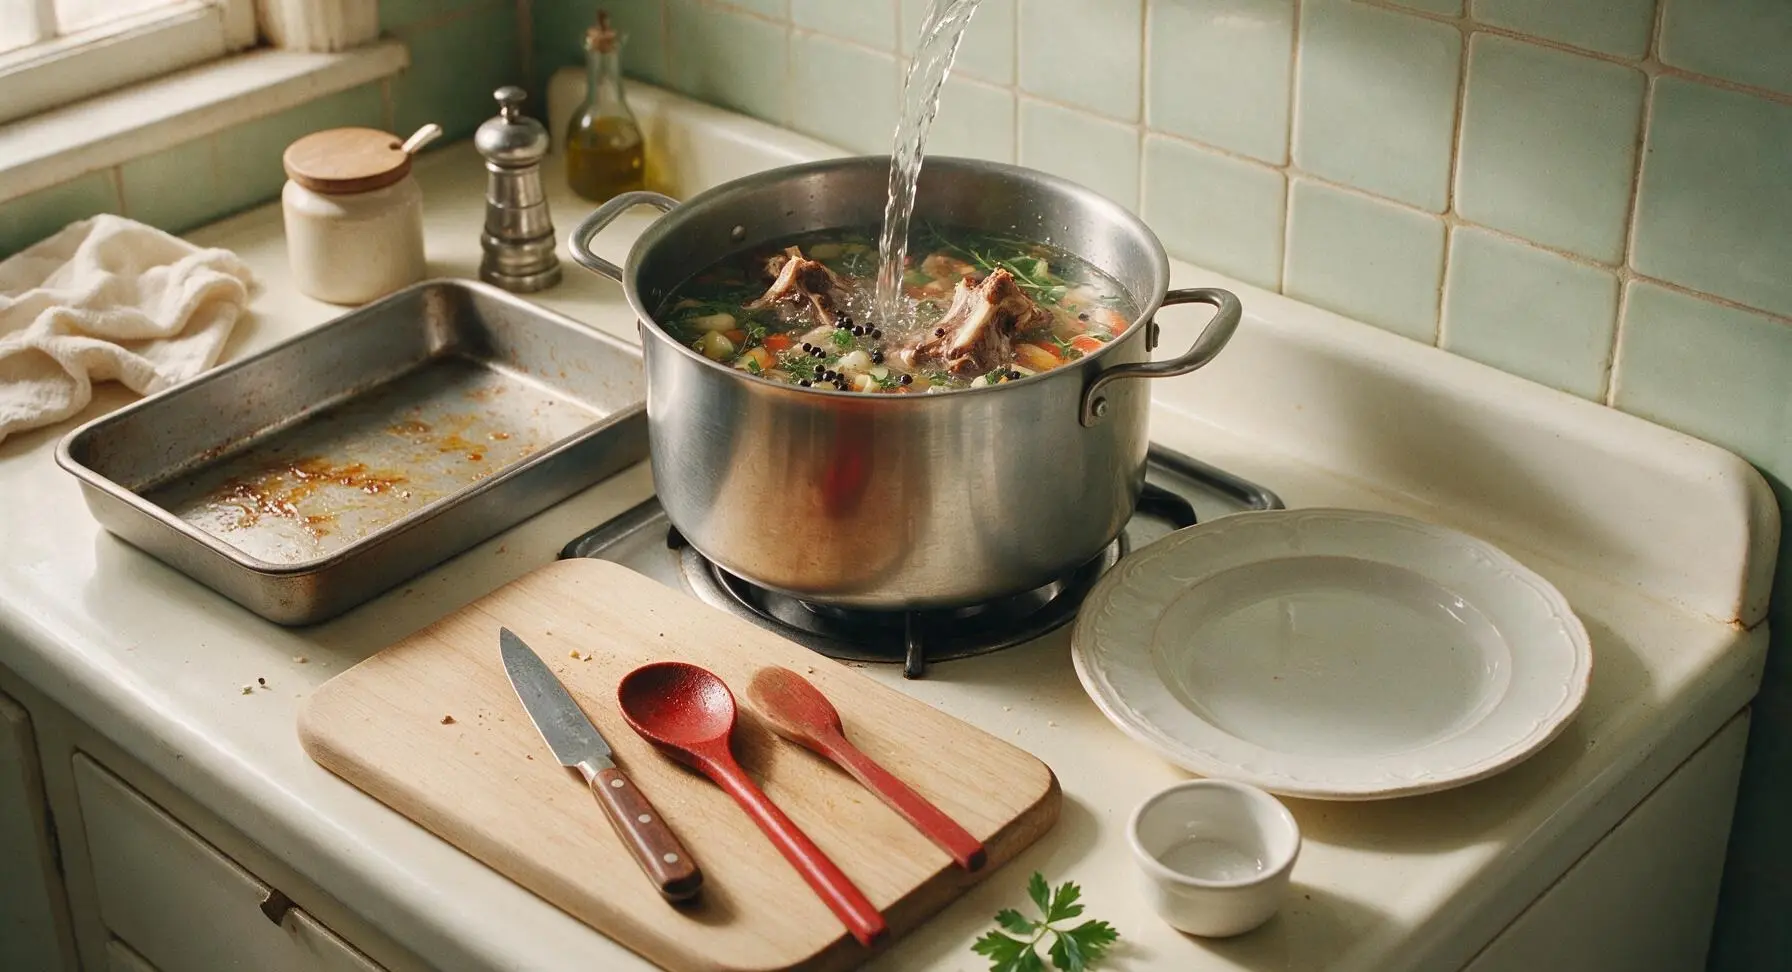
Transfer the roasted marrow bones and all rendered fat and caramelized pan bits from the roasting pan into the 12L stainless steel stock pot. Add the chopped onion, carrots, celery, crushed garlic, thyme sprigs, rosemary sprig, whole black peppercorns, and apple cider vinegar. Pour in 4L of cold filtered water, ensuring all bones are fully submerged by at least 2cm of water; add a splash more cold water if any bones protrude above the surface.
Step 3
step3:Combine Ingredients In Pot
4

Bring to Gentle Simmer

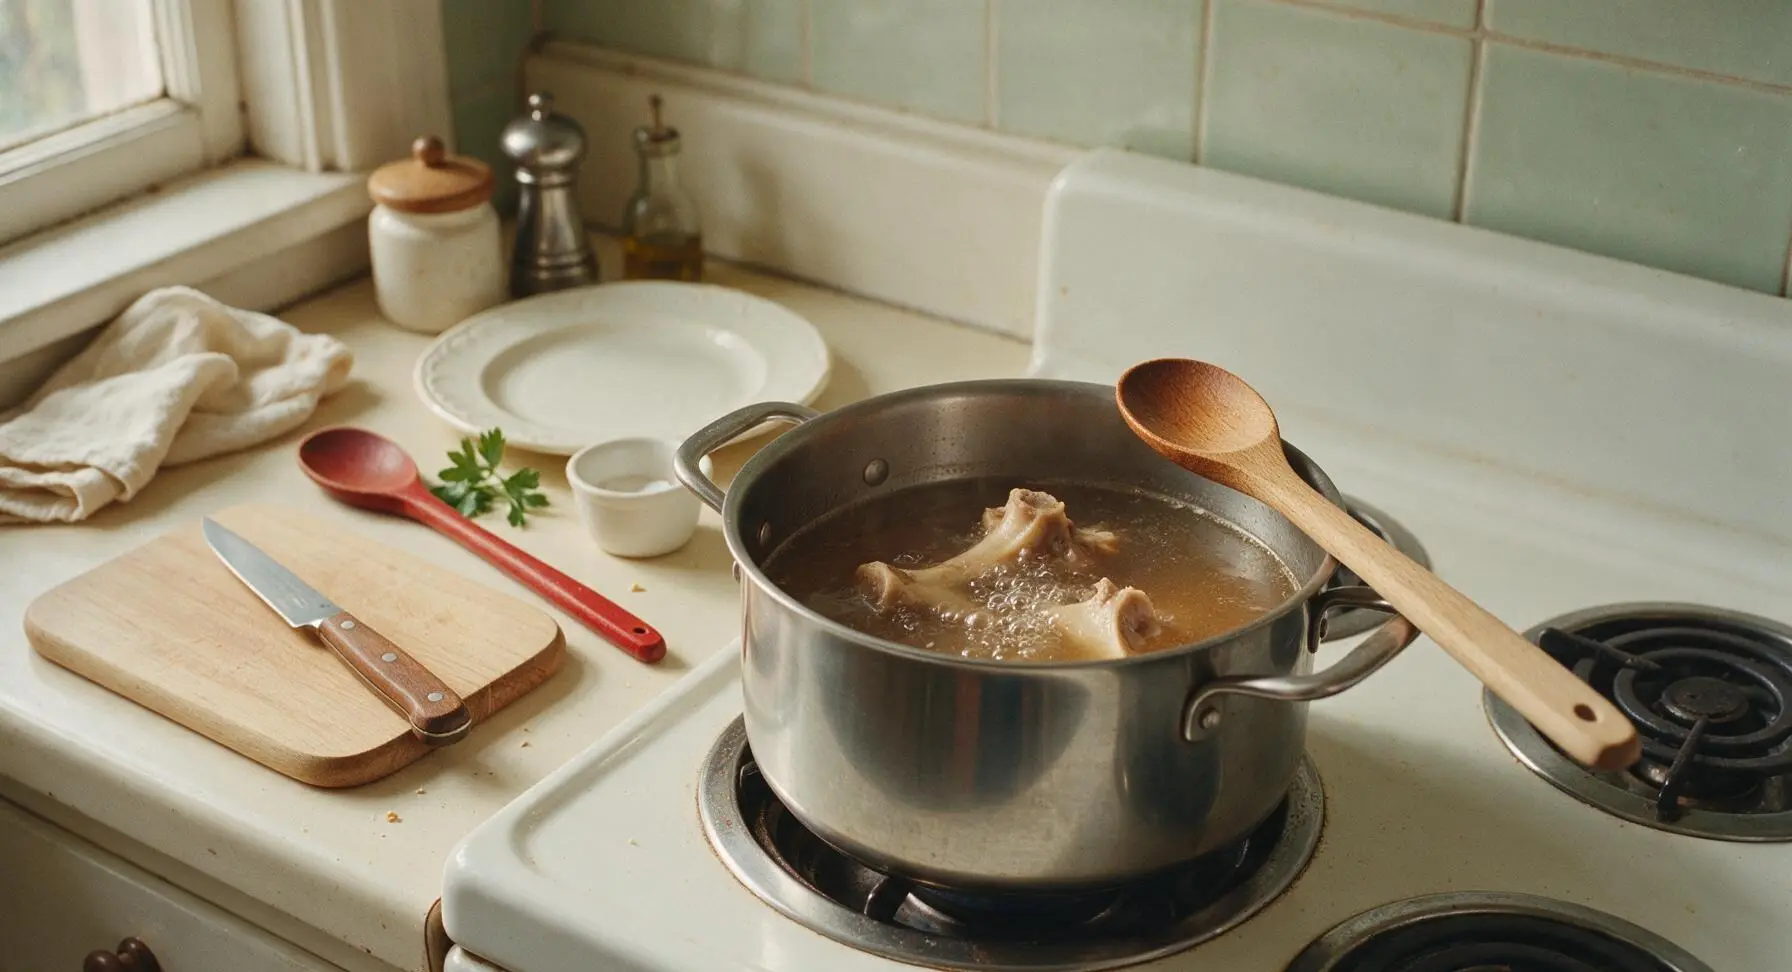
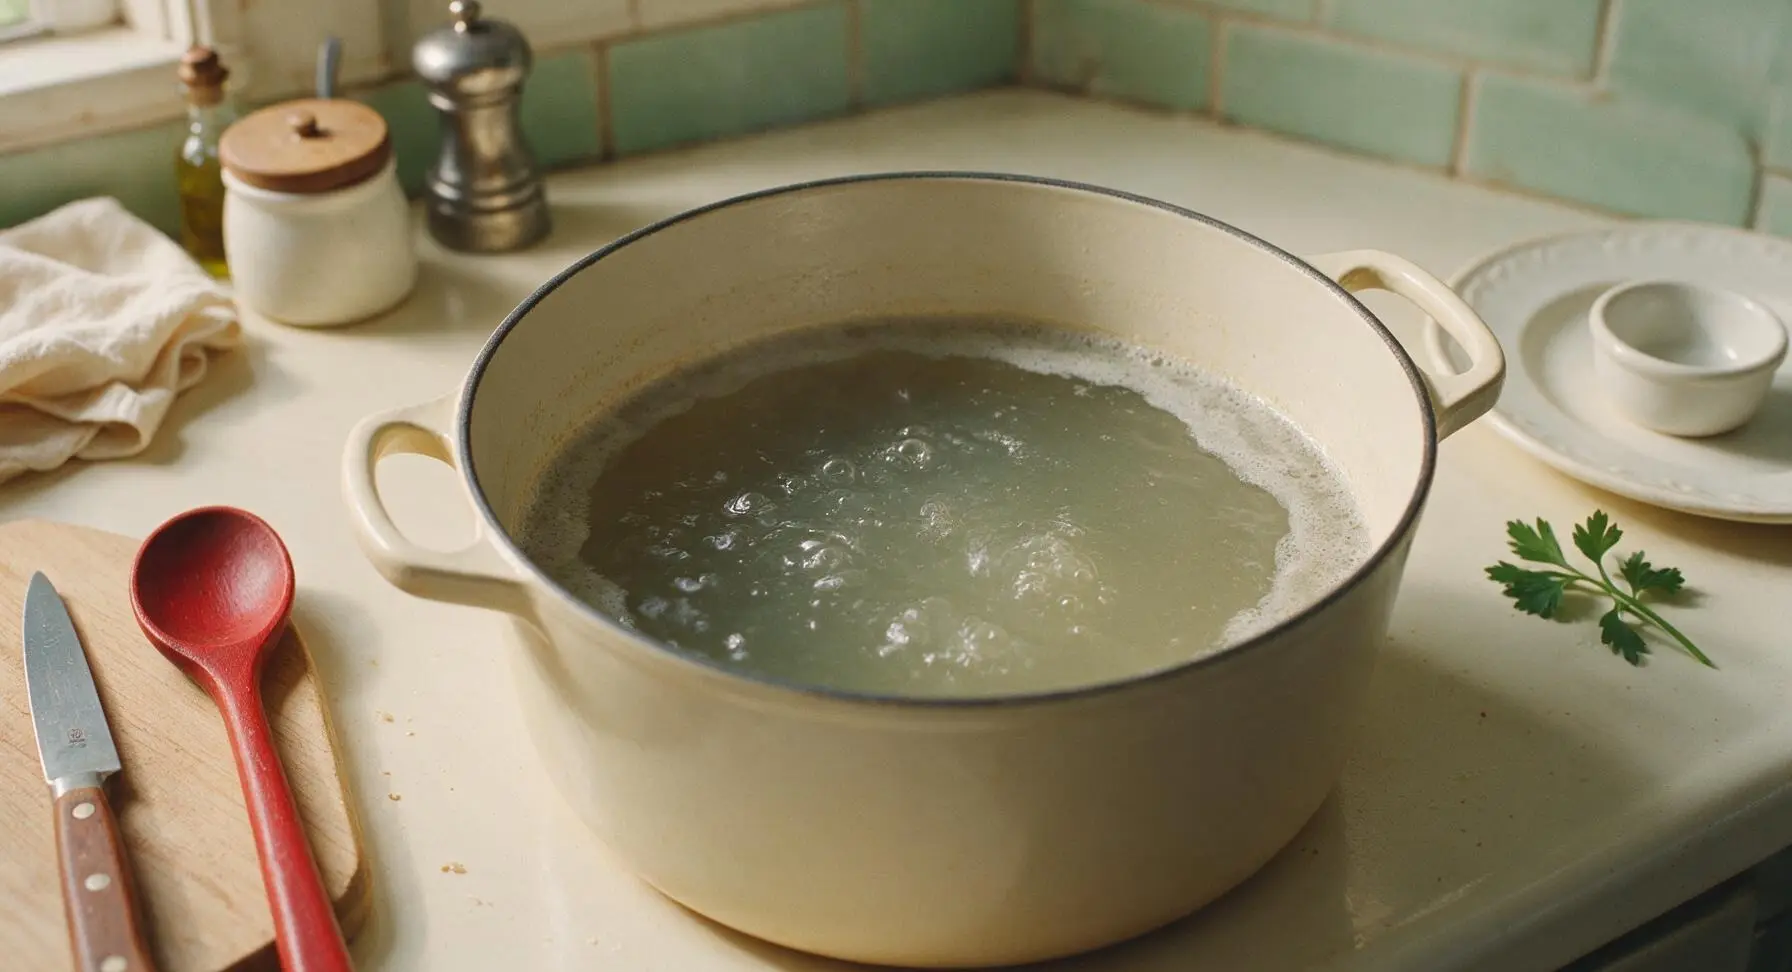
Place the stock pot over medium-high heat, uncovered, until the water just reaches a gentle simmer (small bubbles breaking slowly at the surface, around 90°C / 195°F). Do NOT let the broth come to a rolling boil, as this will emulsify fat and bone sediment, making the broth cloudy and greasy. As soon as the first steady gentle bubbles appear, reduce heat to the lowest stovetop setting to maintain the slow simmer temperature.
Step 4
step4:Bring to Gentle Simmer
Step 4
step4:Bring to Gentle Simmer
5

Skim and Simmer Slowly

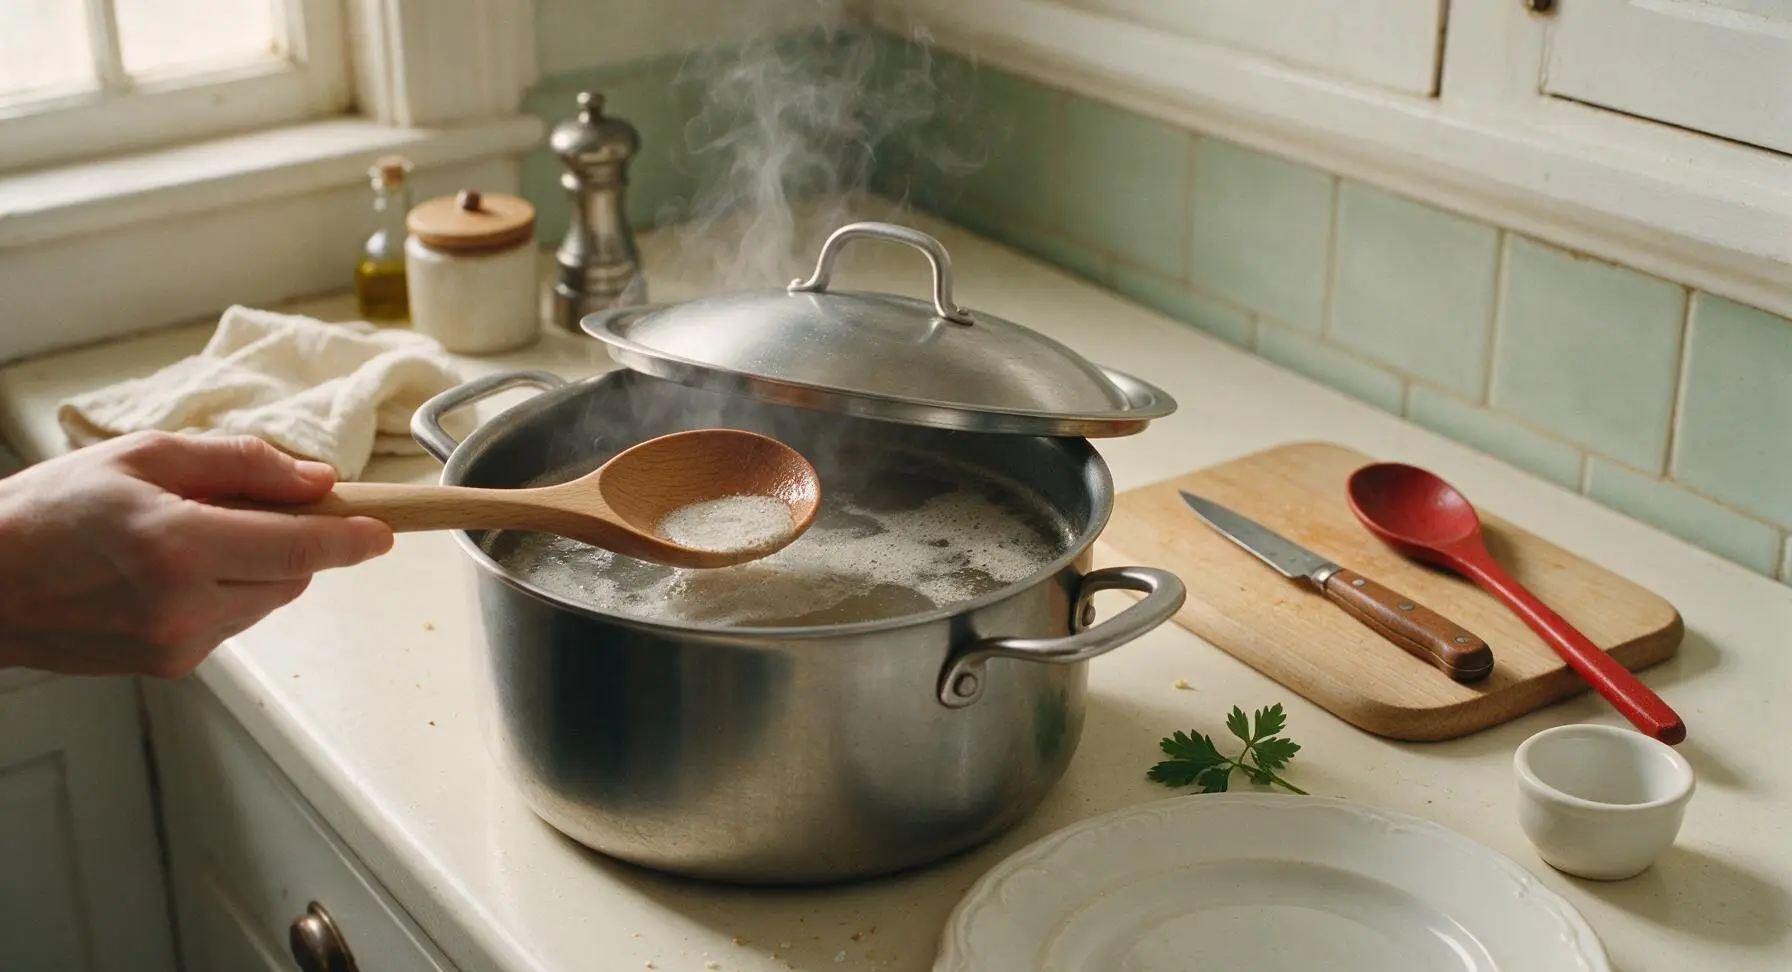
Use the beech wood skimming spoon to gently lift and discard any gray foam or impurities that rise to the surface of the broth during the first 30 minutes of simmering. Once foam stops rising to the surface, partially cover the pot with its lid, leaving a 2cm gap to allow steam to escape and prevent the broth from reaching a boil. Maintain the low heat to keep a gentle simmer for 12 hours, checking the pot every 2 hours to ensure the bubble rate stays slow, adding a small splash of cold water if the liquid level drops below the top of the bones.
Step 5
step5:Skim and Simmer Slowly
6

Strain the Finished Broth

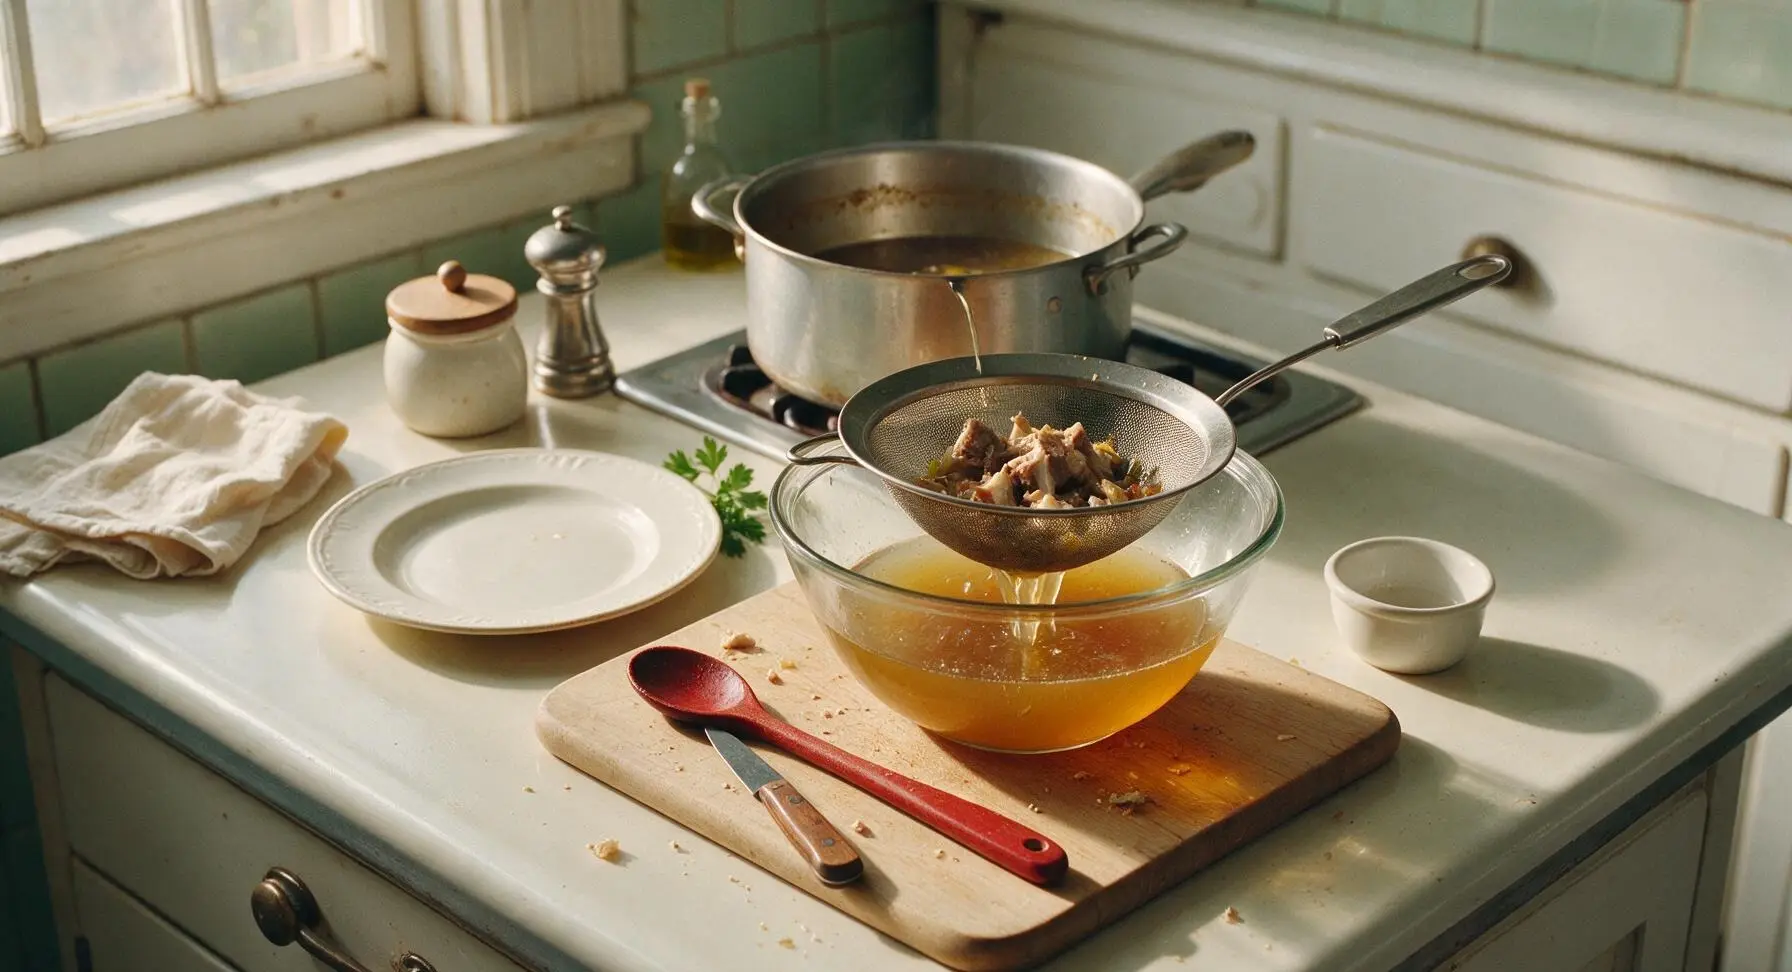
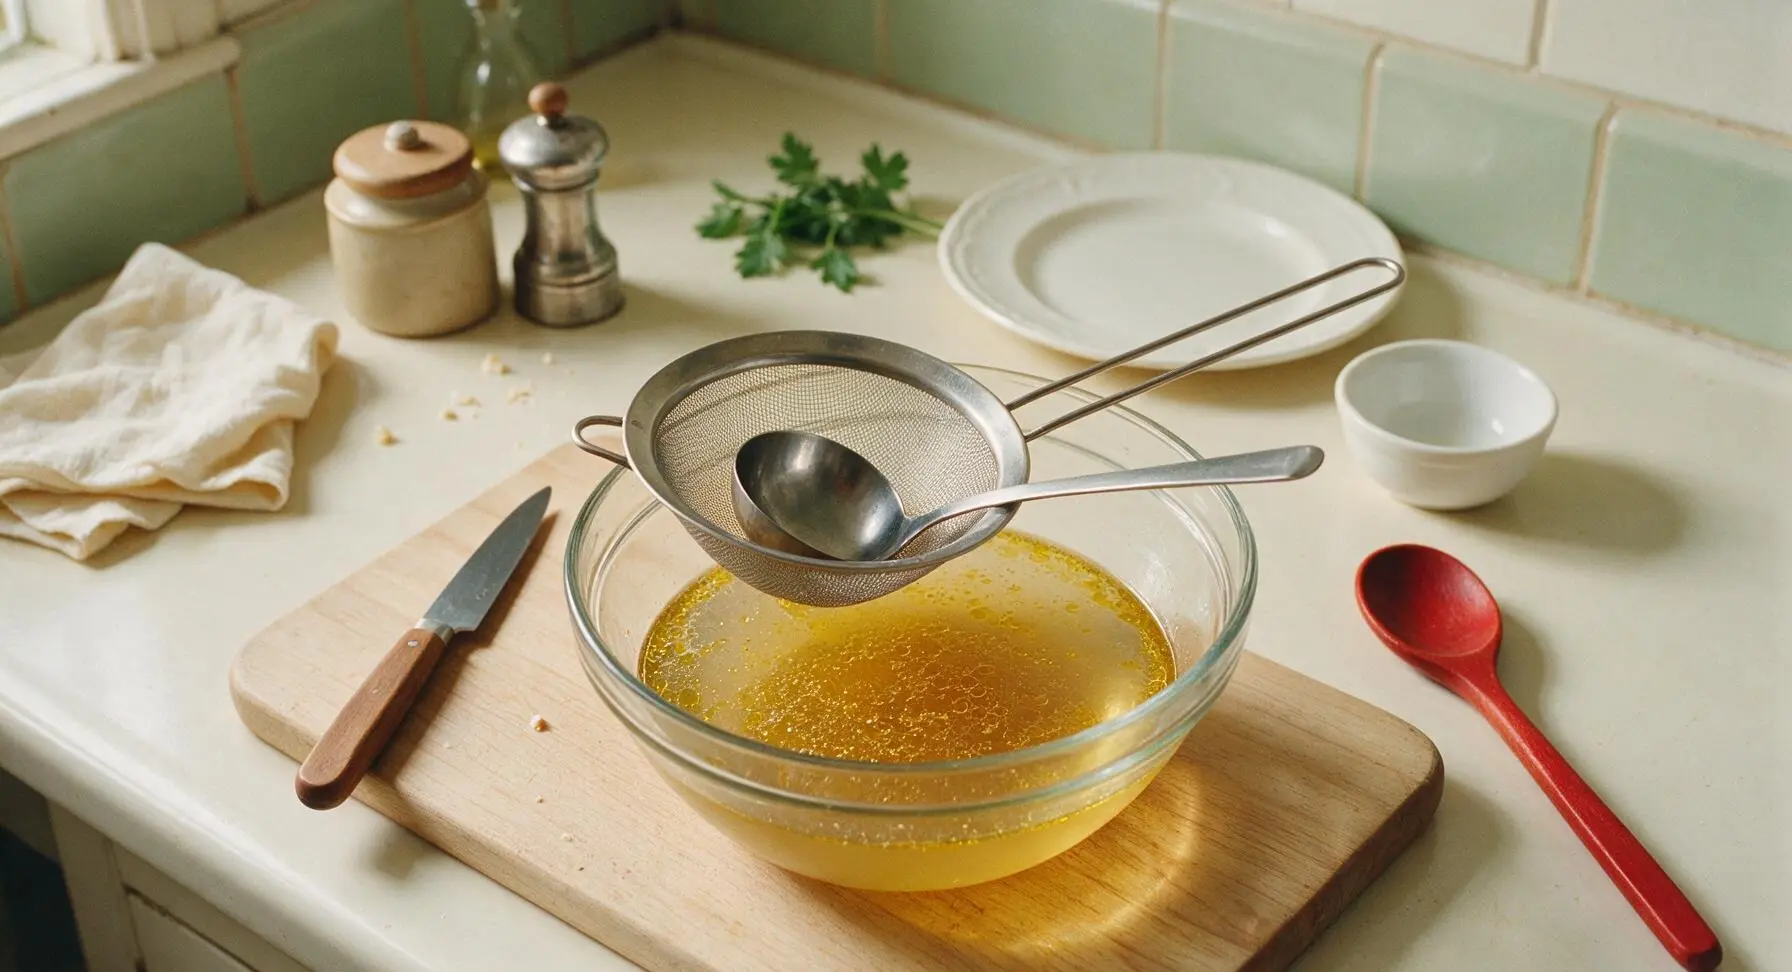
After 12 hours of slow simmering, turn off the heat. Let the broth rest and cool for 10 minutes, then place the fine-mesh stainless steel conical strainer over a large heatproof glass bowl set on the maple cutting board. Carefully ladle the broth through the strainer to remove all bones, vegetables, and herbs, pressing gently on the solids with the back of the skimming spoon to extract all flavorful liquid. Do not press hard enough to push cloudy sediment through the strainer, as this will make the broth murky. Spent solids can be discarded, or soft marrow can be scooped from the bones to stir back into the broth if desired.
Step 6
step6:Strain the Finished Broth
Step 6
step6:Strain the Finished Broth
7

Season and Serve Broth

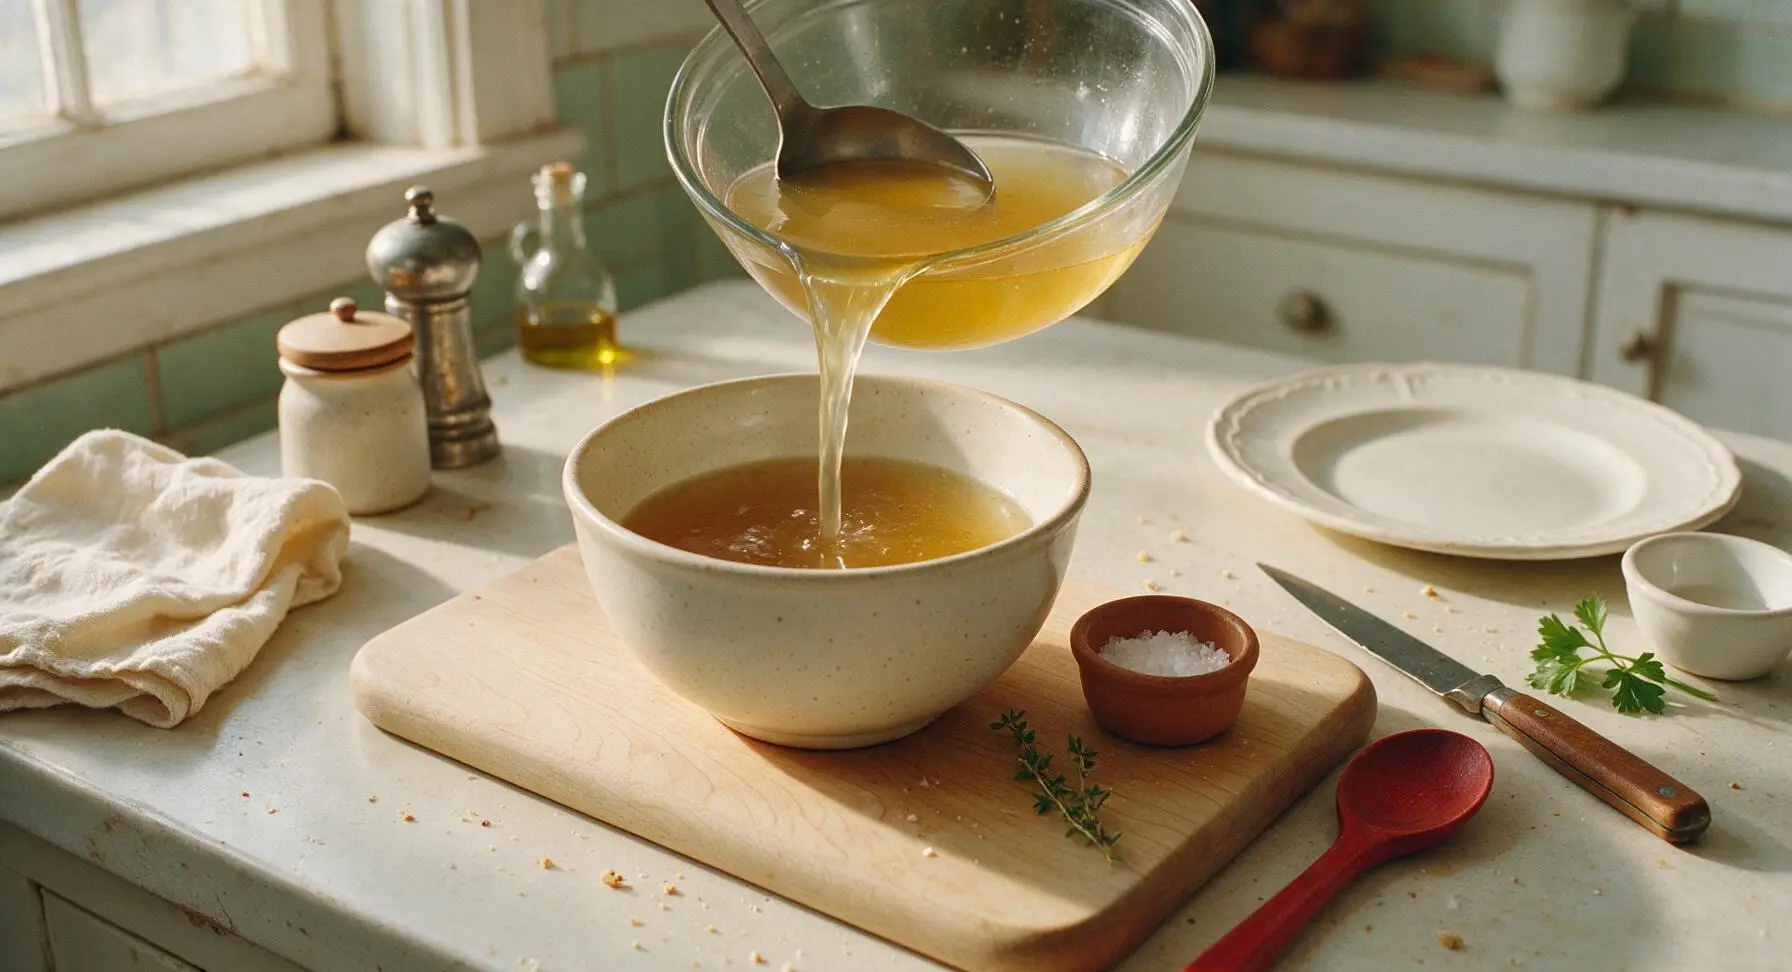
Season the strained broth to taste with coarse kosher salt, stirring gently to dissolve the salt fully. Ladle the hot broth into the cream speckled ceramic soup bowl, placing one reserved roasted marrow bone across the bowl rim for serving if desired. Garnish with a small sprig of fresh thyme and a light pinch of flaky sea salt. Serve immediately while piping hot.
Step 7
step7:Season and Serve Broth

Tips

1.Never let the broth reach a rolling boil: Violent boiling agitates fat and fine bone sediment, creating a cloudy, greasy broth instead of the clear, velvety texture that defines a great marrow broth. Maintain heat low enough that only 2-3 small bubbles break the surface per second.
2.Don’t skip roasting the bones: The Maillard browning that develops on bone surfaces and caramelized marrow during roasting creates deep, nutty umami flavor that raw bones cannot produce, even after 12 hours of simmering. Skipping this step will result in flat, watery-tasting broth.
3.Add salt only at the end of cooking: As the broth simmers, water evaporates and concentrates all flavors, so adding salt early can easily lead to an over-salted final broth. Taste and adjust salt gradually after straining for perfectly balanced, well-seasoned broth.
✨ You May Also Like

Soups & Stews
🍜 Japan

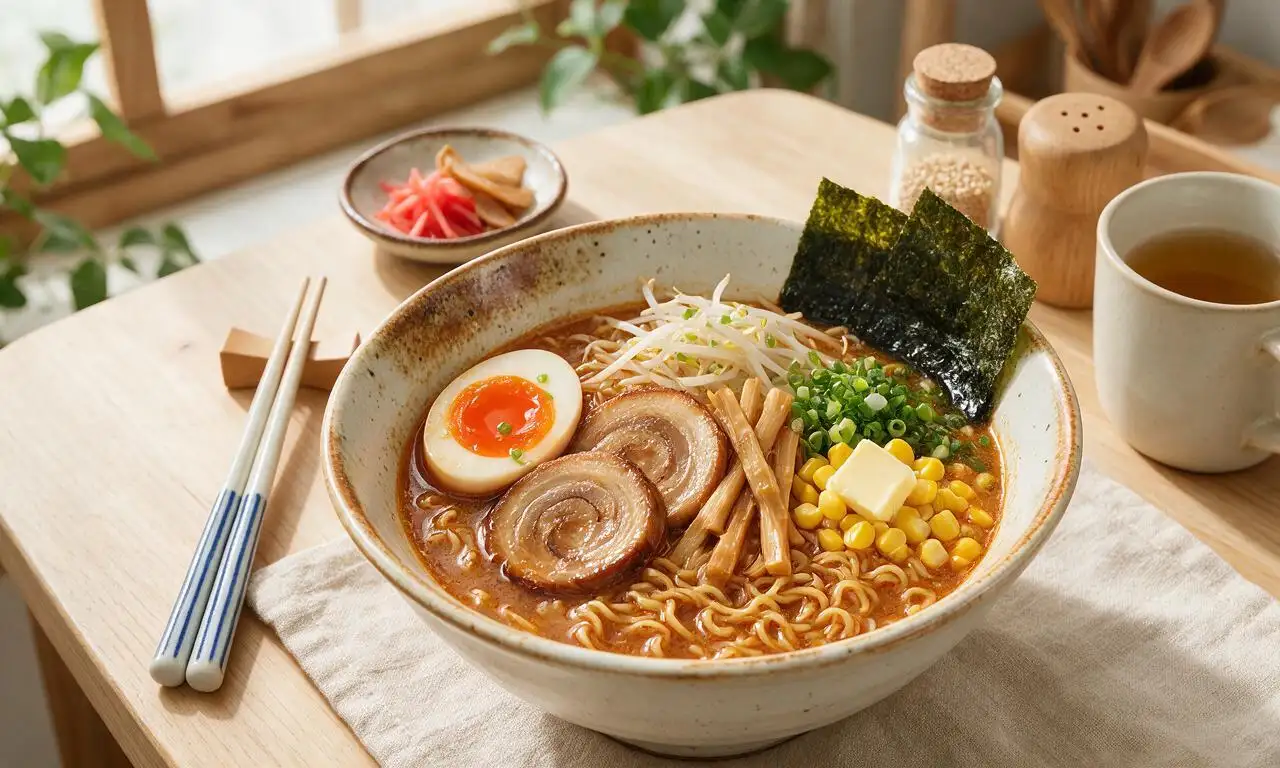
Rich, umami-dense Hokkaido-style miso ramen with chewy noodles, savory fermented broth, and classic toppings, a cozy, deeply satisfying warm meal.

⏱️ 45 minuteSoups & Stews ★ 4.5
Soups & Stews
🍜 United States

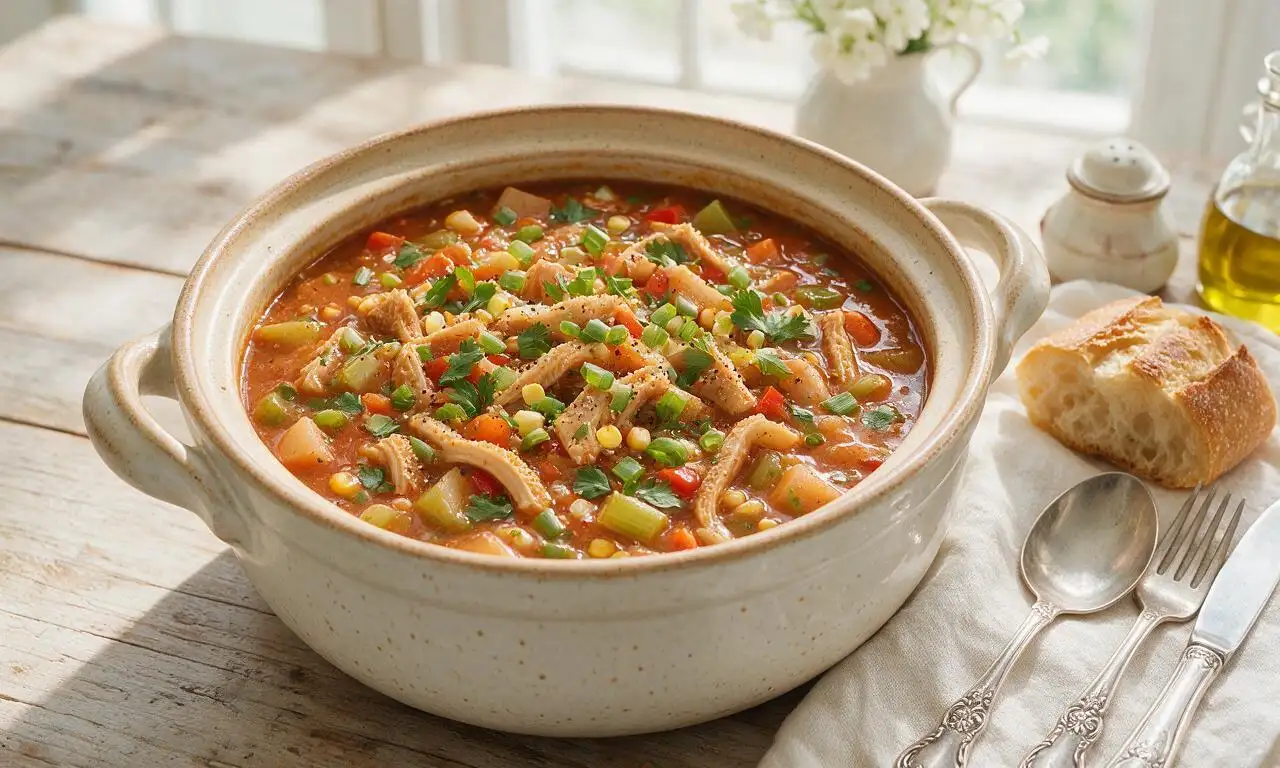
A hearty, peppery tripe and root vegetable stew with colonial Philadelphia roots, thick, warming, and packed with bold savory flavor for cold winter days.

⏱️ 2 hours 3Soups & Stews ★ 4.6
Soups & Stews
🍜 Mexico

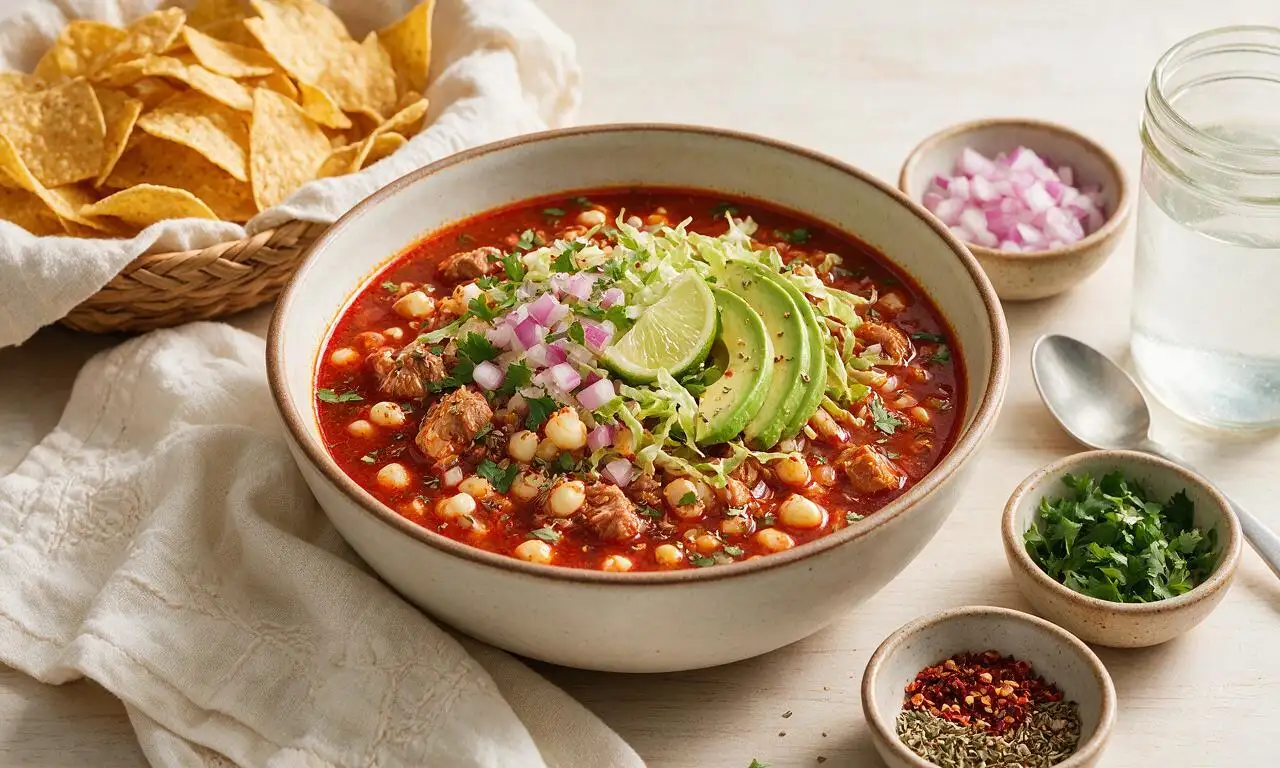
Hearty, warming red pork posole loaded with tender hominy, slow-simmered in a rich smoky chile broth, served with zesty fresh garnishes for a deeply comforting, satisfying meal.

⏱️ 2 hours 3Soups & Stews ★ 4.7
Soups & Stews
🍜 United States

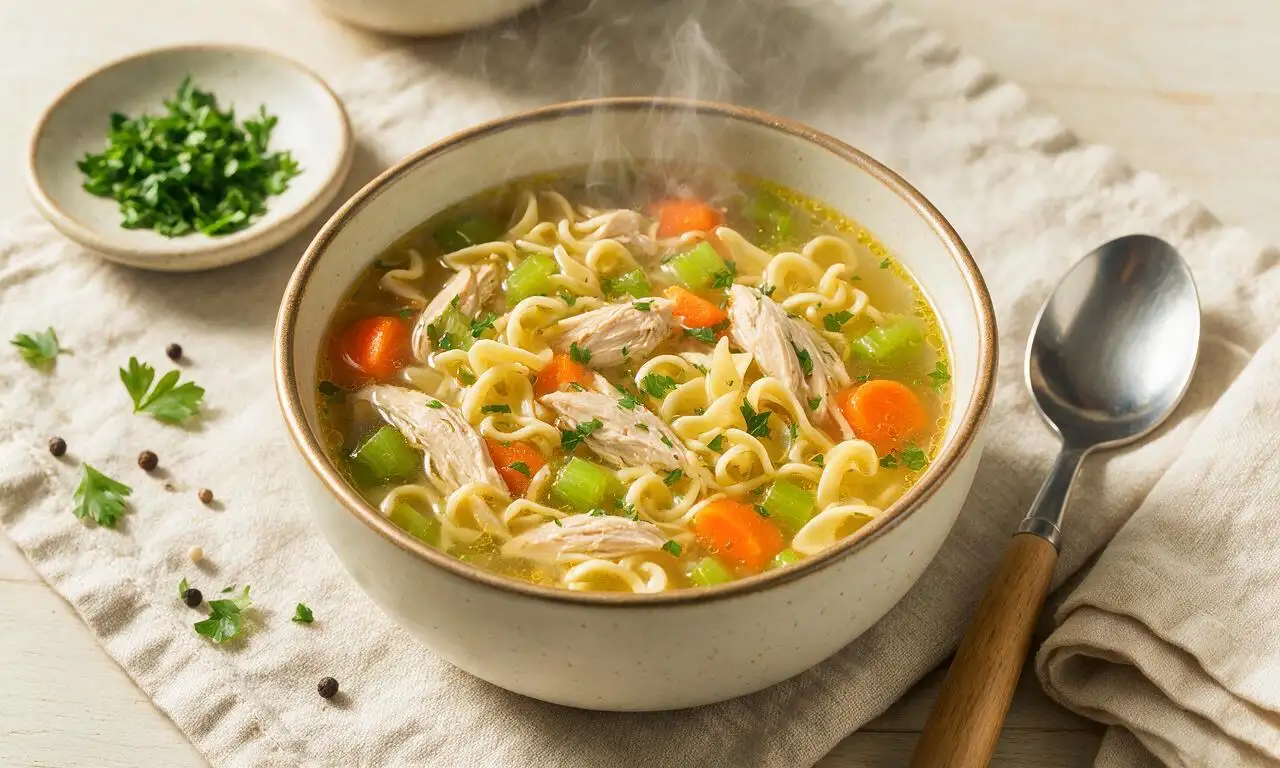
Warm, soothing classic chicken noodle soup loaded with tender chicken, soft egg noodles, and savory veggies, perfect for chasing chills and feeding the whole family.

⏱️ 40 minuteSoups & Stews ★ 4.9
Soups & Stews
🍜 France

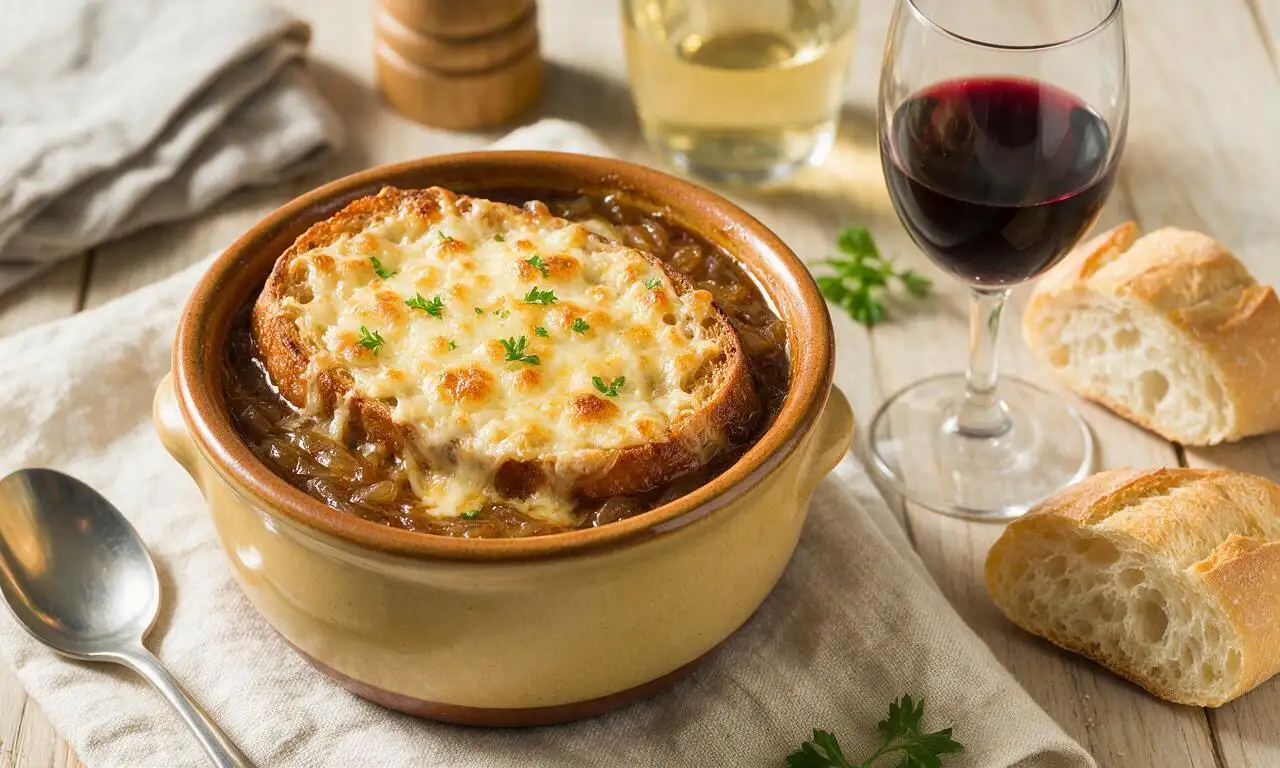
Deeply savory caramelized onion broth topped with crusty bread and bubbly melted Gruyère, a timeless French bistro comfort food ideal for cold days.

⏱️ 1 hour 25Soups & Stews ★ 4.8
Soups & Stews
🍜 United States

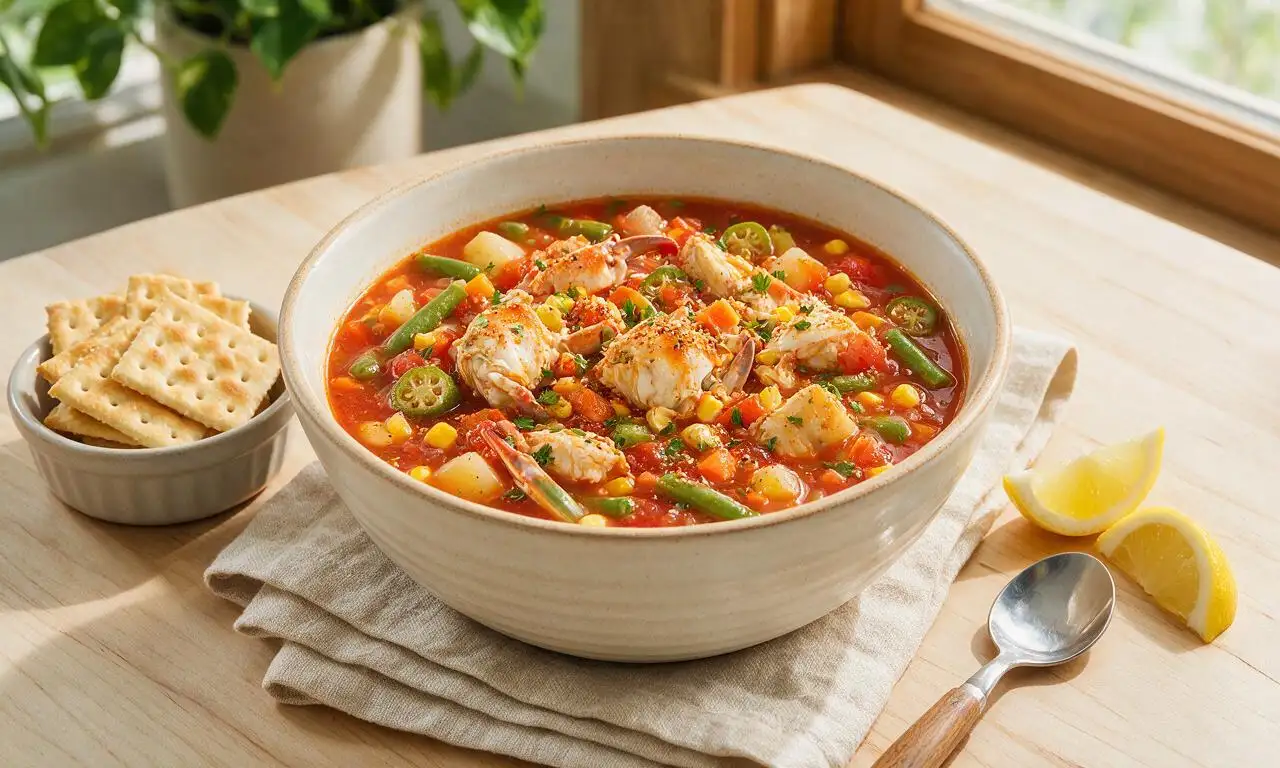
Hearty, briny Maryland crab soup loaded with sweet blue crab, tender summer vegetables, and zesty Old Bay, a beloved Chesapeake Bay coastal comfort staple.

⏱️ 55 minuteSoups & Stews ★ 4.9

bone marrow broth:Frequently Asked Questions

1.How long should I simmer this bone marrow broth for the best texture and flavor? ▾
Plan for 12 to 16 hours on the absolute lowest gentle simmer—skip rolling boils, which make broth cloudy and overly greasy. That slow, steady heat pulls out all the nutty marrow, silky collagen, and warm aromatic notes. Skim any gray foam that rises in the first hour for a clean, smooth finish.
2.Why does the recipe call for unpeeled yellow onion and unpeeled garlic? ▾
The papery outer skins of onion and garlic add a deep, golden amber color and subtle, earthy, roasted sweetness to the broth that peeled alliums can’t match. Just give them a quick rinse under cool water to remove surface dirt before adding—no peeling required, which also cuts down on prep time.
3.Can I roast the bones first before simmering for deeper flavor? ▾
Absolutely—roast the split 5cm thick marrow bones at 425°F for 25 to 30 minutes, until edges are deeply golden and marrow is soft, to add rich, nutty, caramelized depth that makes the broth feel extra luxurious. You can also roast the halved onion cut-side down on the same tray for extra sweetness.
4.What’s the best way to store finished bone marrow broth? ▾
Let the broth cool completely first (don’t leave it out at room temperature for more than 2 hours for food safety), then transfer to airtight glass containers. It keeps for up to 5 days in the fridge, where a solid fat cap will form to seal in freshness, or up to 6 months in the freezer.
5.Do I need to blanch the bones before simmering to get a clear broth? ▾
Blanching is optional but recommended for an ultra-clear, non-bitter broth. Just cover the bones in cold water, bring to a quick 10-minute boil, drain, and rinse off any stuck gray foam before adding fresh water and aromatics to simmer. It also cuts down on skimming work early in the process.
6.Why does the recipe specify 5cm thick, lengthwise-split marrow bones? ▾
That thickness and split cut strikes the perfect balance: it exposes enough soft marrow to melt fully into the broth for that signature velvety texture, but keeps bone structure intact to release collagen slowly over the simmer, rather than leaching harsh mineral notes from overexposed porous bone.
7.Can I add extra herbs or spices to the broth without ruining its flavor? ▾
Stick to mild, warm aromatics to complement the nutty marrow and base of carrot, celery, onion, and garlic: a few sprigs of fresh thyme, one bay leaf, 2 to 3 whole black peppercorns, or a small strip of lemon zest work beautifully. Avoid strong, pungent add-ins like lots of chili, cumin, or piney rosemary, which will overpower the delicate umami.
8.How do I know when the broth is done simmering? ▾
You’ll know it’s ready when the marrow has fully melted out of the bones into the liquid, the broth feels silky and slightly thick when you rub a cooled drop between your fingers, and the onion, carrots, celery, and garlic are completely soft and pale, having given all their flavor to the liquid. Strain out all solids right at that point.
9.What’s the difference between this marrow broth and regular beef bone broth? ▾
Regular beef bone broth often uses a mix of knuckle, joint, and meaty bones for a lighter, more savory base, while this version prioritizes split marrow bones for a far richer, velvety, nutty umami profile. It’s luxurious enough to sip straight, rather than only working as a generic soup base.
10.Should I leave the fat in the finished broth or skim it off? ▾
That’s totally up to your preference! If you’re sipping it straight, you may want to skim a small amount of excess fat for a smoother, less greasy mouthfeel, but leave a little in for that signature rich flavor. If using it for stews or soups, keep the fat—it adds incredible depth and body.
11.Can I make this broth in a slow cooker or Instant Pot instead of on the stovetop? ▾
Definitely. For a standard slow cooker, cook on the LOW setting for 12 to 16 hours, same as stovetop. For an Instant Pot, use the slow cook function for the same time, or pressure cook on HIGH for 2 hours for a faster version, though the long slow simmer yields a slightly deeper, nuttier flavor.
12.Why do the carrots only need to be scrubbed, not peeled? ▾
Like the onion and garlic skins, carrot peels hold earthy, sweet flavor and subtle brightness that adds depth to the broth, so peeling them wastes that great flavor. A firm scrub under cool running water with a vegetable brush is all you need to remove trapped dirt or rough outer bits before adding them to the pot.
13.My broth turned out watery and thin—what did I do wrong? ▾
The most common culprits are simmering for too little time (so collagen and marrow didn’t fully render), using too much water relative to the number of bones, or keeping heat too high so liquid evaporated too fast without extracting silky goodness. Aim for a 4:1 water to bones ratio, and hold that low steady simmer for the full cook time.
14.Is this broth suitable to use as a base for other soups and stews? ▾
Absolutely! It makes an incredibly luxurious base for French onion soup, beef stew, ramen, or risotto, adding a rich, nutty umami kick that regular store-bought broth can’t match. Just note it has a deeper, richer flavor than standard beef broth, so dilute it slightly with water for lighter soup recipes.
15.Can I reuse the bones after simmering to make a second batch of broth? ▾
You can, but the second batch will be much lighter, with less nutty marrow flavor and lower collagen content, since most of the desirable compounds render out in the first long simmer. If you do a second batch, simmer 8 to 10 hours with fresh aromatics, and mix it with the first batch for lighter everyday sipping broth.

Comments (16)

2 days ago

OMG y’all, this bone broth is a total game changer!!! I simmered it exactly 12 hours like the recipe said, my whole house smelled like cozy soup heaven all Sunday. I’ve been sipping a mug every morning this week instead of coffee and my joints feel so much less creaky. 10/10 would make again for my weekly meal prep!

yesterday

Wait do you add any extra veggies or stick exactly to the recipe? I’m nervous about overpowering the marrow flavor!

2 hours ago

Hi Sarah! The recipe is designed to let the rich marrow shine, but you can absolutely toss in a handful of extra parsley or a pinch of turmeric if you want without throwing off the flavor balance!

3 days ago

Followed this to a T for a post-workout sipping broth and it’s SO good. Only reason I’m not giving 5 stars is I wish there was a note about skimming the scum off the top every couple hours? My first batch had a little weird bitter edge because I forgot to do that until hour 8.

2 days ago

Thanks so much for the feedback, Jake! We just added a quick tip about skimming the surface every 2-3 hours during the simmer to keep the broth smooth and bright, great catch!

1 week ago

Made this for when my youngest had a cold last week, he asked for seconds instead of his usual chicken noodle! The rich flavor didn’t need any extra salt even for my picky eaters. Already froze half the batch for cold and flu season this winter.

5 days ago

Wait how much does this usually cost to make? Marrow bones are kinda pricy at my grocery store, wondering if it’s cheaper than buying the pre-made broth from the freezer section.

3 days ago

I hit up my local butcher and got grass-fed marrow bones for 40% off if I bought a 5lb bag! Ended up being way cheaper per ounce than the fancy store-bought stuff, and tastes 100x better.

1 week ago

Total game changer for my post-long run recovery! I add a splash of coconut aminos and a pinch of red pepper flakes to my mug for a little kick. Have any of you tried using this as a base for ramen? I’m thinking of making a big batch for my Friendsgiving potluck appetizer shot station.

5 days ago

I used this for miso ramen last week and it was INSANE. The marrow depth makes the broth taste like it’s from a fancy ramen shop, no joke.

3 days ago

Broth shots for Friendsgiving??? Stealing that idea immediately, I bet people go crazy for them.

2 weeks ago

I’ve been making bone broth for 40 years and this recipe is just as good as my old hand-me-down version! The low simmer temp tip kept the broth clear and golden instead of cloudy like it gets when I crank the heat too high. Shared a jar with my next door neighbor and she asked for the recipe before she even finished her first sip.

30 minutes ago

Help! I’ve never made bone broth before, I was so excited for this but I turned my slow cooker on high instead of low before I went to bed and it only simmered 6 hours before I woke up. Is it ruined? Do I need to start over?

5 minutes ago

Hi Nate, no need to toss it! If it was at a higher simmer for 6 hours, you can top it off with a little extra filtered water, turn it to low, and let it go for another 4-6 hours to pull all the good stuff from the bones. It’ll still turn out delicious!

yesterday

I have chronic joint pain and I’ve been drinking store bought bone broth for months, but homemade hits so different. This recipe is so rich, I don’t even have to add anything to it. Only heads up is it does take forever, so clear your schedule! Worth every minute though.

2 hours ago

So glad this is working for you! We love making a big batch once a month and freezing it in 1-cup portions so we don’t have to tend to the stove every week.

30 minutes ago

Same! The portion freezing hack is a lifesaver for days when my pain is too bad to stand over the stove for long. I pop a frozen cube out, heat it up, and I’m good to go.

1 week ago

Used this broth to braise short ribs last weekend and my entire family raved about it at Sunday dinner. The marrow gives the braising liquid such a deep, meaty flavor that regular beef broth just can’t match. Will definitely be keeping a stash in my freezer from now on.

2 weeks ago

Wait, is there a way to make this without animal products? I know it’s bone marrow broth, just wondering if anyone has tried swapping in mushroom broth and roasted root veggies to get that same umami depth?

1 week ago

I did a mix of roasted portobello, shiitake, and parsnips simmered for 6 hours with a little miso and it was pretty close! Definitely not the same as the marrow version, but hits that savory, cozy note if you don’t eat meat.

5 days ago

SO good for keto! Zero weird additives, super high in healthy fats, keeps me full for hours when I have a mug for breakfast. I add a little dollop of butter and some garlic powder and it tastes like a fancy restaurant appetizer. Obsessed.

2 hours ago

I followed the recipe exactly but my broth came out super greasy? Did I do something wrong? I used beef marrow bones from the grocery store, roasted them first like the directions said, simmered on low for 12 hours… help!

30 minutes ago

Hi Mia! It sounds like you didn’t chill the broth after simmering! If you pop the whole pot in the fridge overnight, the fat will solidify in a thick layer on top that you can scoop off easily before reheating, leaving you with a smooth, non-greasy broth.

3 days ago

This is my new Sunday meal prep staple! 12 hours is a long cook time but it’s totally hands off once you get the bones in the pot, so I can do laundry, walk the dog, and prep the rest of my week’s meals while it simmers. My roommate keeps stealing mugs of it so I’m gonna have to make a double batch next time.

2 days ago

Wait do you make this on the stovetop or in a slow cooker? I live in a tiny studio and I’m paranoid about leaving the stove on for 12 hours while I’m out doing errands.

yesterday

Hi Liz! This recipe works perfectly in a slow cooker on the low setting — no need to leave your stovetop running, and it’s totally safe to let it go while you’re out and about!

2 weeks ago

Took this to a neighborhood soup swap last week and everyone voted it the best broth of the night! I added a little fresh thyme and a bay leaf like my mom used to, didn’t mess with the rest of the recipe. Can’t beat that deep, rich marrow flavor.

1 week ago

I was at that swap!!! I took home a jar of your broth and used it to make French onion soup last weekend, it was the best batch I’ve ever made. Thank you for bringing it!

just now

Was nervous to try this because I’m a total beginner and 12 hours sounded intimidating, but it was way easier than I thought! The hardest part was remembering to roast the bones first, otherwise it’s just set it and forget it. Made my whole dorm hallway smell amazing, my RA knocked on my door asking for a cup.

2 days ago

I paid $12 for a single cup of bone marrow broth at a fancy wellness cafe last month, so making a whole giant pot for less than $20? Total no brainer. My kids loved it too, they thought it was “special soup” and asked for croutons on top, which was a cute win.

yesterday

Wait did your kids really like it? Mine turn their nose up at anything that’s not mac and cheese, I’ve been scared to try making homemade broth for them!

2 hours ago

My kid is the same! I told him it was “superhero soup” that makes him run faster and he drank two whole mugs. Total mom hack.