
Bottom Round Roast
intro
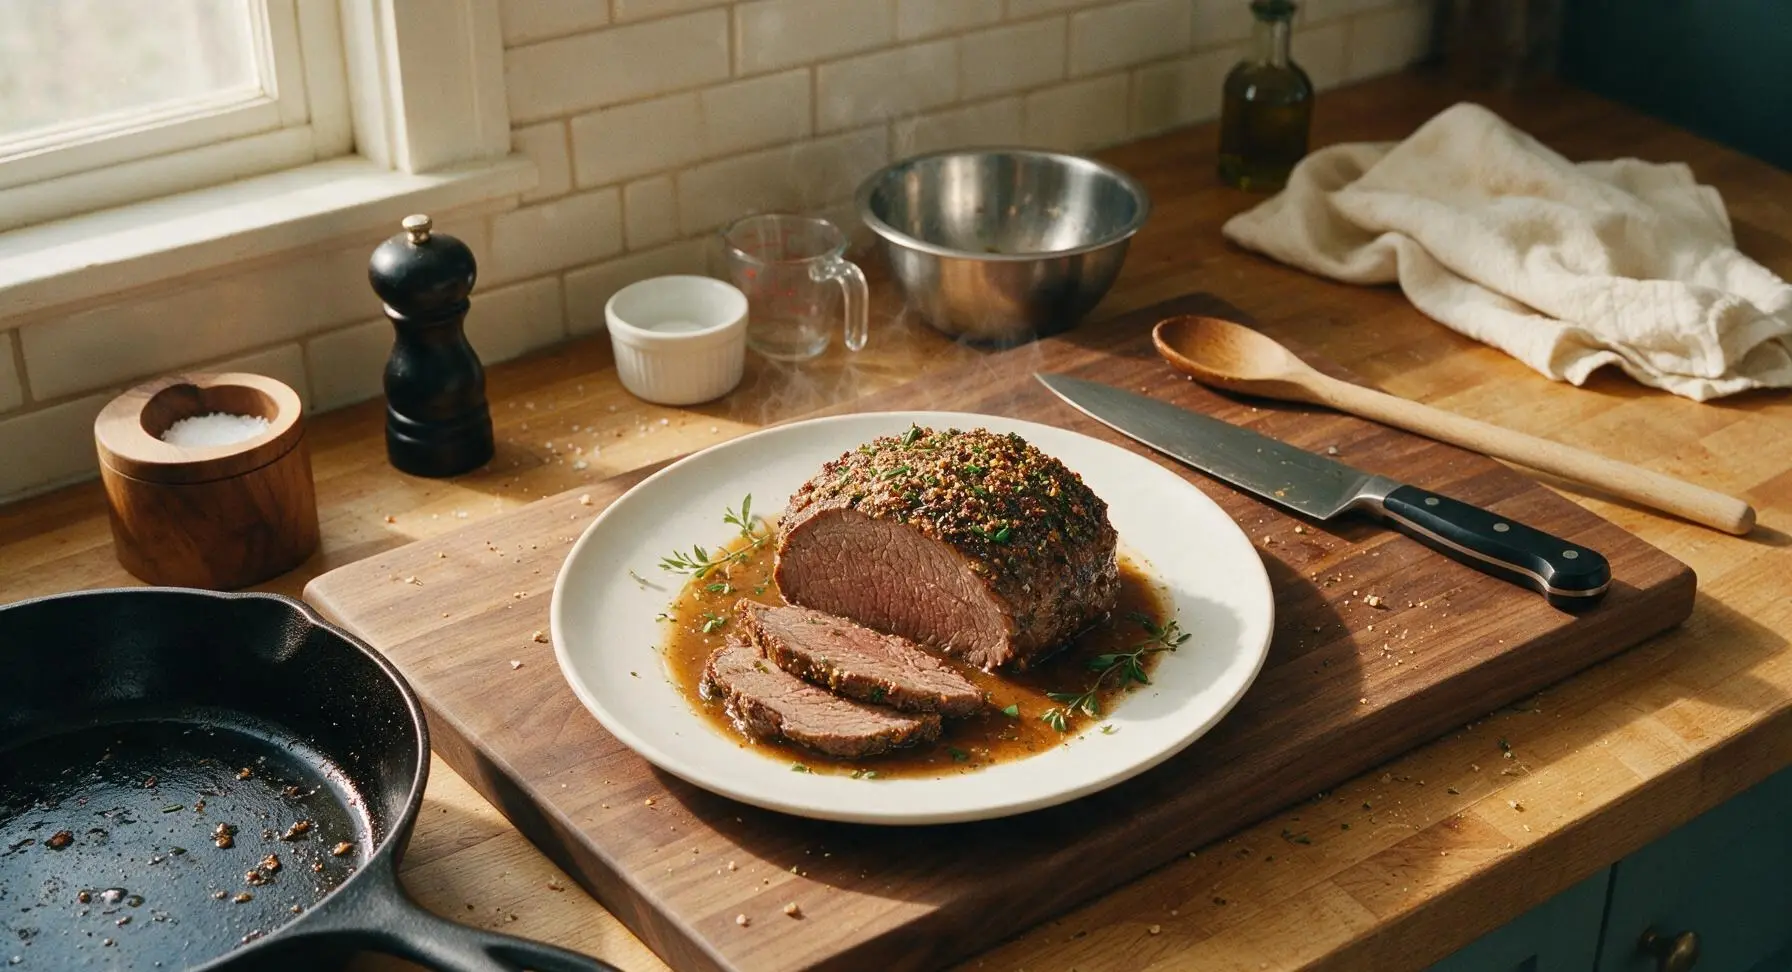
Juicy, tender slow-roasted bottom round with a crisp herb crust and rich pan gravy—an iconic, budget-friendly hearty meal perfect for gathering family around the table.
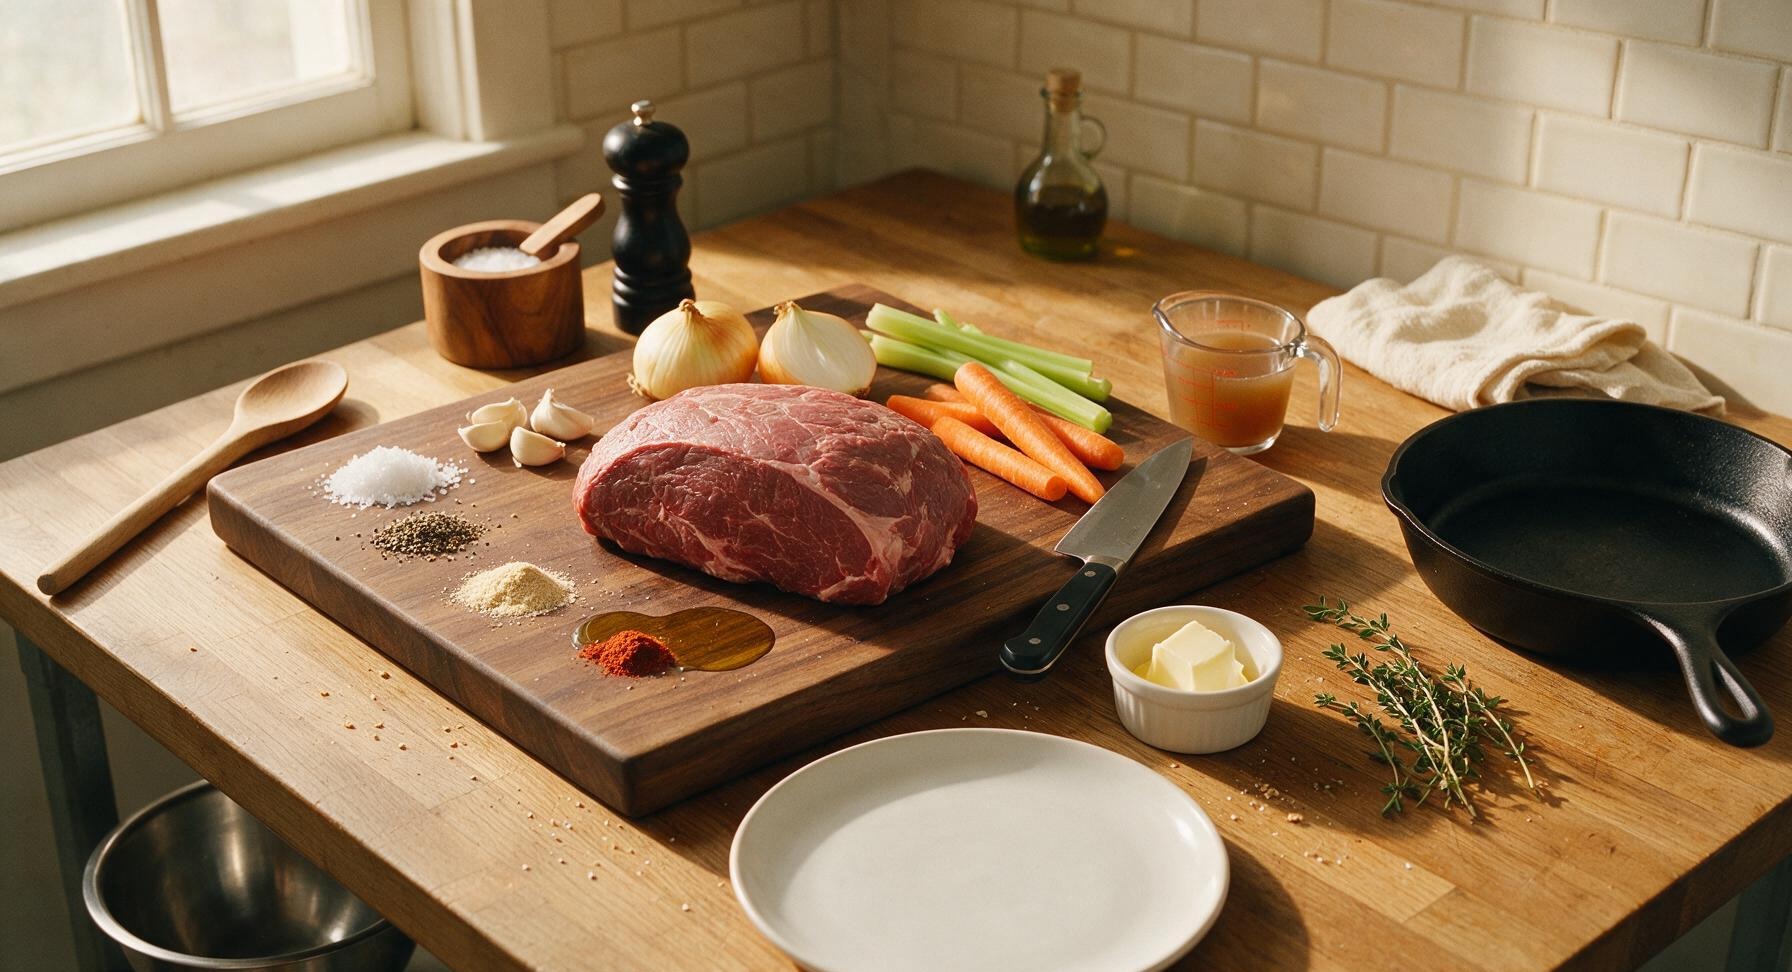
Ingredients
Steps
Bring Roast to Room Temp
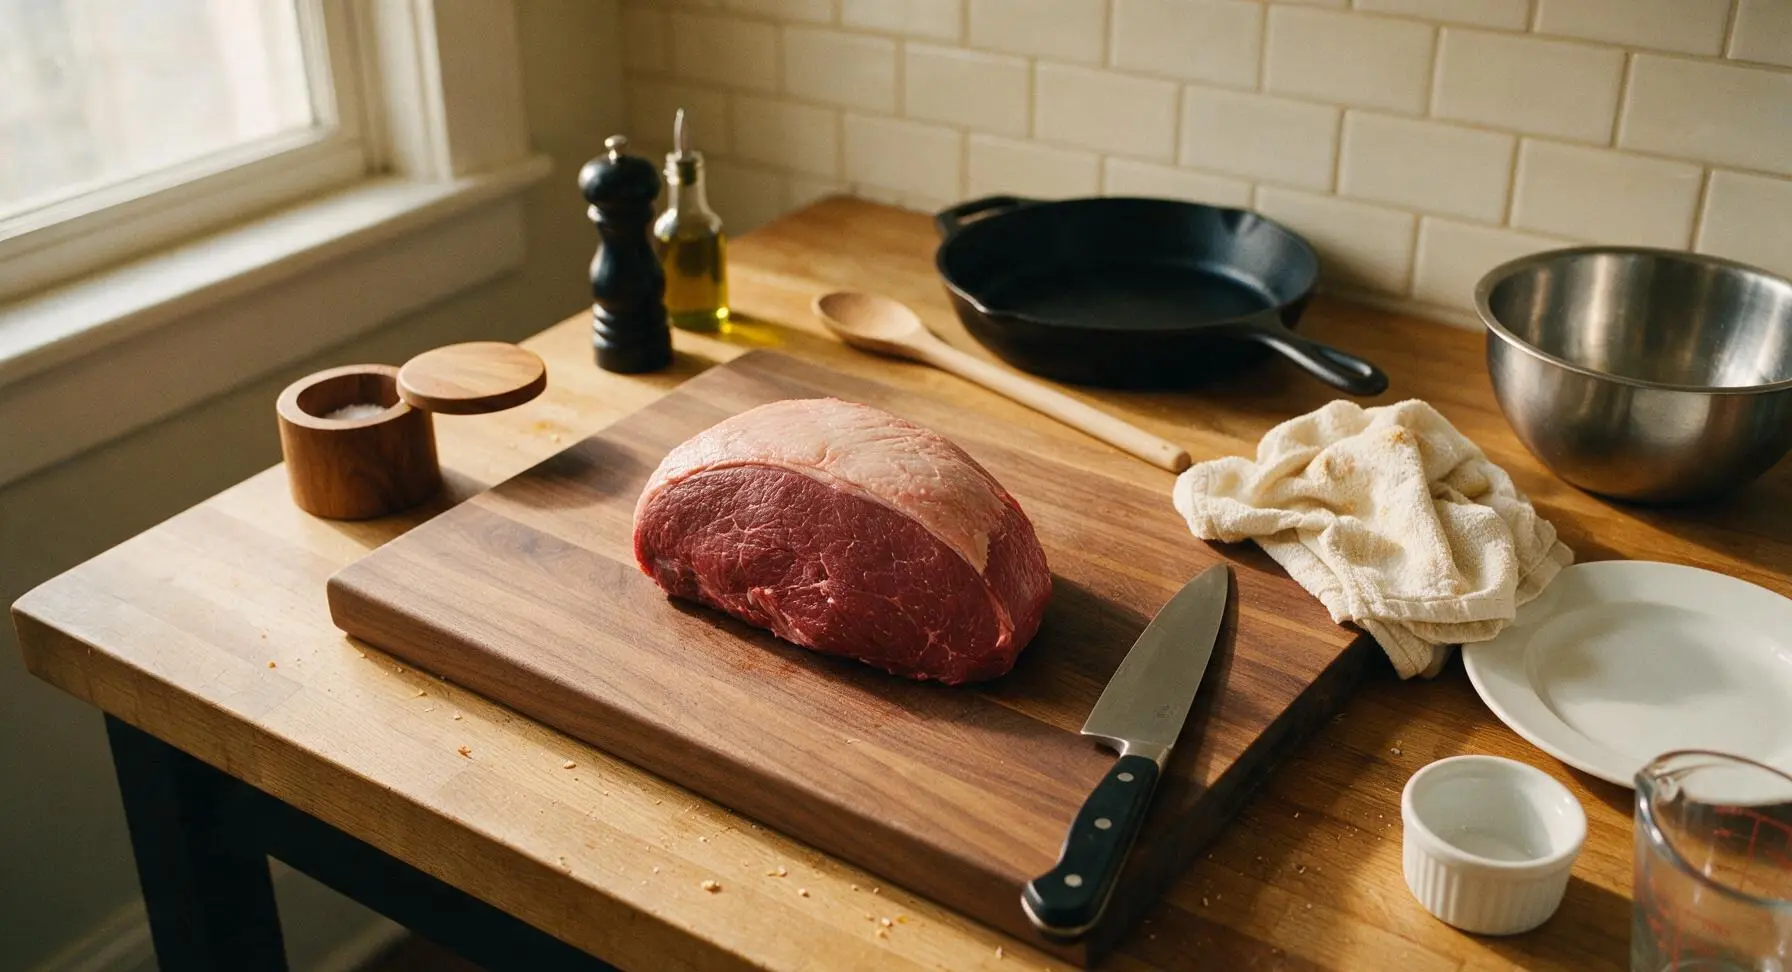
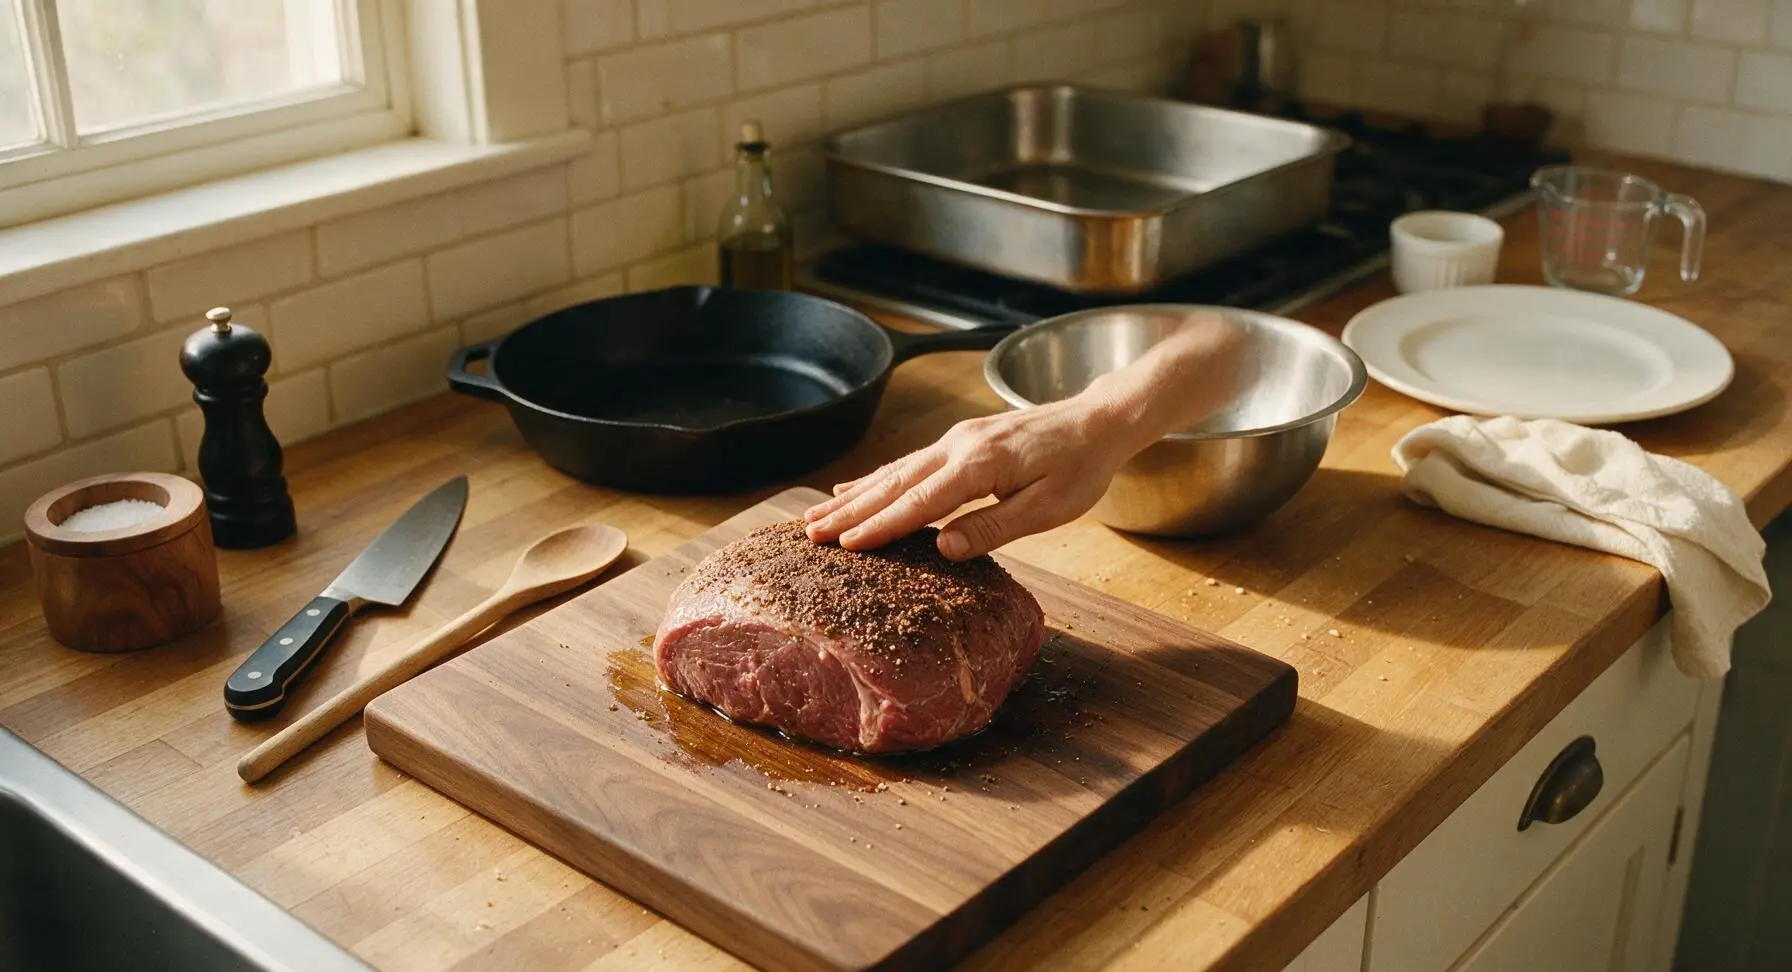
Remove the 3lb boneless bottom round roast from its packaging, pat completely dry on all sides using the sage linen towel, and set it on the central maple cutting board. Let it rest at room temperature for 45–60 minutes to ensure even cooking; cold meat cooks unevenly and develops tough, overcooked edges. Leave the thin outer fat cap intact, as it will baste the meat as it roasts.
Mix Dry Seasoning Rub
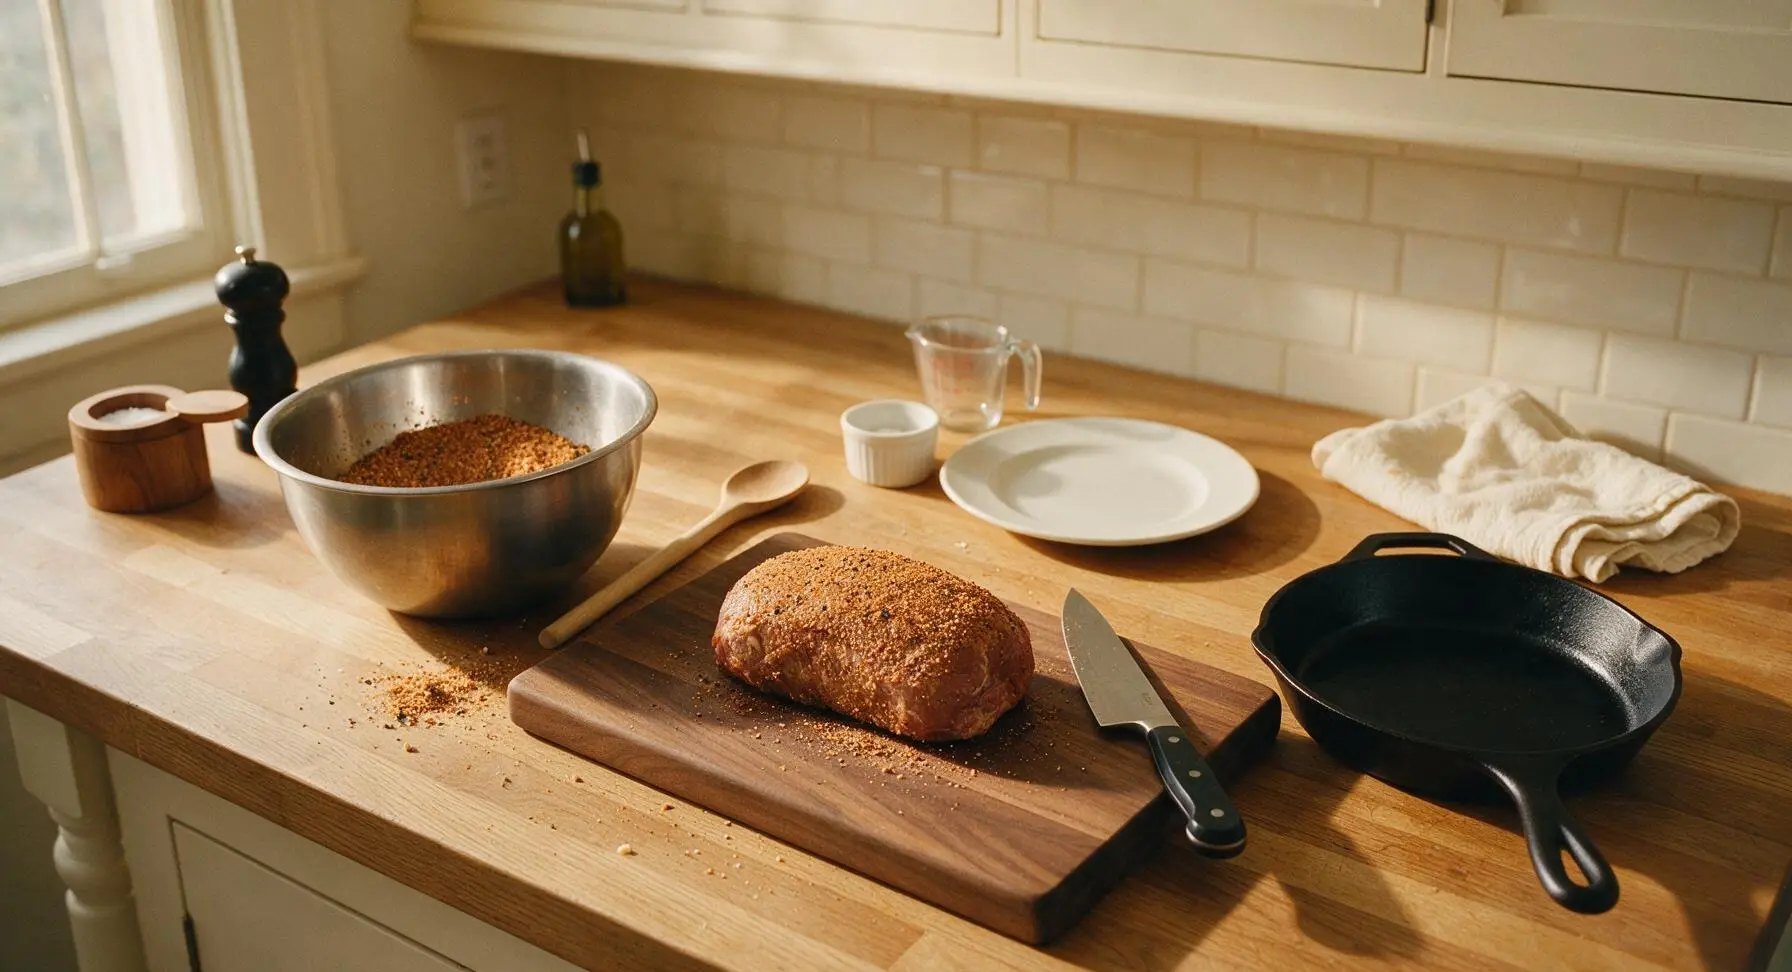
In the medium brushed stainless steel mixing bowl, combine 1 tablespoon kosher salt, 1.5 teaspoons coarsely ground black pepper, 1 teaspoon garlic powder, and 1/2 teaspoon smoked paprika. Stir to evenly combine, breaking up any spice clumps, until the rub is a uniform warm brown with visible black pepper flecks.
Season and Sear Roast
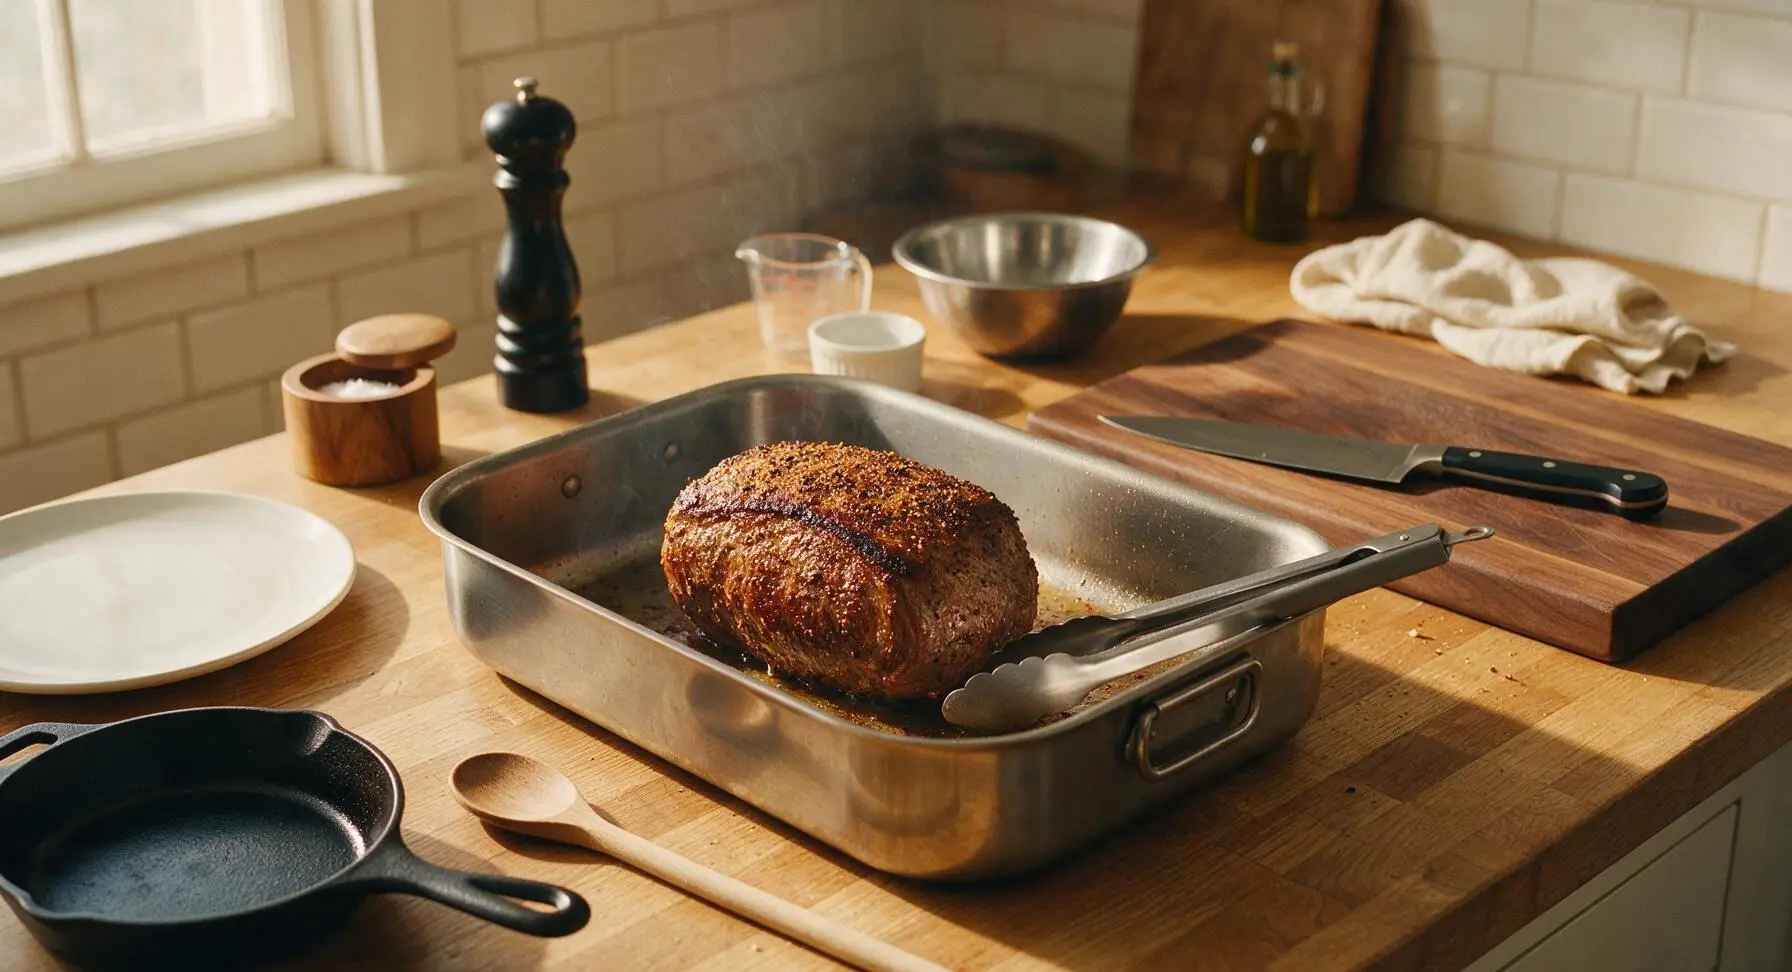
Rub 1 tablespoon olive oil all over the room-temperature roast, then press the prepared spice rub evenly into every side of the meat to fully coat all surfaces. Place the heavy stainless steel roasting pan (without the rack insert) over medium-high stovetop heat. Once the pan is shimmering hot, use the stainless steel tongs to lower the roast into the pan. Sear for 2–3 minutes per side, turning to form a deep golden-brown crust on all 6 sides (top, bottom, and four edges). Avoid moving the roast while each side sears to build a crisp, flavorful crust.
Slow Roast with Aromatics
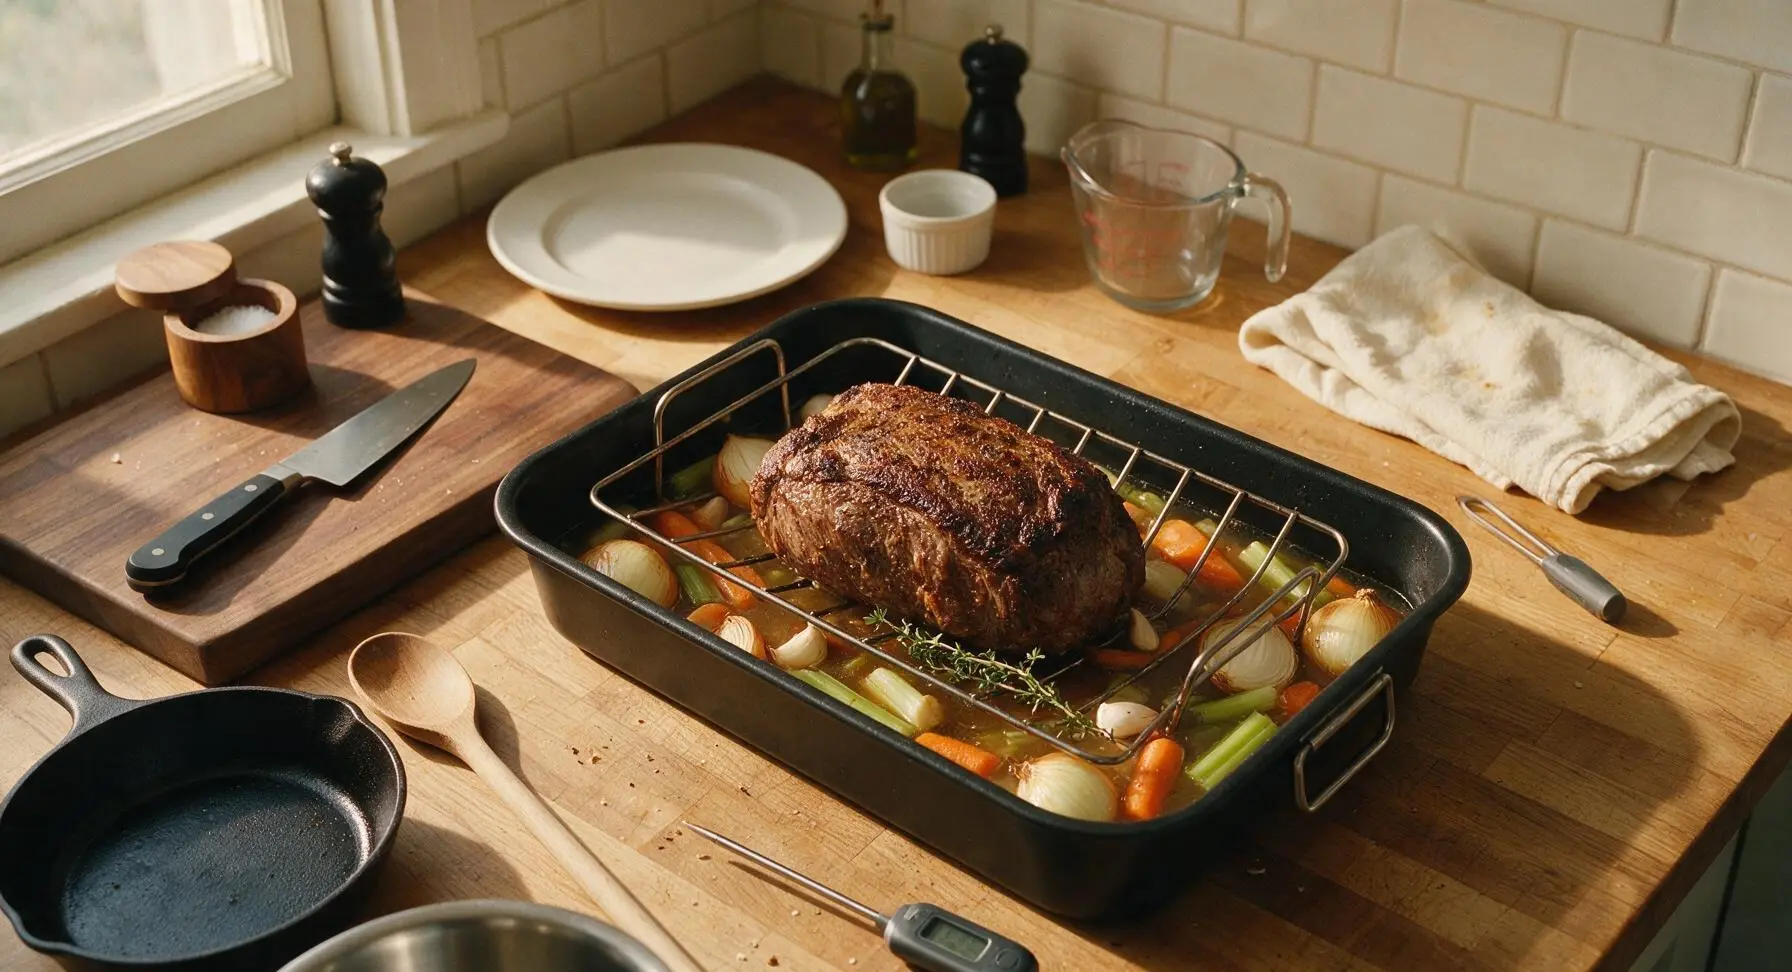
Once the roast is fully seared on all sides, remove the pan from heat temporarily. Lift the roast with tongs, set the wire rack insert inside the roasting pan, then place the seared roast on top of the rack. Scatter the quartered yellow onions, halved carrots, celery pieces, whole garlic cloves, and 2 fresh thyme sprigs in the pan bottom around the rack, then pour 1/2 cup low-sodium beef broth into the pan (the liquid should not touch the roast). Roast in a preheated 325°F (160°C) oven for 1 hour 15 minutes to 1 hour 30 minutes, until the digital instant-read thermometer inserted into the thickest part of the roast reads 135°F (57°C) for medium-rare; the temperature will rise 5–10°F during resting for a perfect medium doneness.
Rest Roast Properly
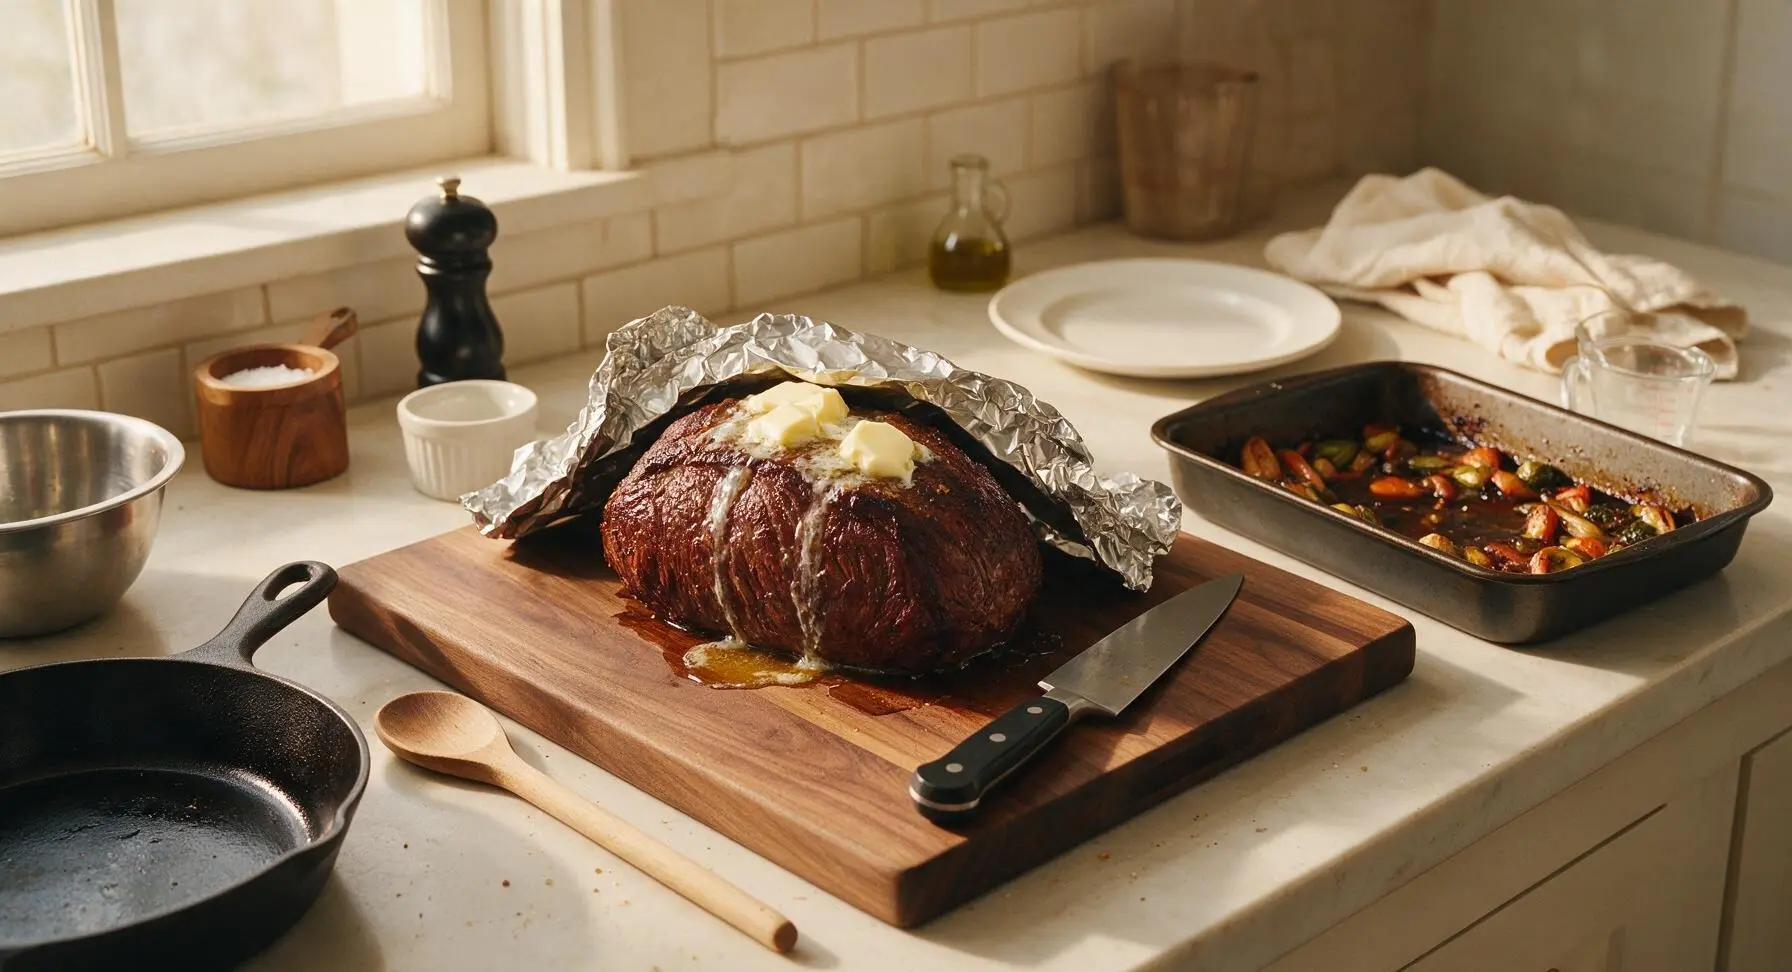
Once the roast reaches target temperature, use tongs to carefully transfer it from the roasting rack back to the maple cutting board. Dot the top of the hot roast with 2 tablespoons unsalted butter, then tent loosely with a sheet of aluminum foil. Let it rest for a full 20 minutes before slicing; this allows muscle fibers to relax and reabsorb juices, so slices stay juicy instead of leaking liquid all over the board.
Make Pan Gravy
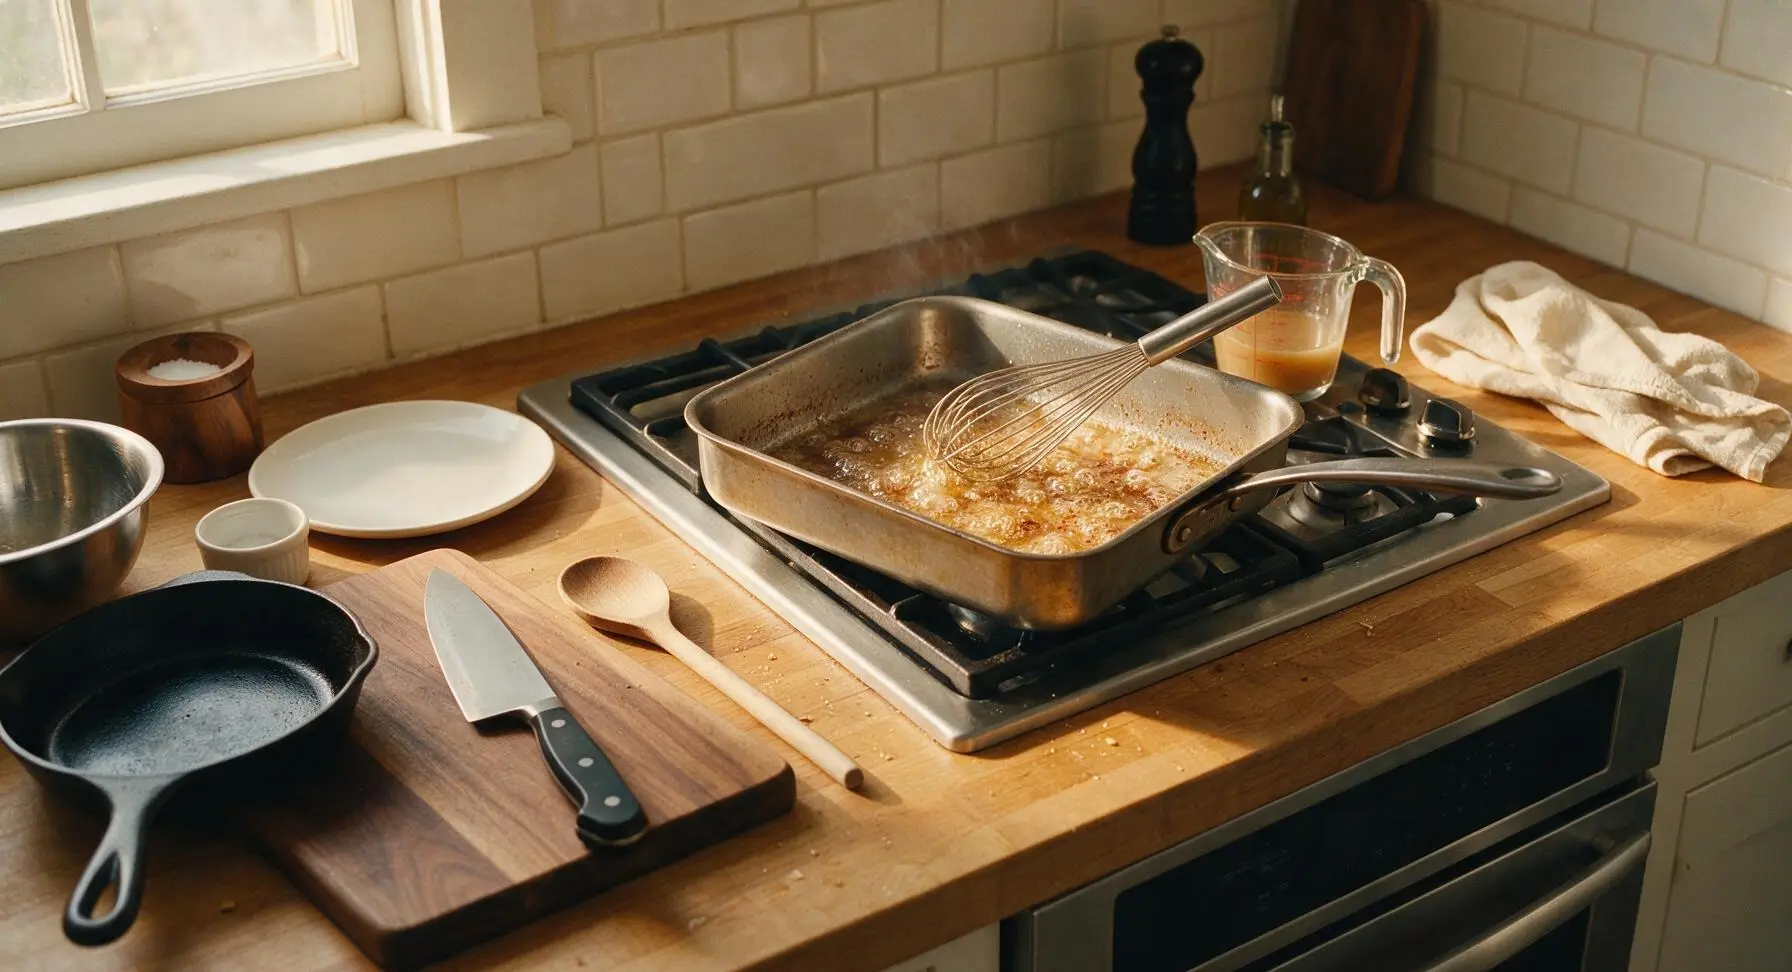
While the roast rests, set the roasting pan with vegetable drippings and broth over medium stovetop heat. Use the stainless steel wire whisk to scrape up all browned bits (fond) from the pan bottom—these bits hold deep, concentrated flavor. Bring the liquid to a gentle simmer, mashing the soft roasted garlic cloves into the liquid with the whisk, and cook for 5 minutes until slightly thickened. Pour the finished gravy into the clear glass measuring cup for serving.
Slice and Plate Roast
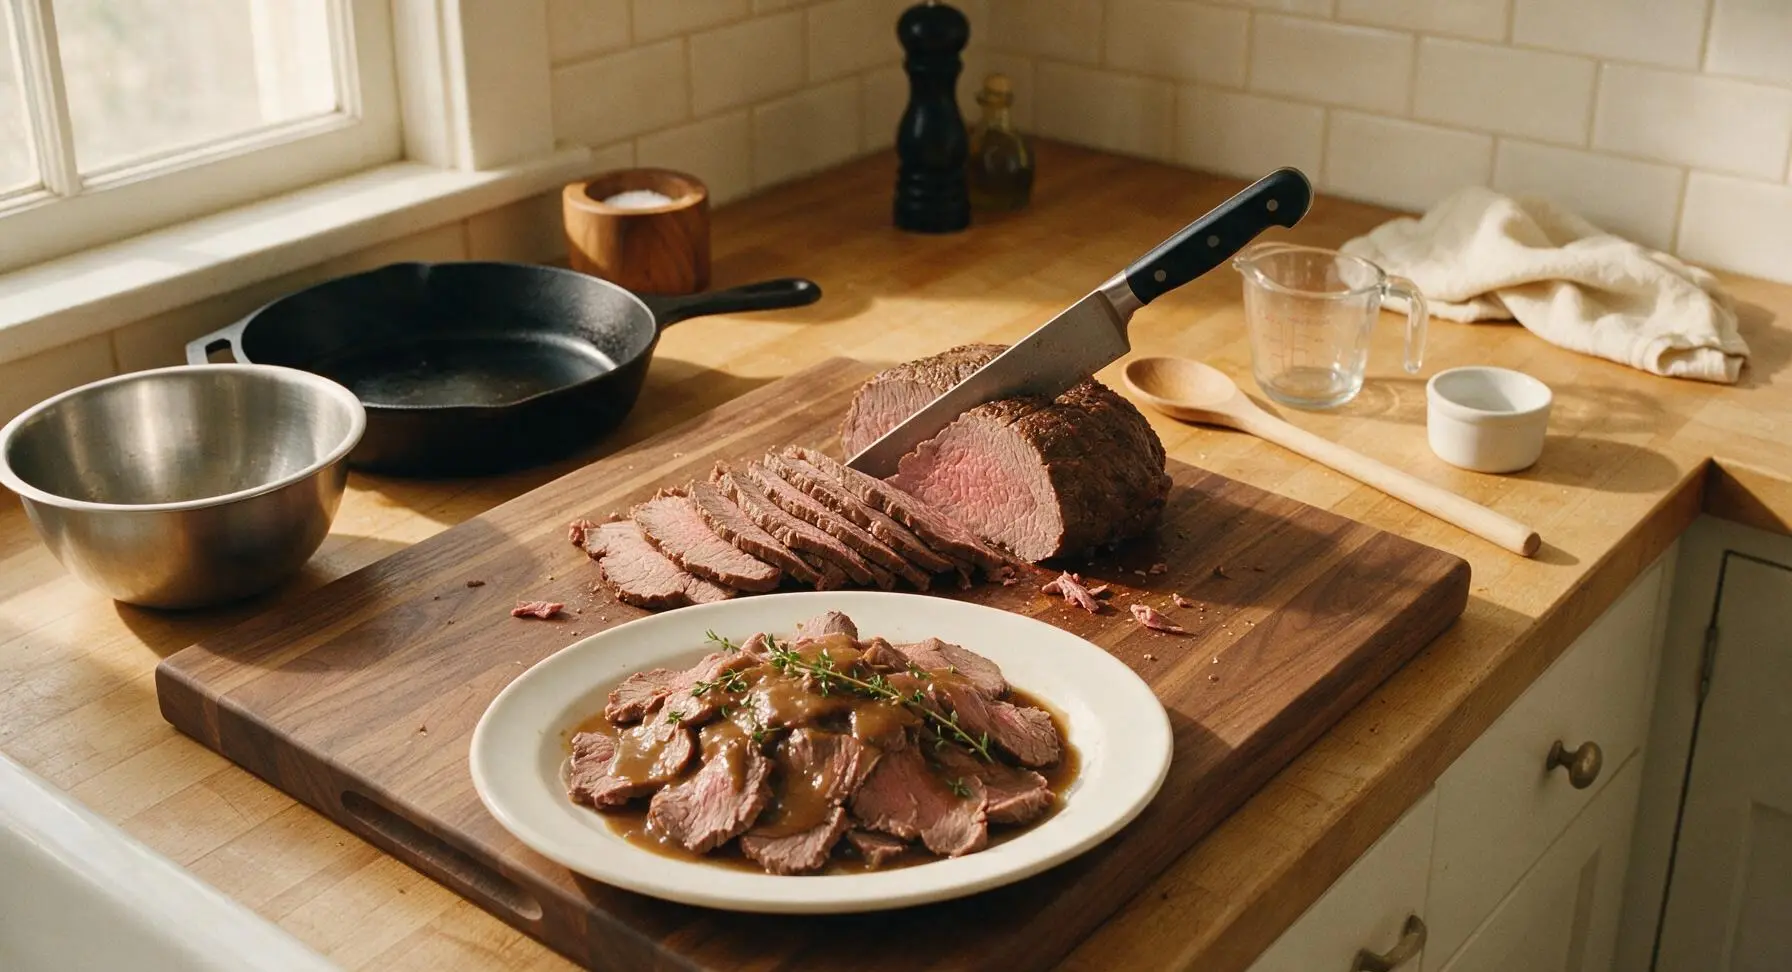
After the 20-minute rest, remove the foil tent from the roast. Use the 8-inch chef knife to slice the roast against the grain into 1/4-inch thick slices; cutting against the grain shortens tough muscle fibers for maximum tenderness. Arrange the sliced roast on the large cream ceramic serving platter, spoon a small amount of pan gravy over the top, and garnish with remaining fresh thyme sprigs. Serve alongside the roasted vegetables and extra gravy.
Tips
2.Do not skip bringing the roast to room temperature before cooking: a cold straight-from-fridge roast will develop dry, overcooked edges before the center reaches a safe, ideal temperature, leading to uneven doneness from edge to center.
3.Resist the urge to carve the roast immediately after pulling it from the oven: the 20-minute tented rest allows muscle fibers to relax and reabsorb juices, so every slice stays juicy instead of having flavorful liquid run out onto the cutting board.






OMG, made this for our Sunday football watch party and the whole crew went crazy for it! I was worried bottom round would come out tough because I’ve messed up cheaper roasts before, but following the slow roast temp guide here left it perfectly juicy. We sliced it thin for sliders and there were zero leftovers. Total game changer for weekend cookouts!
This was so good for our family dinner last night! My two super picky kids ate two servings each, which never happens. My only question — can I make this a day ahead for a potluck at my kid’s school? I don’t want it to dry out when I reheat it.
Solid recipe, works great for meal prep! I paired it with roasted veggies and mashed potatoes for my weekly lunches, and it held up all 5 days in the fridge. Only note is I wish the seasoning guide was a little more specific for people who don’t cook by vibe, but it still turned out great even when I guessed the amounts.
I’ve been cooking roasts for 40+ years and tried this recipe on a whim when my grandson asked for a “fancy but not fussy” birthday dinner. It came out perfectly pink all the way through, no tough gray edges like my old high-heat method used to give. Served it with horseradish cream and my famous green bean casserole, everyone raved. Will be using this method from now on!
Uh, total newbie here — first roast I’ve ever made in my life, and I was so nervous I’d ruin date night. Followed the instructions exactly (even used a meat thermometer like the recipe said!) and my girlfriend said it was better than the prime rib we got at the steakhouse for our anniversary. Wait, how long do I let it rest again? I think I cut into it too fast last time and a bunch of juice ran out.
This is such a great high-protein option for weeknights! I used a little less salt and added some fresh rosemary from my windowsill garden, and it was chef’s kiss. The cook time was spot on for my 3lb roast — hit 135F internal right at the 1 hour 45 minute mark like the recipe said, no guesswork. Will absolutely make this again.
I was so skeptical a slow roast could be this low effort! I popped it in the oven before taking my dog for a long walk, came back, let it rest, and dinner was done. No constant checking, no fancy ingredients, just perfect juicy roast. Served it with store-bought dinner rolls and a bag salad, zero stress on a weeknight. 10/10
Made this for my extended family Sunday dinner last week, 8 adults total, and everyone was going back for seconds. The only miss for me was I didn’t trim the silverskin enough before roasting, so a few edges were a little chewy. Don’t skip that step, y’all!
Wait, has anyone tried making this with a dry rub that has a little brown sugar? I usually do a sweet-savory rub on my roasts and I’m curious if it would work with this slow roast method without burning. I’m making this for our neighborhood block party next weekend and want it to be perfect!