
Braising
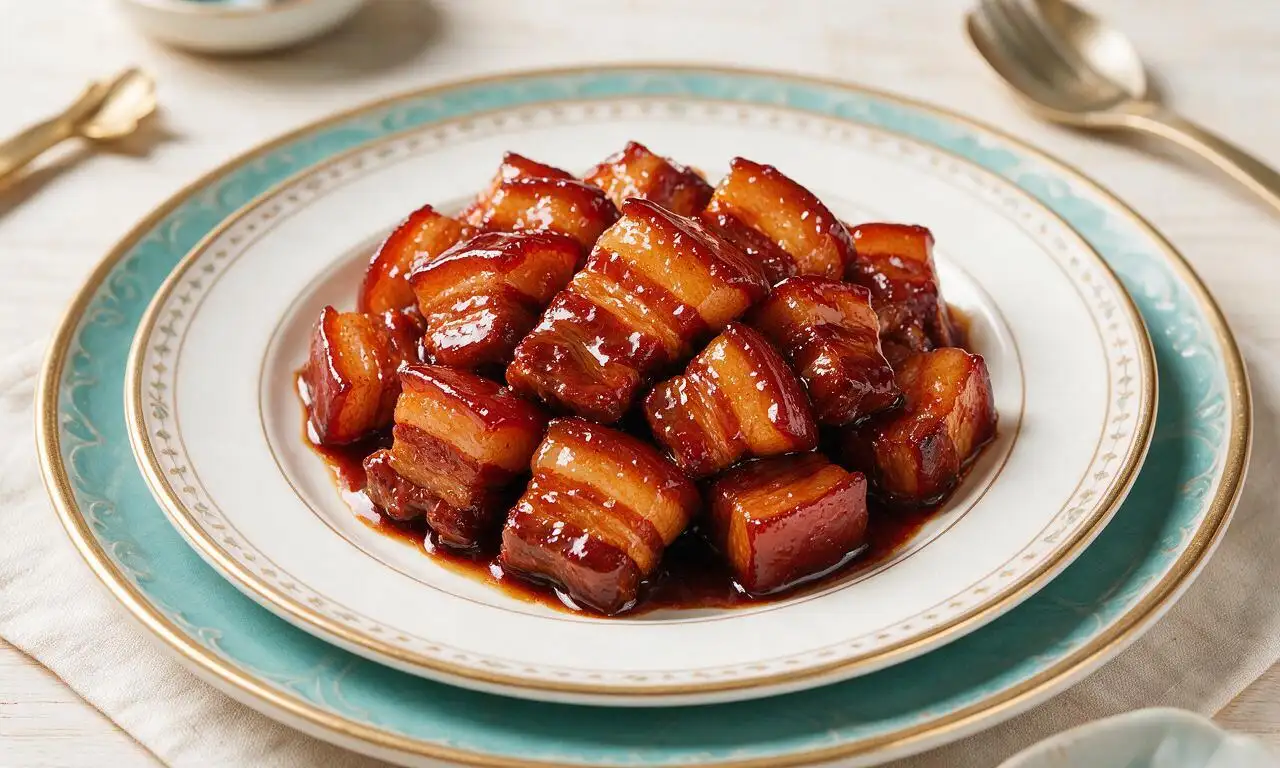
intro
Tender, melt-in-your-mouth pork belly braised in a savory-sweet soy glaze with a sticky, glossy coating, a beloved comforting Chinese home-style dish.
Ingredients
Steps
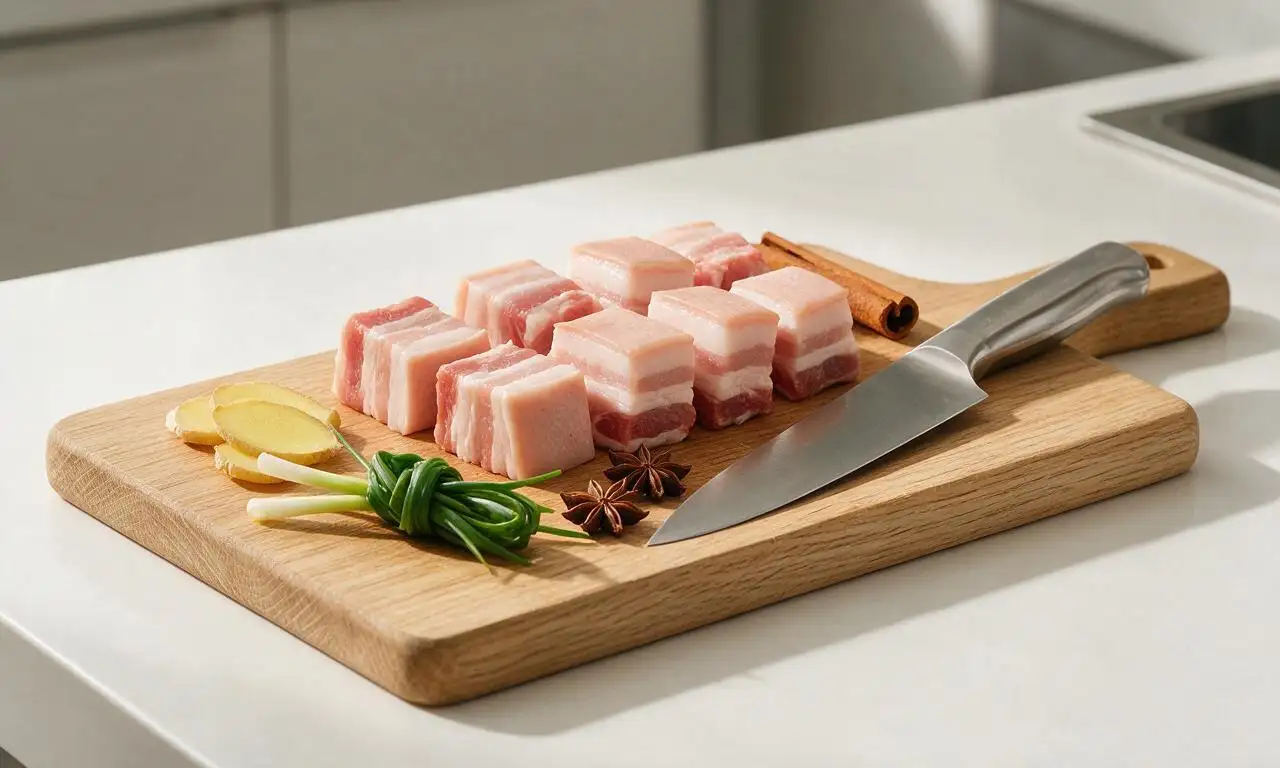
Prep pork and aromatics
Cut 500 grams of skin-on pork belly into uniform 3cm cubes, pat completely dry with paper towels; slice 20 grams of ginger into 3 thick 5mm slices, tie 2 scallion stalks into a loose knot, and set aside with 2 star anise pods and the 5cm cinnamon stick.
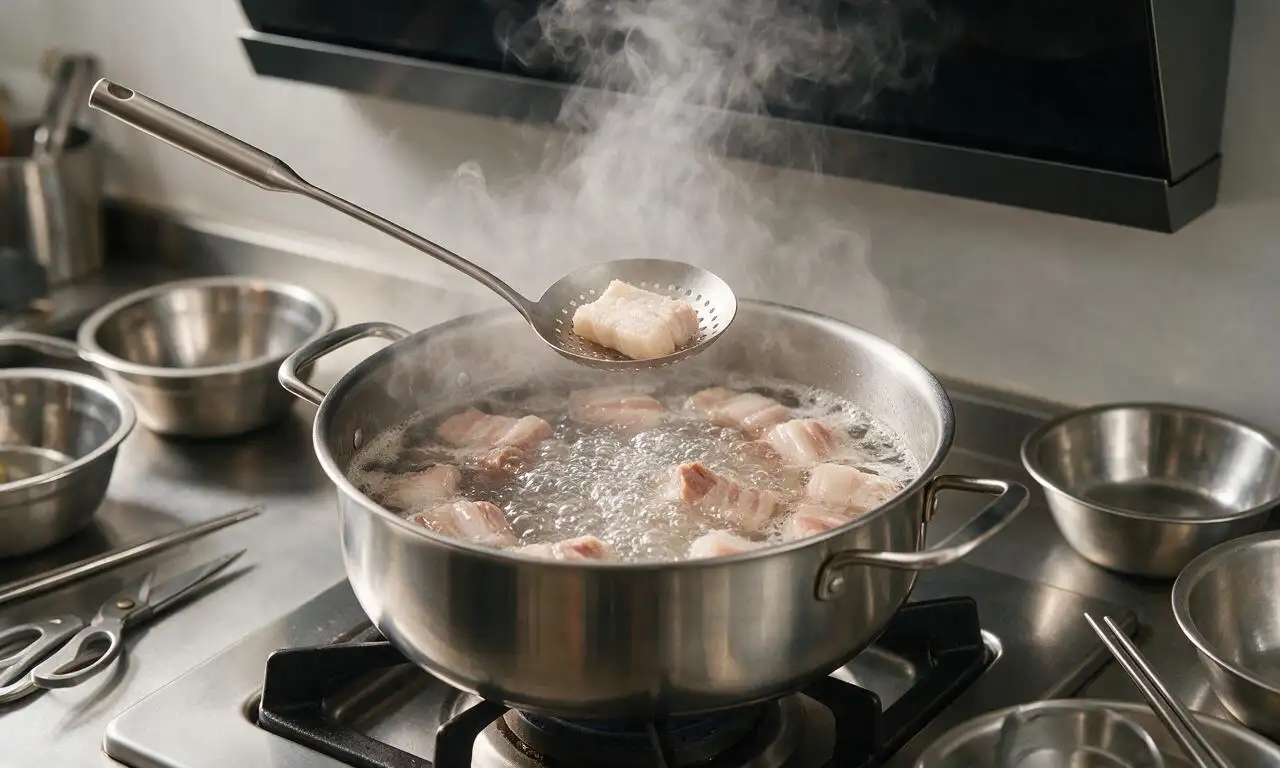
Blanch pork cubes
Bring 1 liter of cold water to a rolling boil over high heat, add pork cubes and 15ml (1 tablespoon) of Shaoxing wine, boil for 5 minutes until grey, foamy scum rises to the surface. Use a slotted spoon to scoop pork out, rinse under warm running water, and drain fully; discard the blanching water.
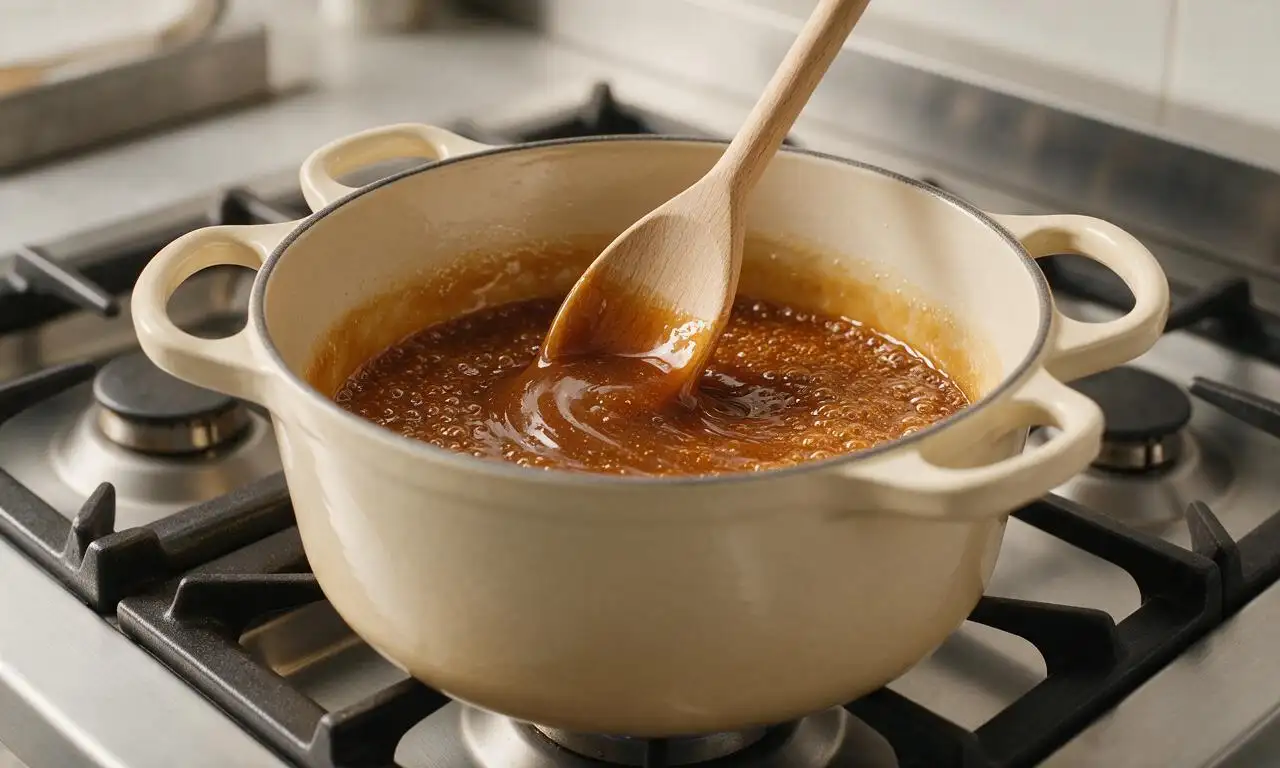
Caramelize rock sugar
Heat a heavy-bottomed enameled braising pot over medium-low heat, add 15ml (1 tablespoon) of neutral cooking oil and 30 grams of rock sugar. Stir constantly with a wooden spoon for 3-4 minutes until the sugar melts completely into a deep amber, glossy caramel with no remaining white granules, taking care not to let it darken to a burnt brown.
Sear pork in caramel
Add the fully drained pork cubes to the caramel, turn heat to medium, and toss continuously for 3 minutes until every cube is evenly coated in caramel and lightly golden on all cut edges, adjusting heat slightly if needed to avoid burning the sugar coating.
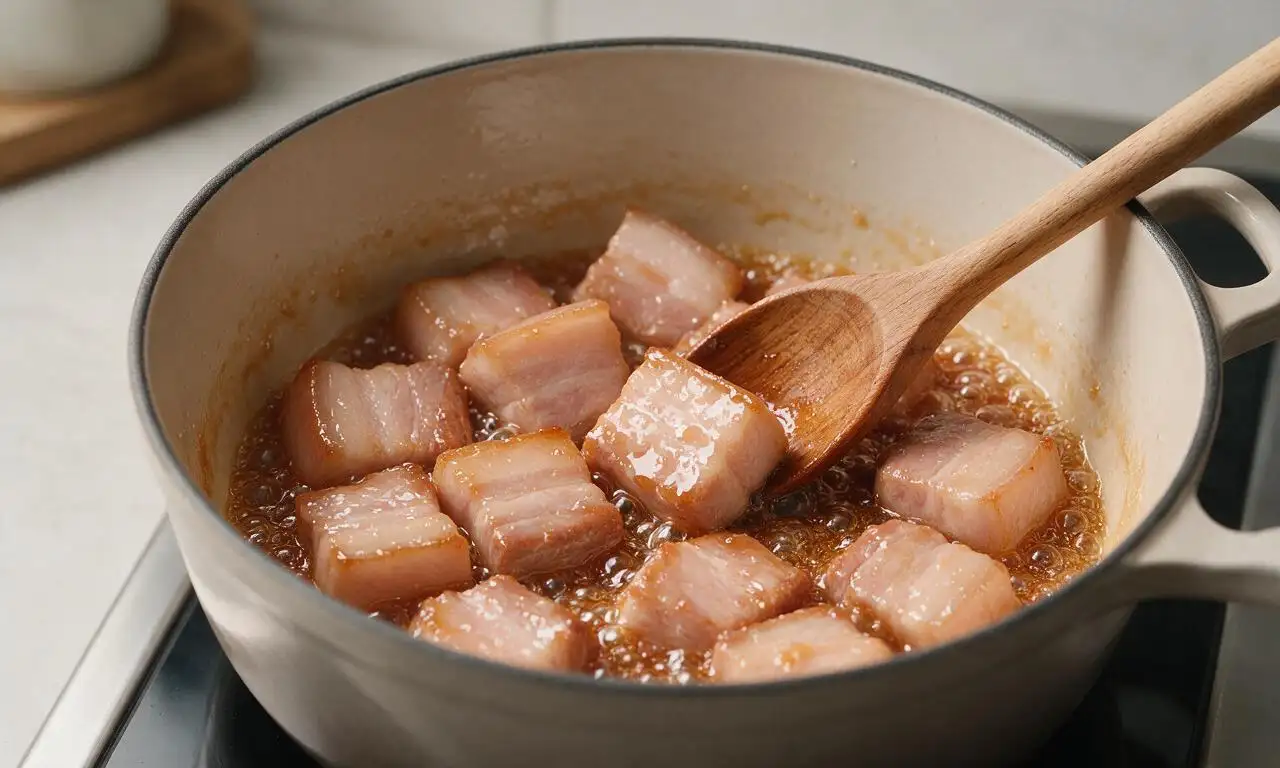
Add braising liquids
Toss in the ginger slices, tied scallion knot, star anise, and cinnamon stick, stir for 30 seconds until fragrant. Pour in the remaining 45ml (3 tablespoons) of Shaoxing wine, 45ml light soy sauce, 15ml dark soy sauce, and 750ml of boiling water, ensuring the liquid just covers the top of the pork cubes.
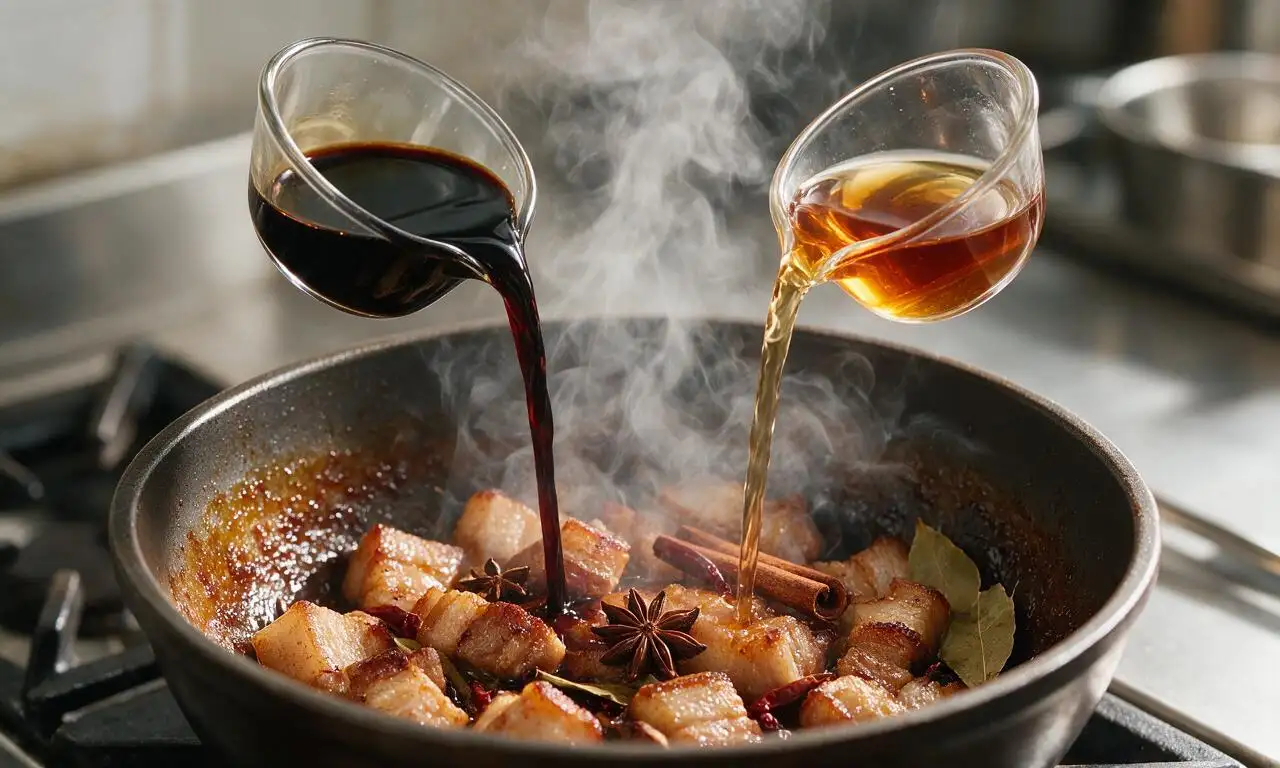
Slow braise until tender
Bring the braising liquid to a gentle, low simmer over medium heat, then turn heat to the lowest stovetop setting, cover the pot with a tight-fitting lid, and braise for 60 minutes. Lift the lid once at the 30-minute mark to stir the pork, ensuring no pieces stick to the pot bottom, then replace the lid to finish cooking.
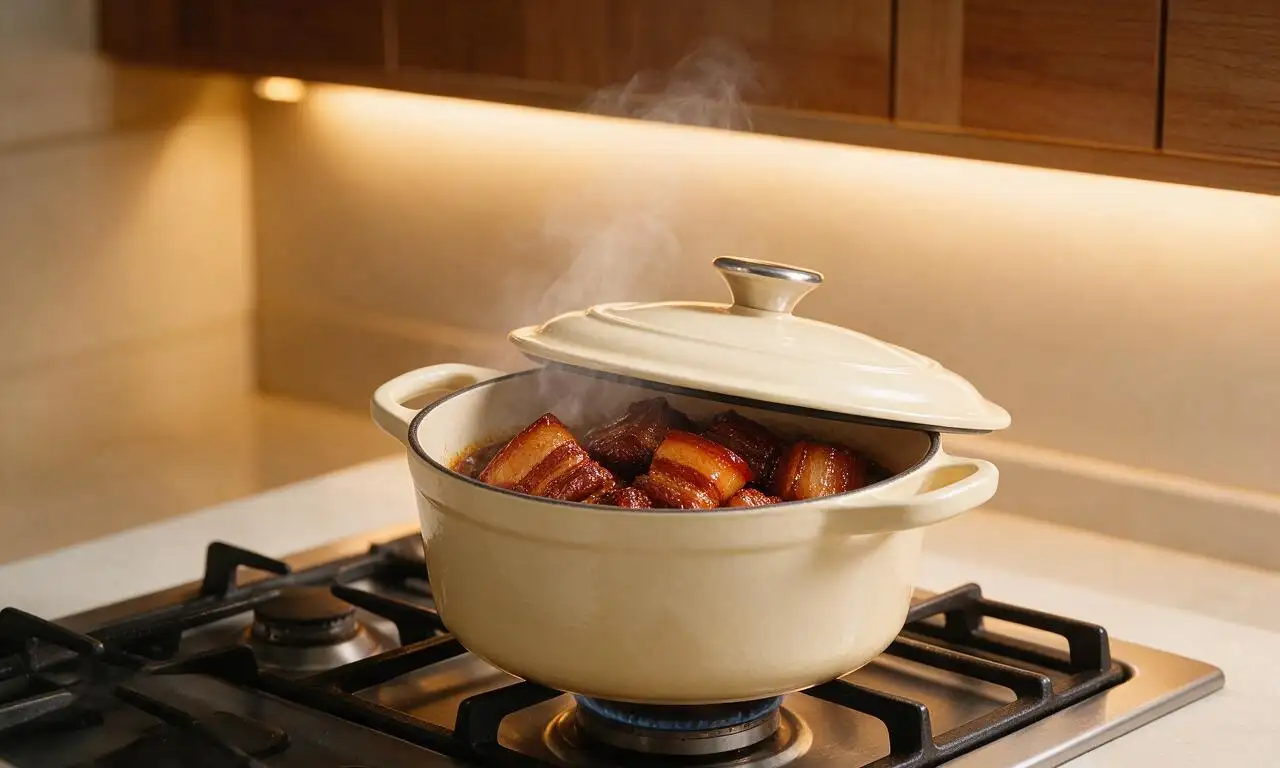
Reduce to glossy glaze
Remove the pot lid, turn heat to medium, and fish out and discard the scallion knot, ginger slices, star anise, and cinnamon stick. Simmer uncovered for 8-10 minutes, stirring occasionally, until the sauce thickens to a sticky, glossy dark red glaze that evenly coats every pork cube.
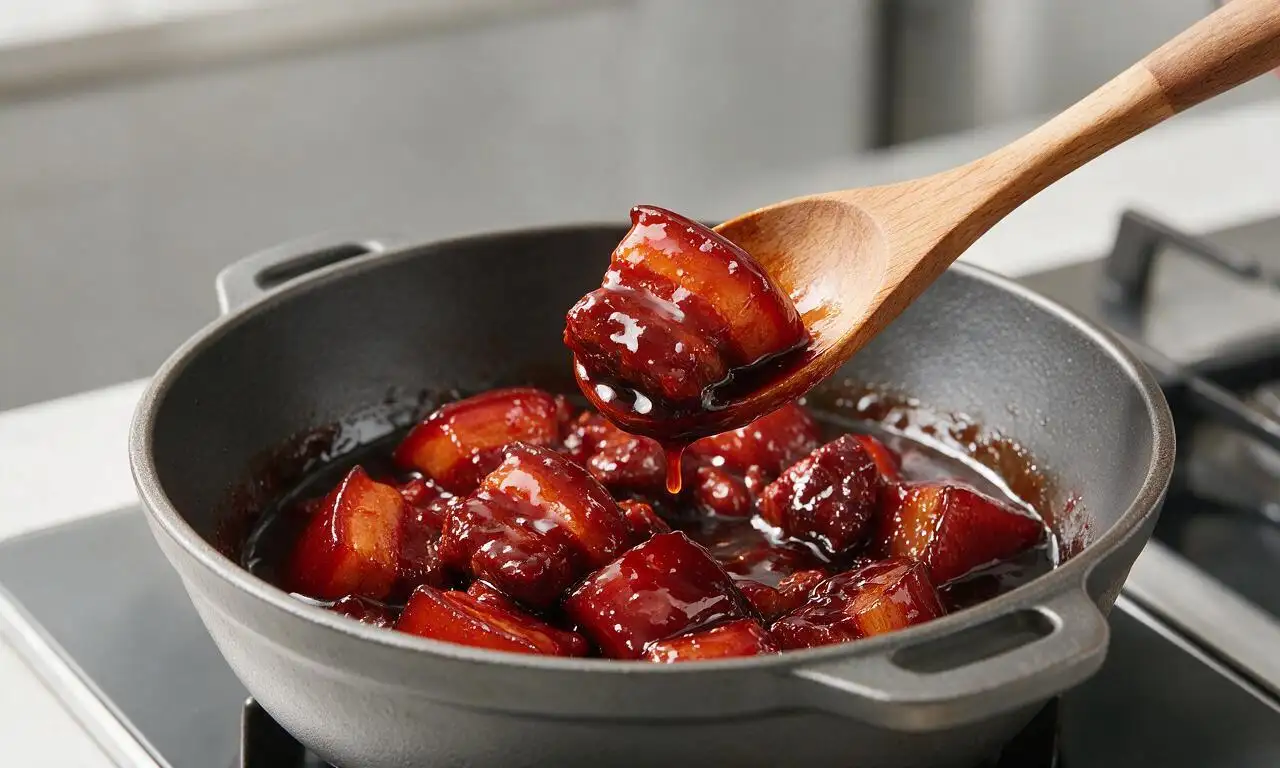
Tips
2.Watch the caramel closely as it melts: if the sugar turns dark chocolate brown and smells bitter or burnt, discard it and start over, as burnt caramel will ruin the flavor of the entire dish.
3.For deeper, more rounded flavor, make the dish a day ahead: refrigerate the braised pork in its sauce overnight, skim off the solidified excess fat from the surface, and reheat gently before serving, as the meat will absorb more sauce as it rests.






OMG this hong shao rou was an absolute game changer for our Sunday family dinner! I was worried it’d be too tricky since it’s medium difficulty, but the steps were so easy to follow. The pork came out melt-in-your-mouth tender, glossy and perfectly sweet-savory—my picky 7 year old asked for seconds, and my husband said it tasted better than the version we get at our local Sichuan spot. 10/10 will be making this for our next potluck too!
SO good, but I messed up the first time I tried making this a couple weeks back by rushing the sugar caramelization step! I cranked the heat too high and burned the sugar, so the whole batch had that nasty bitter aftertaste. I gave it another go the other day, kept the heat low like the recipe instructs, and it turned out absolute chef’s kiss. The flavors are perfectly balanced, and the pork belly renders down so nicely you don’t end up with chewy, tough fat at all. Such a solid, reliable recipe!
Made this last night for my partner who’s been begging me to try red-braised pork ever since our trip to San Francisco’s Chinatown earlier this year. It took the full 90 minutes but was so worth the wait! We served it over steamed jasmine rice with some quick garlic bok choy on the side, and he said it transported him right back to that tiny family-run restaurant we ate at on that trip. Only small tweak: I cut the regular soy sauce by a tablespoon because I’m watching my sodium, and it still tasted perfectly balanced. Will be adding this to our regular rotation, even with the longer cook time!