
British Flapjacks
intro
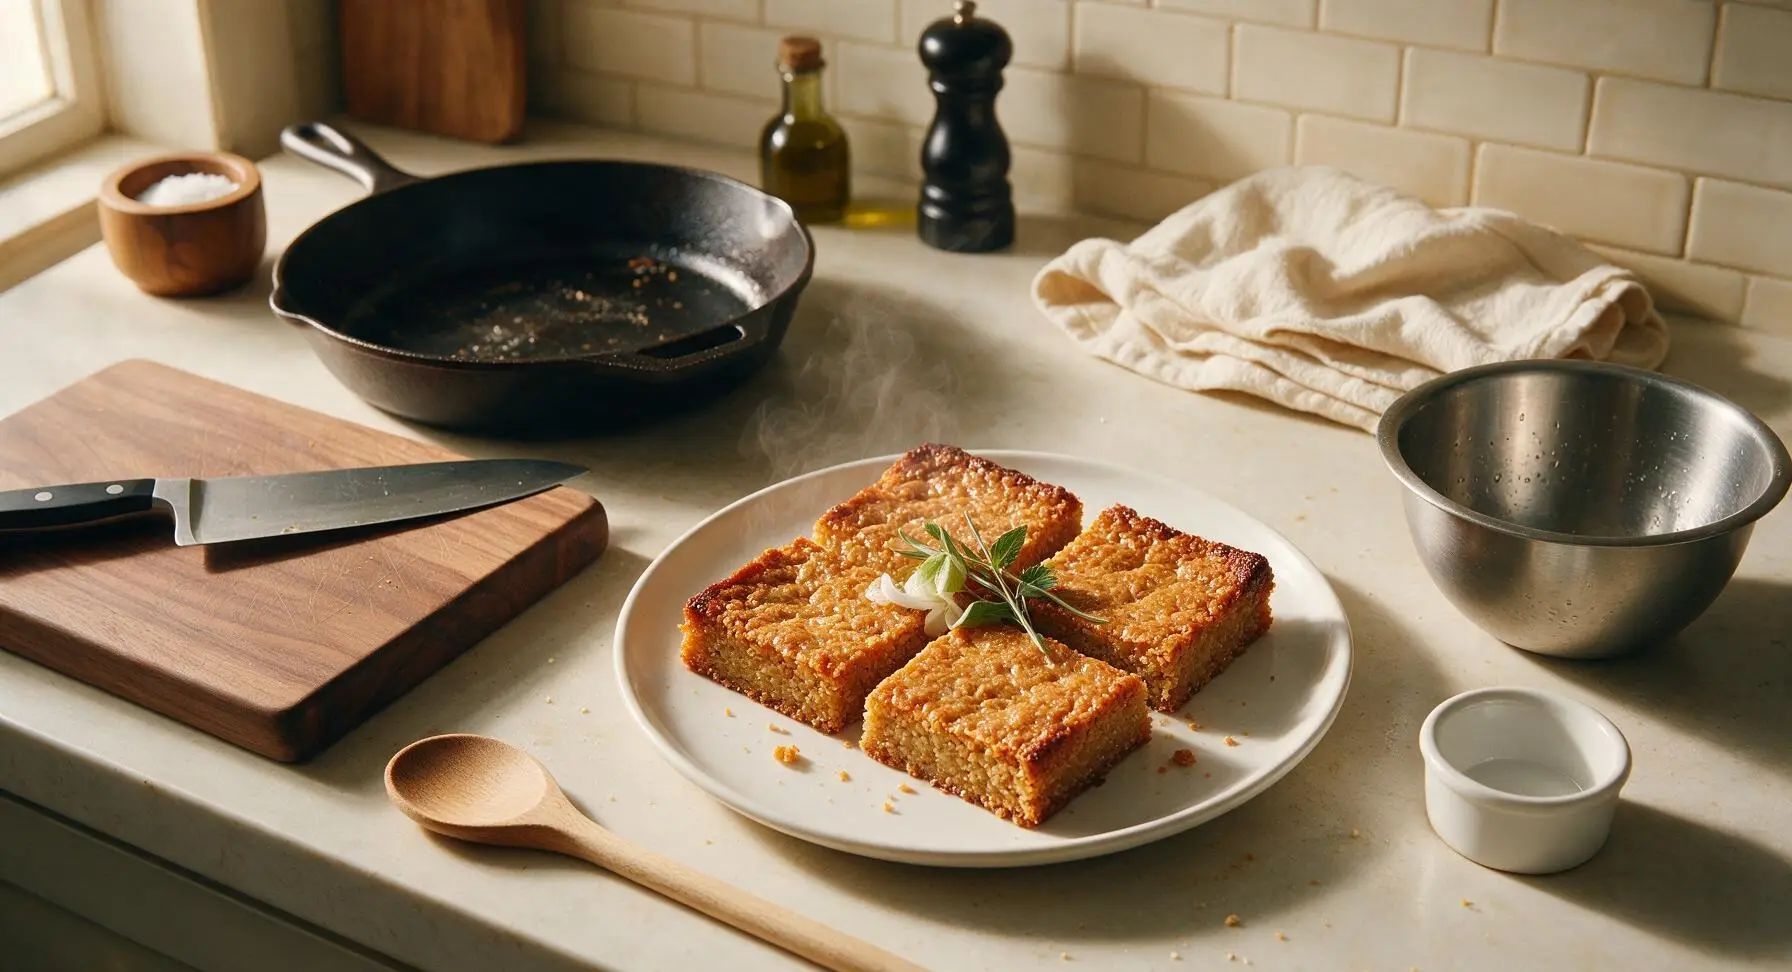
Buttery, chewy golden British flapjacks: a classic no-fuss traybake with caramelized edges, made from simple pantry staples, perfect for afternoon tea, lunchboxes, or homemade gift tins.
Ingredients
Steps
Prep Oven and Tin
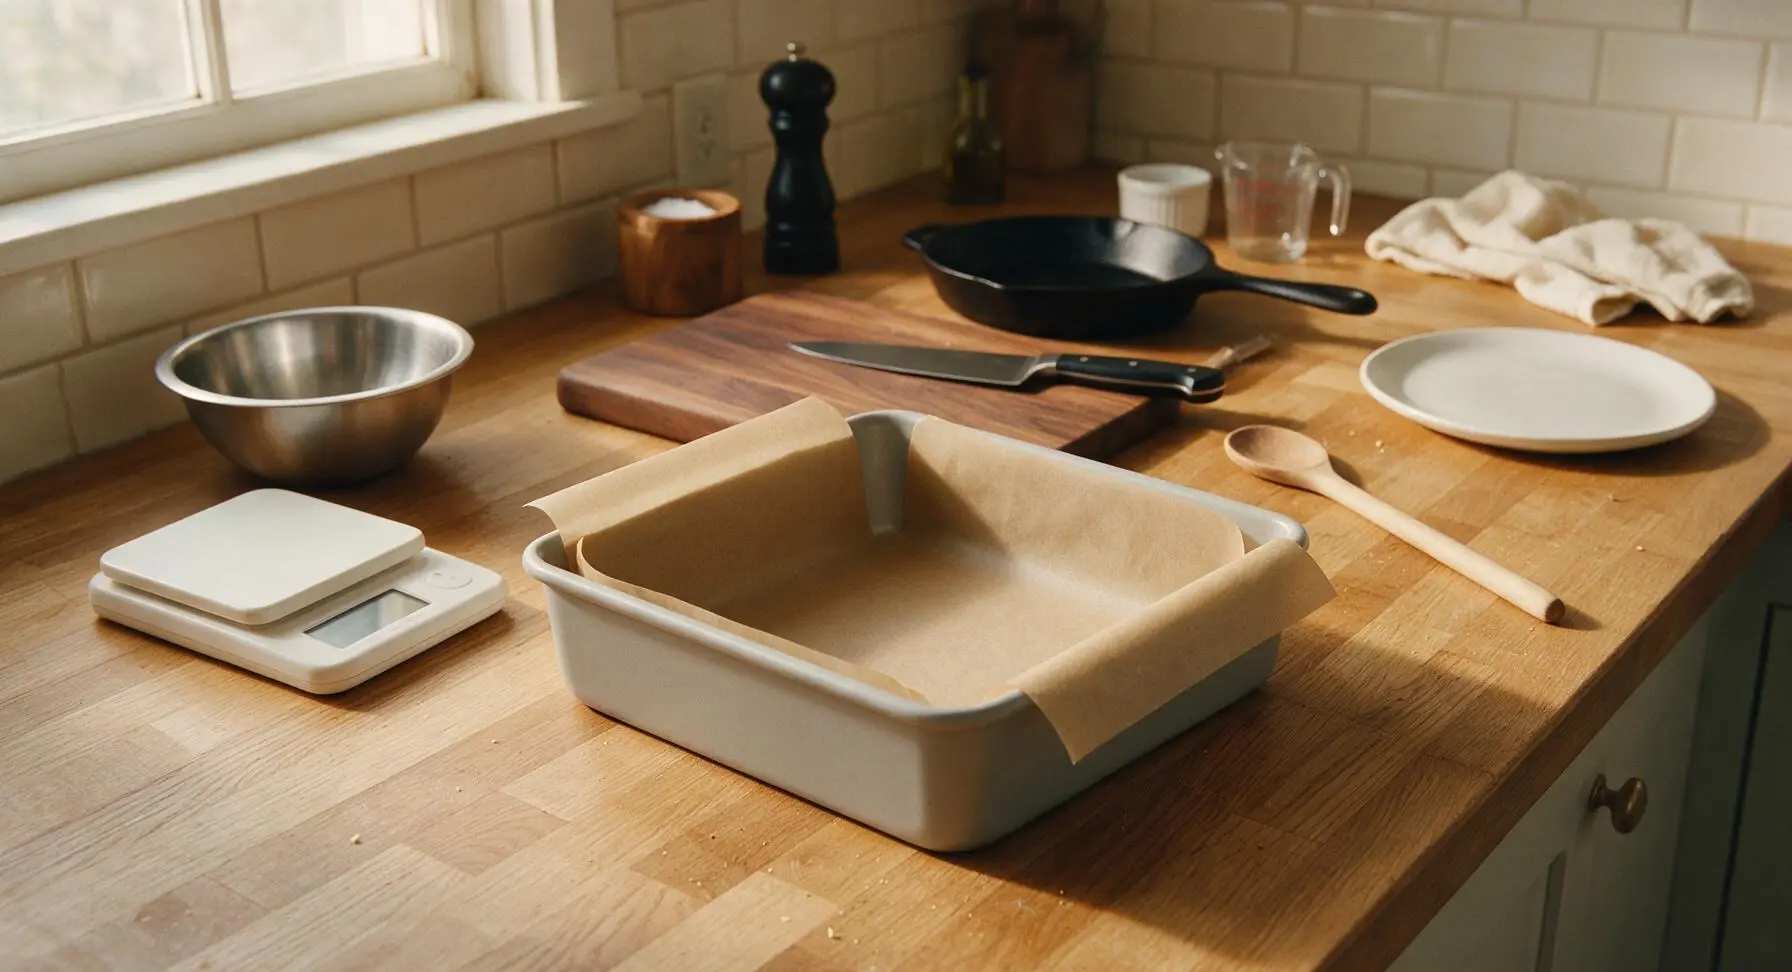
Preheat your oven to 180°C (350°F / Gas Mark 4). Line the 20cm matte light grey square baking tin with the unbleached light brown parchment paper, leaving a 2cm overhang on two opposite sides to act as lift handles for the finished flapjack. Press the paper smoothly into the tin’s corners to eliminate deep creases that would mark the final bake.
Melt Base Ingredients
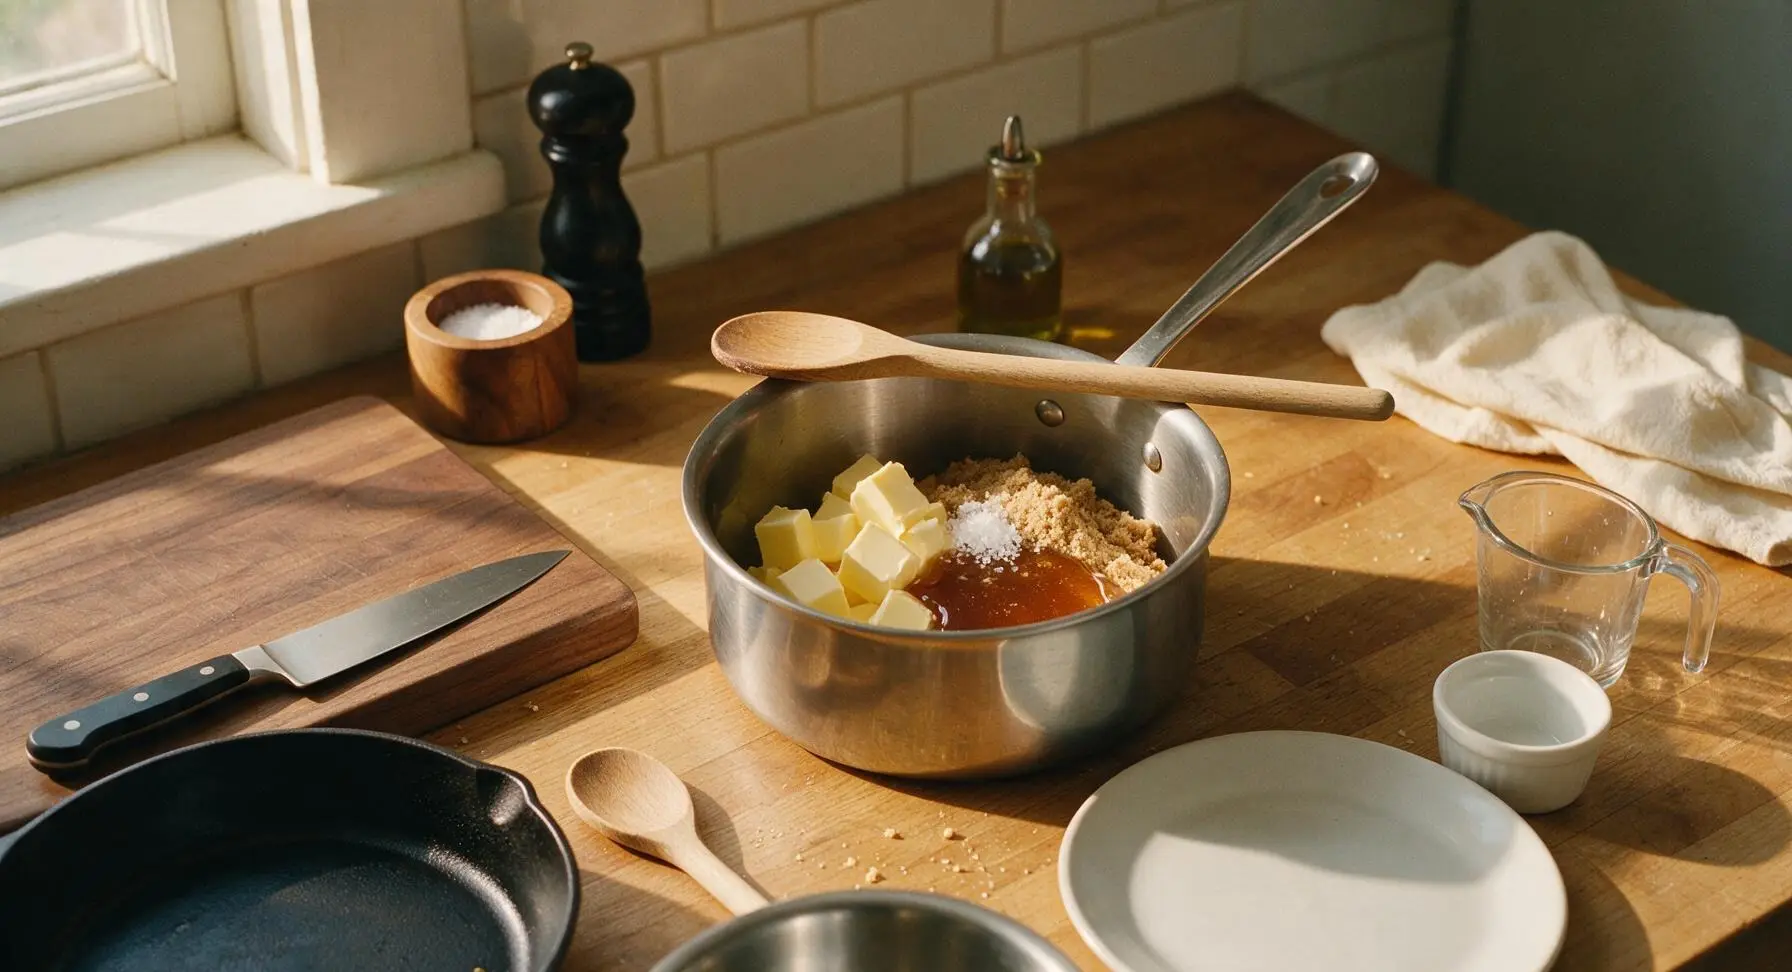
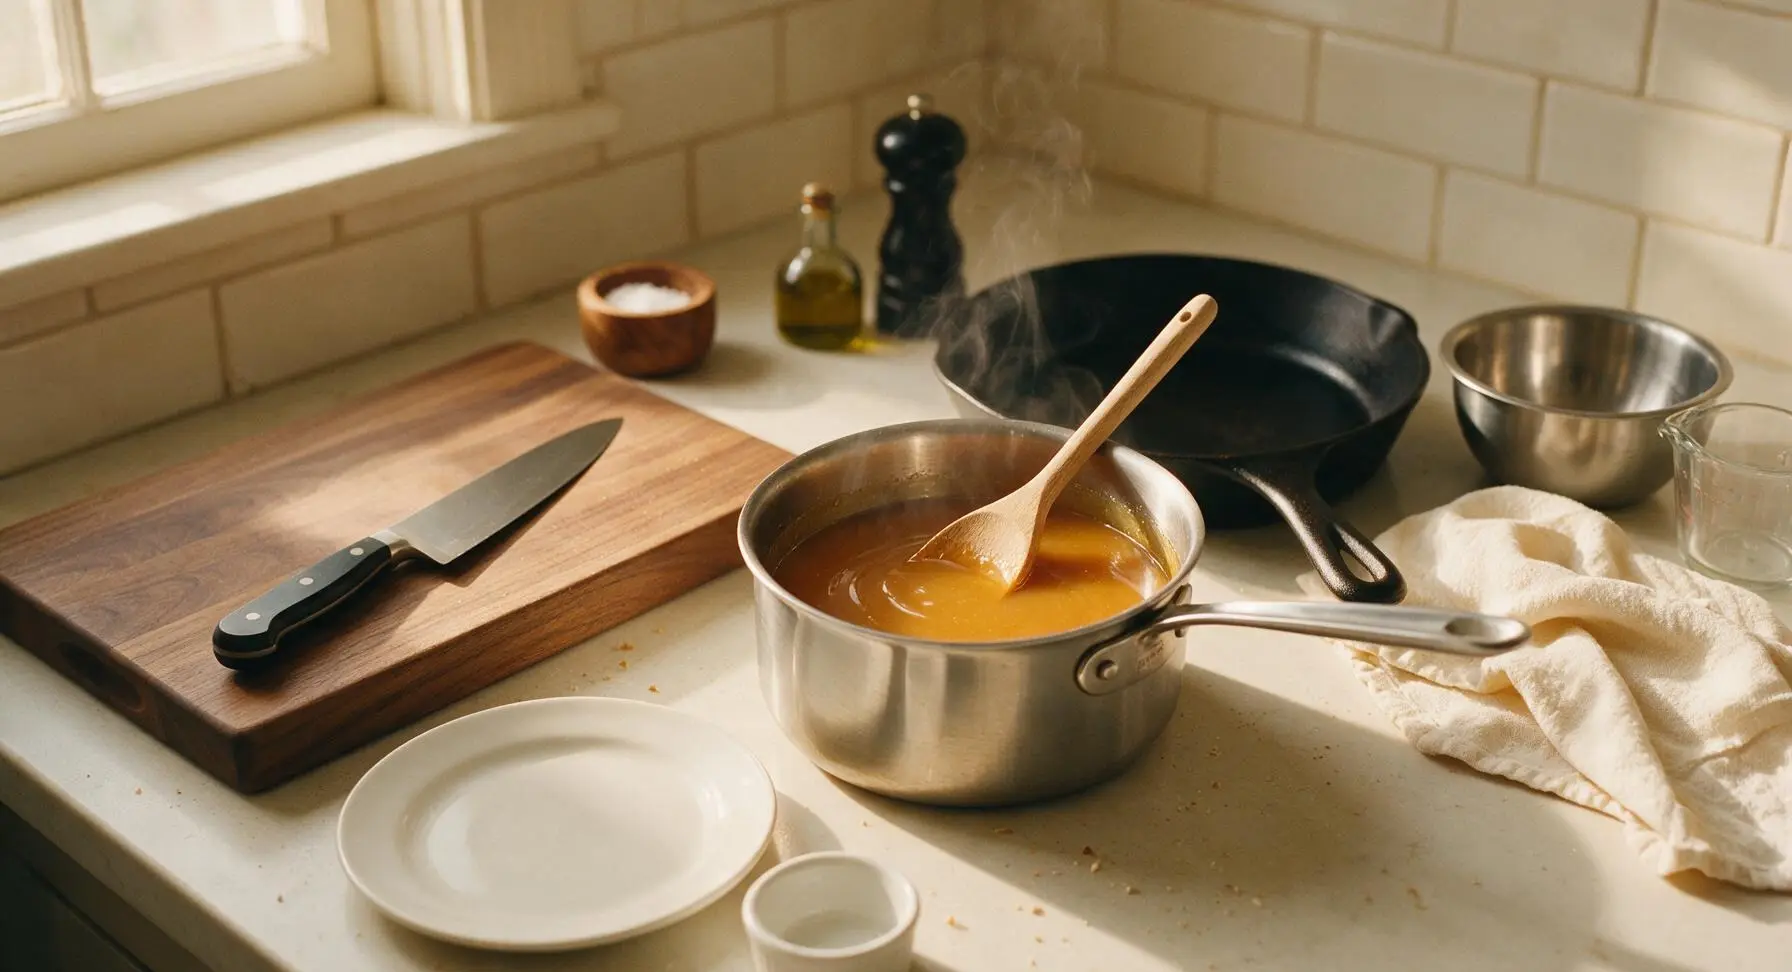
Place the 1.5L heavy-bottomed stainless steel saucepan over low heat. Add 125g cubed unsalted butter, 125g light brown soft sugar, 75g golden syrup, and 1/4 tsp flaky sea salt. Stir gently with the beech wood mixing spoon for 3-4 minutes, until the butter is fully melted, sugar has completely dissolved, and the mixture is smooth and glossy with no gritty sugar residue at the pan bottom. Do not bring the mixture to a rolling boil, as this will create hard, crunchy flapjacks instead of the classic chewy texture.
Combine With Oats
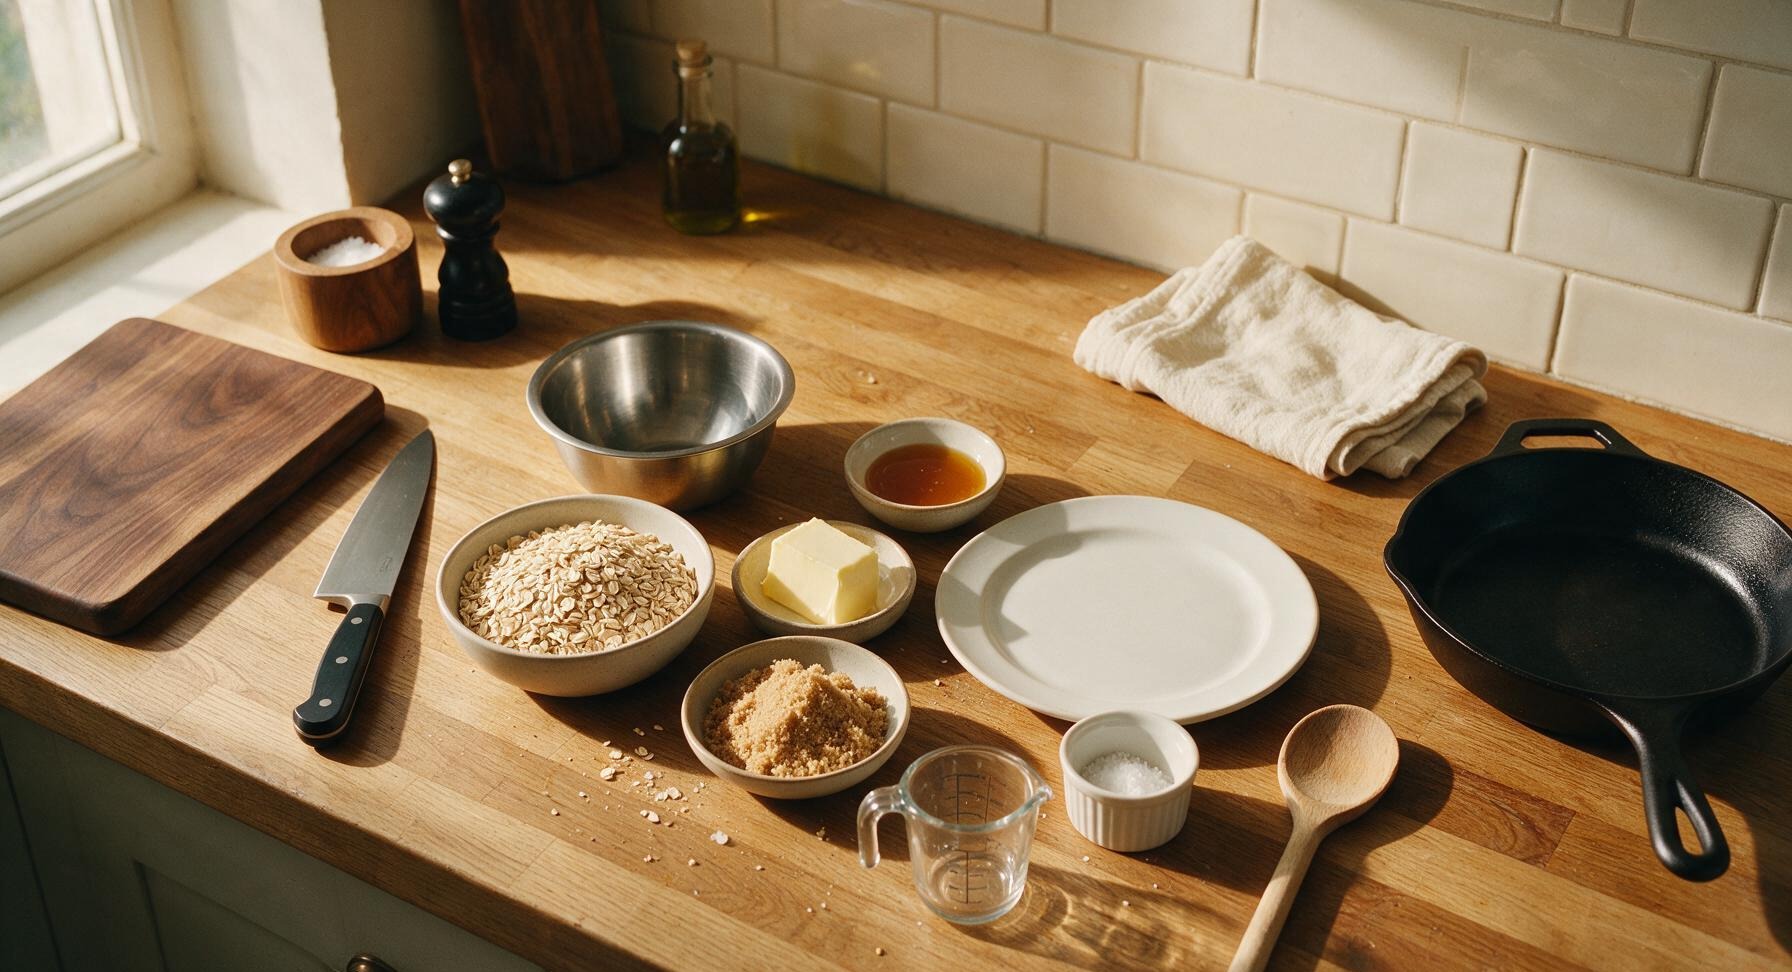
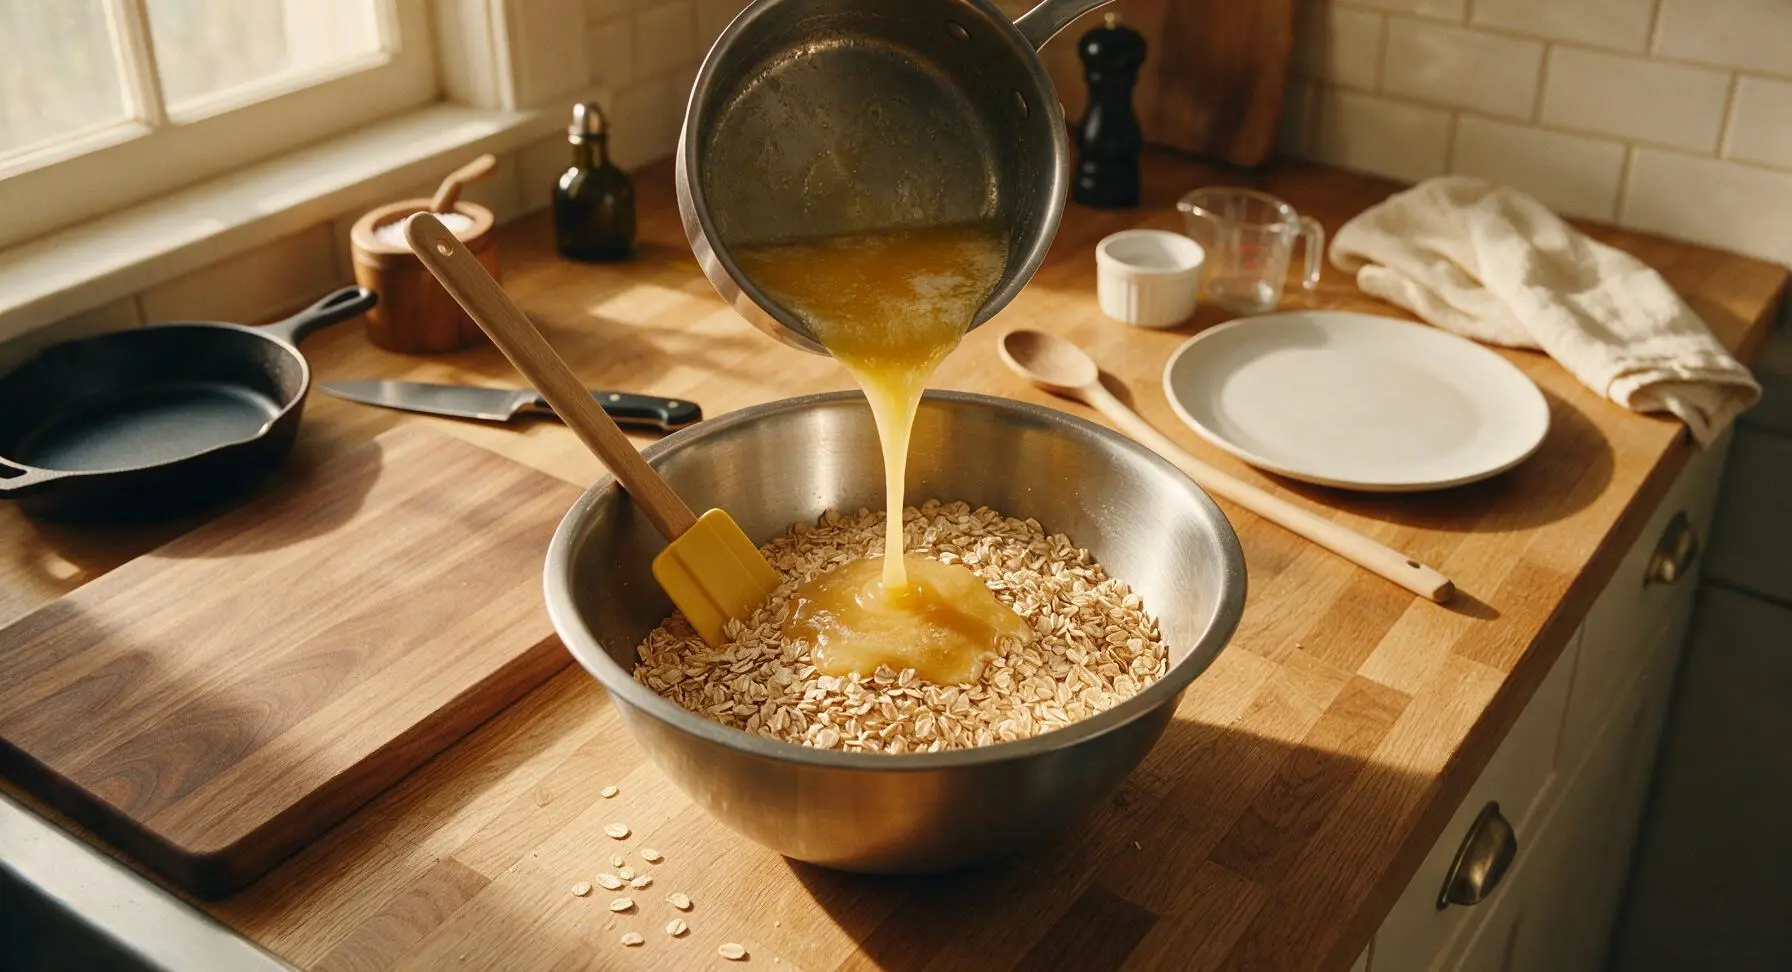
Place 250g rolled oats into the medium brushed stainless steel mixing bowl. Pour the warm melted butter-syrup mixture over the oats, then use the butter-yellow silicone spatula to stir thoroughly for 1-2 minutes, until every oat flake is evenly coated in the golden mixture, with no dry, uncoated oat patches left at the bottom of the bowl.
Press Mix Into Tin
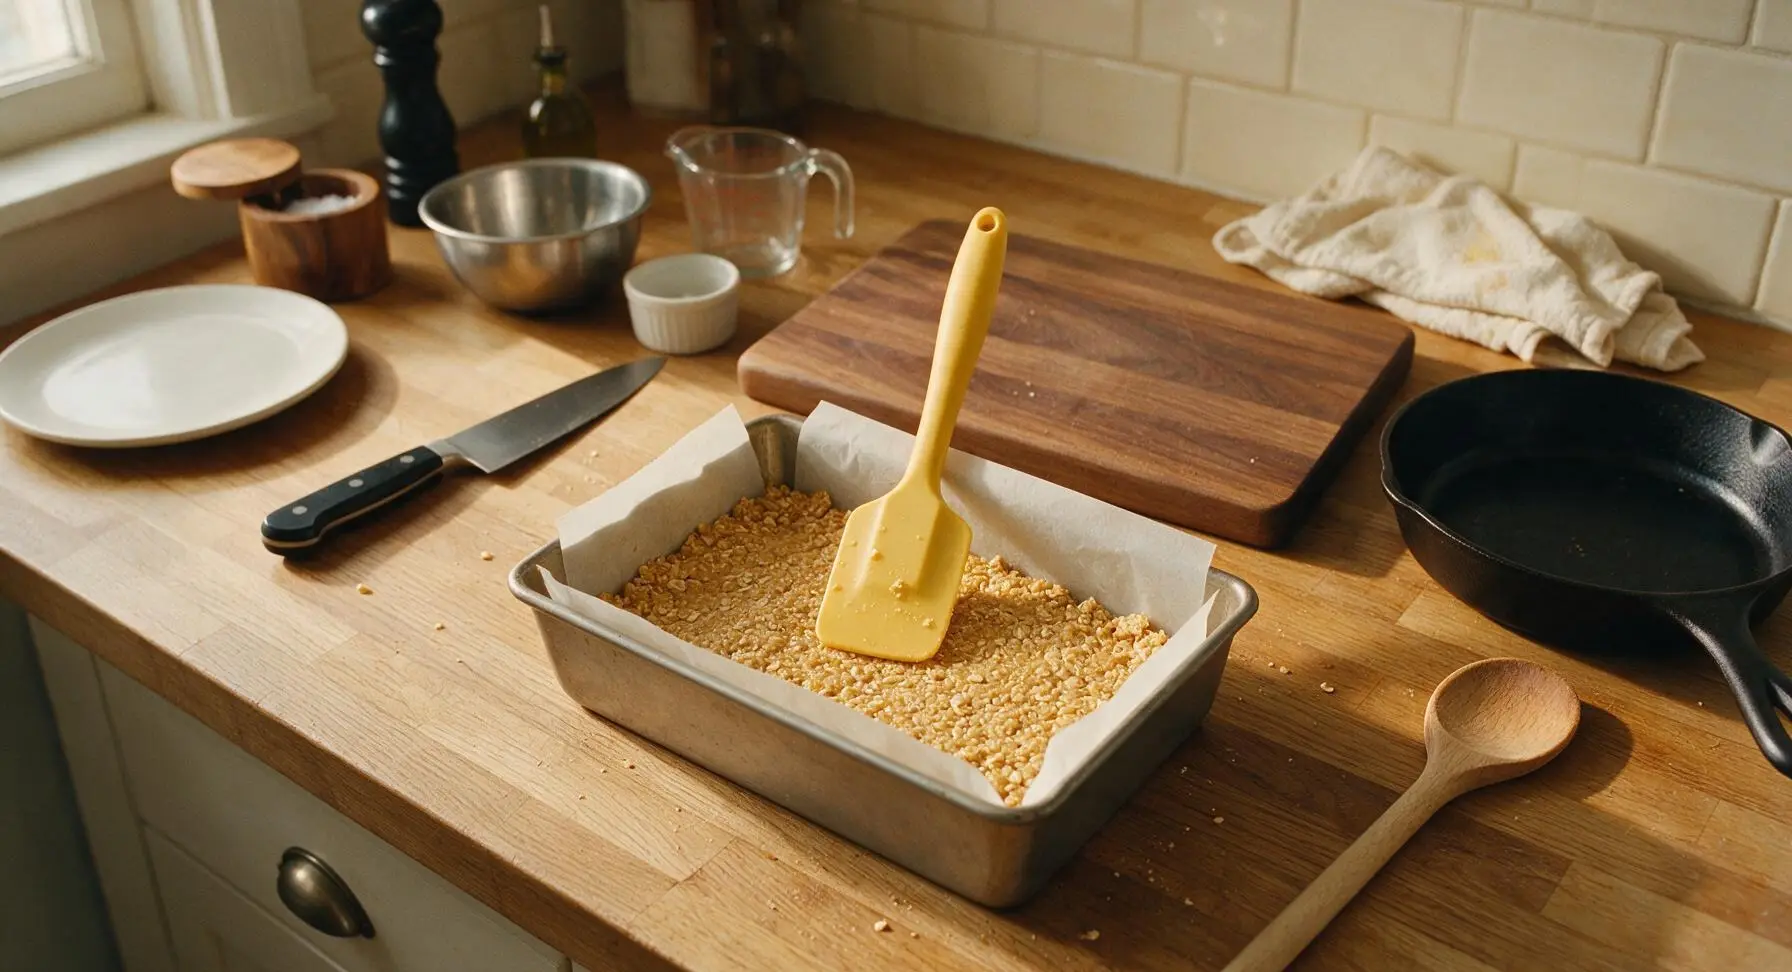
Tip the fully coated oat mixture into the parchment-lined baking tin. Use the flat back of the silicone spatula to press the mixture firmly and evenly across the entire tin base, ensuring consistent thickness right into the corners and along the edges. The surface should be smooth and compact, with no loose crumbs on top; firm pressing prevents the flapjacks from falling apart when sliced.
Bake Until Golden
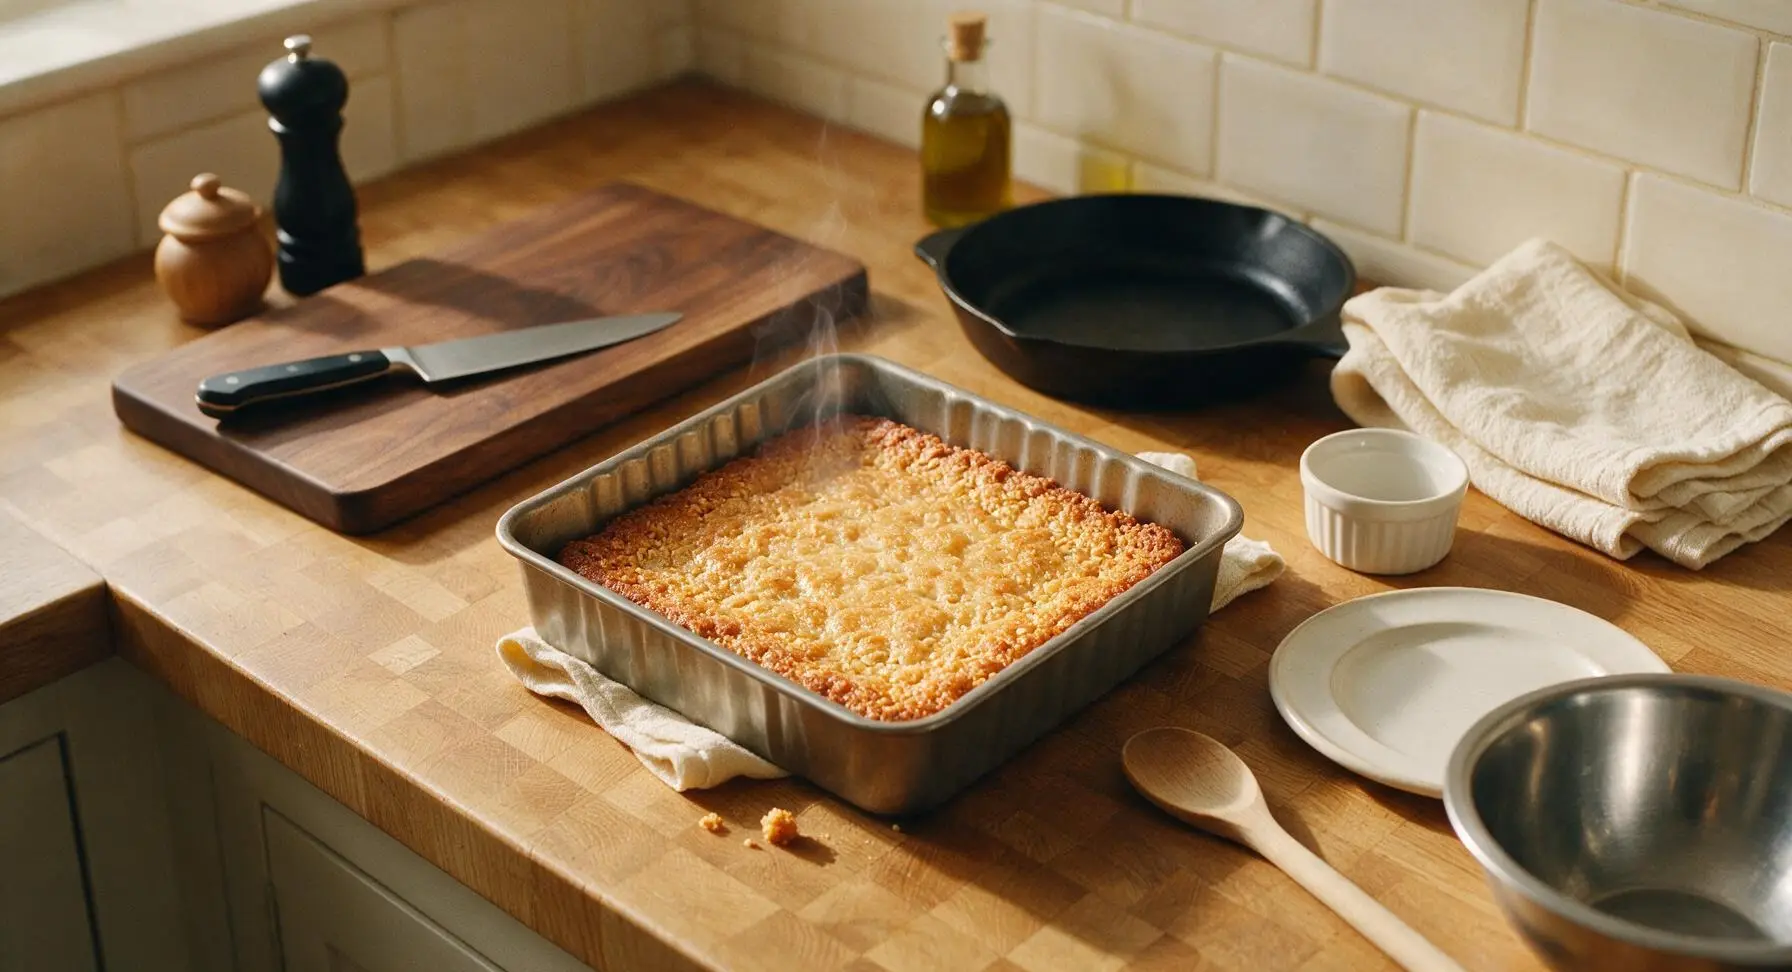
Place the tin in the preheated oven and bake for 22-25 minutes. The flapjacks are done when the edges are a deep caramel gold and the center looks slightly soft and pale golden; do not overbake, as the mixture will set firm as it cools, and extra oven time will lead to hard, crunchy flapjacks instead of chewy ones.
Cool Fully on Rack
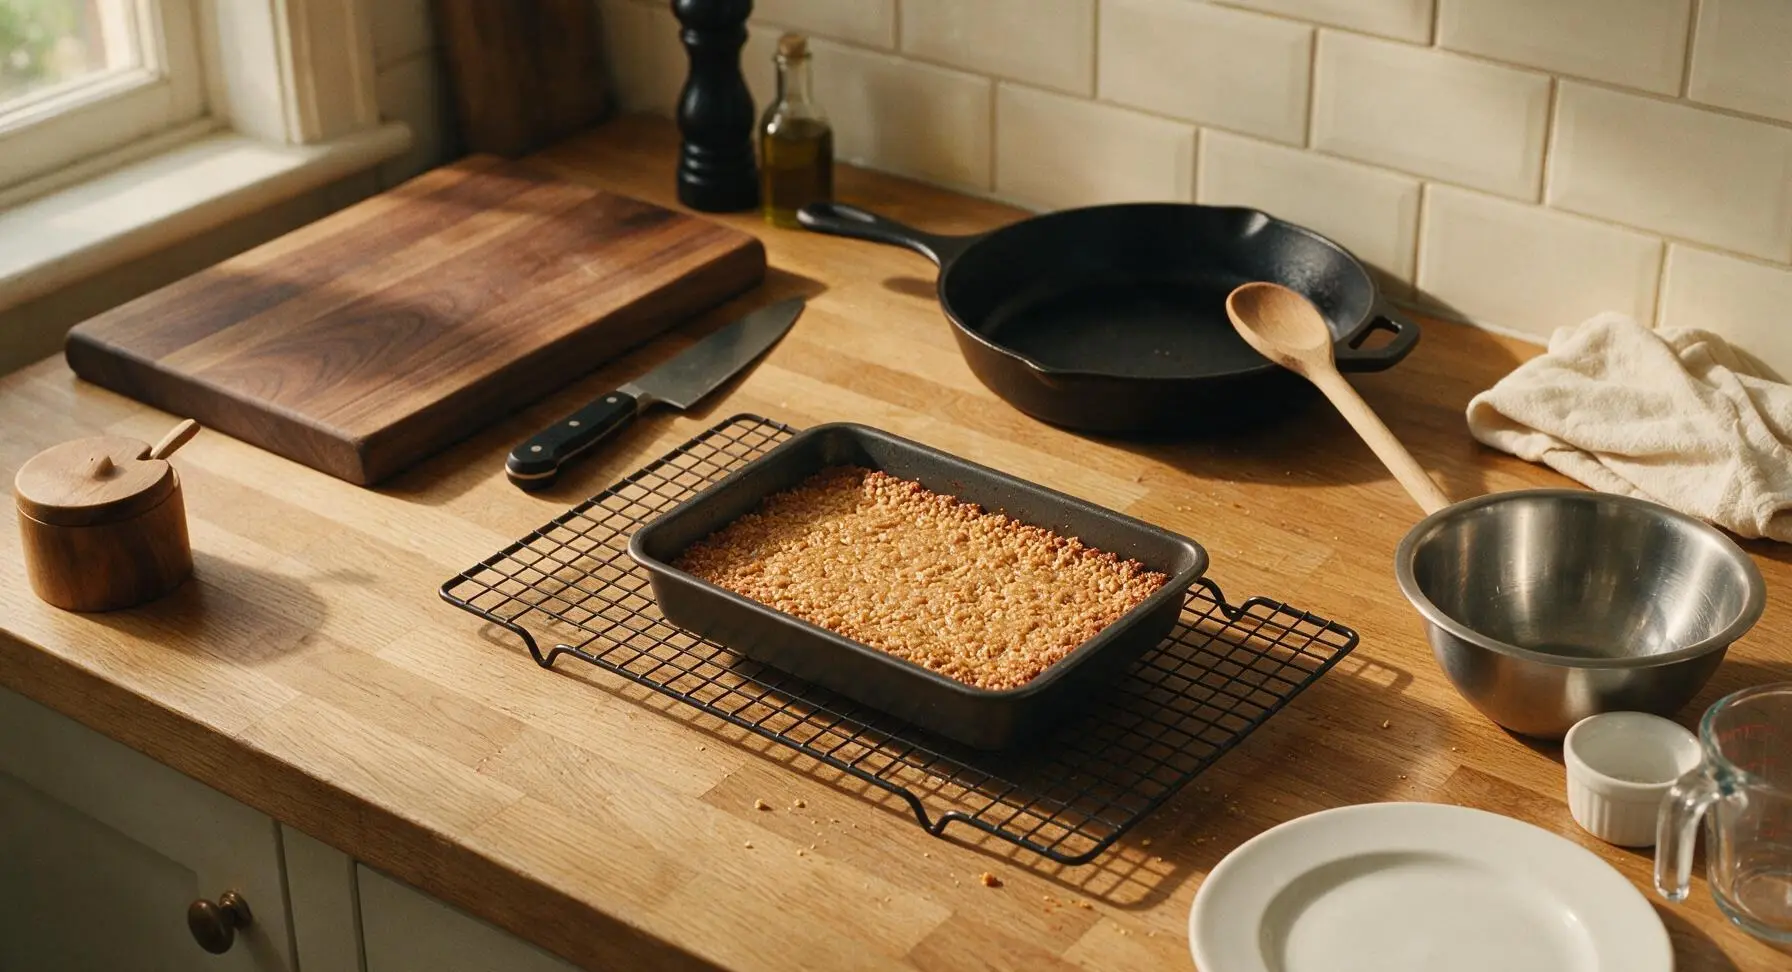
Transfer the tin to the matte black wire cooling rack and leave the flapjack to cool completely for 30 minutes. Do not attempt to lift or slice it while warm, as it will be too soft and will crumble apart. This cooling period allows the butter and syrup to set, holding the oat slices firmly together.
Slice Into Squares
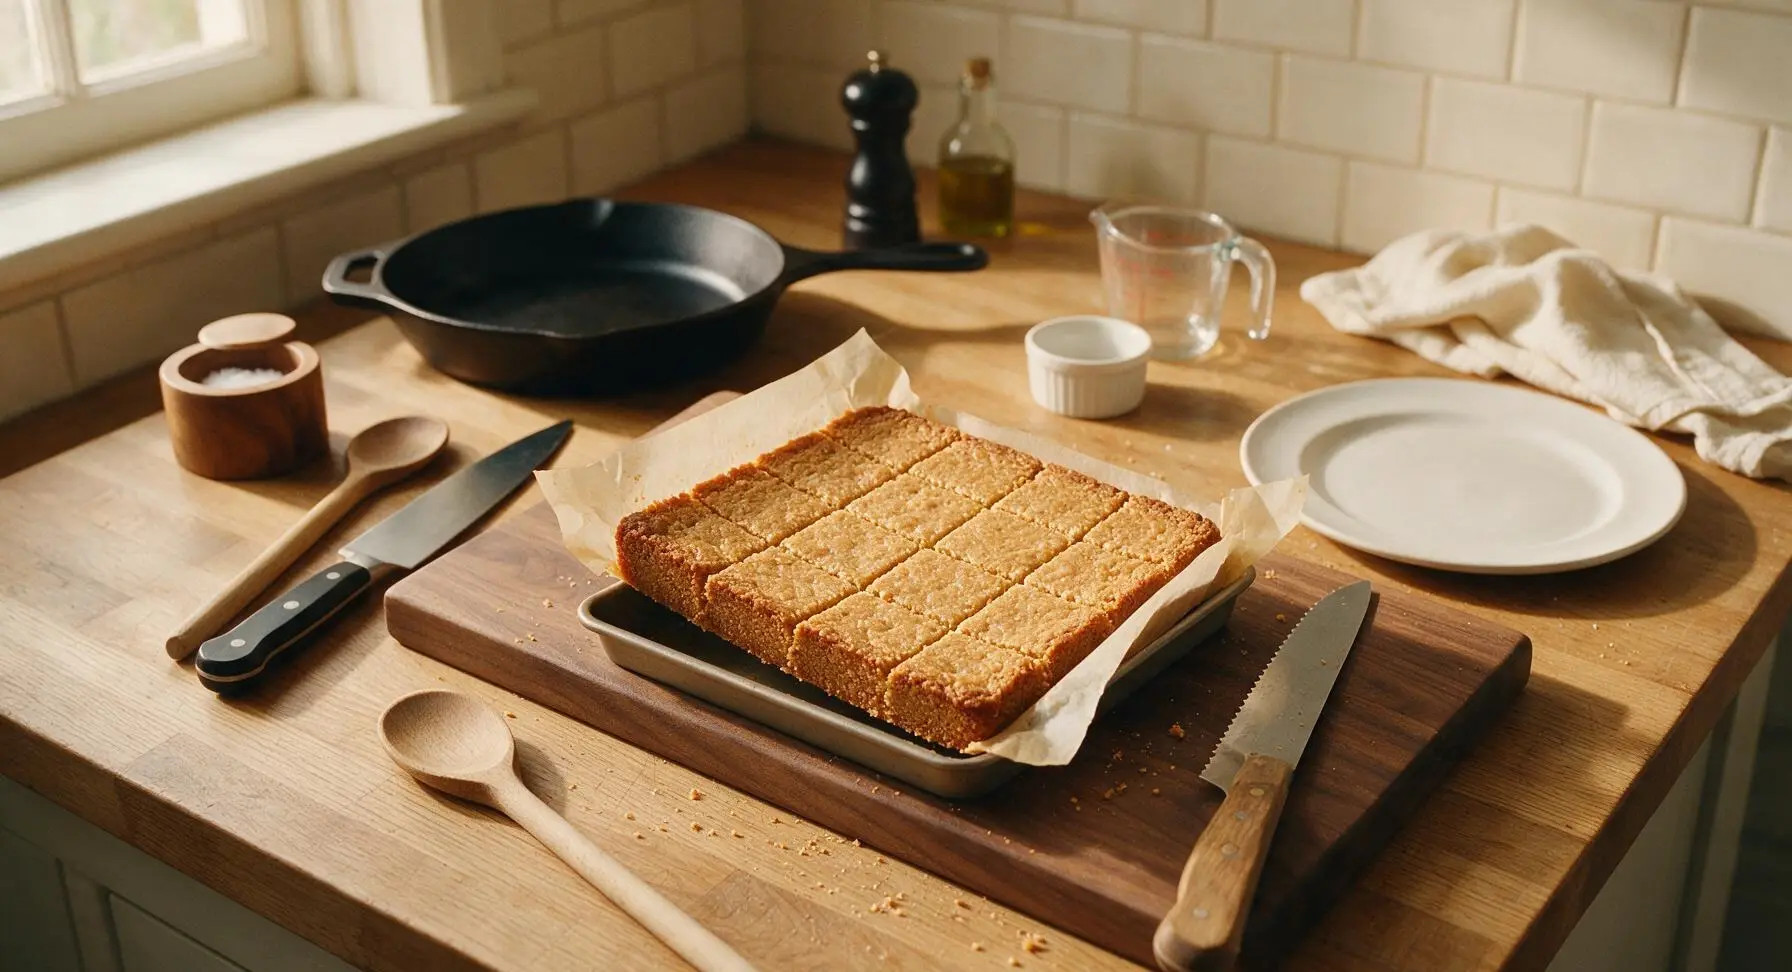
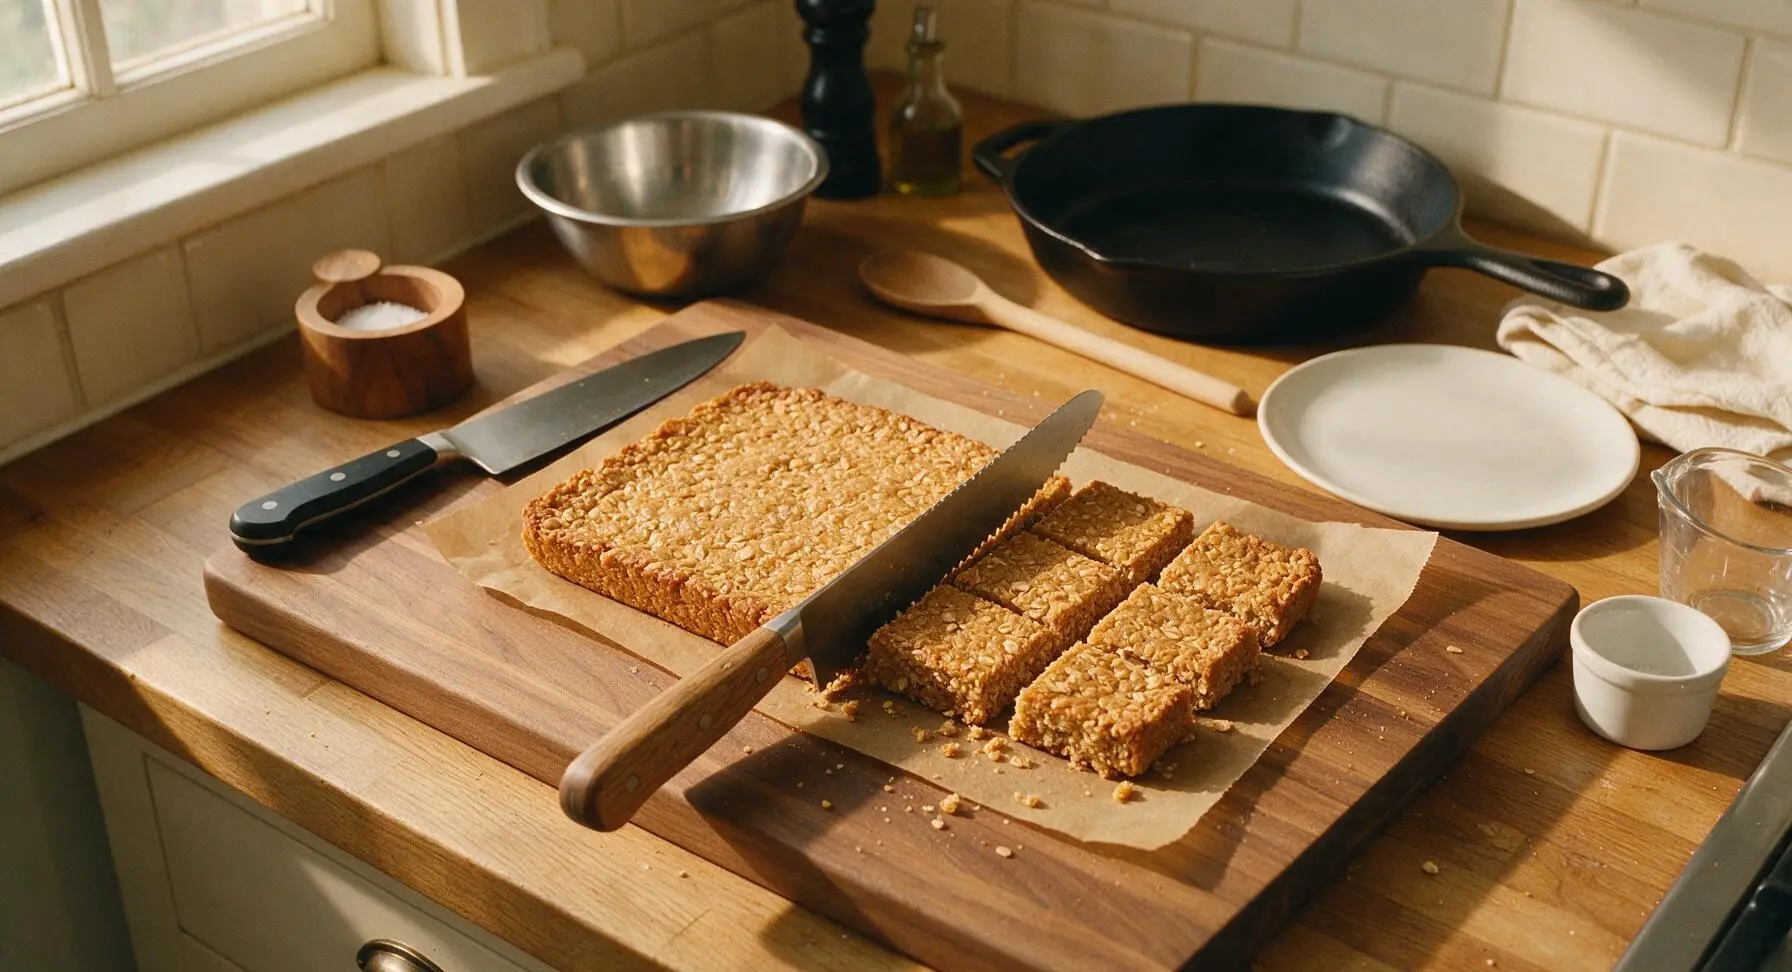
Once fully cool, use the parchment paper overhang to lift the entire slab of flapjack out of the tin and set it on the counter surface. Use the serrated oak-handled knife to cut the slab into 12 even 5cm squares, wiping the blade between cuts for clean edges. Slight crumbing along the cut edges is normal and expected for homemade flapjacks.
Tips
2.Avoid boiling the butter-sugar-syrup mixture and do not overbake: boiling the sugar or extending bake time will cause the sugar to harden as it cools, resulting in tooth-breakingly crunchy flapjacks instead of the desired soft, chewy texture.
3.Wait for full cooling before slicing: warm flapjacks are structurally soft and will crumble when cut, but the syrup and butter set firmly as they cool, producing clean, neat slices that hold their shape.






OMG these flapjacks are SO good! I threw them together last minute for my kid’s soccer team potluck and every single bar was gone in 10 minutes. I added a handful of chocolate chips on top like some other reviewers mentioned and chef’s kiss. So easy even my 10 year old helped stir!
Total game changer for my weekly meal prep! 25 minute cook time? No fancy ingredients? Sign me up. I keep a couple bars in my backpack for early morning classes and they hold me over way better than granola bars from the vending machine. Only note: I cut them a little smaller than the recipe says so they’re perfect snack-sized portions.
Wait a second — I thought flapjacks were pancakes? 😂 I almost skipped this recipe until I realized these are the chewy oat bars, and holy cow am I glad I gave them a shot. They taste like the buttery oat cookie bars my grandma used to make, no exaggeration. Only knocking a star because I burned the edges the first time because my oven runs hot, totally my bad though. I will 100% be making these for my next book club meeting.
Super easy recipe for someone who literally burns toast half the time! I was nervous they wouldn’t set right, but I followed the instructions exactly and they came out perfectly chewy, not too hard, not too sticky. My partner said they’re better than the fancy coffee shop version we pay $4 a bar for.
Made these for our family Sunday dinner dessert and my kids loved it! I swapped half the butter for peanut butter because we’re a peanut butter obsessed household and it worked like a charm. Chewy, salty-sweet, total crowd pleaser. Will be adding this to our regular rotation.
I was so happy to see how simple this recipe is! I used certified gluten-free oats to make these for my roommate who has celiac, and they turned out incredible. We ate half the pan while watching our favorite show last night. The buttery, caramelized oat flavor is unreal for how little effort this takes.
Pro tip from someone who’s made these three times already: add a tiny pinch of flaky sea salt on top right before you pull them out of the oven. It cuts the sweetness so well and makes them taste straight out of a fancy bakery. I made a batch for my day hike last weekend and they gave me so much sustained energy up the trail, way better than expensive energy bars.