
British French Fancies
intro
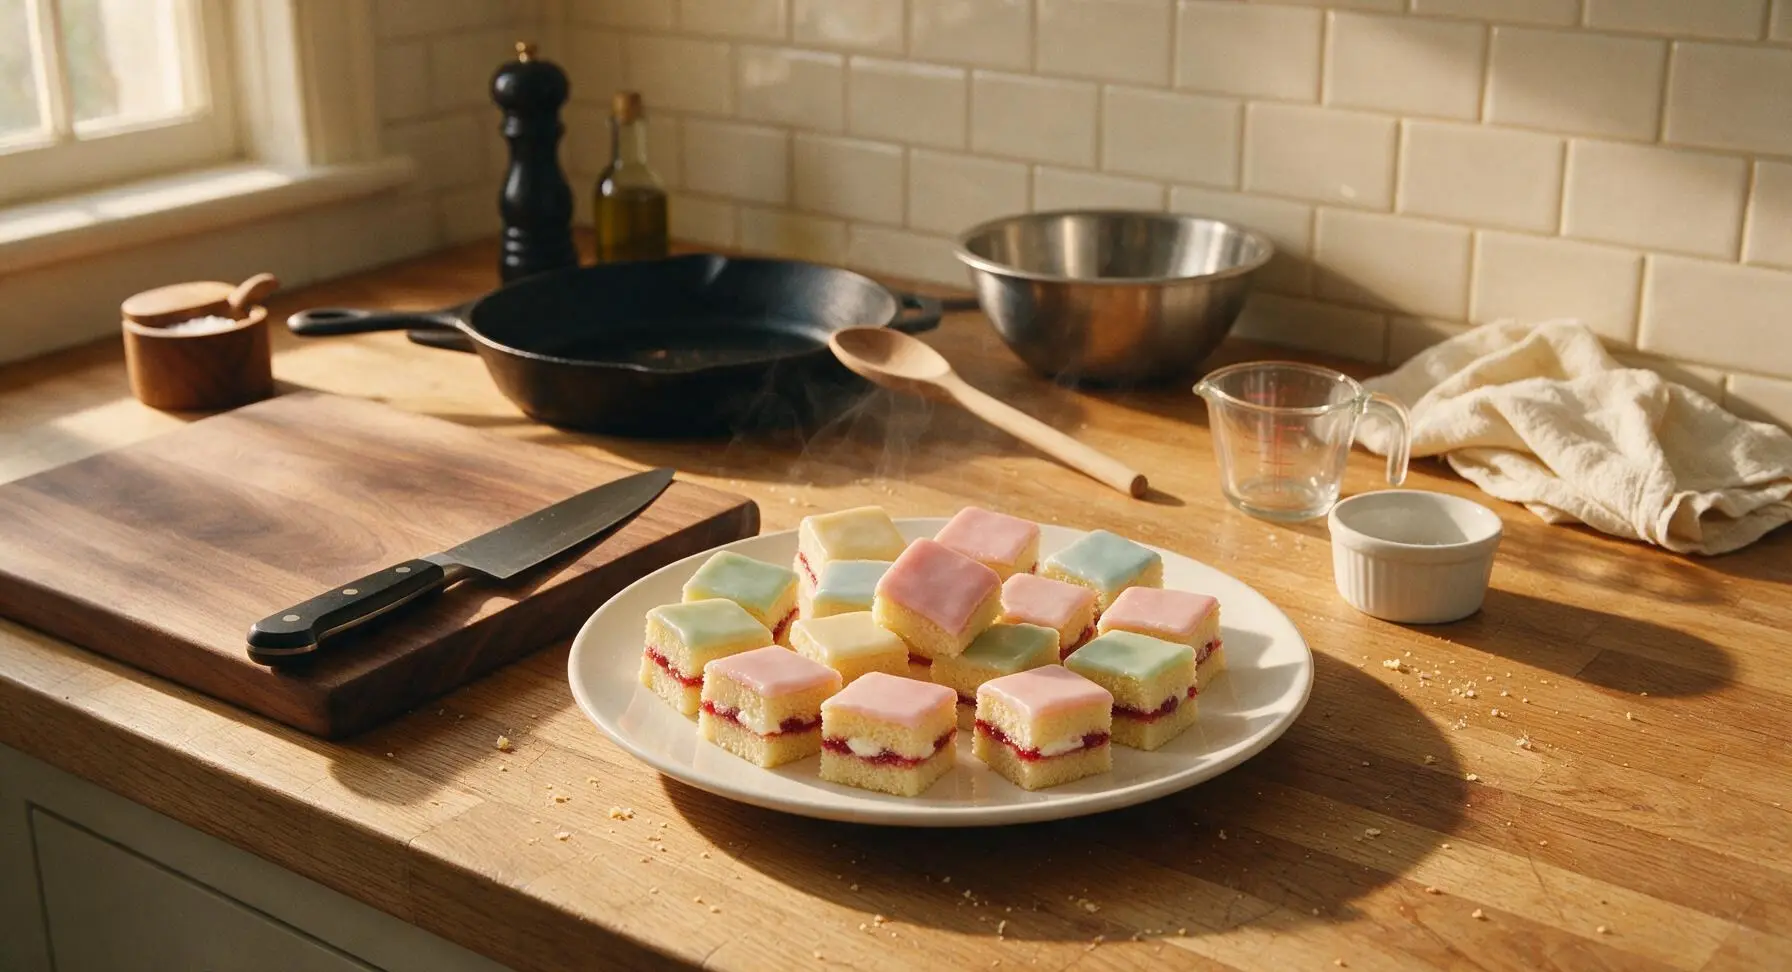
Tiny, glossy pastel-iced vanilla sponge cubes filled with raspberry jam and buttercream, a beloved British afternoon tea staple perfect for spring baking spreads.
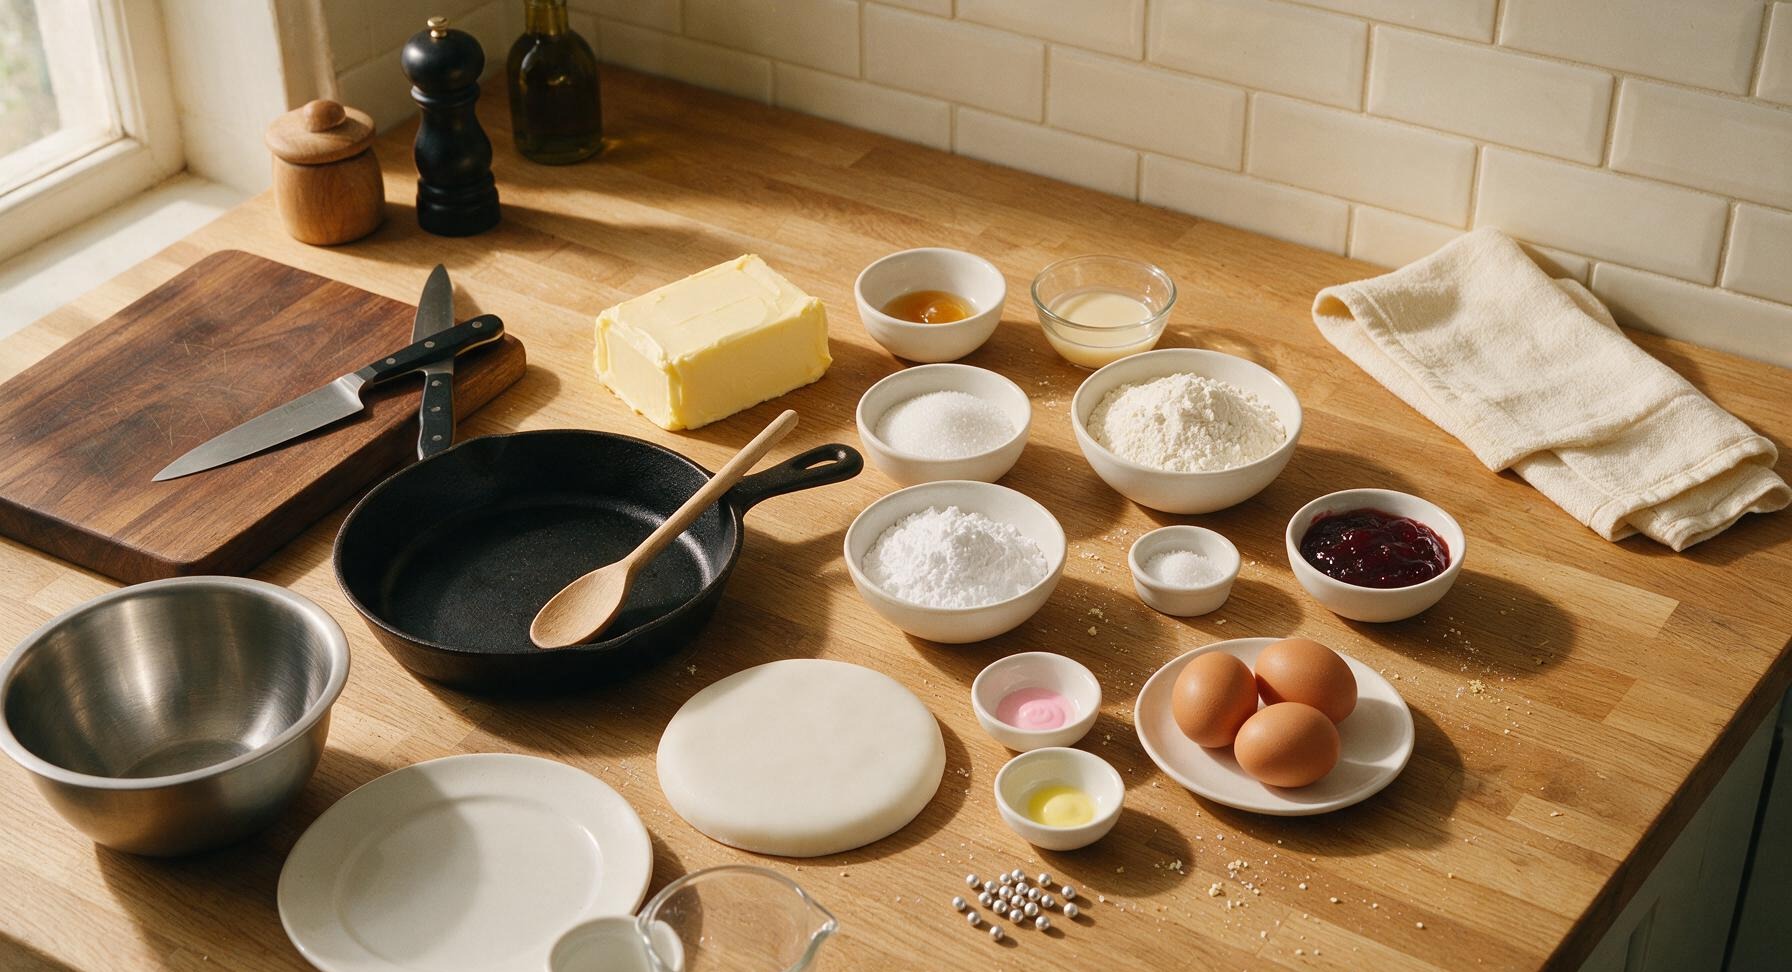
Ingredients
Steps
Prepare and Bake Sponge
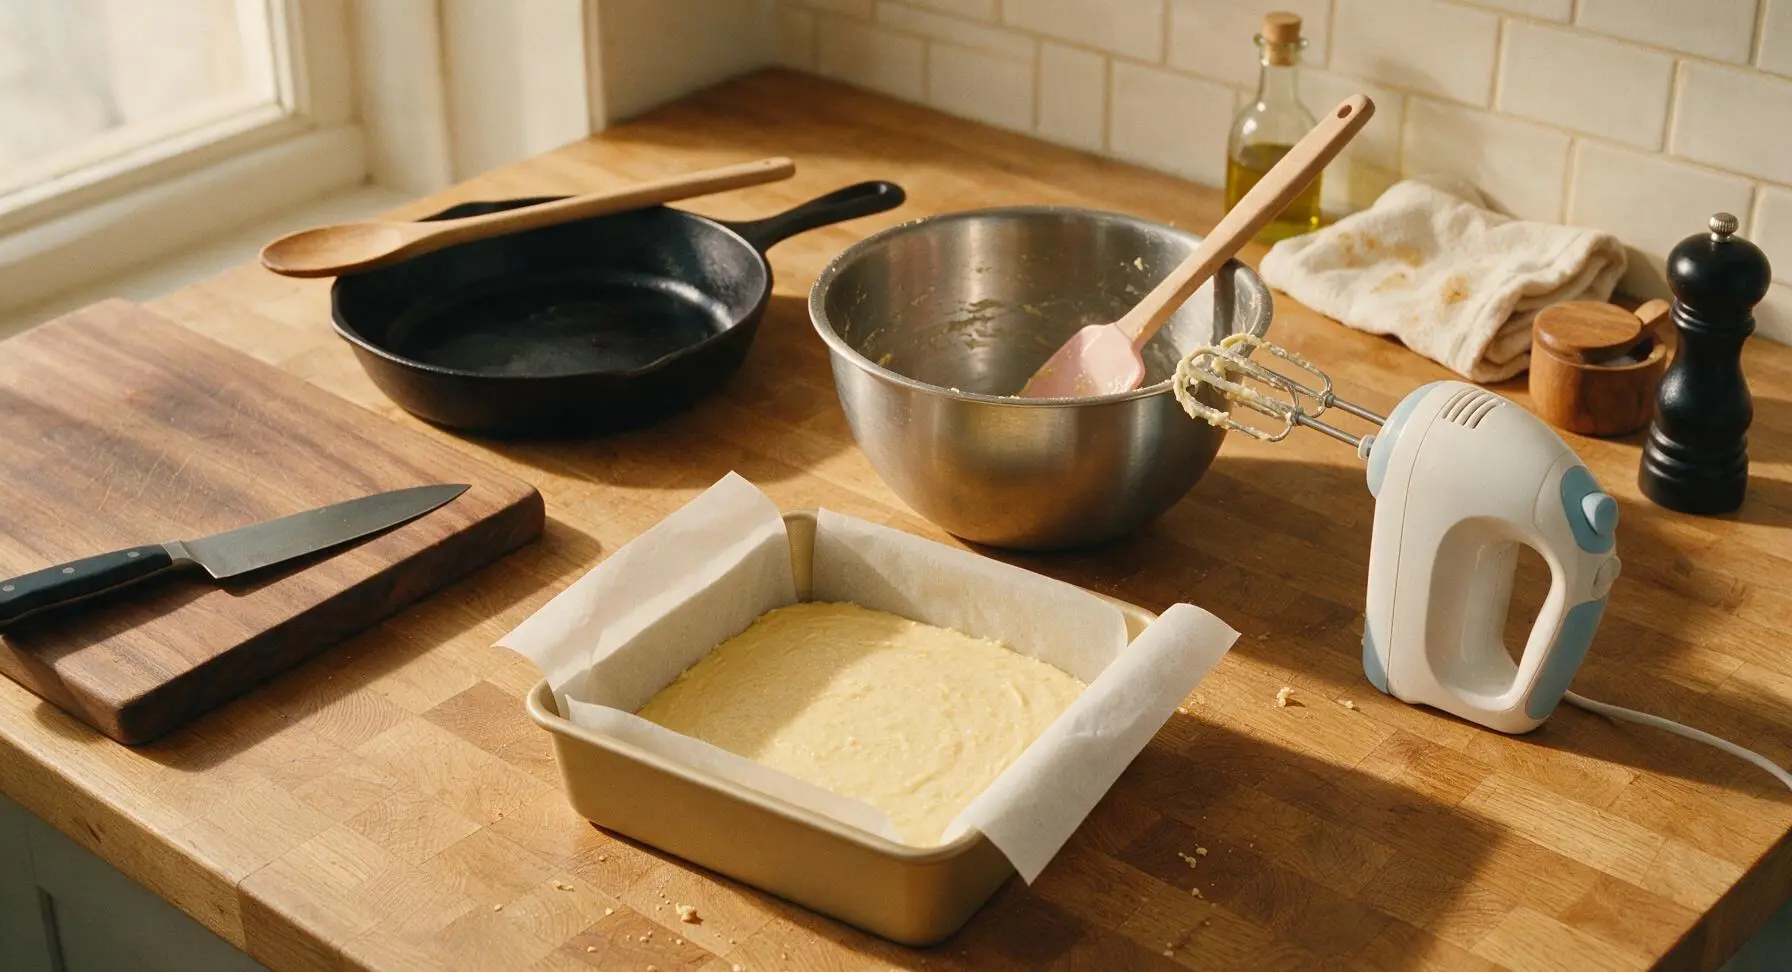
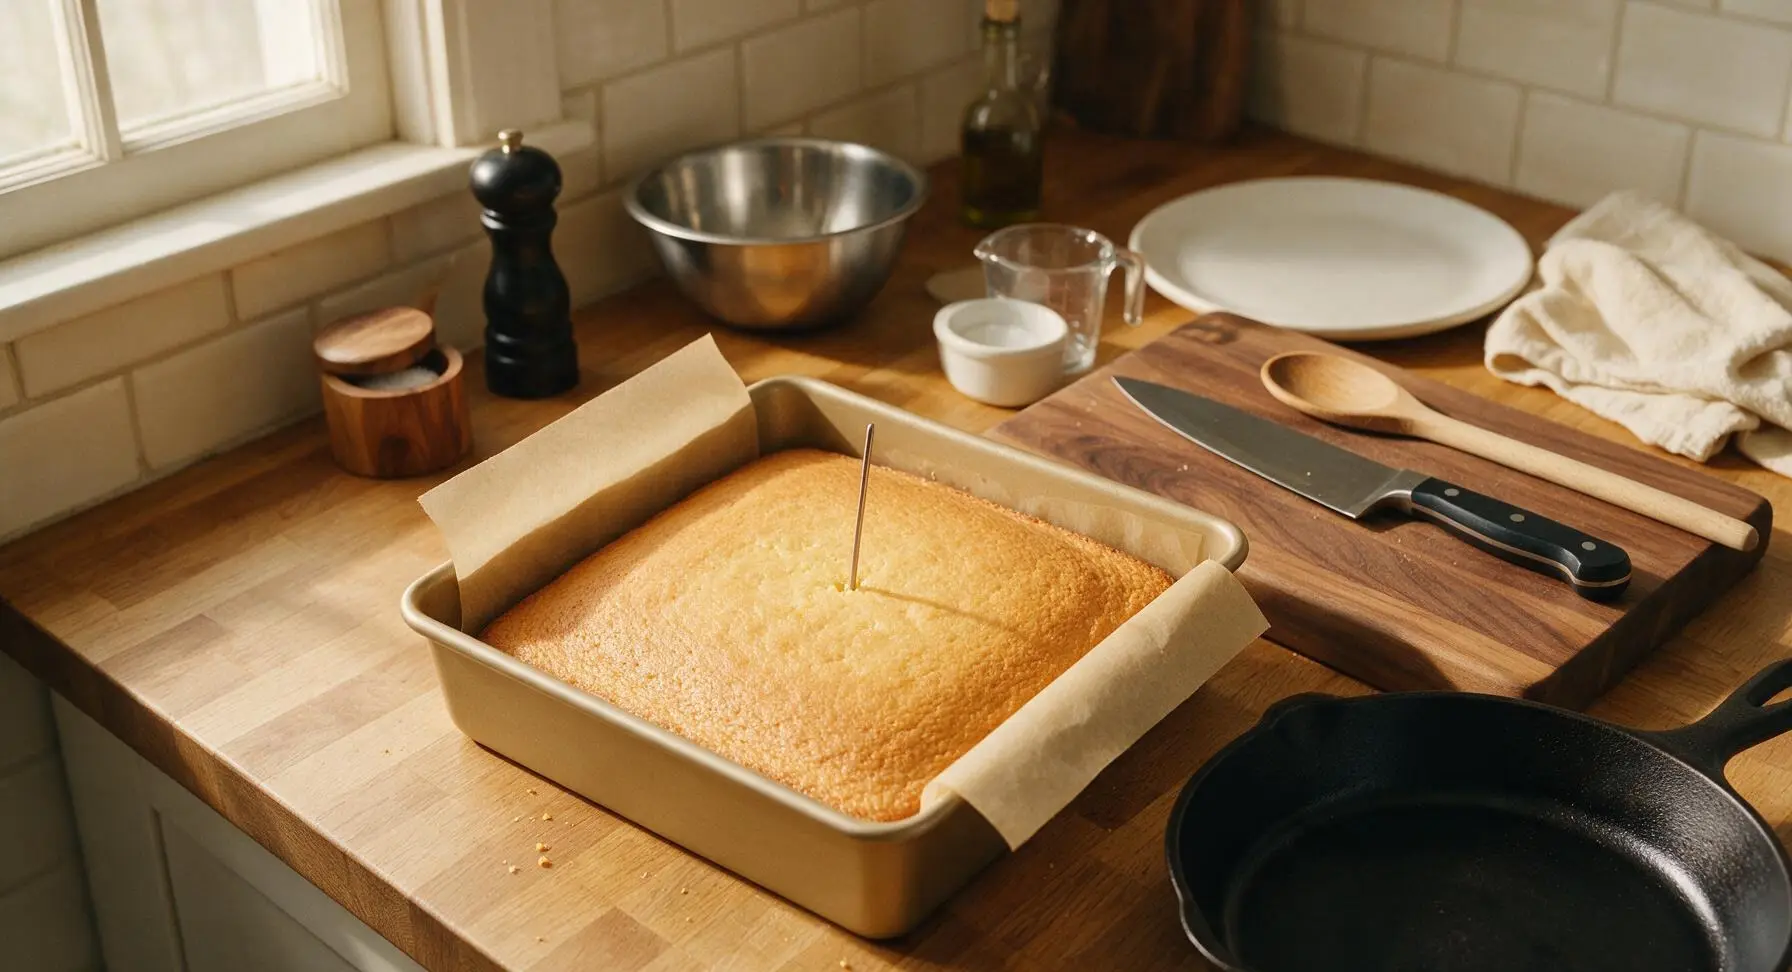
Preheat oven to 180°C (350°F, gas mark 4). Line the 20cm square light gold non-stick baking tin with pre-cut parchment paper, leaving 2cm overhang on opposite sides for easy removal. In the large stainless steel mixing bowl, beat 175g softened unsalted butter, caster sugar, vanilla paste, and salt with the electric hand mixer on medium speed for 3–4 minutes until pale, fluffy, and nearly white in color. Add eggs one at a time, beating 30 seconds after each, stirring in 1 tablespoon of flour if the mixture curdles. Fold in remaining self-raising flour and milk with the pale pink silicone spatula until no dry streaks remain. Scrape batter into the tin, smooth the surface level, and bake for 18–20 minutes until the top is golden and springy to the touch, and a skewer inserted in the center comes out with no wet batter attached.
Cool and Trim Sponge
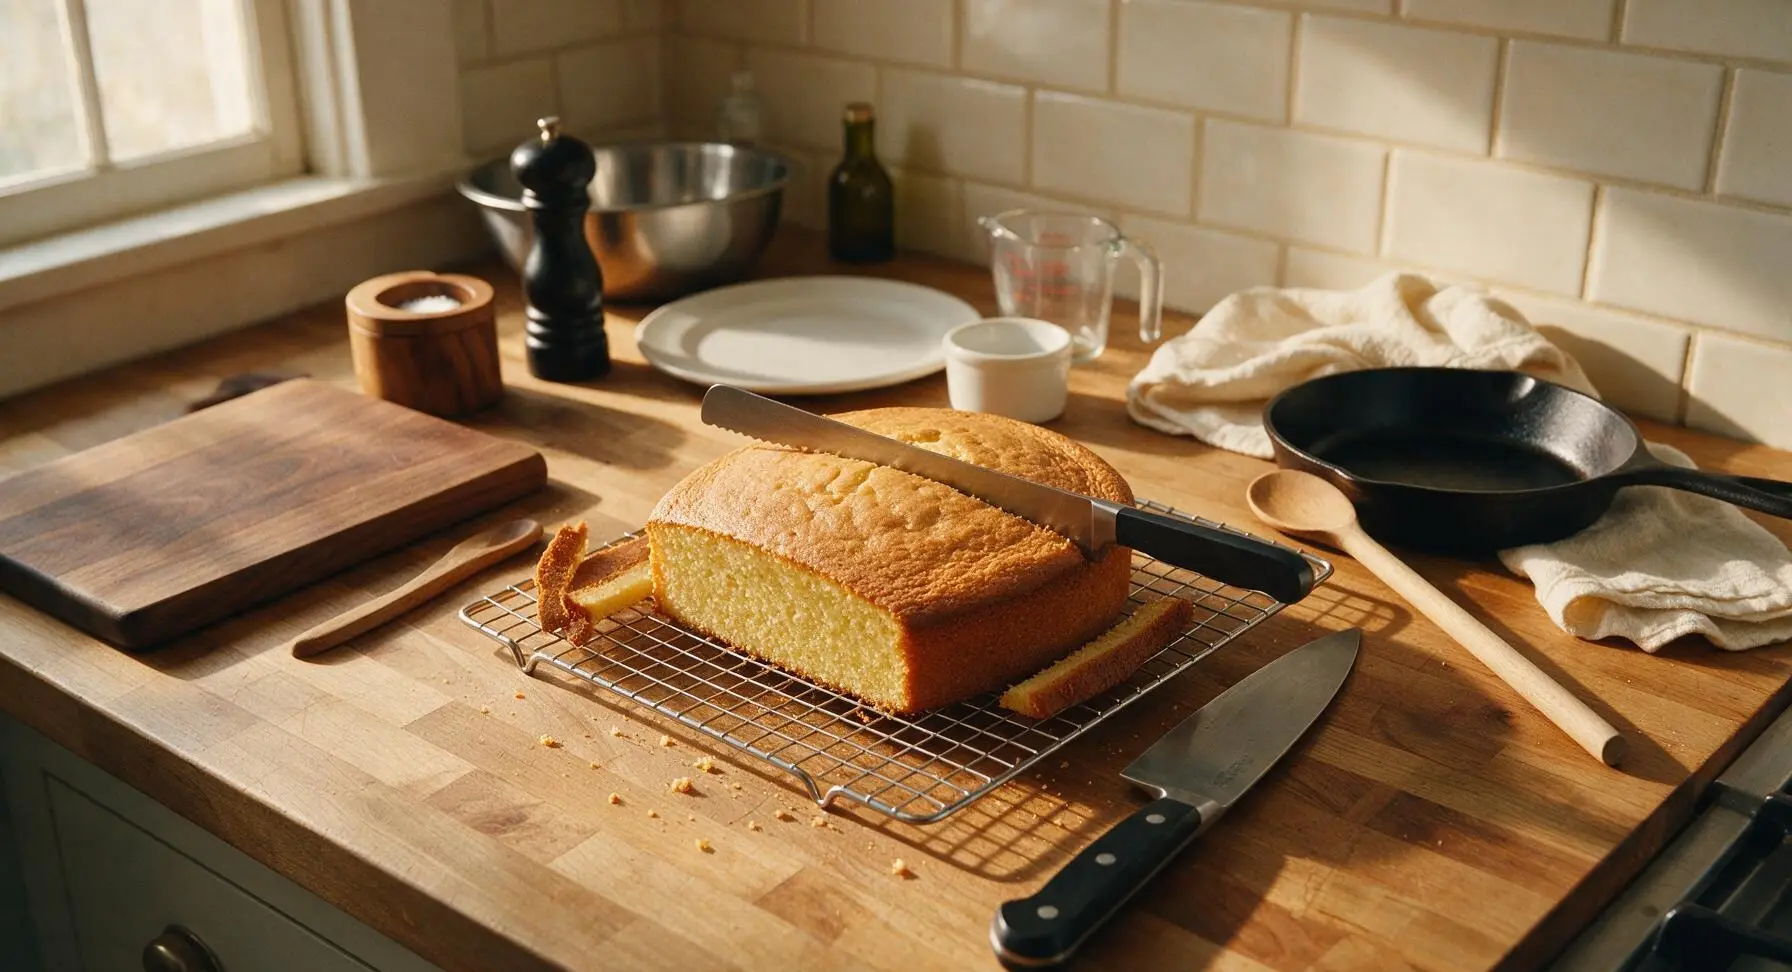
Lift the baked sponge from the tin using the parchment overhang, and transfer it to the chrome wire cooling rack. Leave to cool completely for 1 hour (do not ice warm sponge, as fondant will melt). Once fully cool, use the long serrated bread knife to level the domed top of the sponge to create a perfectly flat, even 3cm thick slab. Trim off the crisp browned edges from all four sides to expose the soft pale yellow sponge interior, then cut the slab evenly into 16 x 4cm square cubes.
Make Buttercream Filling
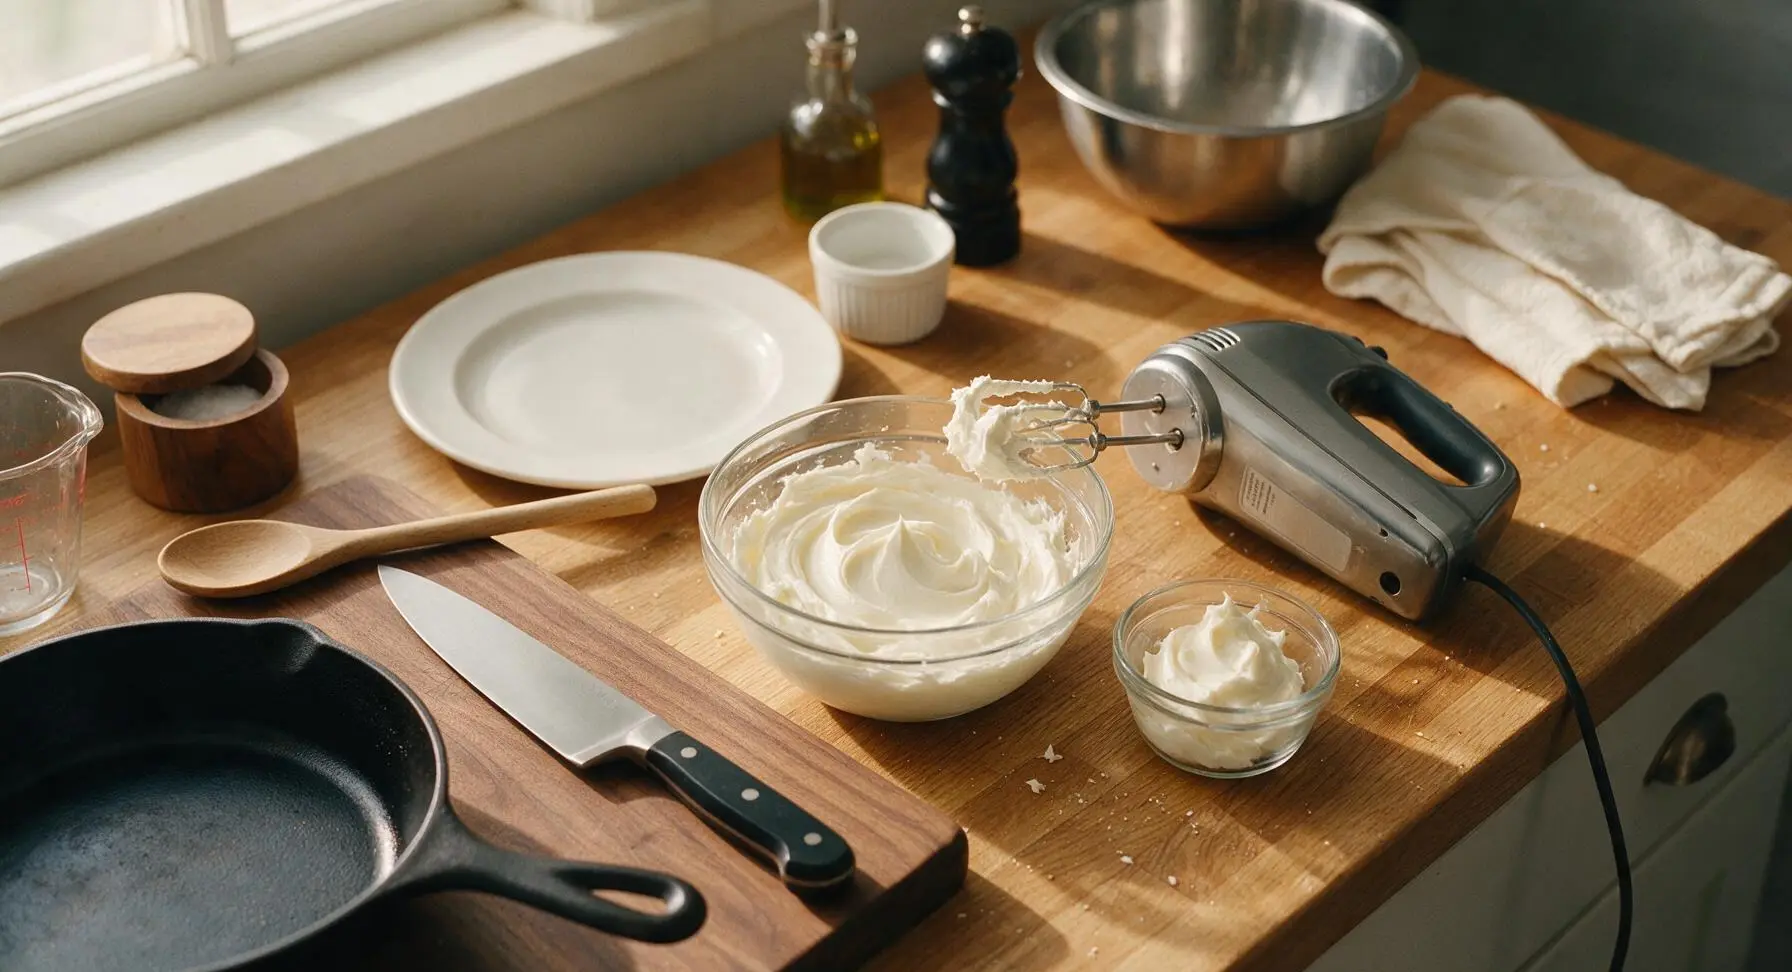
While the sponge cools, make the vanilla buttercream: in a clean small glass mixing bowl, beat 100g softened unsalted butter with the electric hand mixer on low speed for 2 minutes until completely smooth. Gradually add sifted icing sugar 1 tablespoon at a time, beating on low until combined, then increase speed to medium and beat for 3 minutes until light, fluffy, and pure white. Set aside 2 tablespoons of buttercream in a small clear glass ramekin for final decoration.
Fill Sponge Cubes
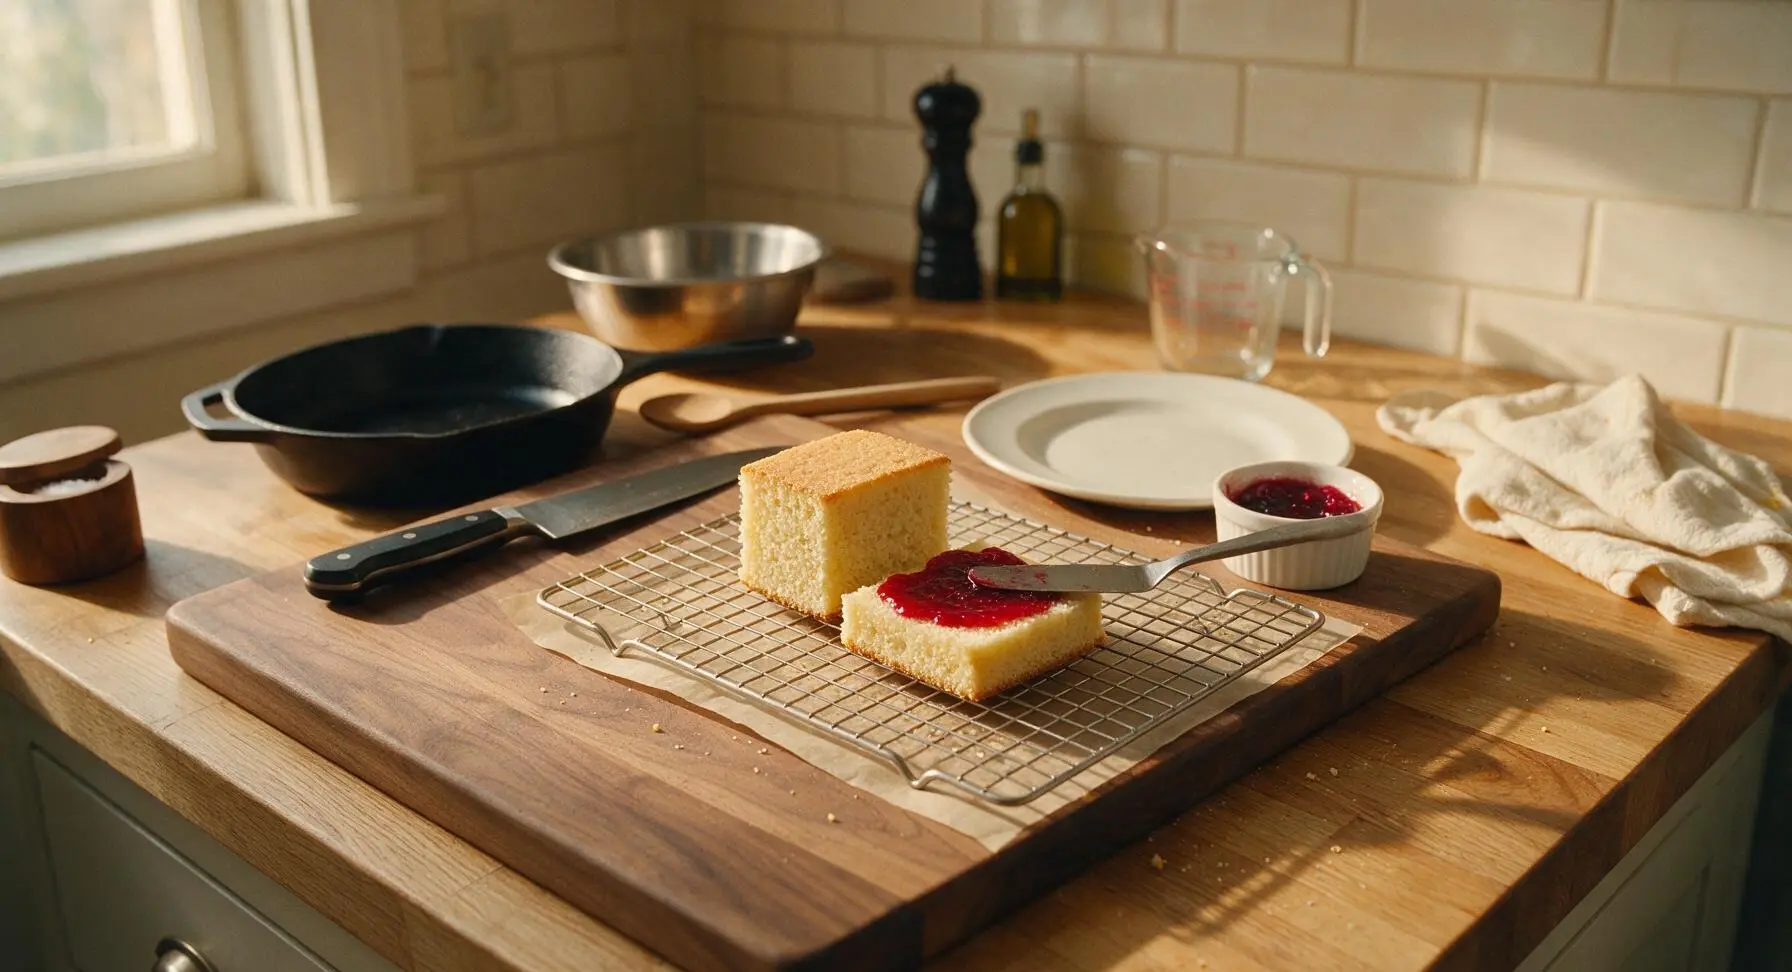
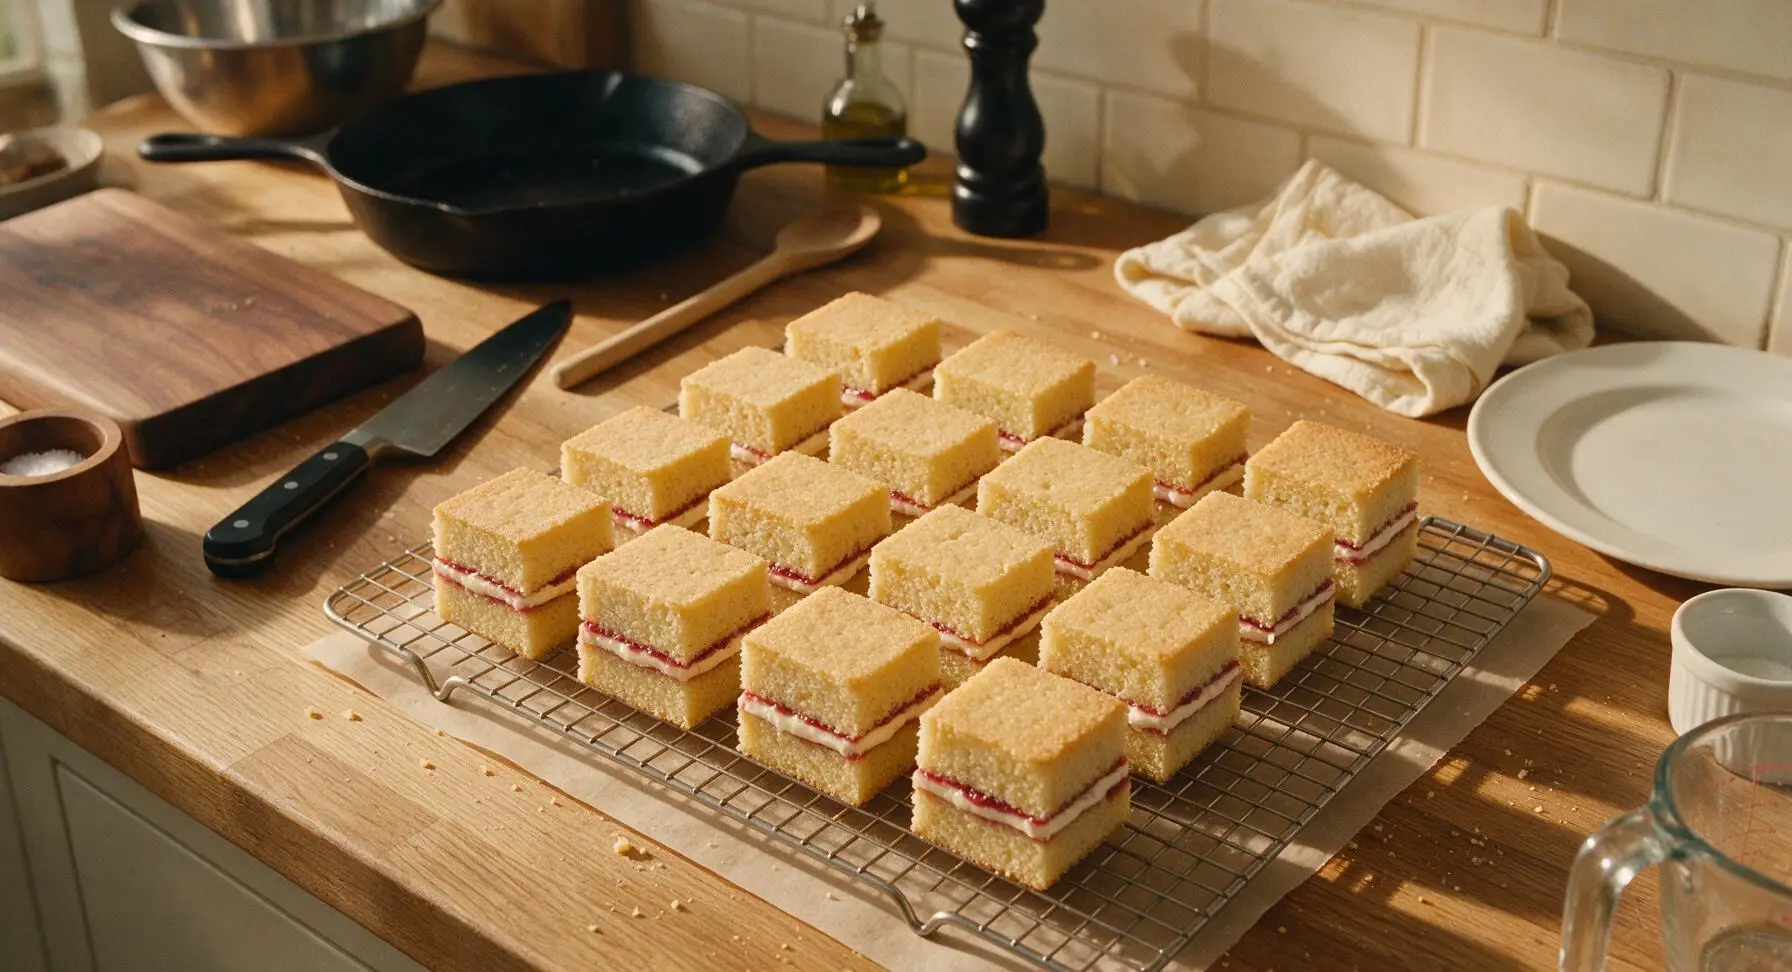
Take each 4cm sponge cube, and use the small offset metal spatula to split it horizontally through the middle. Spread a thin 2mm layer of seedless raspberry jam on the bottom half, then spread a 2mm layer of vanilla buttercream over the jam. Replace the top half of the sponge cube, pressing gently to adhere. Repeat for all 16 cubes, then arrange them on the wire cooling rack set over a sheet of parchment paper to catch icing drips.
Color Fondant Coating
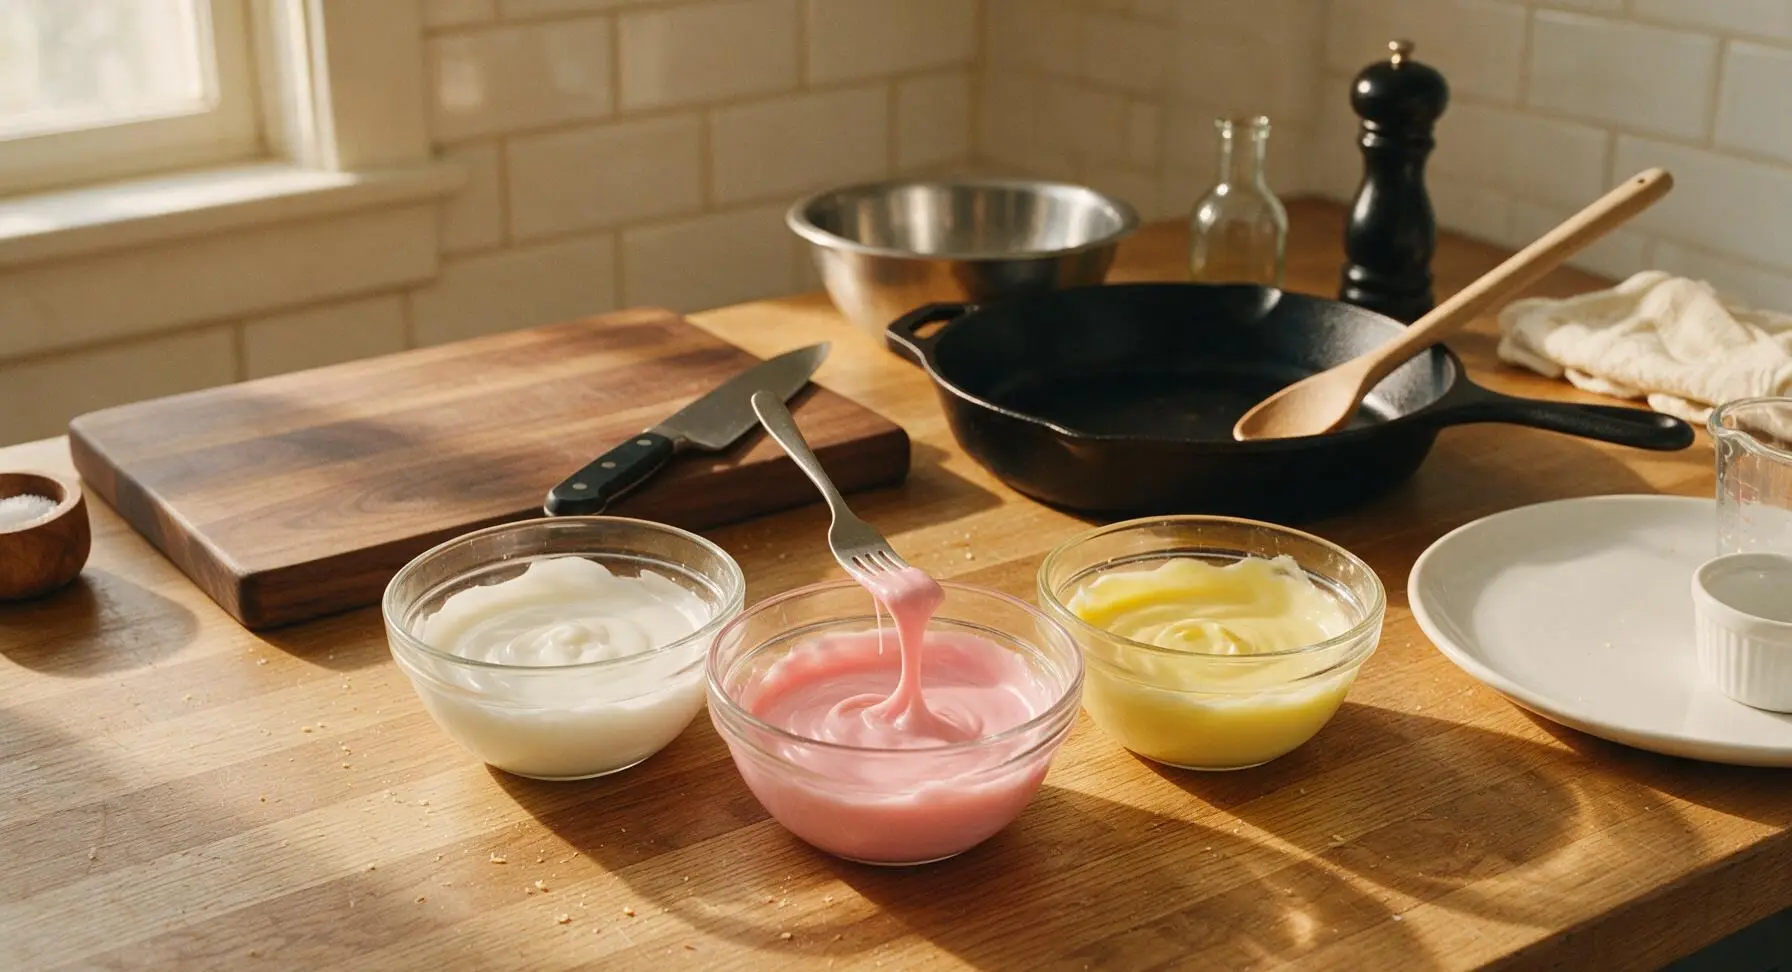
Divide the white fondant into three equal portions. Leave one portion pure white. Knead 1 drop of pale pink gel food coloring into the second portion until evenly colored a soft pastel pink, with no streaks. Knead 1 drop of pale lemon yellow gel food coloring into the third portion until evenly colored a soft buttery yellow. Warm each fondant portion gently in 10-second microwave bursts (or over a bowl of warm water) until it reaches a thick, pourable glazing consistency, adding 1-2 teaspoons of warm water if needed to thin to a coating that flows smoothly off a spoon.
Coat Cakes in Fondant
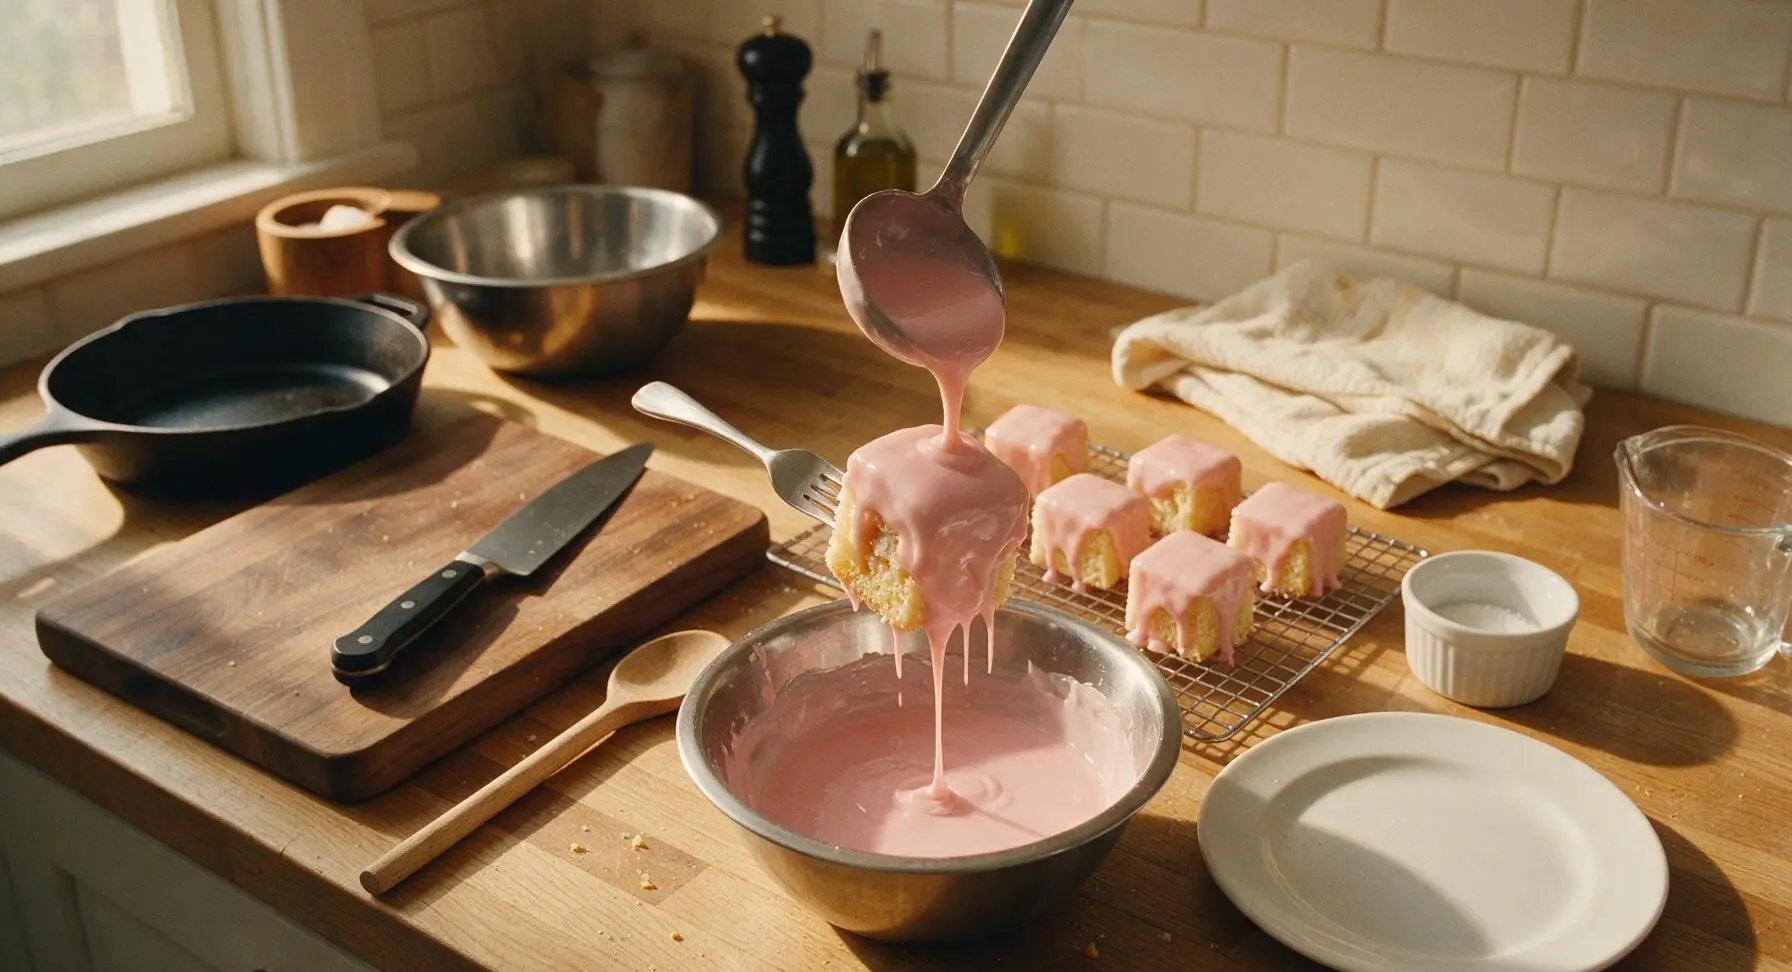
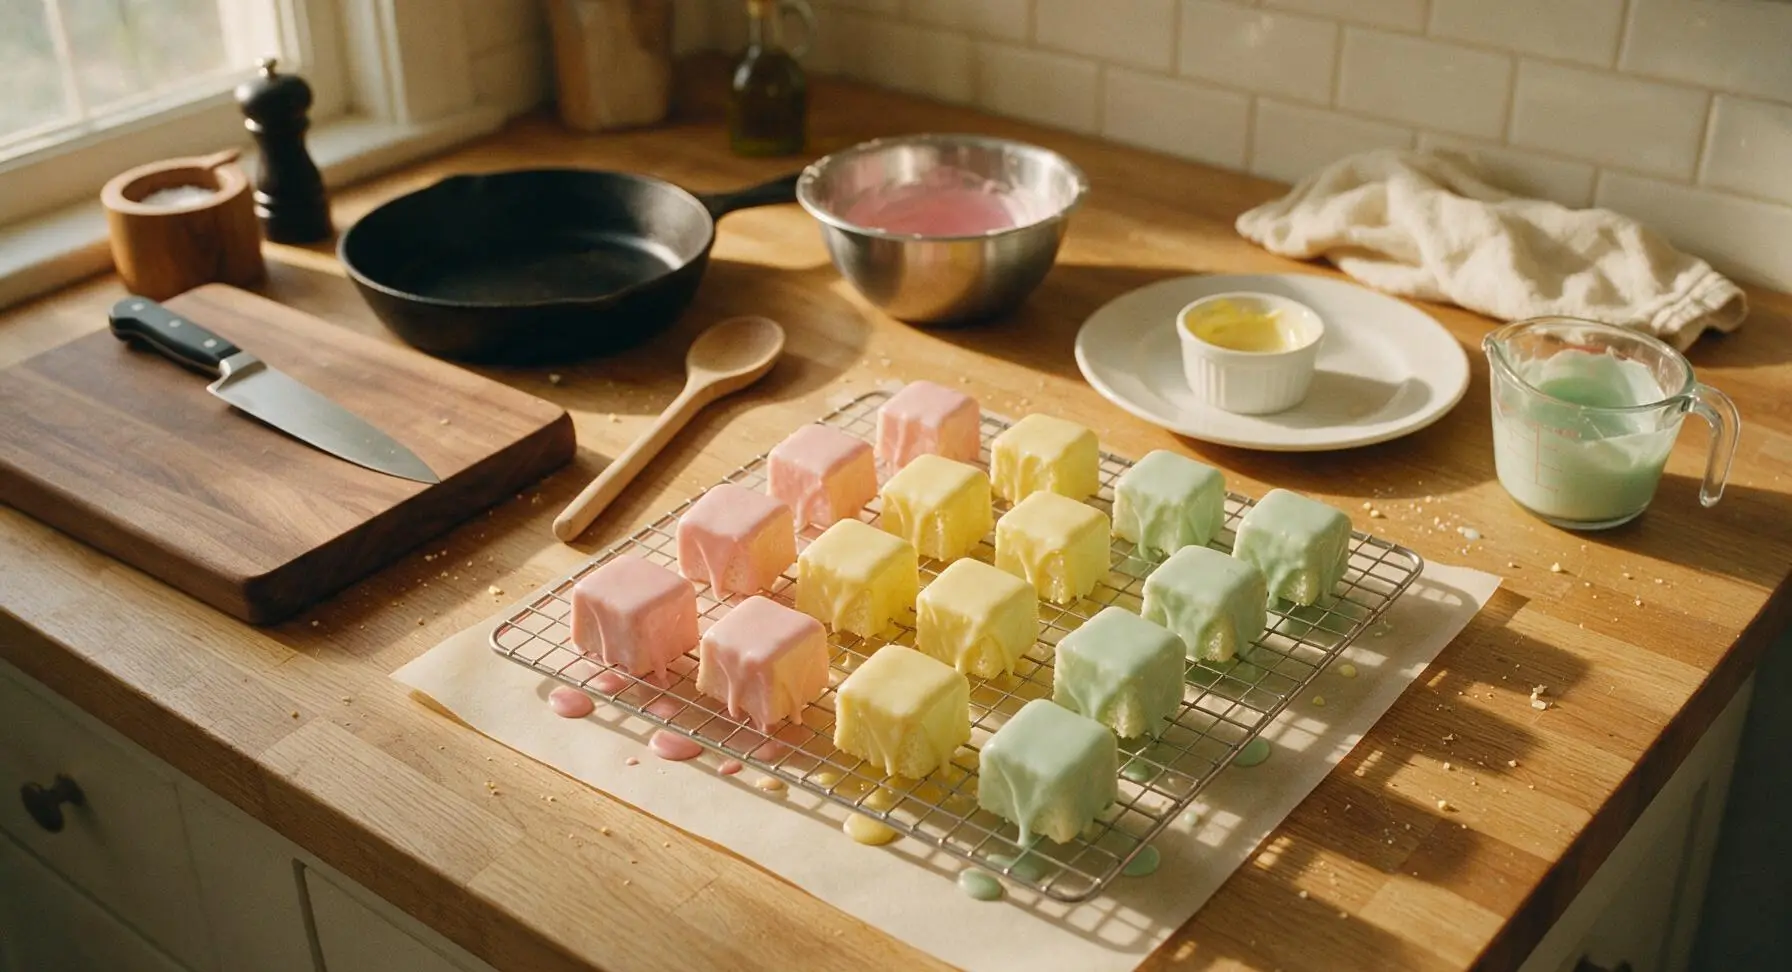
Working one cube at a time, place a filled sponge cube on the small stainless steel dinner fork, hold it over the fondant bowl, and use the small stainless steel spoon to ladle melted fondant evenly over the top and sides to coat completely, letting excess fondant drip back into the bowl. Use the small offset spatula to gently slide the coated cube back onto the wire cooling rack, leaving space between each cube to set. Coat 5-6 cubes in each fondant color, working quickly before the fondant skins over. Leave coated cakes to set completely for 30 minutes at room temperature.
Pipe Final Decorations
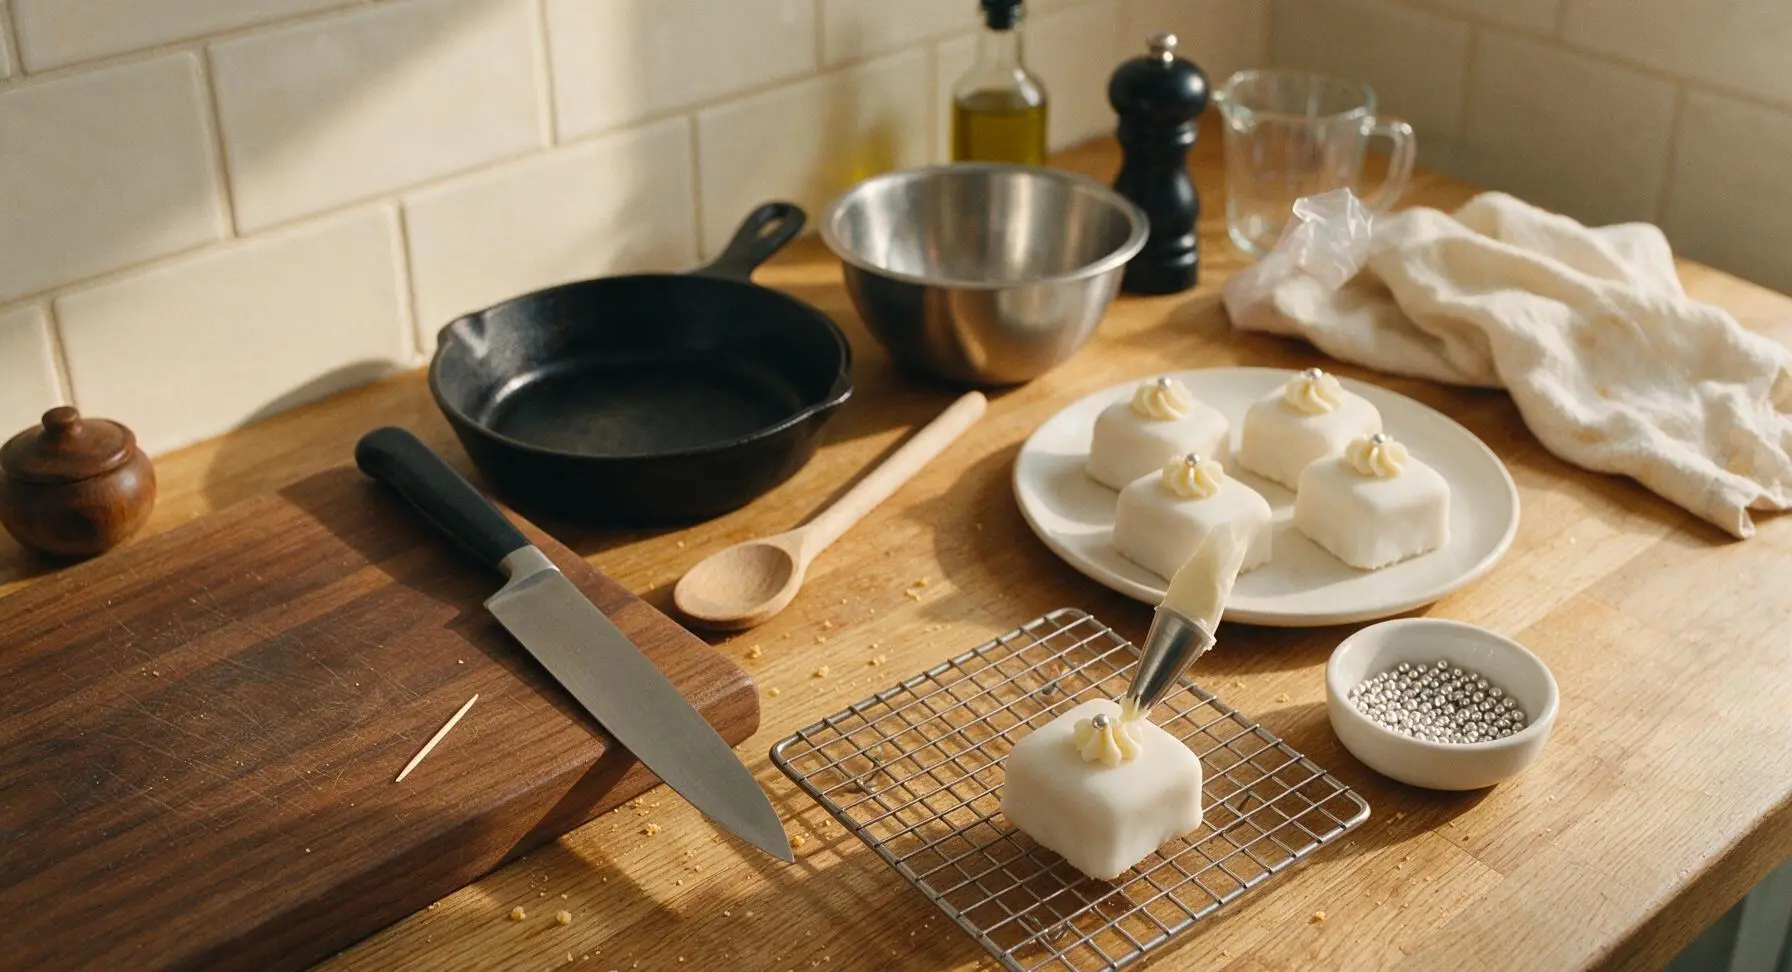
Fit a clear disposable piping bag with the 5mm stainless steel star piping tip, and fill with the reserved vanilla buttercream. Pipe a tiny 1cm rosette on the top center of each set fondant-coated cake. Press one silver sugar pearl into the center of each buttercream rosette as a final decoration. Leave decorations to set for 10 minutes before carefully transferring the fancies to the round matte white ceramic serving platter.
Tips
2.Thin melted fondant with warm water 1/4 teaspoon at a time: overly thin fondant will run off cakes and leave patchy coverage, while fondant that is too thick will create heavy, uneven drips that obscure the clean cube shape.
3.Coat 3-4 cakes at a time before refreshing the fondant with a quick stir: poured fondant forms a dry skin quickly when exposed to air, so working in small batches ensures a perfectly smooth, glossy coating on every cake.






Took a stab at these for my daughter’s tea party birthday and they were a massive hit! My kids loved them, they had so much fun picking out the different pastel fondant colors, and even the pickiest eaters asked for seconds. Only note is I wish I’d set aside more time to let the icing set properly, oops. Will 100% make again!
Medium difficulty was no joke! I messed up the first batch of sponge because I overmixed it, but the second batch came out light and fluffy. The buttercream filling is chef’s kiss, though. Worth the extra effort for a special treat.
Made these for my dorm floor potluck and people thought I bought them from a fancy patisserie! The 20 minute cook time is so doable even between study sessions, I didn’t have to block off a whole afternoon for baking. 10/10
Wait, is the fondant supposed to be that sticky when you first pour it? I had such a hard time getting a smooth coat, half of mine had little drips down the sides. They tasted amazing but looked a little lumpy for the book club I brought them to 😅
SO good! I swapped the vanilla buttercream for a little lemon curd filling for a summer twist, and it was chef’s kiss. My boys devoured half the batch before I could even get them in a storage container. Will be making these for our next family cookout for sure.
OMG first time ever making anything with fondant and I was so nervous, but this recipe was so straightforward! I did mess up the little chocolate drizzle on top (my hand was shaking so bad) but they still tasted incredible. Even my roommate who hates sweet things ate two.
These are now my go-to for every neighborhood potluck! They’re tiny, portable, not too messy, and everyone always asks where I got them. I did a little red, white, and blue version for Fourth of July and they were the first dessert gone. Obsessed.
Took me a minute to track down the right golden syrup for the sponge, but it was so worth it. The flavor is so much richer than regular vanilla cake, I get why these are such a classic British treat. My partner grew up eating these and said they tasted exactly like the ones his nan used to send him.
How well do these hold up in the fridge? I want to make a batch on Sunday for my kid’s lunchbox treats all week, but I don’t want the fondant to get all slimy or the sponge to dry out. Anyone tested this?
I was worried these would be too cloyingly sweet, but the balance of the light sponge, not-too-sweet buttercream, and thin fondant coat is perfect. I ate way too many of these straight off the cooling rack, no regrets. 10/10 would make again even if my sugar crash was real.
I had so much fun decorating these! I added little edible glitter and tiny sugar flowers on top for my best friend’s bridal shower, and they matched the pastel decor perfectly. Everyone was taking photos of them before they ate them, total showstopper.
Solid recipe. Cook time was spot on at 20 minutes for the sponge, I didn’t have to adjust my oven temp at all which is rare for my weird old apartment oven. The instructions were super clear even for someone who doesn’t bake a ton of fancy desserts. Will be adding this to my regular rotation.
Has anyone tried making these with a gluten free all purpose flour blend? I have a celiac friend coming to my game night next weekend and I want to make a treat she can enjoy too, but I don’t want to mess up the sponge texture!