British Ginger Nuts

British Ginger Nuts
⏱️ cook time 28 minutes
🍽️ servings 12
⚡ Difficulty easy

intro

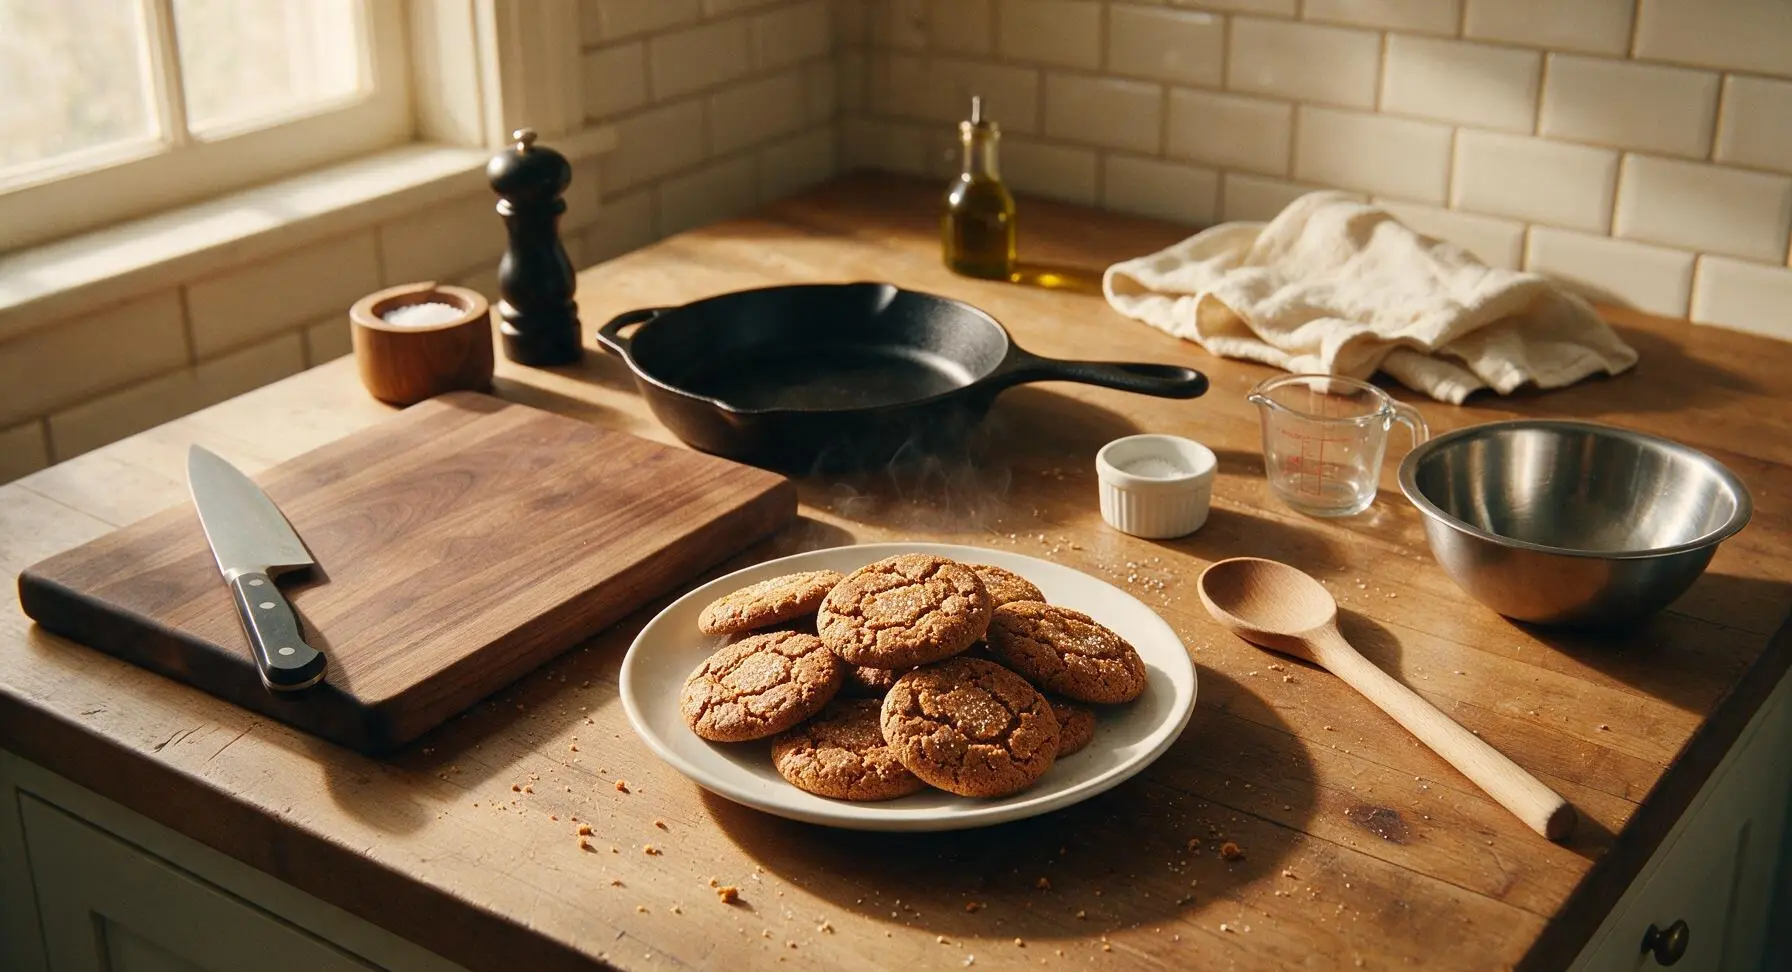
Crisp, snappy, deeply spiced British ginger nuts are the iconic dunking biscuit—packed with fiery ginger, golden syrup, and a cracked sugar-dusted top, perfect with a mug of strong builder’s tea.

Ingredients
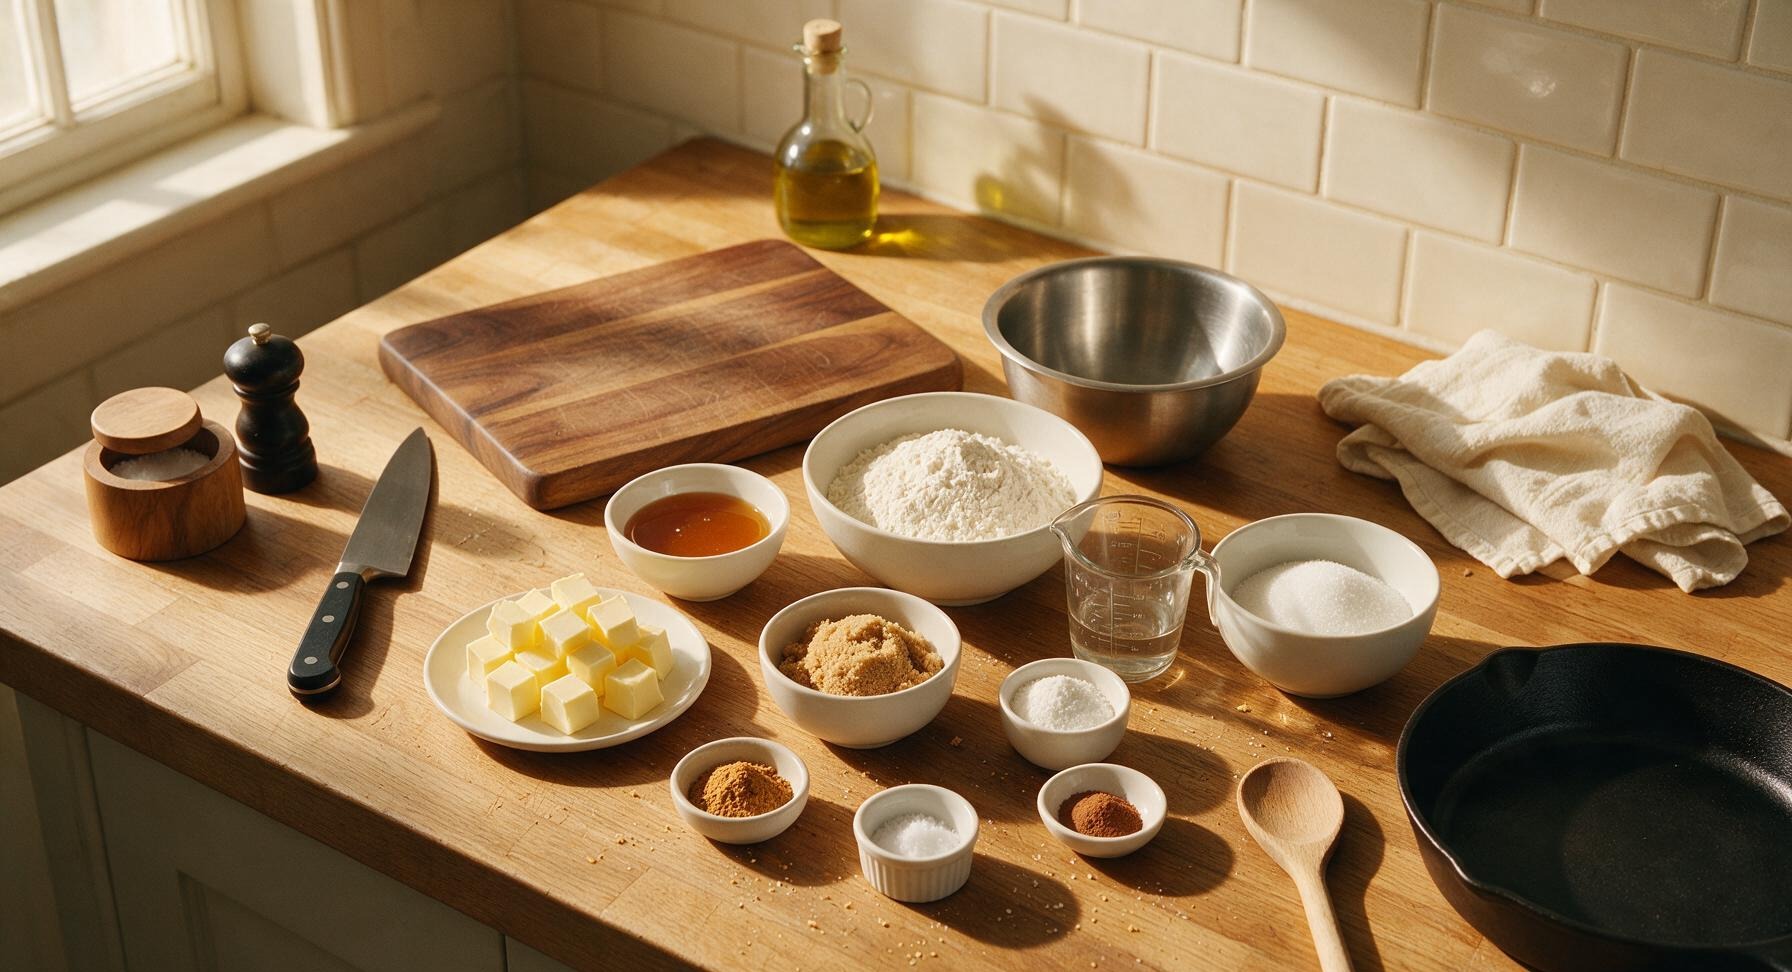
Plain (all-purpose) flour 225g
Unsalted butter, cut into cubes 100g
Golden syrup 100g
Light brown soft sugar 75g
Ground ginger 2 tbsp
Bicarbonate of soda 2 tsp
Ground cinnamon 1 tsp
Fine table salt 1/4 tsp
Caster sugar (for coating) 50g

Steps

1

Sift Dry Ingredients

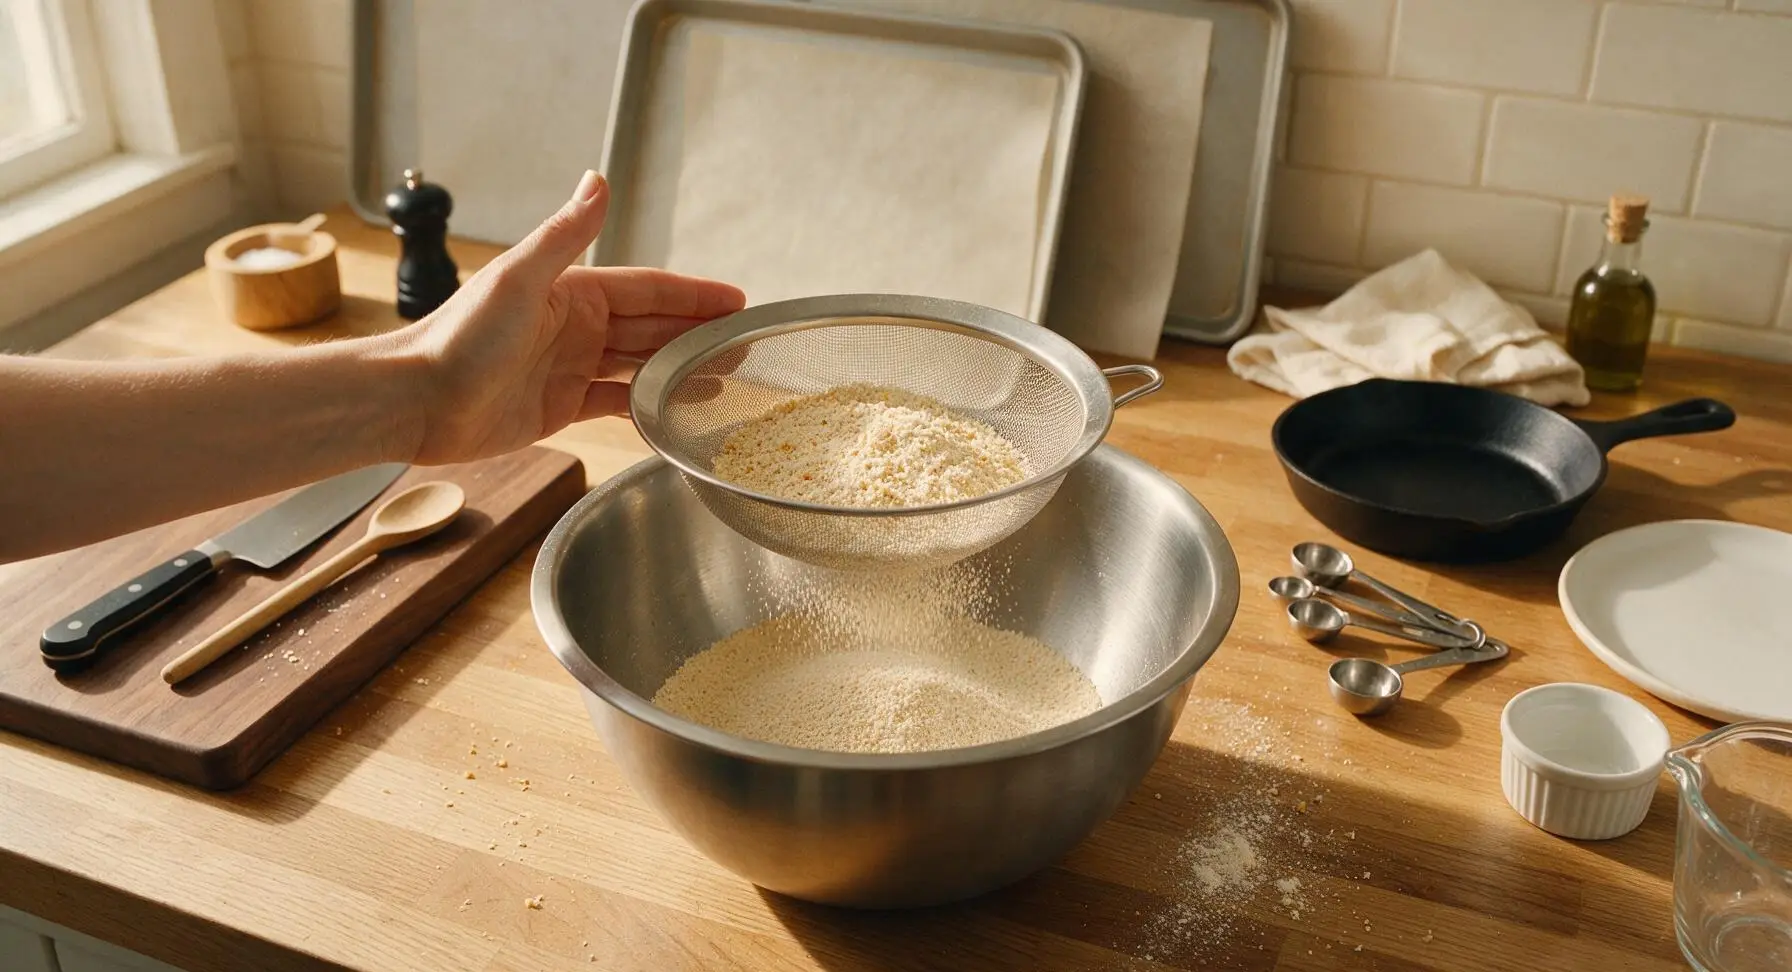
Preheat oven to 180°C (350°F / Gas Mark 4) and line the two large light grey non-stick baking sheets with unbleached parchment paper. Place the large brushed stainless steel mixing bowl on the central counter, then set the fine-mesh stainless steel sieve over the bowl. Measure 225g plain flour, 2 tbsp ground ginger, 1 tsp ground cinnamon, 2 tsp bicarbonate of soda, and 1/4 tsp fine salt into the sieve, tapping the side gently to sift all ingredients into the bowl, removing any lumps of spice or compacted flour. Whisk the sifted ingredients lightly to combine evenly; the finished mixture should be a uniform pale sandy beige with no visible dark spice clumps.
Step 1
step1:Sift Dry Ingredients
2

Melt Butter Syrup Mix

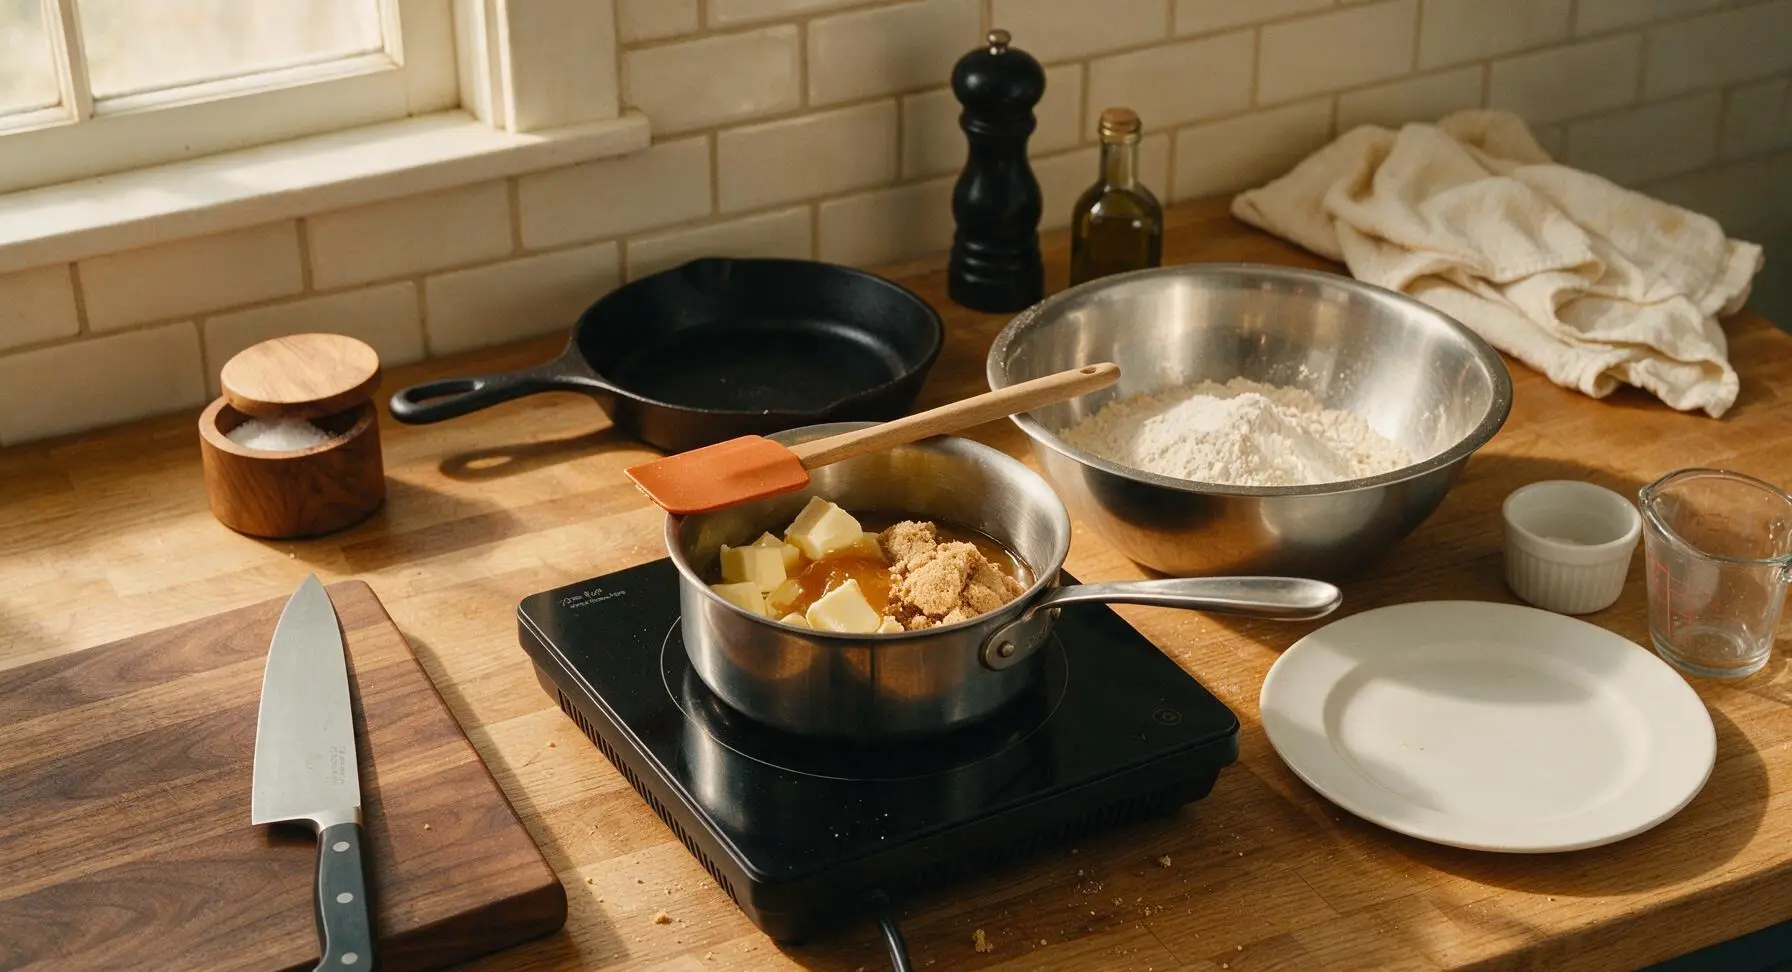
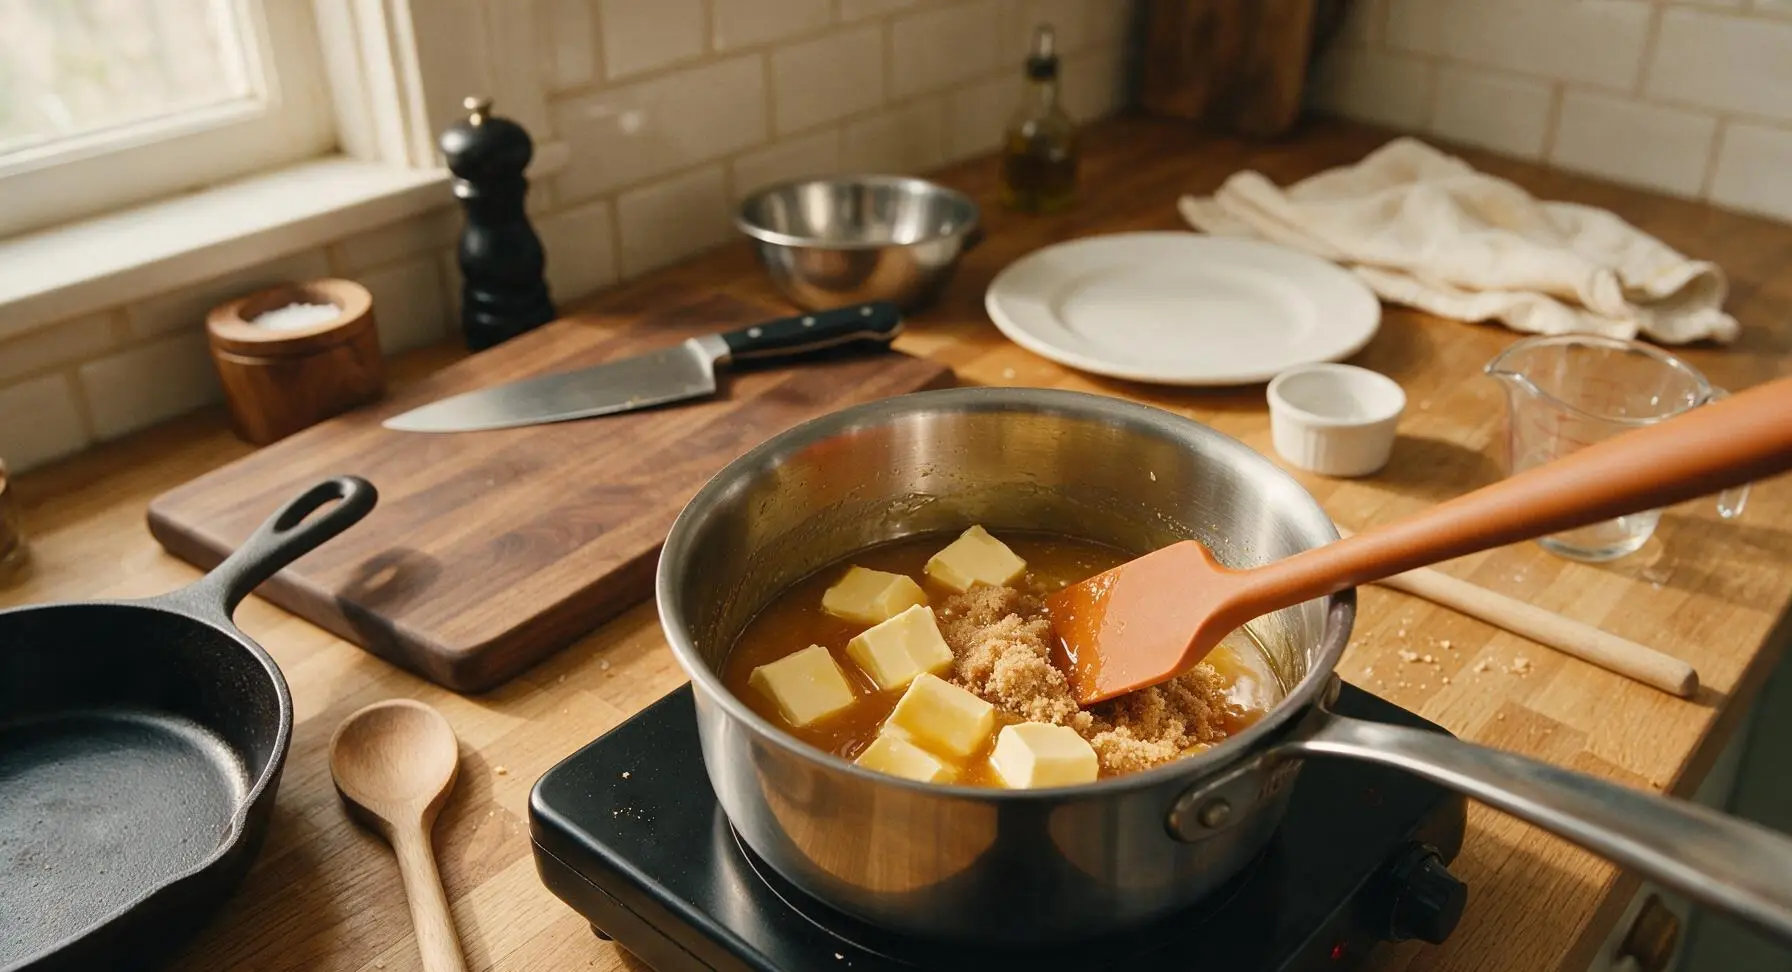
Place the small polished stainless steel saucepan on the matte black portable induction hob set to low heat. Add 100g cubed unsalted butter, 100g golden syrup, and 75g light brown soft sugar to the pan. Stir slowly with the matte burnt orange silicone spatula until the butter is fully melted, the sugar dissolves completely, and the mixture forms a smooth, glossy golden liquid with no grainy sugar residue at the pan bottom. Do not boil the mixture – heat only until just melted, approximately 3-4 minutes, then remove from heat and let cool for 2 minutes to avoid cooking the flour when combined.
Step 2
step2:Melt Butter Syrup Mix
Step 2
step2:Melt Butter Syrup Mix
3

Mix to Form Dough

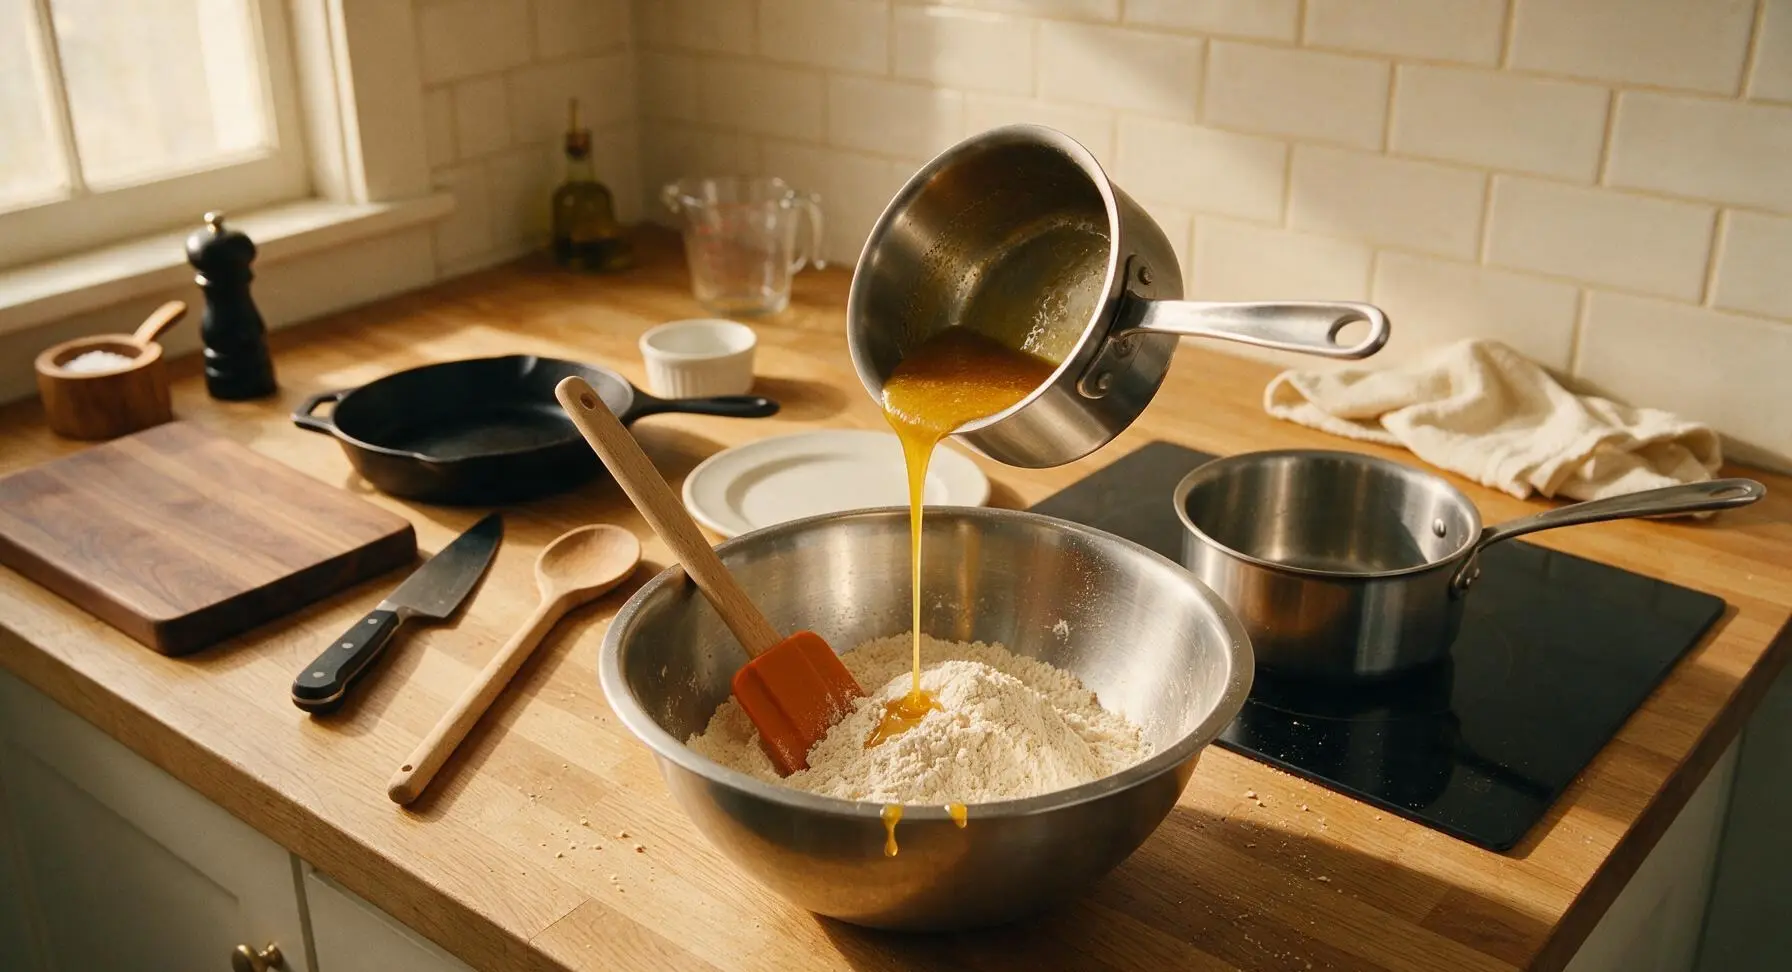
Pour the slightly cooled melted butter, syrup, and sugar mixture into the large stainless steel mixing bowl with the sifted dry ingredients. Use the burnt orange silicone spatula to stir thoroughly, scraping down the sides and bottom of the bowl to catch any hidden dry flour, until no floury patches remain and a thick, smooth, dark golden dough forms. The dough will be soft and slightly warm to the touch, but not sticky enough to cling to clean fingers when pressed lightly. Let the dough rest at room temperature for 10 minutes to firm up slightly, which makes rolling even balls much easier.
Step 3
step3:Mix to Form Dough
4

Roll Sugar-Coated Balls

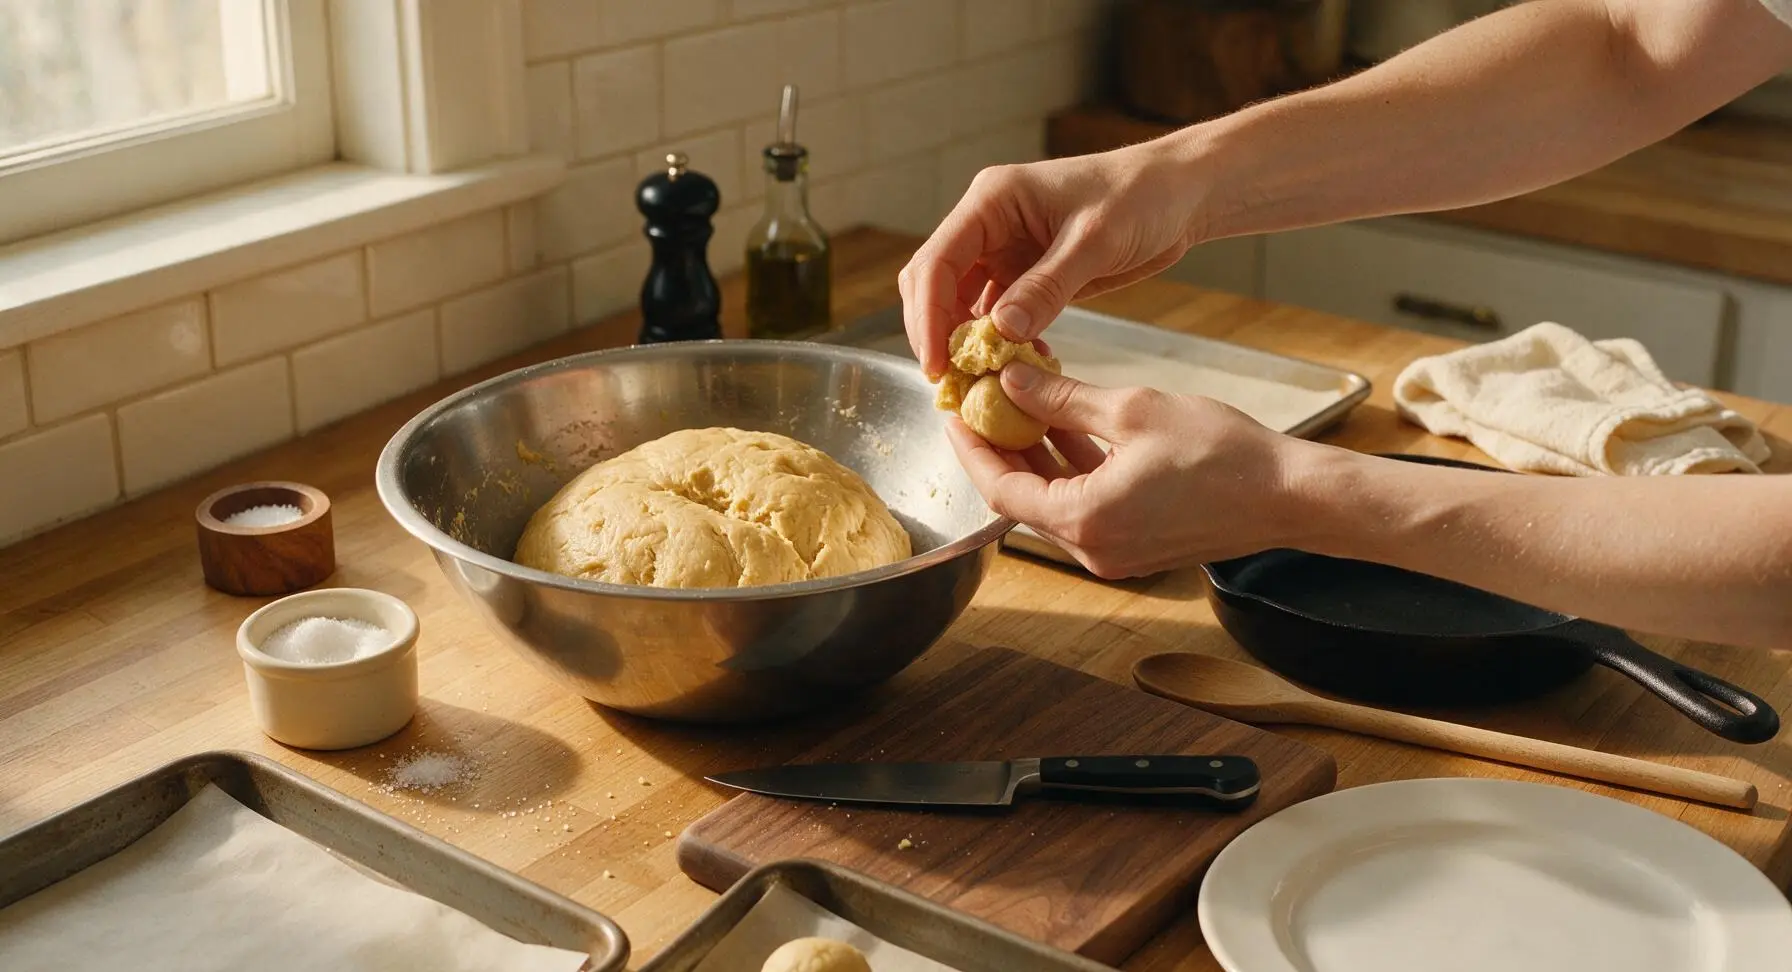
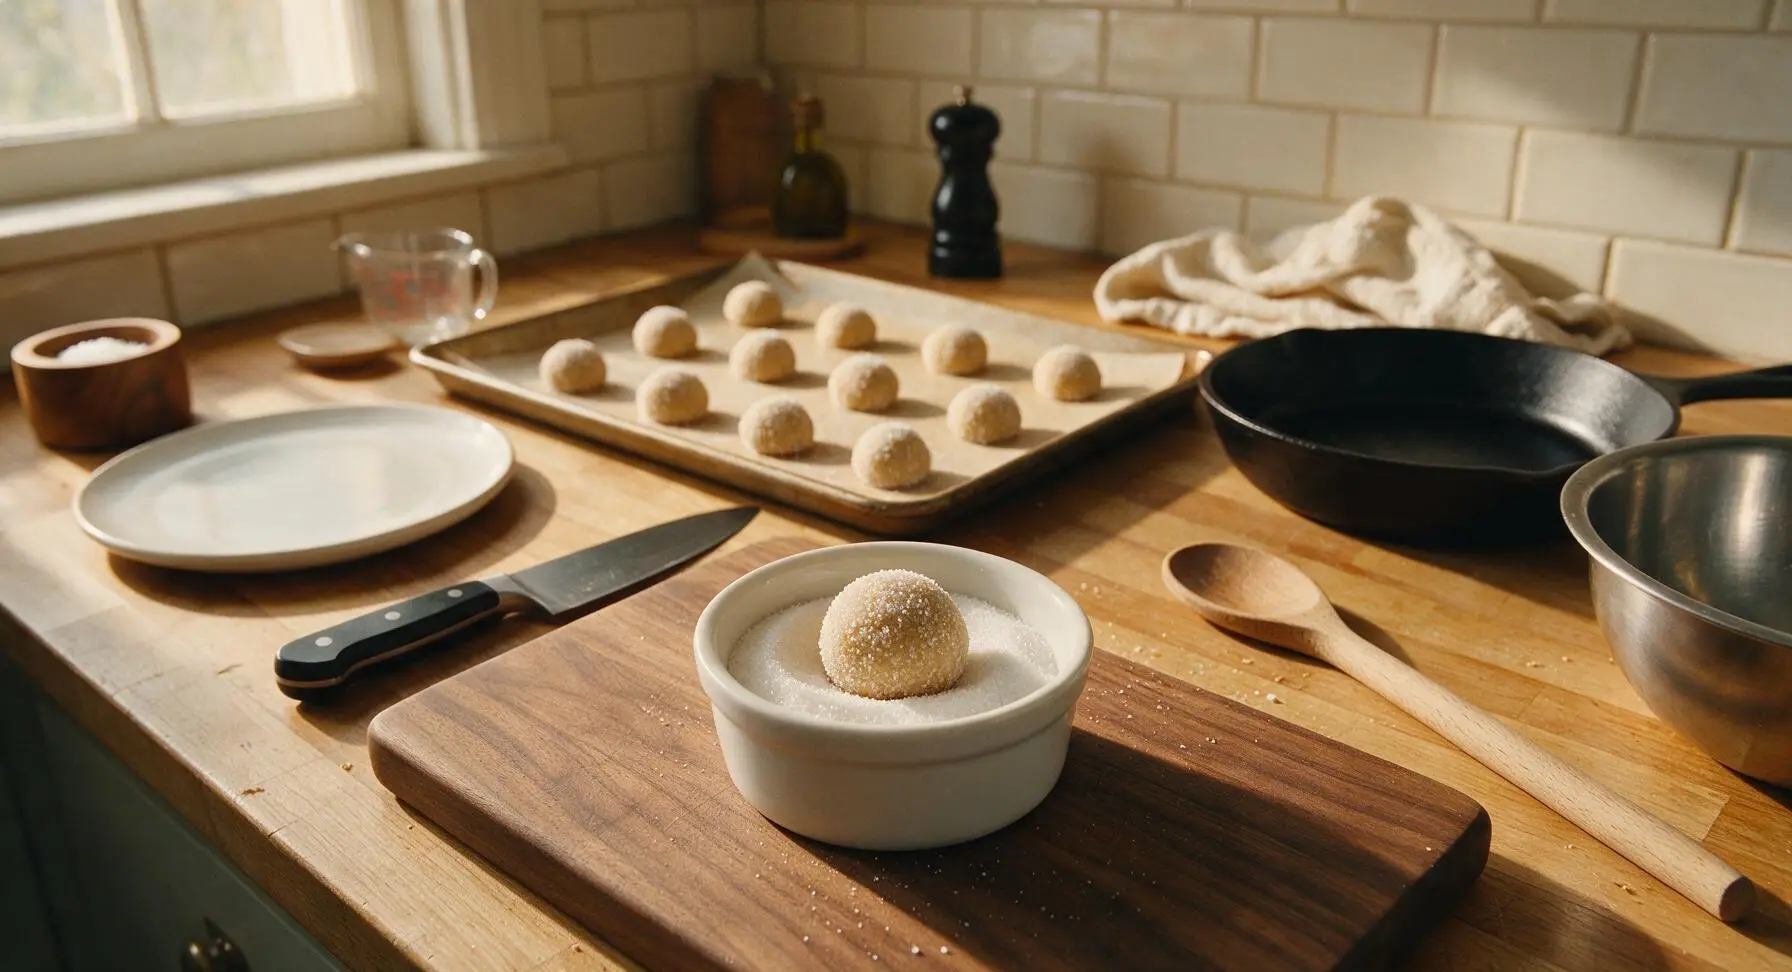
Pour the 50g caster sugar for coating into the small cream ceramic ramekin. Once the dough has finished resting, use clean hands to pinch off 24 equal walnut-sized pieces (approximately 20g each), rolling each piece between your palms to form a smooth, round ball. Drop each ball into the caster sugar, rolling to coat fully on all sides, then place the coated balls 8cm apart on the parchment-lined baking sheets – 12 balls per sheet, leaving ample space for the biscuits to spread as they bake. Do not flatten the balls; they will spread naturally in the oven.
Step 4
step4:Roll Sugar-Coated Balls
Step 4
step4:Roll Sugar-Coated Balls
5

Bake to Cracked Perfection

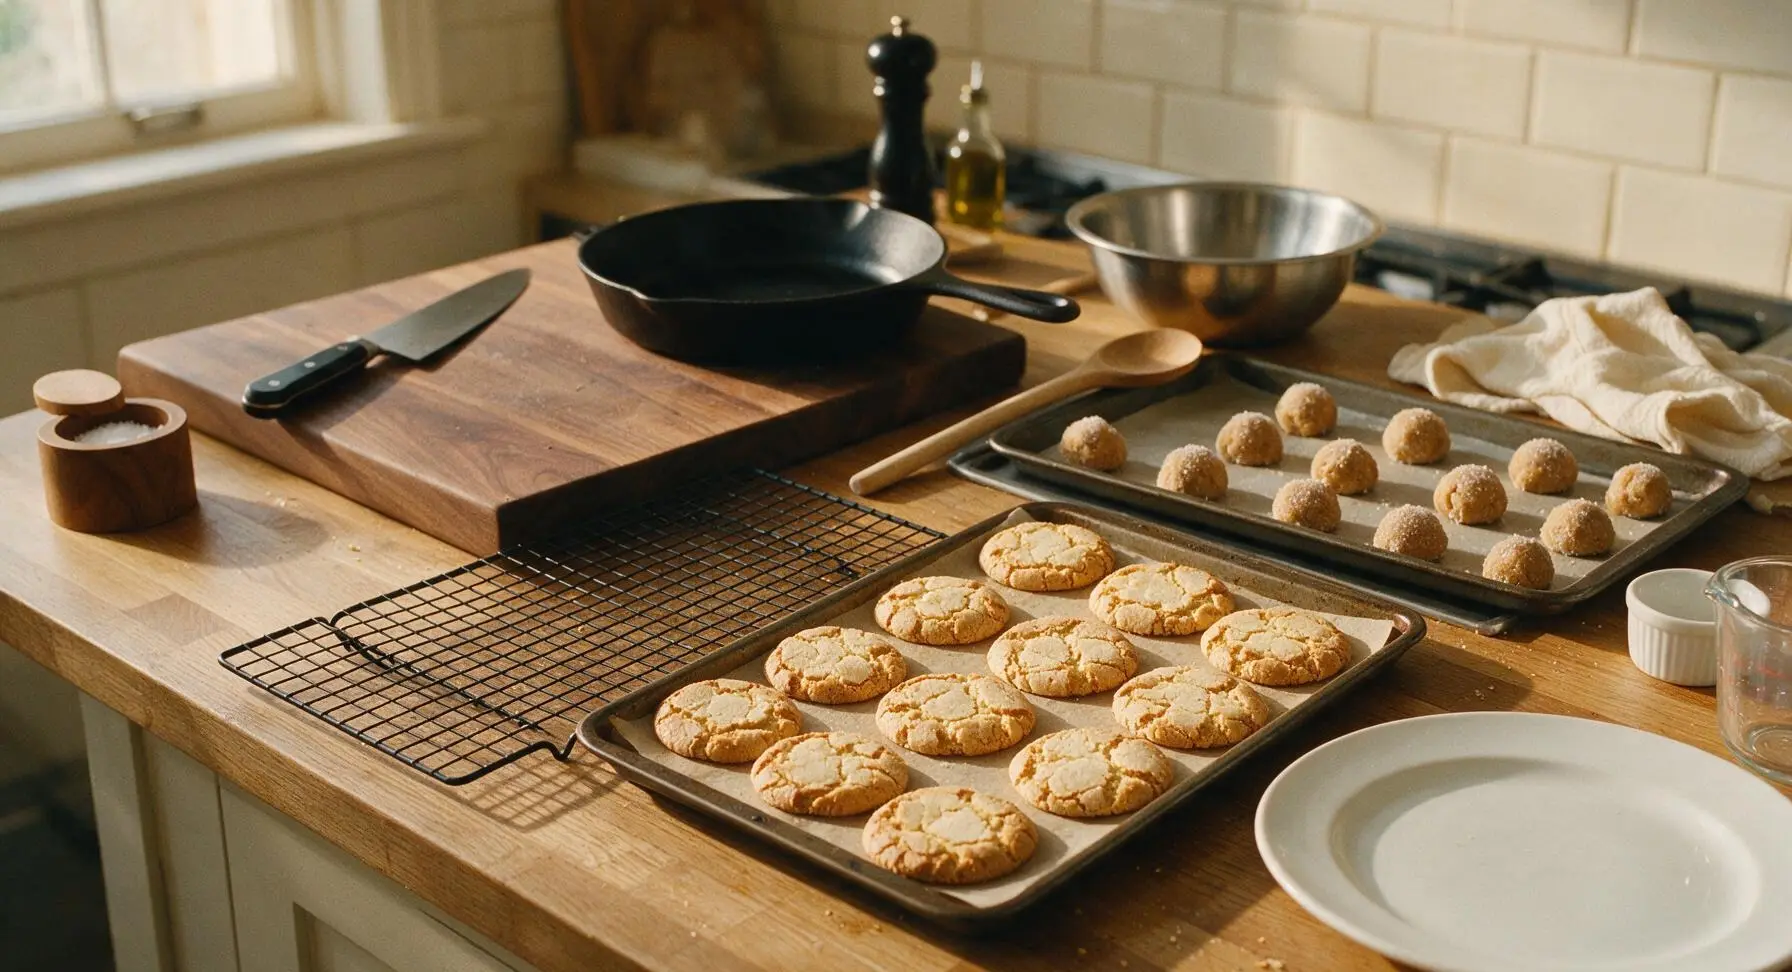
Place one baking sheet on the middle shelf of the preheated 180°C (350°F) oven, baking for 14 minutes. Do not open the oven door for the first 10 minutes of baking, as sudden temperature drops can cause the biscuits to collapse instead of rising and cracking. The biscuits are done when they have spread fully to 7-8cm wide, developed deep golden brown edges, and their tops are covered in characteristic uneven cracks. The centers will look slightly soft and puffed when removed from the oven – this is normal, as they will firm up as they cool. Repeat the baking process with the second tray once the first is removed.
Step 5
step5:Bake to Cracked Perfection
6

Cool for Snap Texture

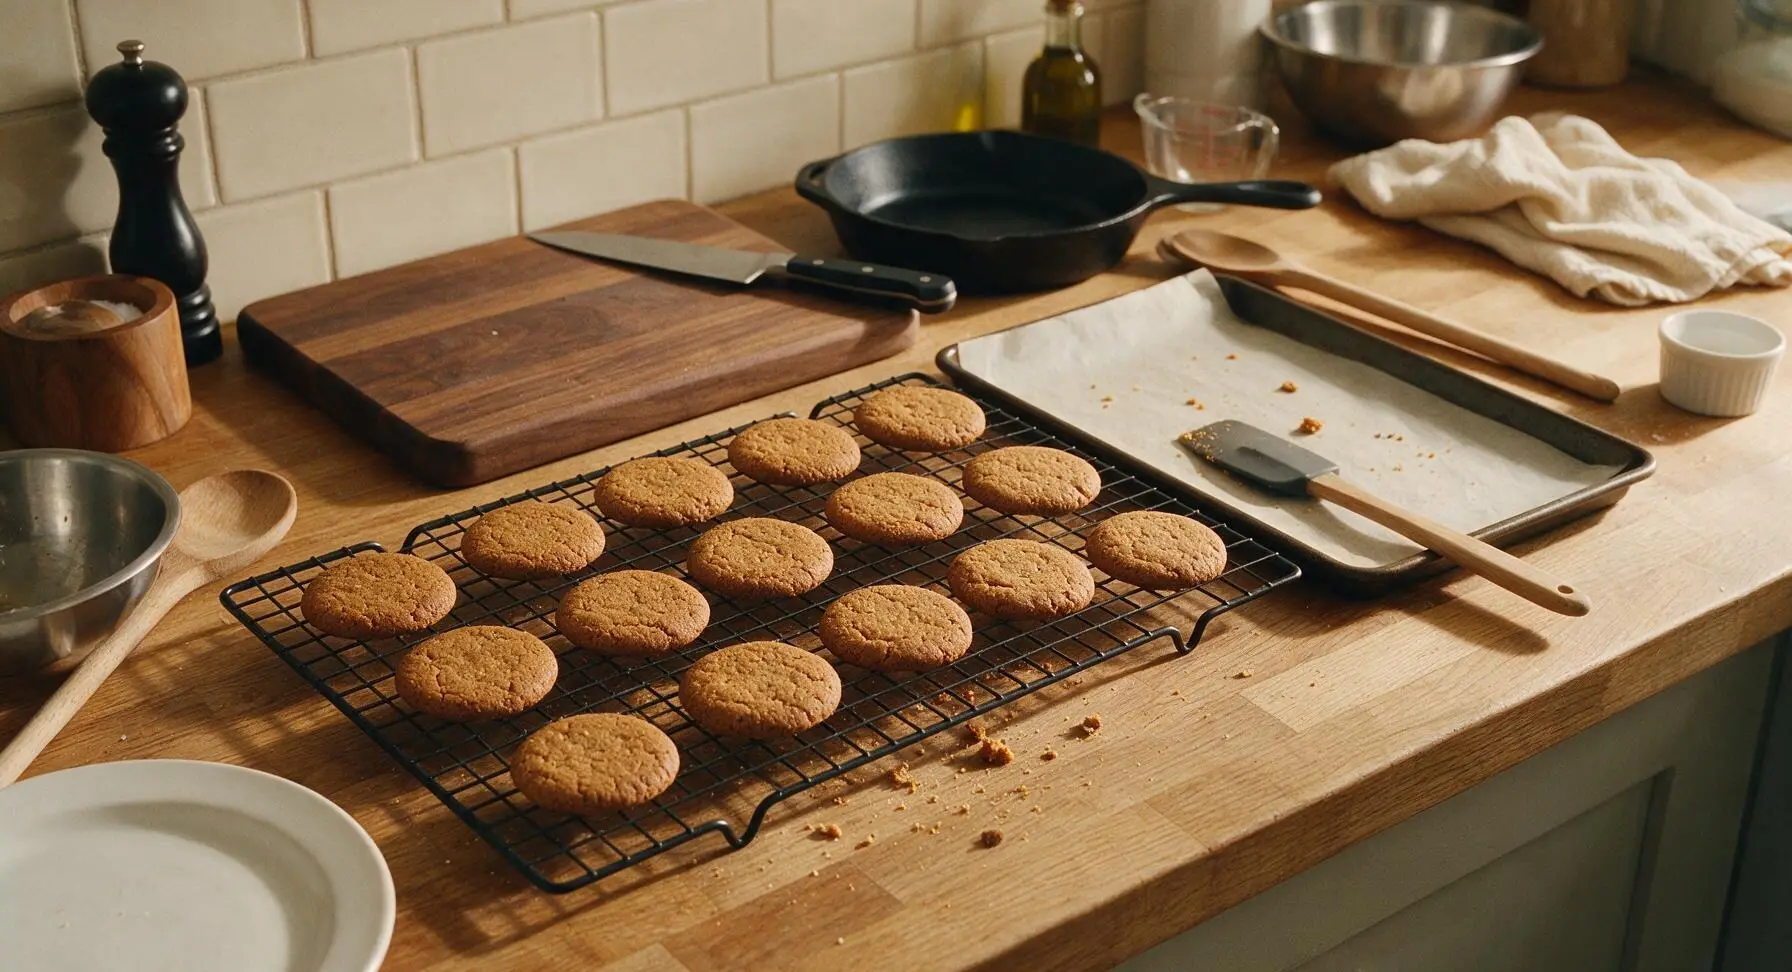
Let the baked biscuits rest on the hot baking sheet for 5 minutes immediately after coming out of the oven – this allows them to set enough to move without breaking. Use the silicone spatula to transfer the biscuits to the matte black wire cooling rack, leaving 1cm gaps between each biscuit for air flow. Cool completely for 20 minutes before serving; as they cool, the biscuits will harden to their signature crisp, snappy texture. Once cool, transfer to the cream ceramic serving plate.
Step 6
step6:Cool for Snap Texture

Tips

1.Don’t skip the 10-minute dough rest: warm, soft dough will spread too quickly in the oven, leading to thin, overly dark biscuits without the signature cracked, sugar-crusted top. The short rest allows the flour to absorb the wet ingredients, creating a dough that spreads evenly and rises slightly before cracking as it bakes.
2.Always let biscuits rest on the hot baking sheet for 5 minutes before moving: straight from the oven, the ginger nut structure is soft and malleable, and moving them too early will cause them to bend, break, or lose their round shape. The residual heat from the tray sets the biscuit edges so they transfer cleanly to the cooling rack.
3.Store completely cooled biscuits in an airtight metal tin for up to 2 weeks for the best texture: exposure to humid kitchen air will make the biscuits go soft and lose their signature snap. If they do lose crispness, bake them on a tray for 3 minutes at 150°C (300°F) and cool fully on a rack to restore their texture.

✨ You May Also Like

Desserts & Baking
🍜 Italy

Creamy, coffee-kissed classic Northern Italian no-bake dessert, with layers of rum-spiked mascarpone cream, soft ladyfingers, and a rich cocoa dusting.

⏱️ 4 hours 3Desserts & Baking ★ 4.7
Desserts & Baking
🍜 France

Flaky, shatteringly crisp, buttery French croissants with golden exteriors and soft, airy layered interiors, perfect for pairing with coffee for a special morning treat.

⏱️ 12 hours Desserts & Baking ★ 4.5
Desserts & Baking
🍜 United States

Warm, spiced baked apples topped with a fluffy golden biscuit crust, this cozy dessert pairs perfectly with vanilla ice cream for cool-weather comfort.

⏱️ 55 minuteDesserts & Baking ★ 4.6
Desserts & Baking
🍜 United States

A star-spangled classic American blueberry pie with buttery flaky crust and bright sweet-tart filling, perfect for summer patriotic gatherings.

⏱️ 1 hour 25Desserts & Baking ★ 4.7
Desserts & Baking
🍜 United States

A beloved no-bake regional Maine candy with a chewy coconut-potato center coated in rich dark chocolate, a New England holiday staple since the 1870s.

⏱️ 2 hours 3Desserts & Baking ★ 4.8
Desserts & Baking
🍜 France

Luxuriously creamy, floral frozen custard made with aromatic Tahitian vanilla beans, boasting a smooth, rich texture that melts slowly on the tongue.

⏱️ 3 hours 3Desserts & Baking ★ 4.5

British Ginger Nuts:Frequently Asked Questions

1.Why did my ginger nuts turn out soft instead of crisp and snappy? ▾
Soft ginger nuts almost always trace back to underbaking, trapped moisture, or premature storage. Bake until edges are deep golden and centers look just set—they’ll crisp as they cool. Transfer biscuits to a wire rack 5 minutes after pulling them from the oven, and wait until they’re fully room temperature before sealing them in an airtight container to avoid sogginess.
2.Can I substitute corn syrup for golden syrup if I can’t find it at the grocery store? ▾
Light corn syrup works in a pinch, but it lacks golden syrup’s subtle caramel, buttery depth that defines classic ginger nuts. For a closer flavor match, mix ¾ cup light corn syrup with ¼ cup mild molasses (skip bitter blackstrap) and use the same total measurement the recipe calls for to keep texture and sweetness balanced.
3.What gives traditional British ginger nuts their signature cracked, craggy top? ▾
That iconic cracked top comes from the recipe’s low moisture content, sugar crystallization during high-heat baking, and the light sugar coating on dough balls before baking. As the biscuit spreads and sets quickly in the oven, the firm top splits to create those rough, textured cracks that hold up perfectly to dunking in hot tea.
4.How long will homemade ginger nuts stay fresh, and what’s the best way to store them? ▾
Stored in a tightly sealed airtight container at room temperature, away from direct sunlight or stovetop heat, homemade ginger nuts stay crisp and flavorful for 2 to 3 weeks. For extra insurance against sogginess, tuck a plain piece of white bread or a food-safe silica gel packet in the container to absorb stray ambient moisture.
5.Can I add extra ginger to make these biscuits spicier? ▾
Absolutely—these biscuits are built for bold ginger flavor. You can bump up the ground ginger by an extra 1 to 2 teaspoons, or stir in 1 tablespoon of finely grated fresh ginger (squeezed to remove excess juice) to the butter-sugar mix for a brighter, fiercer ginger kick that pairs perfectly with strong black tea.
6.Why did my ginger nuts spread too much and turn totally flat while baking? ▾
Excess spread usually stems from overly soft butter, skipped dough chilling, or an oven that’s running too cool. Use butter that’s just room temperature (not melted or greasy), chill scooped dough balls for 30 minutes before baking, and use an oven thermometer to confirm your oven hits 375°F for even, quick set.
7.Are British ginger nuts the same thing as American gingersnaps? ▾
They’re close cousins, not identical! American gingersnaps often use more molasses, have a slightly chewy center, and may include extra spices like cloves or allspice. Traditional British ginger nuts are uniformly crisp all the way through, rely on golden syrup for sweetness, and lean hard into bold, uncomplicated ginger flavor.
8.Can I adjust this recipe to make gluten-free ginger nuts? ▾
Yes, simply swap the all-purpose flour for a 1:1 gluten-free all-purpose baking blend that includes xanthan gum for the best texture. Keep all other measurements identical, and add 1 extra minute of baking time if needed to get that signature snappy crispness, since gluten-free flours tend to hold slightly more moisture than wheat flour.
9.Do I need to roll and cut out ginger nut dough with cookie cutters? ▾
You don’t need to roll and cut these at all! Traditional ginger nuts are made by scooping uniform 1-tablespoon dough balls, rolling them lightly in a dusting of granulated sugar, and placing them 2 inches apart on a lined baking sheet. They’ll spread naturally into round, craggy biscuits as they bake, saving you extra prep work.
10.Why do my ginger nuts keep sticking to the baking sheet? ▾
Sticking usually happens if your sheet isn’t lined properly, or you try to move the biscuits too soon after baking. Line sheets with parchment paper or a reusable silicone baking mat for easy release, and let biscuits rest on the hot sheet for 5 full minutes after baking—they’ll set as they cool and lift right off without breaking.
11.Can I add mix-ins like chocolate chips or candied ginger to the dough? ▾
You can absolutely add mix-ins, though too many will throw off the classic snappy texture. Stick to ½ cup total of add-ins so they don’t weigh the dough down: finely chopped crystallized ginger is a traditional twist, while small dark chocolate chips add a rich contrast to the warm spice and sweet syrup base.
12.What makes ginger nuts such a good biscuit for dunking in tea? ▾
Their low moisture content, dense crumb, and ultra-crisp texture mean they hold together for several seconds when dipped into hot tea without turning mushy or falling apart, unlike softer, more crumbly cookie varieties. The bold ginger and caramel notes also cut through the strong, tannic flavor of builder’s tea for a perfectly balanced bite.
13.Can I freeze ginger nut dough to bake fresh batches later? ▾
This dough freezes beautifully for quick, fresh biscuits on demand. Scoop individual dough balls, roll them in sugar, and freeze them solid on a tray before transferring to a labeled freezer bag for up to 3 months. You don’t even need to thaw them to bake—just add 2 to 3 minutes to the regular baking time.
14.My dough is really crumbly and won’t hold together when I scoop it—what went wrong? ▾
Crumbly dough usually means you packed too much flour into your measurements, or your butter was too cold when mixing. Spoon flour into measuring cups and level with a knife instead of scooping straight from the bag to avoid compaction. If it’s still crumbly, knead in 1 teaspoon of warm golden syrup at a time until it reaches a firm, scoopable consistency.
15.Can I use margarine instead of unsalted butter for this recipe? ▾
You can use stick margarine with at least 80% fat content as a direct 1:1 substitute, but your ginger nuts will lack the rich, creamy depth that butter provides. Avoid soft tub margarine entirely, as it has a much higher water content that causes excess spread, a softer texture, and a greasy, off-flavor that doesn’t match the classic profile.

Comments (20)

2 hours ago

OMG these came out PERFECT for my kid’s after-school snack! I was worried British biscuits would be fussy but this was so easy, 28 minutes total start to finish? Game changer. My 7 year old asked for seconds before he even finished the first one.

30 minutes ago

So glad these were a hit with your kiddo! They’re perfect for quick after-school treats, I love keeping a tin on hand for busy weekdays.

1 week ago

Wait, I always thought ginger nuts were rock hard like the ones you get in the import aisle? These had the perfect snap but weren’t tooth-breakingly tough! Brought a batch to my office potluck yesterday and people were begging for the recipe.

5 days ago

Right?! I brought them to my church potluck last month and people thought I bought them from a fancy British import shop! So much better homemade.

3 days ago

Love hearing these are a potluck hit! The key to that perfect snap without being too hard is not overbaking them – sticking to that 10-12 minute bake time per batch makes all the difference!

3 days ago

SO good with my morning oat milk latte. Spicy, sweet, just the right amount of crunch. I added a tiny extra pinch of cinnamon because I’m obsessed, and it worked perfectly. Will be making these every Sunday for meal prep for the week.

2 days ago

First time making any kind of biscuit/cookie from scratch and I didn’t mess it up! Super easy, no fancy equipment needed, I just mixed everything in a bowl with a wooden spoon like the recipe said. Total win for my dorm baking nights.

yesterday

No way, I made these in my dorm last week too! My RA caught me baking and ended up staying to eat three of them lmao. So easy even with the tiny dorm oven.

5 days ago

Has anyone tried making these with a 1:1 gluten free flour blend? I’m dying to make them for my celiac best friend but don’t want to waste ingredients if the texture is off.

3 days ago

I did! Used Bob’s Red Mill 1:1 blend and added a tiny extra tablespoon of butter, they came out exactly like the regular version. My gluten intolerant sister-in-law ate half the batch in one sitting lmao

2 days ago

Great question! We’ve tested this with a couple 1:1 gluten free flour blends and it works beautifully, just make sure your blend has xanthan gum included (most do!) to get that perfect snap.

yesterday

These tasted amazing but my first batch spread way too much in the oven! I think my butter was too soft when I mixed it. Flavor was 10/10 though, I’ll definitely be trying again with colder butter.

2 hours ago

Oh that’s such an easy fix! If your butter is too soft or your kitchen is extra warm, pop the dough balls in the fridge for 15 minutes before baking, and they won’t spread too much. Hope the next batch turns out perfectly!

2 weeks ago

Made these for my day hike last weekend and they were the perfect trail snack! Sturdy enough to toss in my pack without turning to crumbs, not too sweet, and the ginger gave me a little zing when I was dragging up the last hill. Will be a staple for all my outdoor trips now.

1 week ago

I added a teaspoon of freshly grated ginger on top of the ground ginger the recipe calls for, and wow that extra kick is chef’s kiss. Reminds me exactly of the ginger nuts my nan used to send over from England when I was a kid.

5 days ago

Oh that sounds amazing! Did you adjust the bake time at all when you added the fresh ginger? I’ve got a huge root in my fridge I need to use up.

3 days ago

Love the fresh ginger addition! You don’t need to adjust the bake time at all if you add a teaspoon or two of fresh grated ginger – it just adds an extra bright, spicy kick that pairs so well with the warm spices. Thanks for the great tip!

3 days ago

These are good, but they’re definitely not super sweet like the ginger cookies I’m used to making! If you love a really sweet, soft cookie, these might not be for you, but if you like a snappier, spicier biscuit they’re great.

2 days ago

Thanks for the honest feedback! Traditional British ginger nuts are intentionally less sweet and snappier than soft American ginger cookies, so they’re definitely a different vibe. If you prefer a sweeter treat, you can add an extra 2 tablespoons of sugar to the dough to match your taste!

1 week ago

Made a double batch on Sunday for school lunches all week, and my kids are obsessed. They keep asking if we can have “those spicy crunchy cookies” every day. Way less sugar than the store-bought cookies I usually buy, so I’m a happy mom too.

5 days ago

Wait, how long do these stay fresh for? I want to make a double batch too but I don’t want them to go stale before we eat them all.

3 days ago

These stay fresh for up to 2 weeks in an airtight tin at room temperature, so they’re perfect for meal prep and school lunches! No need to refrigerate them, just keep them sealed tight and they’ll hold that perfect crunch.

2 weeks ago

I hosted a little British themed tea party for my book club last week and served these with clotted cream and jam? Total showstopper. Everyone thought I spent hours baking, but it was literally 28 minutes from when I pulled the flour out to when they were cooling on the rack.

1 week ago

I was at that book club!!! Those cookies were insane, I’ve already made them twice for my family since then. So good with jam 😍

5 days ago

Cranked up the ginger to 3 tablespoons because I love that extra spicy burn, and these did not disappoint. Perfect crunch, perfect warmth, 10/10 will be making these year round, not just at Christmas.

2 days ago

Wait, I rolled my dough balls too big the first time and they turned into giant, flat ginger cookie discs lmao. They still tasted insane, but next time I’ll make them the 1-inch size the recipe says. Definitely read the instructions closely, folks!

yesterday

Oh my god I did the exact same thing! My boyfriend said they tasted like those giant ginger cookies you get at the mall, so I’m not even mad about it. Win win tbh

30 minutes ago

Don’t worry, we’ve all been there! Oversized dough balls make for deliciously chewy, larger cookies even if they aren’t the traditional biscuit size. No wrong way to enjoy them as long as they taste good!

yesterday

Dipped half of each cookie in dark chocolate after they cooled and I’m never going back. The rich dark chocolate pairs so perfectly with the spicy ginger, it’s a match made in heaven. Highly recommend trying this hack!

2 hours ago

Just tried this after seeing your comment and WOW. Game changer. The dark chocolate cuts the spice so perfectly, I’m never making these plain again.

2 weeks ago

I’ve been making ginger nuts for 60 years and this recipe is hands down the easiest, most consistent one I’ve ever found. Perfect snap, balanced spice, no fussy steps. I’ve already passed the recipe along to all three of my granddaughters.

1 week ago

So happy to find a nut-free cookie recipe that actually tastes good! My son has a severe tree nut and peanut allergy, so bringing treats to his class is always stressful, but these are totally safe and every kid in his class loved them when I brought them for his birthday treat.

5 days ago

That makes us so happy to hear! This recipe is completely nut-free as written, so it’s perfect for classroom treats and events where folks have nut allergies. So glad it was a hit at your son’s birthday!

30 minutes ago

Quick question – do I need to use parchment paper on my baking sheet for these? I ran out and don’t feel like running to the store just for parchment. Can I just grease the pan really well?

5 minutes ago

I greased my pan really well with butter last time I made them and they came off totally fine! No sticking at all, just make sure you let them cool on the pan for 5 minutes like the recipe says before moving them

just now

Great question! You absolutely don’t need parchment paper – a well-greased baking sheet works perfectly, as does a silicone baking mat if you have one. Just let them cool on the pan for a few minutes after baking so they set up, and they’ll lift right off!

1 week ago

Packed a tin of these for our cross-country road trip last week and they held up perfectly. No mushy cookies, no crumbs everywhere, just a delicious crunchy snack for the car. Way better than packing chips or candy bars.

2 days ago

I totally forgot to add the baking soda when I made these last night and they still came out good? They were a little denser than the photos but the flavor was still chef’s kiss. Don’t be like me, but if you mess up, they’re still edible lmao

yesterday

Girl I did the exact same thing last month when I was running on 3 hours of sleep with a teething baby! They were a little flatter but my family ate them all in 10 minutes so no harm done 😂

5 days ago

I know ginger nuts are technically a year-round thing but these are going to be my go-to cookie for all my fall bonfires this year. The warm ginger and spice tastes so good with a mug of spiced cider when it’s chilly out. Already made two batches this month!