
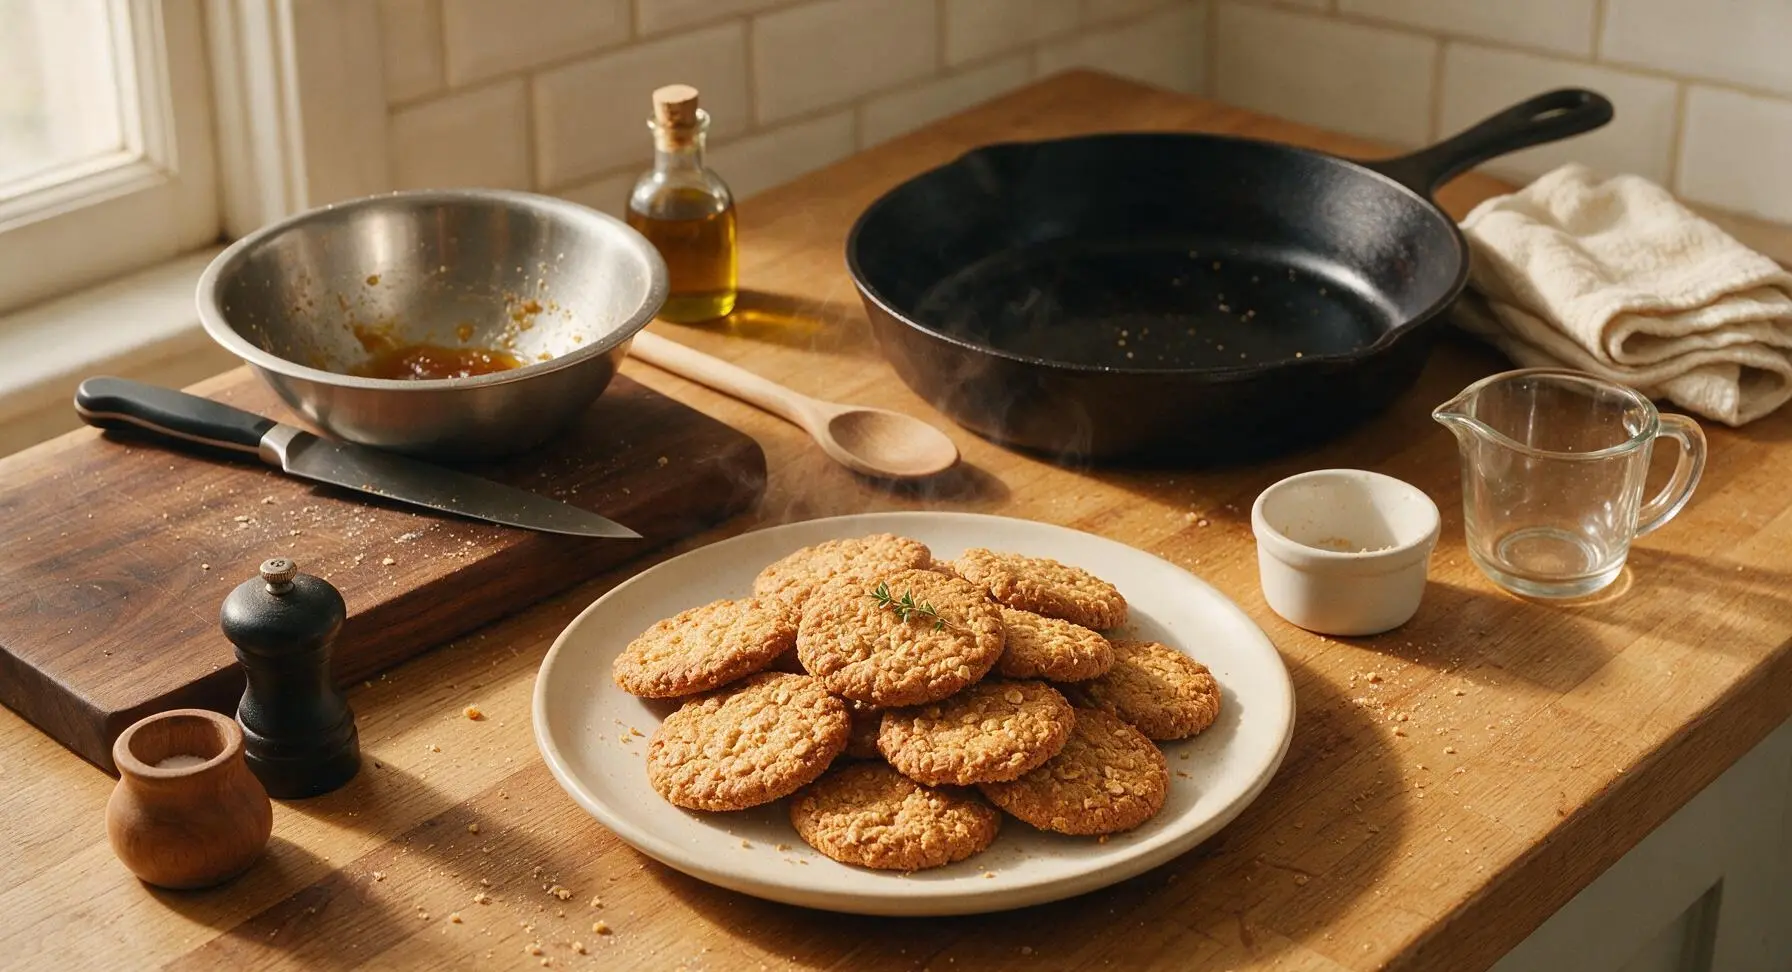
British Hobnobs

title 1
British Hobnobs
⏱️ cook time 12 minutes
🍽️ servings 18
⚡ Difficulty easy

intro

Crunchy, buttery, oaty British hobnobs: the iconic tea-time biscuit with subtle golden syrup sweetness, perfect for dunking, with a rough, satisfying texture that beats shop-bought versions every time.

Ingredients
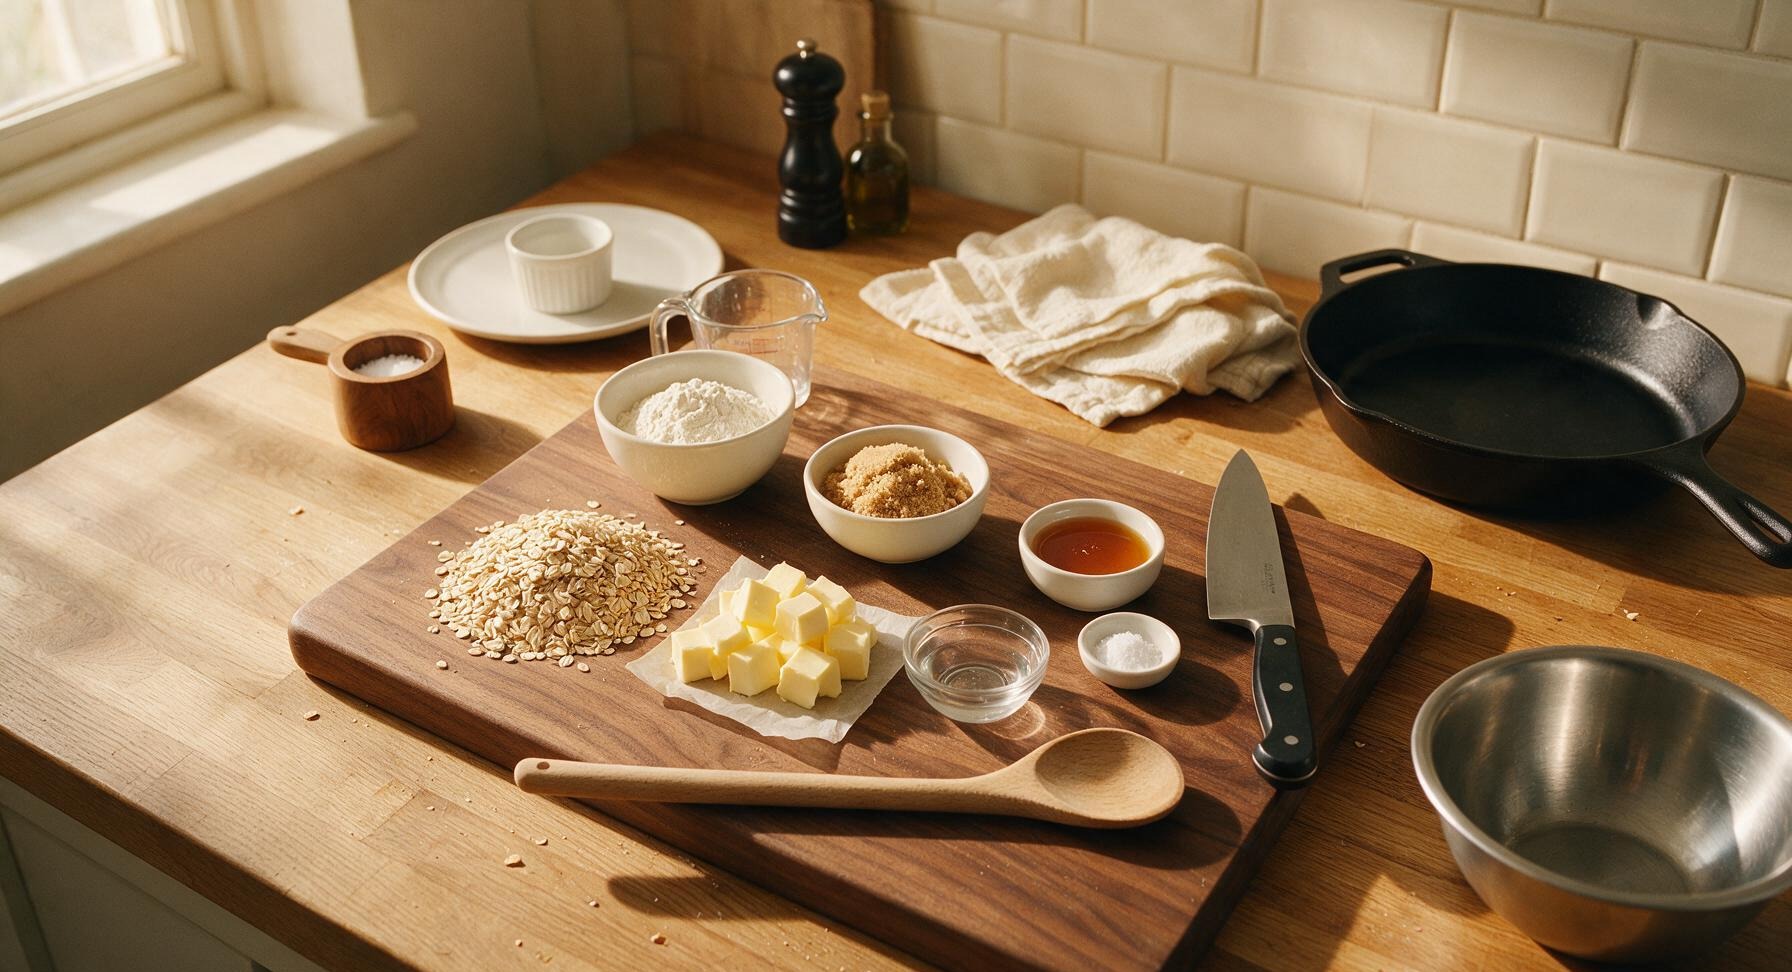
Rolled porridge oats (not instant) 150g
Unsalted butter 125g
Light soft brown sugar 100g
Plain (all-purpose) flour 100g
Golden syrup 2 tbsp
Bicarbonate of soda 1 tsp
Boiling water 1 tbsp
Fine sea salt 1/4 tsp

Steps

1

Preheat Oven, Prep Tray

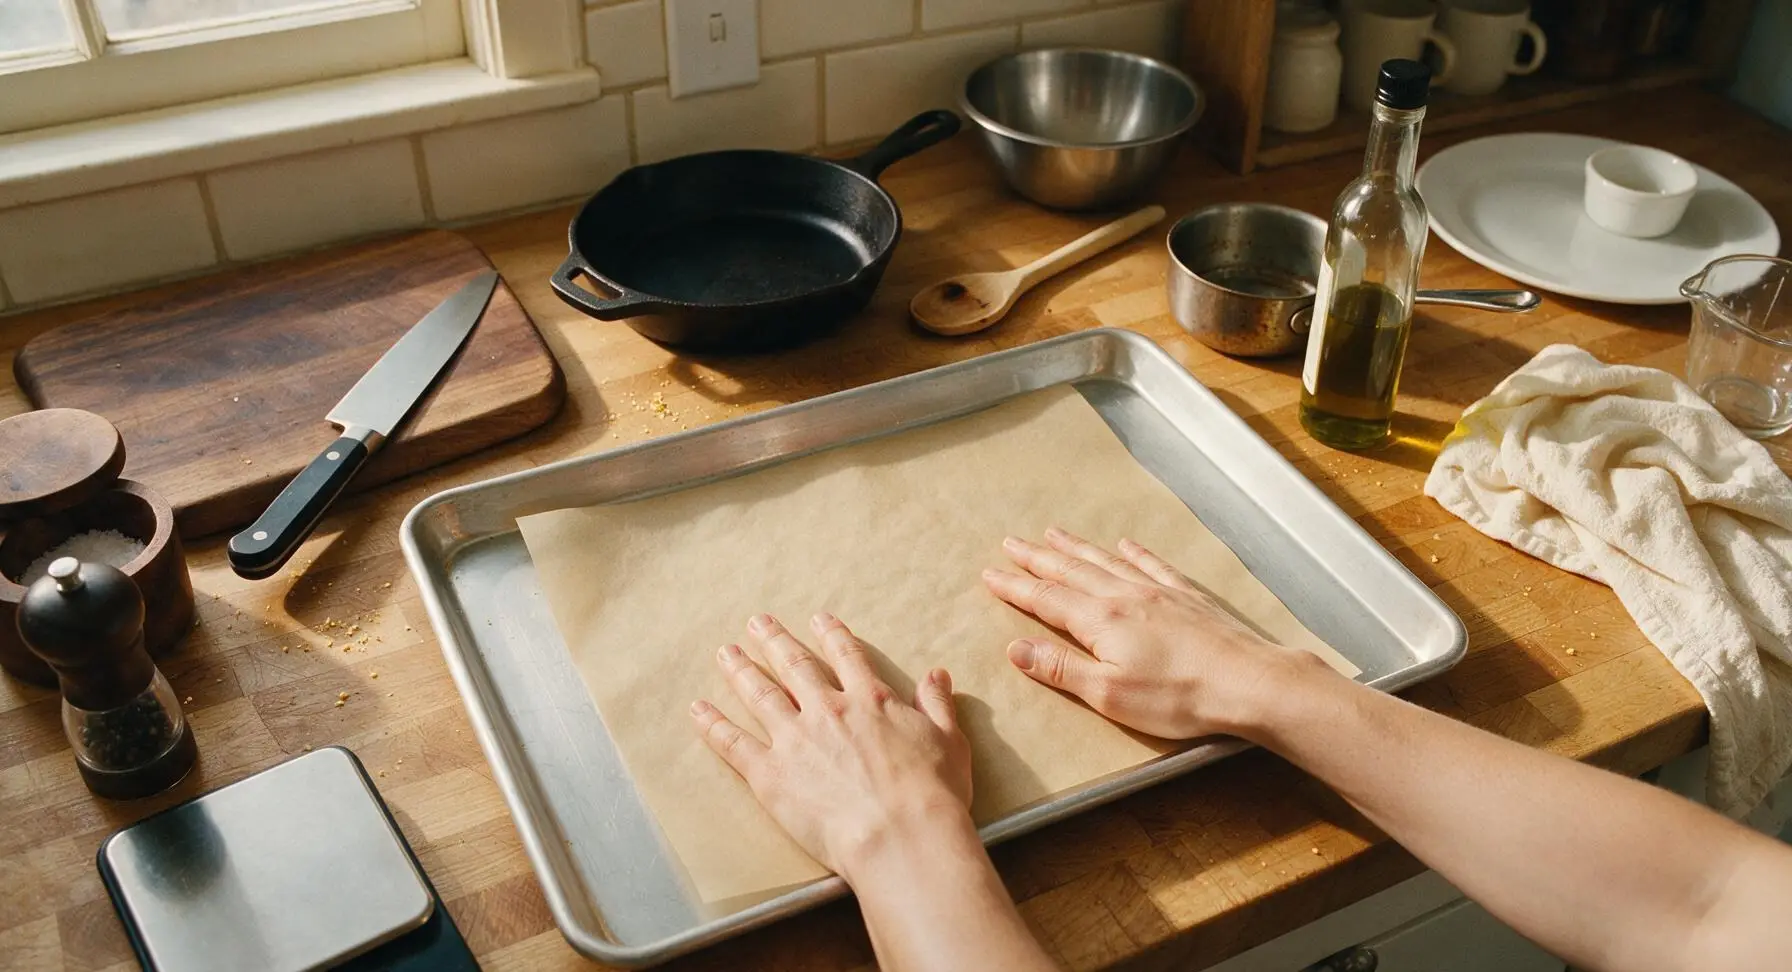
Preheat your oven to 180°C (350°F / Gas mark 4). Line the heavy-gauge aluminum baking sheet with a sheet of unbleached parchment paper, cut to fit so it lies completely flat with no overhang that could curl while baking. Set the prepared tray aside on the right section of the counter, leaving space for mixing in the center.
Step 1
step1:Preheat Oven, Prep Tray
2

Melt Butter and Syrup

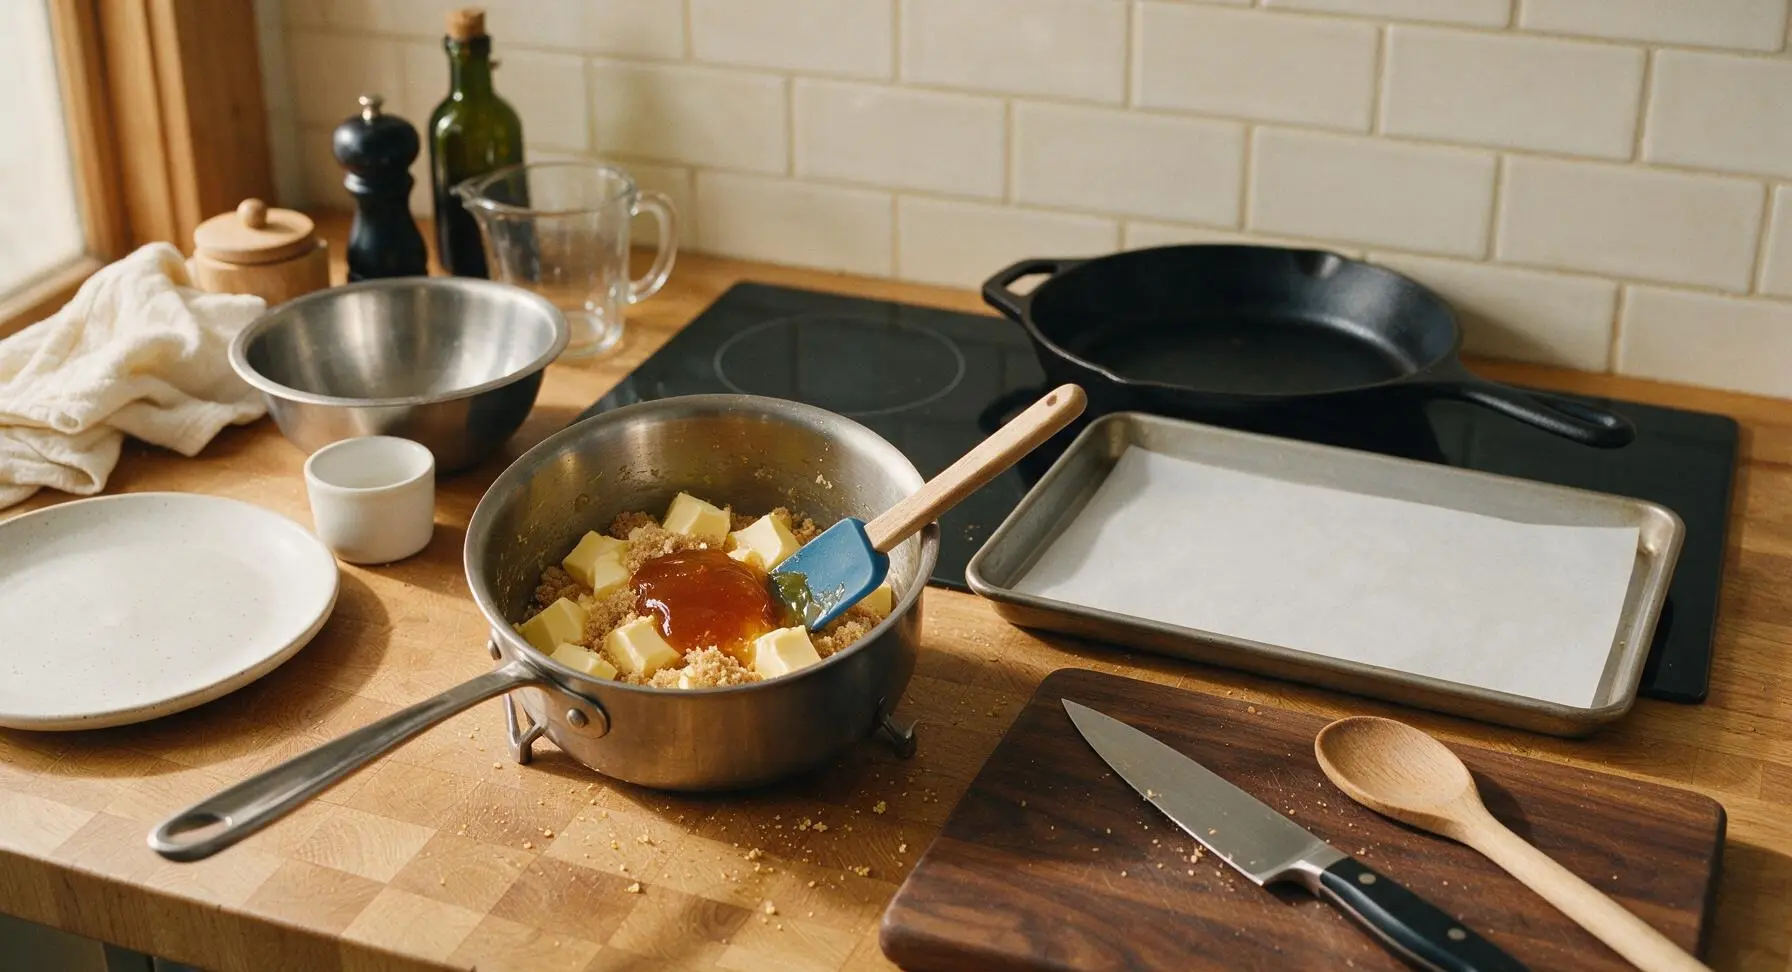
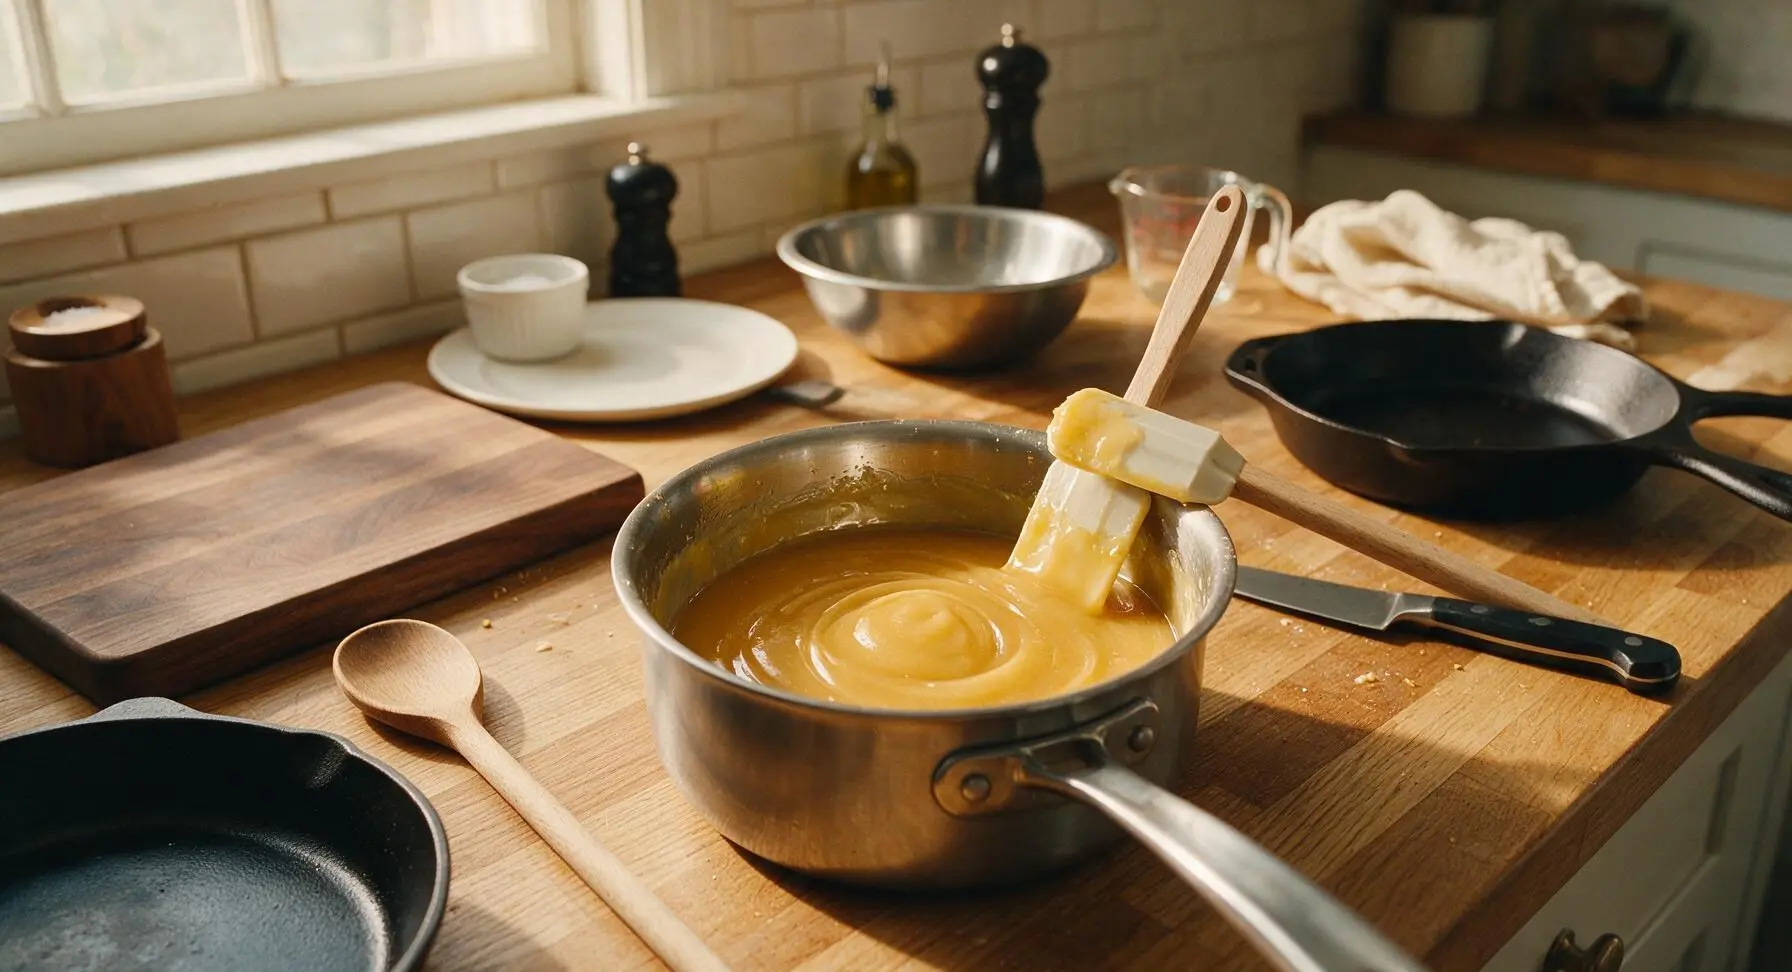
Cut the 125g unsalted butter into 2cm cubes and place into the small stainless steel saucepan, set on the left induction cooktop zone over low heat. Add the 100g light soft brown sugar and 2 tbsp golden syrup. Stir gently with the silicone spatula until the butter is fully melted, sugar dissolves completely, and the mixture is smooth and glossy liquid with no grainy residue at the pan bottom—this takes approximately 3 minutes. Do not bring the mixture to a rolling boil, as this will make the biscuits too hard.
Step 2
step2:Melt Butter and Syrup
Step 2
step2:Melt Butter and Syrup
3

Combine Dry Ingredients

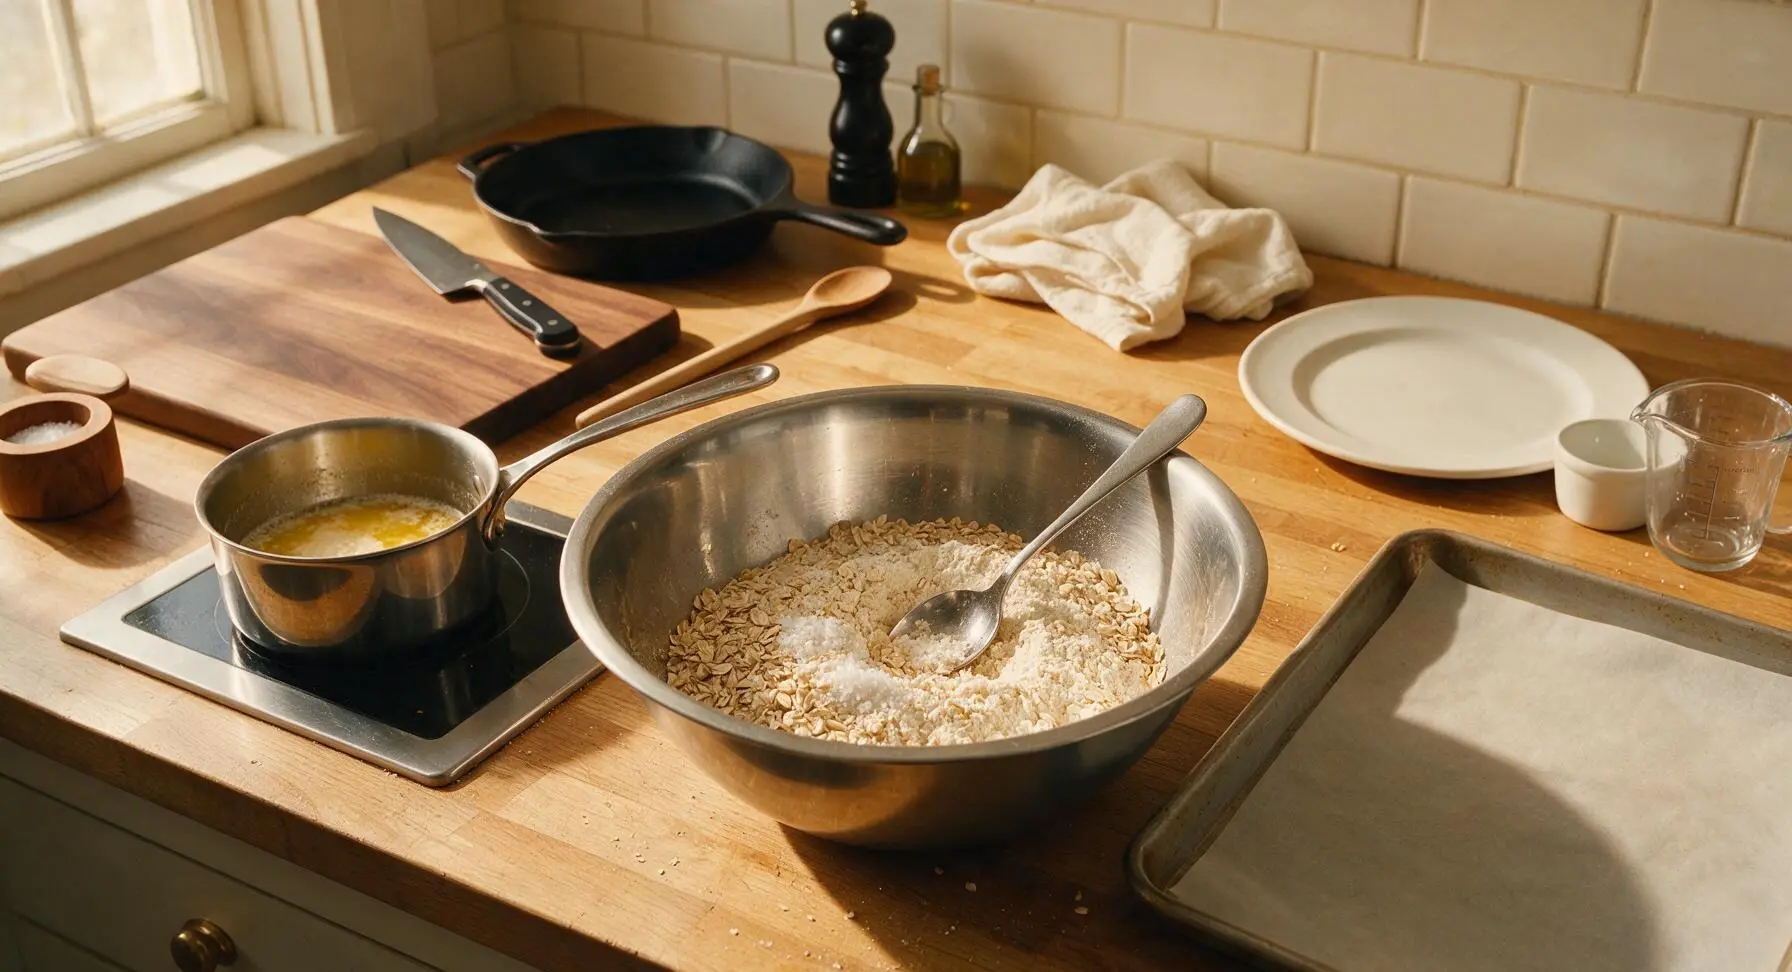
Add the 150g rolled porridge oats, 100g plain flour, and 1/4 tsp fine sea salt to the medium stainless steel mixing bowl, positioned in the center of the counter. Stir briefly with the stainless steel tablespoon measure to evenly distribute the salt through the oats and flour, breaking up any small clumps of flour so the mixture is uniform.
Step 3
step3:Combine Dry Ingredients
4

Activate Bicarb Mixture

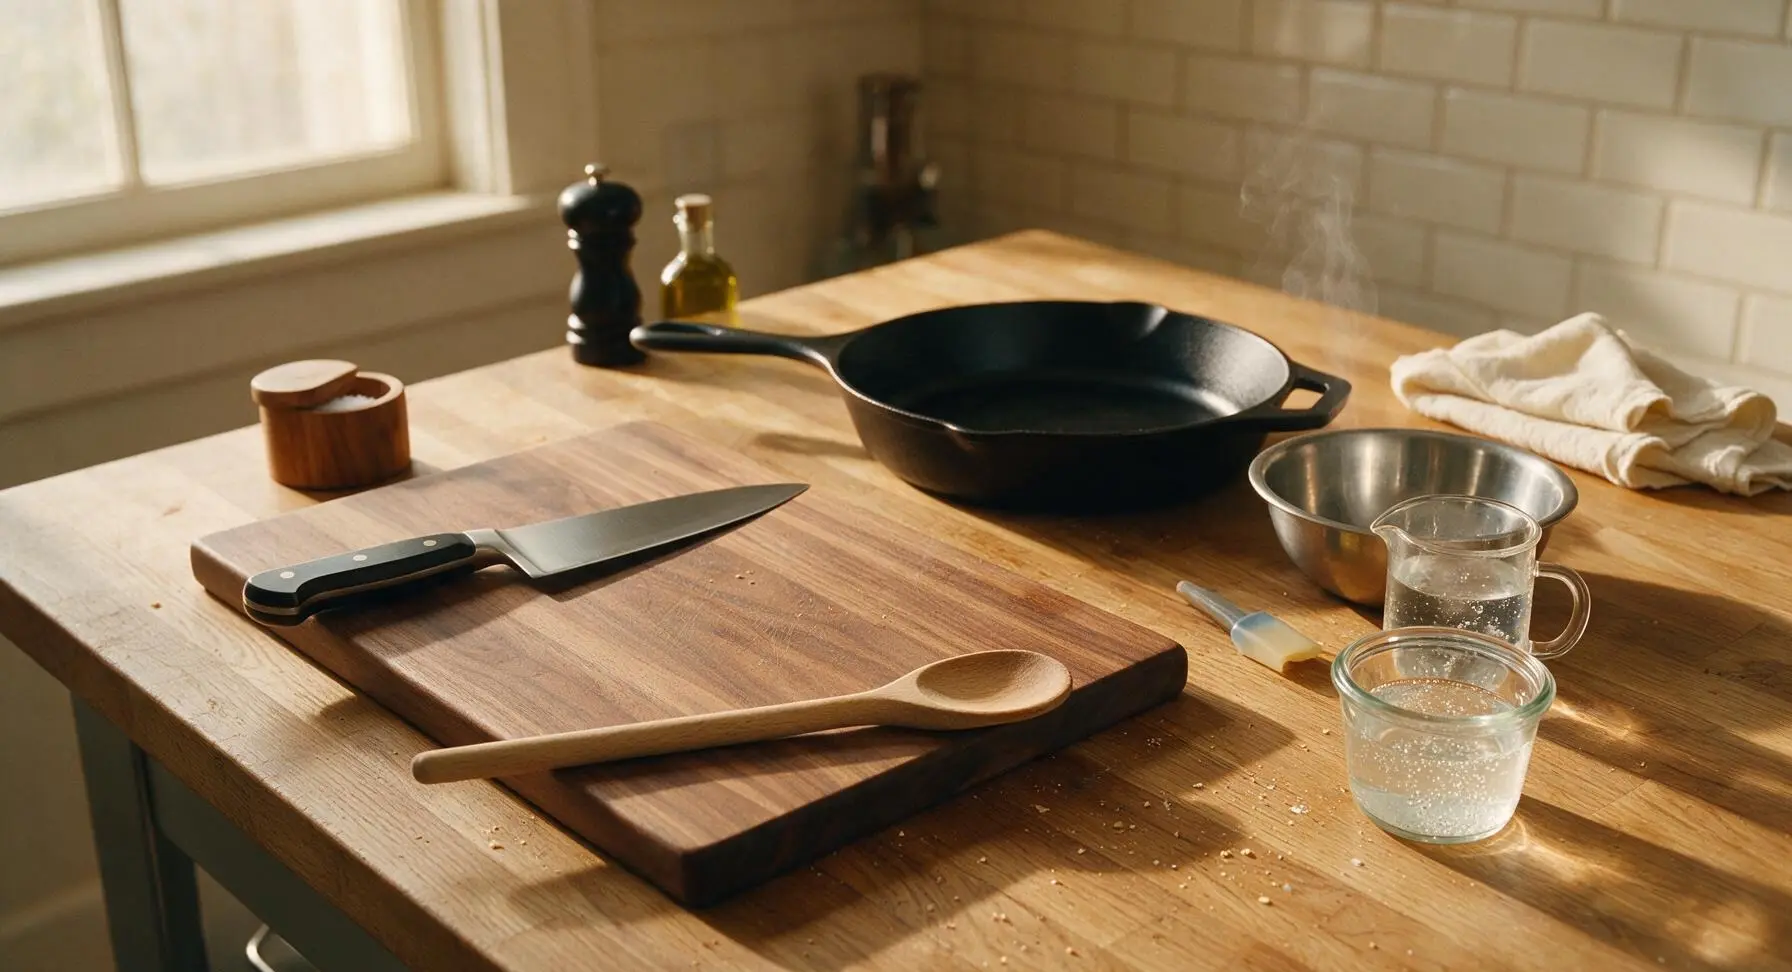
Measure 1 tsp bicarbonate of soda into the small clear glass ramekin. Pour 1 tbsp of freshly boiled water from the heatproof glass jug over the bicarbonate of soda, and stir briefly with the tip of the silicone spatula until the powder fully dissolves; the mixture will fizz lightly as it activates.
Step 4
step4:Activate Bicarb Mixture
5

Mix Biscuit Dough

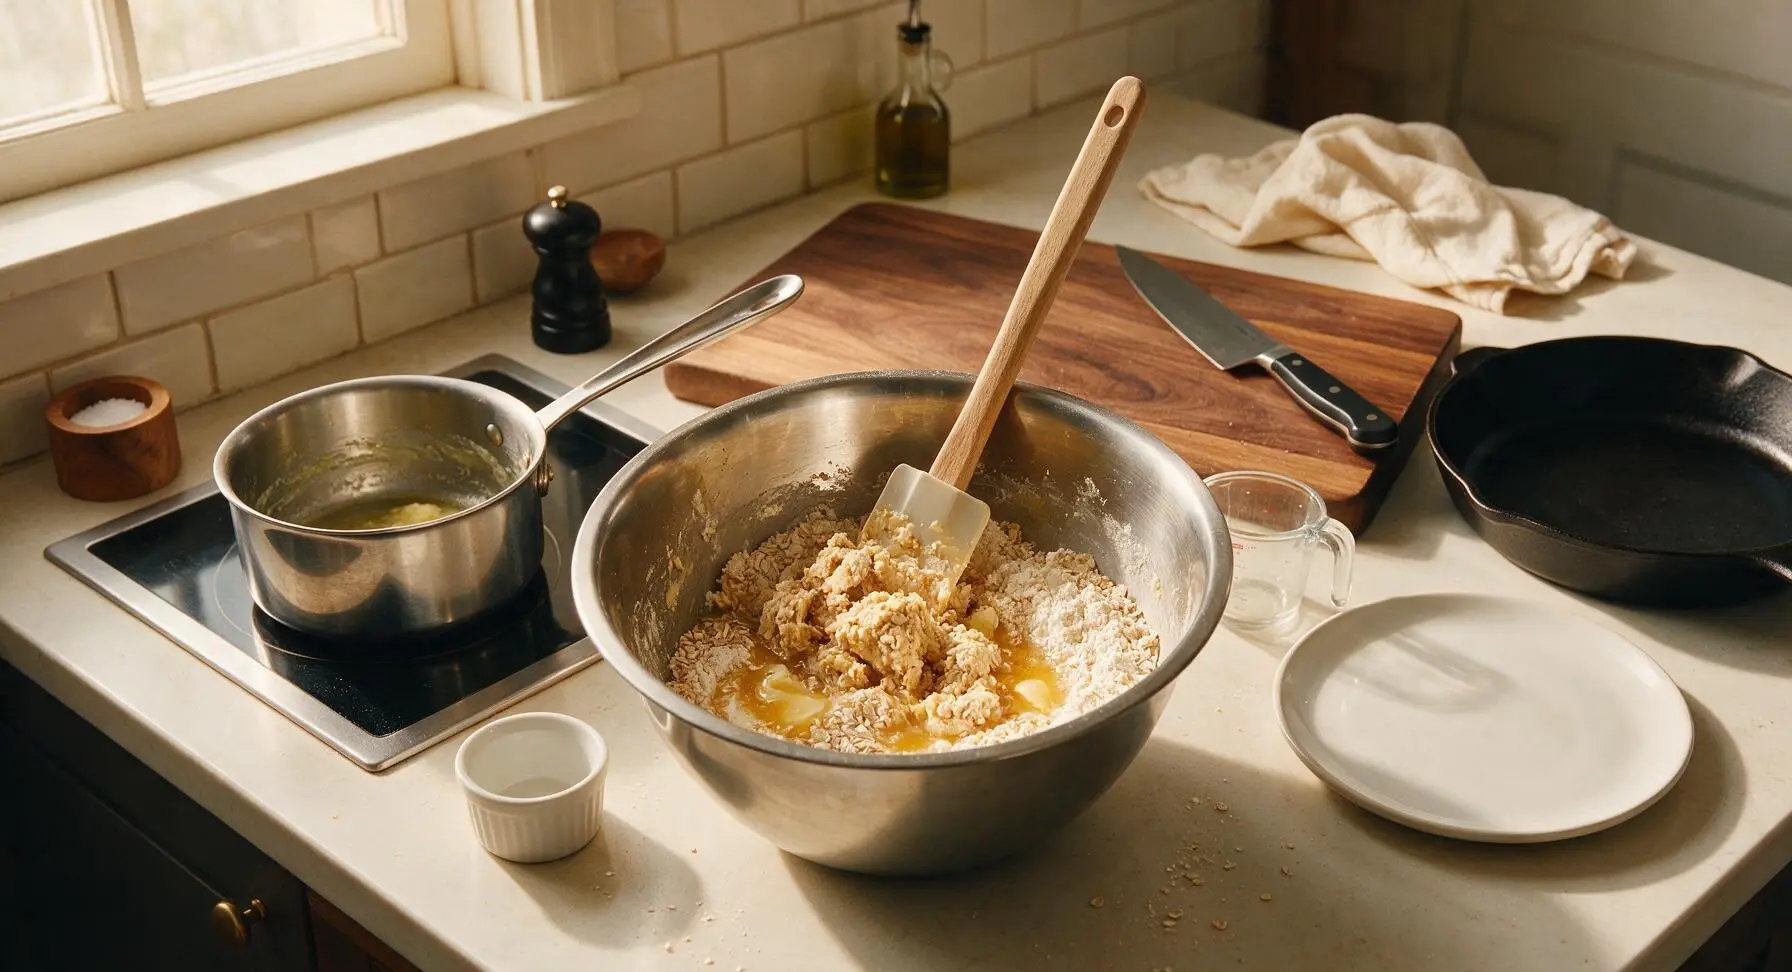
Pour the warm melted butter-syrup mixture from the saucepan into the mixing bowl with the dry oat and flour blend. Add the dissolved bicarbonate of soda water. Stir thoroughly with the silicone spatula until every oat and flour particle is coated in the buttery syrup, forming a thick, coarse, slightly crumbly dough that holds together when squeezed gently. Do not overmix, as this will develop gluten in the flour and result in tough, dense biscuits.
Step 5
step5:Mix Biscuit Dough
6

Portion Dough Mounds

Using the stainless steel tablespoon measure, scoop level tablespoons of the finished dough, dropping them 5cm apart onto the parchment-lined baking sheet to make 18 even mounds total. Do not press the mounds flat; they will spread naturally as they bake to form thin, crisp, uneven-edged biscuits.
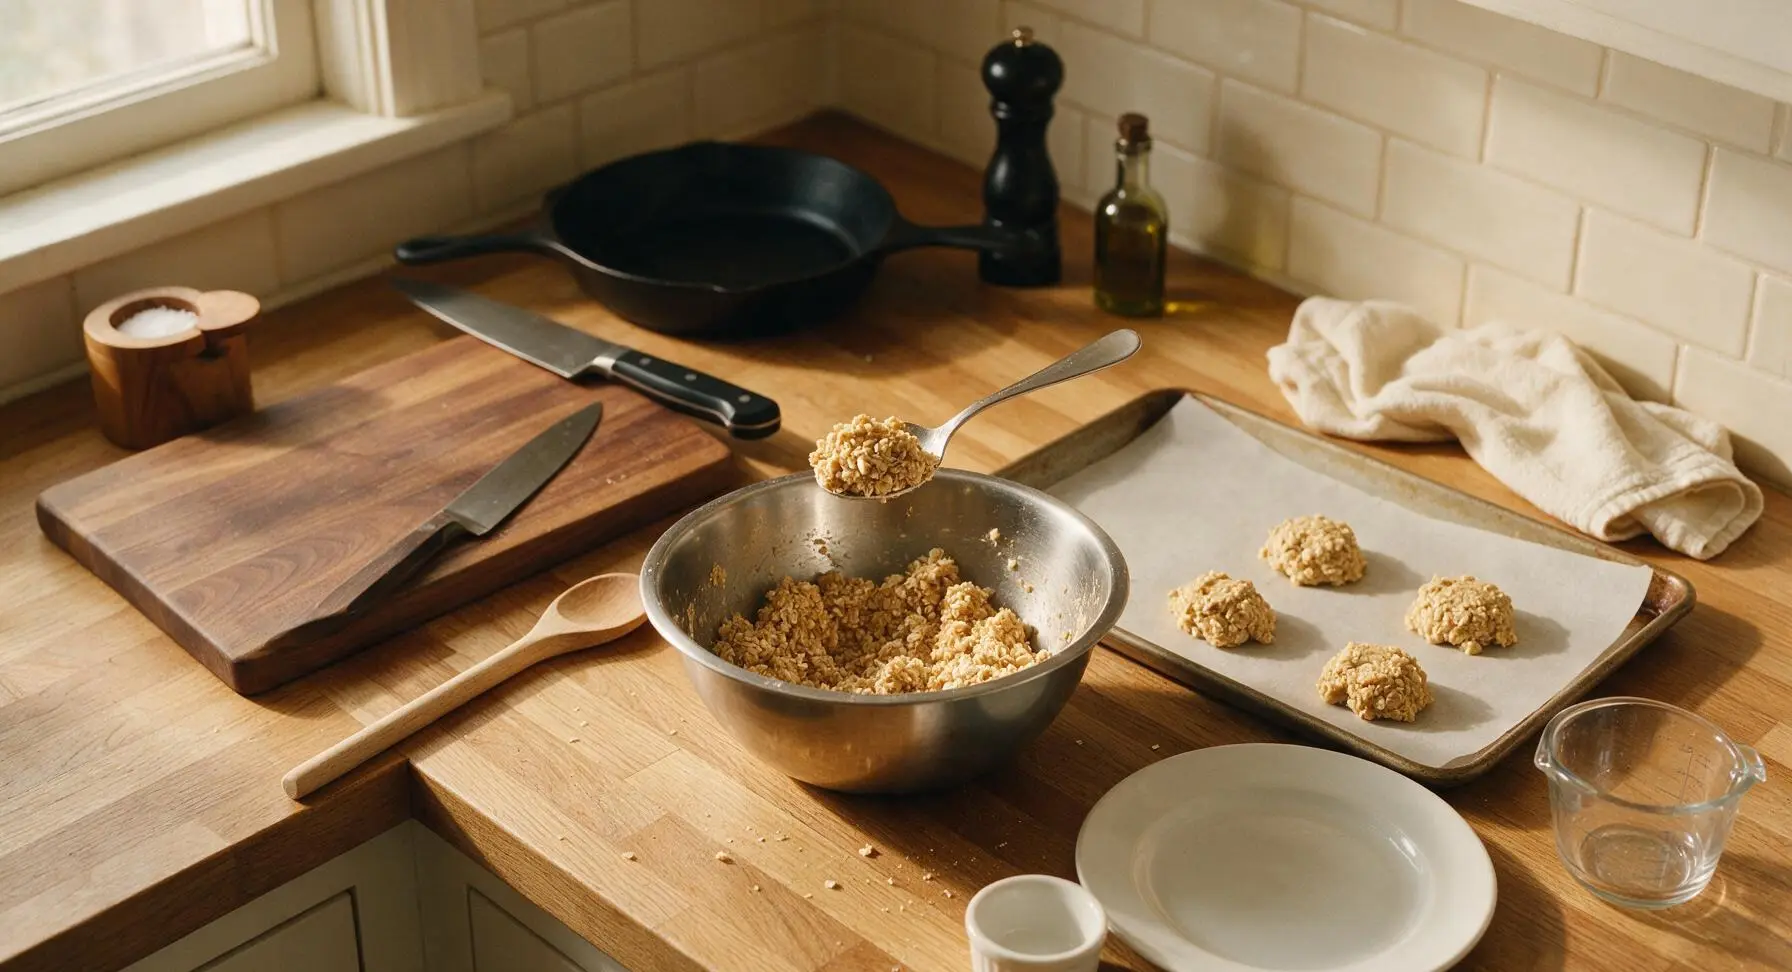
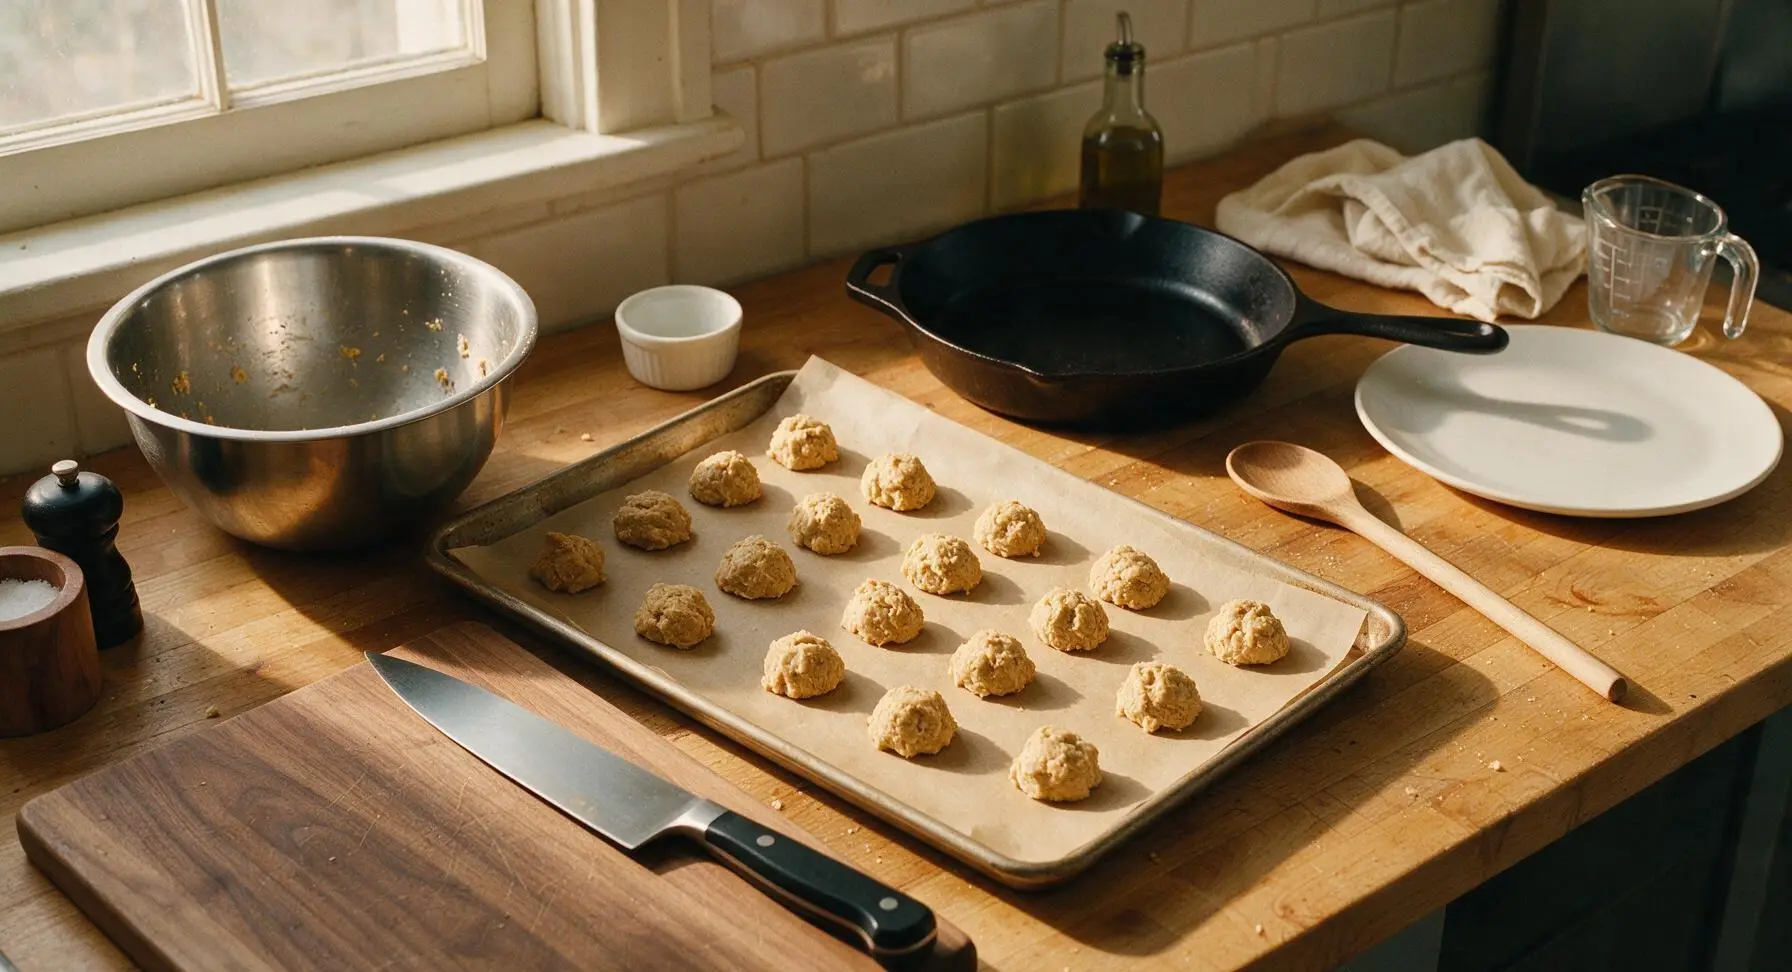
Step 6
step6:Portion Dough Mounds
Step 6
step6:Portion Dough Mounds
7

Bake to Golden Crisp

Carefully place the baking sheet on the middle shelf of the preheated oven. Bake for 10-12 minutes, until the biscuits are a deep even golden brown across their surface, with slightly darker caramelized edges. The biscuits will be very soft and fragile when you first remove them from the oven—this is completely normal, as they crisp up dramatically as they cool.
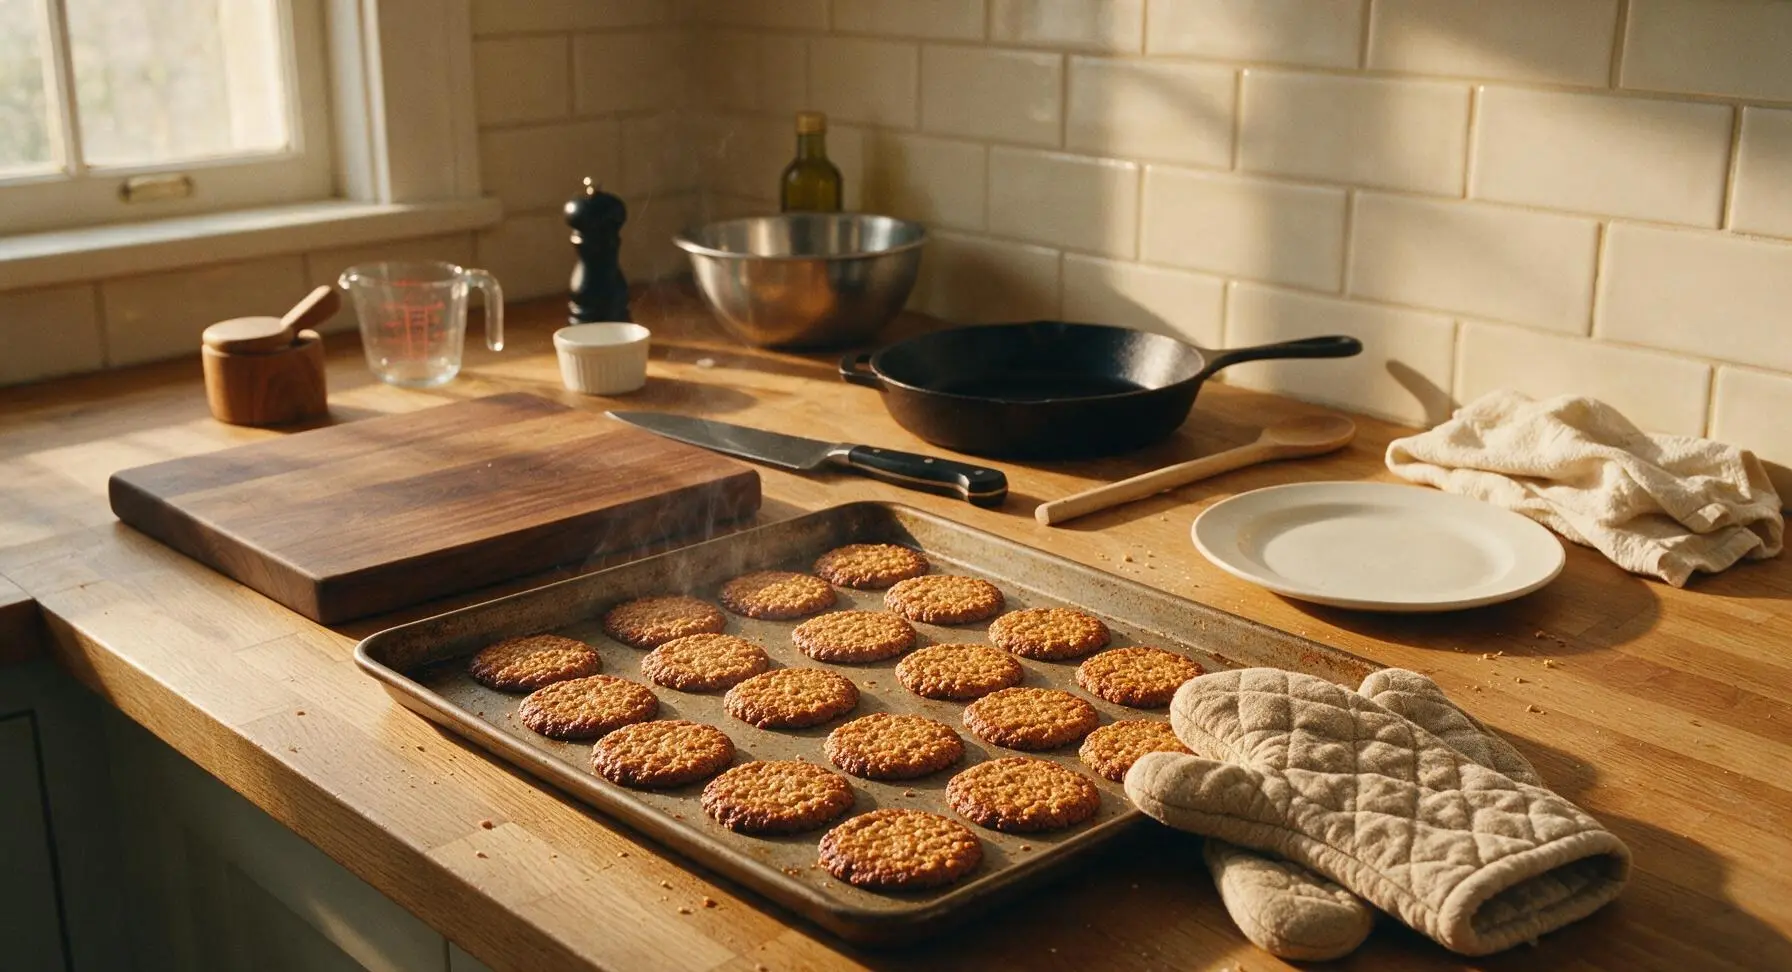
Step 7
step7:Bake to Golden Crisp
8

Cool Biscuits Fully

Let the biscuits rest undisturbed on the hot baking sheet for 5 minutes to firm up slightly, then use the silicone spatula to carefully transfer them to the chrome wire cooling rack. Leave to cool completely for 20 minutes at room temperature—they will develop their signature crisp snap as they cool. Do not stack the biscuits until they are fully cold, as trapped heat will make them go soft.
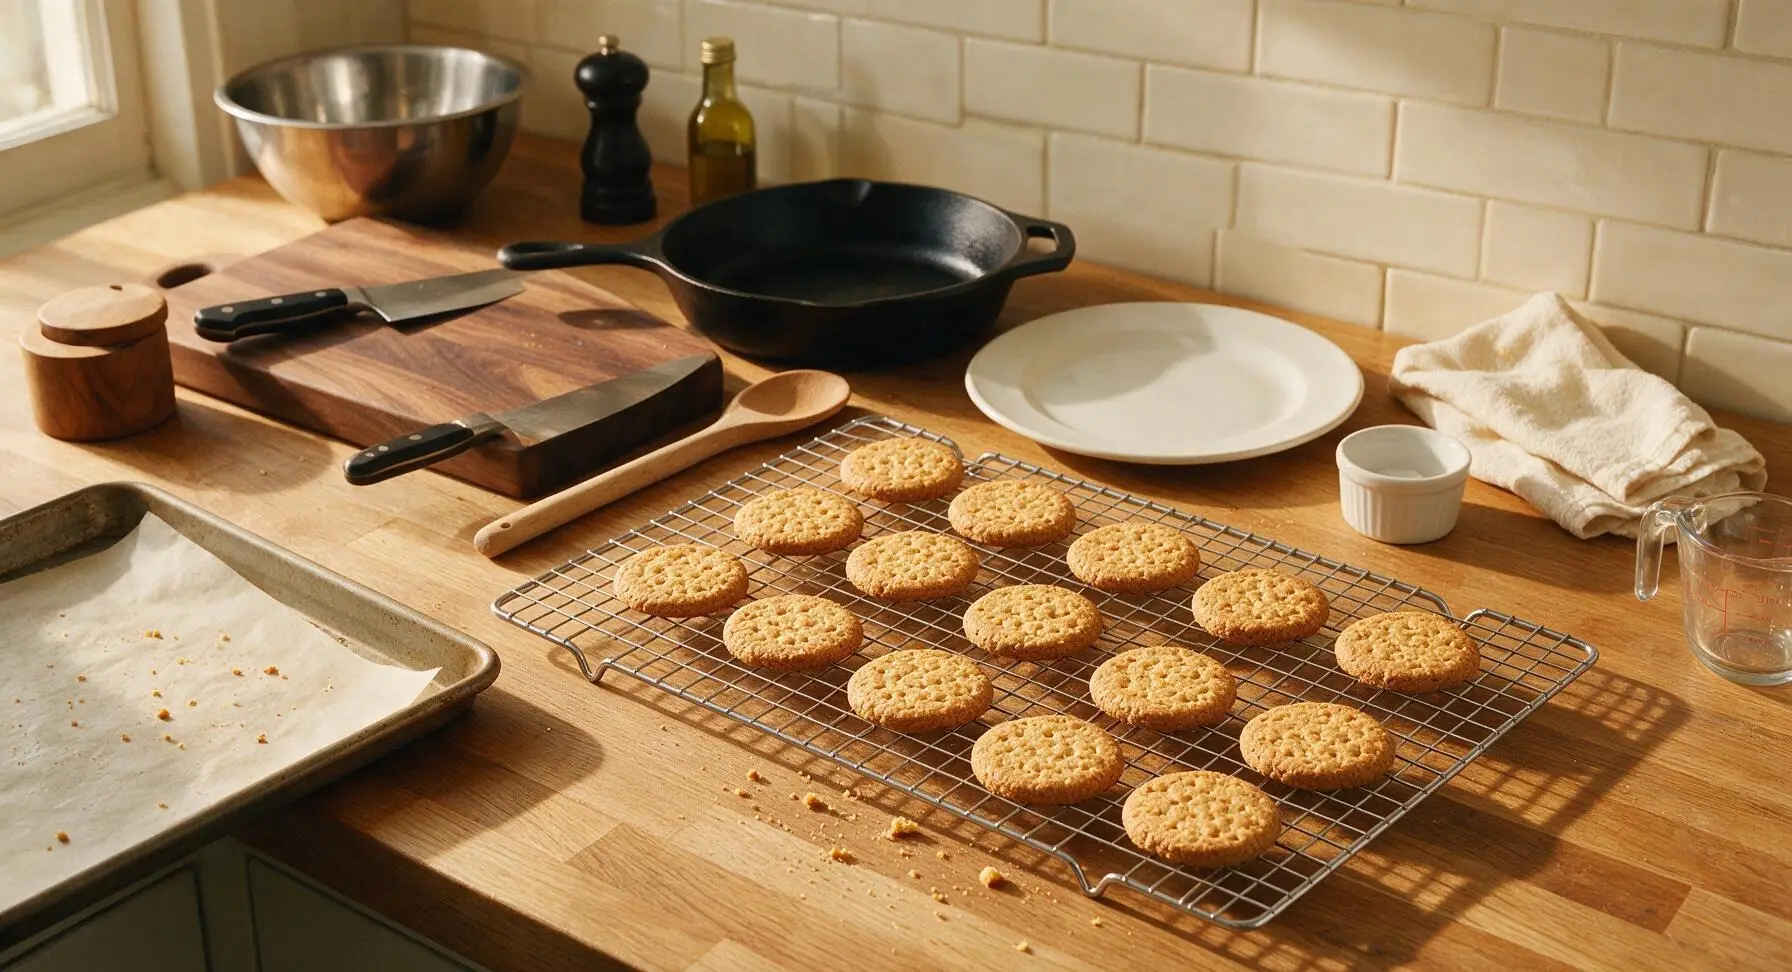
Step 8
step8:Cool Biscuits Fully

Tips

1.Skip the urge to press dough mounds flat before baking: Hobnobs get their signature thin, lacy, crisp texture from the natural spread of melting butter in the oven; pressing dough down will create dense, tough biscuits that bake unevenly.
2.Always let biscuits rest on the hot tray for 5 minutes before moving them: Fresh out of the oven, the oaty, buttery dough is extremely soft and will bend or break if lifted immediately. The short rest allows the sugar and butter to set just enough to transfer cleanly to the cooling rack.
3.Use regular rolled porridge oats, not instant or steel-cut oats: Instant oats are processed too fine and will create a soft, cakey biscuit instead of a crisp one, while steel-cut oats are too hard and won’t soften enough during the short bake time, leading to a gritty texture.


✨ You May Also Like

Desserts & Baking
🍜 Italy

Creamy, coffee-kissed classic Northern Italian no-bake dessert, with layers of rum-spiked mascarpone cream, soft ladyfingers, and a rich cocoa dusting.

⏱️ 4 hours 3Desserts & Baking ★ 4.7
Desserts & Baking
🍜 France

Flaky, shatteringly crisp, buttery French croissants with golden exteriors and soft, airy layered interiors, perfect for pairing with coffee for a special morning treat.

⏱️ 12 hours Desserts & Baking ★ 4.5
Desserts & Baking
🍜 United States

Warm, spiced baked apples topped with a fluffy golden biscuit crust, this cozy dessert pairs perfectly with vanilla ice cream for cool-weather comfort.

⏱️ 55 minuteDesserts & Baking ★ 4.6
Desserts & Baking
🍜 United States

A star-spangled classic American blueberry pie with buttery flaky crust and bright sweet-tart filling, perfect for summer patriotic gatherings.

⏱️ 1 hour 25Desserts & Baking ★ 4.7
Desserts & Baking
🍜 United States

A beloved no-bake regional Maine candy with a chewy coconut-potato center coated in rich dark chocolate, a New England holiday staple since the 1870s.

⏱️ 2 hours 3Desserts & Baking ★ 4.8
Desserts & Baking
🍜 France

Luxuriously creamy, floral frozen custard made with aromatic Tahitian vanilla beans, boasting a smooth, rich texture that melts slowly on the tongue.

⏱️ 3 hours 3Desserts & Baking ★ 4.5

British Hobnobs:Frequently Asked Questions

1.Can I use instant oats instead of rolled porridge oats for these hobnobs? ▾
I don’t recommend it. Instant oats are milled much finer and pre-cooked, so they’ll produce a dense, uniform, soft biscuit instead of the signature rough, hearty, crunchy oaty texture. Stick to standard old-fashioned rolled oats for that perfect nubbly bite that holds up to dunking.
2.What’s a good substitute for golden syrup if I can’t find it at my local grocery store? ▾
If you can’t track down Lyle’s Golden Syrup (check the international or British food aisle first!), the closest swap is light corn syrup mixed with 1 tablespoon of molasses per ¼ cup of corn syrup to mimic that deep, caramelized sweetness. Don’t use pure maple syrup—it’s too thin and will cause excess spreading as the biscuits bake.
3.Why did my hobnobs spread way too thin and turn flat when I baked them? ▾
That almost always traces back to overly soft butter when mixing the dough, or using a pre-warmed baking sheet straight from another batch. Make sure your butter is just room temperature (not melted or greasy to the touch), and chill scooped dough for 15 minutes before baking if your kitchen is warm to keep them thick and crunchy.
4.How do I get that signature crisp, crunchy texture instead of soft, cakey hobnobs? ▾
The key is to bake them until the edges are a deep golden brown, then let them cool completely on the baking sheet for 10 minutes before moving them. They’ll feel slightly soft right out of the oven, but they firm up dramatically as they cool. Pulling them too early will leave you with soft, cakey biscuits instead of the ideal crisp bite.
5.Are these homemade hobnobs sturdy enough for dunking in tea or coffee like shop-bought versions? ▾
Absolutely! That’s one of the biggest perks of this homemade recipe. The combination of rolled oats, golden syrup, and fully baked butter creates a dense, sturdy structure that holds up to 2-3 seconds of dunking in hot tea, coffee, or even hot cocoa without crumbling into your drink.
6.Can I add chocolate to these to make the chocolate-topped hobnobs sold in stores? ▾
Definitely—chocolate-coated hobnobs are a fan favorite for good reason. Once the biscuits are fully cooled, melt 6 ounces of dark or milk chocolate, spread a thin layer on the flat bottom of each biscuit, then set them chocolate-side up on a rack until the coating firms up. A light sprinkle of flaky sea salt adds lovely extra depth.
7.How should I store homemade hobnobs to keep them crunchy for as long as possible? ▾
Keep them in an airtight container at room temperature, layered between sheets of parchment paper to prevent sticking, for up to 2 weeks. Skip storing them in the fridge, as excess moisture there will make them go soft and lose their signature crunch. If they do soften, crisp them back up in a 300°F oven for 3-4 minutes before serving.
8.Can I make this dough ahead of time to bake later for a gathering or tea party? ▾
Absolutely! Scoop the dough into individual portions, freeze them on a baking sheet until solid, then transfer to a labeled freezer bag for up to 3 months. When you’re ready to bake, just add 2-3 minutes to the original bake time—no thawing required. This makes it easy to serve fresh, warm hobnobs right when guests arrive.
9.Do I have to use light soft brown sugar, or can I swap it for dark brown or granulated sugar? ▾
Light soft brown sugar gives the perfect subtle caramel note and tender-crisp texture without overpowering the golden syrup and oaty flavor. Dark brown sugar works in a pinch, but it adds a stronger molasses taste that changes the classic profile. Granulated sugar makes the biscuits overly crisp and flat in flavor, so it’s not ideal.
10.My dough feels really dry and crumbly when I mix it—did I do something wrong? ▾
A slightly crumbly dough is totally normal for hobnobs! Unlike soft, chewy cookie dough, this oaty mixture won’t come together into a perfectly smooth ball. When you scoop portions, just squeeze the dough firmly between your fingers to compact it before placing it on the baking sheet, and it will hold its shape as it bakes. If it’s unworkably dry, stir in 1 teaspoon of melted butter to moisten.

Comments (10)

2 days ago

OMG these hobnobs are SO good! I’ve been craving the ones I tried on my London trip last year and this recipe is spot on. Crunchy, oaty, perfectly buttery, paired so well with my afternoon earl grey. 10/10, will be making these weekly for my snack drawer.

1 week ago

Super easy recipe, knocked these out in no time last night for my kid’s soccer team snack. They went crazy for them! Even the coach asked for the recipe. Way better than store bought granola bars, tbh.

5 minutes ago

Cook time was exactly 12 minutes like the recipe said, which I appreciated because my oven runs hot and most cookie recipes lie about timing. These have that perfect hearty oaty crunch without being too sweet. Great for dipping in coffee.

30 minutes ago

Wait a second—do I need to use golden syrup for this? I only have light corn syrup in my pantry right now, would that work as a swap? I really want to make these tonight!

20 minutes ago

Great question! Light corn syrup works as a 1:1 swap if you don’t have golden syrup, though you’ll get a slightly less rich, toasty flavor. If you have a tiny bit of molasses on hand, adding 1/4 teaspoon to your corn syrup will get you super close to the classic golden syrup taste! Happy baking!

3 days ago

Made these for my day hike last weekend and they held up perfectly in my backpack! No crumbs, didn’t get soggy, gave me the perfect little energy boost halfway up the trail. Game changer for trail snacks.

1 day ago

Oh that’s such a good idea! I’ve been looking for no-mess hike snacks that don’t have a million weird processed ingredients, can’t wait to try these for our trip next weekend!

yesterday

Tried making these yesterday and my first batch spread way too much and turned into one giant hobnob sheet pan situation 😂 Did I do something wrong? The taste was still amazing though, we just broke it into pieces and ate it like cookie brittle.

yesterday

Oh no, sorry to hear about the spread! The most common culprit is butter that was too soft (almost melted) when you mixed the dough, or not chilling the dough for 15 minutes before scooping. Next time pop the scooped dough in the fridge while your oven preheats and they’ll hold their shape perfectly—glad the flavor was still a hit even with the flat batch!

2 weeks ago

I brought these to my monthly book club potluck and everyone was raving! They pair so well with a charcuterie board too, who knew? I added a tiny pinch of flaky sea salt on top before baking and it *chef’s kiss* elevated them.

1 week ago

The flaky salt tip is genius! I’m making these for our wine night this week and I’m absolutely stealing that, thanks for the hack!

2 hours ago

Wait these taste exactly like the hobnobs my British grandma used to send us in care packages! I haven’t had these since I was a kid, I almost cried when I took the first bite. How long do these stay fresh for if I store them in an airtight container?

1 hour ago

RIGHT?! I thought I’d have to pay $8 a box at the import store to get that taste, this recipe is so much cheaper and fresher. I’ve found mine stay good for a full week in a tin!

45 minutes ago

So glad these brought back such sweet memories! Stored in a fully airtight container at room temp, these will stay crisp and delicious for 5-7 days. If they start to go a little soft, pop them on a baking sheet in a 350°F oven for 2-3 minutes to crisp right back up!

5 days ago

Has anyone tried dipping these in dark chocolate to make chocolate hobnobs? That’s my absolute favorite store bought version and I’m wondering if I should do half the batch plain and half dipped.

4 days ago

I did that last batch! Let them cool fully after baking, then dip half in melted 70% dark chocolate and set them on parchment paper until the chocolate hardens. It was unreal, my kid begged for them for breakfast every day that week lmao

3 days ago

Chocolate-dipped is such a delicious upgrade! Just make sure the cookies are 100% cool before dipping so the chocolate doesn’t slide off, and you can even sprinkle a little extra oat crumble or flaky salt on the wet chocolate for extra texture if you’d like!

just now

These are now a staple in my Sunday meal prep rotation! I make a double batch every Sunday and toss a couple in my kids’ lunch boxes all week, they never get sick of them. SO much better than the sugary processed cookies they used to beg for at the grocery store.

just now

Wait I never thought to add these to lunch boxes! Do they hold up being next to apple slices and a cold juice box without getting soggy? I’ve been looking for less processed snacks to pack for my 2nd grader.

just now

Fantastic question! As long as you let the hobnobs cool completely before packing them, their sturdy, crisp oaty texture holds up perfectly in lunch boxes even next to cold fruit or juice boxes. If you want to be extra cautious, tuck them in a small reusable snack bag separate from very wet items, but most home bakers report they don’t get soggy at all!



