
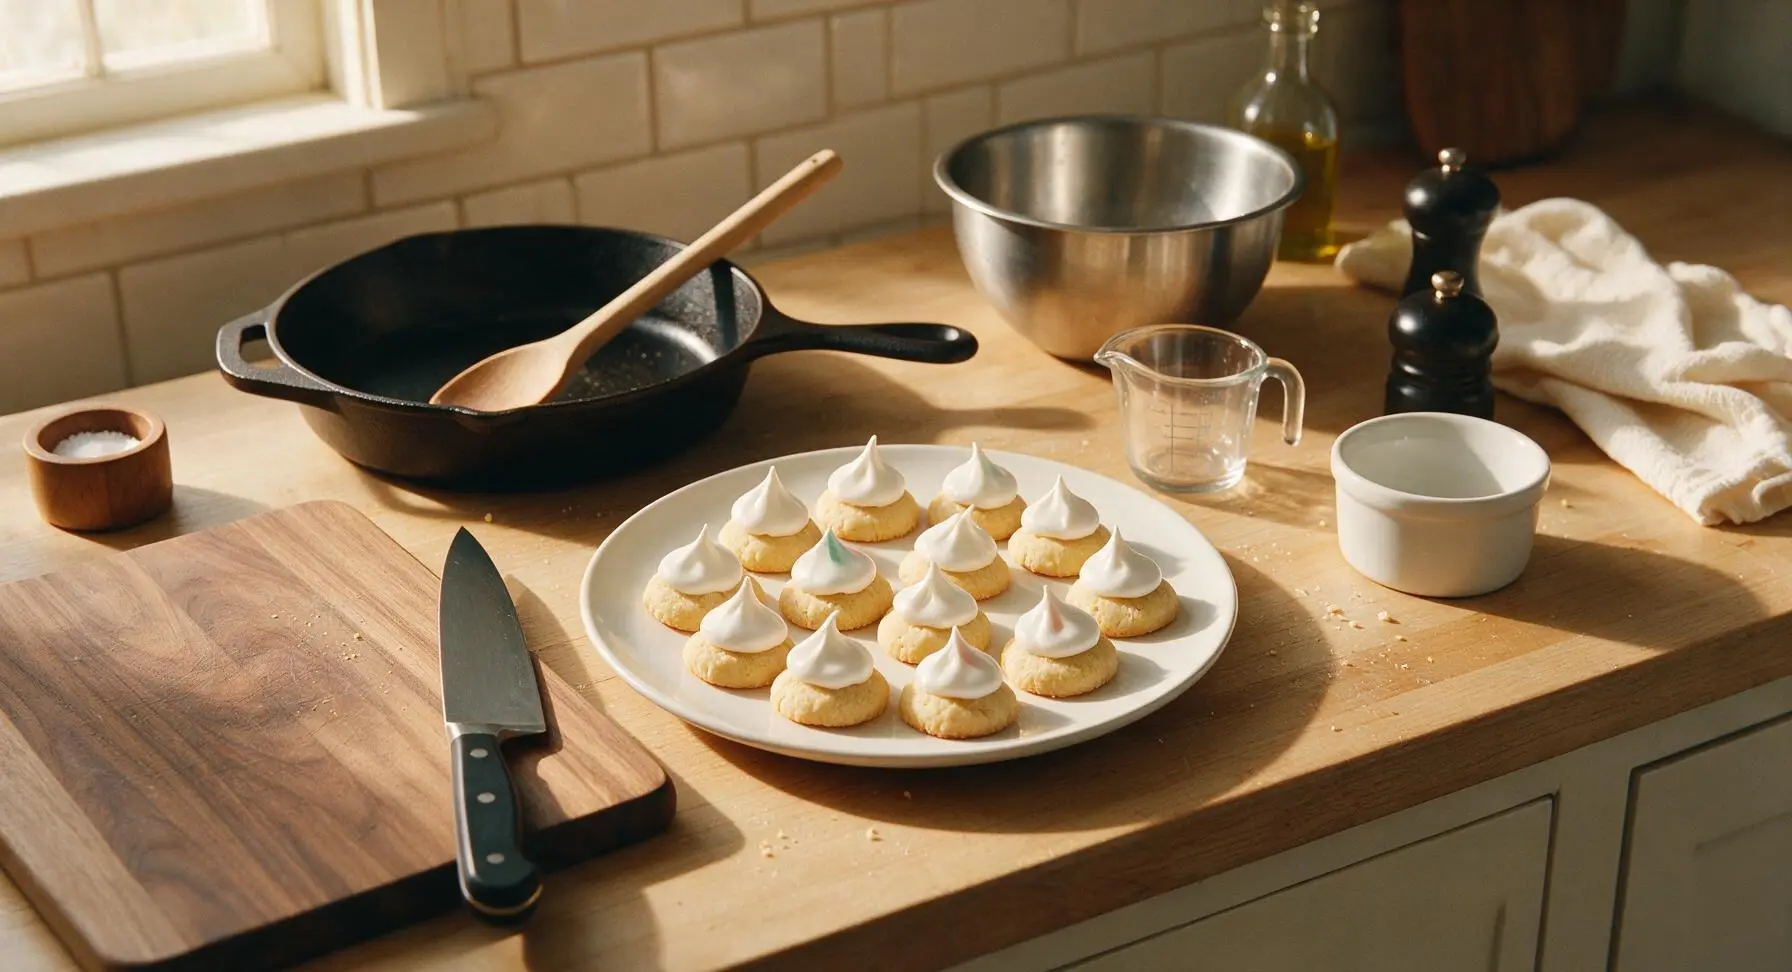
British Iced Gems

title 1
British Iced Gems
⏱️ cook time 12 minutes
🍽️ servings 10
⚡ Difficulty easy

intro

Crunchy, buttery mini shortbread biscuits topped with bright, crisp royal icing peaks—these nostalgic British teatime treats are a beloved bite-sized childhood classic.

Ingredients
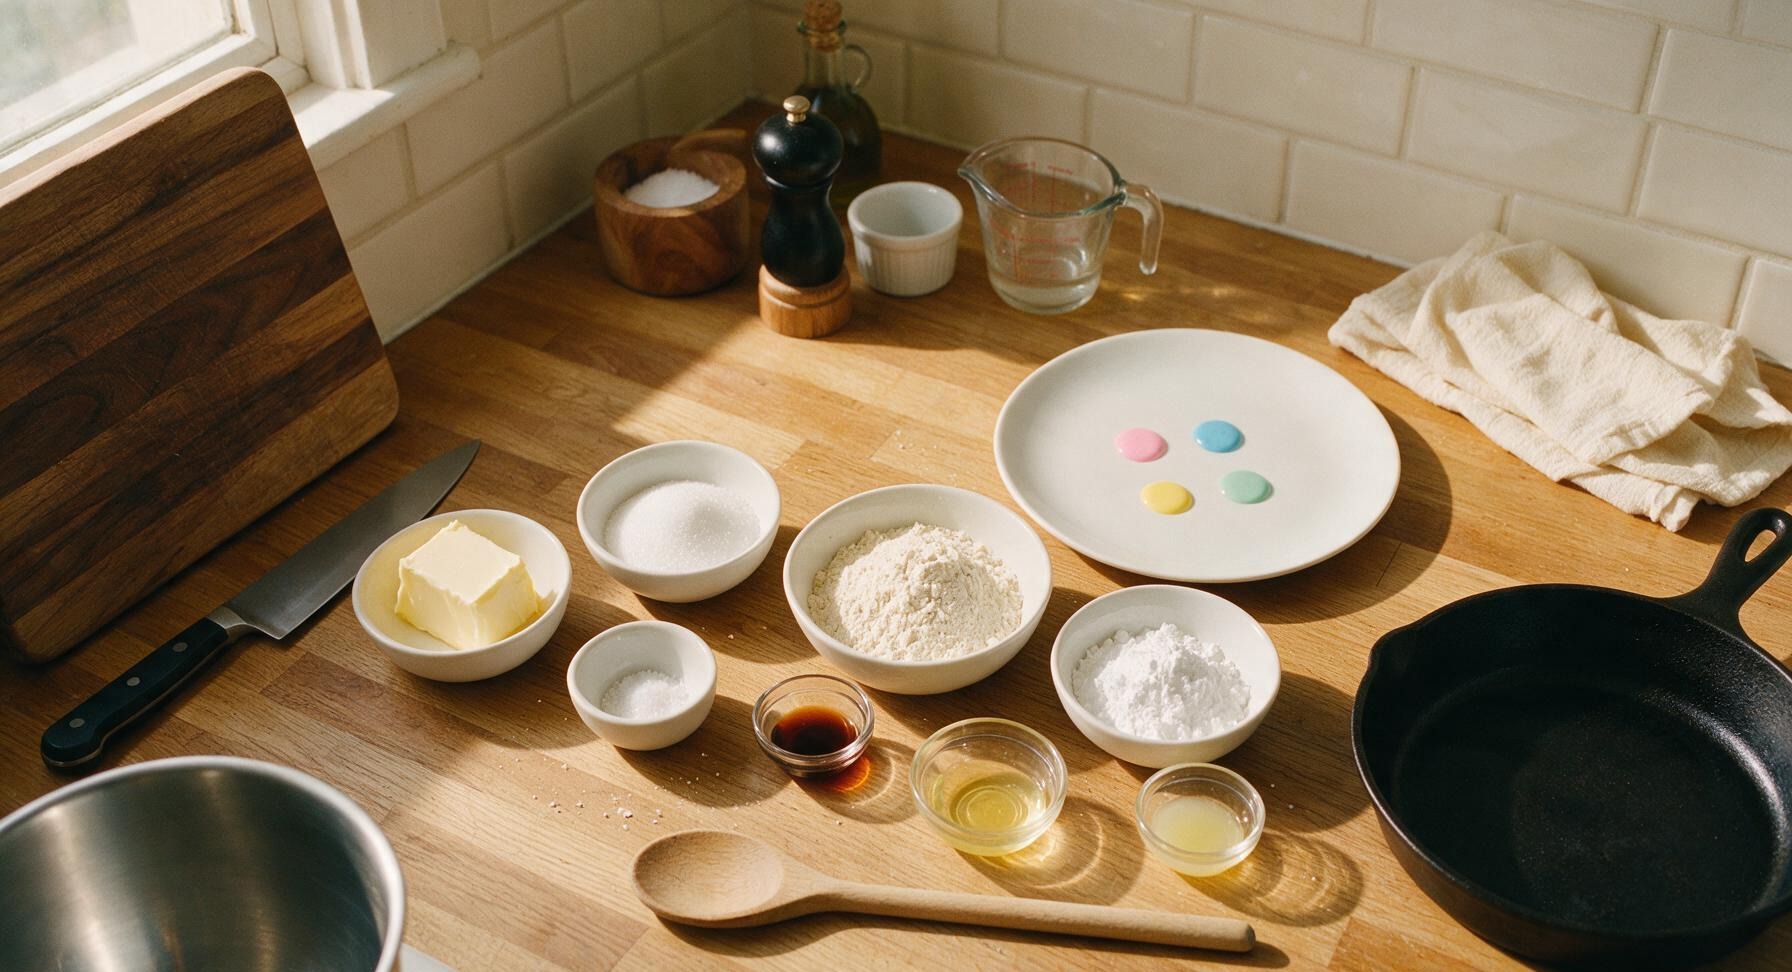
Unsalted butter (softened) 100g
Caster sugar 50g
Plain (all-purpose) flour 150g
Fine sea salt 1/8 tsp
Pure vanilla extract 1 tsp
Icing (confectioners') sugar 120g
Pasteurized large egg white 30g (1 egg white)
Fresh lemon juice 1 tsp
Pastel gel food coloring (pink, blue, yellow, mint) 1 drop per color

Steps

1

Cream Butter and Sugar

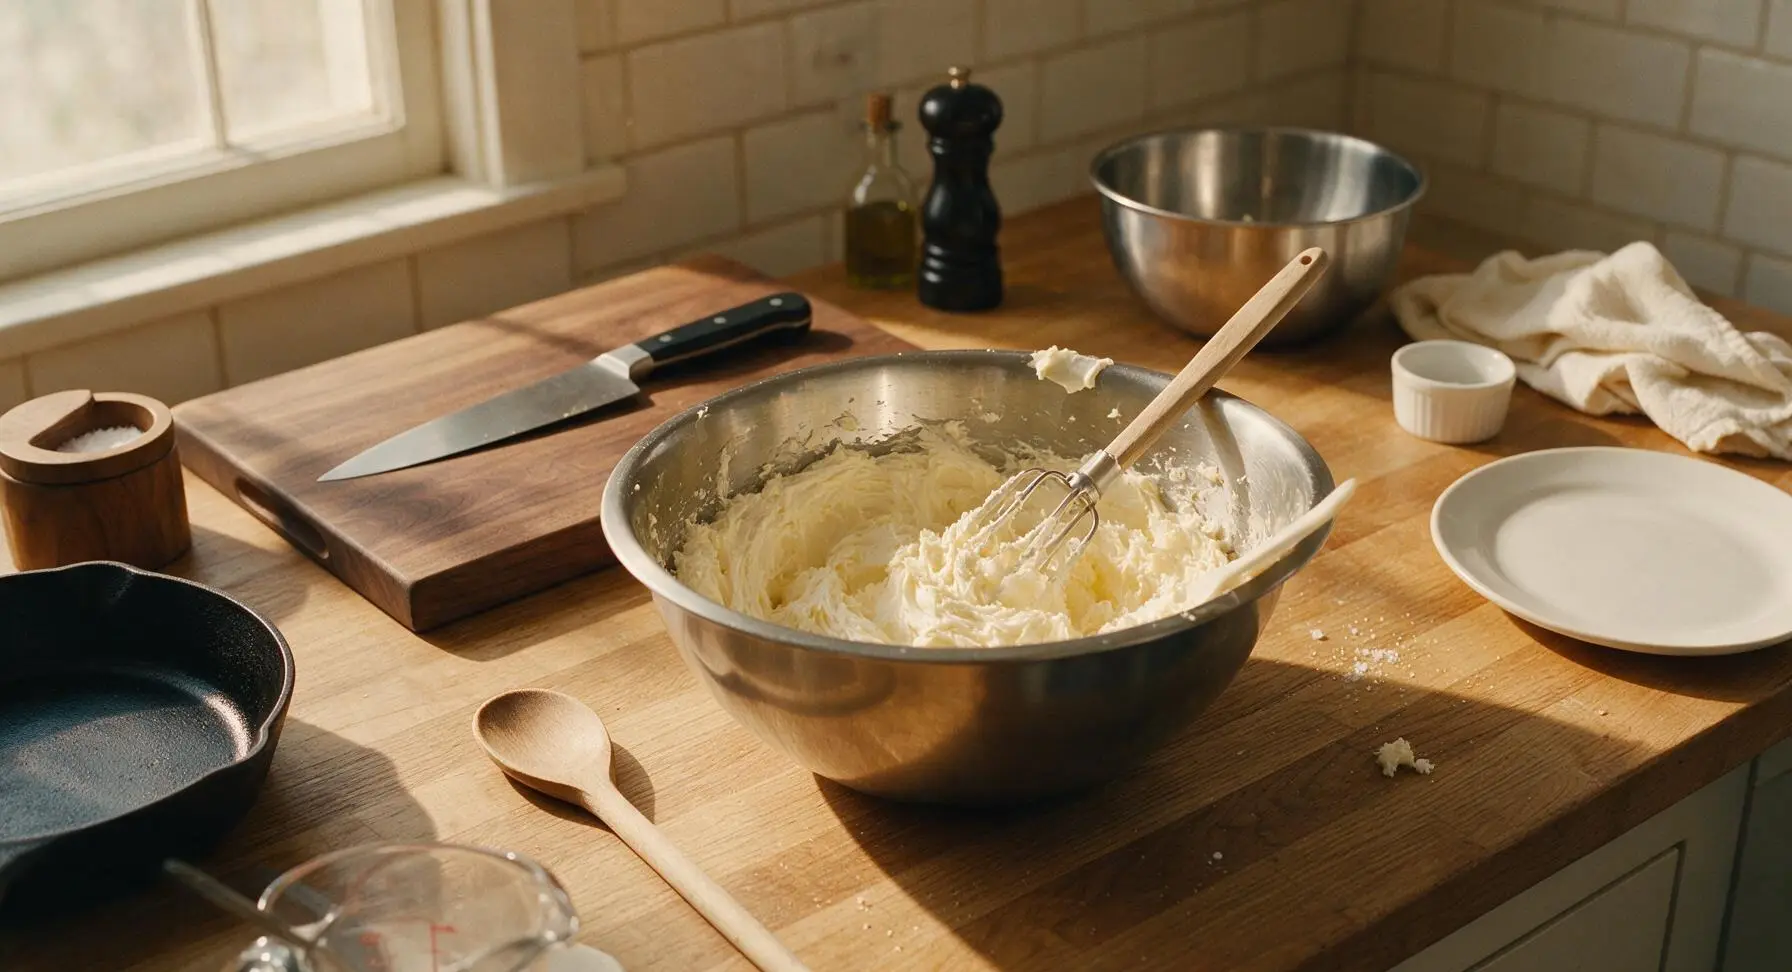
Place 100g softened unsalted butter and 50g caster sugar into the large stainless steel mixing bowl. Using the hand-held electric mixer on medium speed, beat for 2-3 minutes until the mixture is pale, fluffy, and light lemon-yellow, with no visible grainy sugar texture remaining. Scrape down the sides of the bowl with the silicone spatula halfway through mixing to ensure even incorporation, with no unblended butter stuck to the bowl edges.
Step 1
step1:Cream Butter and Sugar
2

Mix Shortbread Dough

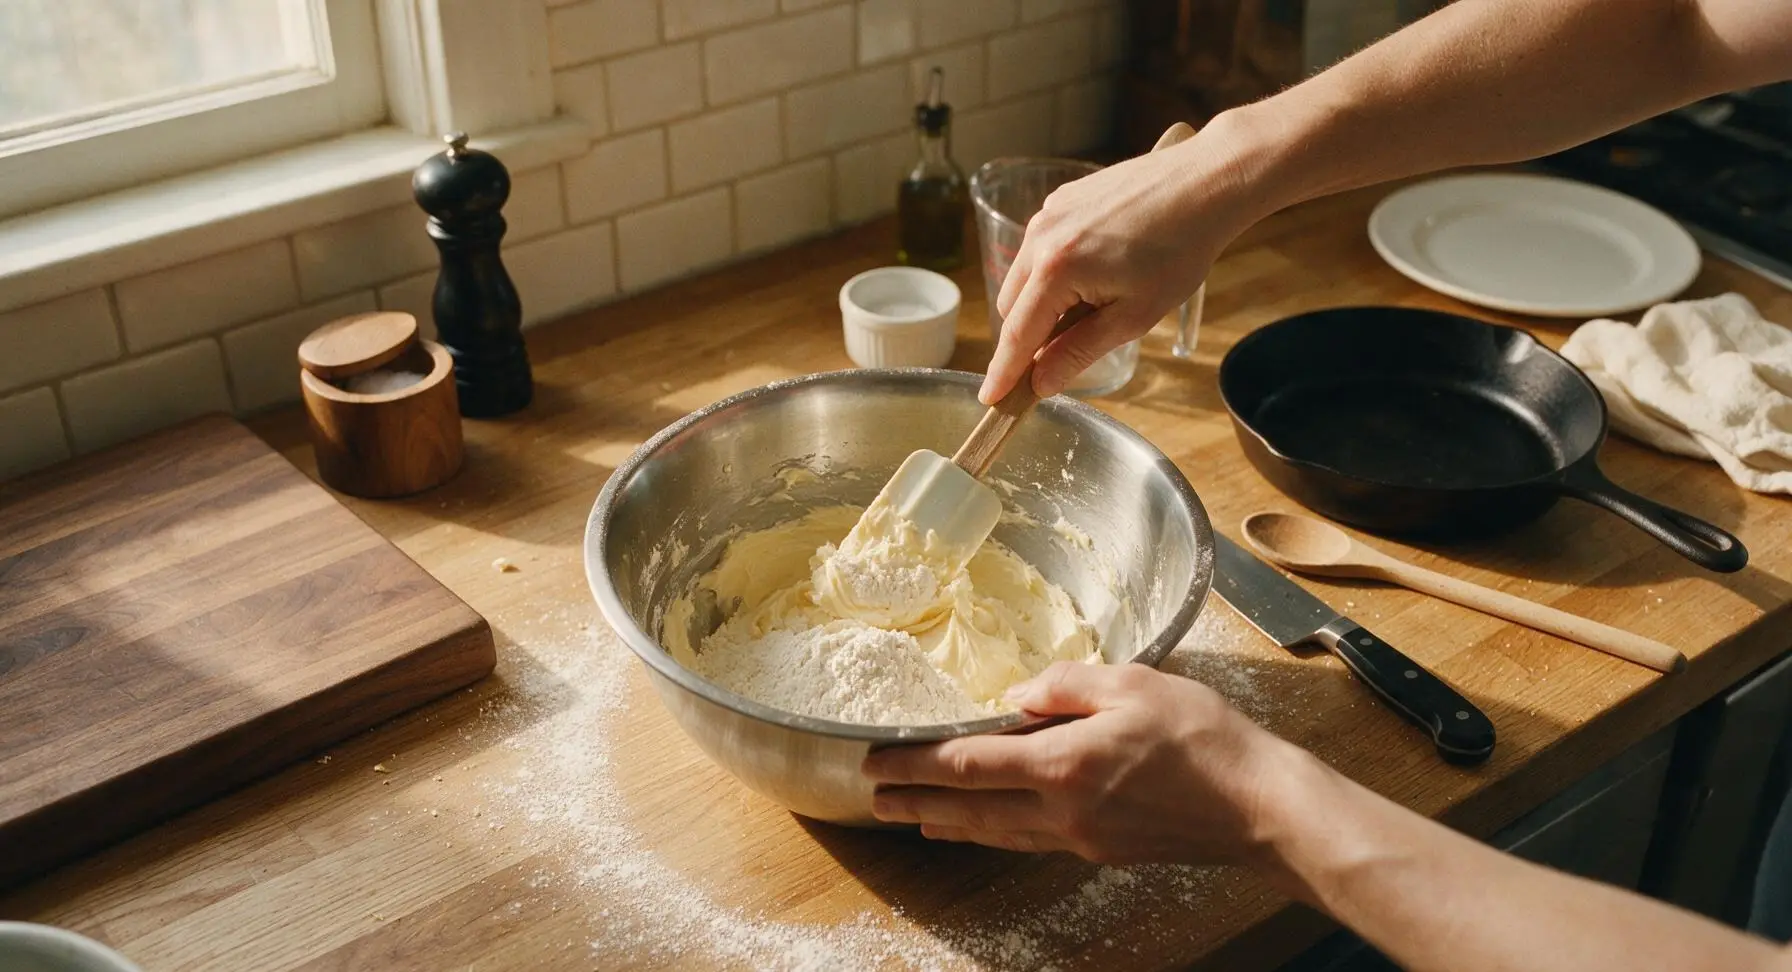
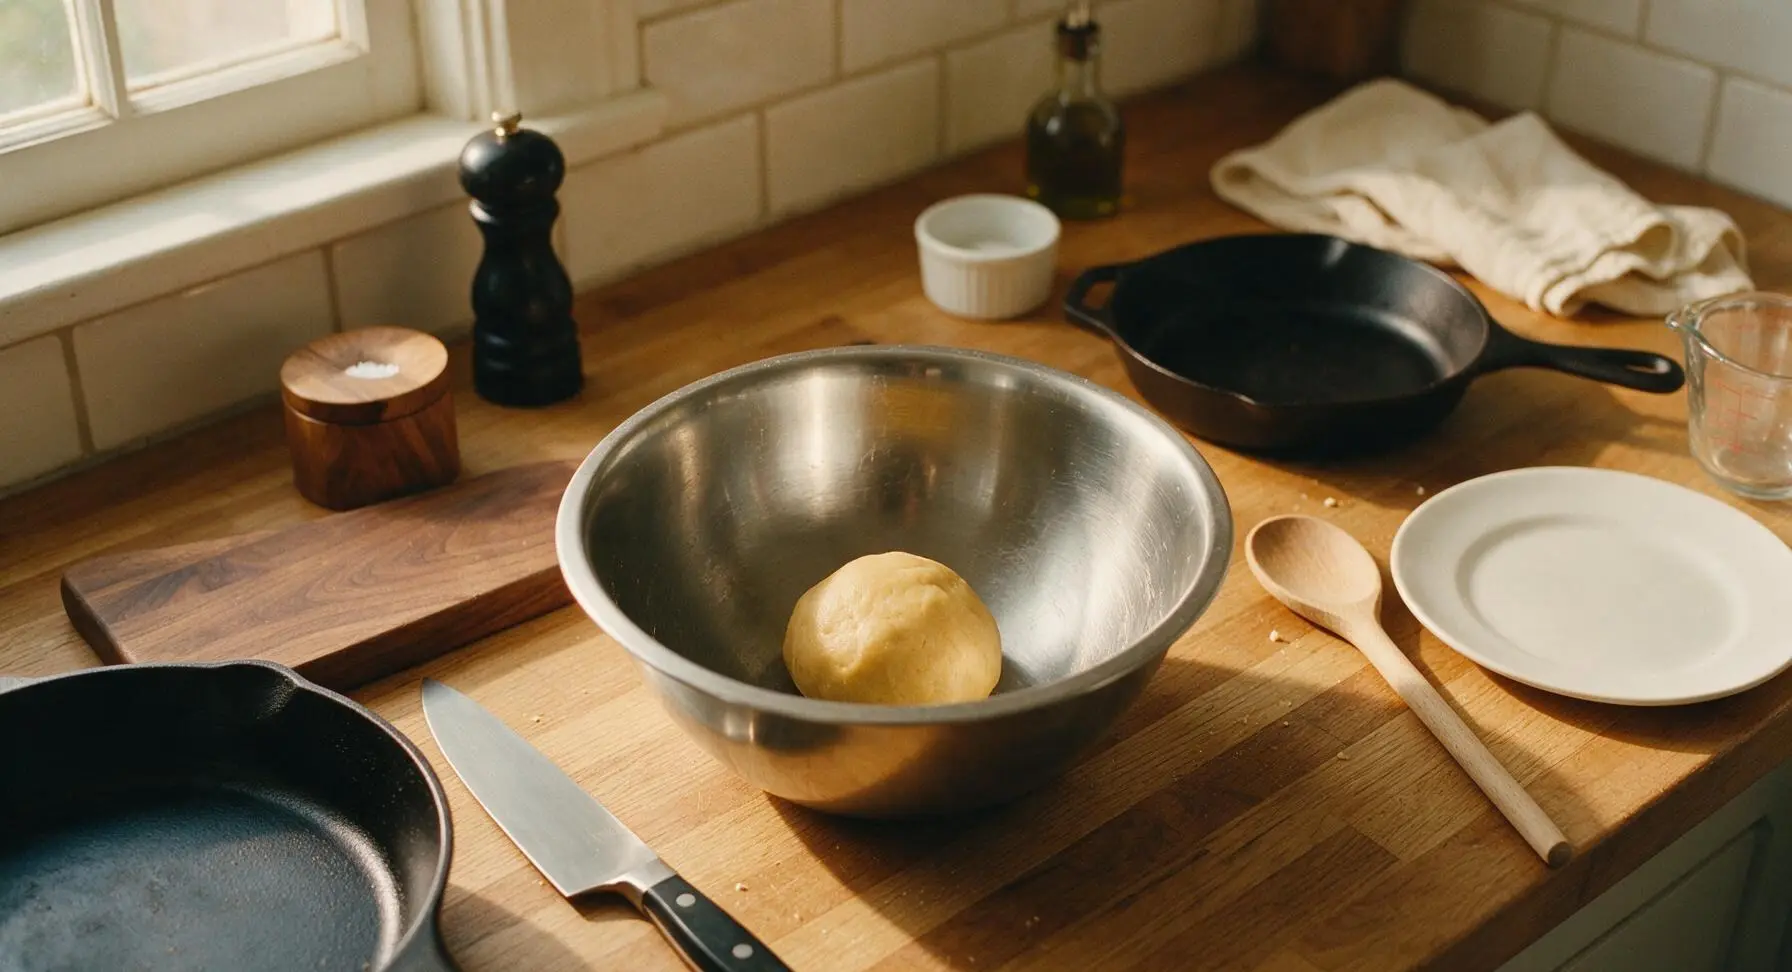
Add 1 tsp pure vanilla extract and 1/8 tsp fine sea salt to the creamed butter mixture, stirring briefly with the spatula to combine. Sift 150g plain flour into the bowl in 3 separate additions, folding gently with the spatula after each addition until no dry flour remains. Do not overmix—stop as soon as the dough comes together into a soft, smooth ball that pulls away from the bowl sides, with no crumbly patches, to keep the baked biscuits tender.
Step 2
step2:Mix Shortbread Dough
Step 2
step2:Mix Shortbread Dough
3

Roll and Cut Biscuits

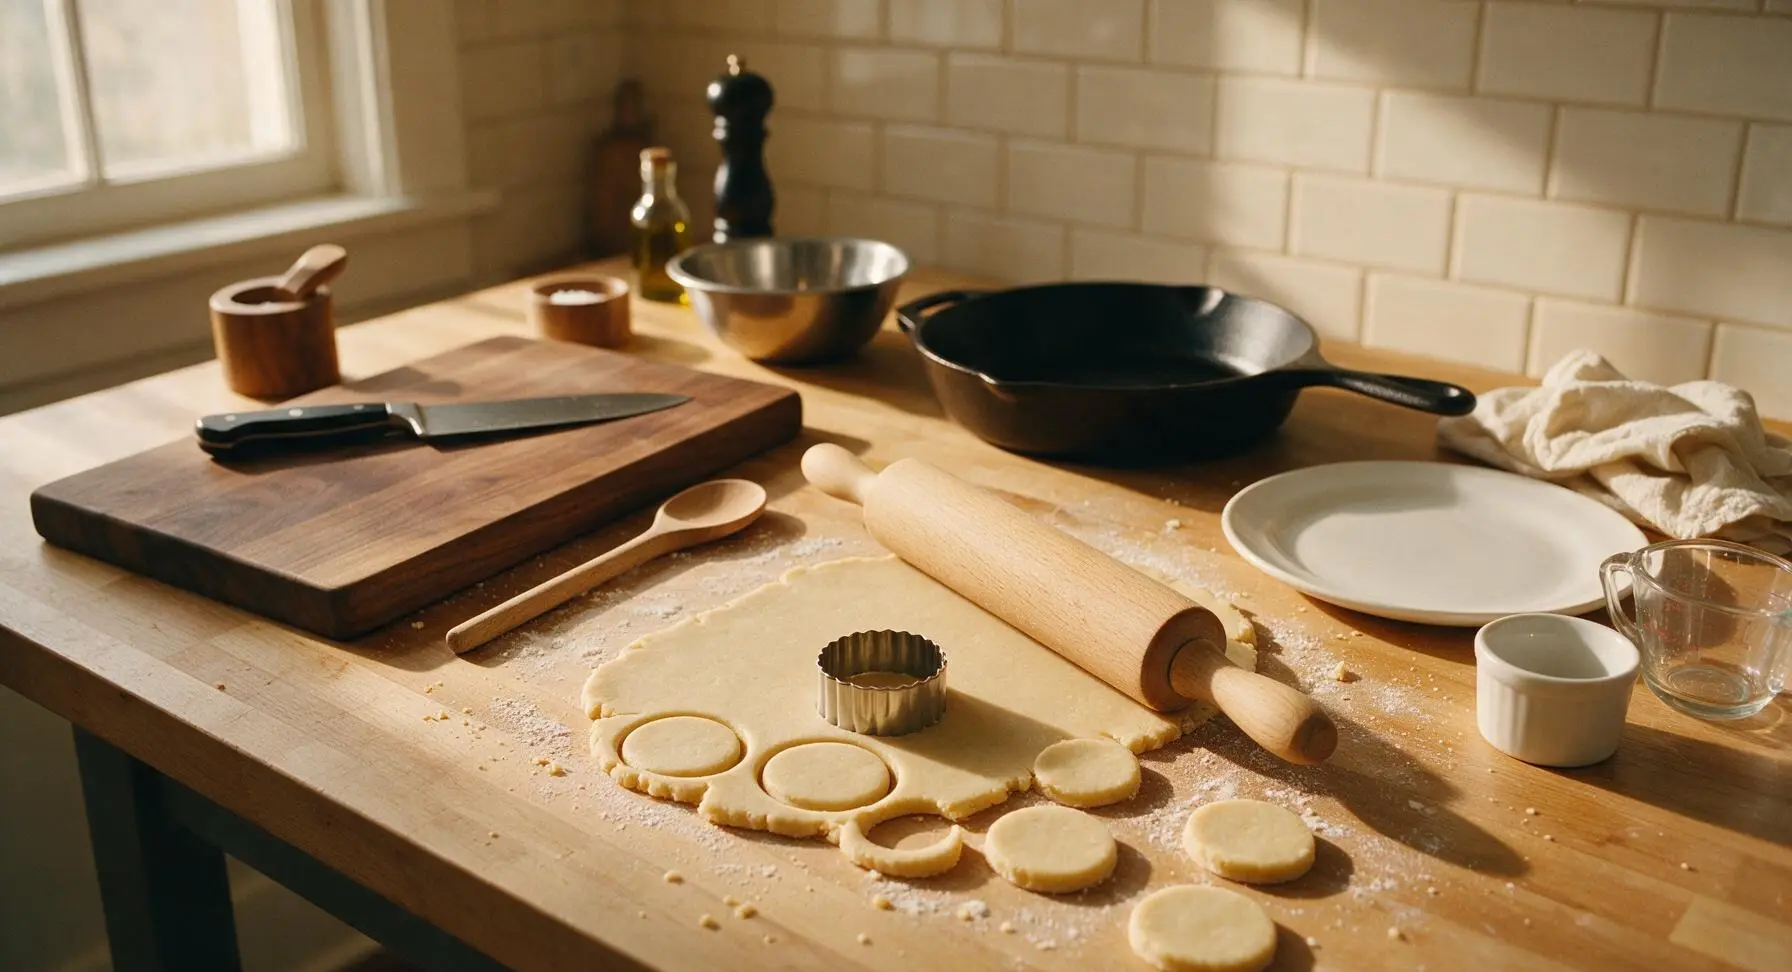
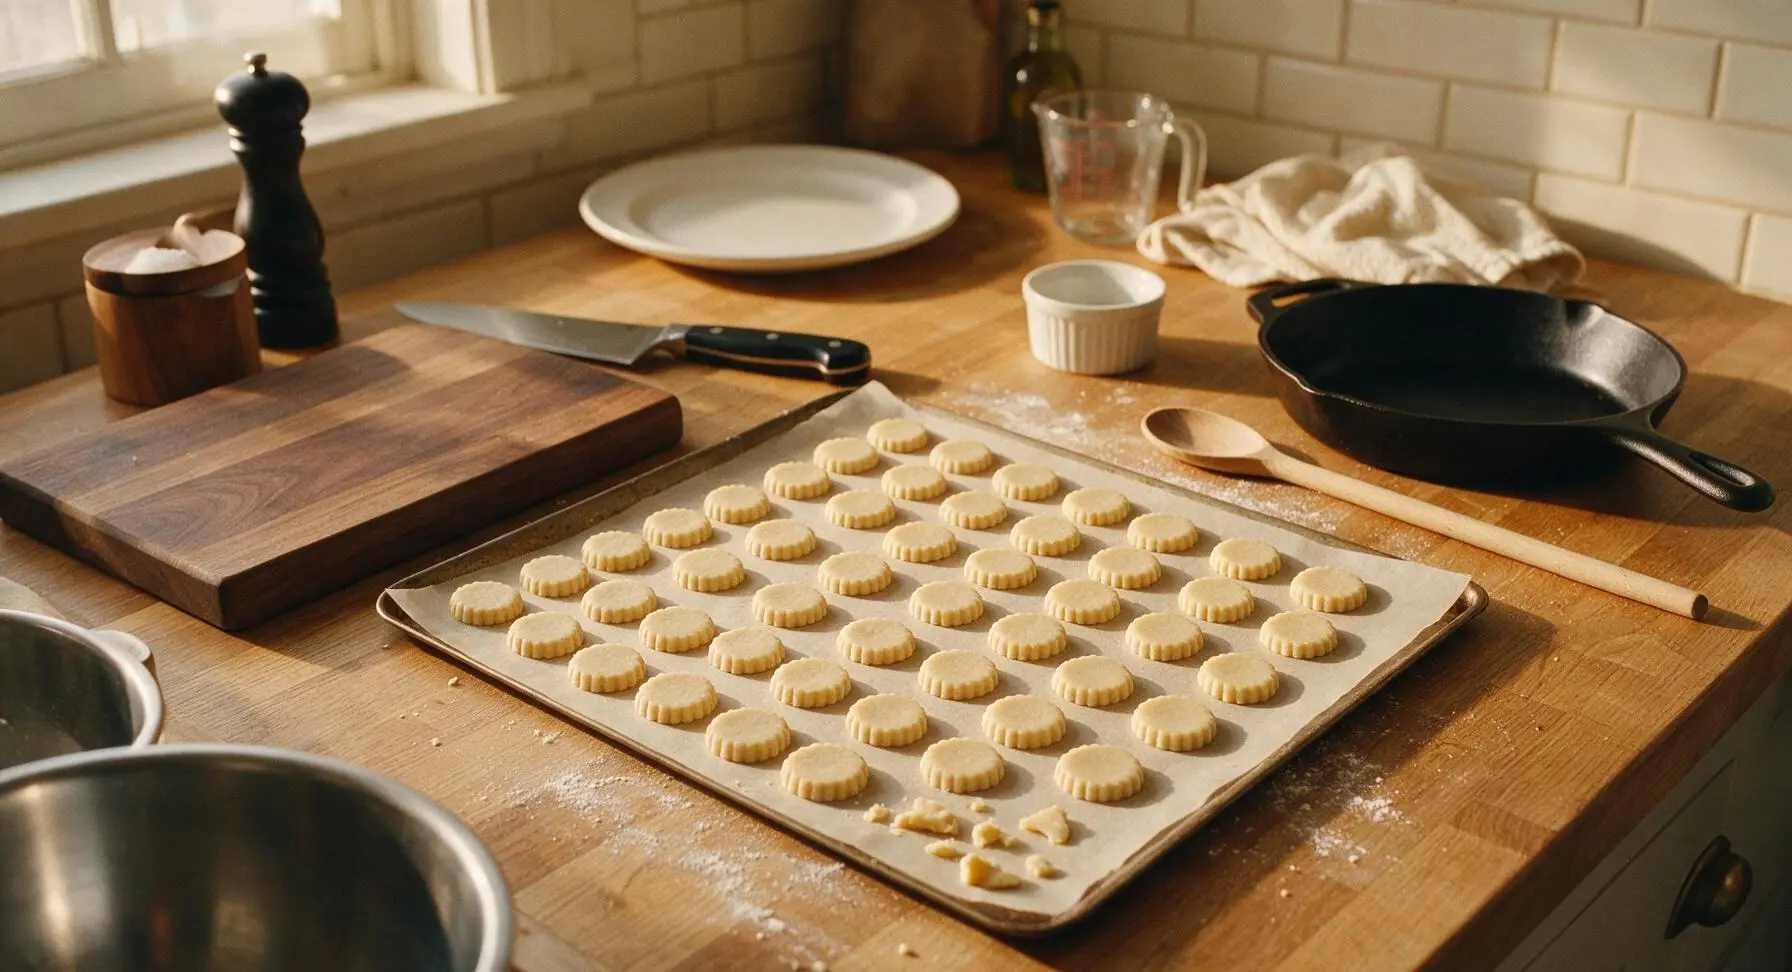
Lightly dust the clean counter surface with a tiny pinch of plain flour to prevent sticking. Place the shortbread dough on the floured surface, rolling with the beech wood rolling pin to an even 5mm thickness (roughly the thickness of two stacked credit cards). Use the 3cm fluted round cookie cutter to stamp out as many mini biscuits as possible, re-rolling dough scraps once to cut additional rounds—you should yield approximately 40 tiny biscuits. Arrange the cut biscuits 1cm apart on the parchment-lined baking sheet.
Step 3
step3:Roll and Cut Biscuits
Step 3
step3:Roll and Cut Biscuits
4

Bake Shortbread Bases

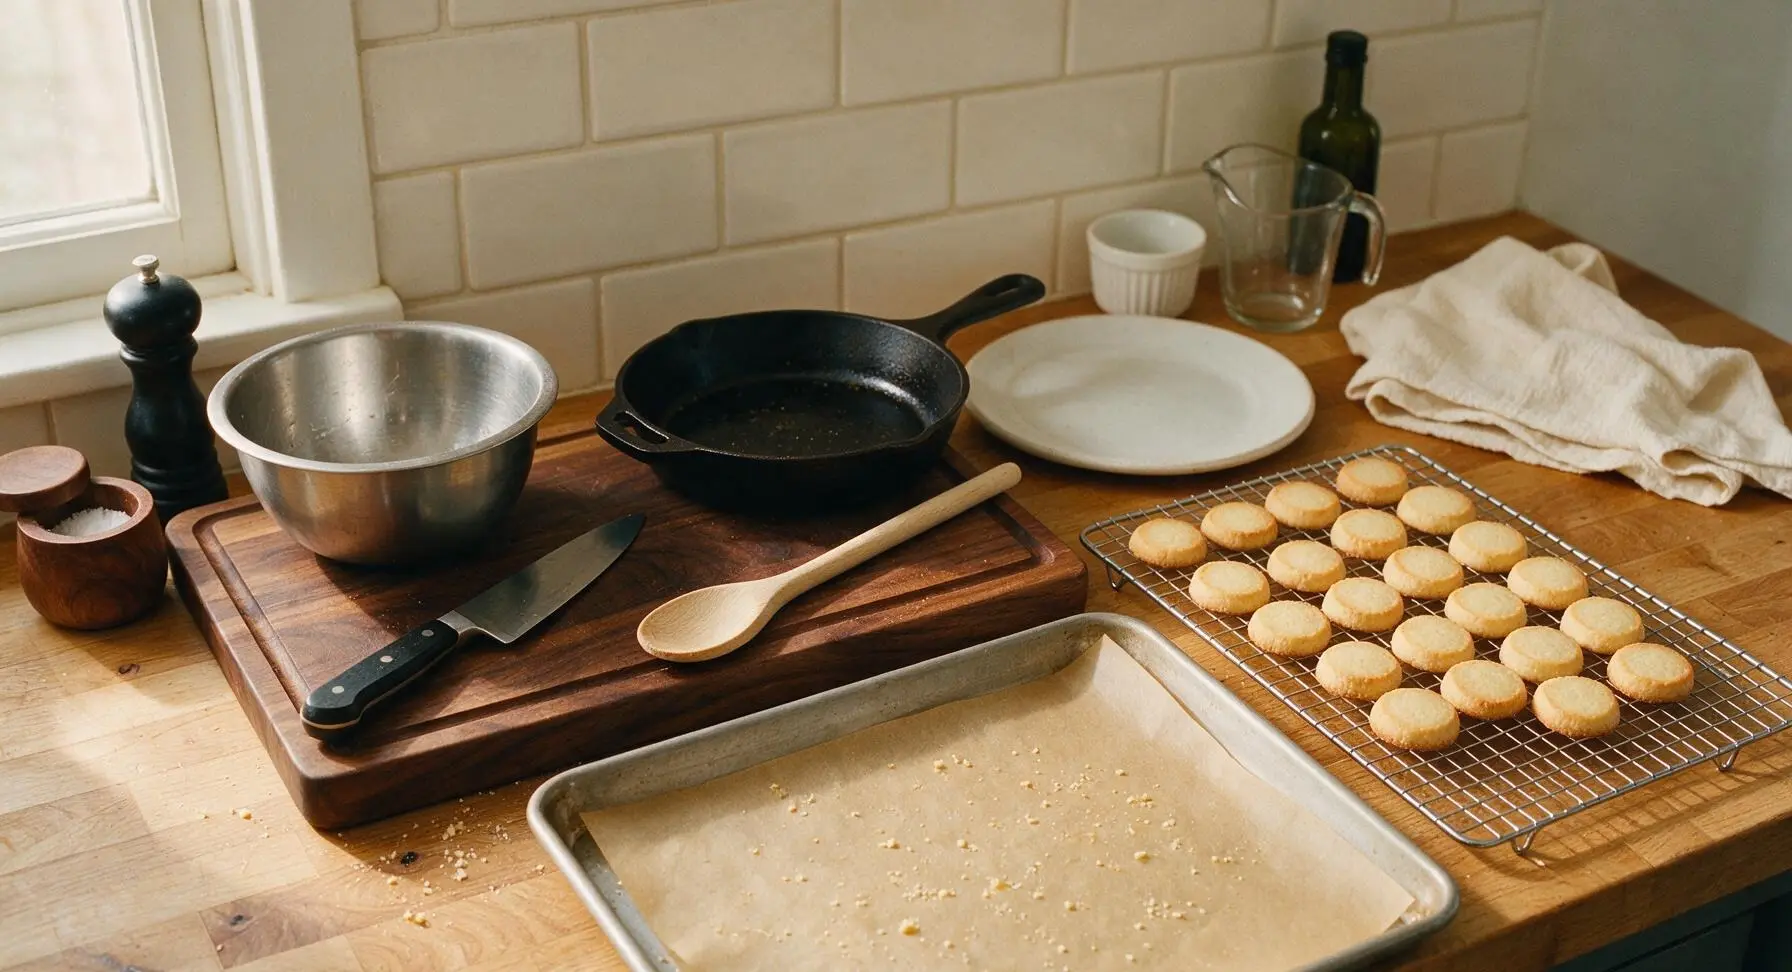
Place the baking sheet in a preheated oven set to 170C (340F, gas mark 3). Bake for 10-12 minutes, until the biscuit edges are just pale golden brown—do not let them darken to deep gold, as they will continue to crisp as they cool. Remove from the oven and let biscuits rest on the hot baking sheet for 5 minutes before transferring them to the chrome wire cooling rack to cool completely to room temperature (about 20 minutes). Never ice warm biscuits, as residual heat will melt royal icing.
Step 4
step4:Bake Shortbread Bases
5

Make Royal Icing

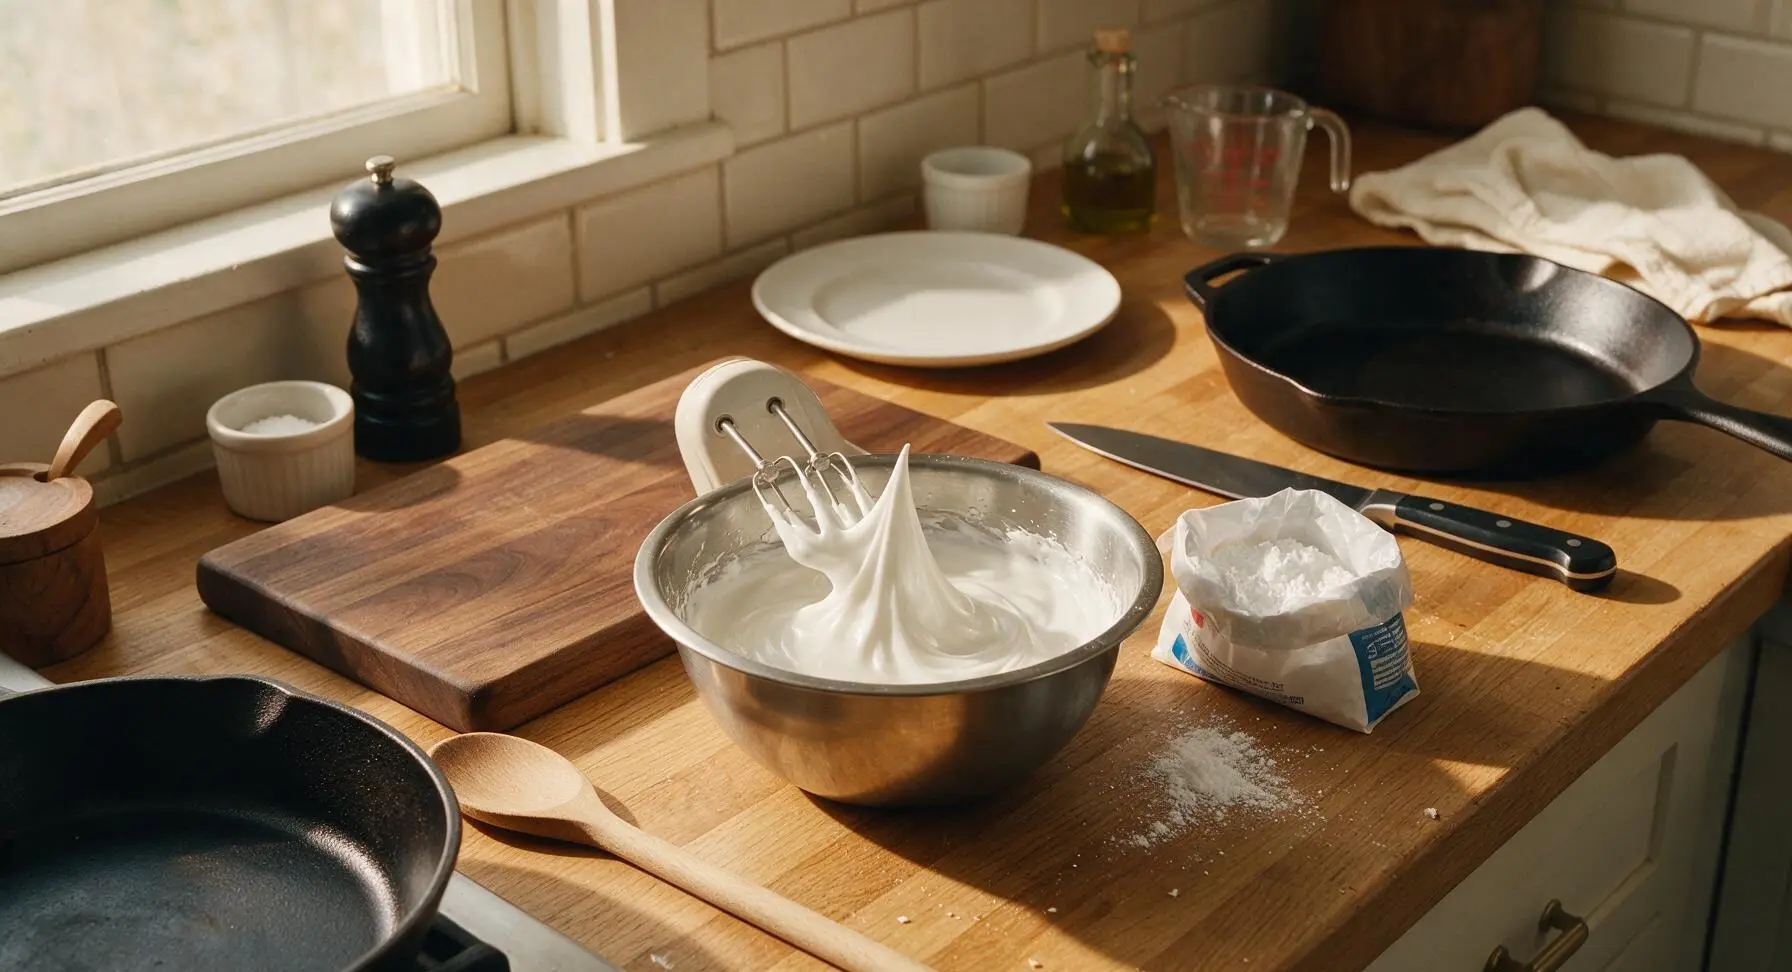
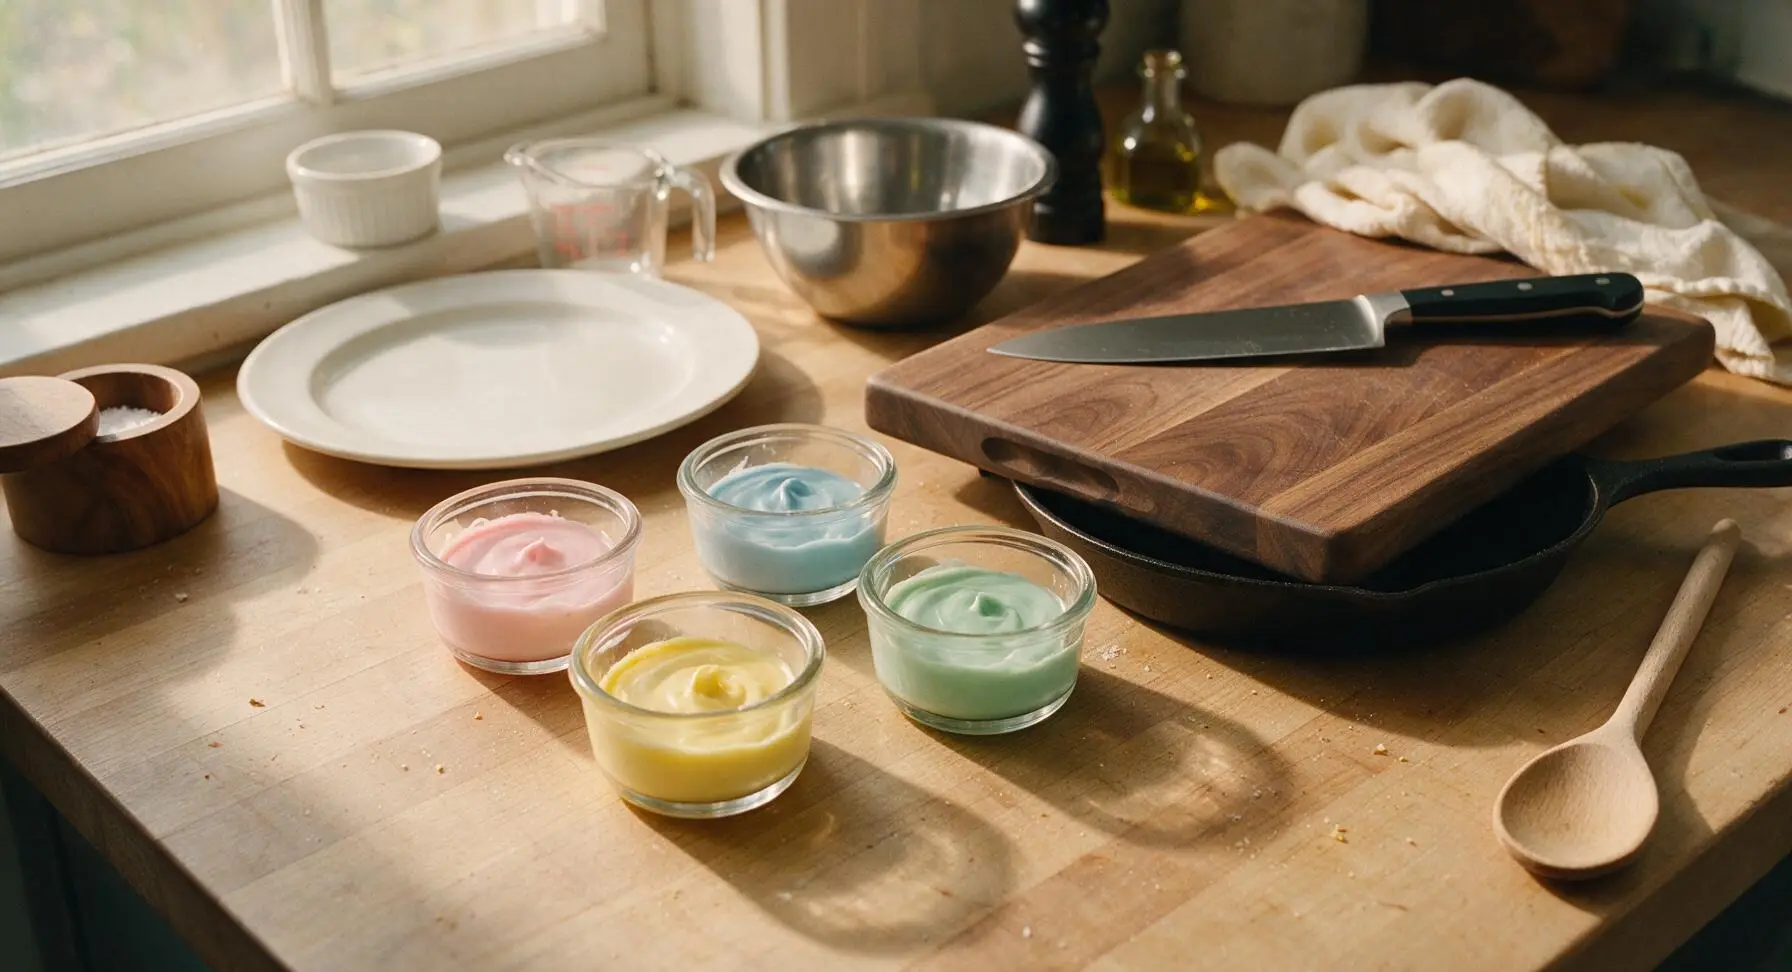
While the biscuits cool, place 30g pasteurized egg white (from 1 large egg) in the small stainless steel mixing bowl, pulled from its nested position in the large bowl. Sift 120g icing sugar into the bowl in 2 additions, beating with the electric mixer on low speed for 4-5 minutes until the icing is thick, glossy, and holds stiff, sharp peaks when the beater is lifted. Stir in 1 tsp fresh lemon juice to thin slightly to a smooth pipeable consistency: if too thick, add 1/4 tsp more lemon juice; if too runny, add 1 tbsp extra sifted icing sugar.
Step 5
step5:Make Royal Icing
Step 5
step5:Make Royal Icing
6

Pipe Icing Peaks

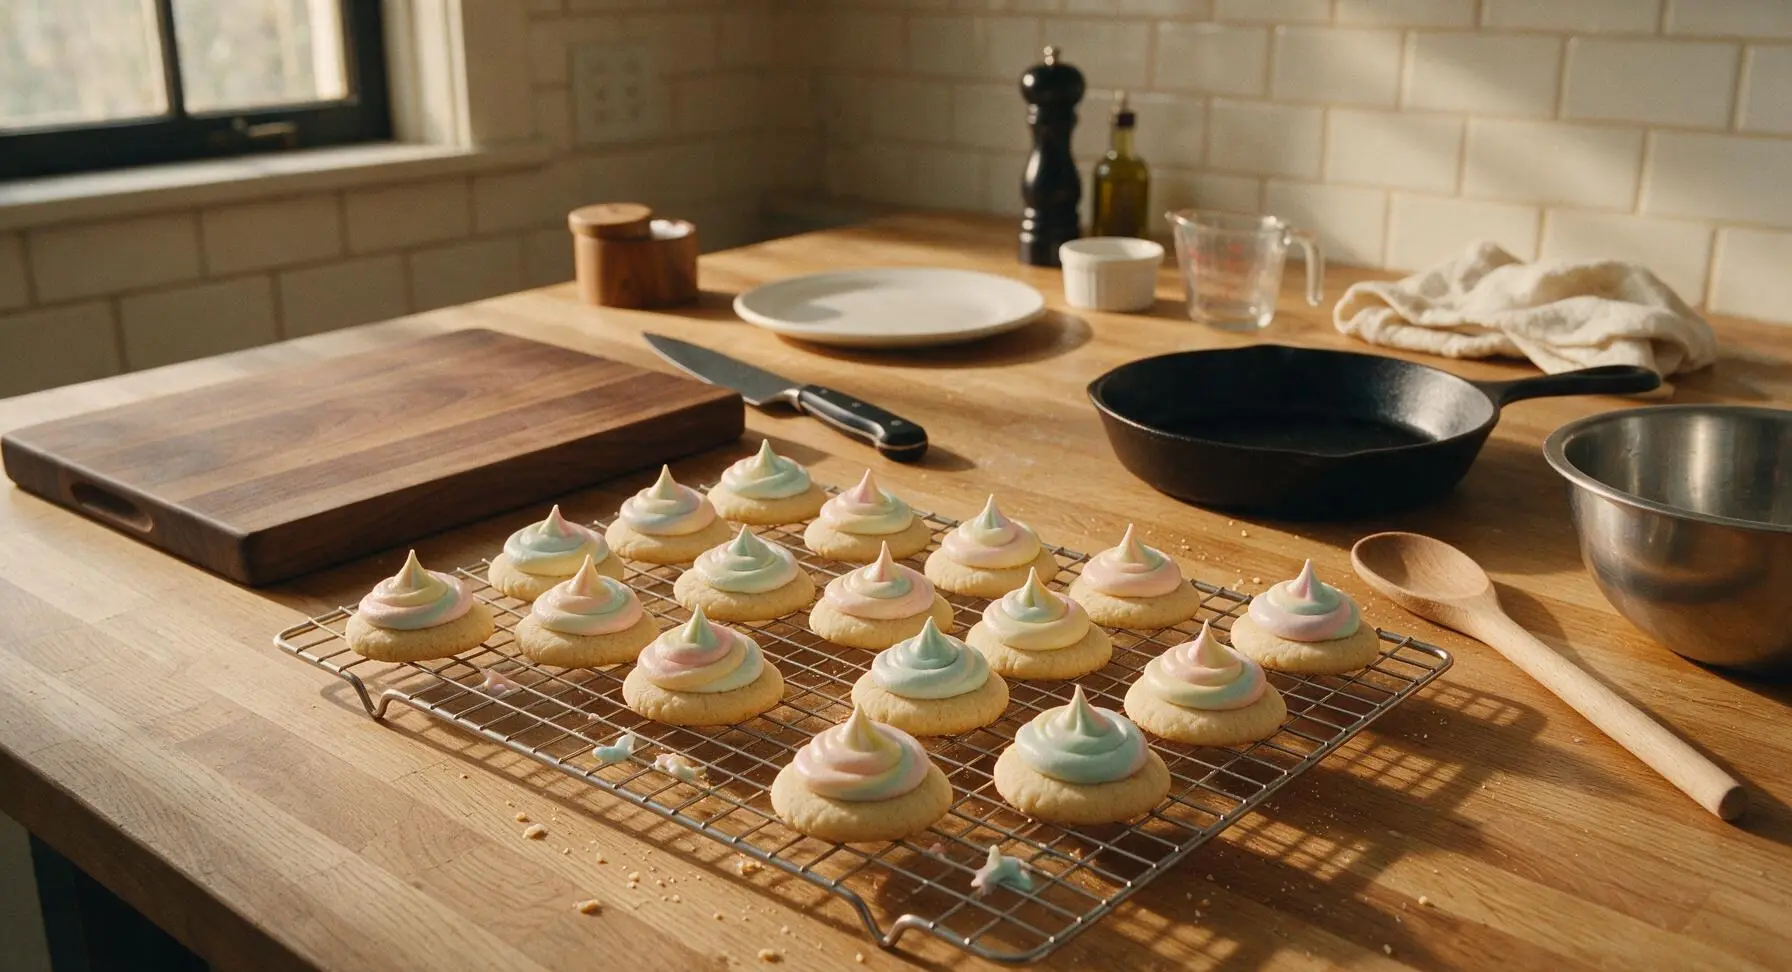
Fit each clear piping bag, pulled from the back right glass jar, with the small #18 open star tip, then fill each bag with one color of royal icing, twisting the top tightly to eliminate trapped air bubbles that can cause icing splatters. Hold the piping bag perpendicular to the top of a cooled shortbread biscuit, 1cm above the surface. Squeeze gently to pipe a 1cm tall swirled peak, releasing pressure as you lift the bag straight up to create a tiny pointed tip. Repeat for all biscuits, alternating icing colors for a varied, playful look.

Step 6
step6:Pipe Icing Peaks
Step 6
step6:Pipe Icing Peaks
7

Let Icing Set

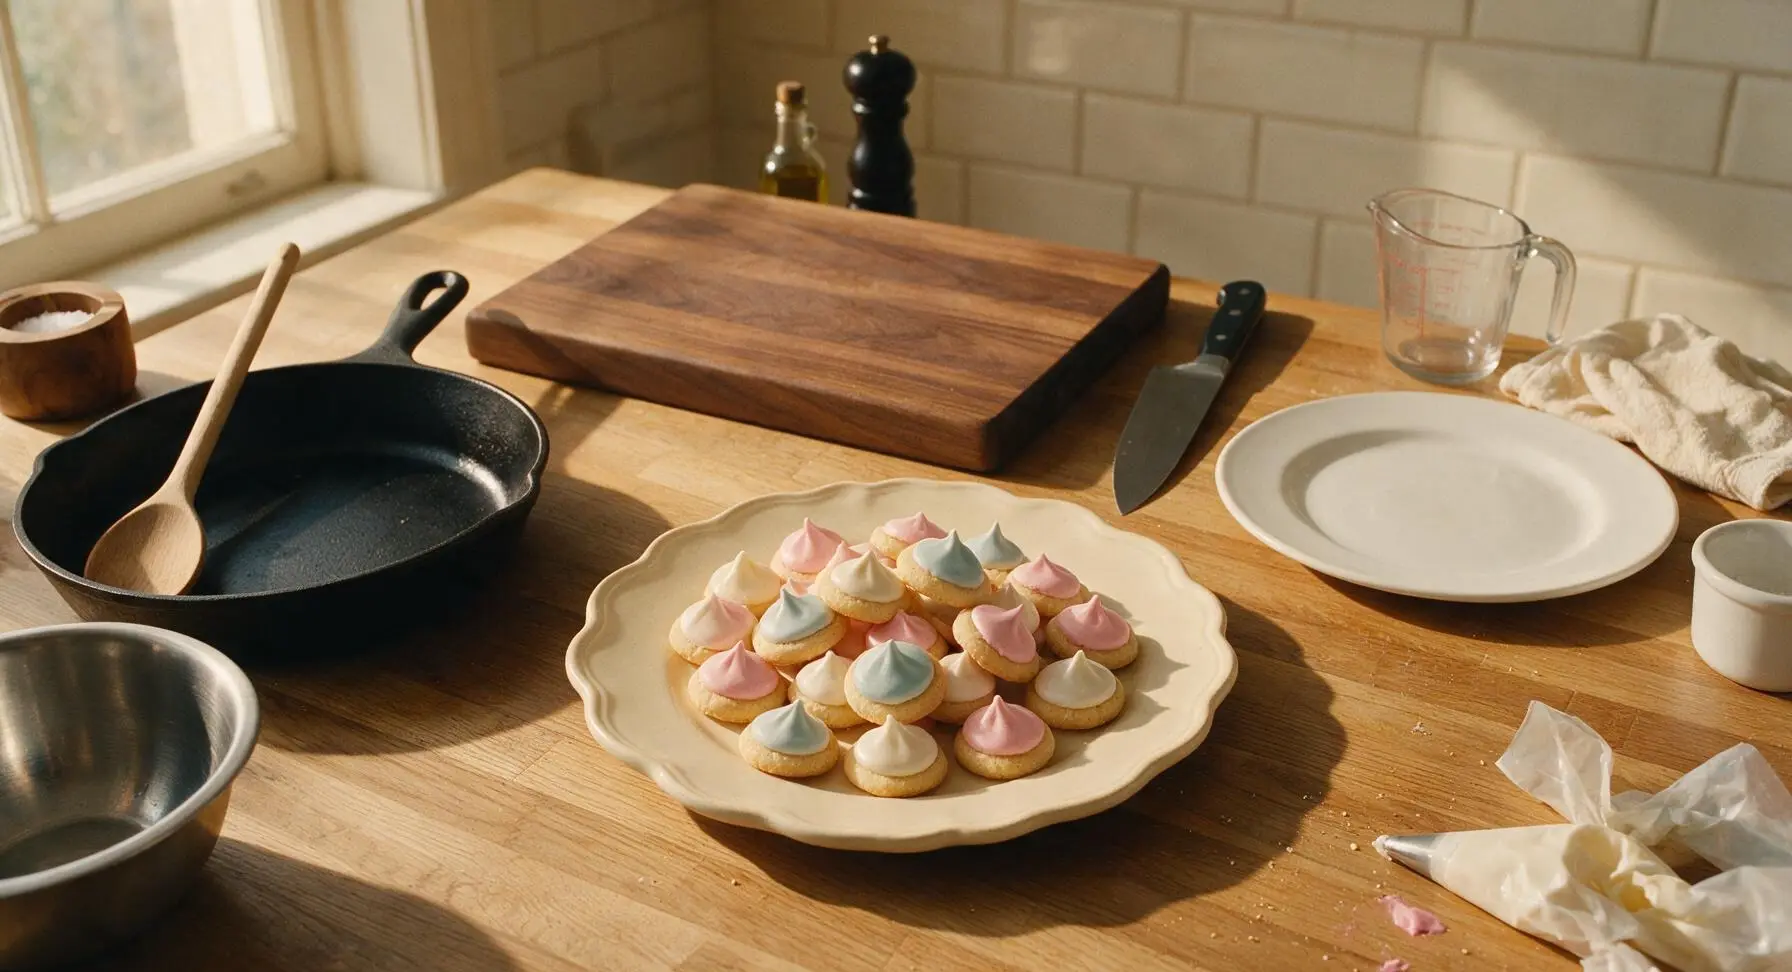
Leave the iced gems on the cooling rack at cool room temperature for 1-2 hours, until the royal icing is completely hard, crisp, and matte to the touch, with no soft or sticky spots. Do not refrigerate the gems, as condensation will form on the icing and make it soggy and dull. Once fully set, pile the gems loosely on the cream ceramic serving plate, brought from the rear window shelf to the center counter.
Step 7
step7:Let Icing Set

Tips

1.Ensure shortbread bases are completely room temperature before piping: even slight residual warmth will melt royal icing, causing peaks to slump, slide, or remain sticky instead of drying to a crisp finish.
2.Use gel food coloring instead of liquid coloring for royal icing: liquid color adds excess water that thins the icing, making it impossible to pipe sharp, defined peaks that hold their shape as they dry.
3.Avoid overworking the shortbread dough: overmixing develops gluten in the flour, which results in tough, dense biscuits instead of the light, melt-in-your-mouth crisp texture classic to iced gems.


✨ You May Also Like

Desserts & Baking
🍜 Italy

Creamy, coffee-kissed classic Northern Italian no-bake dessert, with layers of rum-spiked mascarpone cream, soft ladyfingers, and a rich cocoa dusting.

⏱️ 4 hours 3Desserts & Baking ★ 4.7
Desserts & Baking
🍜 France

Flaky, shatteringly crisp, buttery French croissants with golden exteriors and soft, airy layered interiors, perfect for pairing with coffee for a special morning treat.

⏱️ 12 hours Desserts & Baking ★ 4.5
Desserts & Baking
🍜 United States

Warm, spiced baked apples topped with a fluffy golden biscuit crust, this cozy dessert pairs perfectly with vanilla ice cream for cool-weather comfort.

⏱️ 55 minuteDesserts & Baking ★ 4.6
Desserts & Baking
🍜 United States

A star-spangled classic American blueberry pie with buttery flaky crust and bright sweet-tart filling, perfect for summer patriotic gatherings.

⏱️ 1 hour 25Desserts & Baking ★ 4.7
Desserts & Baking
🍜 United States

A beloved no-bake regional Maine candy with a chewy coconut-potato center coated in rich dark chocolate, a New England holiday staple since the 1870s.

⏱️ 2 hours 3Desserts & Baking ★ 4.8
Desserts & Baking
🍜 France

Luxuriously creamy, floral frozen custard made with aromatic Tahitian vanilla beans, boasting a smooth, rich texture that melts slowly on the tongue.

⏱️ 3 hours 3Desserts & Baking ★ 4.5

British Iced Gems:Frequently Asked Questions

1.What size should I shape the shortbread bases for authentic British iced gems? ▾
Aim for tiny, ½-inch to ¾-inch round discs that are roughly ⅛-inch thick—these are designed to be single-bite teatime treats, not full-sized cookies. If you don’t have a mini round cutter, roll the dough into a thin log, chill it until firm, and slice off uniform rounds to ensure even baking.
2.Can I make the shortbread dough ahead of time to cut down on day-of prep? ▾
Definitely! The shortbread dough stores beautifully wrapped tightly in plastic wrap in the fridge for up to 3 days, or in the freezer for up to 3 months. If frozen, thaw it in the fridge overnight before rolling, cutting, and baking as normal—just remember to chill the cut rounds again before baking.
3.Do I need to use unsalted butter for this recipe, or can I use salted butter? ▾
Unsalted butter lets you control the exact salt level for that perfect, balanced buttery flavor, so it is the best choice. If you only have salted butter, cut the added fine sea salt in half to avoid making the shortbread taste overly salty, and make sure the butter is softened, not melted or greasy, for the best texture.
4.Can I use regular granulated sugar instead of caster sugar for the shortbread base? ▾
Caster (superfine) sugar dissolves faster into softened butter for that signature melt-in-your-mouth, non-grainy shortbread texture, so it is ideal. If you only have granulated sugar, blitz it in a food processor for 10 to 15 seconds to break down crystals slightly before creaming for very close, non-gritty results.
5.Can I use self-rising flour instead of plain all-purpose flour for the shortbread? ▾
Stick to plain all-purpose flour for the most authentic, crisp texture. Self-rising flour contains added baking powder and salt, which will make the shortbread puff up, spread, and turn cakey instead of staying dense, buttery, and snappy. If you use it out of necessity, skip the added salt and expect a lighter, less traditional bite.
6.Why do my shortbread bases spread too much and lose their shape when baking? ▾
Spreading almost always stems from two common issues: your butter was too soft (it should give slightly when pressed, not be greasy or melty) or you skipped chilling the cut dough for 15 to 20 minutes before baking. Chilling solidifies the butter so it melts slowly in the oven, keeping those tiny, neat shapes intact.
7.How long should I bake the mini shortbread bases to keep them perfectly crisp? ▾
Bake the tiny shortbread rounds at 350°F (175°C) for 6 to 8 minutes, watching them very closely. They should be pale golden around the very edges, not deeply browned, and set firm to the touch on top. Let them cool completely on the baking sheet for 10 minutes before moving, as they are extremely fragile straight out of the oven.
8.What type of icing creates the signature crisp, tall peaks on classic iced gems? ▾
You need stiff-consistency royal icing, not buttercream or thin sugar glaze, to get that classic snappy, set peak. Royal icing dries hard and crisp, so it holds its pointed shape perfectly once piped, and it won’t smudge or soften the crunchy shortbread base the way softer, fattier icings will during storage.
9.Can I add food coloring to the icing to get those bright, nostalgic iced gem colors? ▾
Absolutely! Gel food coloring works best here, because it won’t thin out your stiff royal icing the way watery liquid food coloring can. Stir tiny dabs of color into separate small batches of icing to make those iconic bright pink, yellow, blue, and white peaks just like the childhood-favorite store-bought versions.
10.Do I need special piping tips to make the classic pointed icing peaks? ▾
You don’t need fancy specialty equipment! A small open star tip (like a Wilton #18) gives a nice ridged, classic peak, but you can even snip a tiny ¼-inch opening straight across the end of a disposable piping bag if you don’t have tips. Hold the bag straight up above the cookie, squeeze a small dollop, then pull straight up to form the point.
11.Why is my royal icing slumping instead of holding a sharp, defined peak when I pipe? ▾
If your icing slumps instead of holding a crisp point, it is too thin. Beat in a little extra sifted powdered sugar, one tablespoon at a time, until the icing holds a stiff peak that doesn’t fold over when you lift your mixer attachment. Avoid adding excess liquid like extra vanilla or water when mixing to keep the consistency firm.
12.How long do I need to let the icing set before storing finished iced gems? ▾
Let the piped iced gems sit uncovered at cool room temperature for 4 to 6 hours, or ideally overnight, until the icing is completely hard and dry to the touch. Don’t refrigerate them while they set, as condensation can make the icing sticky, cause colors to bleed, or make the peaked shapes sag.
13.The shortbread ingredient list is so simple—do I really need the fine sea salt and pure vanilla extract? ▾
Those two small additions make a huge difference in the final flavor! The fine sea salt cuts through the richness of the butter and sweetness of the icing to keep the shortbread from tasting flat, while the pure vanilla adds warm, aromatic depth. Skip them, and your cookies will taste bland, no matter how good your butter is.

Comments (5)

2 days ago

OMG these are SO good! I made them for my kid’s 2nd grade class potluck yesterday and every single kid begged for seconds. I thought the 12 minute cook time was too good to be true but it worked perfectly—so easy even for someone who burns sugar cookies half the time, lmao. The little piped icing tops turned out so cute, I added a tiny sprinkle of edible glitter on half of them for extra pizzazz. 10/10 will be making these again for our next family game night!

1 week ago

Total game changer for after school snacks! I meal prepped a big batch on Sunday and they held up perfectly all week in an airtight container. My picky 7 year old who turns her nose up at 90% of the treats I make asks for these every single day after soccer practice. Super straightforward recipe, no fancy ingredients required which is a huge win for my grocery budget.

5 days ago

Wait how do you store them to keep them crisp? I made a similar iced biscuit recipe last month and they went soggy after 2 days in the container, total bummer.

3 days ago

I layered them between sheets of parchment paper in a Tupperware and kept them in the pantry, not the fridge! The moisture from the fridge made my first test batch go soggy too, learned that the hard way haha.

30 minutes ago

Wait, quick question! I tried making these last night and my icing was way too runny to hold the little gem shape on top—did I add too much milk? I used whole milk like the recipe said but maybe I overmixed? Tasted amazing regardless, just looked a little lopsided lol.

5 minutes ago

Hi there! So glad the flavor was spot on for you! Runny icing usually happens if you add the milk a little too fast, or if your powdered sugar was lumpy to start. Next time try adding milk 1/4 teaspoon at a time until it’s thick enough to hold a stiff peak when you lift your mixer—you’ve got this!

3 days ago

I brought these to my office break room last Friday and they were gone in 10 minutes flat! Multiple coworkers asked for the recipe, I felt like a total baking pro even though these were literally the easiest cookies I’ve ever made. Who knew a classic British treat would hit so hard with my crew in Florida?

2 days ago

Omg I did the exact same thing for my office potluck! People thought I bought them from a fancy bakery, I didn’t have the heart to tell them they took me 20 minutes total start to finish 😂

yesterday

As someone who grew up eating iced gems in the UK, I was so skeptical that an easy 12 minute recipe would taste like the real deal—holy cow, these are spot on! The crisp little biscuit base and the sweet, snappy icing took me straight back to primary school birthday parties. I haven’t been able to find proper iced gems anywhere near me in Arizona since I moved 6 years ago, so this recipe is going straight into my permanent rotation.

2 hours ago

Fellow UK expat here! I’ve been chasing that proper iced gem taste for years since moving to Seattle, can’t wait to test this recipe this weekend. Quick question—did you use gel food coloring for the icing or the regular liquid kind from the grocery store?

30 minutes ago

Hi there! We recommend gel food coloring for the most vibrant colors without thinning out your icing, but liquid works too if you just cut back a tiny bit on the milk in the icing recipe. Hope you love them!



