
British Malted Milk Biscuits

title 1
British Malted Milk Biscuits
⏱️ cook time 12 minutes
🍽️ servings 12
⚡ Difficulty easy

intro

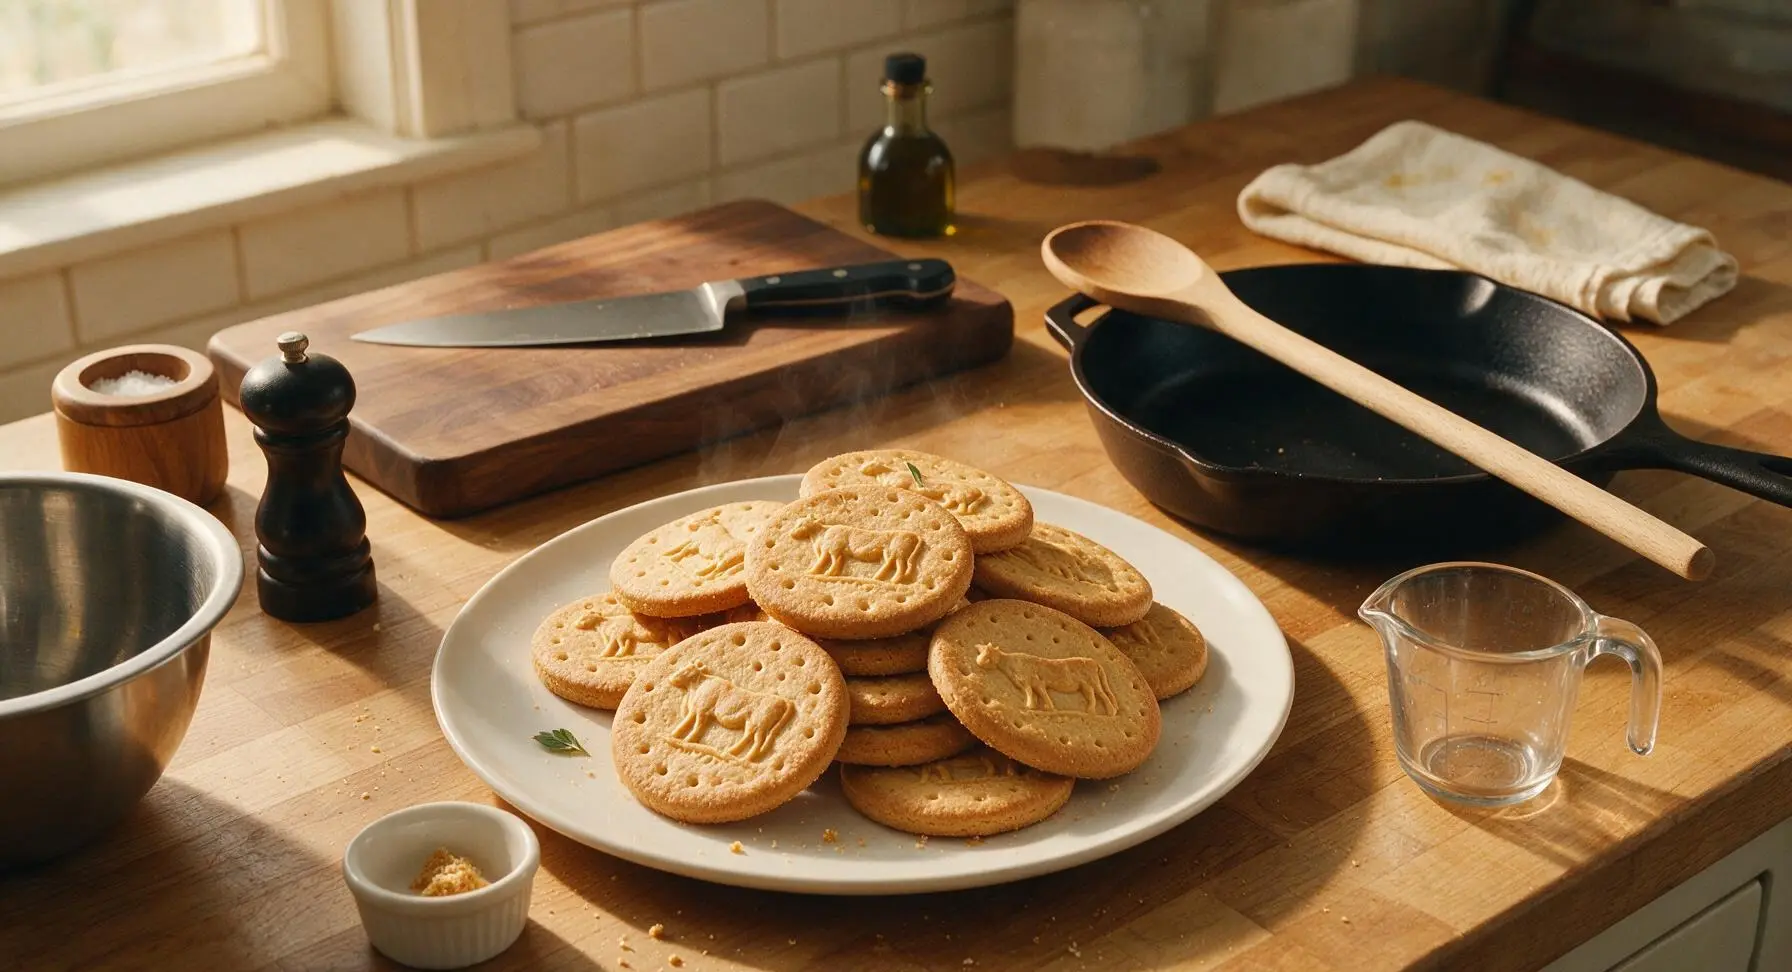
Buttery, crumbly classic British biscuits infused with warm, toasty malt flavor, marked with the iconic cow motif, perfect for dunking in hot afternoon tea.

Ingredients
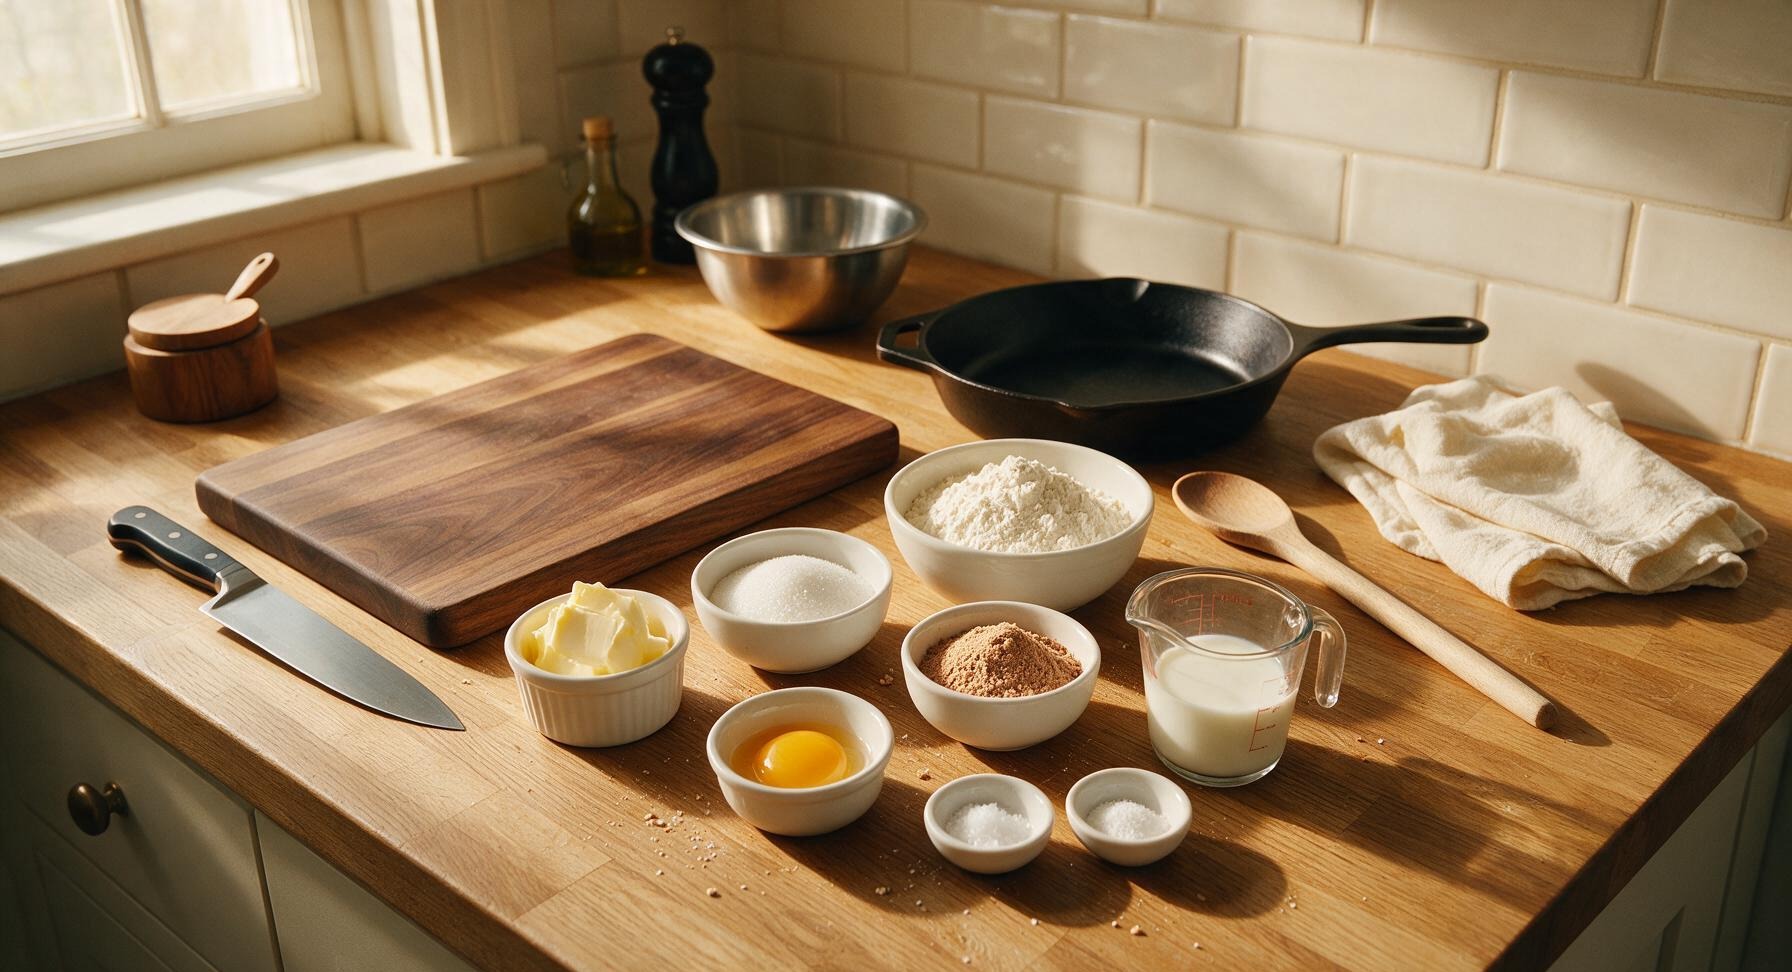
Unsalted butter, softened to room temperature 125g
Caster sugar 75g
Plain (all-purpose) flour 200g
Original malted milk powder (Horlicks-style) 3 tbsp (25g)
Large egg yolk, room temperature 1 unit
Whole milk 1 tbsp (15ml)
Fine sea salt 1/4 tsp
Baking powder 1/4 tsp

Steps

1

Cream Butter and Sugar

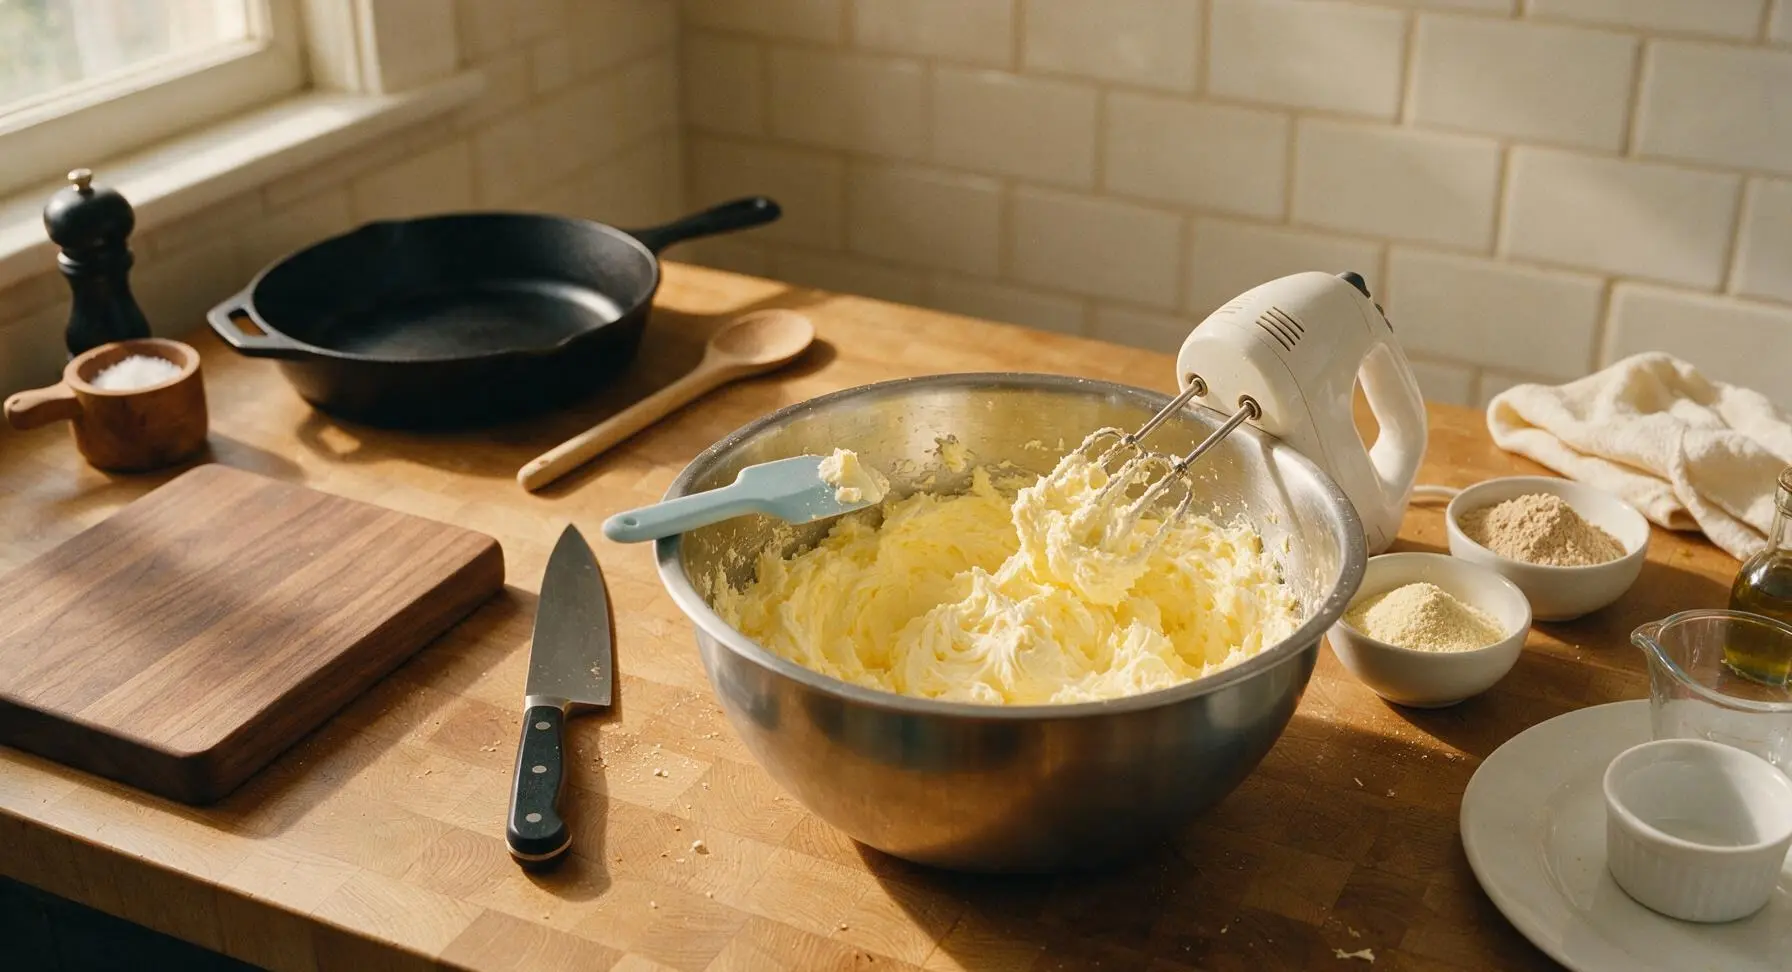
Place 125g softened unsalted butter and 75g caster sugar into the large beech wood mixing bowl. Using the electric hand mixer on medium speed, beat the mixture for 2-3 minutes until it is pale, fluffy, and light lemon yellow in color, stopping to scrape down the sides of the bowl with the pale blue silicone spatula halfway through to ensure no lumps of butter remain at the bottom. The mixture should leave soft, rounded peaks when the beaters are lifted.
Step 1
step1:Cream Butter and Sugar
2

Add Malt and Egg Yolk

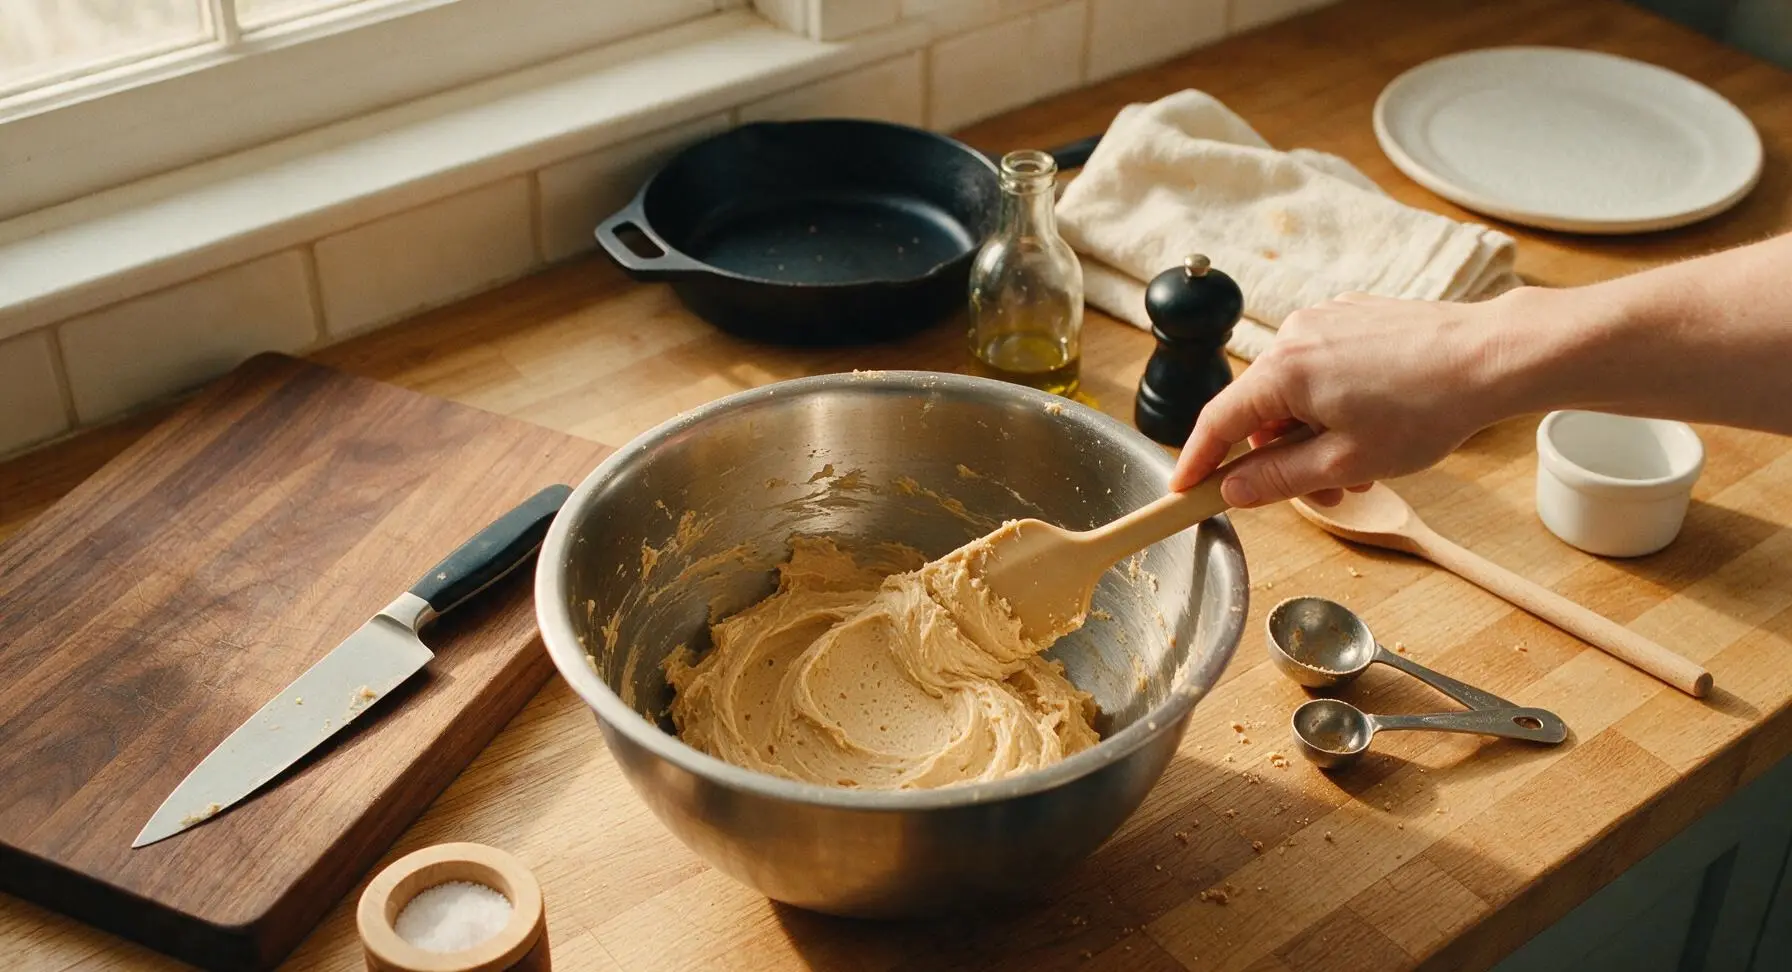
Reduce the mixer speed to low, add 3 tbsp malted milk powder, 1/4 tsp fine sea salt, 1/4 tsp baking powder, and the single room temperature egg yolk to the creamed butter mixture. Beat for 30 seconds until fully combined, then scrape down the bowl sides again with the silicone spatula. The mixture will be a soft pale tan color, with a distinct warm, toasty malt aroma.
Step 2
step2:Add Malt and Egg Yolk
3

Fold in Flour and Milk

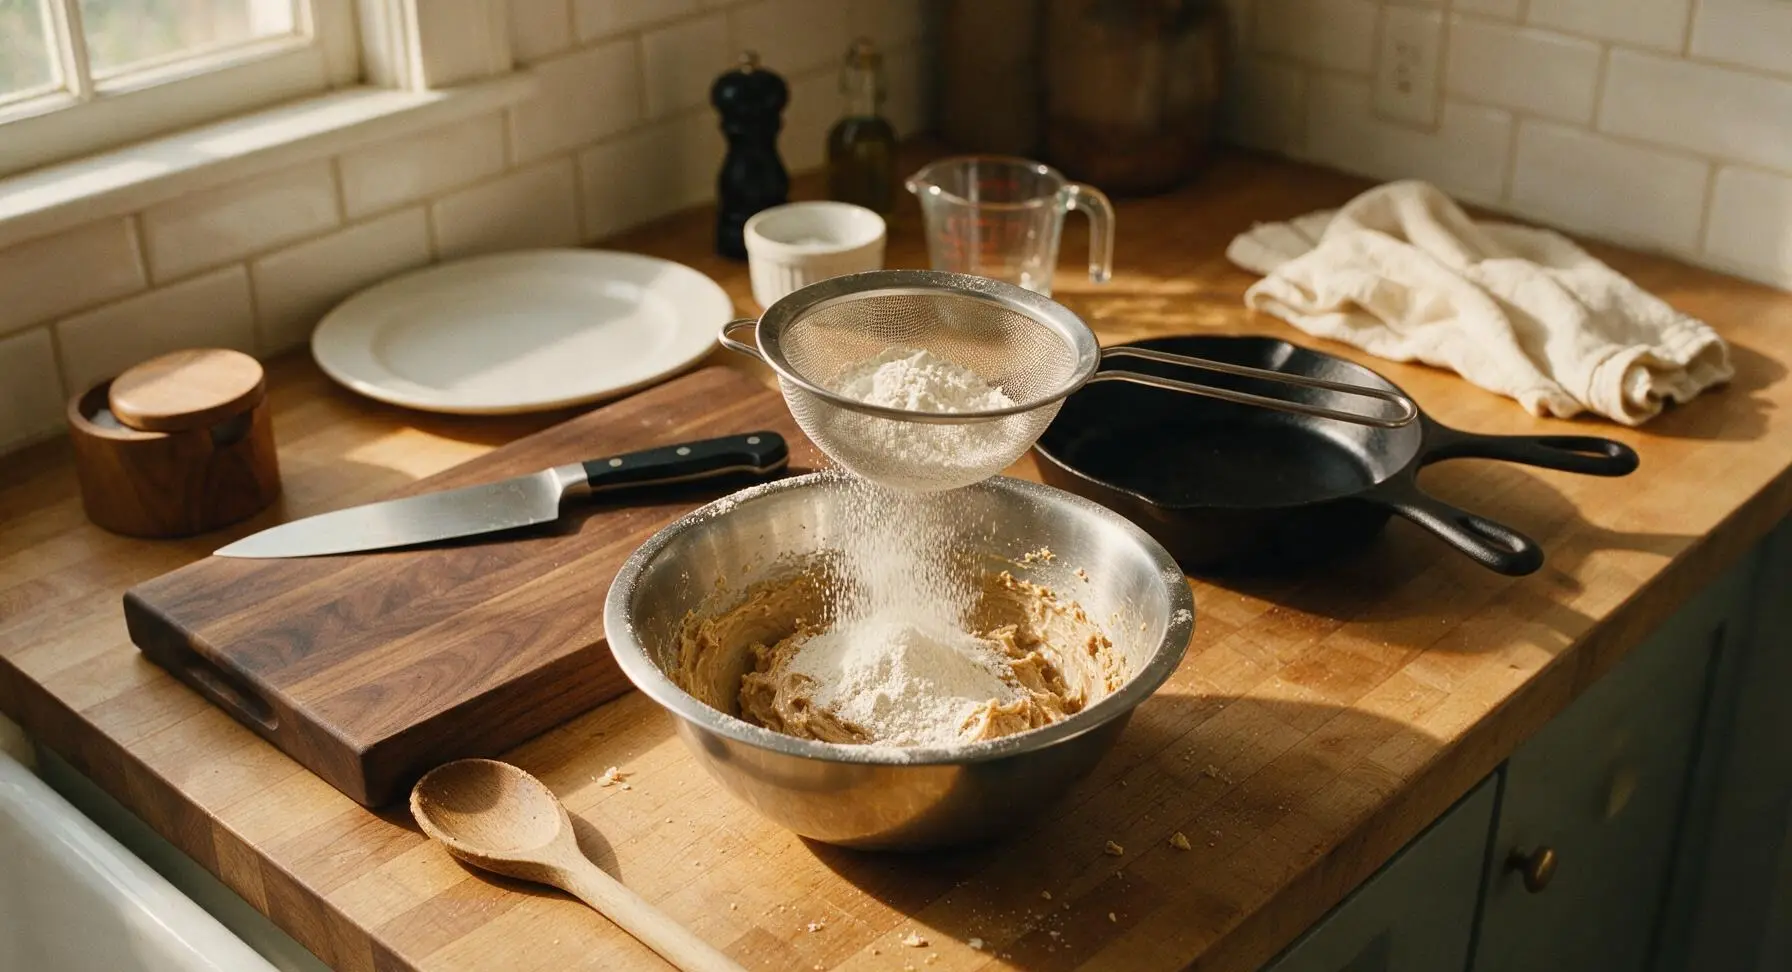
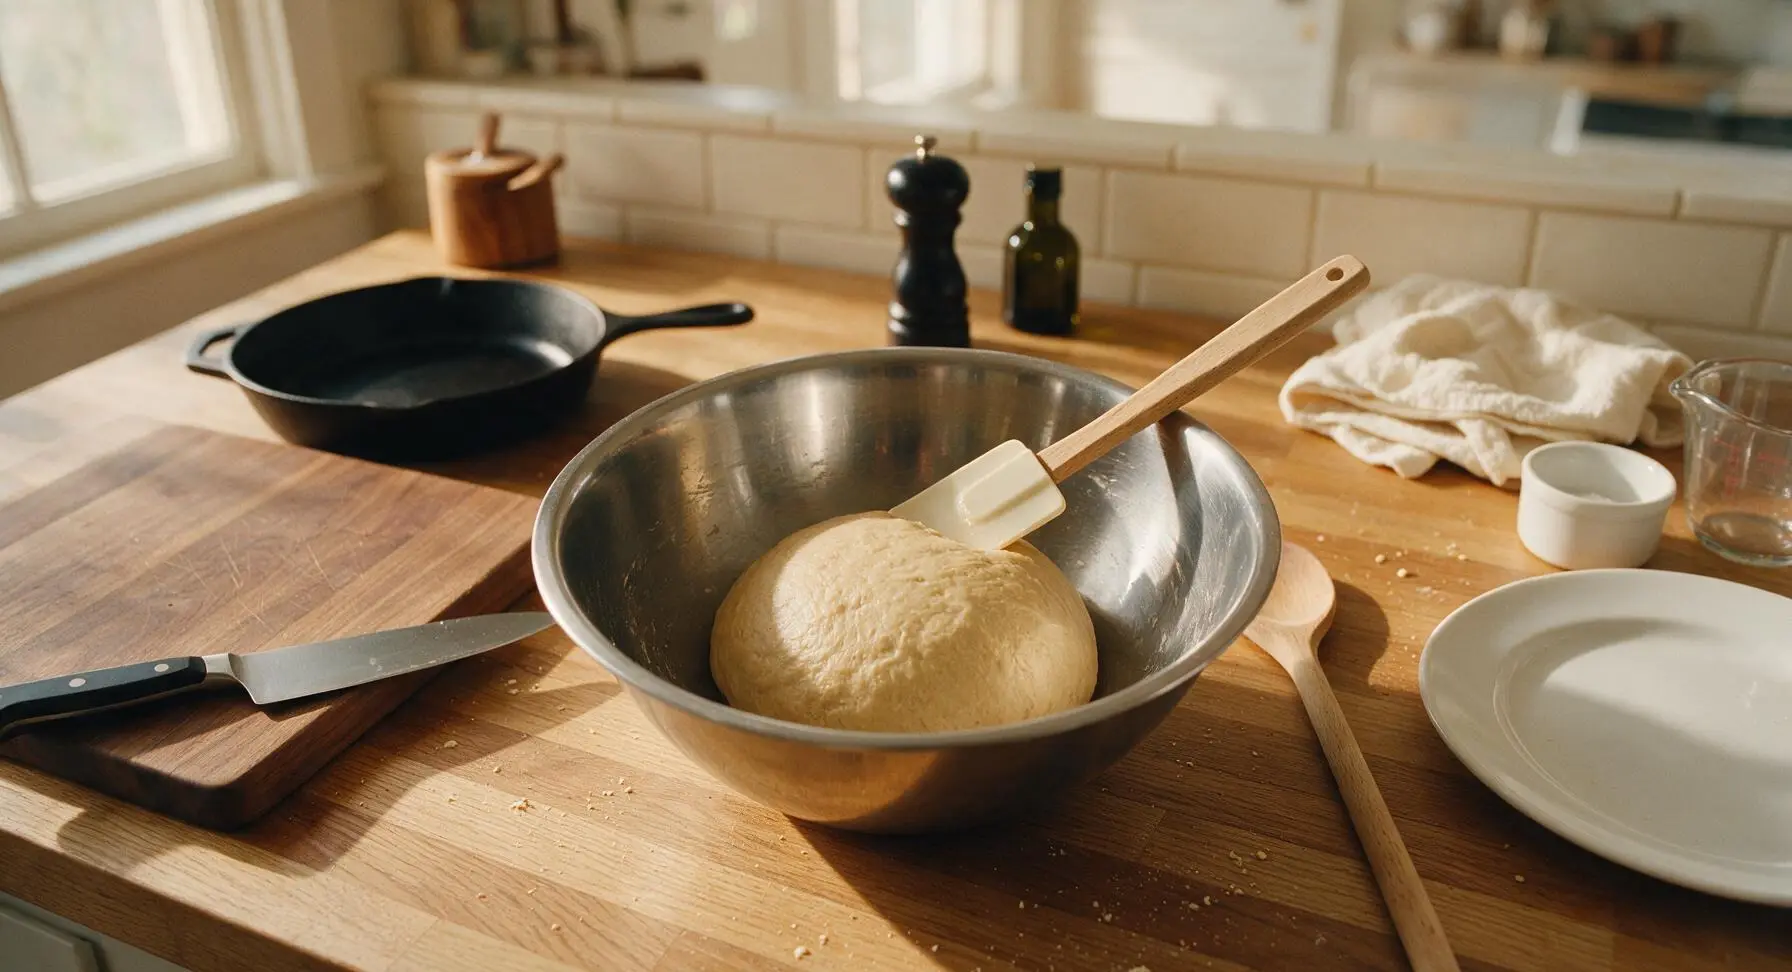
Sift 200g plain flour into the bowl using the small fine-mesh sieve, then add 1 tbsp whole milk. Use the silicone spatula to gently fold the flour into the wet mixture, taking care not to overmix, until a soft, smooth, non-sticky dough forms. Stop folding as soon as no dry flour patches remain – overworking the dough will make the biscuits tough rather than signaturely crumbly.
Step 3
step3:Fold in Flour and Milk
Step 3
step3:Fold in Flour and Milk
4

Chill the Dough

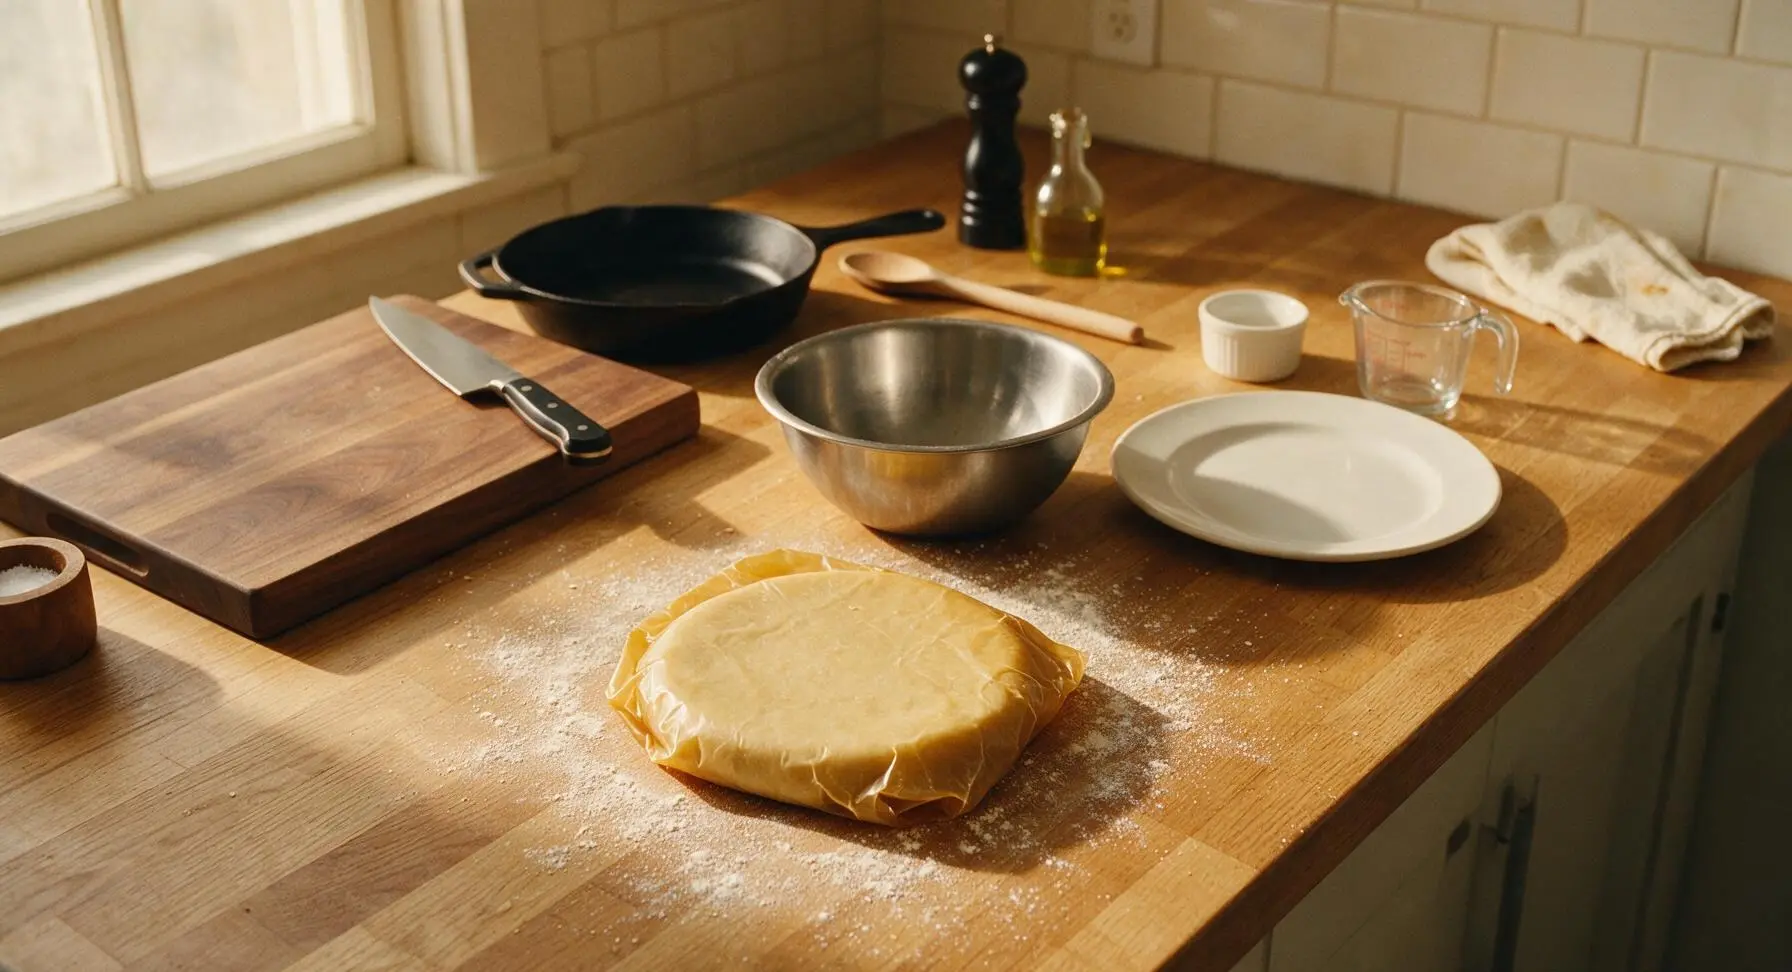
Turn the dough out onto a lightly floured section of counter, shape it into a flat 2cm thick disc, then wrap it tightly in the natural beeswax wrap. Place the wrapped dough in the refrigerator to chill for 30 minutes – this prevents the biscuits from spreading too much during baking, and firms the butter to make the dough easier to roll and cut cleanly.
Step 4
step4:Chill the Dough
5

Roll and Cut Shapes

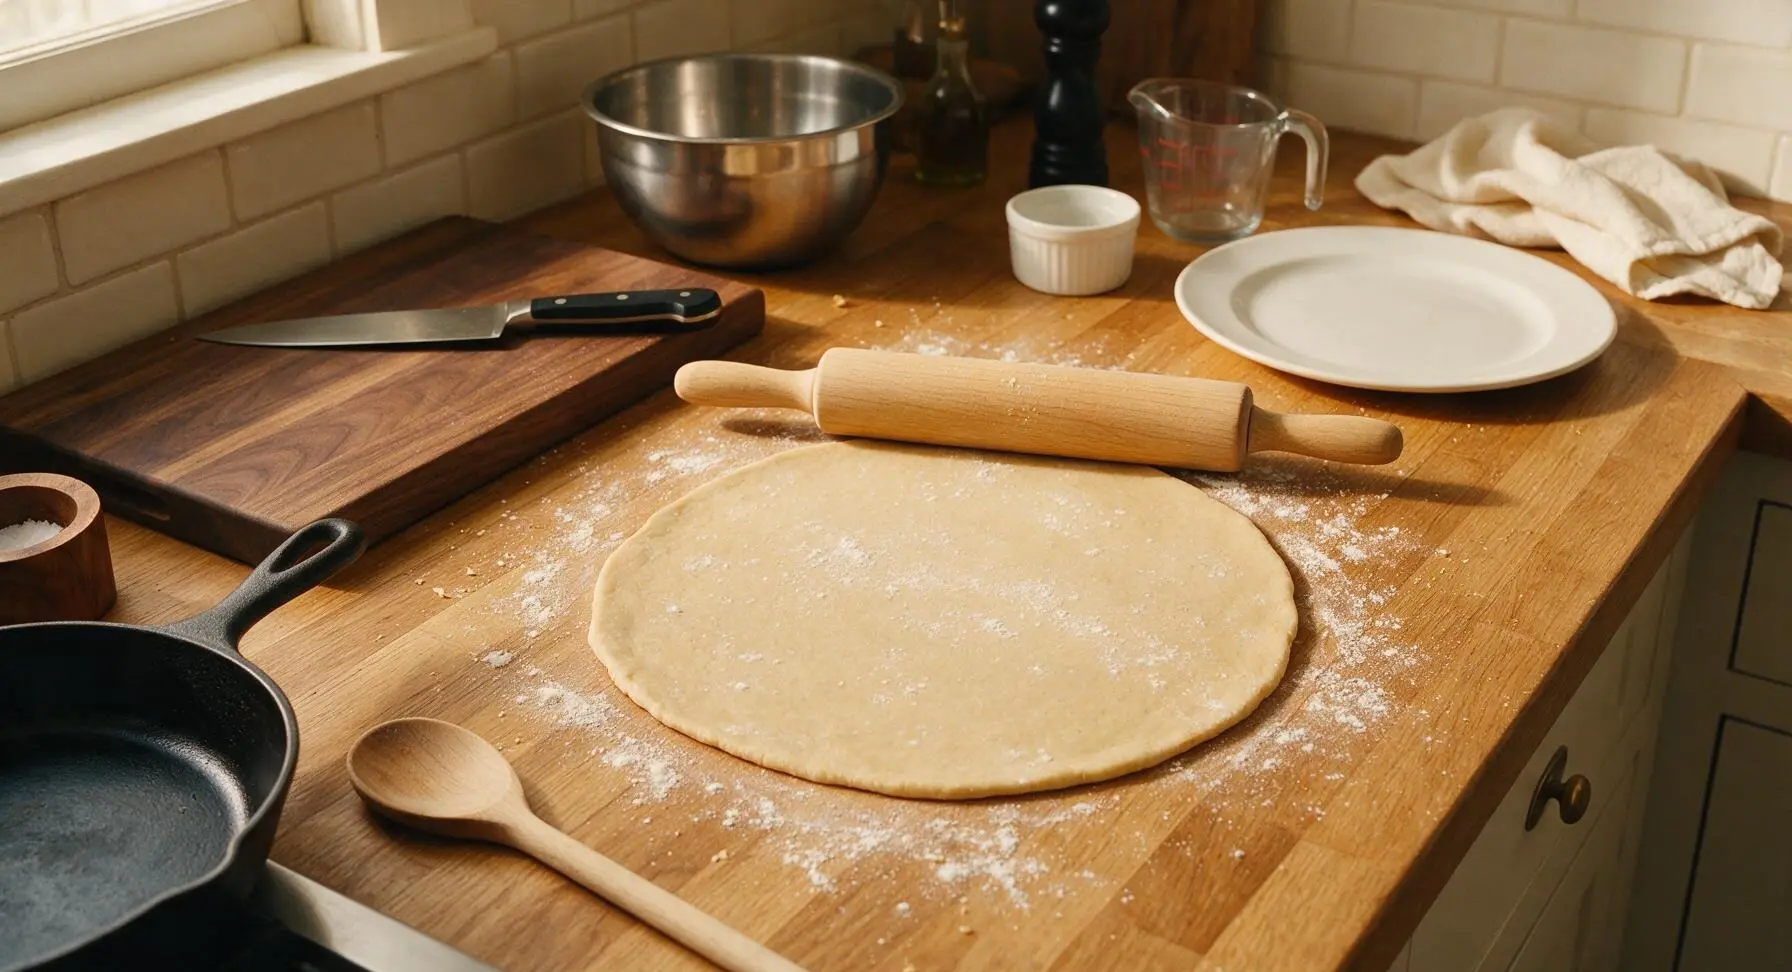
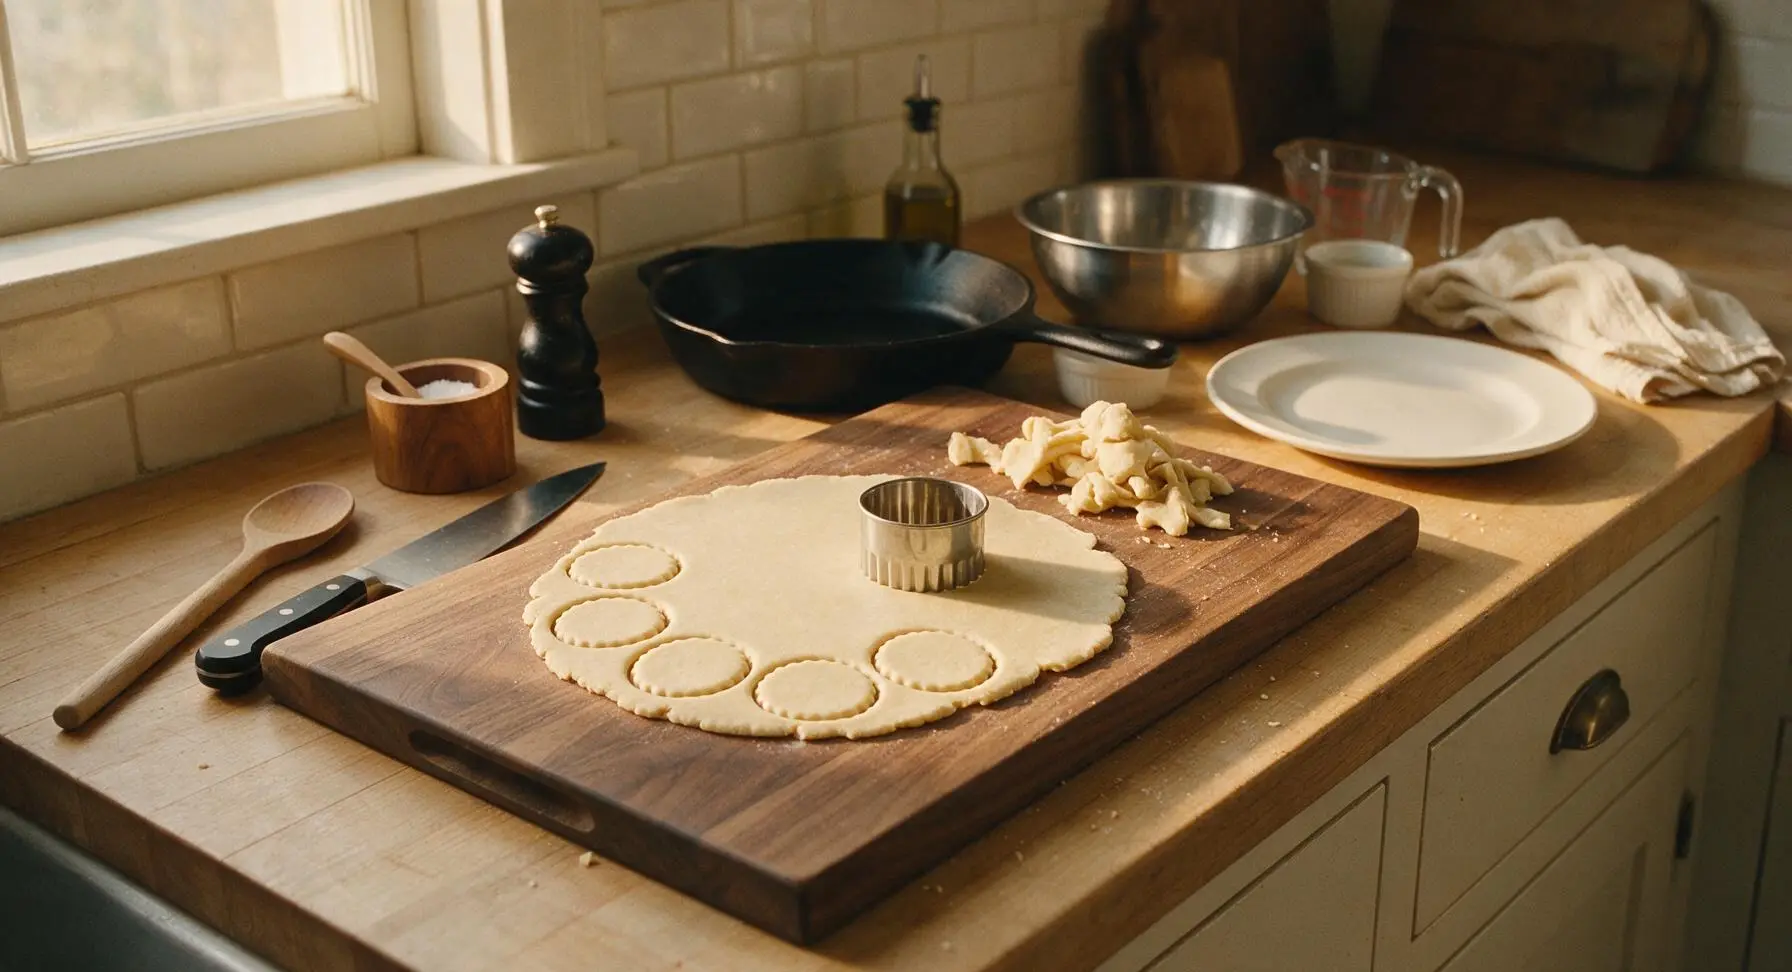
After 30 minutes, remove the chilled dough from the fridge, unwrap it, and place it on a lightly floured counter surface. Use the beech wood French rolling pin to roll the dough out to an even 5mm thickness. Press the fluted 6cm stainless steel biscuit cutter straight down through the dough (do not twist, as this seals the edges and prevents even rising) to cut round shapes, gathering and re-rolling dough scraps once to cut additional biscuits, for a total of approximately 24 biscuits.
Step 5
step5:Roll and Cut Shapes
Step 5
step5:Roll and Cut Shapes
6

Stamp and Arrange Dough

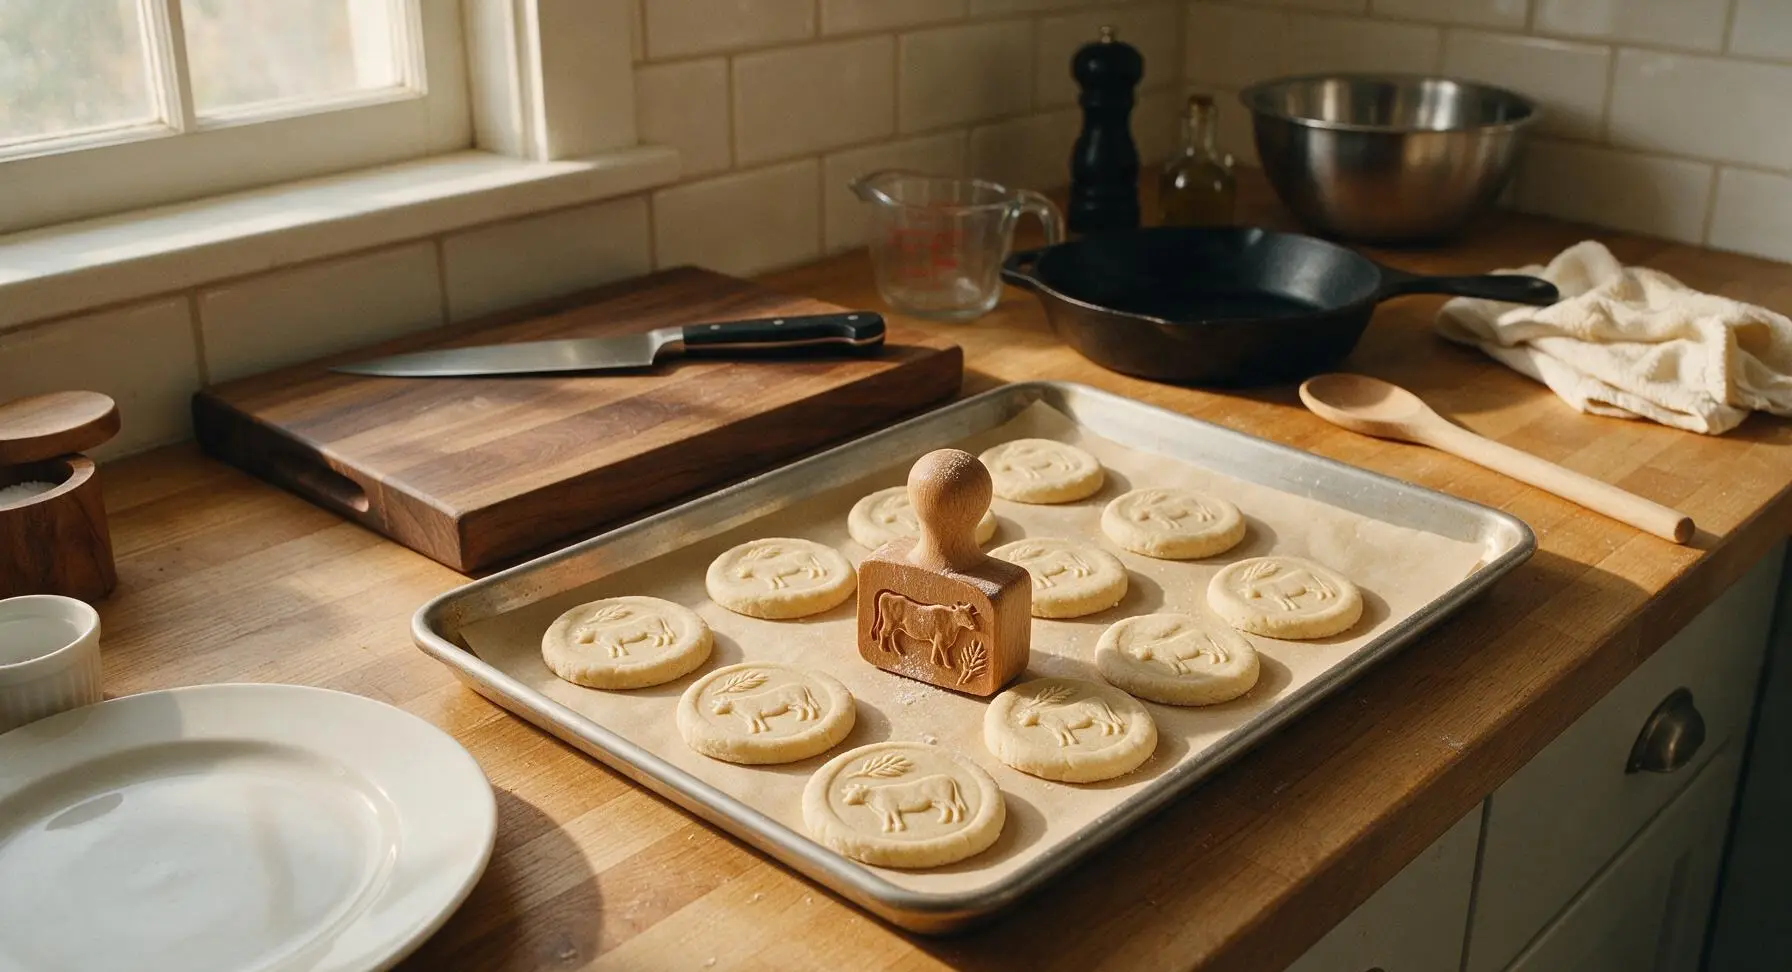
Line the heavy-gauge stainless steel baking sheet with the cut unbleached parchment paper. Lift each cut dough round and place it 2cm apart on the lined baking sheet to allow for slight spread during baking. Lightly dust the carved beech wood biscuit stamp with flour, then press it firmly into the center of each dough round to leave the iconic cow and wheat sheaf impression, taking care not to press all the way through the dough.
Step 6
step6:Stamp and Arrange Dough
7

Bake Until Golden

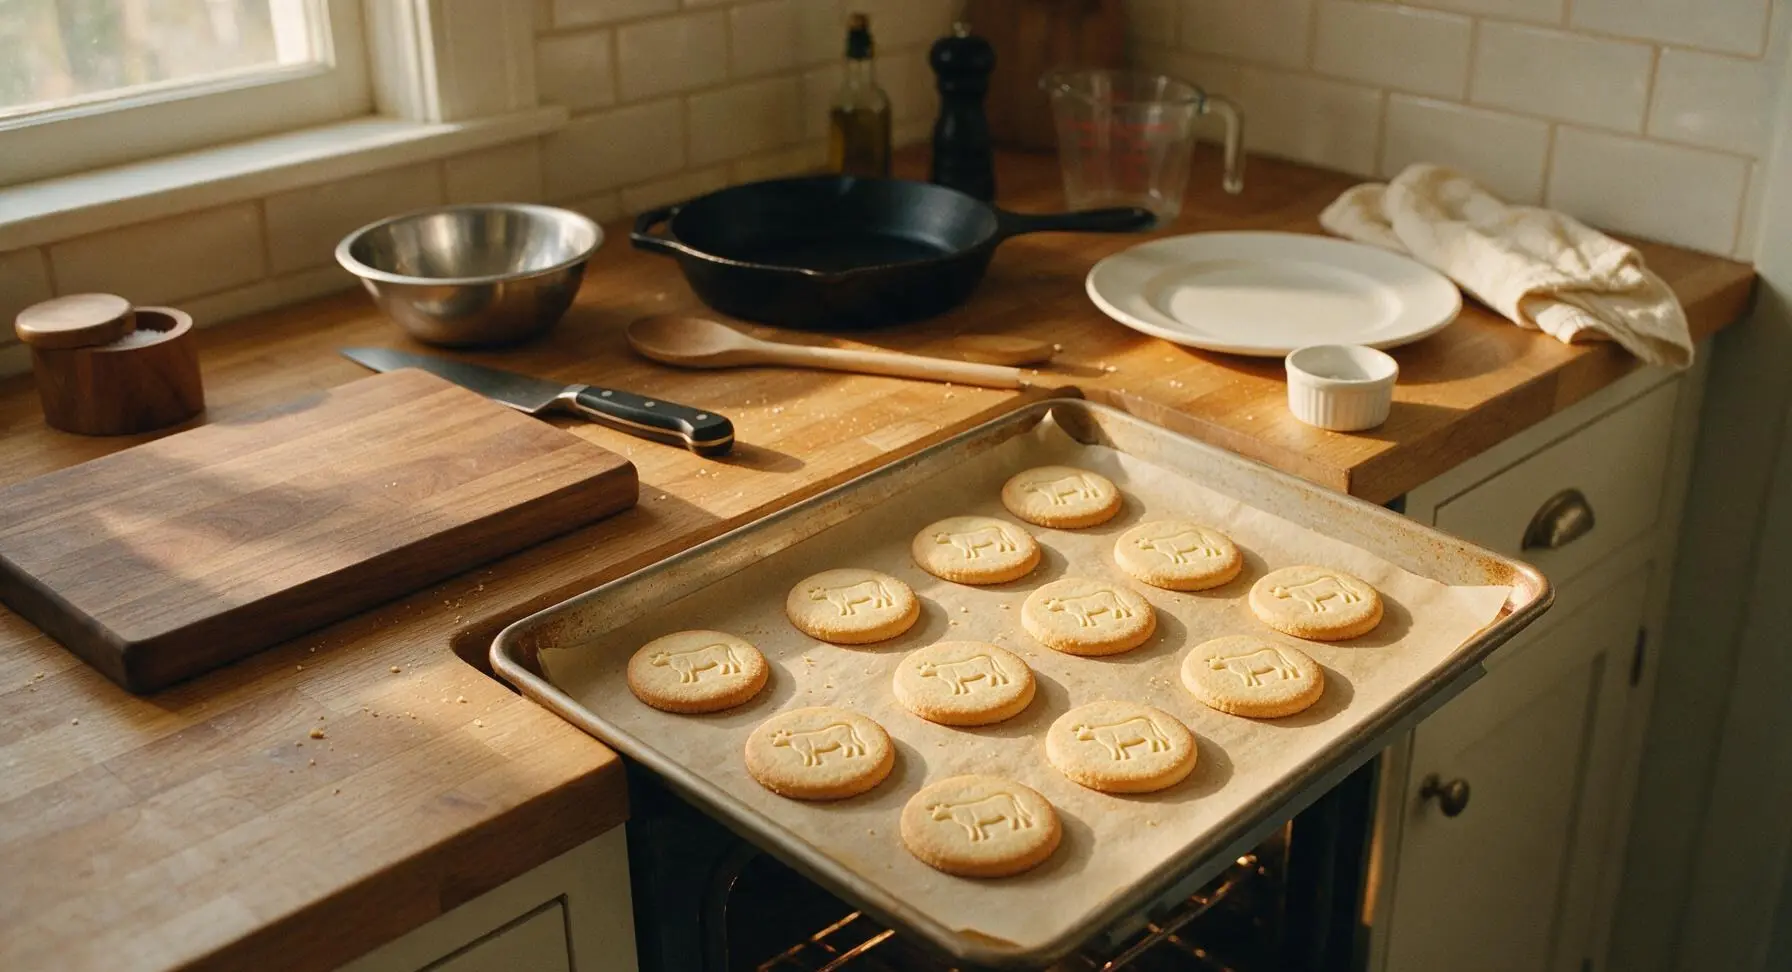
Place the baking sheet into a preheated 170C (340F, fan 150C) oven. Bake for 10-12 minutes, until the edges of the biscuits are a light pale golden brown, and the centers are set but still pale – the biscuits will continue to firm up as they cool, so do not overbake or they will become hard rather than crumbly. Rotate the baking sheet halfway through baking for even color across all biscuits.
Step 7
step7:Bake Until Golden
8

Cool Completely on Rack

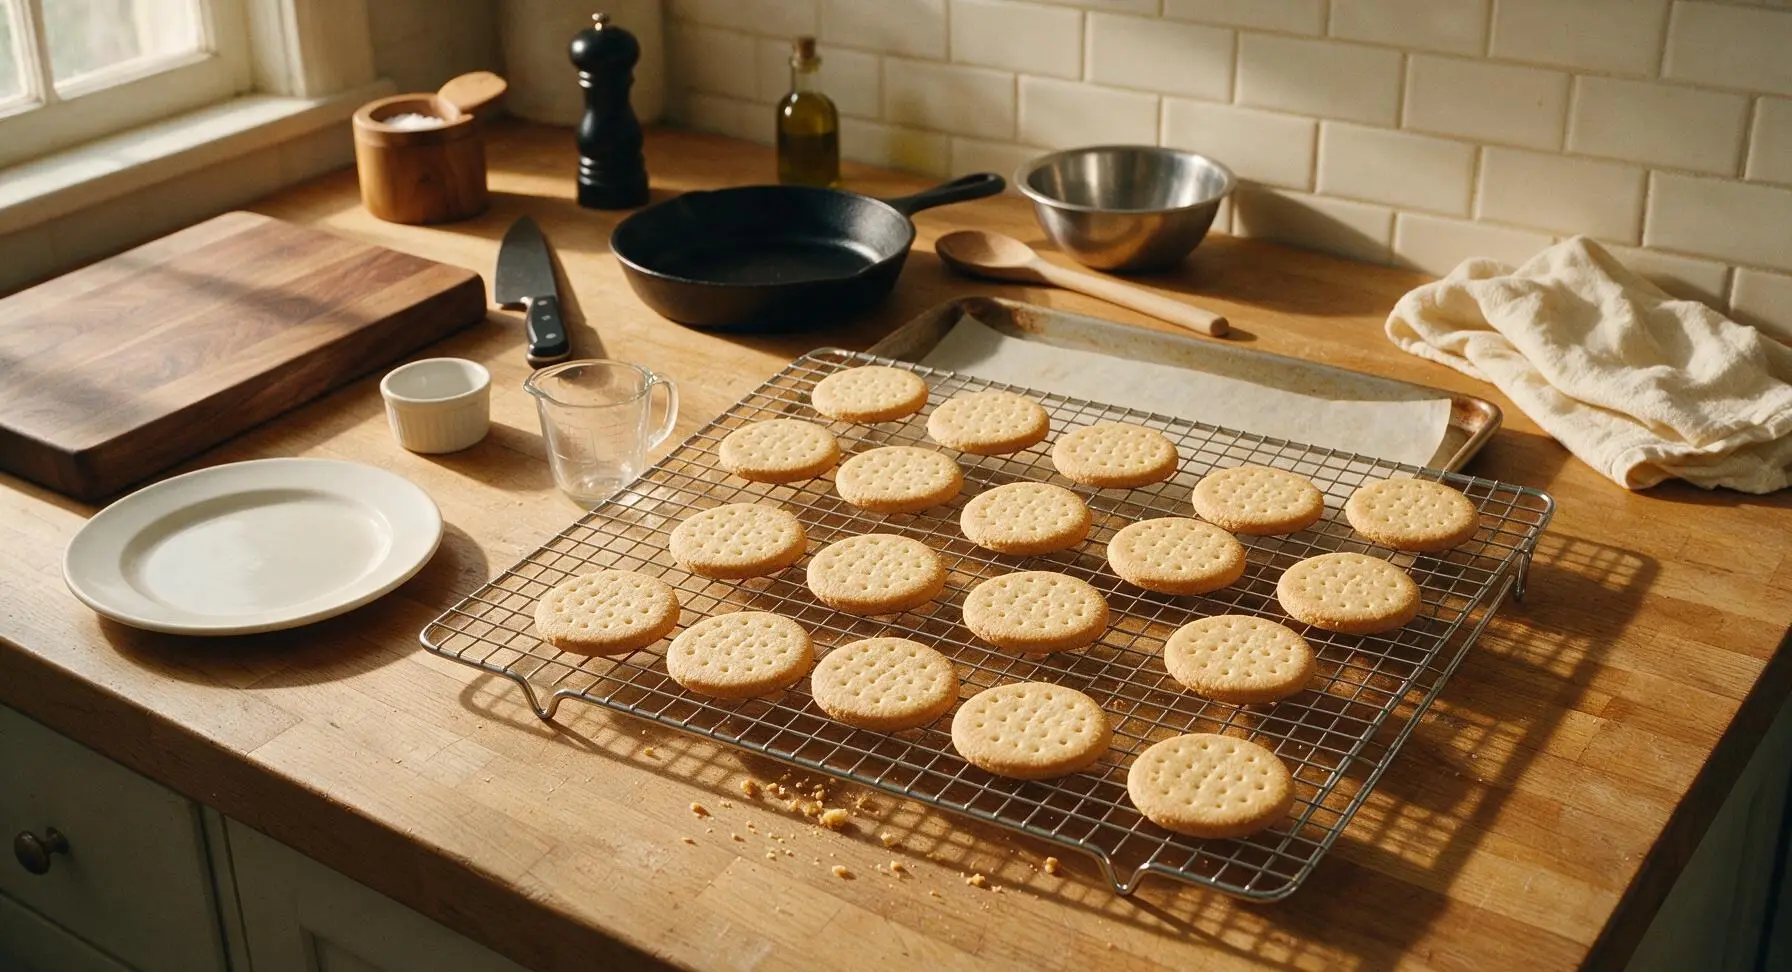
Remove the baking sheet from the oven, leave the biscuits on the tray for 5 minutes to set (they will be very soft straight from the oven), then use the silicone spatula to transfer them to the chrome wire cooling rack to cool completely for 20 minutes before serving. Do not stack the biscuits until they are fully cool to prevent them from sticking or breaking.
Step 8
step8:Cool Completely on Rack

Tips

1.Use room temperature butter and egg yolk for the lightest, crumbliest texture: cold ingredients will not cream to a fluffy consistency, resulting in dense, tough biscuits instead of the signature melt-in-the-mouth crumb.
2.Never twist the biscuit cutter when pressing through dough: twisting pinches the cut dough edges, which prevents even rising during baking and leads to lopsided, misshapen biscuits. Press straight down and lift straight up for clean, even cuts.
3.Use plain original malted milk powder (like classic Horlicks) for authentic flavor: chocolate or flavored malt drink mixes will overpower the delicate buttery base, and will not produce the signature warm, toasty malt taste of traditional British malted milk biscuits.


✨ You May Also Like

Desserts & Baking
🍜 Italy

Creamy, coffee-kissed classic Northern Italian no-bake dessert, with layers of rum-spiked mascarpone cream, soft ladyfingers, and a rich cocoa dusting.

⏱️ 4 hours 3Desserts & Baking ★ 4.7
Desserts & Baking
🍜 France

Flaky, shatteringly crisp, buttery French croissants with golden exteriors and soft, airy layered interiors, perfect for pairing with coffee for a special morning treat.

⏱️ 12 hours Desserts & Baking ★ 4.5
Desserts & Baking
🍜 United States

Warm, spiced baked apples topped with a fluffy golden biscuit crust, this cozy dessert pairs perfectly with vanilla ice cream for cool-weather comfort.

⏱️ 55 minuteDesserts & Baking ★ 4.6
Desserts & Baking
🍜 United States

A star-spangled classic American blueberry pie with buttery flaky crust and bright sweet-tart filling, perfect for summer patriotic gatherings.

⏱️ 1 hour 25Desserts & Baking ★ 4.7
Desserts & Baking
🍜 United States

A beloved no-bake regional Maine candy with a chewy coconut-potato center coated in rich dark chocolate, a New England holiday staple since the 1870s.

⏱️ 2 hours 3Desserts & Baking ★ 4.8
Desserts & Baking
🍜 France

Luxuriously creamy, floral frozen custard made with aromatic Tahitian vanilla beans, boasting a smooth, rich texture that melts slowly on the tongue.

⏱️ 3 hours 3Desserts & Baking ★ 4.5

British Malted Milk Biscuits:Frequently Asked Questions

1.What is Horlicks-style malted milk powder, and can I substitute it if I can’t find it? ▾
Original Horlicks-style malted milk powder is a blend of dried malted barley, wheat, and whole milk that delivers that signature warm, toasty, slightly sweet flavor. Skip chocolate malt powder, diastatic malt (made for bread rising), or liquid malt syrup. If you can’t find it, mix 3 parts plain non-diastatic malt powder with 1 part nonfat dry milk for a 1:1 swap.
2.Why do my biscuits spread too much and lose their shape when baking? ▾
Spread almost always traces back to over-soft butter or unchilled dough. Make sure your butter is room temperature (indentable with a finger but not greasy or oozing) and chill your cut, stamped biscuit shapes in the fridge for 20 minutes right before baking to help them hold their crisp, defined shape.
3.Do I have to use the traditional cow motif stamp to make these? ▾
You absolutely don’t need the classic cow stamp to make delicious malted milk biscuits! Any simple, deeply etched cookie stamp works, or you can press the dough lightly with the tines of a fork for a no-fuss pattern. Just skip overly detailed stamps that will get clogged with buttery dough as you work.
4.Can I adapt this recipe to be dairy-free? ▾
You can easily make these dairy-free with a few simple swaps. Swap the unsalted butter for a firm, block-style vegan butter (skip spreadable tub versions, which have too much water) and use dairy-free original malted milk powder, or the non-diastatic malt and dry coconut milk swap, plus a plant-based egg yolk substitute.
5.How should I store these biscuits, and how long will they stay fresh? ▾
Stored properly, these biscuits will stay crisp and flavorful for up to 1 week. Let them cool completely after baking, then tuck them into an airtight container with a tight-fitting lid, kept in a cool, dark pantry away from direct sunlight or heat that could soften the butter and make biscuits soggy.
6.Why did my biscuits turn out tough instead of tender and crumbly? ▾
Tough biscuits happen when you overwork the dough, which develops excess gluten in the all-purpose flour. Mix the dough just until it comes together in a smooth ball with no dry flour left, then stop. Over-rolling or re-rolling scraps too many times will also lead to a tougher, less tender final crumb.
7.Can I freeze the dough to bake these later? ▾
This dough freezes beautifully for make-ahead baking. Form the dough into a flat disc, wrap it tightly in plastic wrap and a layer of foil, and freeze for up to 3 months. Thaw it in the fridge overnight before rolling and cutting, or freeze pre-cut shapes to bake straight from frozen, adding 2 minutes to the total bake time.
8.What thickness should I roll the dough to for the classic texture? ▾
Aim to roll your dough to a consistent 1/8-inch thickness for that perfect crisp, snappy, crumbly texture ideal for dunking. If rolled too thick, centers will stay soft and underbaked; too thin, edges will burn quickly before the biscuit cooks evenly. Rolling pin thickness guides take all the guesswork out.
9.Can I add mix-ins like chocolate chips to the dough? ▾
You can absolutely customize these biscuits, though classic versions are plain to highlight the malt flavor. Try stirring in 2 tablespoons of mini chocolate chips, a pinch of flaky sea salt on top before baking, or 1/4 teaspoon of vanilla extract. Just skip heavy mix-ins that would disrupt that delicate, crumbly texture.
10.Why does the recipe only use an egg yolk instead of a whole egg? ▾
Using just an egg yolk instead of a whole egg gives these biscuits their signature rich, tender, melt-in-your-mouth crumb without adding extra moisture from egg white that would make them tough or cakey instead of crisp. Make sure your yolk is room temperature so it mixes smoothly without clumping.
11.Can I use regular granulated sugar instead of caster sugar? ▾
Caster (superfine) sugar dissolves faster into butter for a perfectly smooth dough, but you can swap it 1:1 for regular granulated white sugar if that’s what you have. Just cream the butter and sugar for an extra 30 seconds to help the larger sugar granules break down fully before adding other ingredients.
12.What oven temperature should I use, and how do I tell when the biscuits are done? ▾
Bake these at 350°F (175°C) for 10 to 12 minutes, rotating the tray halfway through for even browning. They’re done when edges are a light, golden toasted brown and centers look just set. They’ll crisp up as they cool on the tray, so don’t wait for the whole biscuit to darken, or they’ll overbake.
13.Do I need to line my baking sheet with parchment paper? ▾
Parchment paper is highly recommended for these biscuits, as it prevents sticking without extra grease and makes cleanup easy. If you don’t have parchment, you can use a lightly greased baking sheet, but skip silicone baking mats—they trap too much moisture and can leave biscuit bottoms soggy instead of crisp.
14.Why does my cookie stamp impression disappear when the biscuits bake? ▾
Faint or disappearing stamp marks usually come from dough that’s too warm, or stamps that aren’t pressed firmly enough. Chill your cut shapes for 20 minutes after stamping to help the impression set. You can also lightly dust your stamp with a tiny bit of flour before each press to keep it from sticking and pulling up dough.
15.Are these the same as malted milk cookies sold in regular U.S. grocery stores? ▾
These are the classic British version, which is less sweet, more buttery, and has a deeper, toastier malt flavor than the softer, sweeter malted milk cookies sold in most mainstream U.S. grocery stores. They’re also thinner, crisper, and formulated to hold up to dunking in hot tea without falling apart.
16.Can I make these if I don’t have a rolling pin or cookie cutters? ▾
You don’t need fancy tools to make great malted milk biscuits! If you don’t have a rolling pin, press dough flat with the palm of your hand to that 1/8-inch thickness, then cut it into simple squares with a sharp knife instead of using round cutters. The rustic, hand-cut shape tastes just as good as perfectly uniform rounds.
17.How do I dunk these biscuits without them falling apart in my tea? ▾
These biscuits are sturdy enough for dunking, but there’s a simple trick to avoid a cup full of crumbs. Hold the biscuit by one edge, submerge half of it in hot (not boiling) tea for 2 to 3 seconds, then pull it out and let it rest for a second before biting—dunking too long will saturate the crumb and make it break.
18.Can I use salted butter instead of unsalted butter? ▾
You can use salted butter if that’s what you have, just skip any added salt you planned to include in the recipe. Keep in mind that different salted butter brands have wildly different salt levels, so for the most consistent, balanced buttery-sweet malt flavor, unsalted butter lets you control salt content exactly.
19.Do I need to sift my dry ingredients if my malted milk powder is clumpy? ▾
Malted milk powder often clumps up as it sits in the pantry, so it’s a good idea to sift your flour and malted milk powder together before mixing them into the butter and sugar. This breaks up hard lumps that would leave dry, powdery spots in finished biscuits, and creates a lighter, more even crumb in every bite.
20.Can I dip these biscuits in chocolate for a fancier treat? ▾
Chocolate-dipped malted milk biscuits are a delicious, elevated take on the classic. Let your fully cooled biscuits set for an hour after baking, then dip half of each biscuit in melted dark or milk chocolate, set them on a parchment-lined tray, and sprinkle with a tiny pinch of flaky sea salt before the chocolate sets.

Comments (18)

2 days ago

OMG these malted milk biscuits are SO good! I made them for my kid’s after-school snack this week and they begged for seconds before they even finished the first one. The 12 minute cook time is chef’s kiss for busy weeknights, no fancy steps at all.

1 day ago

Wait did you use regular malted milk powder or the chocolate kind? I’ve got a giant can of the regular stuff in my pantry I’ve been dying to use up!

20 hours ago

Great question! Regular plain malted milk powder works best here to get that classic, toasty malty flavor – save the chocolate kind for milkshakes! 😊

1 week ago

Game changer! I brought a batch of these to our neighborhood potluck last weekend and they were gone in 10 minutes flat. People kept asking where I bought them, couldn’t believe they were homemade and so easy to throw together.

6 days ago

So glad they were a potluck hit! They hold up really well in a tin for a few days too, perfect for bringing to gatherings.

3 days ago

These are perfect with my morning latte! Not too sweet, just the right crumble, and that malty flavor hits so different. I meal prepped a double batch on Sunday and they’ve lasted me all work week so far. 10/10 will make again.

2 hours ago

Wait, I’ve never made British biscuits before – are these crunchy like a shortbread or softer? I’m nervous I’ll overbake them since the cook time is only 12 minutes!

1 hour ago

Don’t stress! They’re crisp around the edges and just slightly tender in the middle if you pull them right at 12 minutes – they firm up as they cool, promise!

45 minutes ago

Kai is totally right! Let them cool on the baking sheet for 5 full minutes after you take them out of the oven and they’ll set to that perfect classic malted milk texture. No overbaking needed!

yesterday

My kids loved it! I let them help cut the shapes with our little cookie cutters and they had a blast. The dough is so easy to work with, no sticky mess all over the counter which is a total win for baking with toddlers.

12 hours ago

Oh that’s such a cute idea! I’ve got dinosaur cookie cutters my grandson is obsessed with, I’m definitely going to try that for our next bake day.

2 weeks ago

Packed these for my day hike last weekend and they were the perfect trail snack! Light, not messy, gave me that little sugar boost I needed halfway up the trail, and they didn’t get all crumbly in my pack. Will be a staple from now on.

5 days ago

I grew up eating these when my grandma would send tins of biscuits over from London and I swear this recipe tastes exactly like I remember! I was worried I’d never get that malty flavor right without importing fancy biscuits.

4 days ago

Right?! I’ve been buying the imported ones at the fancy grocery store for $6 a pack and this recipe is so much cheaper and tastes identical. Game changer for real.

3 days ago

That makes my day to hear! That classic nostalgic flavor is exactly what we were going for, no fancy imported ingredients required.

30 minutes ago

Quick question – how long do these stay fresh if I store them in an airtight container? I want to make a big batch for my work lunches next week.

15 minutes ago

They’ll stay perfectly crisp and flavorful for up to a week in an airtight container at room temp – no need to refrigerate! Perfect for meal prep.

1 week ago

Made these for our monthly book club meeting and everyone asked for the recipe! We had them with earl grey tea and it was the perfect pairing. Not overly sweet, so they don’t overpower whatever you’re drinking. 10/10.

3 days ago

Has anyone tried making these with a 1:1 gluten free flour blend? I’m gluten intolerant but these look so good I need to find a way to make them work!

2 days ago

I did! Used my usual Bob’s Red Mill 1:1 blend and added a tiny extra splash of milk, they came out perfect. No weird texture at all!

2 days ago

Took a chance and added a handful of mini chocolate chips to half the batch and wow, chef’s kiss. The malt and chocolate combo is unreal. My roommates devoured the chocolate chip half before I even got a second one.

1 day ago

Love that hack! Mini chocolate chips are such a fun add-in, I’ve done that a few times too for a little extra treat.

20 hours ago

Oh that’s genius! I was going to add a drizzle of white chocolate on top for my sister’s birthday, now I’m definitely tossing in some mini chips too.

5 minutes ago

Super easy recipe even for someone who burns toast 90% of the time! Only had to pick up malted milk powder from the grocery store, everything else I already had in my dorm kitchen. They came out perfect first try, my floor mates thought I was a baking genius.

yesterday

I rolled my dough a little thicker than the recipe said because I love a slightly softer, chewier cookie, and it worked so well! Brushed the tops with a tiny bit of melted butter right when they came out too. Yum.

18 hours ago

That melted butter brush trick sounds amazing! So glad you adjusted the thickness to get the texture you love, recipes are just a starting point after all.

1 week ago

Wait, is there a way to make these without dairy? My kid has a milk allergy and I’m always looking for safe, easy cookie recipes he can bring to school.

6 days ago

I made them with oat milk and vegan butter last month for my son’s class party and no one could tell the difference! Just make sure your malted milk powder is dairy-free too, some brands have milk solids.

5 days ago

Rae’s tip is spot on! Dairy-free milk and butter swap works perfectly here, just double check your malt powder label to make sure it fits your allergy needs.

just now

Brought these in for the office snack table today and already had three people Slack me for the link. They’re buttery, malty, not too sweet, perfect for that 3pm slump pick-me-up with a cup of office coffee.

just now

Can confirm, I had two of these! They were SO good, I’m making a batch this weekend for my kid’s soccer game snacks.

2 weeks ago

Made these over the campfire in my little cast iron cookie sheet last weekend and they turned out insane. The quick cook time is perfect for camp baking when you don’t want to wait forever for treats. Everyone at the campsite came over to ask what smelled so good.

5 days ago

Dipped half of each biscuit in dark chocolate after they cooled and sprinkled a little flaky sea salt on top. Fancy enough to give as holiday gifts, but easy enough to make on a random Tuesday night. Obsessed.

4 days ago

That dark chocolate and sea salt combo sounds absolutely divine – they’d make such lovely little gifts! Thanks for sharing the idea.

30 minutes ago

Wait, do I have to chill the dough? I’m in a hurry to make these for my partner’s birthday tonight and I don’t want to wait for dough to chill if I don’t have to!

20 minutes ago

I skipped chilling last time I made them and they turned out totally fine! Just make sure your butter isn’t too soft when you mix the dough so they don’t spread too much in the oven.

10 minutes ago

Jo is exactly right! Chilling helps a little with shape retention, but if you’re crunched for time you can absolutely bake them right after mixing – just keep an eye on them around the 10 minute mark to make sure they don’t spread too thin.



