
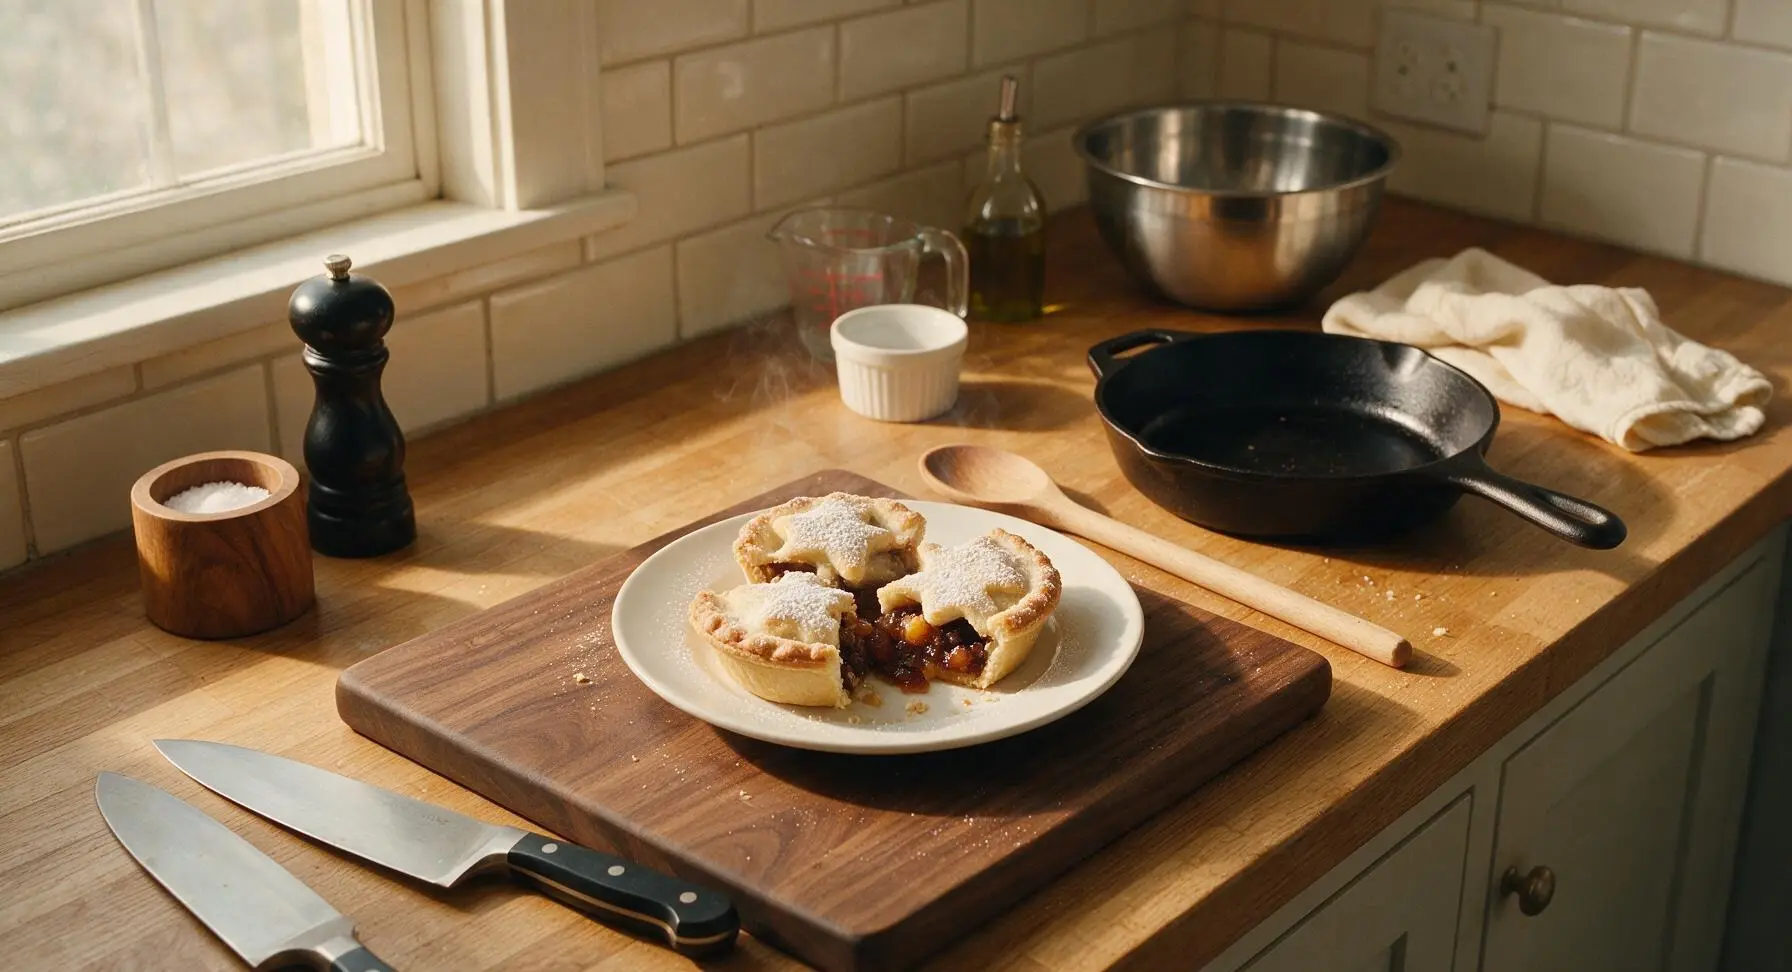
British Mince Pies

title 1
British Mince Pies
⏱️ cook time 20 minutes
🍽️ servings 12
⚡ Difficulty medium

intro

Buttery, flaky shortcrust pastry filled with spiced fruit mincemeat, dusted with snowy icing sugar—these iconic bite-sized treats are the beloved centerpiece of a British Christmas spread.

Ingredients
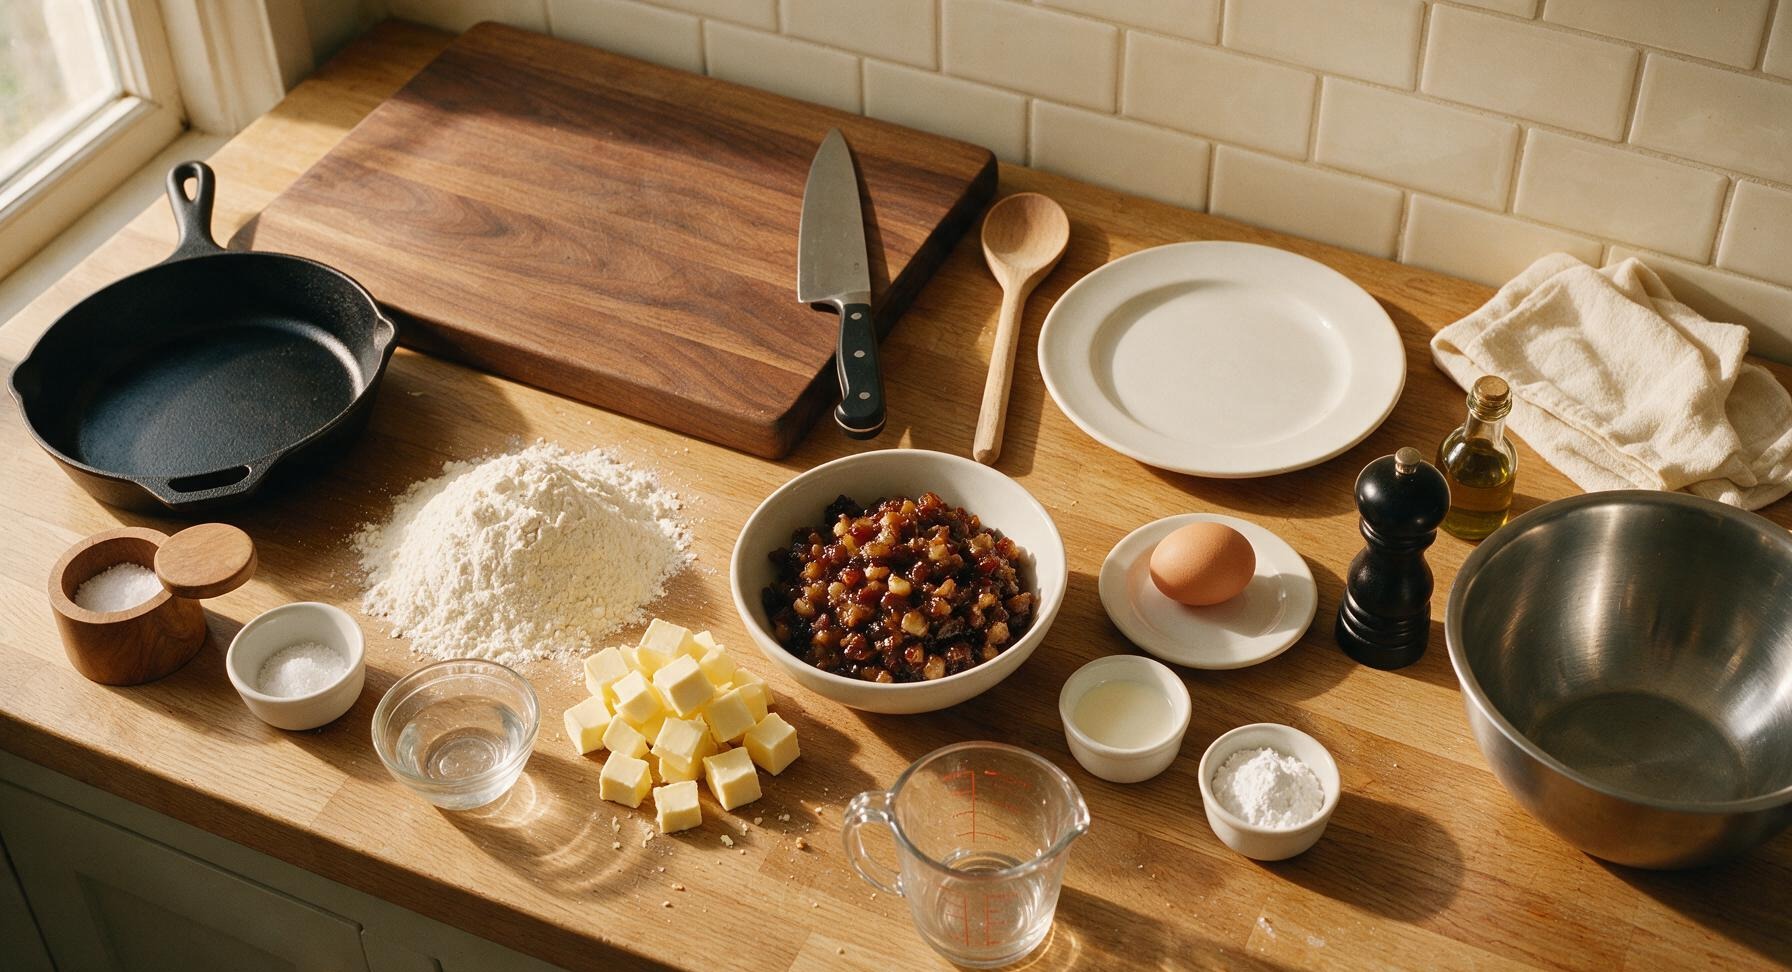
Plain all-purpose flour 225g
Cold unsalted butter 110g
Fine table salt 1 pinch
Ice-cold water 3-4 tbsp
Traditional spiced fruit mincemeat 300g
Large free-range egg 1
Whole milk 1 tbsp
Icing (powdered) sugar 2 tbsp

Steps

1

Grate butter into flour

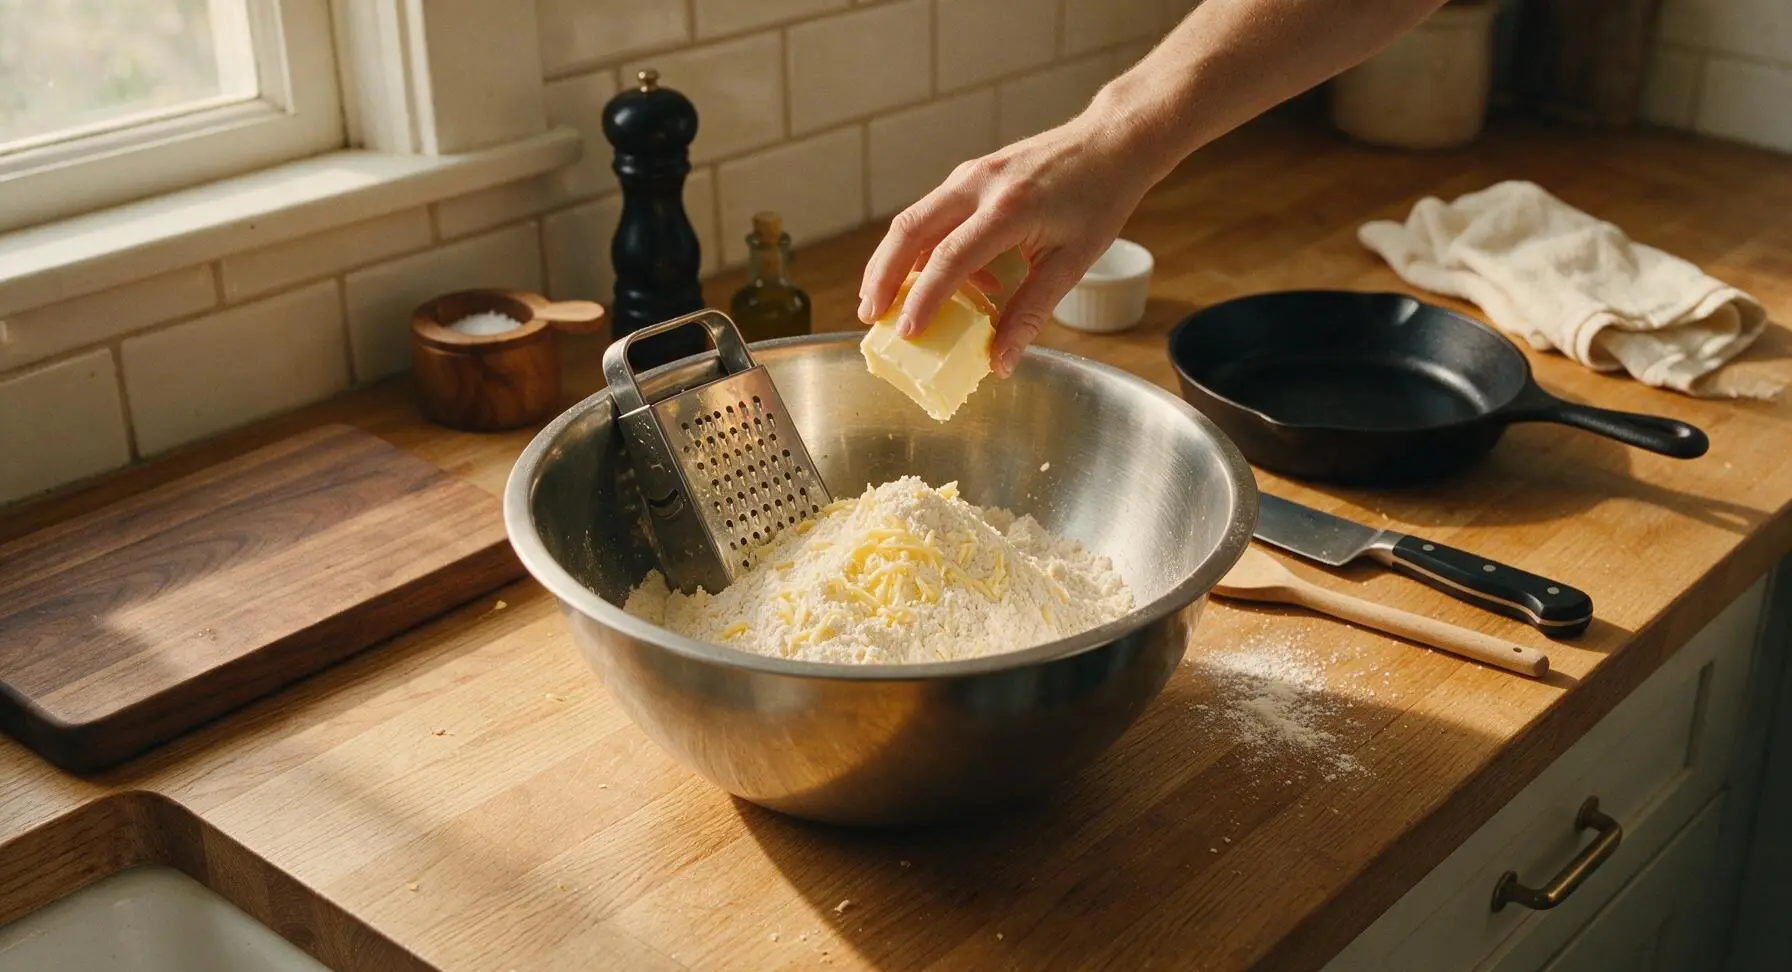
Place 225g plain all-purpose flour and 1 pinch of fine table salt into the large stainless steel mixing bowl. Hold the 110g block of very cold unsalted butter with the corner of the linen tea towel to avoid warming it with your hands, then grate it into the flour using the coarse side of the box grater. Pause every 3-4 grates to toss the butter shreds in flour to fully coat them. When finished, the mixture should resemble coarse fresh breadcrumbs with a few pea-sized butter bits remaining — do not overmix, as these intact butter bits create the signature flaky pastry layers.
Step 1
step1:Grate butter into flour
2

Bring dough together

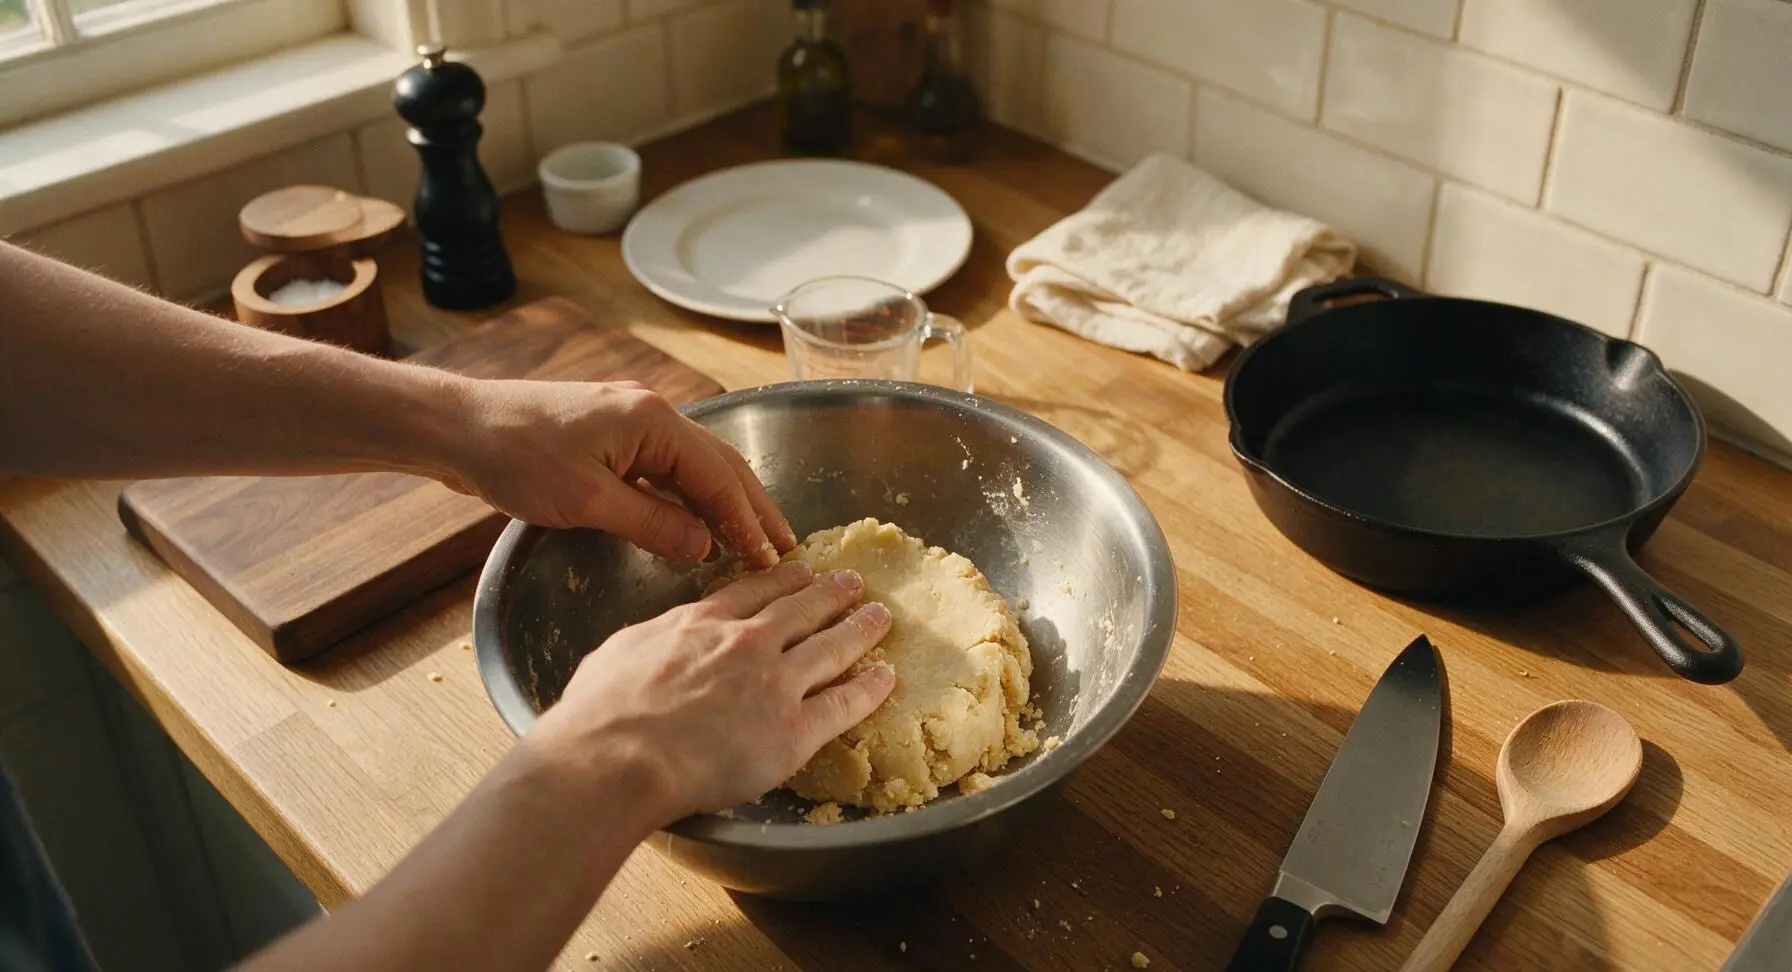
Drizzle 3 tablespoons of ice-cold water into the flour and butter mixture, adding 1 tablespoon at a time. Use your fingertips to gently toss the mixture (do not knead) until it clumps into a rough, cohesive ball. Add the 4th tablespoon of water only if the mixture remains dry and crumbly, and will not hold together when squeezed firmly in your palm. Flatten the dough ball into a 2cm thick disc, then chill in the refrigerator for 30 minutes to rest — this prevents pastry shrinkage during baking.
Step 2
step2:Bring dough together
3

Roll pastry evenly

After chilling, place the dough disc on the lightly floured beech pastry board. Use the polished stainless steel rolling pin to roll the pastry out to a consistent 3mm thickness, turning the pastry a quarter turn every 2-3 rolls to prevent sticking, and dusting the board and pin with a tiny amount of extra flour only as needed. Avoid rolling the pastry thinner than 3mm, as it will tear when lining the tin.
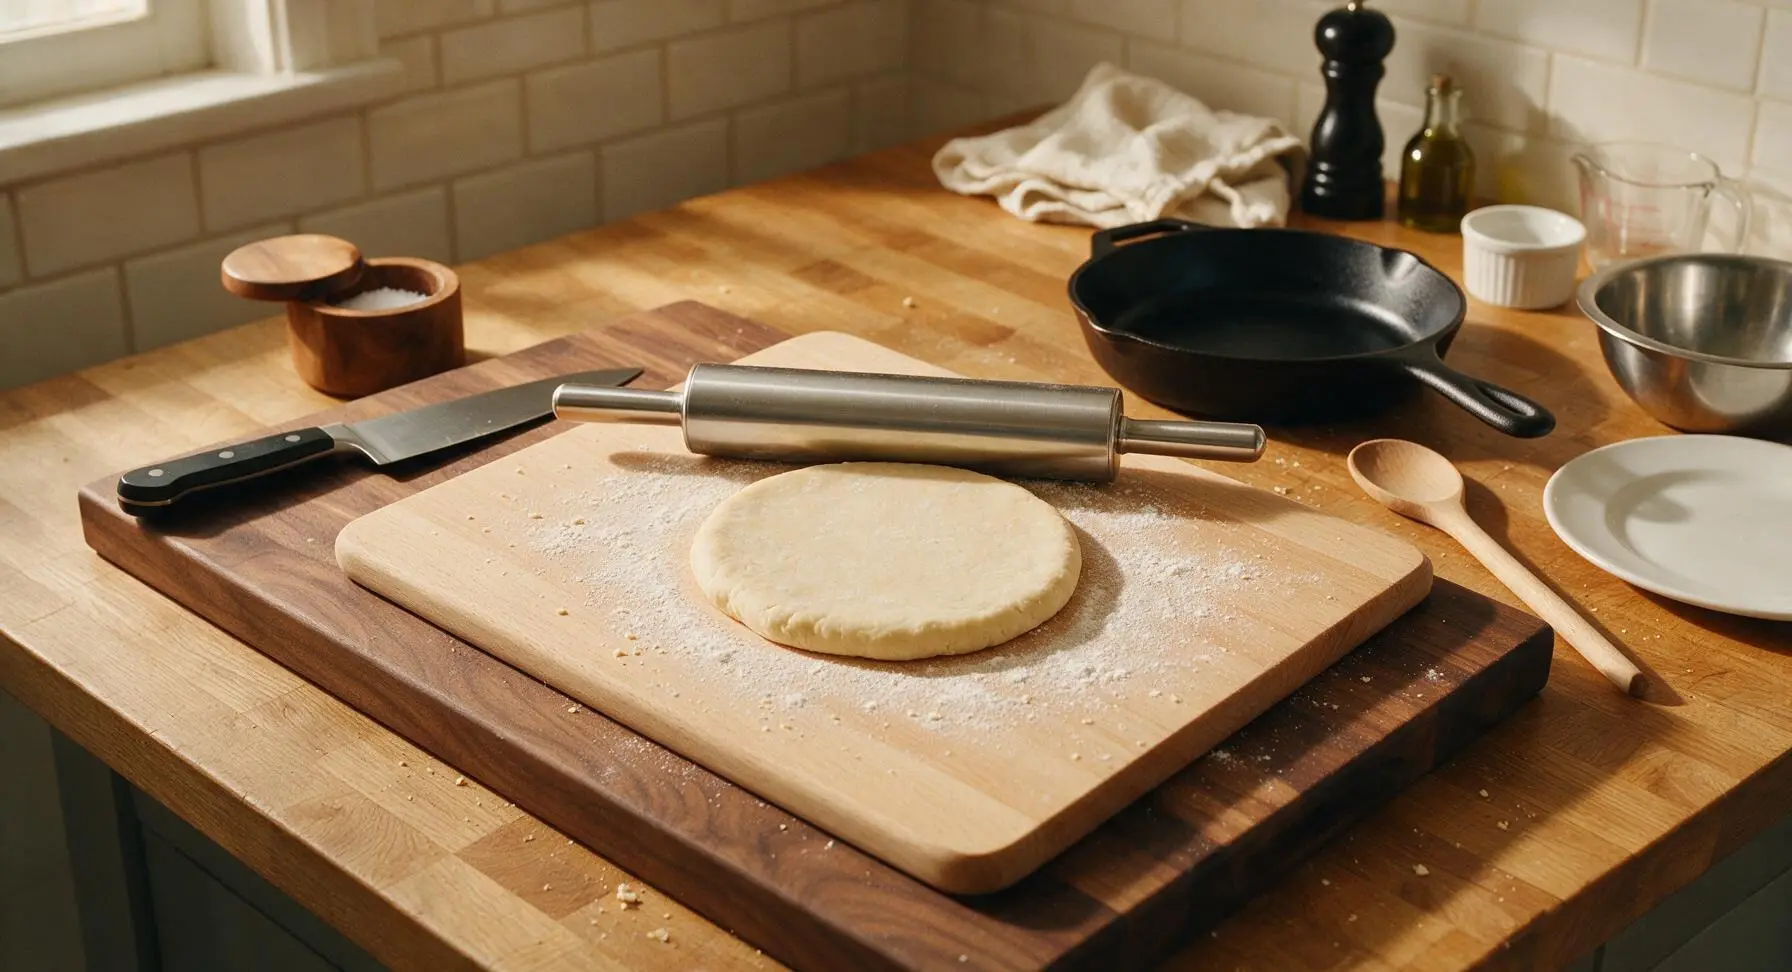
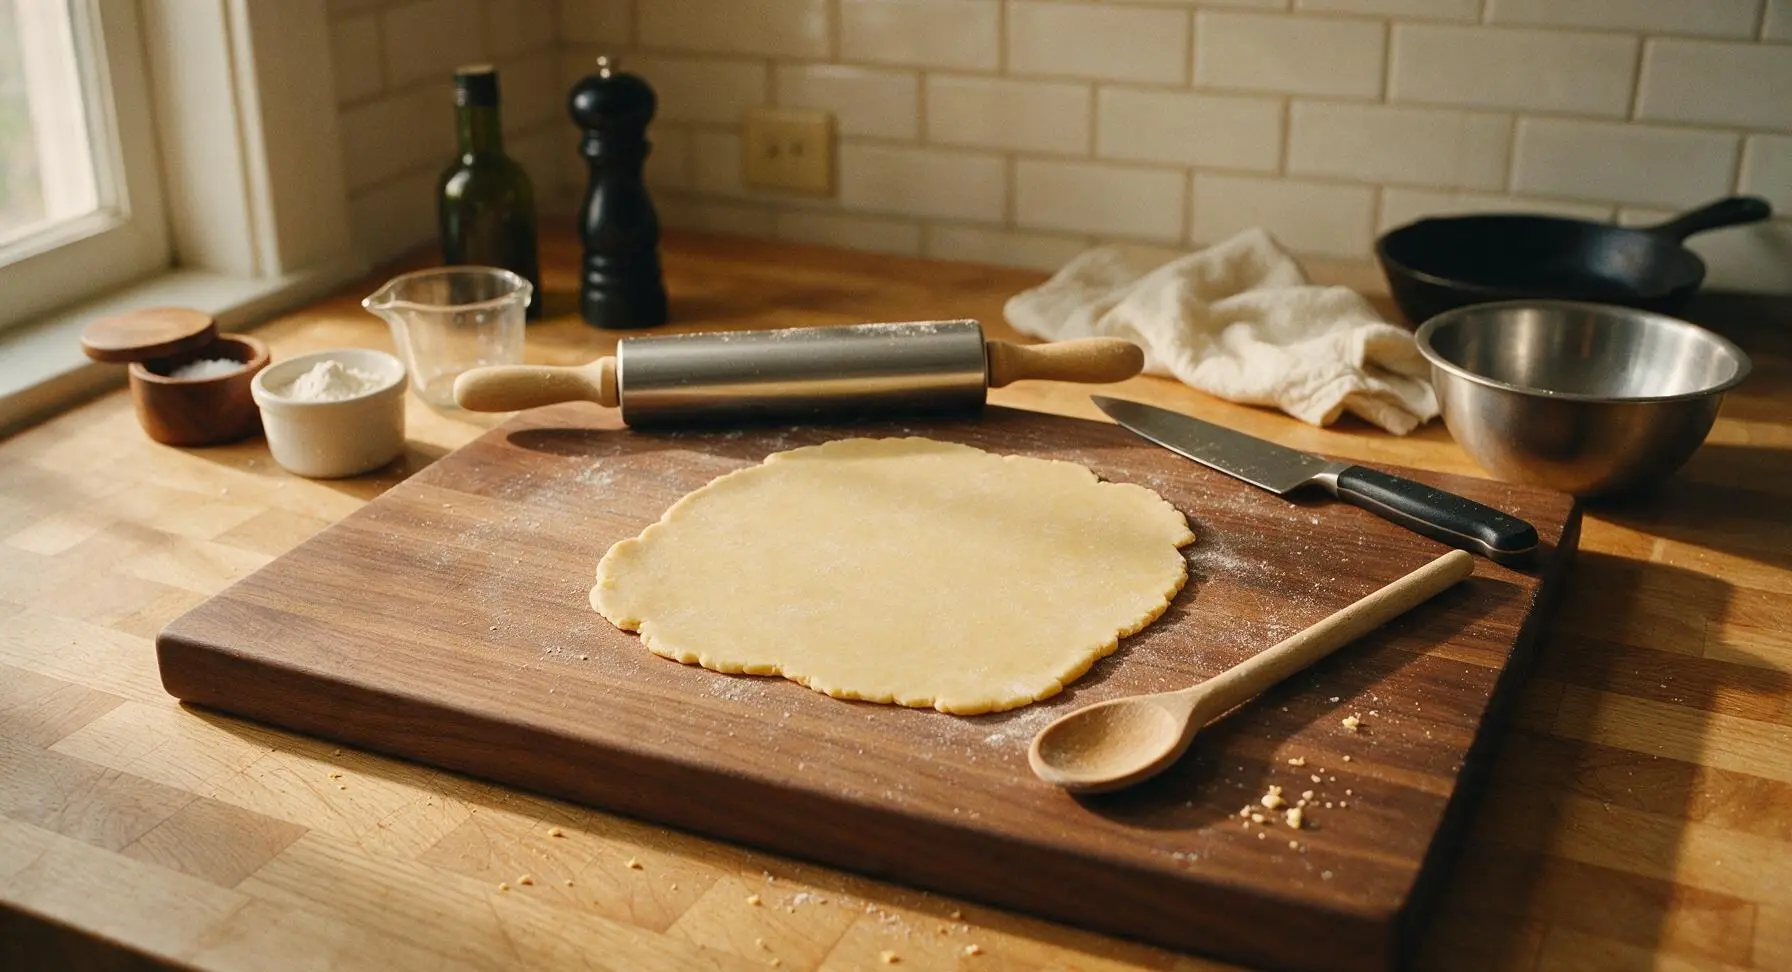
Step 3
step3:Roll pastry evenly
Step 3
step3:Roll pastry evenly
4

Cut and line tin

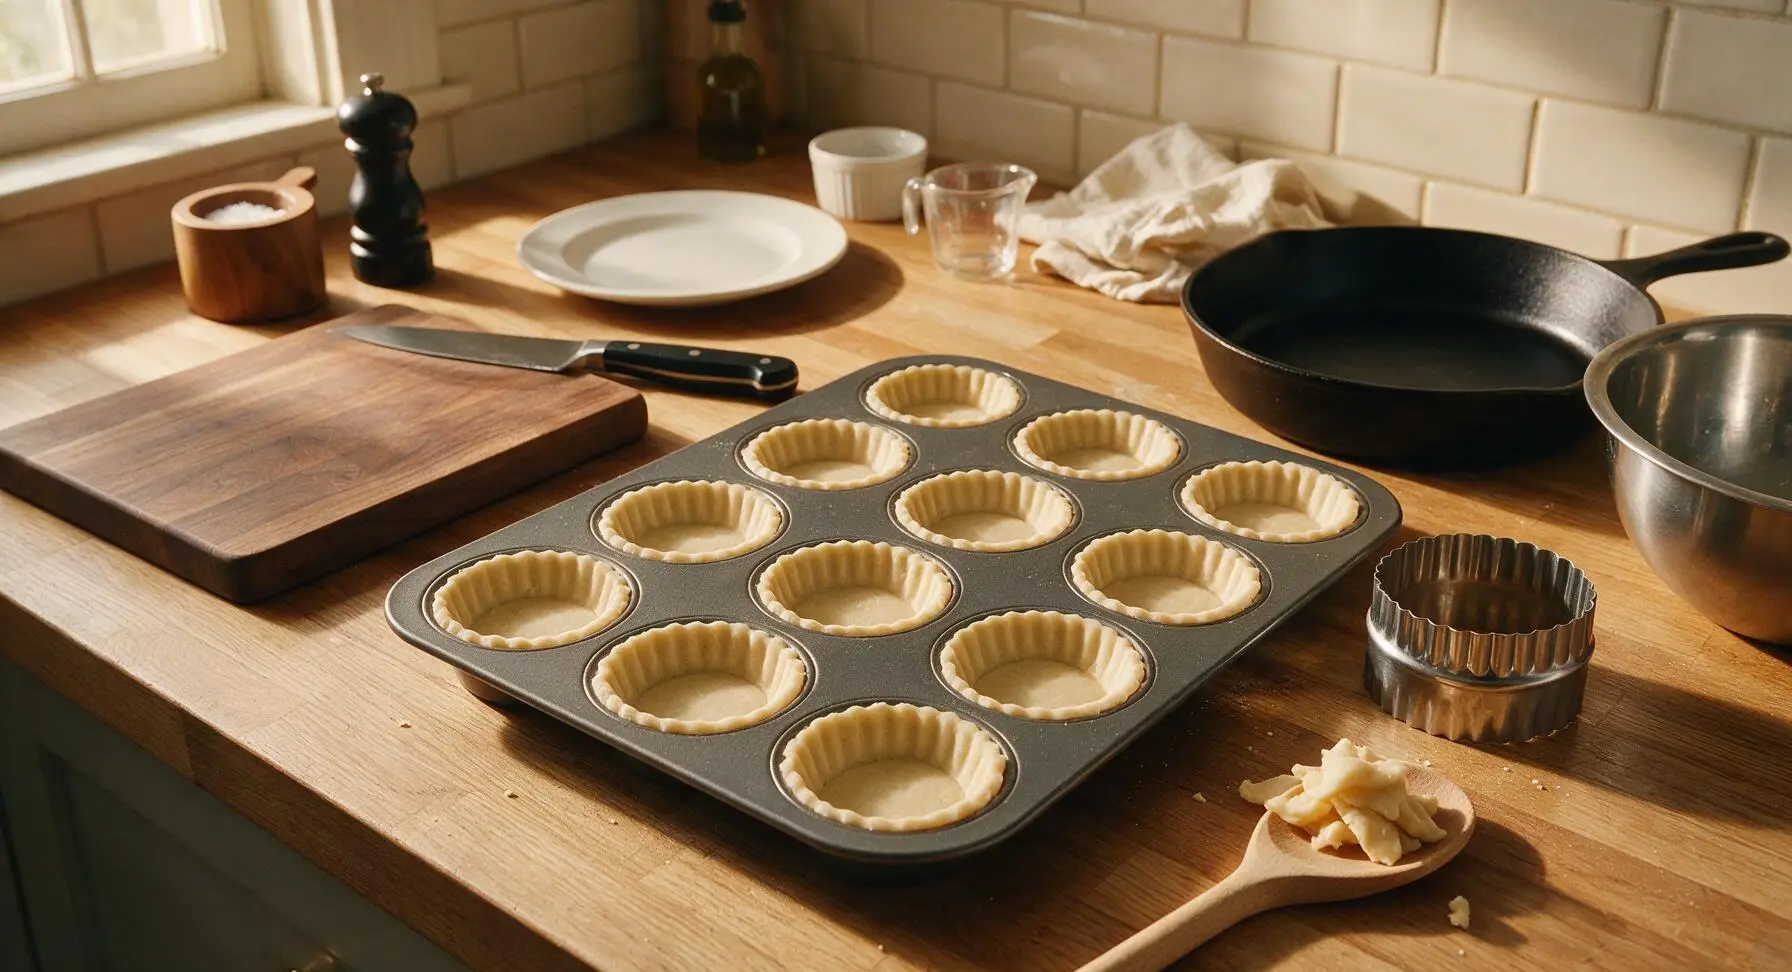
Use the 9cm fluted stainless steel pastry cutter to cut 12 even circles from the rolled pastry sheet. Gently press each circle into the cups of the dark grey non-stick muffin tin, making sure the pastry sits snugly against the bottom and fluted sides of each cup, with a 2mm overhang of pastry at the top edge. Gather all pastry offcuts into a small ball, re-roll to 3mm thickness, and set aside on the board for the pie lids.
Step 4
step4:Cut and line tin
5

Add mincemeat filling

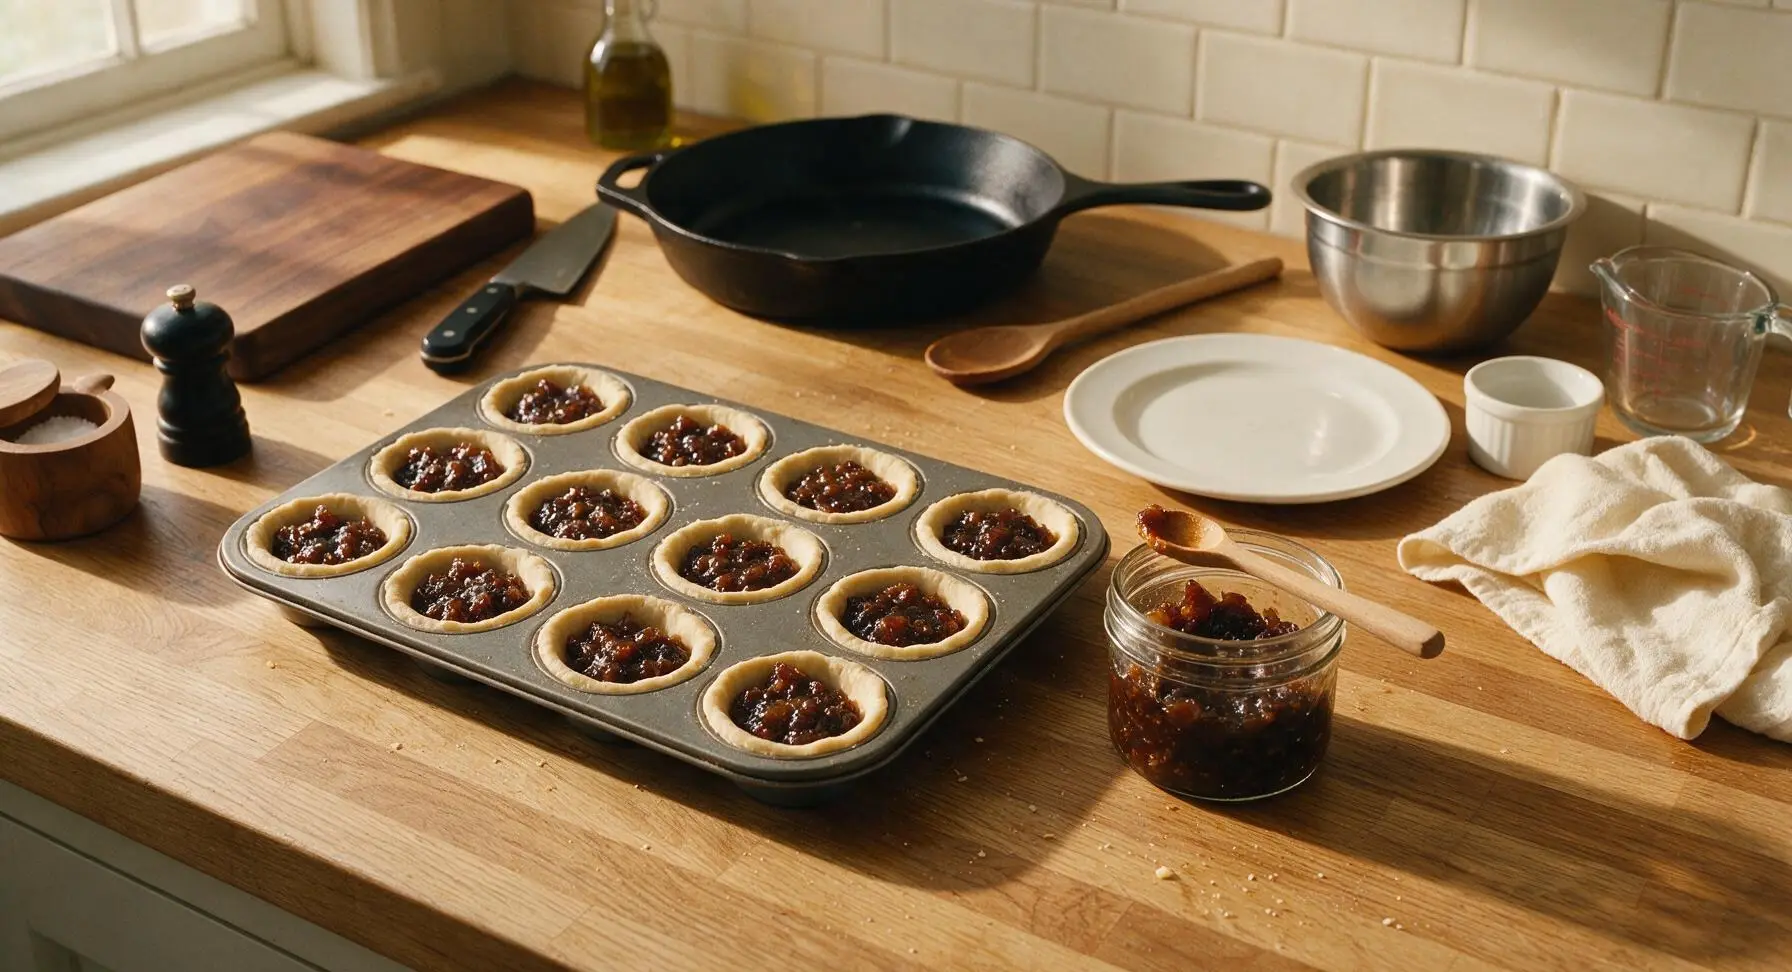
Use the small beech wood teaspoon to scoop 25g (roughly 1 heaped teaspoon) of spiced fruit mincemeat into each pastry-lined cup, filling each to just 2mm below the pastry edge. Do not overfill the cups, as the high-sugar mincemeat will bubble, leak, and burn during baking if packed too full.
Step 5
step5:Add mincemeat filling
6

Seal pie lids

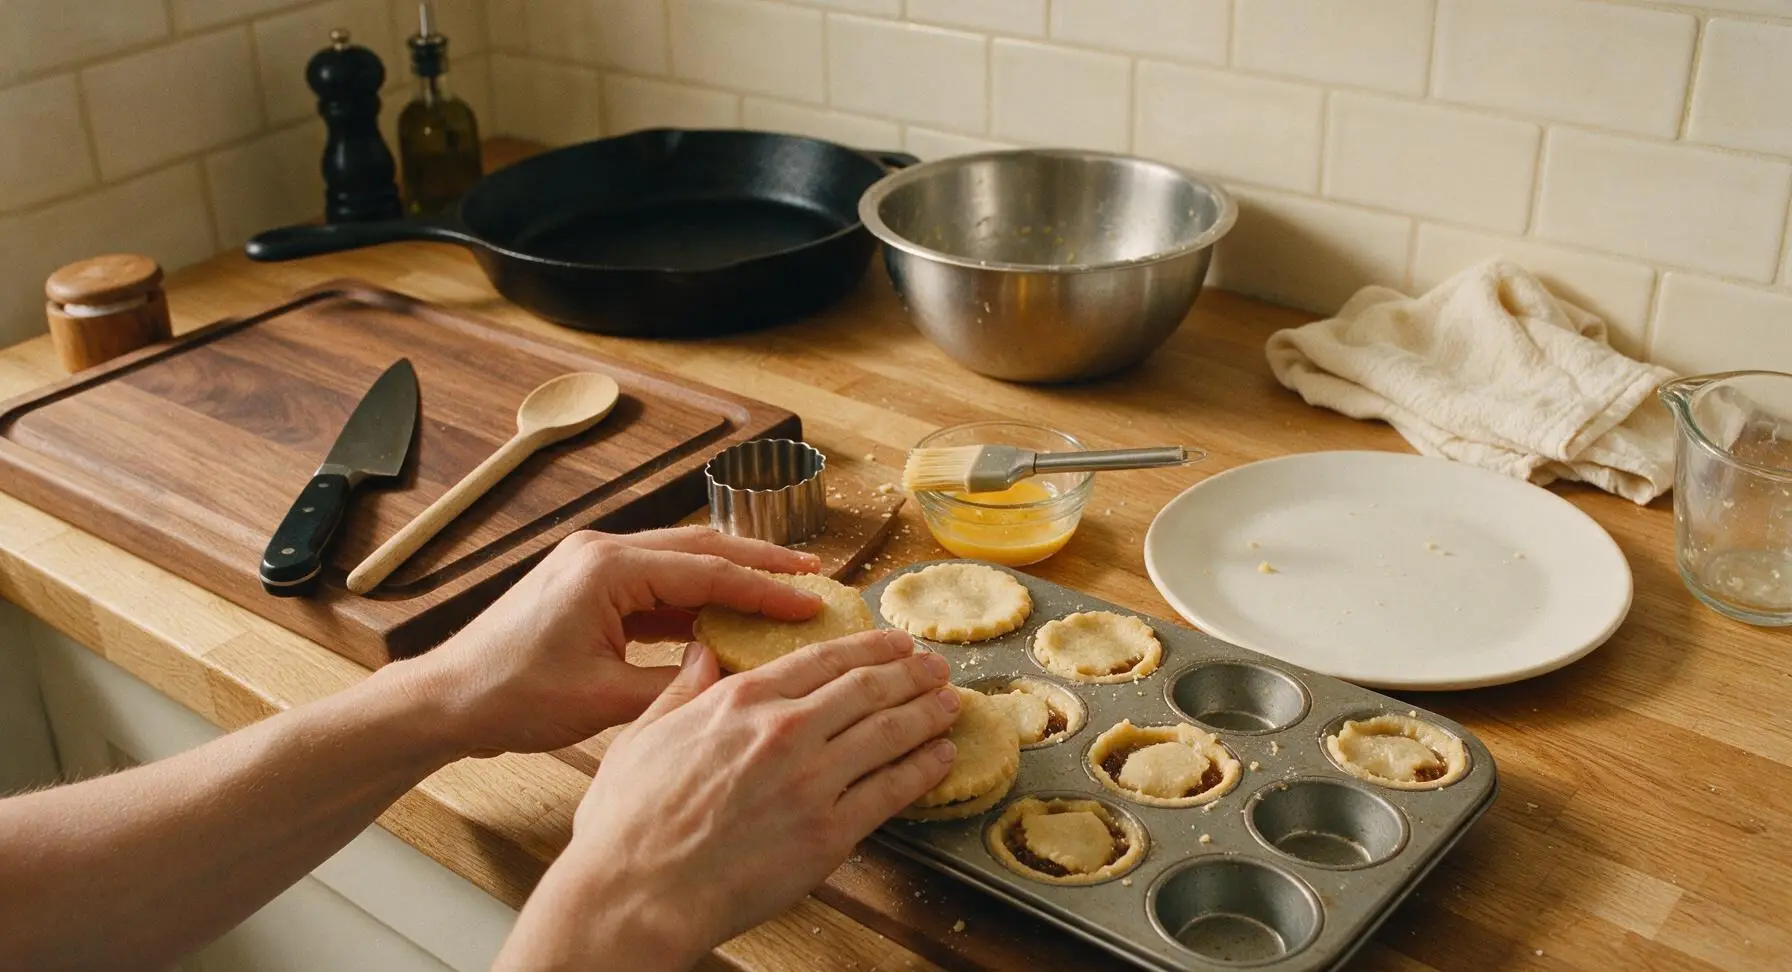
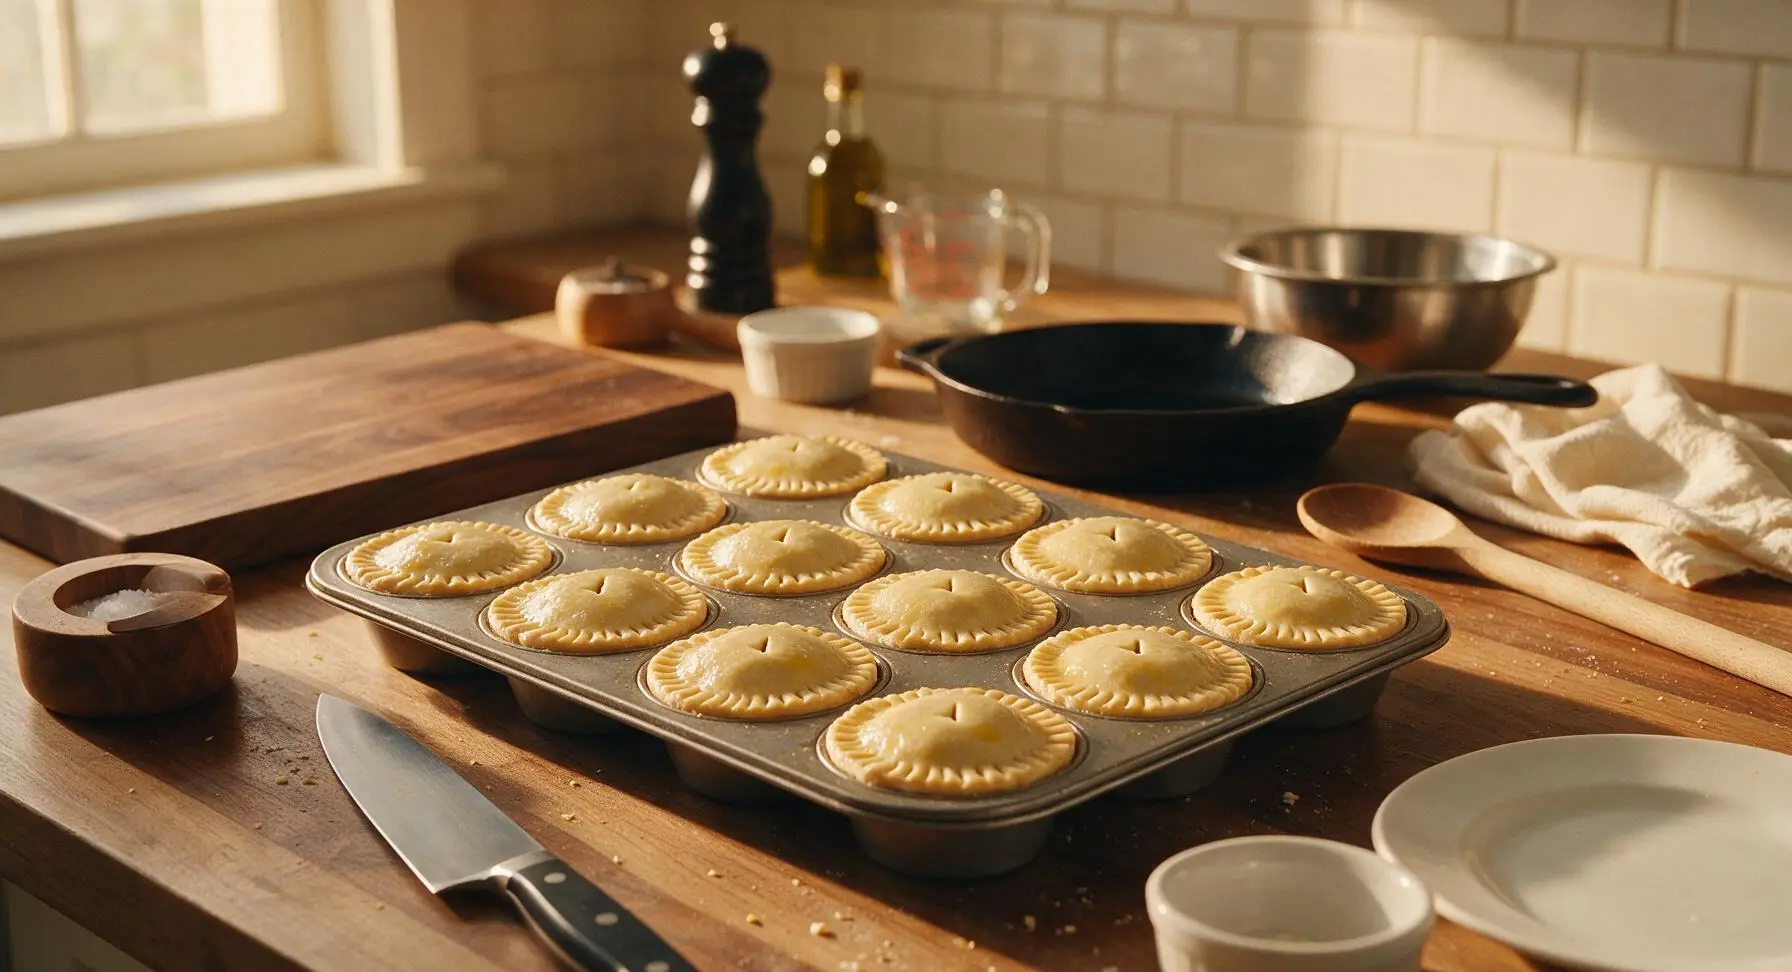
Use the 7cm fluted stainless steel pastry cutter to cut 12 smaller circles from the re-rolled pastry scraps. Beat 1 large egg with 1 tablespoon of whole milk in the small glass ramekin to make egg wash, then use the silicone pastry brush to dab a thin layer of egg wash around the rim of each filled pastry base. Place a smaller pastry circle on top of each pie, pressing the edges firmly with your fingertip to seal, then crimp the sealed edge with the tines of the small stainless steel fork to create a tight, decorative seal. Cut a tiny 5mm slit in the center of each lid to allow steam to escape during baking.
Step 6
step6:Seal pie lids
Step 6
step6:Seal pie lids
7

Bake until golden

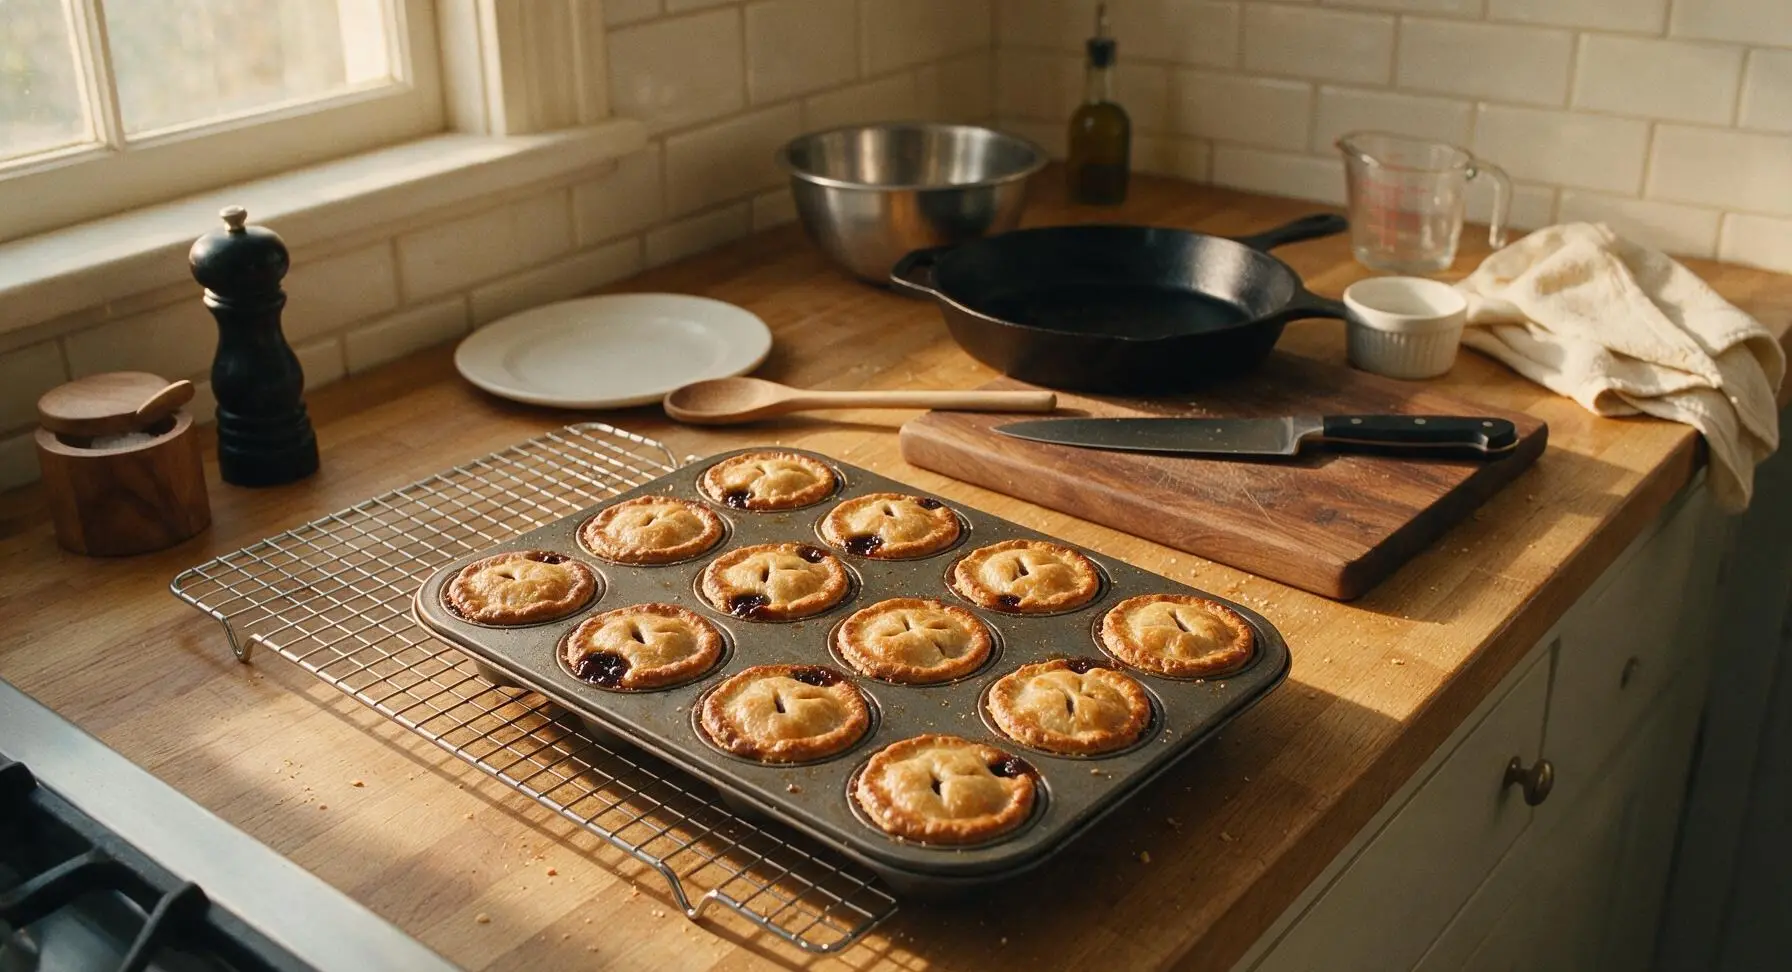
Brush the top of each pie lid with a thin final layer of egg wash, then place the muffin tin in a preheated oven set to 200C (180C fan / 400F / Gas Mark 6). Bake for 18-20 minutes, until the pastry is a deep, even golden brown and crisp, and small bubbles of mincemeat gently seep through the top slits. Watch closely during the final 3 minutes of baking to prevent the pastry edges from burning.
Step 7
step7:Bake until golden
8

Cool and dust pies

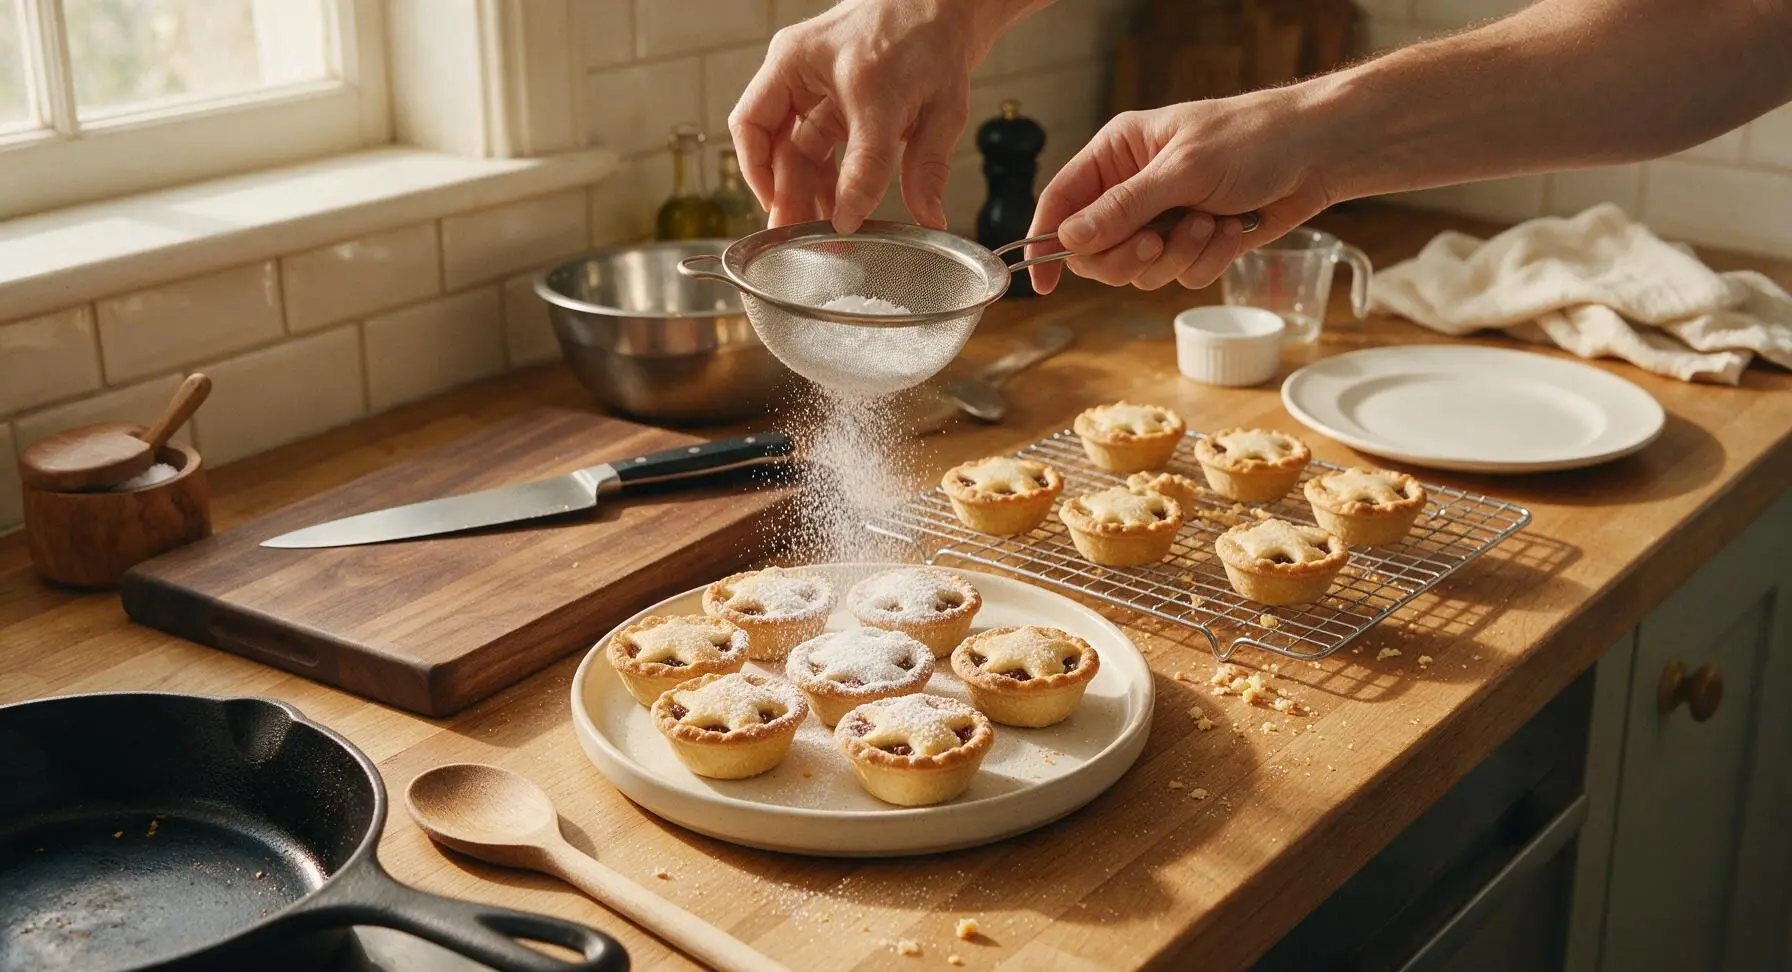
Let the mince pies cool in the tin for 5 minutes, then carefully lift each pie out and transfer them to the chrome wire cooling rack to cool for a further 10 minutes until just warm (not piping hot). Arrange the pies on the round cream ceramic serving platter, then hold the fine-mesh sieve 15cm above the platter and tap it gently to dust a light, even layer of icing sugar over all the pie tops.
Step 8
step8:Cool and dust pies

Tips

1.Keep all pastry ingredients ice cold: Warm butter melts too quickly in the oven, leading to tough, shrink-prone pastry instead of light, melt-in-your-mouth flaky layers. For extra insurance against shrinkage, chill the fully assembled pies in the tin for 10 minutes before baking.
2.Avoid over-kneading the pastry: Overworking the dough develops gluten in the flour, which results in a hard, tough crust instead of a tender, crumbly one. Toss the dough gently rather than squeezing or kneading it when bringing it together.
3.Don’t skip the steam slits in the pie lids: Trapped hot steam from the bubbling mincemeat will build up under the lid and cause it to pop off or leak, leaving you with messy, uneven pies. The small slit also lets the rich spiced aroma escape as the pies bake.


✨ You May Also Like

Desserts & Baking
🍜 Italy

Creamy, coffee-kissed classic Northern Italian no-bake dessert, with layers of rum-spiked mascarpone cream, soft ladyfingers, and a rich cocoa dusting.

⏱️ 4 hours 3Desserts & Baking ★ 4.7
Desserts & Baking
🍜 France

Flaky, shatteringly crisp, buttery French croissants with golden exteriors and soft, airy layered interiors, perfect for pairing with coffee for a special morning treat.

⏱️ 12 hours Desserts & Baking ★ 4.5
Desserts & Baking
🍜 United States

Warm, spiced baked apples topped with a fluffy golden biscuit crust, this cozy dessert pairs perfectly with vanilla ice cream for cool-weather comfort.

⏱️ 55 minuteDesserts & Baking ★ 4.6
Desserts & Baking
🍜 United States

A star-spangled classic American blueberry pie with buttery flaky crust and bright sweet-tart filling, perfect for summer patriotic gatherings.

⏱️ 1 hour 25Desserts & Baking ★ 4.7
Desserts & Baking
🍜 United States

A beloved no-bake regional Maine candy with a chewy coconut-potato center coated in rich dark chocolate, a New England holiday staple since the 1870s.

⏱️ 2 hours 3Desserts & Baking ★ 4.8
Desserts & Baking
🍜 France

Luxuriously creamy, floral frozen custard made with aromatic Tahitian vanilla beans, boasting a smooth, rich texture that melts slowly on the tongue.

⏱️ 3 hours 3Desserts & Baking ★ 4.5

British Mince Pies:Frequently Asked Questions

1.Do I really need to use ice-cold butter and water for the shortcrust pastry? ▾
Absolutely—this is non-negotiable for that signature buttery, flaky crust. Cold butter melts slowly in the oven, creating tiny air pockets that form light, crisp layers instead of a tough, greasy crust. If your butter starts to soften while you work, pop the dough back in the fridge for 10 minutes before rolling to reset it.
2.Can I use store-bought mincemeat instead of making my own from scratch? ▾
Of course! High-quality store-bought spiced fruit mincemeat works perfectly for these pies, and it cuts down prep time dramatically. For a homemade twist, stir in a splash of brandy, a pinch of extra orange zest, or a handful of chopped dried cranberries before filling to elevate the store-bought base to taste more custom.
3.Why does my shortcrust pastry shrink so much when I bake the pies? ▾
Shrinkage almost always happens from overworking the dough or skipping the required resting step. When you knead or roll the dough too much, gluten in the flour tightens up, and it pulls back as it bakes. Always let your lined tart tins chill in the fridge for 20 minutes before filling and baking to let the gluten relax and prevent shrink.
4.How full should I fill each pastry shell with mincemeat to avoid messy bubbling? ▾
Aim to fill each pastry-lined tin about ⅔ of the way full—usually 1 to 1.5 teaspoons of mincemeat for standard bite-sized mince pies. Overfilling will cause the spiced fruit to bubble out over the edges as it bakes, sticking to the tin and making a messy, hard-to-remove pie that loses its clean shape.
5.Can I make these mince pies ahead of time for Christmas gatherings? ▾
Absolutely, these are perfect for prep-ahead holiday plans. You can bake them fully, let them cool completely, then store them in an airtight container at room temperature for up to 4 days, or freeze them for up to 3 months. Reheat gently in a 300°F oven for 5 minutes before serving, and dust with fresh powdered sugar right before guests arrive.
6.Do I have to top my mince pies with a solid pastry lid? ▾
You don’t need a fancy or solid top at all! Traditional mince pies sometimes have a full pastry lid cut with a small star or holly vent, a simple lattice, or even a crumble topping for extra texture. If you prefer open-faced pies, just leave the top off, but watch the filling to make sure it doesn’t bubble over during baking.
7.Why does my shortcrust pastry turn out tough instead of light and flaky? ▾
Tough pastry is almost always caused by overworking the dough or using too much flour when rolling. When you mix or knead the dough too vigorously, you develop excess gluten in the flour that creates a dense, chewy crust. Handle the dough as little as possible, and only use a light dusting of flour on your work surface to prevent sticking.
8.Can I adapt this recipe to be gluten-free for guests with dietary restrictions? ▾
Yes, it’s easy to adapt this recipe for gluten-free guests. Swap the regular all-purpose flour for a high-quality 1:1 gluten-free baking flour that contains xanthan gum, which helps replicate the structure of regular flour. Keep all your butter and ice water just as cold, and follow the same resting steps to keep the crust tender and flaky.
9.Do I need to heavily grease my mini muffin or tart tin before adding the pastry? ▾
Because this shortcrust pastry has such a high butter content, you usually won’t need to heavily grease your tin, especially if you’re using a non-stick tart or mini muffin tin. A very light wipe of butter on the tin edges won’t hurt, though, and will make it even easier to pop cooled pies out without tearing the delicate crust.
10.What’s the best way to get a golden, crisp top on my mince pies? ▾
For a perfectly golden, glossy top, brush the exposed pastry lids with a little beaten egg or whole milk right before baking. This encourages even browning and adds a subtle crispness to the outer crust. If you notice edges browning too fast halfway through baking, tent the tin loosely with a small piece of aluminum foil to prevent burning.
11.Can I add nuts or other extra mix-ins to the mincemeat filling? ▾
Absolutely—traditional mincemeat is very adaptable. Chopped toasted almonds, walnuts, or pecans add a lovely nutty crunch, while a splash of dark rum, brandy, or even fresh apple cider adds extra depth of flavor. Just keep the total filling volume the same to avoid overfilling and bubbling over during baking.
12.How do I prevent the dreaded soggy bottom on my mince pies? ▾
Soggy bottoms happen when wet filling seeps into uncooked pastry. To avoid this, chill your lined pastry tins for 15 minutes before filling, and bake the pies on a preheated baking sheet in the lower third of your oven. The hot sheet jumpstarts cooking the bottom crust immediately, so it sets before the filling can soak in.
13.Can I use salted butter instead of unsalted butter for the pastry? ▾
You can, but you’ll want to adjust the added salt in the recipe to compensate. If using salted butter, cut the added fine table salt in half to keep the crust from tasting overly salty. The crust will still be flaky and rich, just be mindful of the salt balance so it doesn’t overpower the sweet, spiced mincemeat filling.

Comments (4)

2 days ago

OMG these mince pies were such a hit at my office holiday potluck! I was worried they’d be too sweet since I’d never had British mince pies before, but the spice balance is totally perfect. My coworkers kept coming back for seconds, a couple people even asked for the recipe link. 10/10 will be making these every Christmas from now on!

yesterday

Wait did you use store-bought mincemeat or make your own? I’m making these for my family’s Christmas dinner this weekend and debating if I have time to DIY the filling!

2 hours ago

Great question! If you’re short on time, high-quality store-bought mincemeat works totally fine—just stir in a little extra orange zest and a splash of brandy to make it taste homemade. If you have an extra 30 minutes, the homemade filling recipe linked in the post is absolutely worth it though!

yesterday

These were SO good, though I will say the pastry was a little trickier to work with than I expected, even for a medium-difficulty recipe with a 20-minute cook time! My kids loved them, they devoured half the batch as soon as they came out of the oven, I had to hide the rest for our holiday party tomorrow. Next time I’ll chill the pastry a little longer before cutting it, that was my bad for rushing.

5 minutes ago

So glad your kids loved them! You’re totally right that chilling the pastry makes a huge difference when you’re cutting out the pie tops—we’re updating the recipe notes to call that out more clearly to help other bakers too, thanks for the tip!

30 minutes ago

Game changer! I’ve been buying sad grocery store mince pies for years because I thought making them from scratch would be way too hard, but these came together way faster than I expected. The buttery shortcrust pastry is chef’s kiss, way better than any store-bought version I’ve tried. Already added these to my annual Christmas meal prep rotation!

1 week ago

These were tasty, but I had a little mishap! I didn’t have a mini muffin tin small enough so I used a regular cupcake pan, and the pies spread out way more than I thought they would. Flavor was still spot on though, so I’ll definitely grab a mini muffin tin before I make them again.

5 days ago

Oh I did the exact same thing my first batch! I ended up pressing the pastry thinner in the regular cupcake tin and adding less filling, and they turned out perfect the second time. No need to buy a whole new pan if you don’t want to!



